Grow A Flourishing Rose Bush Quickly With This Unexpected Trick
Discover an unusual yet effective way to grow thriving rose bushes: rooting them in potatoes. This straightforward technique helps your rose cuttings grow quickly in a nutrient-rich environment, giving your garden a stunning upgrade without breaking the bank.
Roses: A Timeless Emblem of Love
Roses have long been celebrated as symbols of love and affection, making them one of the most beloved flowers worldwide. With this simple trick, even those without a green thumb can enjoy a yard full of colorful blooms.

The Secret Behind Long-Living Roses
Did you know that with proper care, roses can live for centuries? For instance, a rose bush in Germany has flourished for over 1,000 years. By using this method, you too can grow roses that will last for years and bring enduring beauty to your garden.

What You’ll Need to Get Started
To try this gardening hack, gather these essentials: a fresh rose cutting, a firm potato, a plastic bottle, some soil, a pot or garden space, and basic gardening tools. It may seem unconventional, but the potato is the secret ingredient for success.

Understanding Rose Colors and Their Meanings
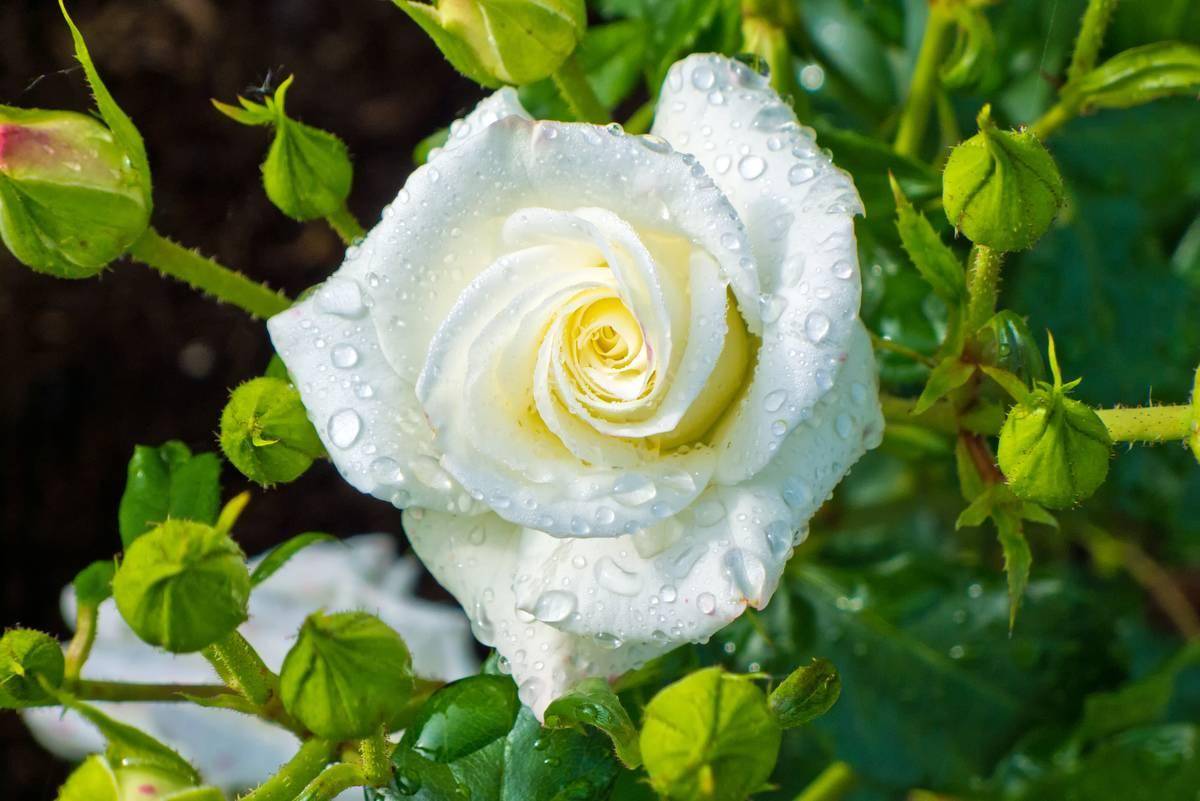
Roses come in about 24 different shades, each with its own symbolism. Red roses signify love, while pale pink represents joy and grace. Experiment with different colors to create a garden that’s meaningful and beautiful.
Step 1: Preparing the Rose Cutting
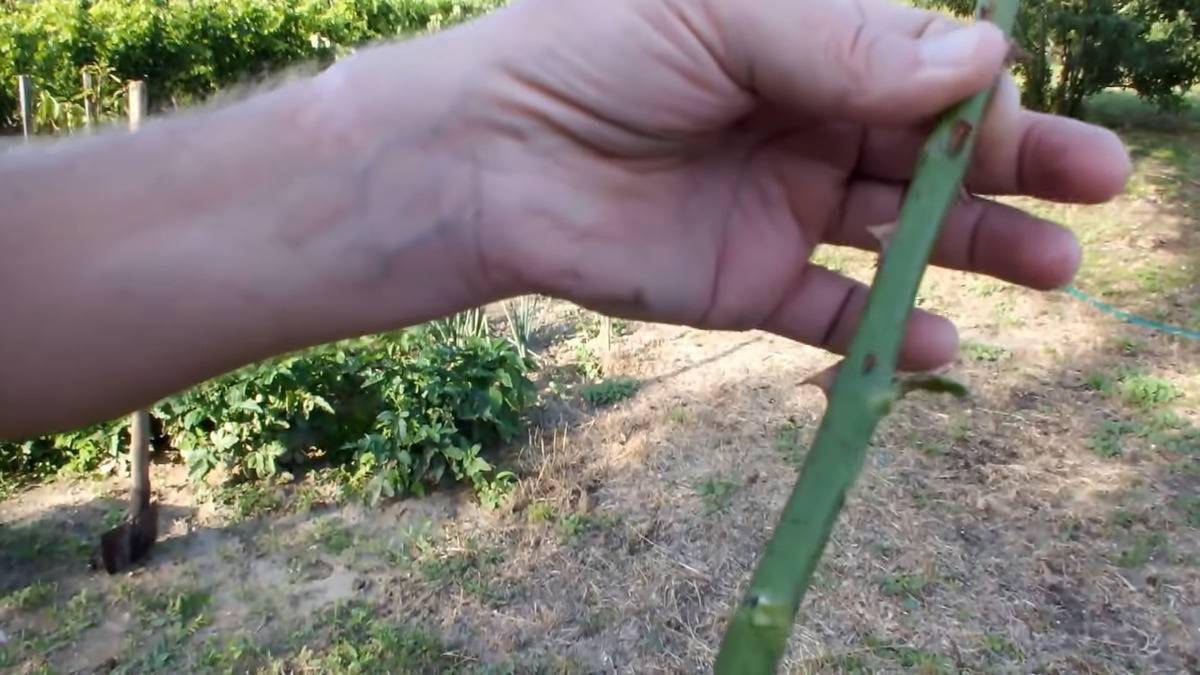
Start by selecting a rose you love. Remove its leaves and cut off the flower head diagonally, leaving a bare stem about three centimeters long. It might feel strange, but this step is crucial for encouraging new growth.
Step 2: Selecting the Perfect Potato
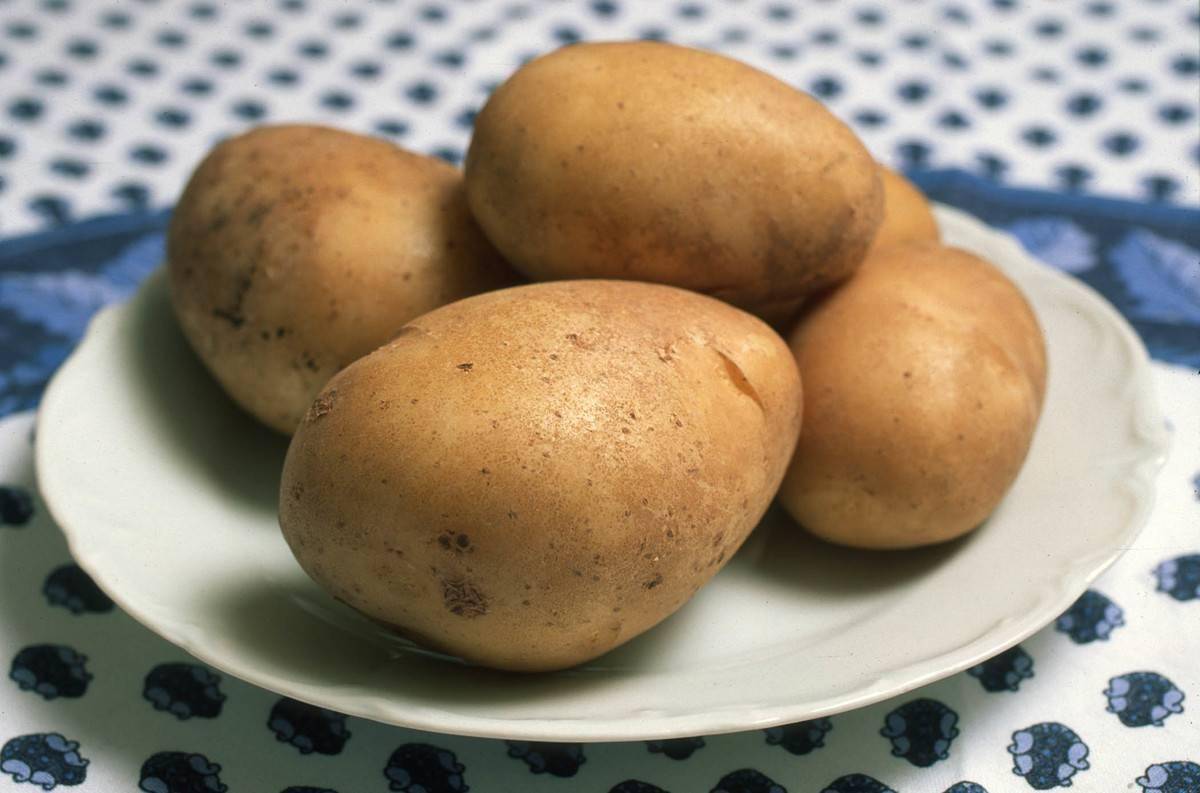
Choose a healthy, unblemished potato, preferably red or white, as these retain moisture well. The potato will serve as a nourishing medium for the cutting, promoting root development.
Step 3: Pot or Ground? Choose Your Planting Spot
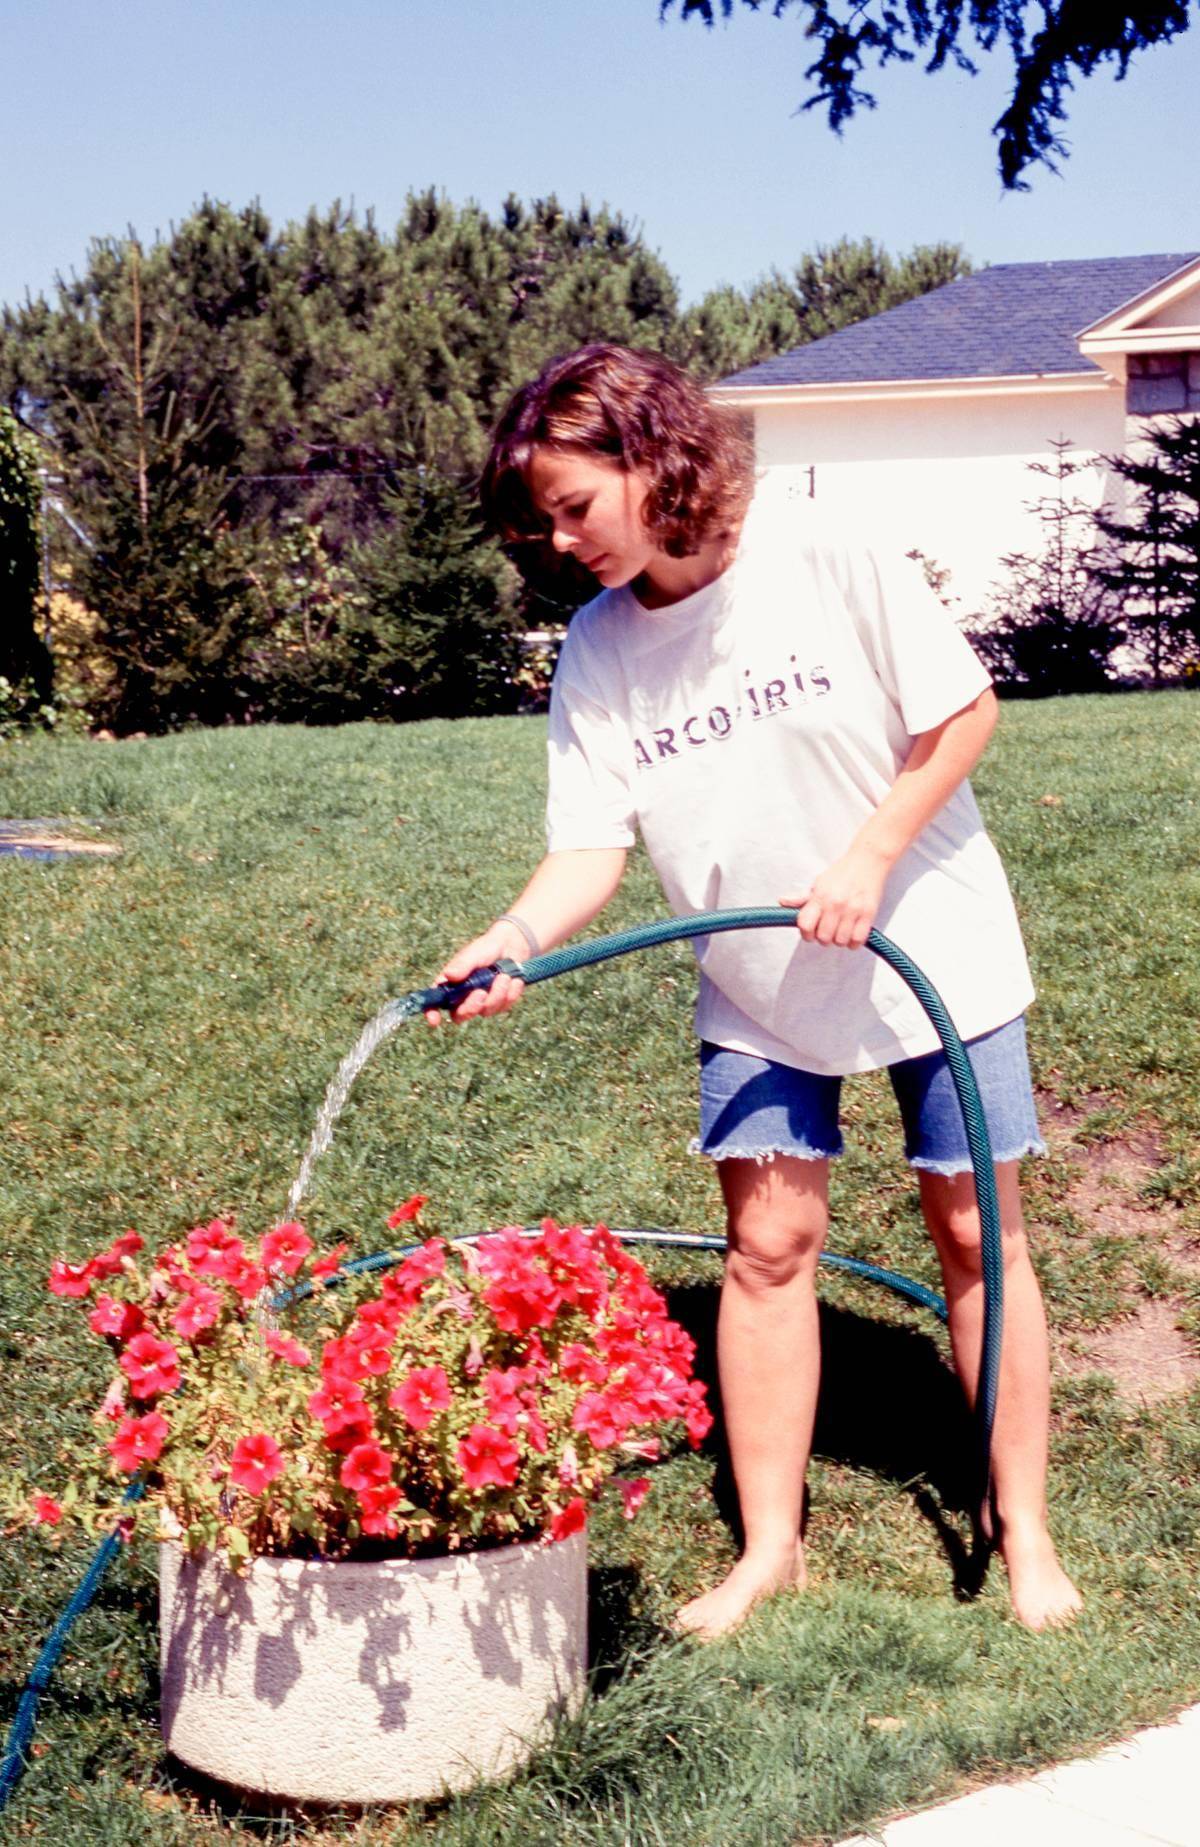
Decide whether to plant in a pot or directly in the ground. For colder seasons or regions, pots provide better protection. In warmer weather, planting directly in the garden allows for more robust growth.
Step 4: Preparing the Planting Area
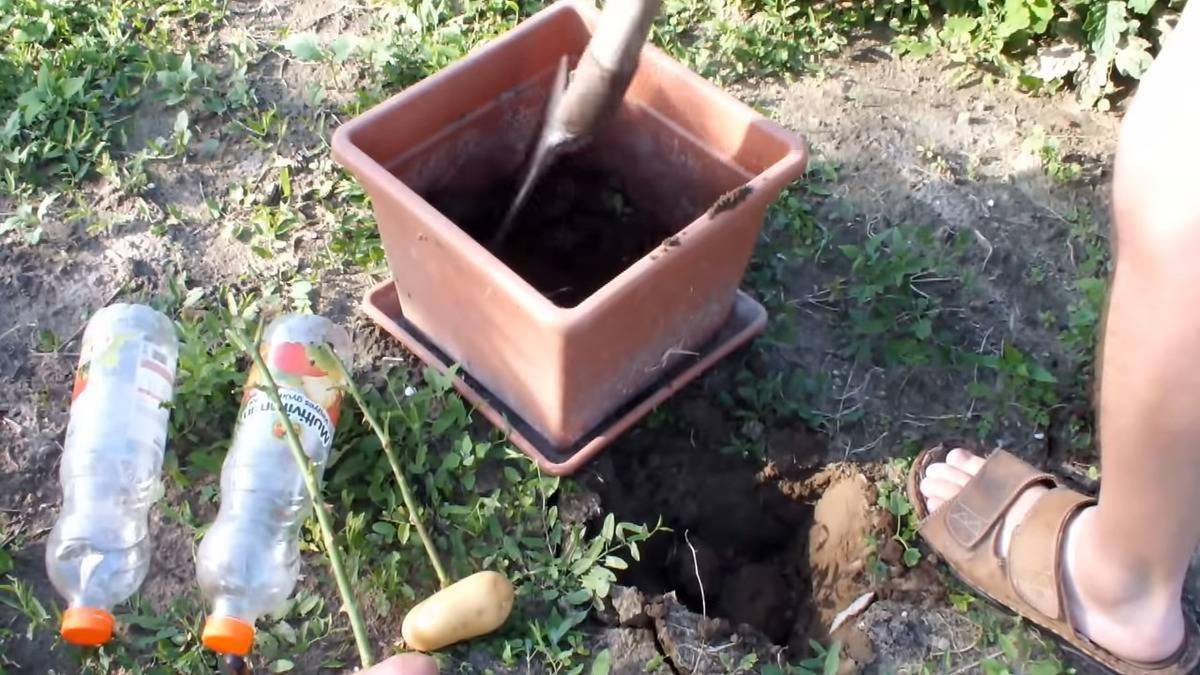
If you’re using a pot, fill it with nutrient-rich soil and water it until moist. For in-ground planting, dig a six-inch trench in your garden. The soil should be loose and well-draining to support healthy growth.
Step 5: Drilling a Hole in the Potato
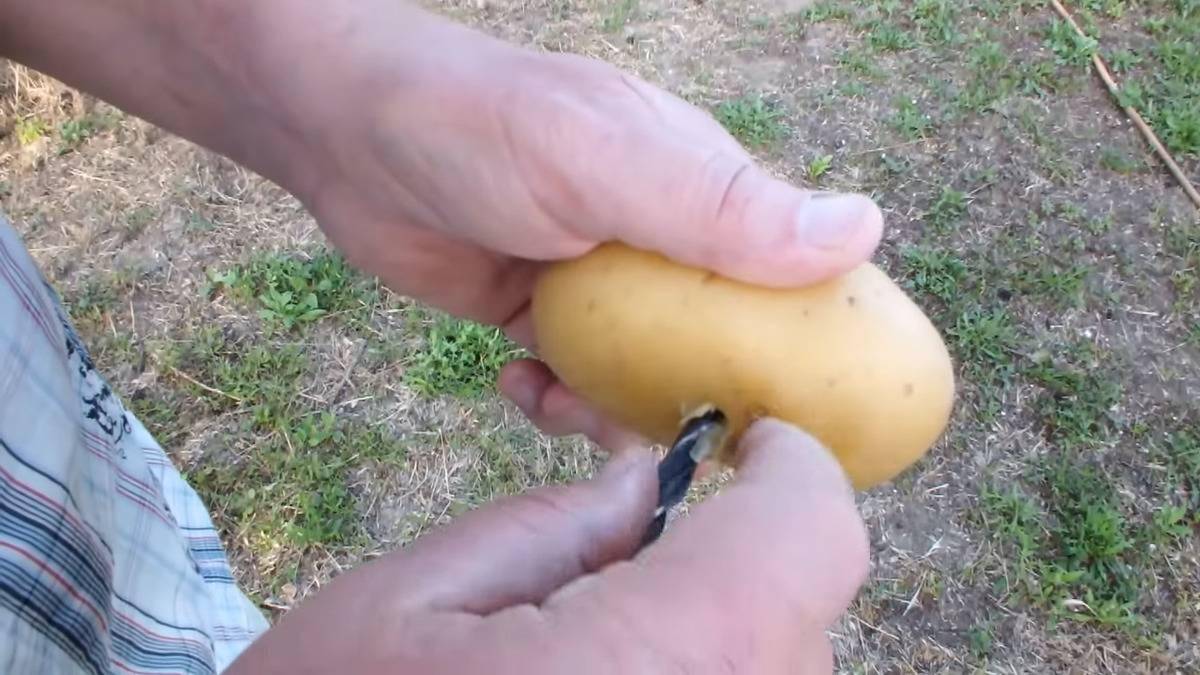
Using a screwdriver, create a hole in the potato that matches the thickness of the rose stem. This ensures the stem fits securely, preventing it from moving and encouraging proper rooting.
Step 6: Inserting the Stem
Dip the base of the stem in rooting hormone, shake off the excess, and gently insert it into the potato. The snug fit helps the cutting absorb nutrients and moisture efficiently.
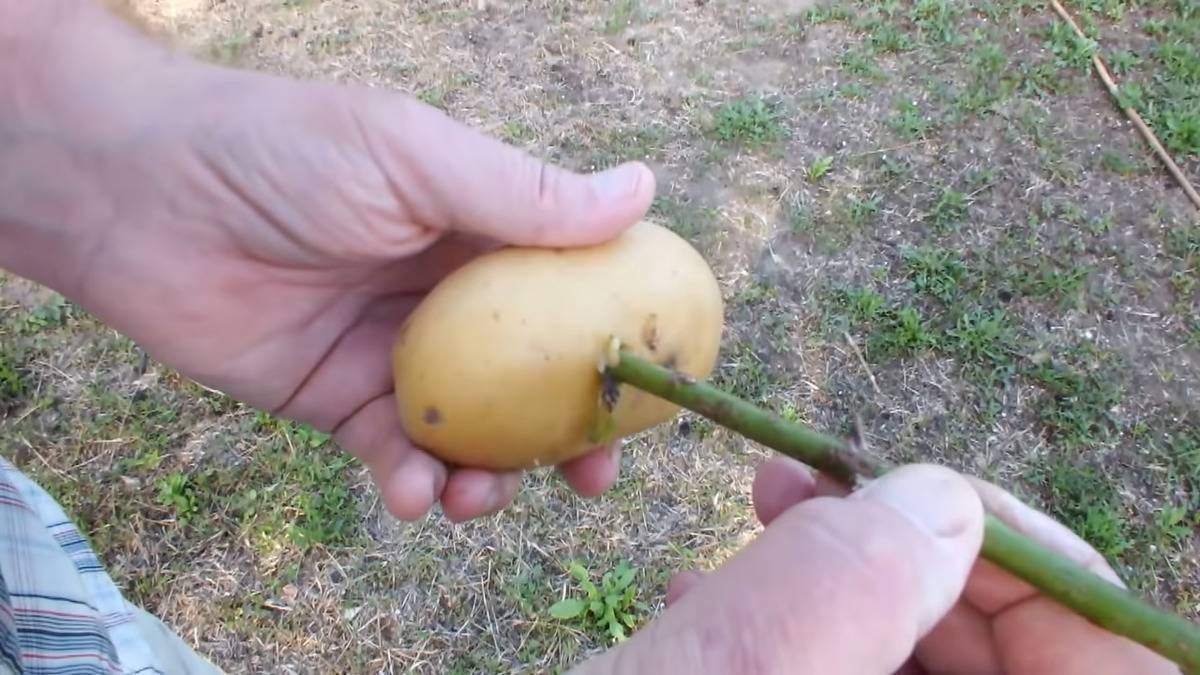
Step 7: Planting the Potato
- For pots: Place the potato in the soil, cover it lightly, and position the pot in a warm location.
- For trenches: Carefully place the potato in the trench, cover it with soil, and gently pack it down to hold the stem upright.
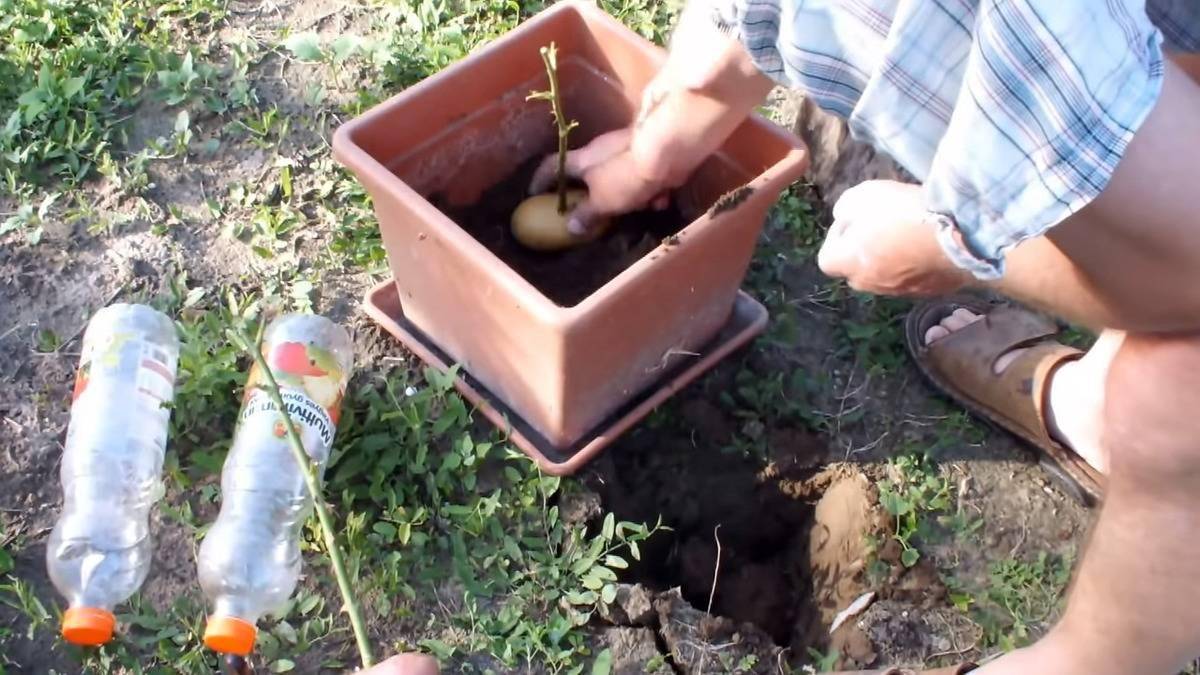
Step 8: Using a Water Bottle as a Greenhouse
Cut the bottom off a plastic bottle and place it over the stem. This creates a mini greenhouse that regulates temperature, keeps pests away, and protects the cutting from harsh weather.
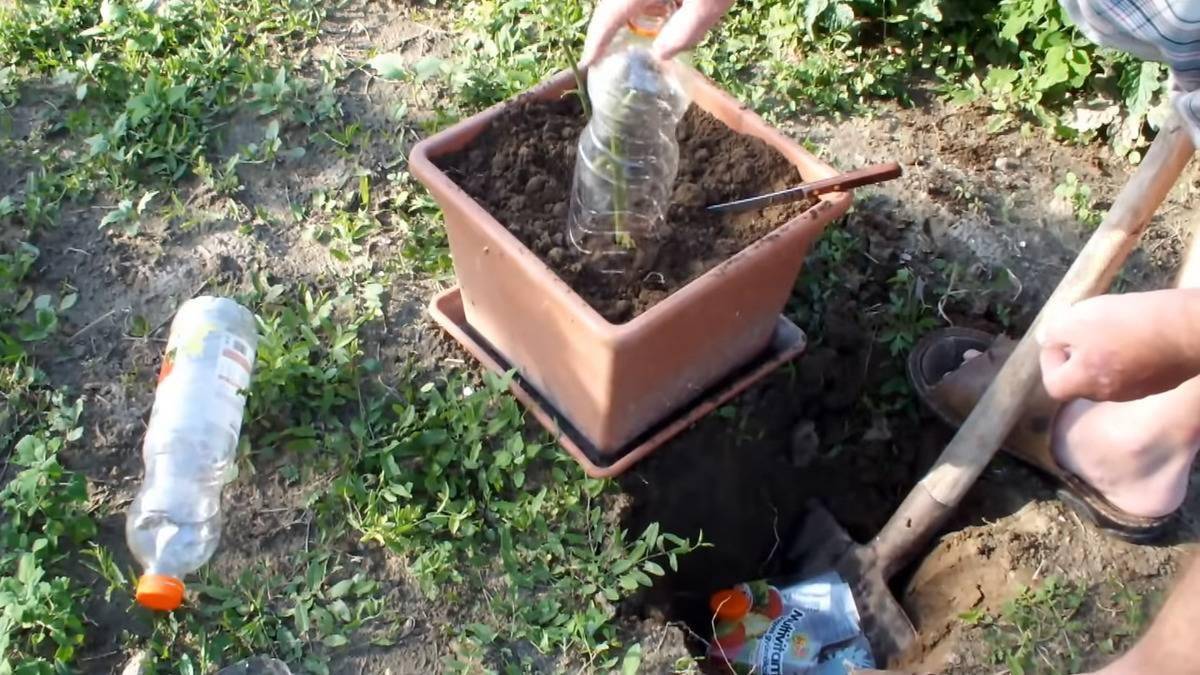
Step 9: Maintain and Monitor Daily
Remove the bottle for five minutes daily to allow airflow and inspect the soil. Keep the soil moist but not overly wet to create the ideal environment for the rose to thrive.
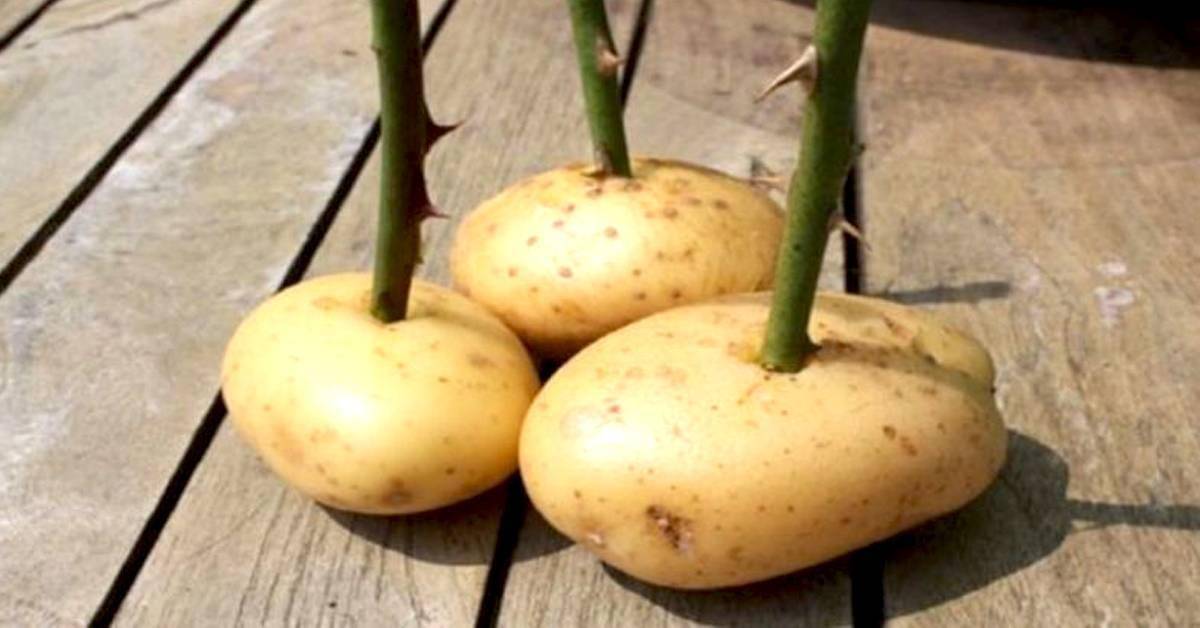
Step 10: Watch Your Roses Bloom
After about a month, you’ll notice new growth on the stem. Test for root development by gently tugging the stem—resistance means the roots are successfully anchoring in the soil.

Transform Your Garden Without Overspending
With this clever gardening method, you can grow vibrant rose bushes quickly and affordably. Experiment with different varieties to create a colorful and meaningful rose garden that will impress for years to come.
