How to Make a Handmade Leather Wallet with Custom Stitching
Creating your own leather wallet is a rewarding and practical DIY project that combines craftsmanship and creativity. Whether you’re making it for yourself or as a personalized gift, a handmade leather wallet with custom stitching adds a touch of elegance and uniqueness. This guide will walk you through the steps to craft your very own leather wallet, from selecting materials to adding those final custom stitches.
Ready to take on life with unshakable confidence? Whether you’re aiming to excel in your career, improve your relationships, or conquer DIY projects, NLP Hero’s Confidence Course is your key to success. Click here to start transforming your confidence and be better at everything you do!
Step-by-Step Guide for Making a Leather Wallet
With a bit of materials, tools, and knowledge, you will have no problem following these steps to create your very own leather wallet:
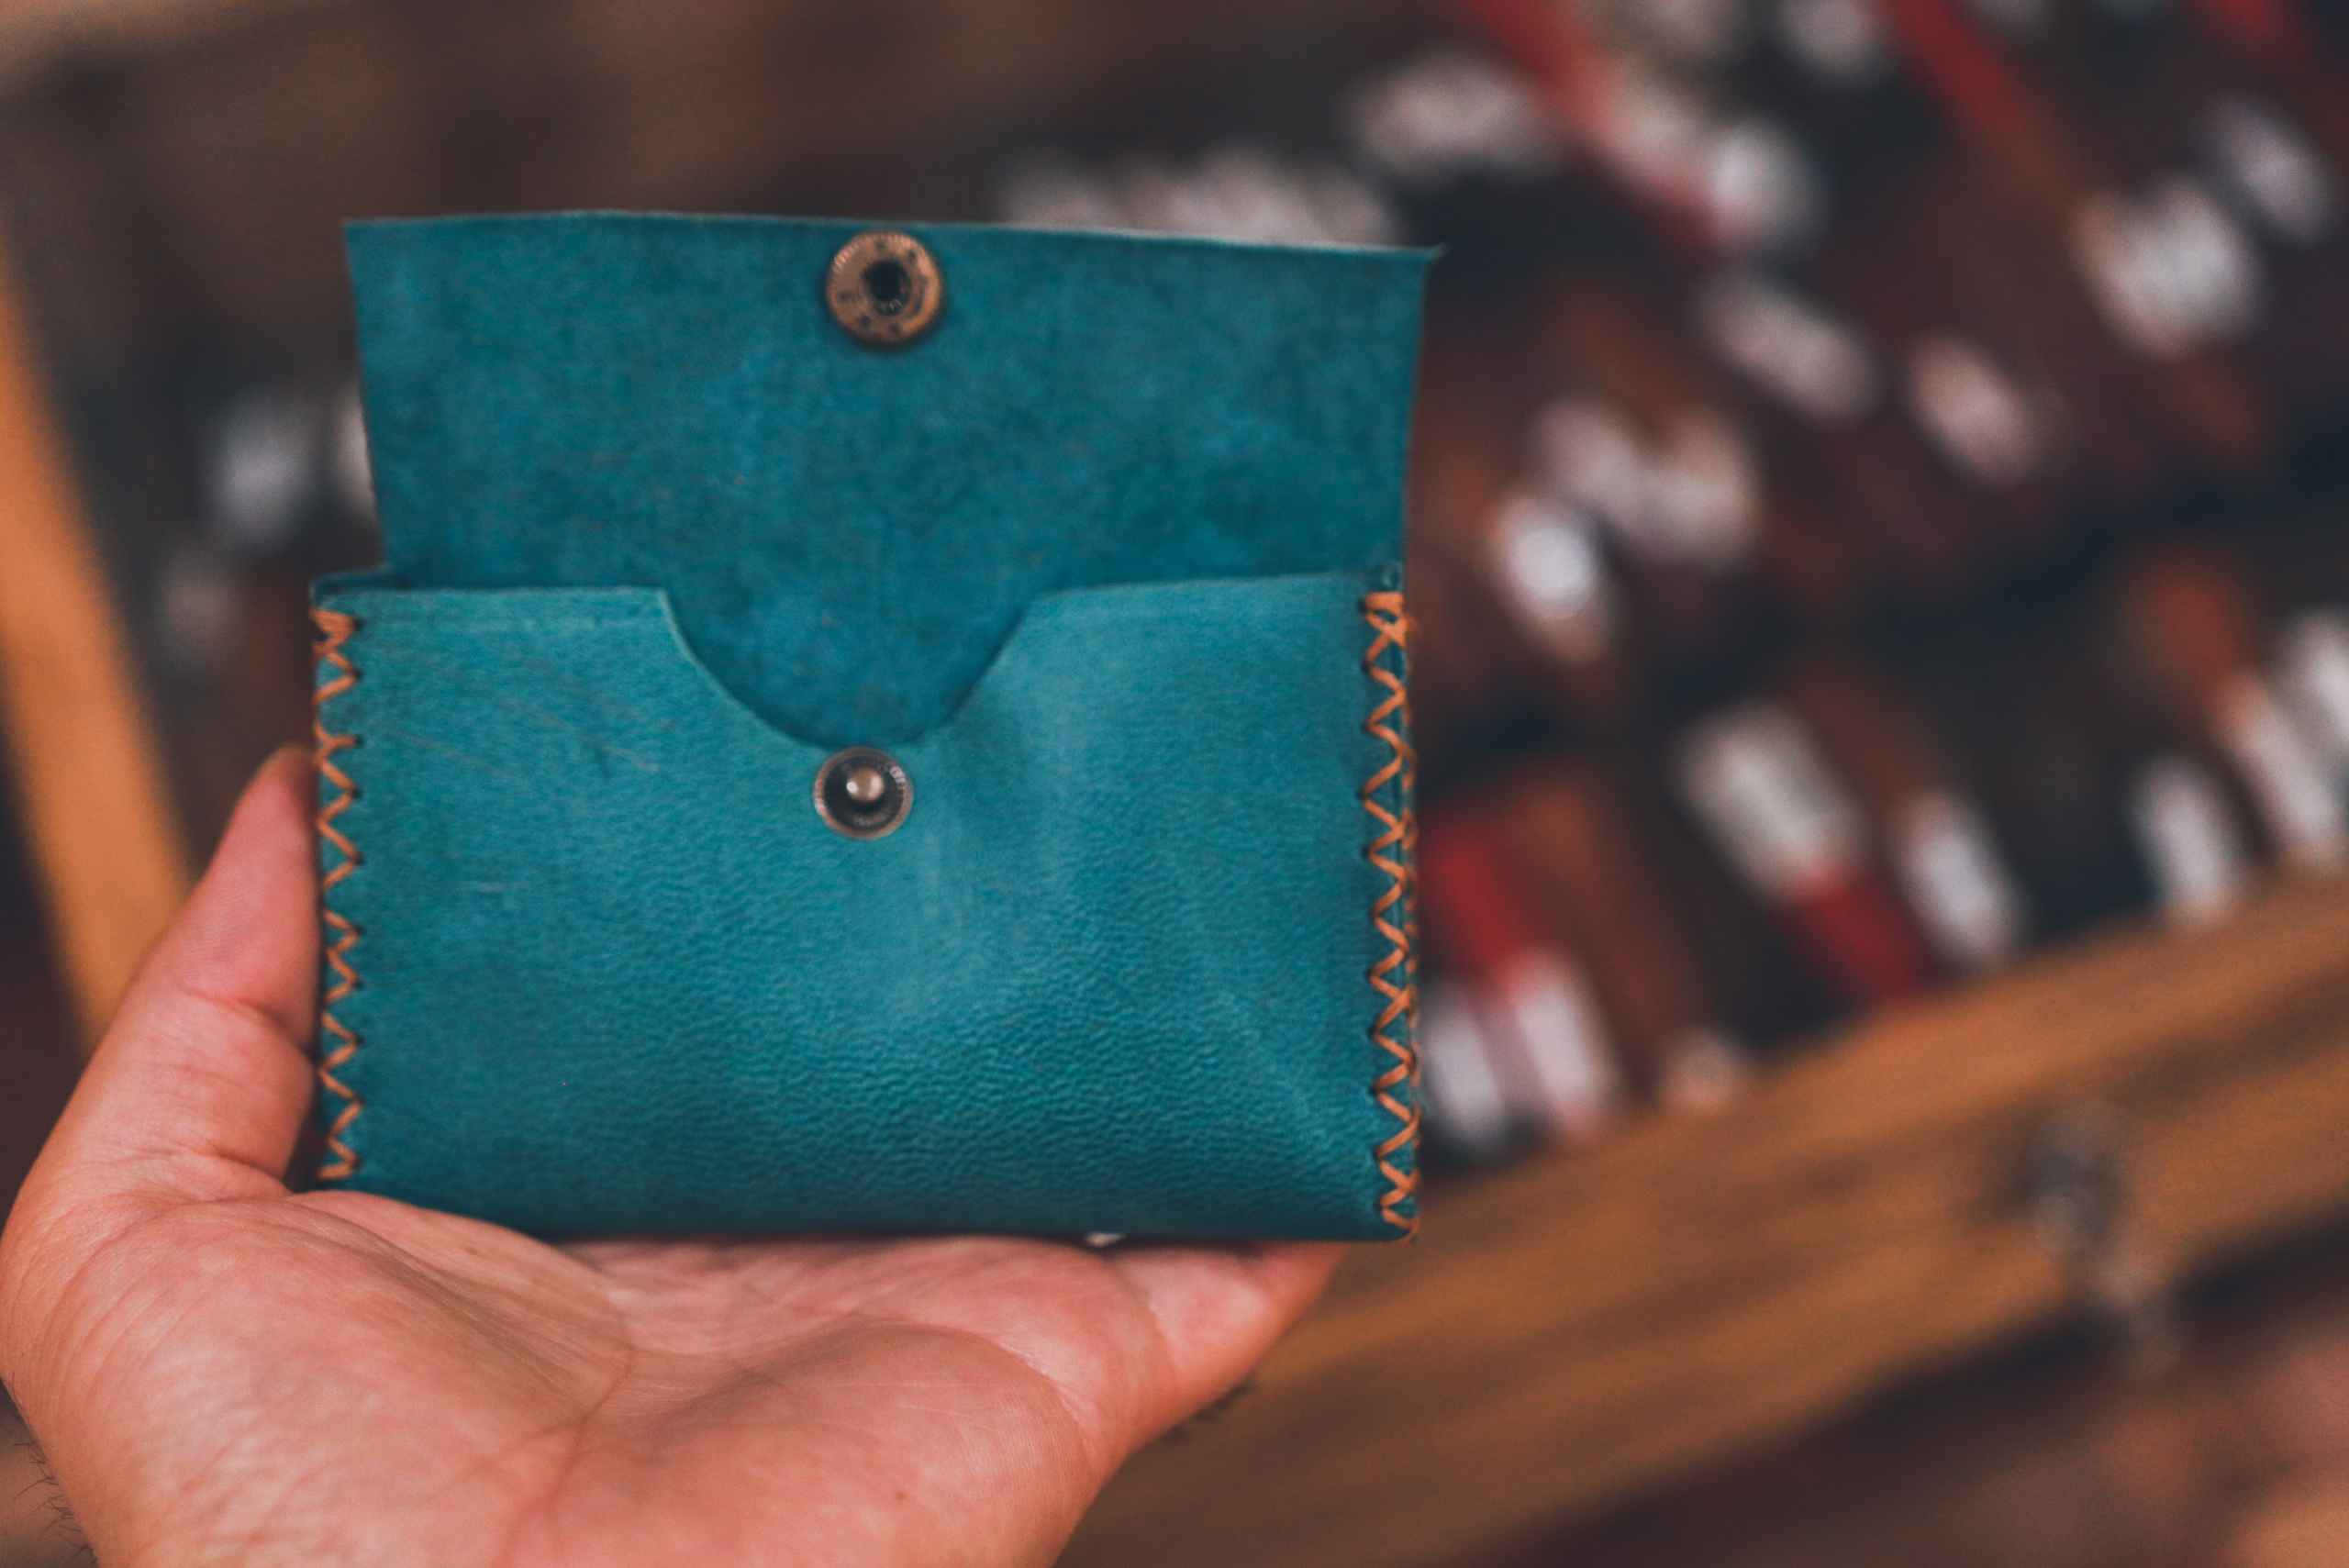
Materials Needed:
- Vegetable-tanned leather
- Leather crafting tools (awl, stitching needles, thread, cutting mat, rotary cutter, edge beveler, bone folder)
- Ruler and pencil
- Leather dye (optional)
- Edge finish (optional)
Step 1: Design and Measure
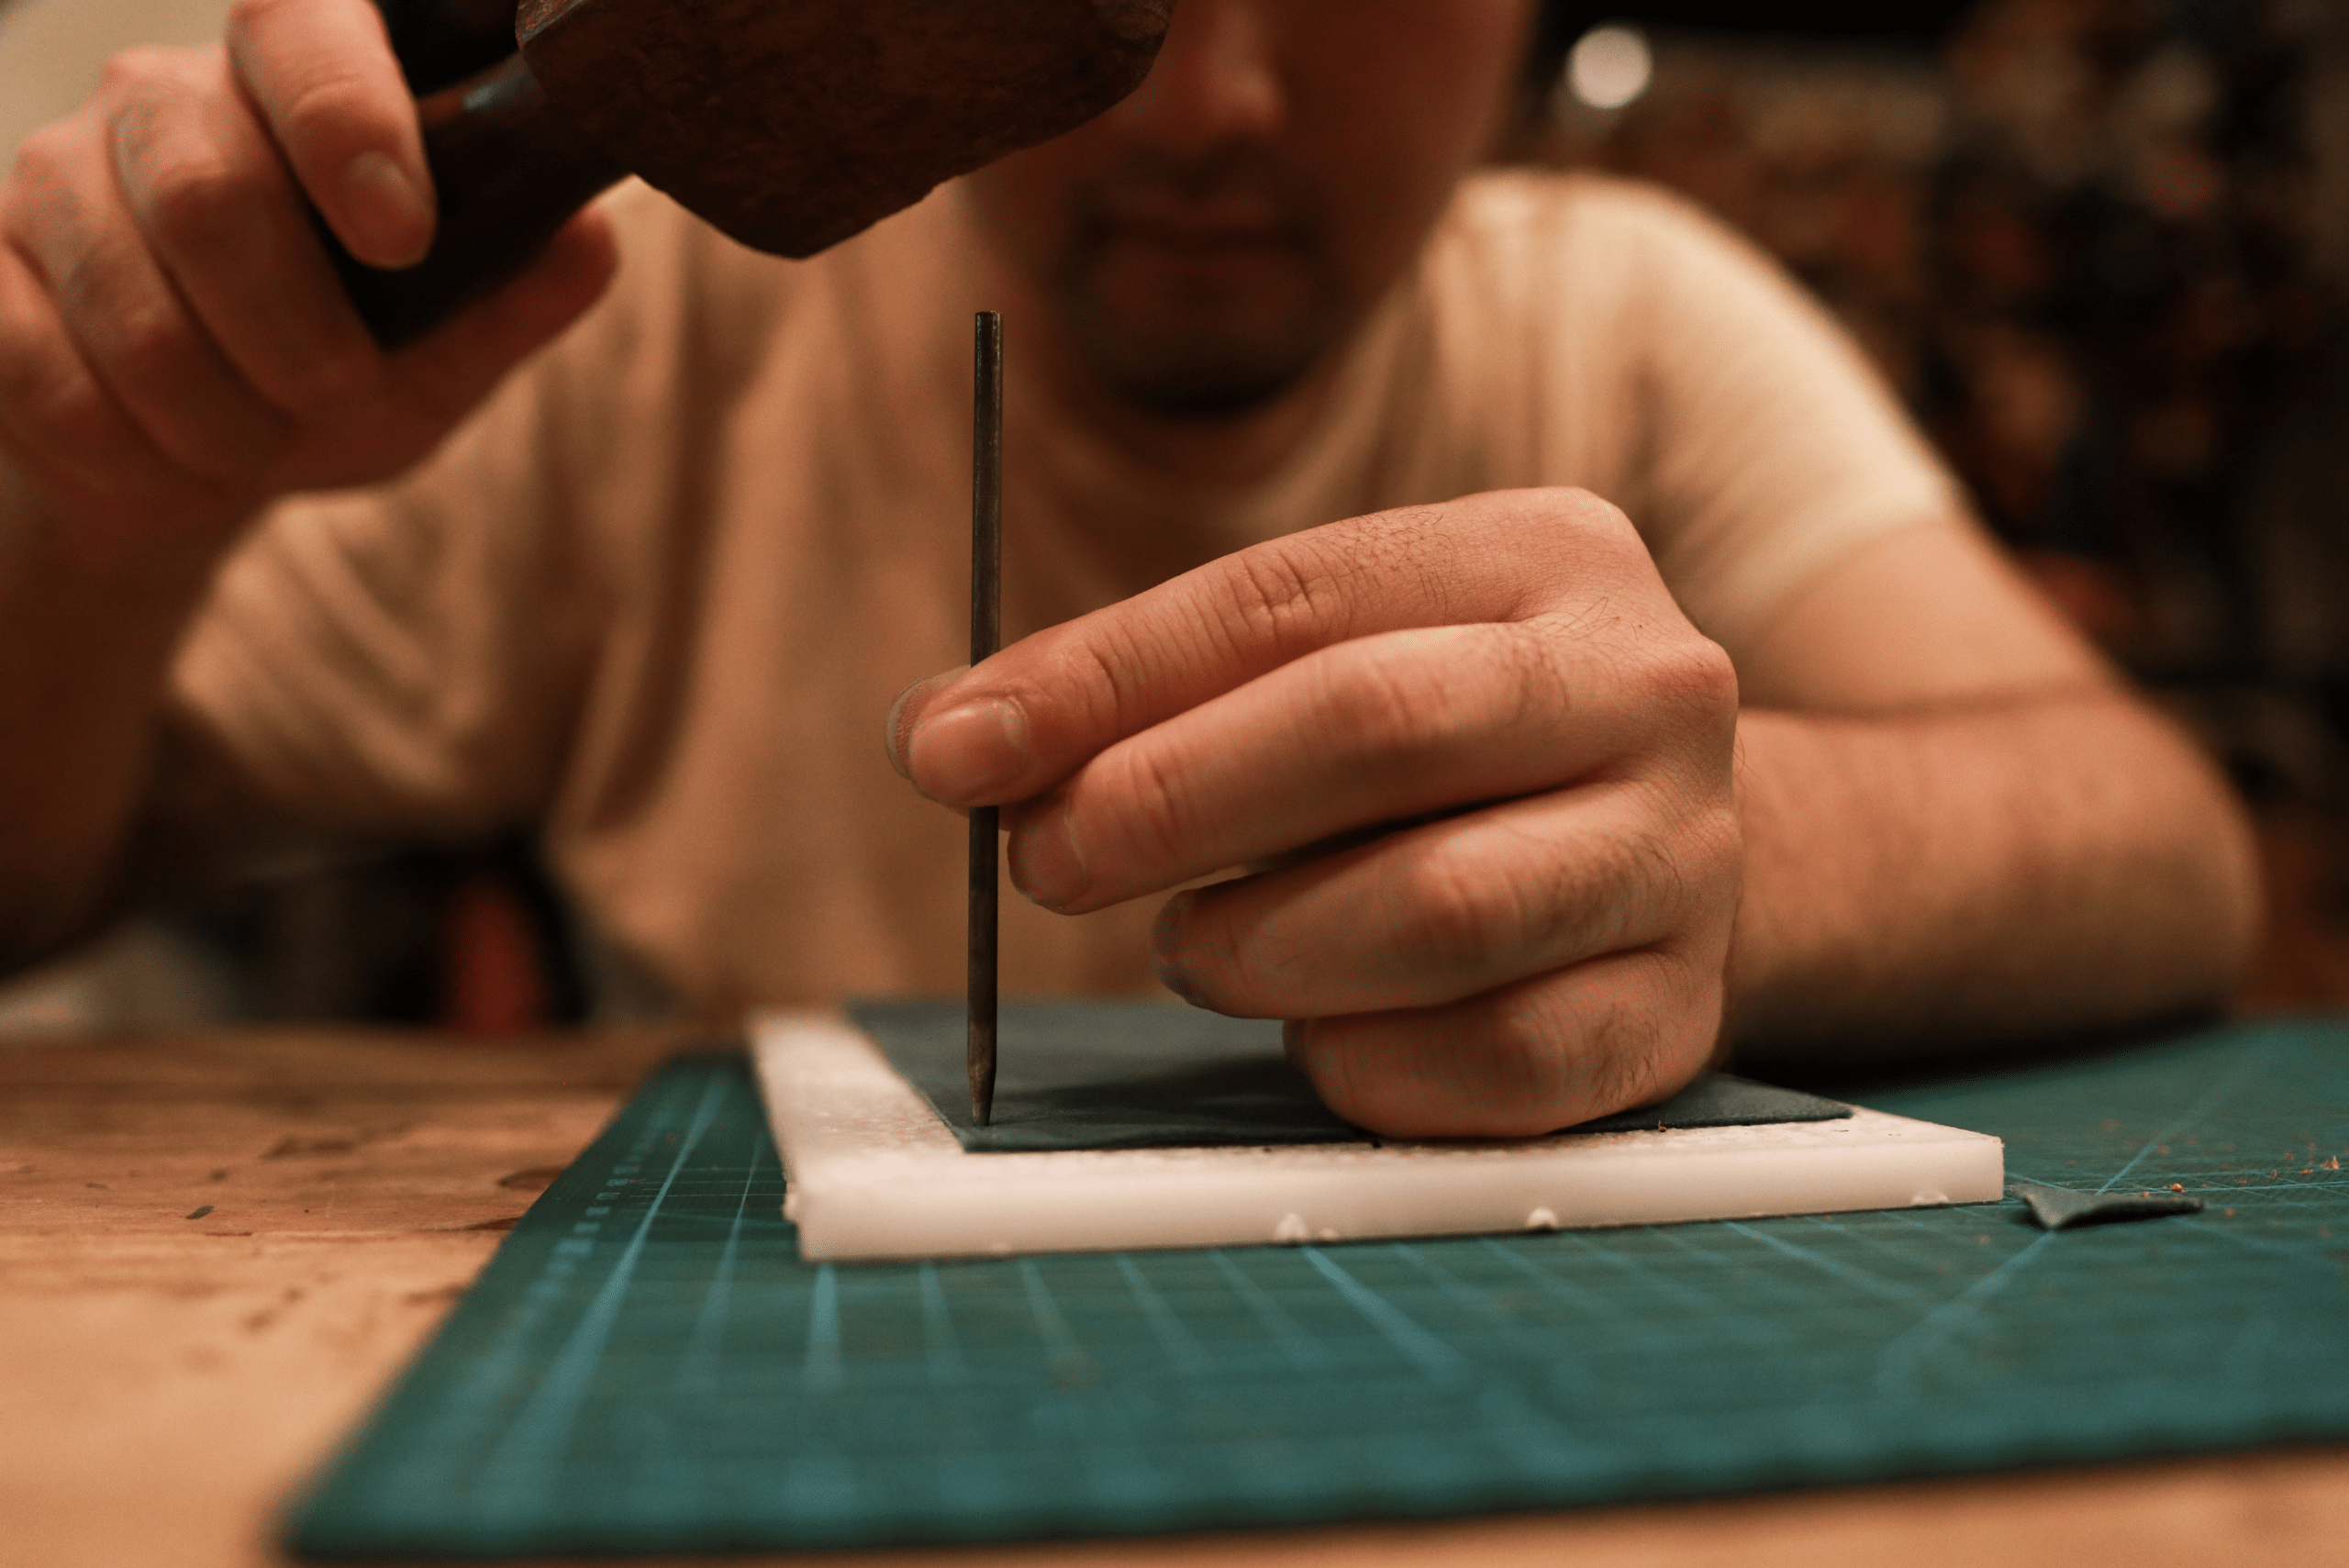
- Decide on the Wallet Style: Determine the type of wallet you want to make (e.g., bifold, cardholder).
- Draw Your Template: Use a ruler and pencil to sketch out the wallet pieces on paper. Common pieces include the outer body, card slots, and inner pockets.
Step 2: Cut the Leather
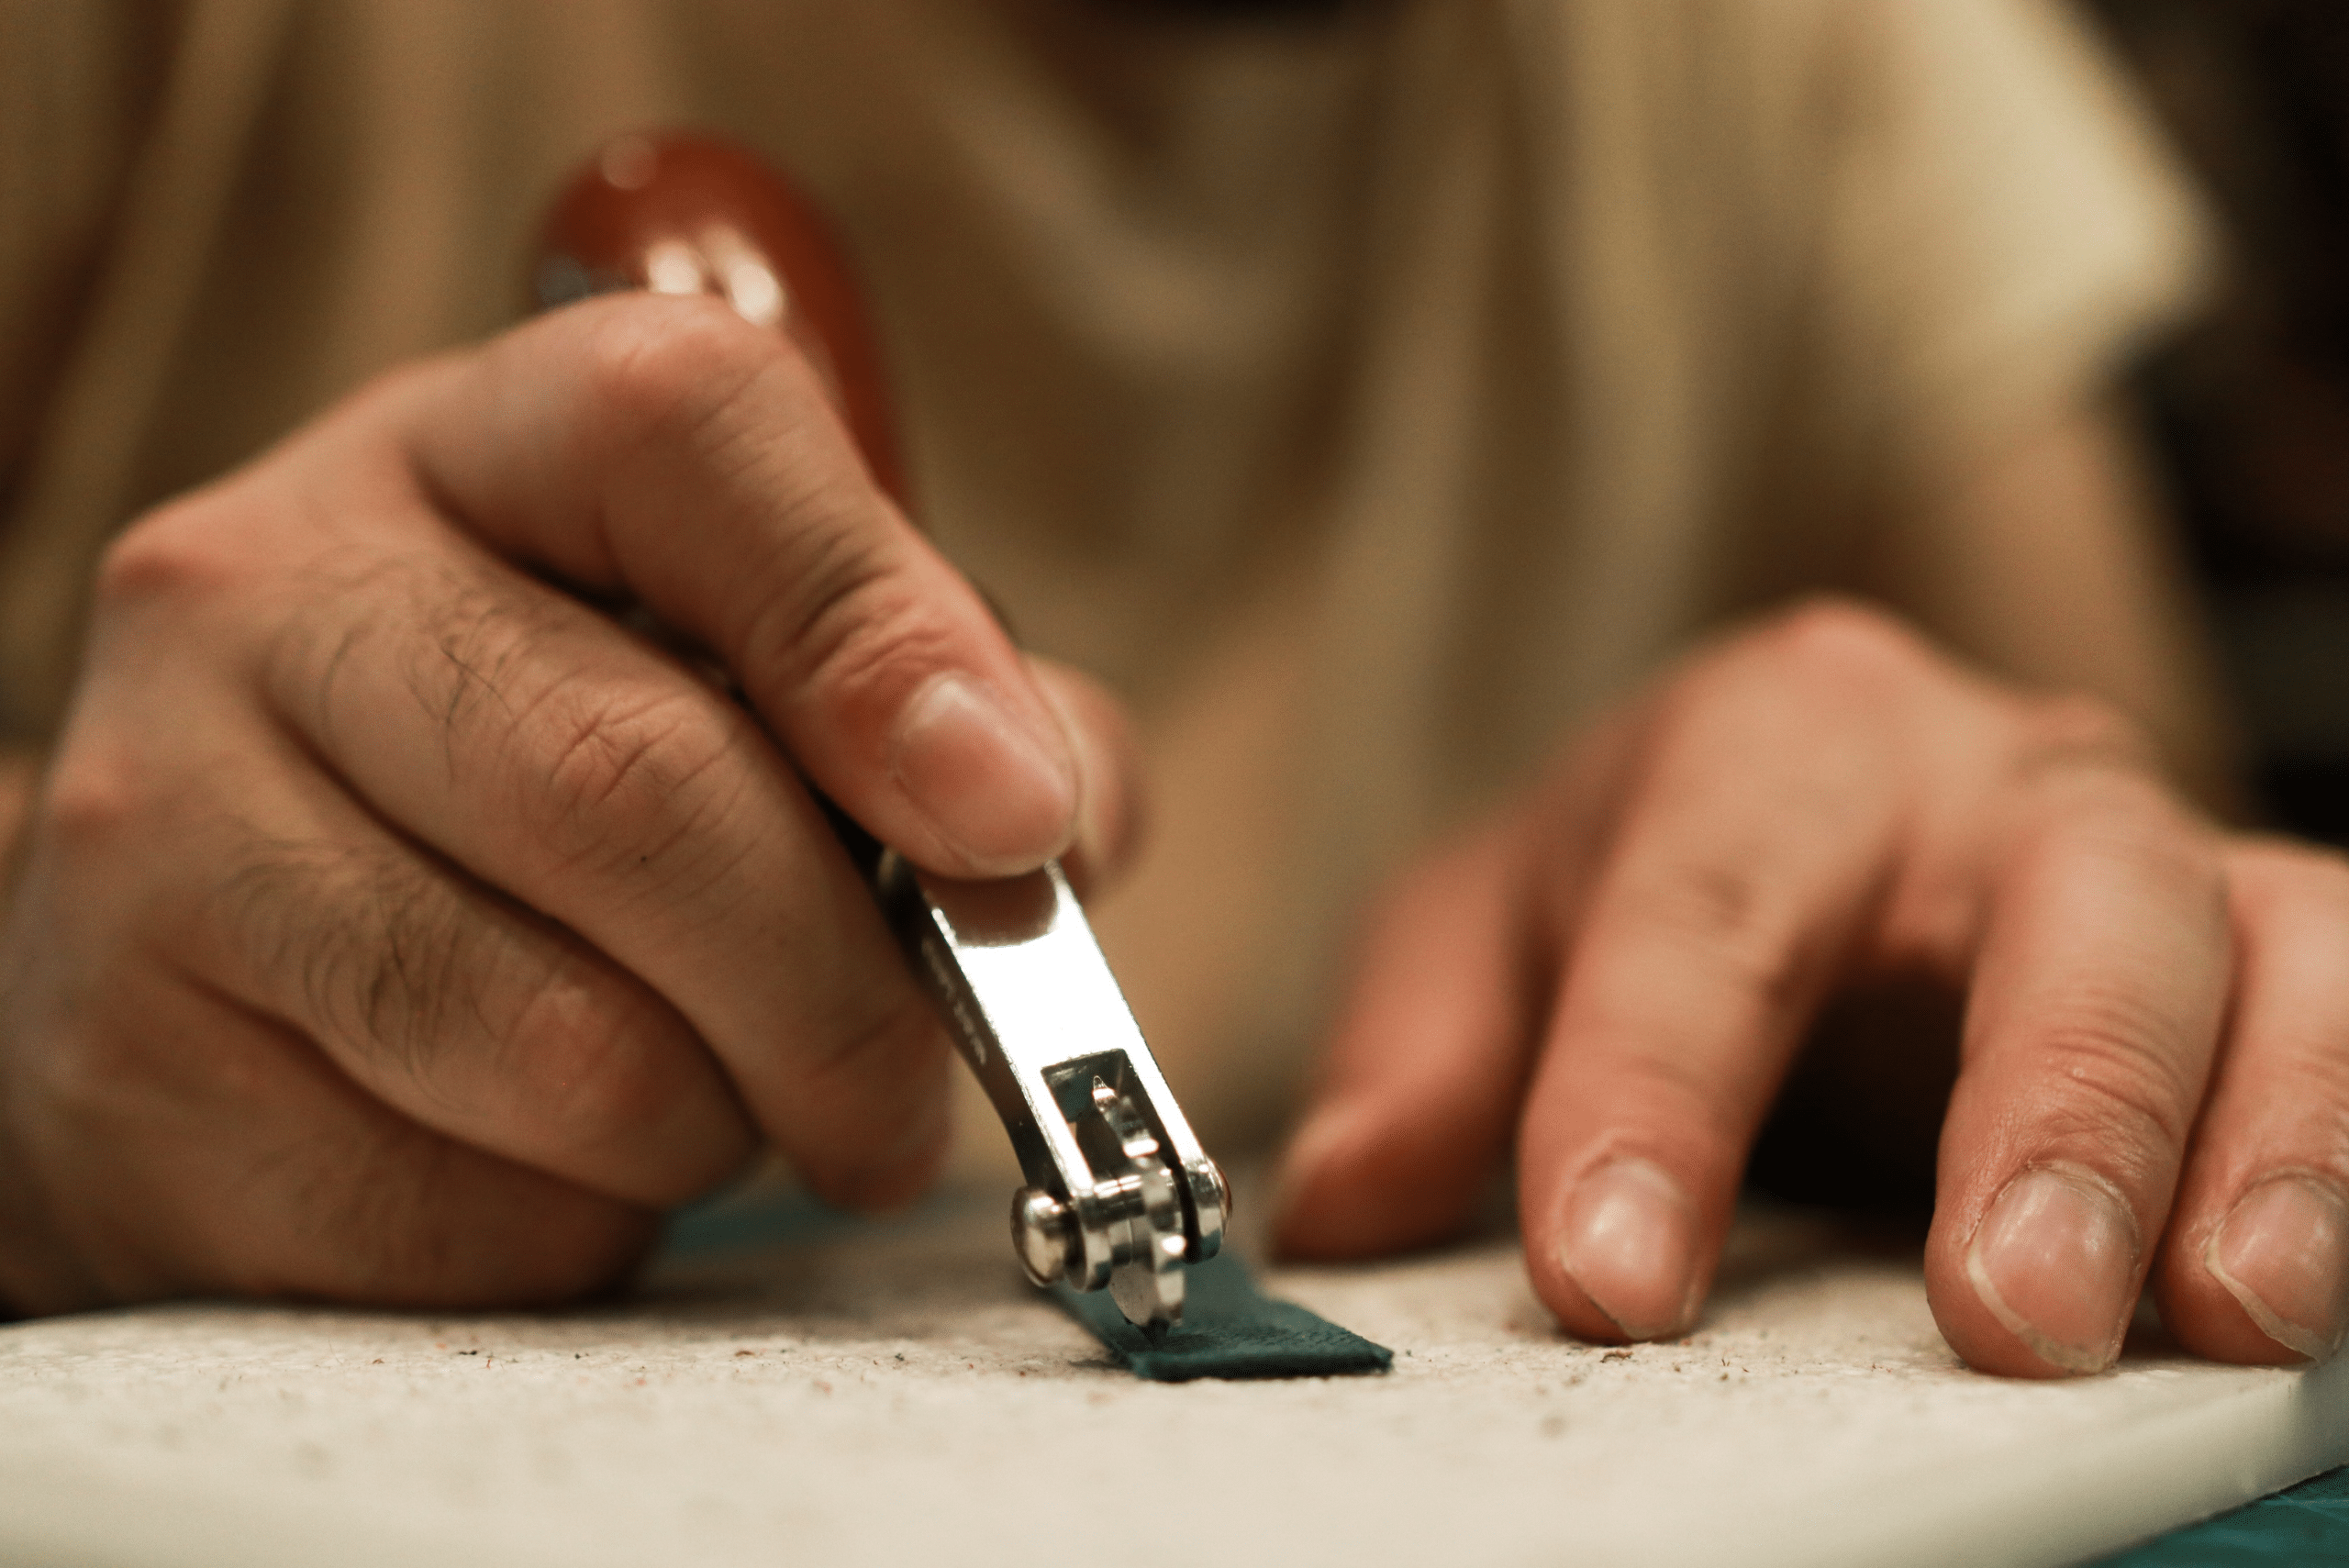
- Transfer the Template: Place the paper template onto the leather and trace around it with a pencil or awl.
- Cut the Leather: Using a rotary cutter on a cutting mat, carefully cut out the leather pieces along the traced lines.
Step 3: Prepare for Stitching
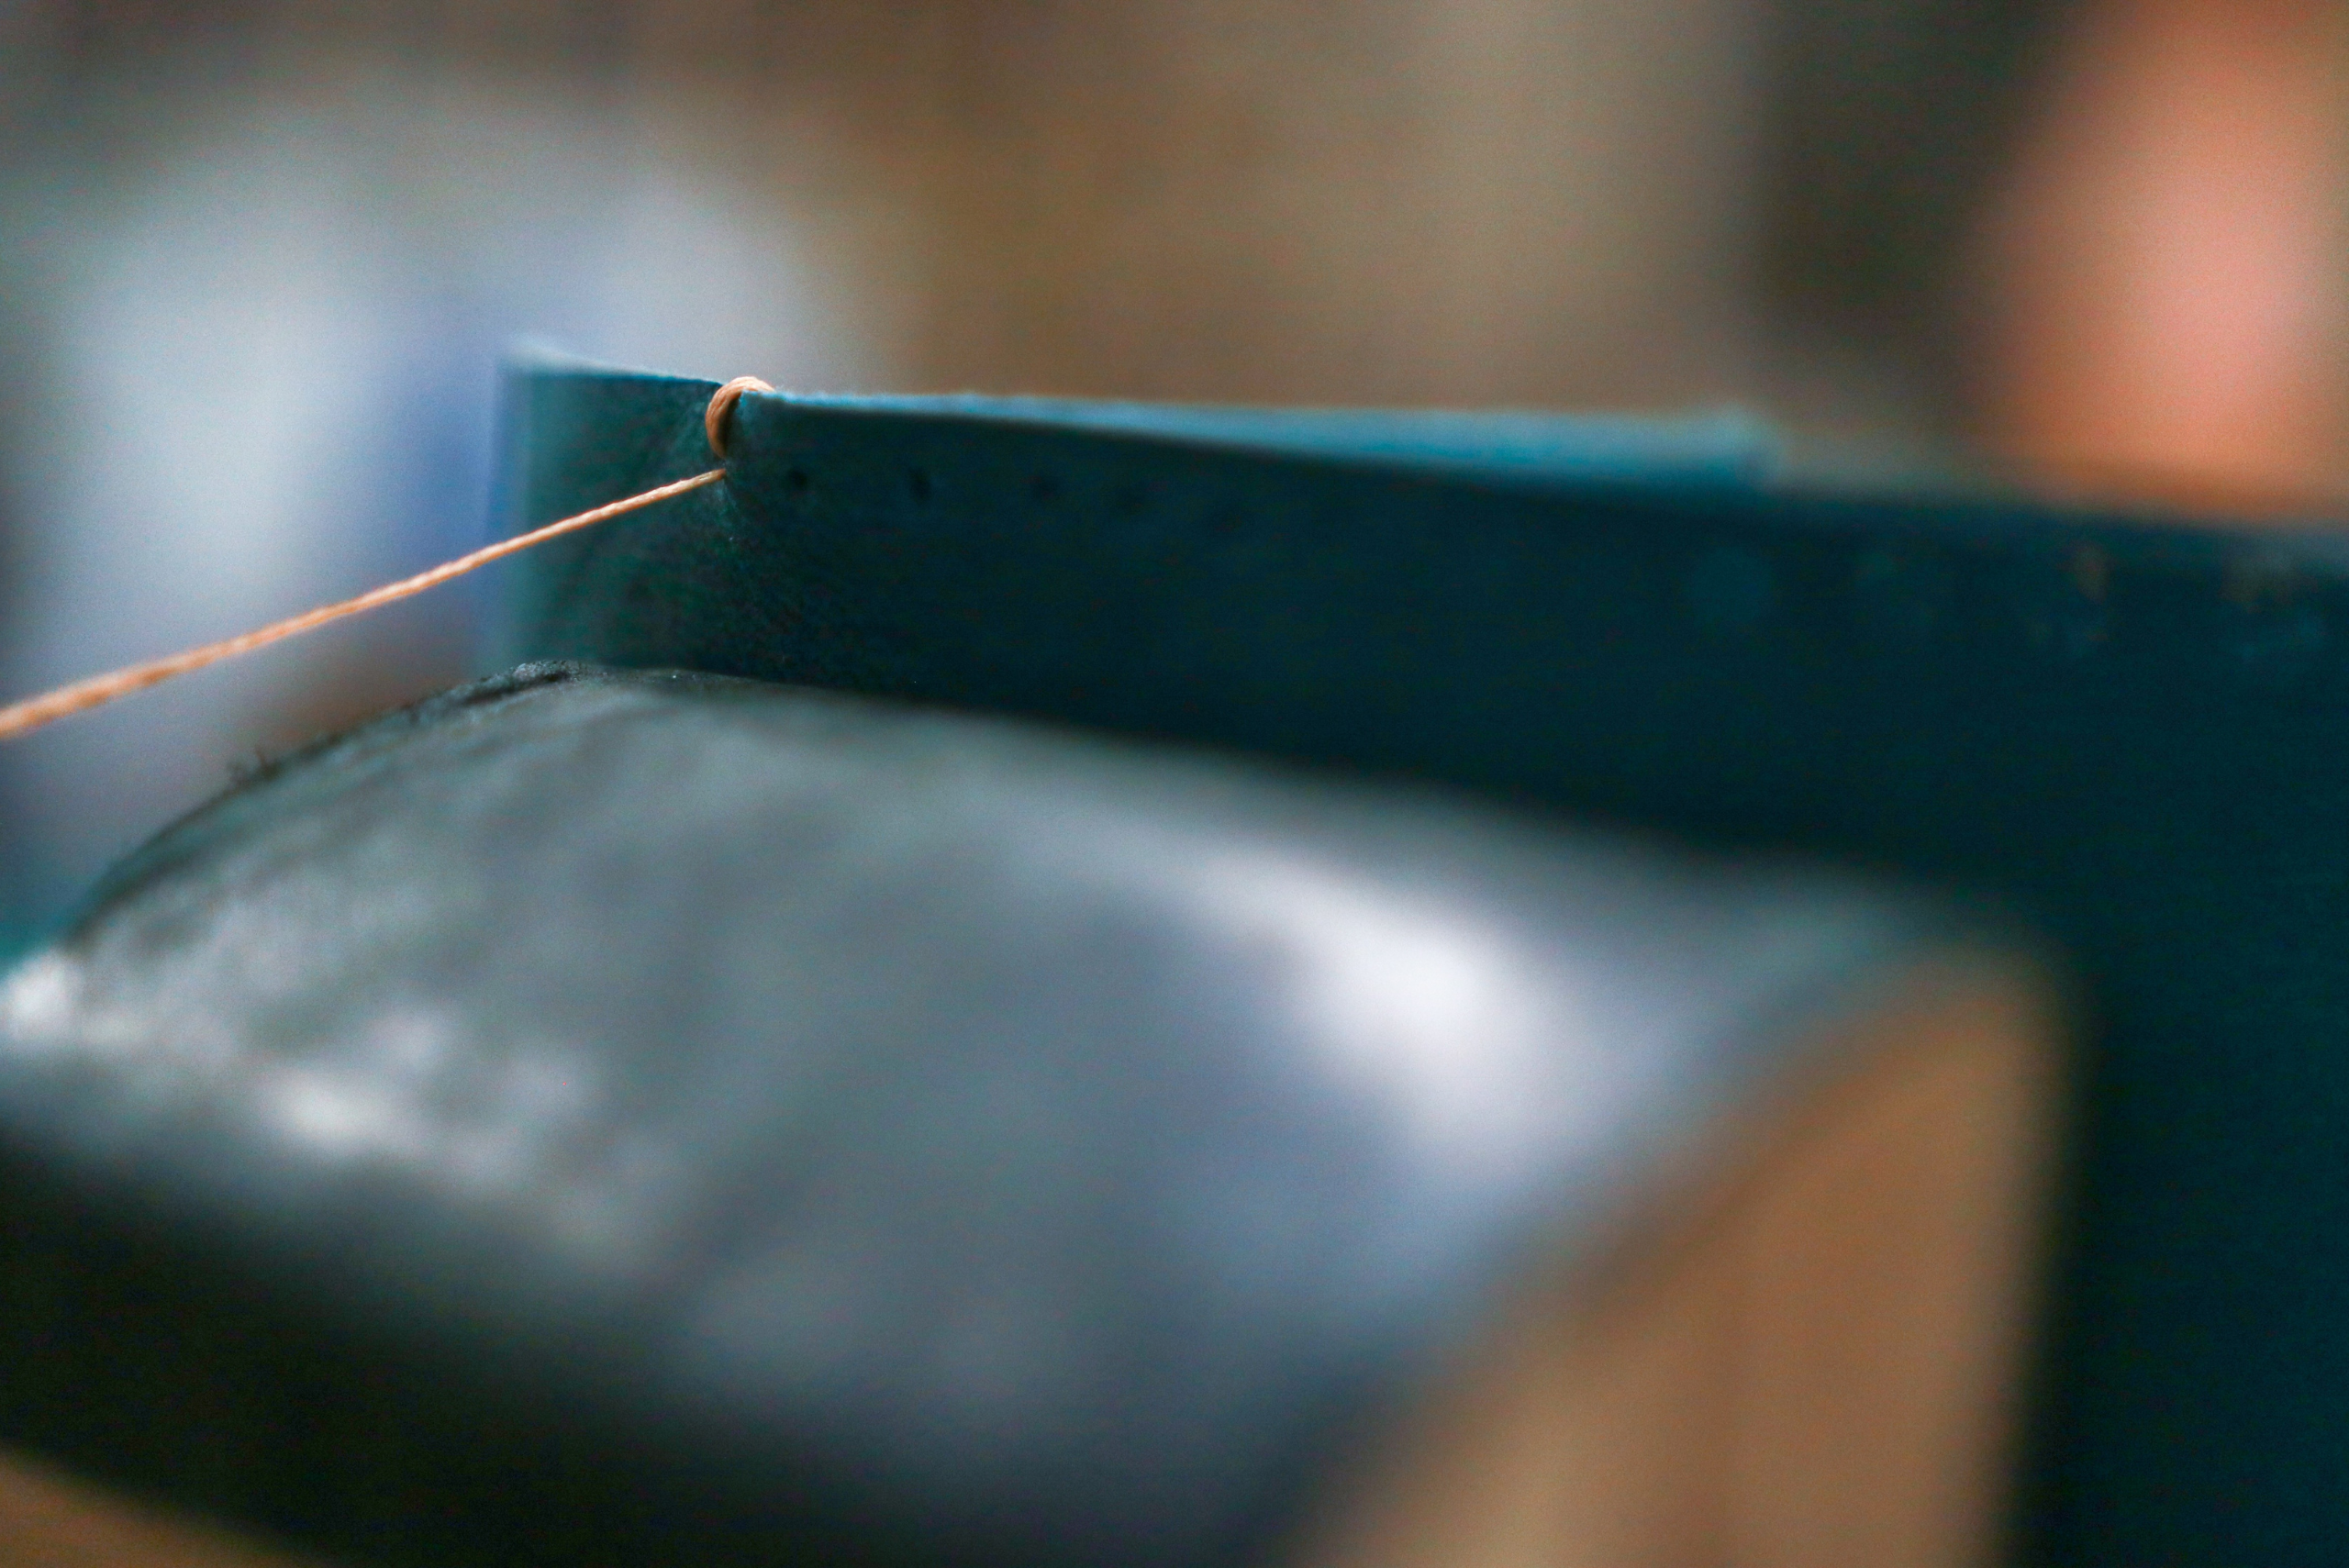
- Mark Stitching Holes: Use a ruler and awl to mark evenly spaced stitching holes along the edges where the pieces will be sewn together.
- Punch Holes: Use a stitching punch or awl to create holes at the marked points.
Step 4: Dye and Finish the Edges (Optional)

- Dye the Leather: If you want a specific color, apply leather dye evenly with a sponge or brush. Allow it to dry completely.
- Bevel and Burnish Edges: Use an edge beveler to round off the edges, then burnish with a bone folder or edge burnishing tool to smooth and polish.
Step 5: Stitch the Wallet
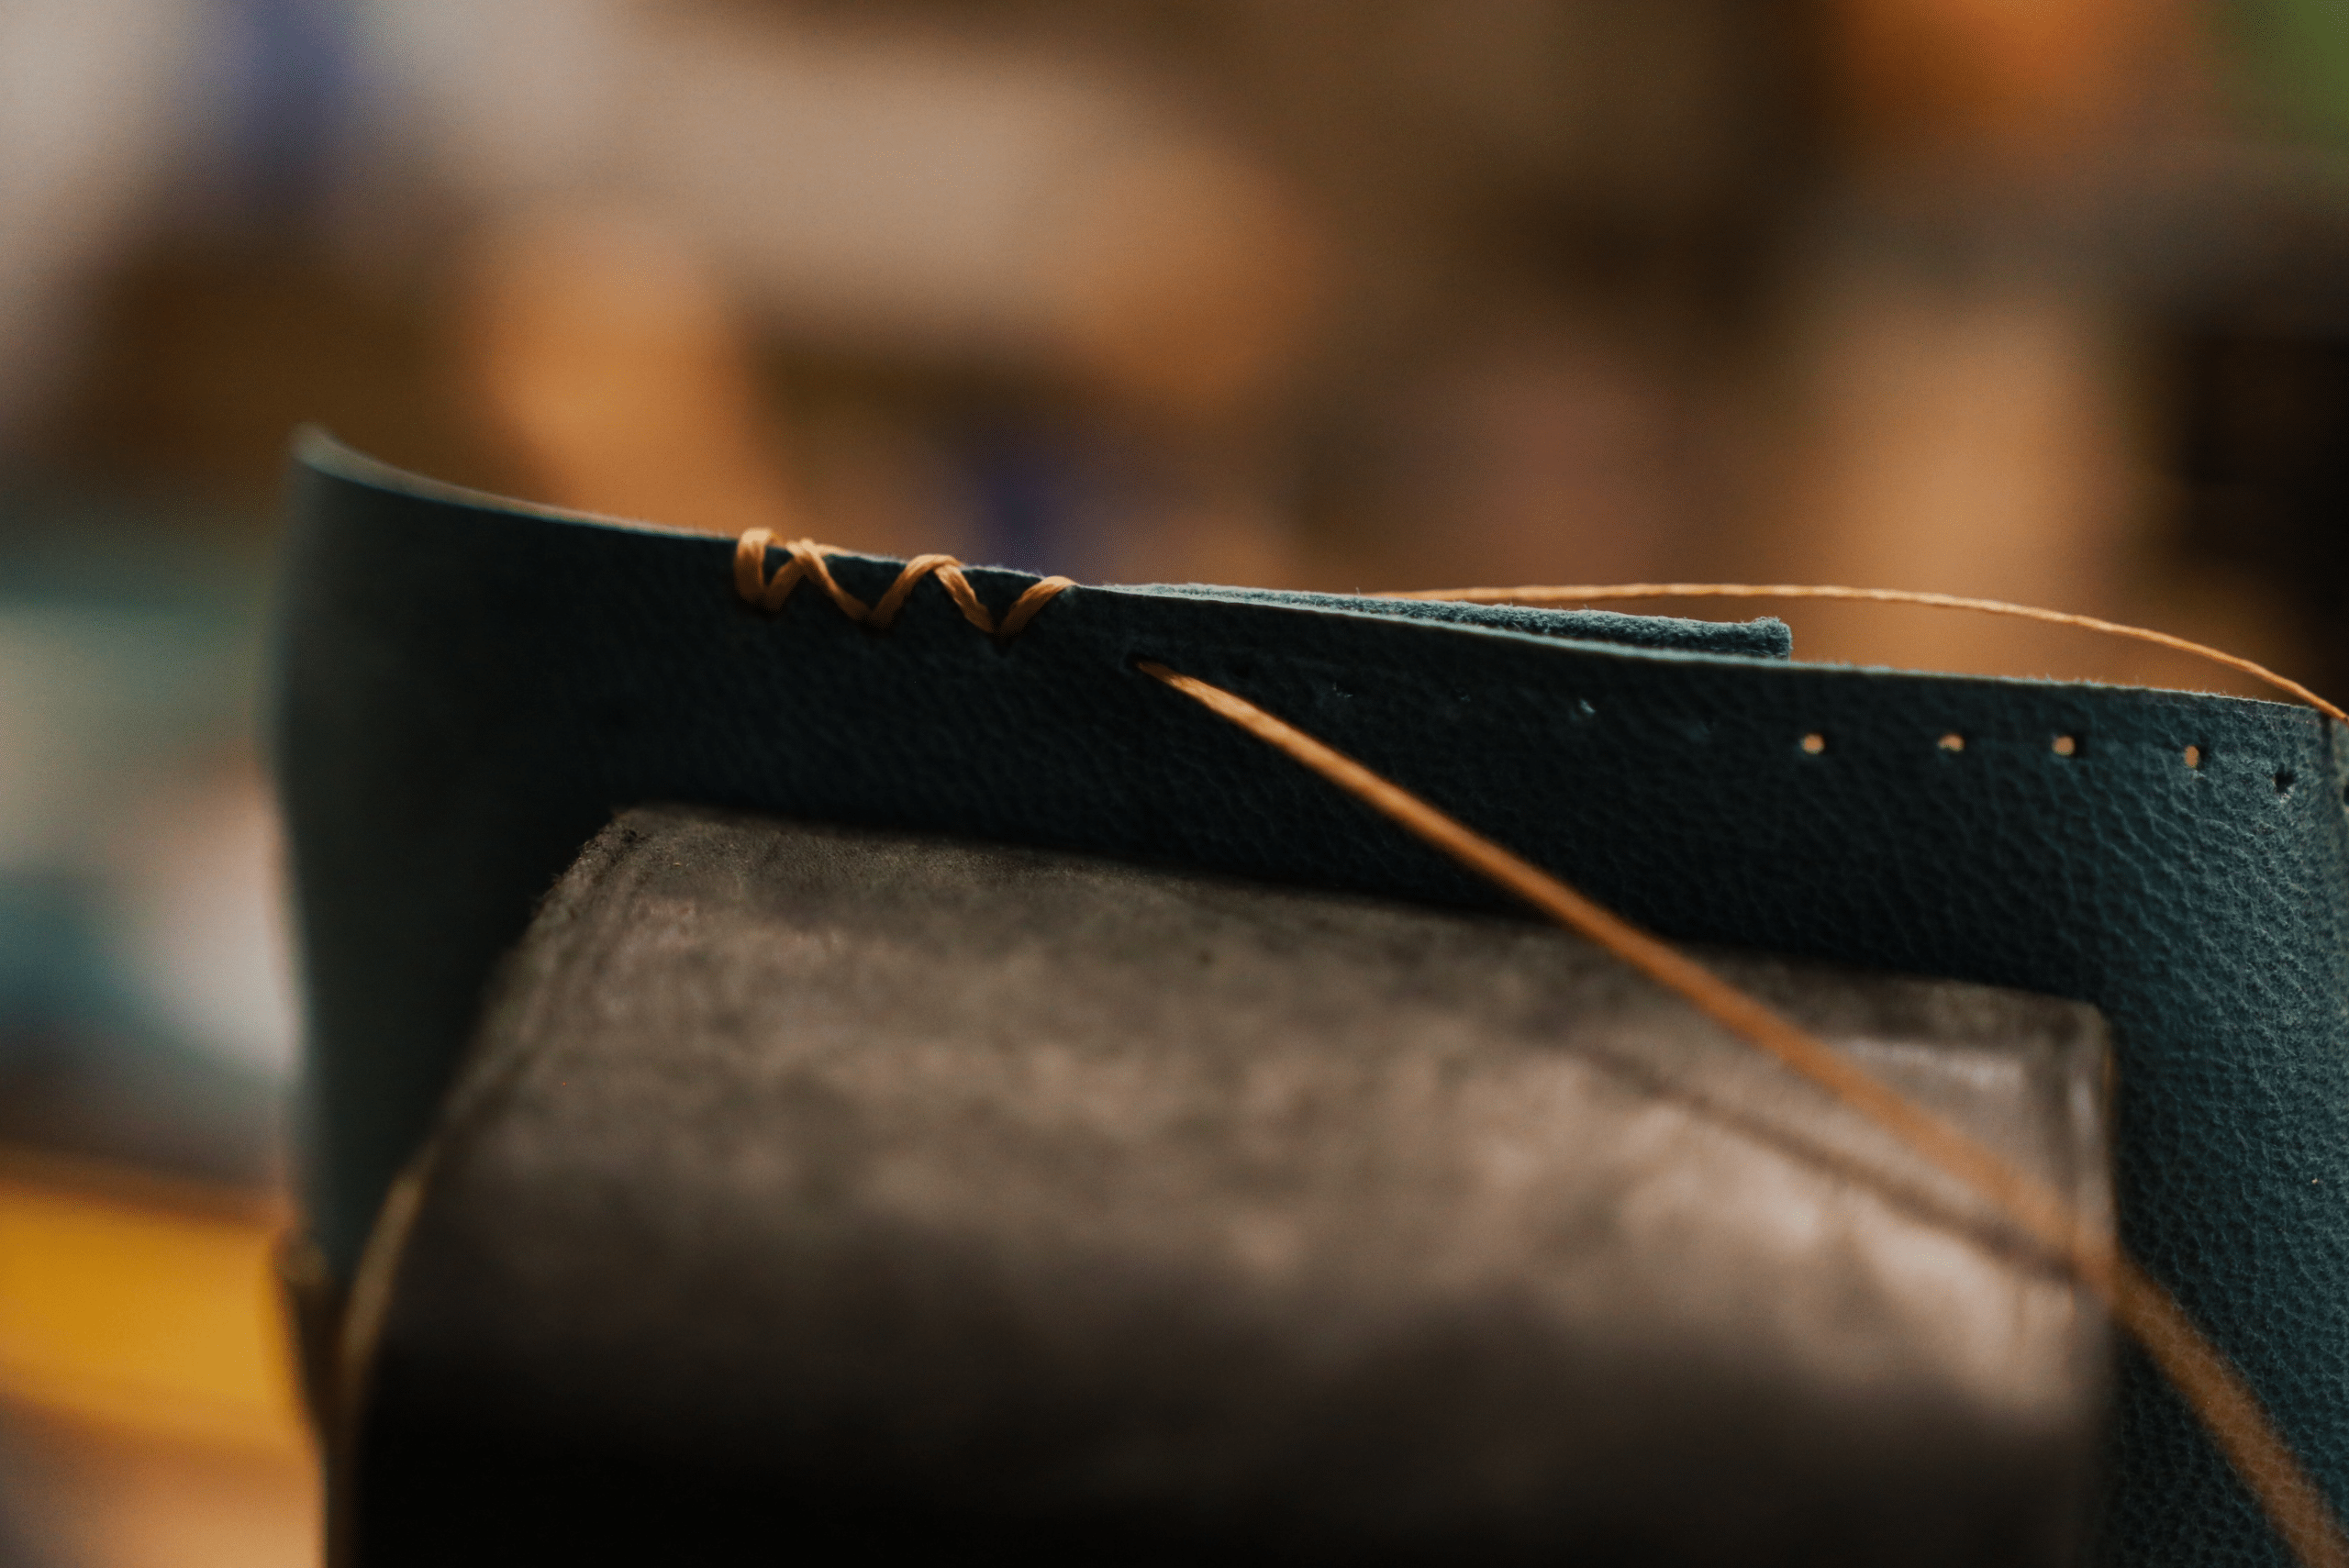
- Thread the Needle: Cut a length of thread (about 4 times the length of the stitching line) and thread your needles.
- Saddle Stitch: Begin saddle stitching by passing one needle through the first hole from one side and the other needle through the same hole from the opposite side. Pull the thread tight. Continue this process through all the holes.
- Secure the Stitch: At the end, backstitch a few holes to secure the thread. Cut off the excess thread and melt the ends with a lighter to prevent fraying.
Step 6: Assemble the Wallet
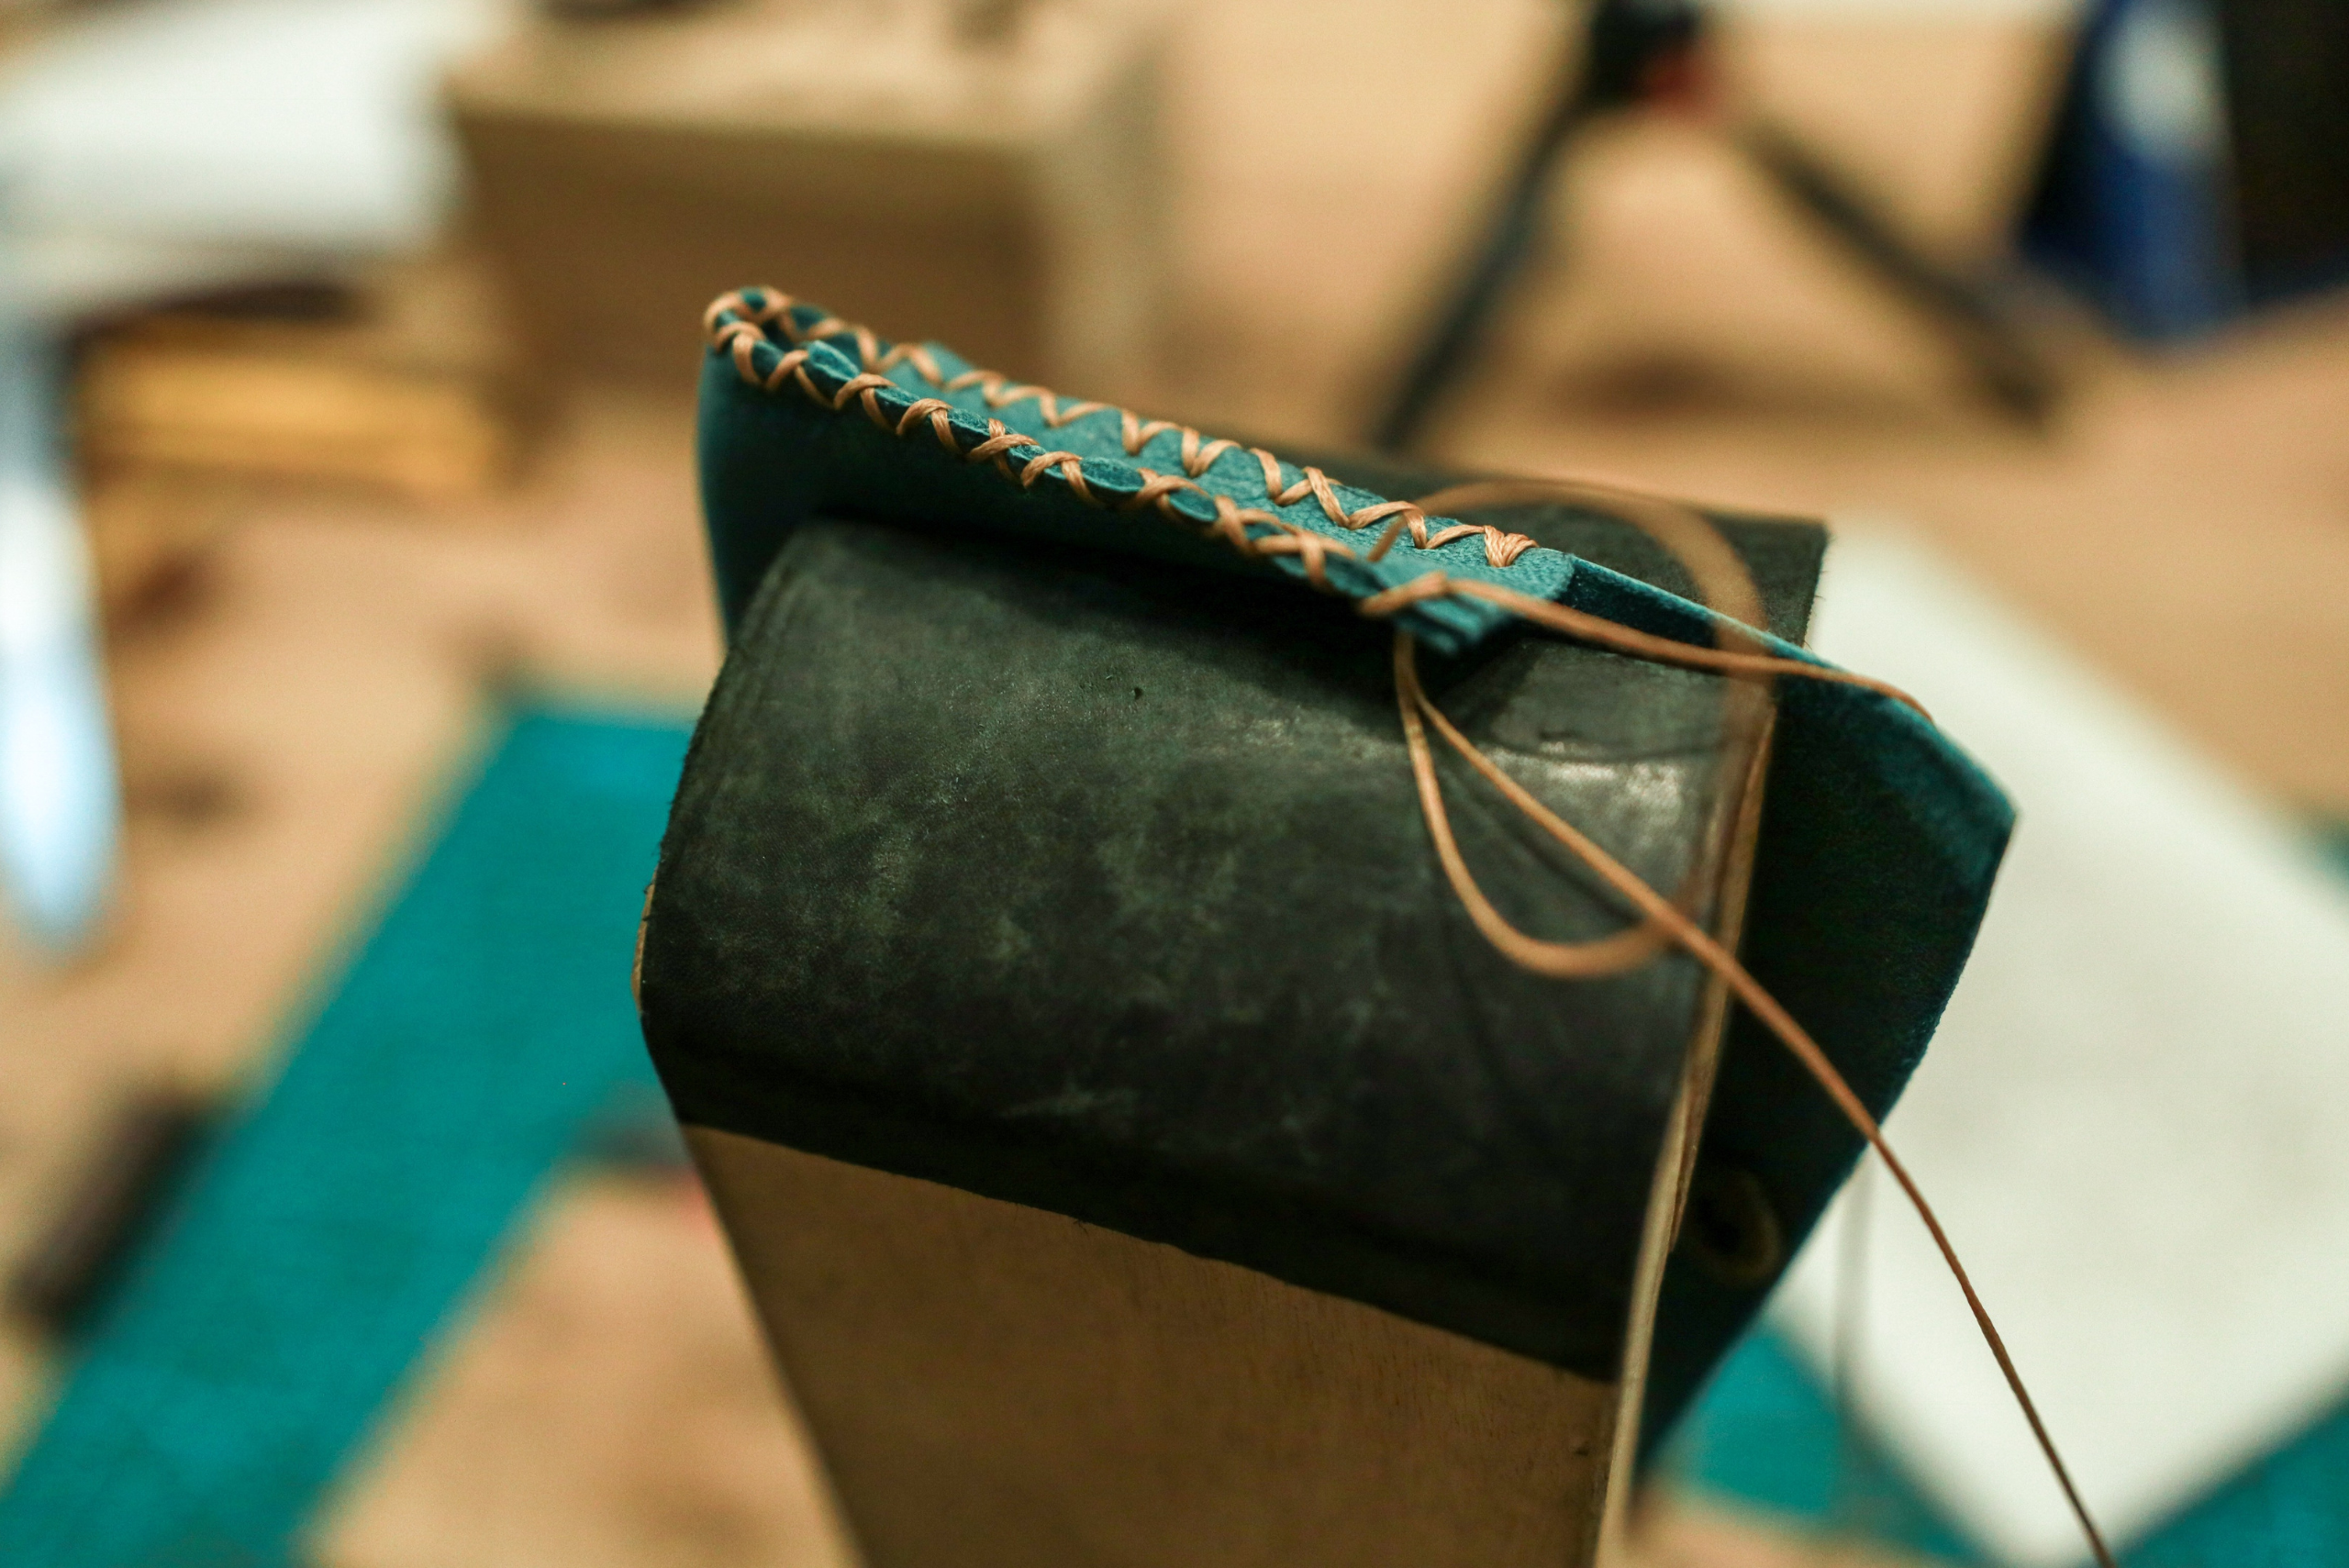
- Glue the Pieces: Apply leather glue to the edges of the inner pockets and card slots. Position them on the outer body and press firmly.
- Stitch the Assembly: Follow the same saddle stitching process to sew the glued pieces to the outer body.
Step 7: Final Touches
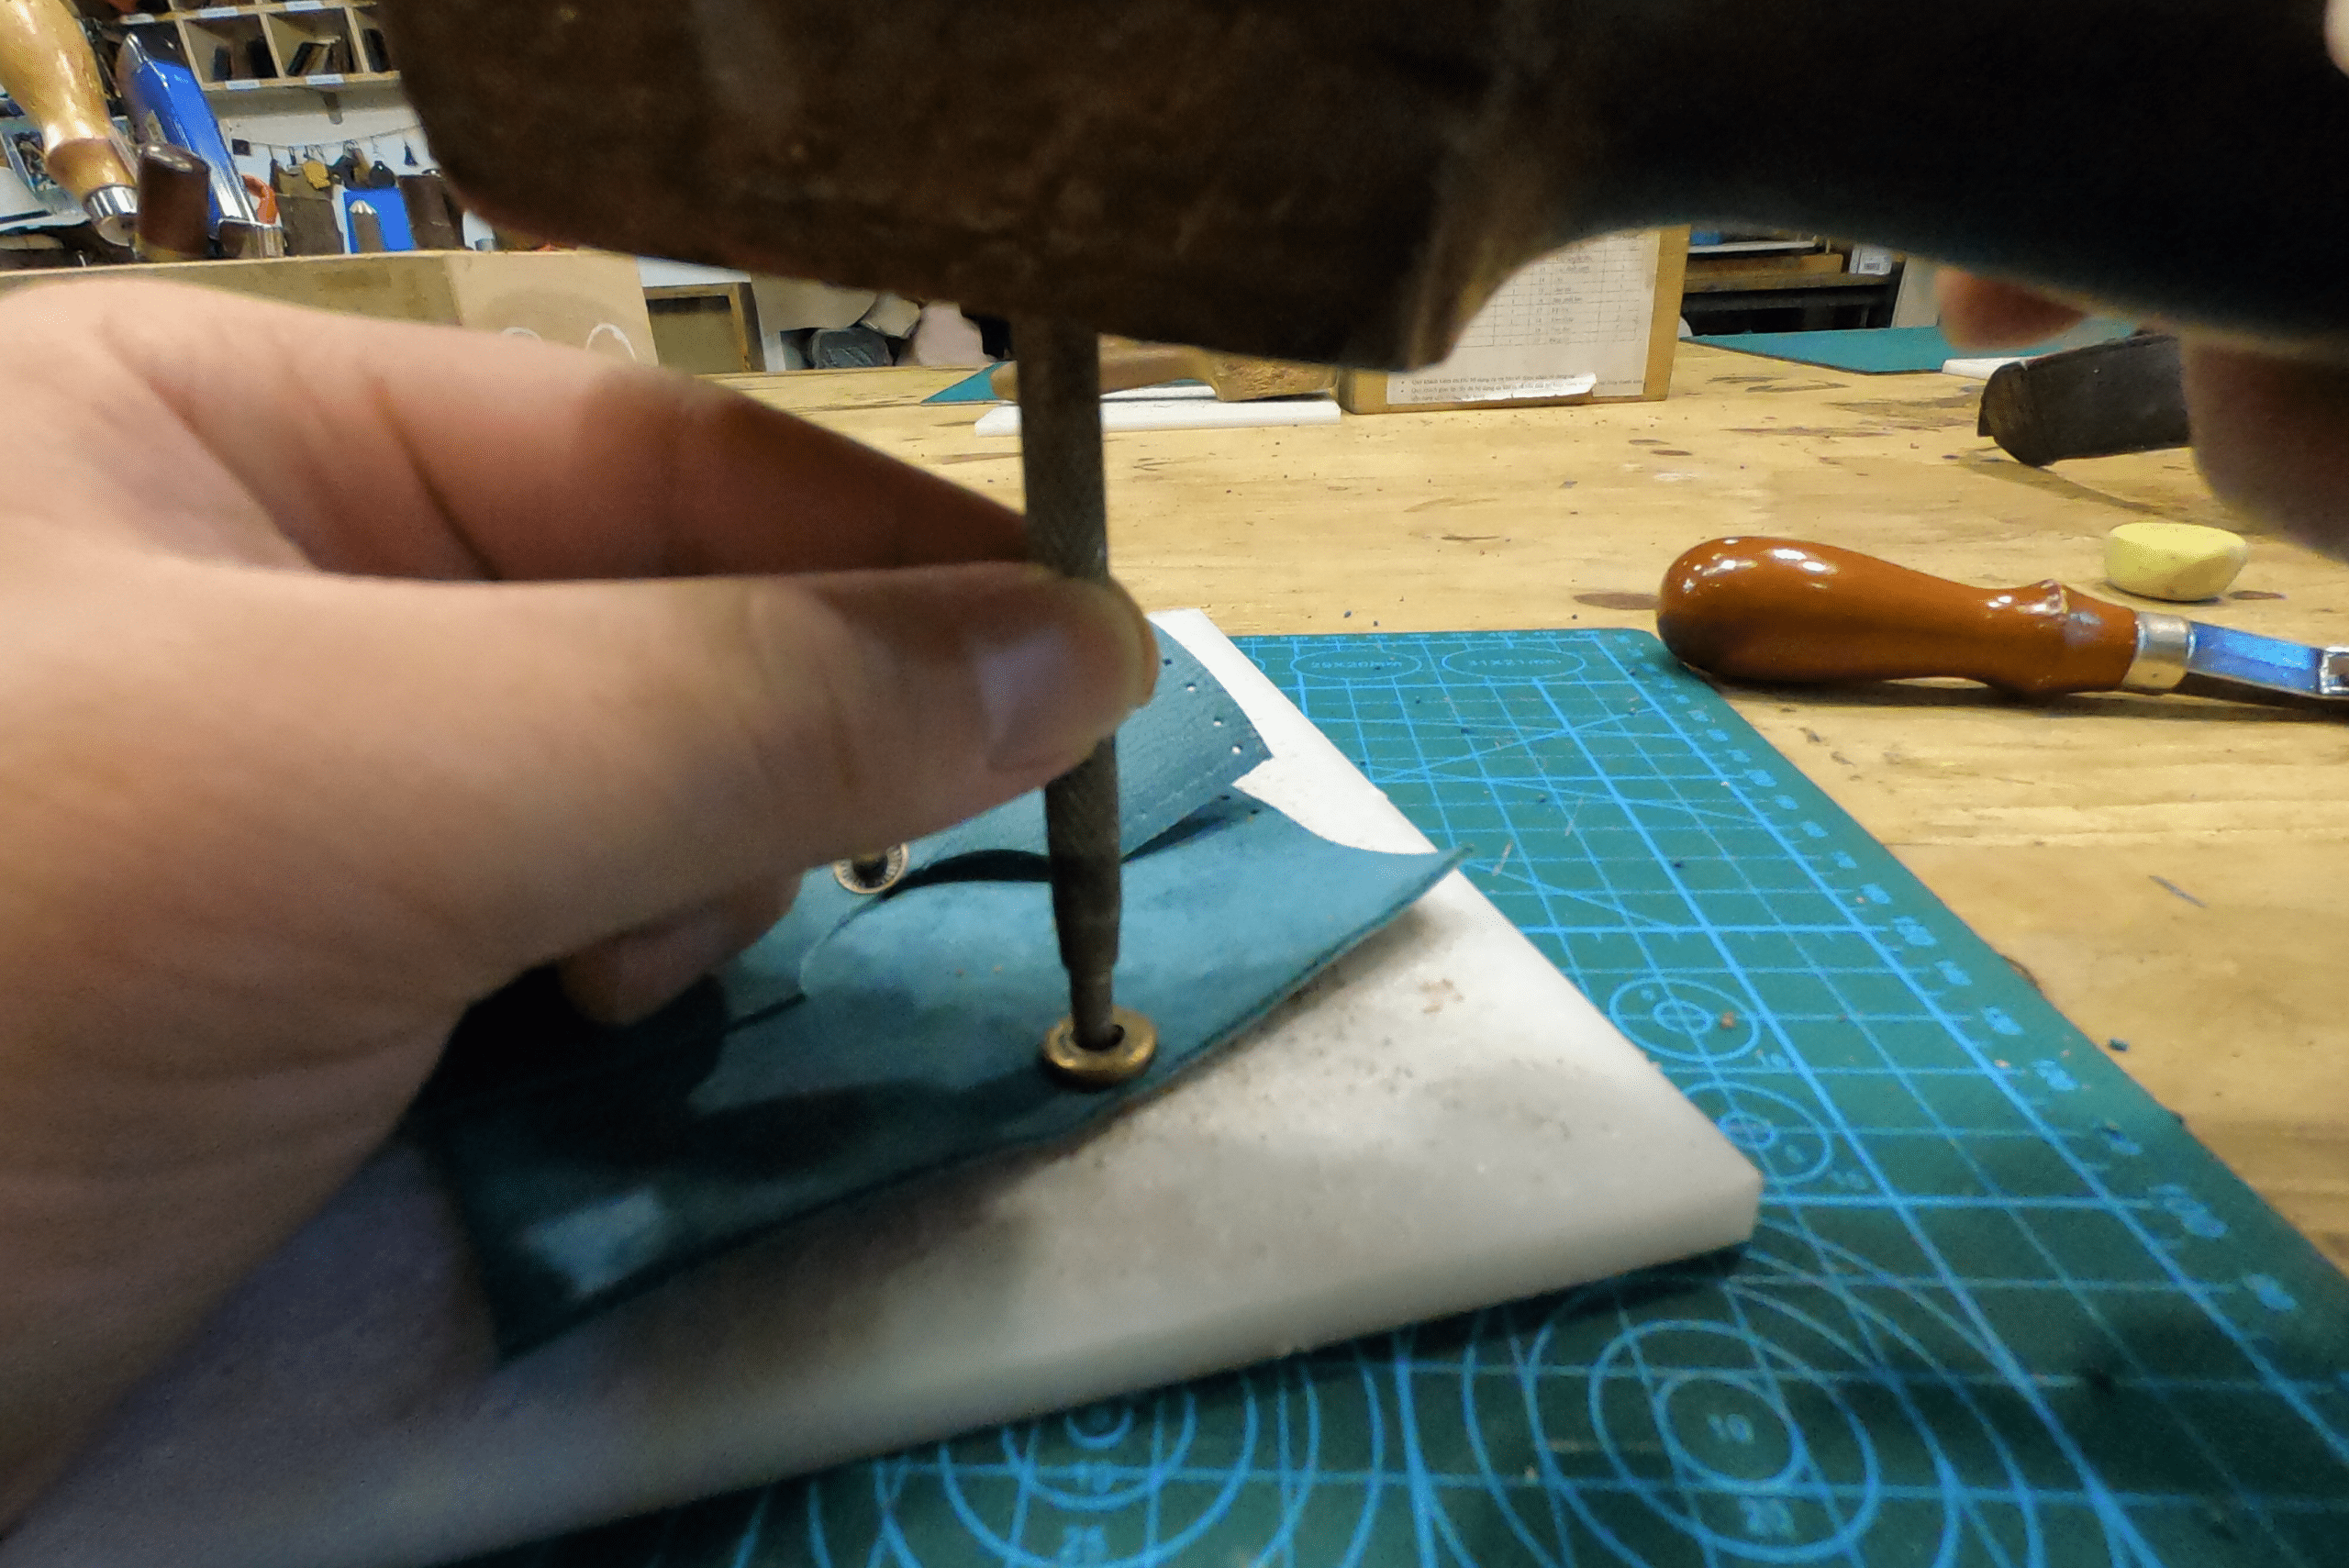
- Finish the Edges: If you haven’t already, bevel and burnish the remaining edges for a polished look.
- Condition the Leather: Apply a leather conditioner to keep the wallet supple and protected.
Related Articles
- 5 Wine Bottle Crafts to Repurpose Your Holiday Bottles
- DIY Guide to Crafting Your Own Backyard Meat Smoker
- 13 DIY Handy Hacks – Ingenious Solutions Every Home Crafter Needs
Congratulations! You’ve crafted a beautiful handmade leather wallet with custom stitching. Not only is this a practical item you’ll use daily, but it also showcases your craftsmanship and personal style. Enjoy your new wallet or gift it to someone special to show them how much you care.
Ready to start your next project? Join our DIY community to receive tool tips, how-to guides, and exclusive creative insights. Subscribe to the ManMadeDIY newsletter now! Click here to unlock a world of hands-on inspiration.

