How to Adjust Door Closer: Why Is My Door Slamming?
You needed to replace that storm door, but now it won’t close by itself correctly. It may be slamming back and ruining your frame, or staying open and hanging off its hinges. With a few simple adjustments, your new door can open and close with ease. You just have to know where to start.
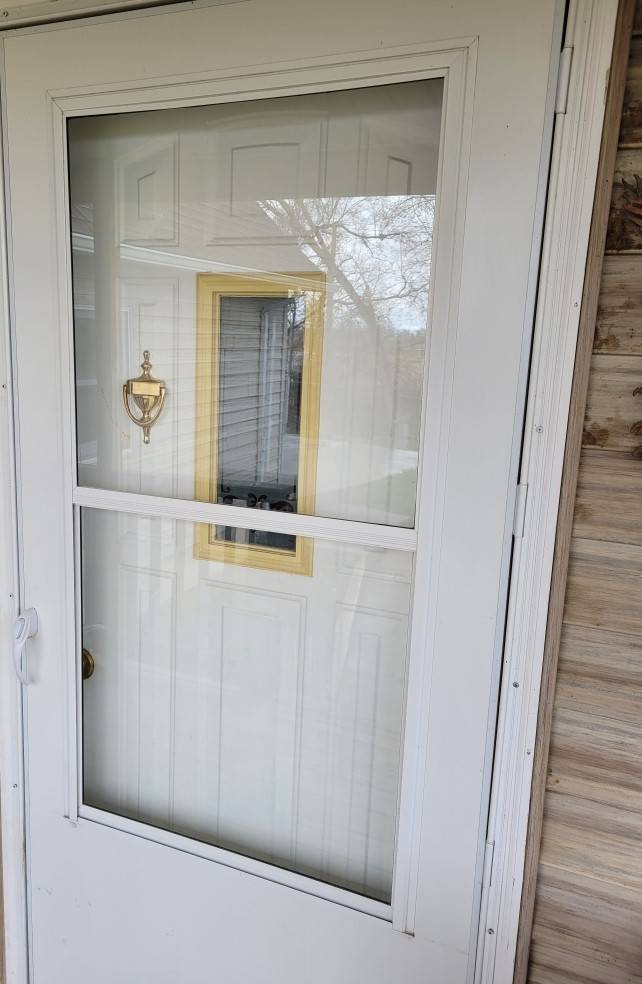
How to Adjust a Door Closer
Understanding the Components
Let’s look at the components of a storm door closing system first. An automatic closer is a shock absorber in reverse. As you pull the door open, it extends a rod inside a pneumatic tube creating a vacuum that pulls the door back into place. When properly adjusted the vacuum releases slowly, allowing the door to ease back into a closed position without slamming.
The pneumatic tube is attached to the door jamb by a jamb bracket on one end, and a door mounting bracket on the other. Your door will come with instructions on where to place the brackets, but the door jamb bracket is adjustable with a range of two to three inches for you to select from in setting the locking pin that holds the closer to the jamb.
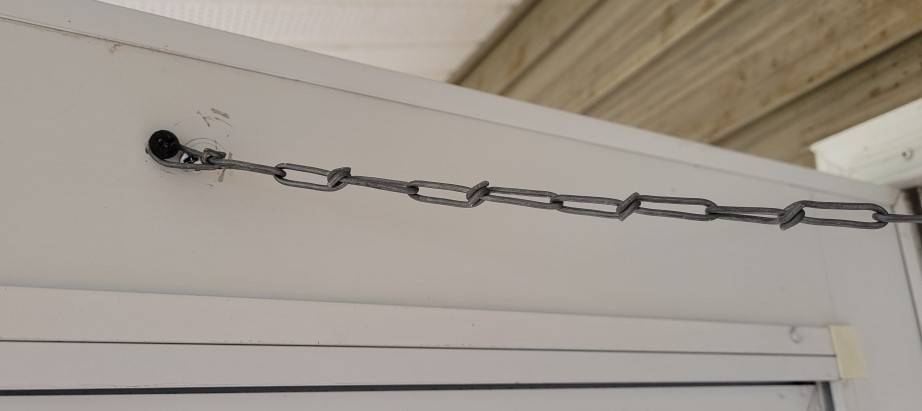
The final component is a spring-loaded safety chain that protects the door and the closing assembly from a random gust of wind. The chain hits the spring, taking the bulk of the wind’s force, and preventing damage to the closing assembly.
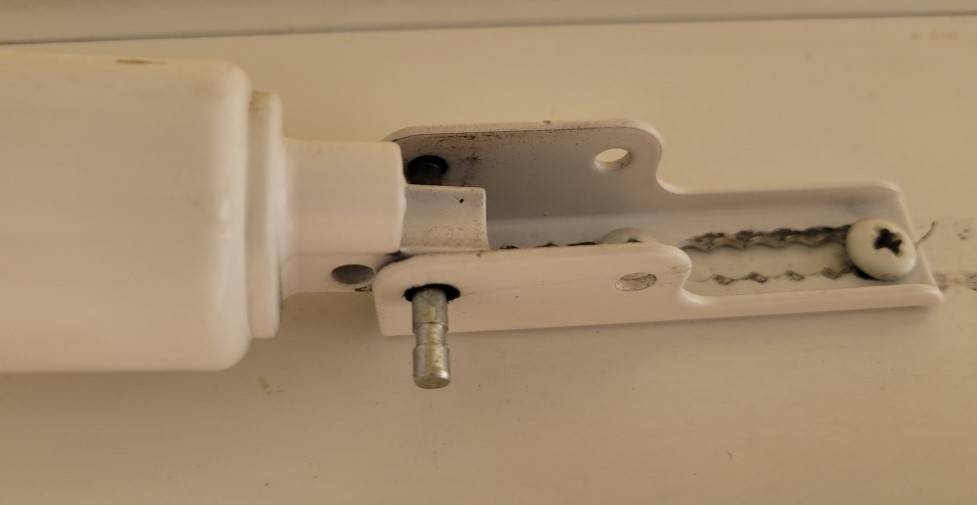
Mount the Jamb Bracket
The first step to assembling a door closer is to mount the jamb bracket. Set it about two inches from the top of the door. Insert the locking pin into the tube and the bracket, allowing the tube to swing freely.
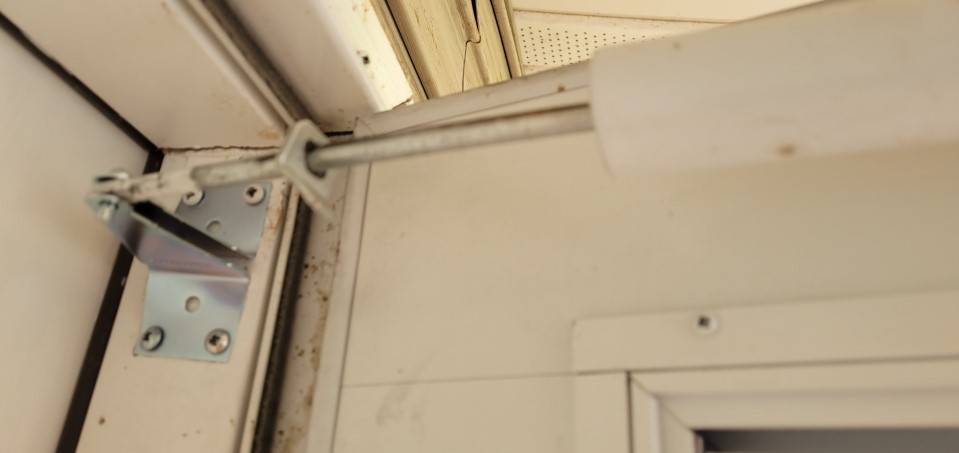
Mark Where You Want The Tension
With the tube in full release, you can mark the end of the tension rod location with a pencil. That’s where your door bracket should be centered. Mount the bracket, set the locking pin into the door bracket, and closer.
Test and Adjust
You can now test the tension on the door. If the door opens as expected, and slowly closes again, locking the door handle back in place you’ve completed the pneumatic tube assembly.
If it slams too hard or doesn’t close all the way it’s time to adjust the tension on the pneumatic tube. There is a set screw on the door bracket side of the tube, next to the cylinder.
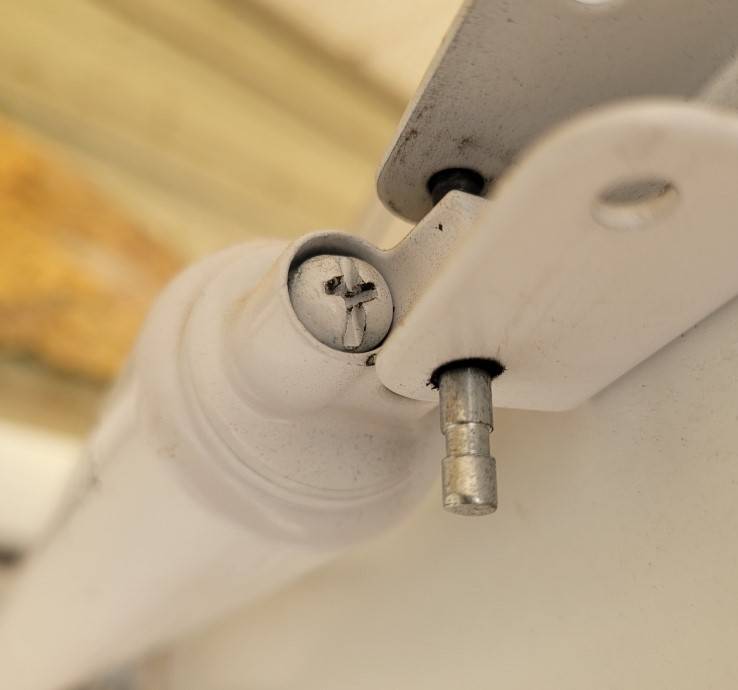
Turn the set screw one full turn and test the door again. If it improves the motion but doesn’t close the door, turn it one more time. Keep experimenting until the door closes without hesitation.
If your firsts turn makes the door slam harder, you’ve gone the wrong way. Back off two full turns and begin testing the door. Eventually, you will get it just right.
Attach the Spring and Chain
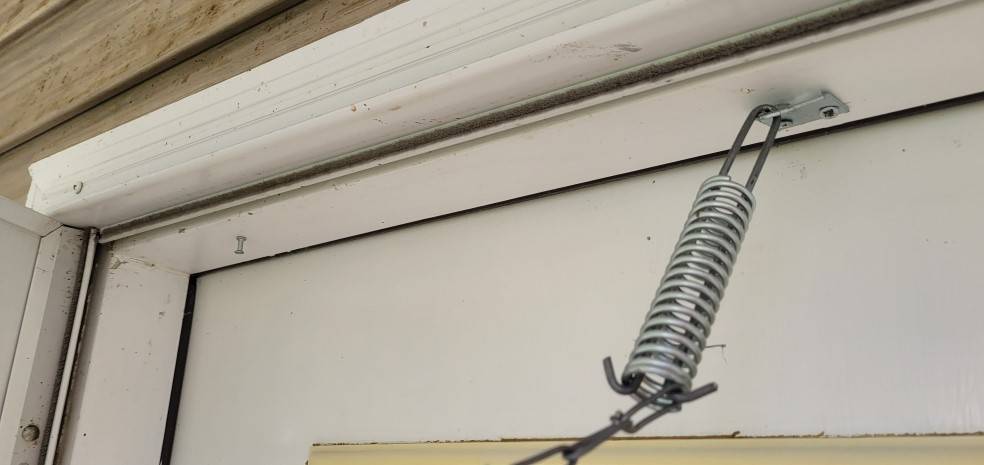
The final step is to attach the spring/chain assembly. Secure the spring end of the chain securely to the door jamb. Secure the other end to the chain bracket on your door. It’s a personal preference where you want to attach the chain. Many secure it next to the closer, while others prefer it to be located under the door handle, about midway down the door.
That’s all there is to it! With these simple steps you can avoid ruining your door frame or worse, having to shell out the money for a new door and installation.

