How to Age Wood with Simple Distressing Techniques
When it comes to giving new wood a time-worn appearance, achieving that beautifully aged look isn’t as daunting as it may seem. With a few simple techniques and some everyday materials, you can transform shiny new timber into pieces brimming with rustic charm and character. This guide will walk you through the steps on how to age wood effectively, ensuring that your DIY projects have that desirable antique feel.
Embark on a journey of craftsmanship and creativity! Explore TedsWoodworking, your gateway to 16,000+ woodworking projects. Let’s turn your woodworking dreams into reality together.
What You Need to Know Before You Start Aging Wood
Before diving into the aging process, it’s crucial to understand the type of wood you’re working with. Different woods react differently to aging processes; for example, softer woods like pine and cedar are easier to age than harder woods like oak.
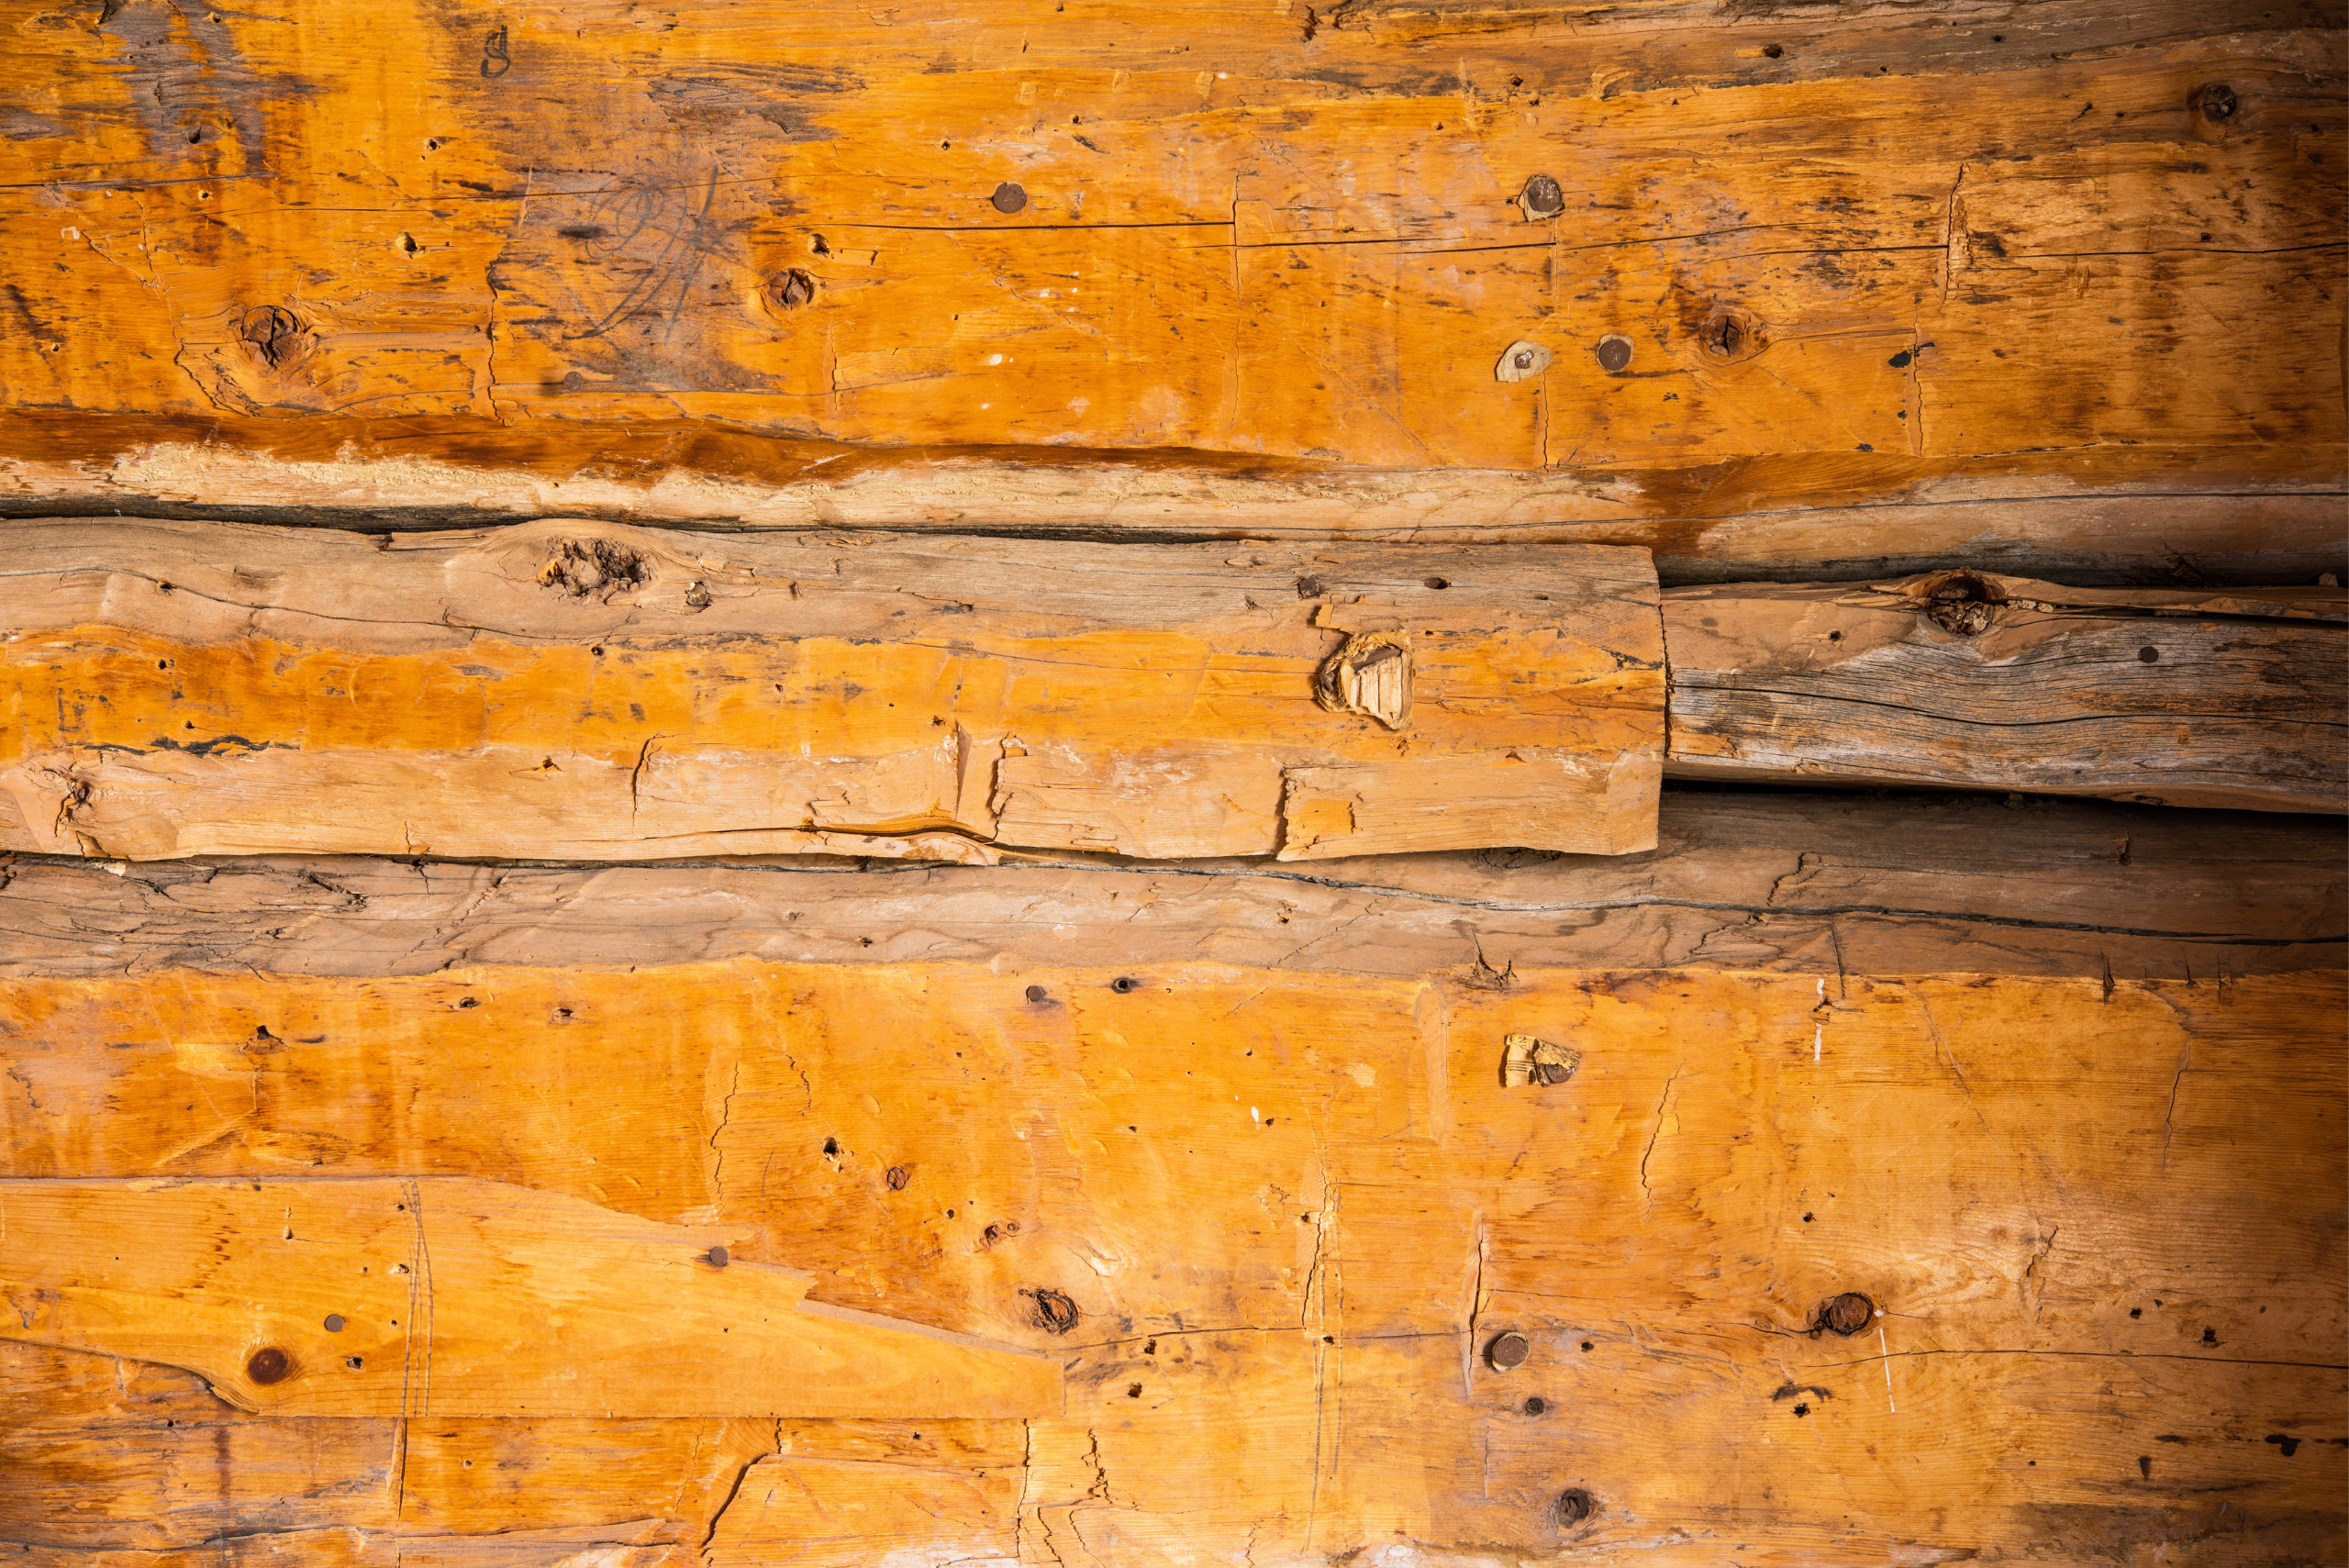
Knowing the characteristics of your wood can help you choose the right method to achieve the best results. Additionally, consider the end use of the wood. If it’s for an outdoor project, you’ll need to ensure that the aging process won’t compromise the wood’s durability.
The Materials and Tools You Will Need to Age Wood Successfully
To start aging wood, gather your materials and tools. You’ll need steel wool, vinegar, tea bags, a brush, and sandpaper. The steel wool and vinegar will react to create a solution that ages the wood, while tea can add a varied tint.
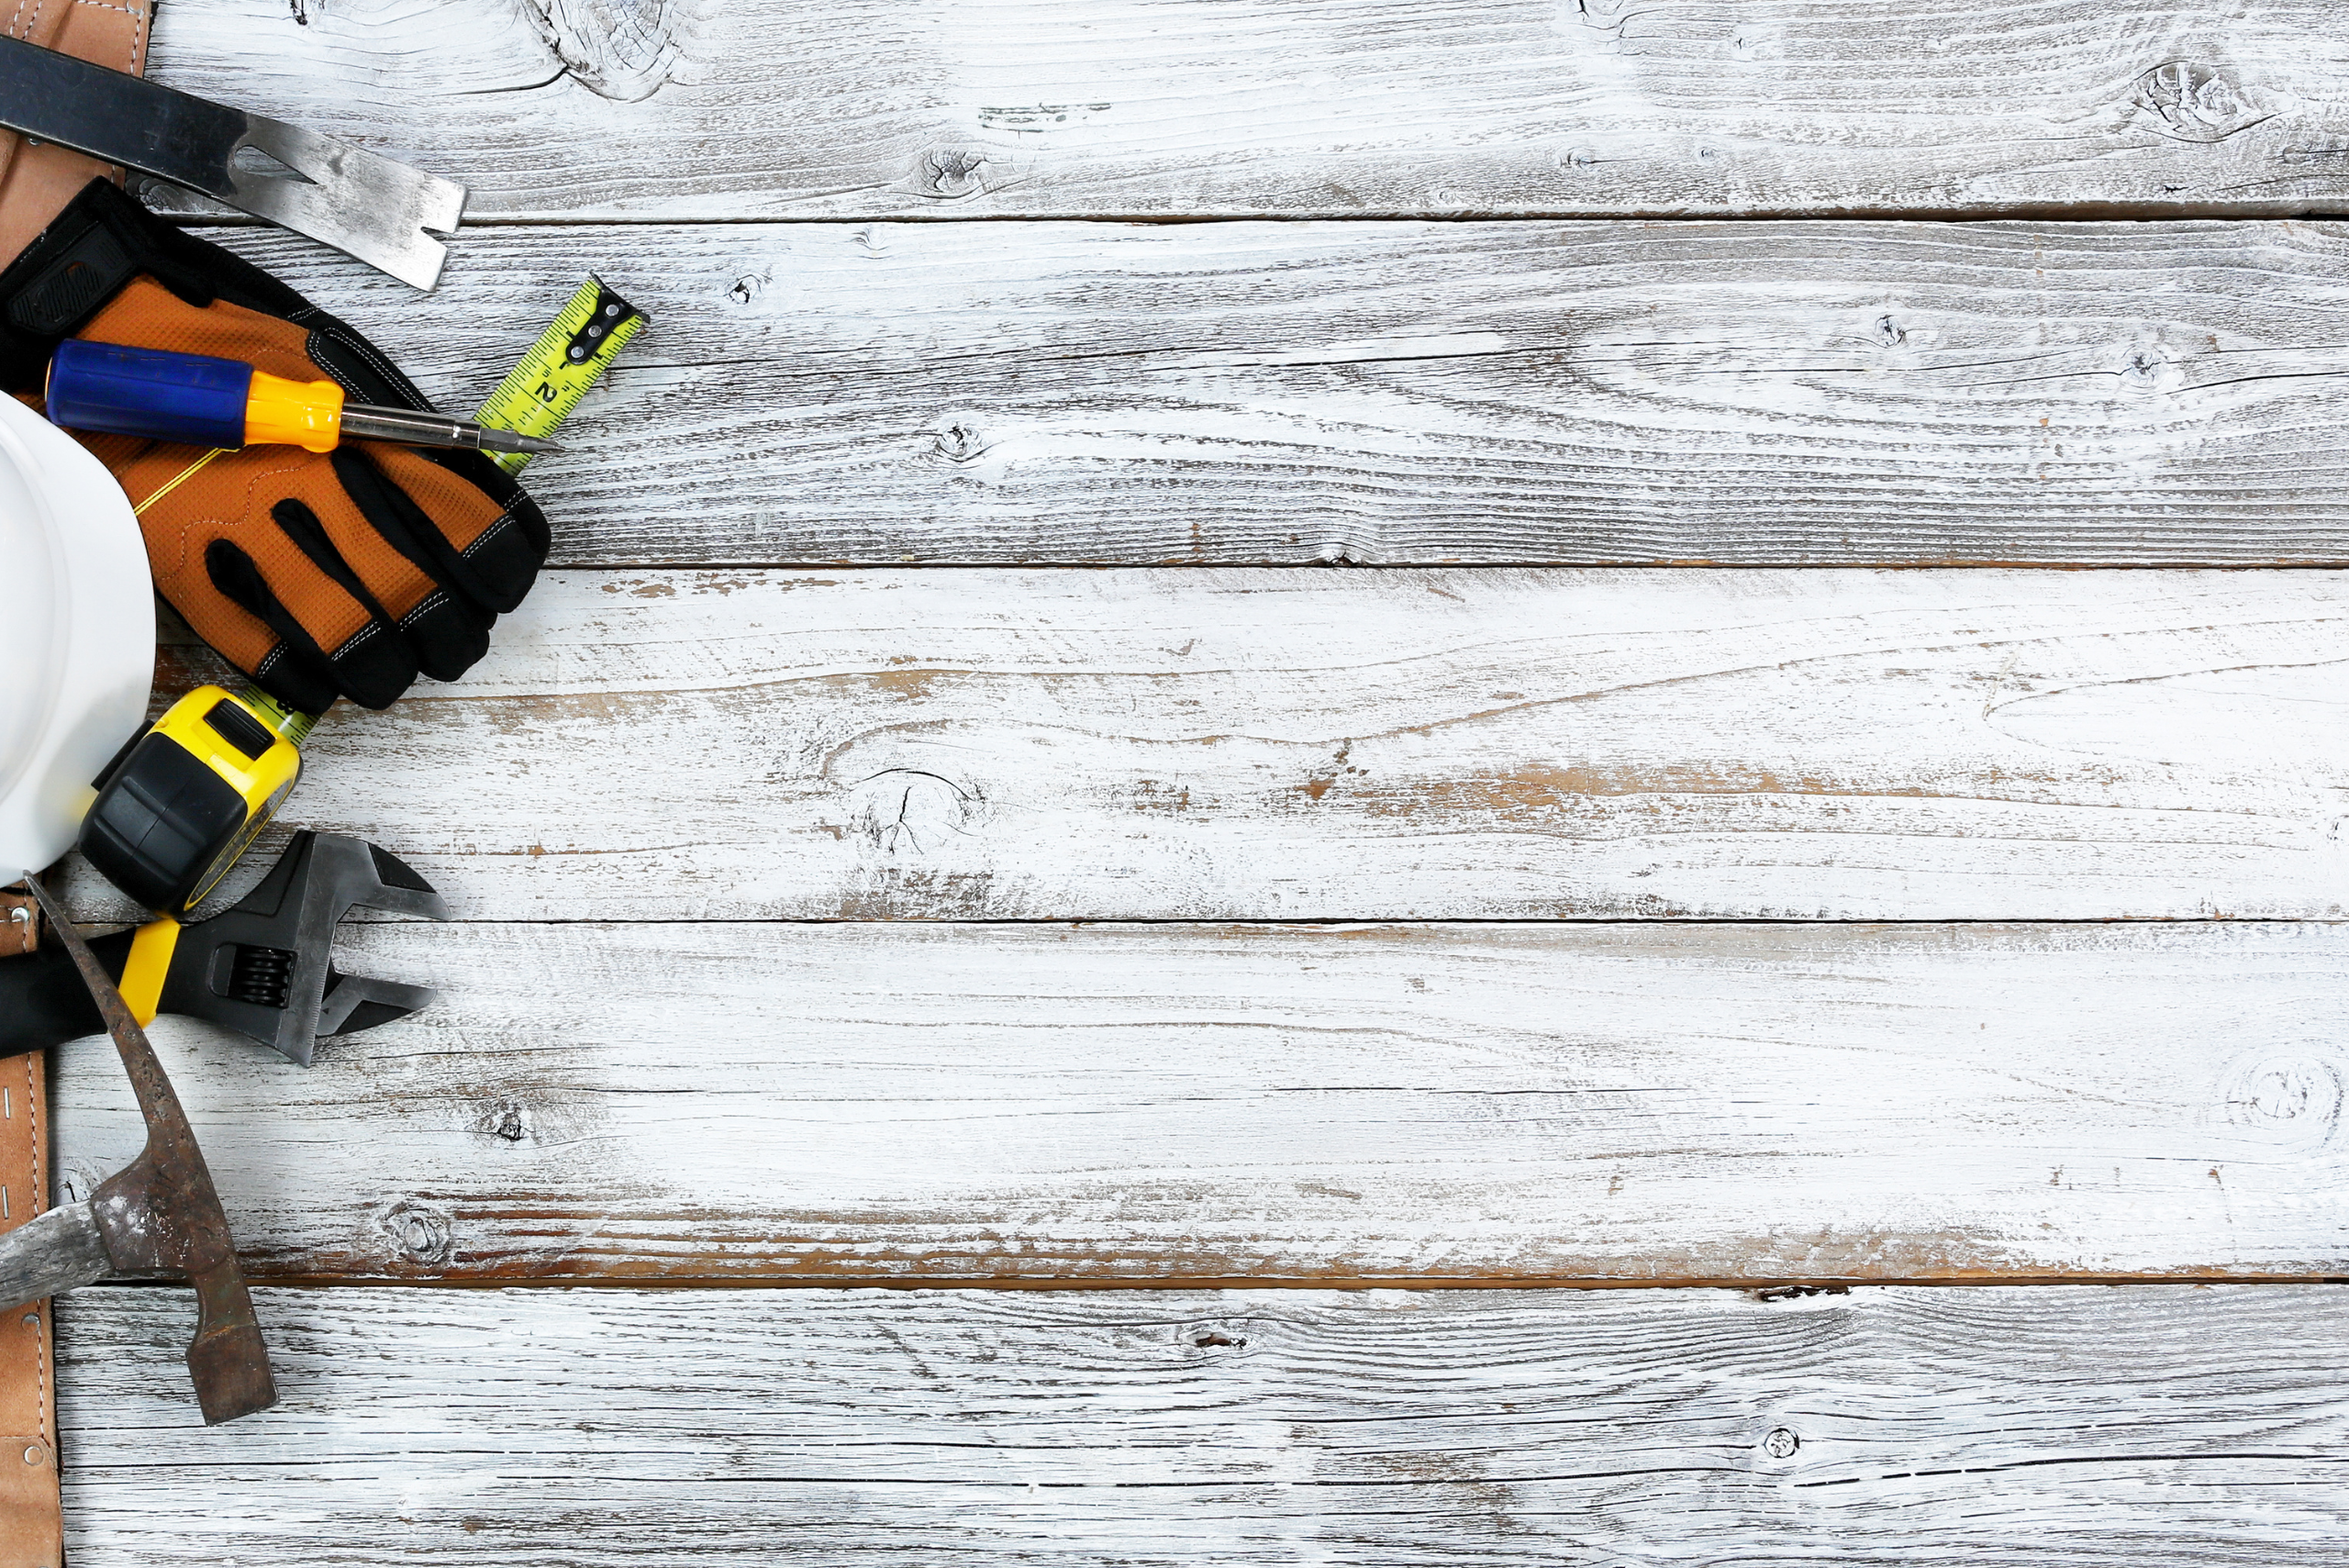
Optionally, you can use pre-made aging solutions available at hardware stores, but making your own is simple and often more satisfying. Always wear gloves to protect your hands and work in a well-ventilated area to ensure safety.
Step-by-Step Guide to Aging Wood – How to Achieve That Gorgeous Antique Look
Aging wood can be a simple task once you have done it before, but your first time will require attention to detail and possibly a bit of trial and error. However, you can follow these step-by-step instructions to limit variables, hopefully helping you achieve your desired results the first time:

- Begin by lightly sanding your wood to remove any finishes or rough spots; this helps the aging solution adhere better.
- Next, if you’re using the homemade vinegar and steel wool solution, prepare it by soaking the steel wool in vinegar for at least a day. (The longer it soaks, the stronger the solution will be.)
- Brush the solution onto the wood, working it into the grain. (You can adjust the darkness by adding more coats once the previous one has dried.)
- For an even more nuanced look, steep tea bags in boiling water and brush this tea over the wood before applying the vinegar solution. (The tannins in the tea react with the vinegar solution and help to produce a more complex color.)
Creative Techniques to Enhance the Aged Effect
After applying your basic aging solution, there are several ways to add unique touches. For instance, you can use a wire brush along the grain to create deeper grooves, enhancing the wood’s textured, weathered look.
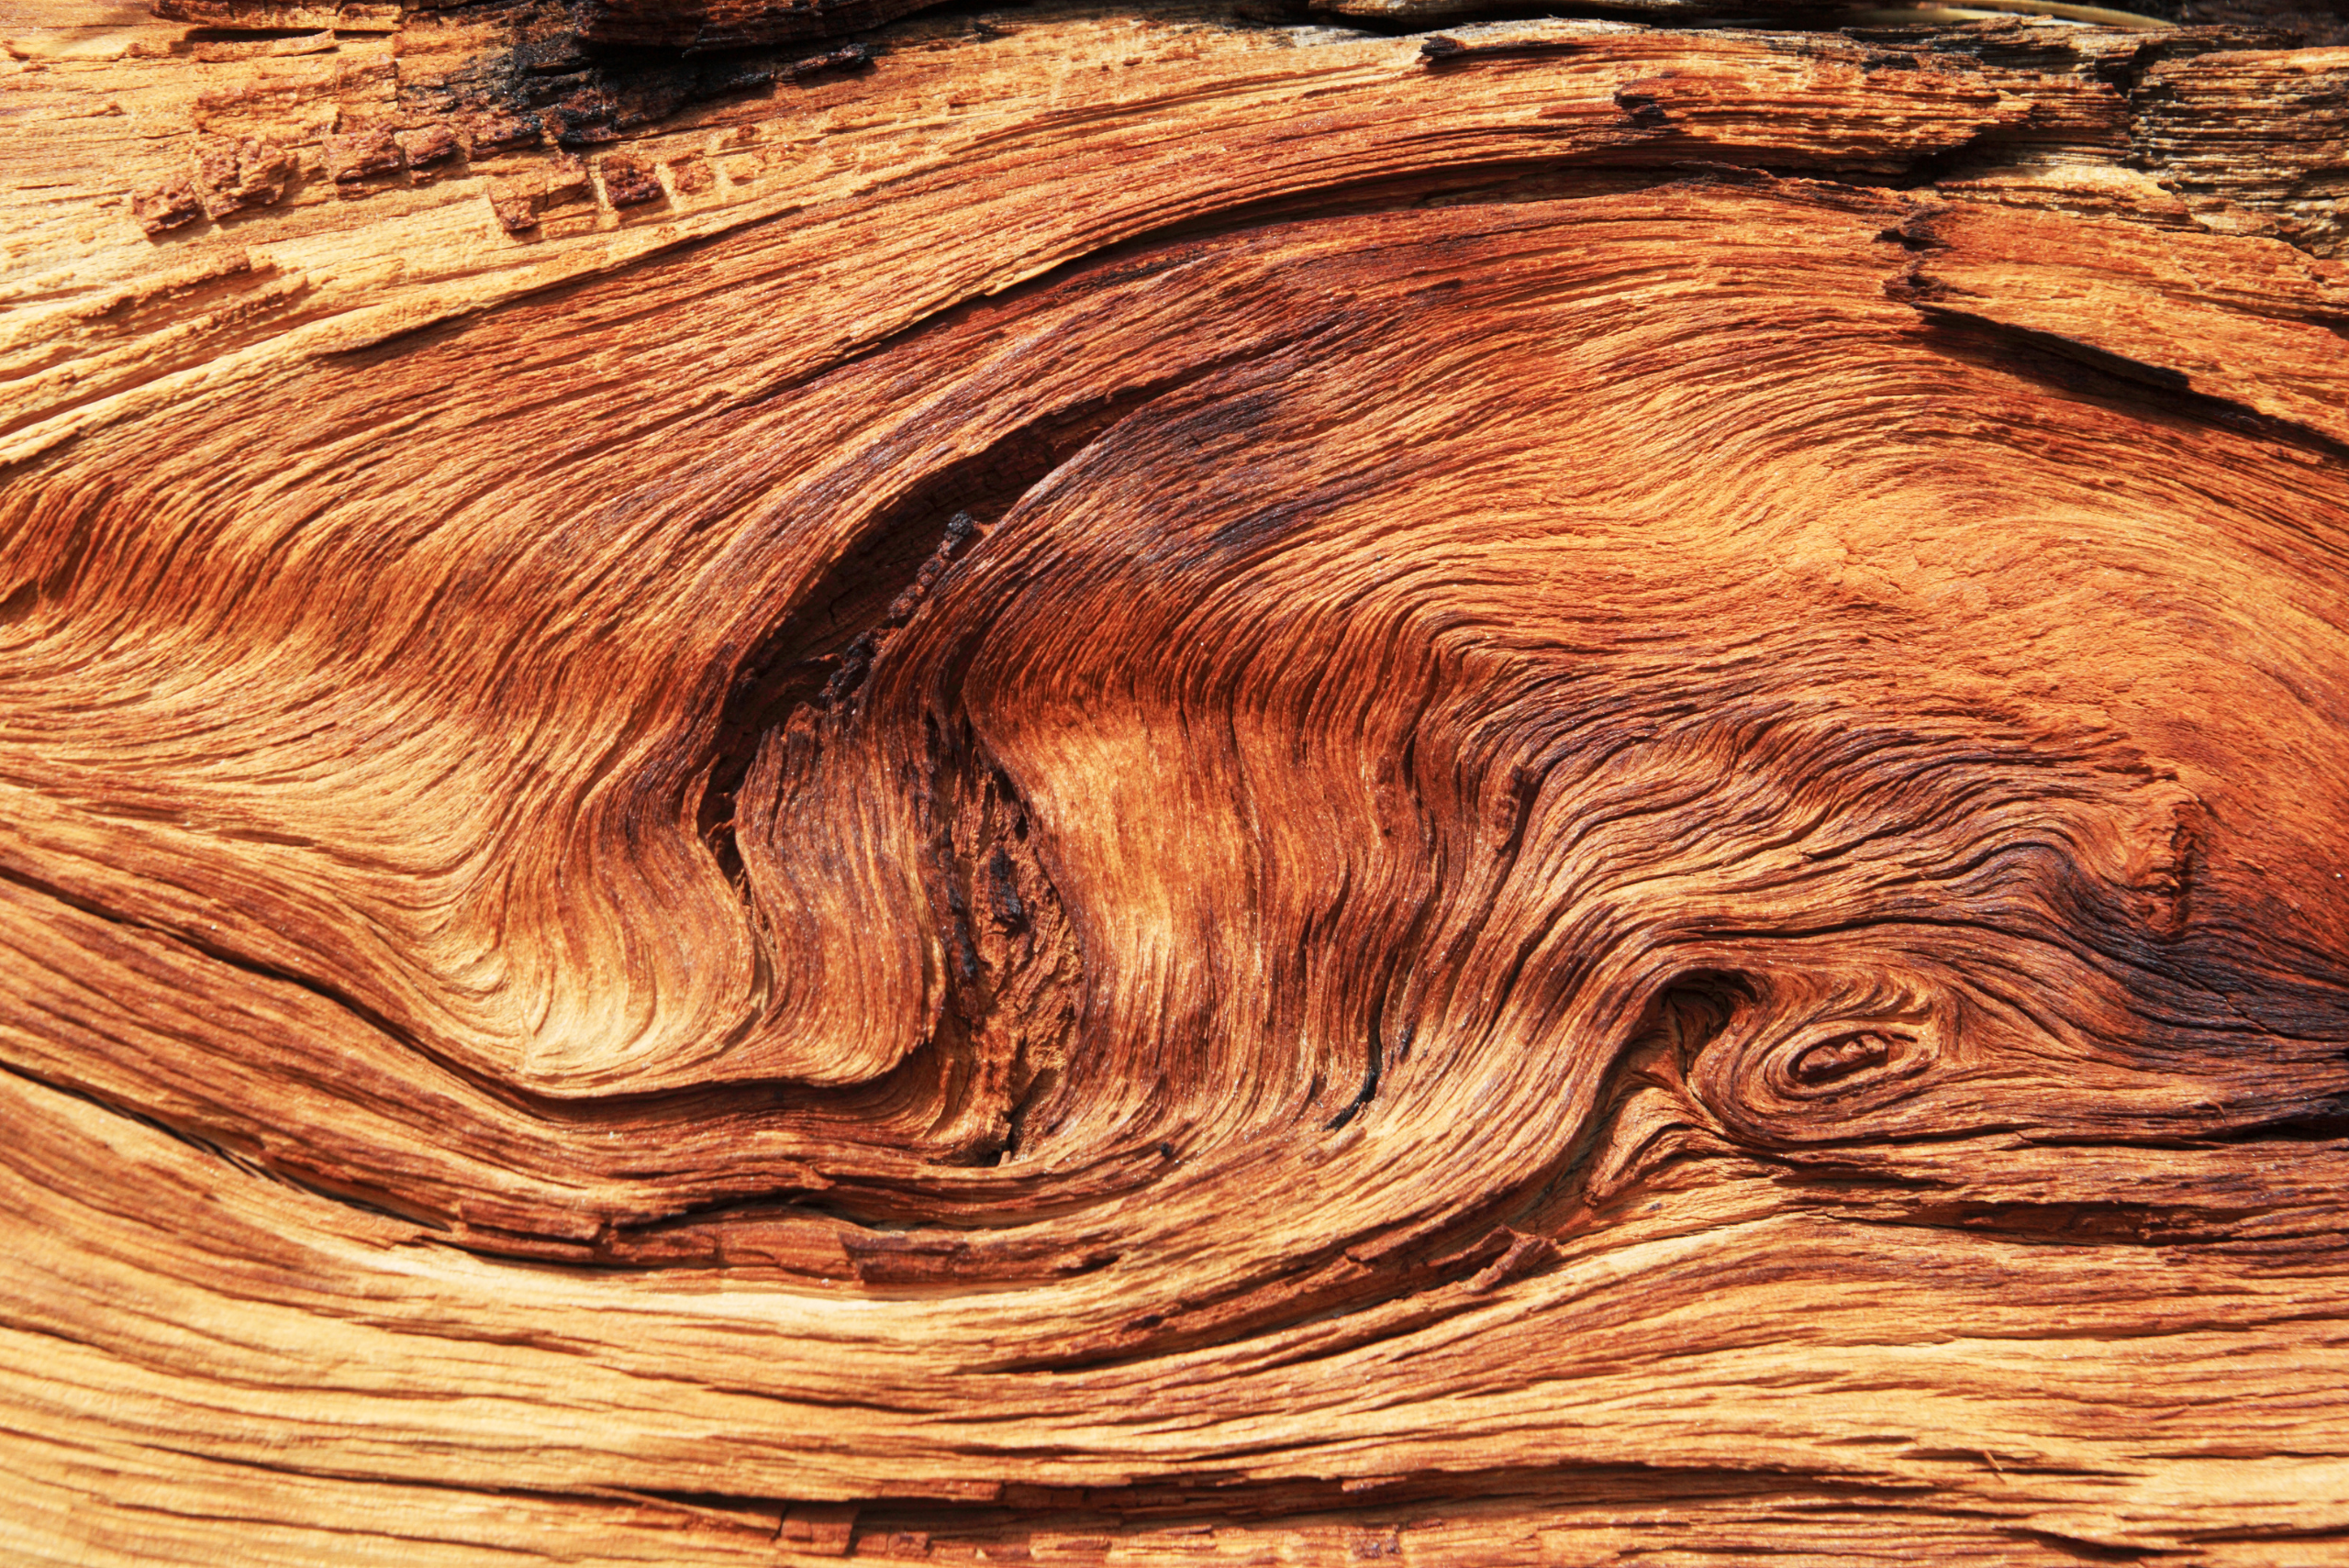
Another technique is to lightly burn the wood with a blowtorch, accentuating the grain and adding a charred effect. Always proceed with caution and keep a fire extinguisher nearby when using a torch. These additional steps can significantly enhance the authenticity of the aged appearance, making your wood not only look old but genuinely antique.
Finishing Your Aged Wood Project and Protecting Your Work
Once you’re satisfied with the aged look, it’s important to seal and protect the wood, especially if it will be used where it might come into contact with moisture. A clear matte finish or furniture wax can protect the wood without detracting from the aged look.
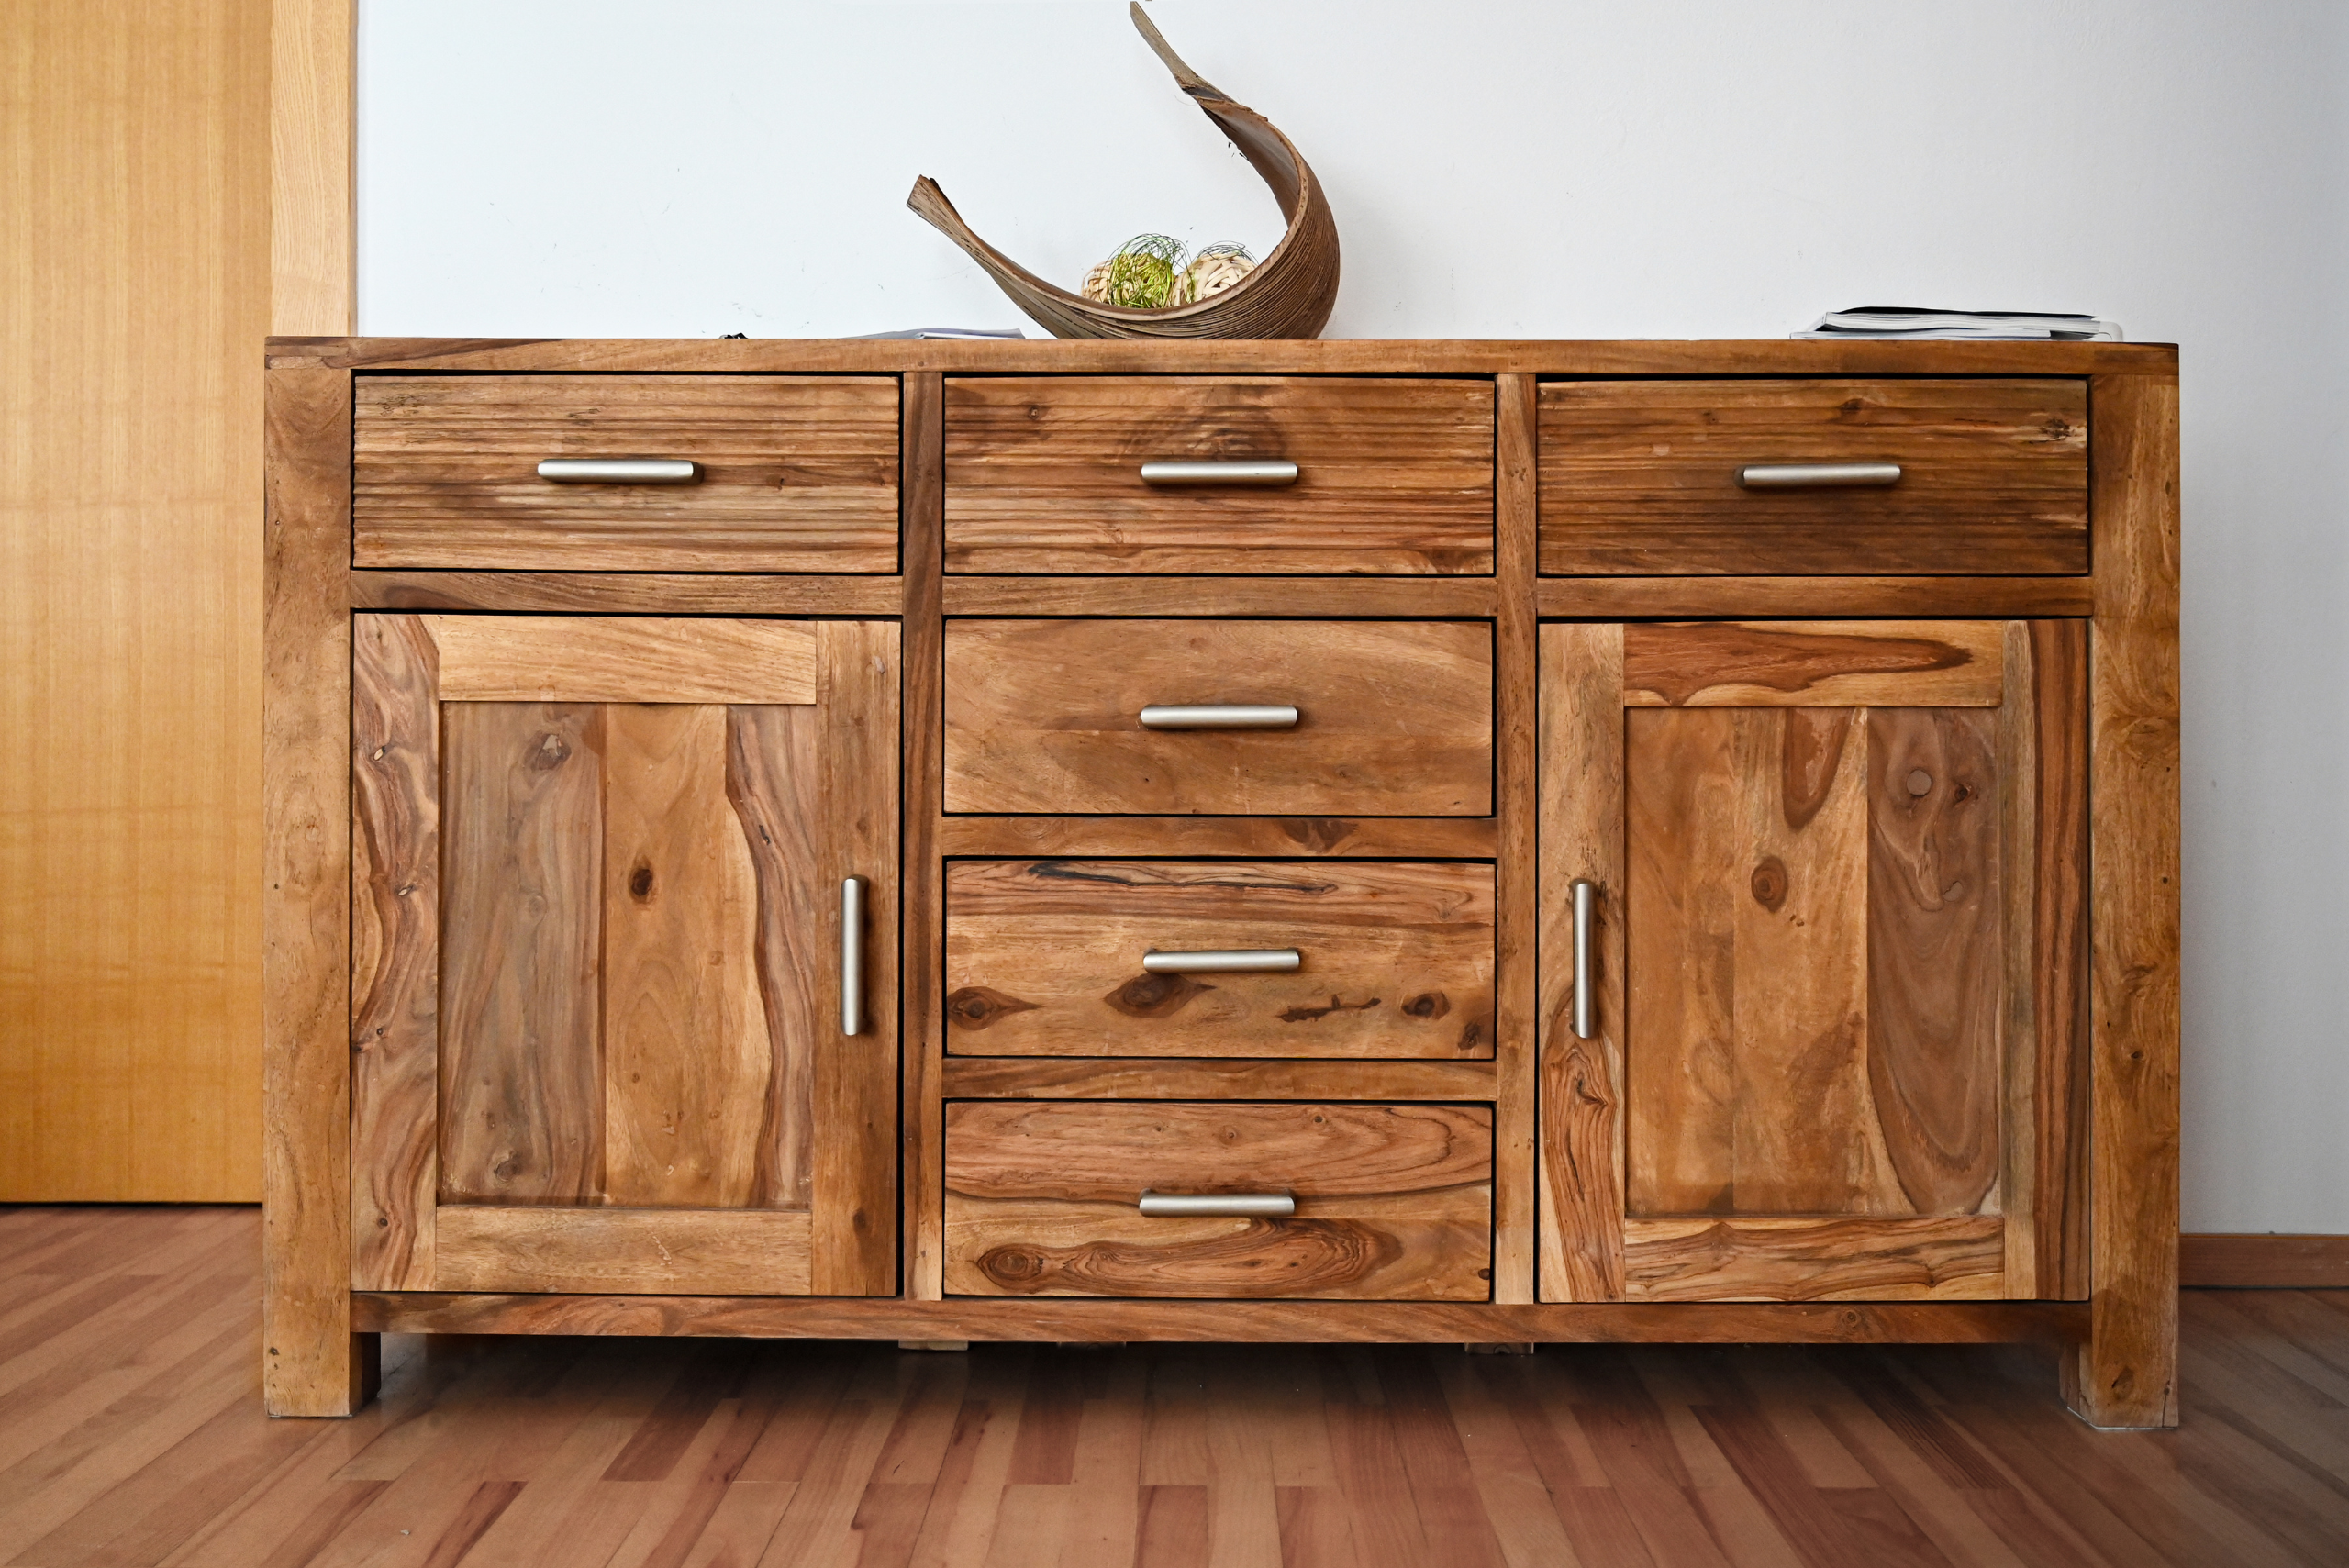
Apply the finish according to the manufacturer’s instructions, and allow it to dry completely. This not only preserves the appearance but also extends the life of your wood, ensuring that it continues to add character and charm to your space for years to come.
As we conclude, remember – TedsWoodworking is your ally in woodworking aspirations. Dive into 16,000+ projects with ease. Your creativity knows no bounds. Happy crafting!
Related Articles
- 9 Functional Yet Stylish Pallet Furniture Ideas That Are DIY-Friendly
- Best Wood Types for DIY Furniture Projects: Pros and Cons
- 8 Creative Ideas with Plans for DIY Patio Furniture to Spruce Up Your Backyard
Aging wood is a wonderful way to add character and historic charm to your DIY projects. With the right materials, techniques, and a bit of patience, you can transform any piece of new wood into a beautifully aged masterpiece. Whether you’re creating a piece of furniture, a decorative item, or adding elements to your home decor, aged wood brings a touch of the past to the present, making your projects not just handmade but steeped in history.
Ready to start your next project? Join our DIY community to receive tool tips, how-to guides, and exclusive creative insights. Subscribe to the ManMadeDIY newsletter now! Click here to unlock a world of hands-on inspiration.


![How To Clean Patio Pavers [Without a Pressure Washer!]](https://www.manmadediy.com/wp-content/uploads/sites/52/2024/06/broom-15377-238x170.png)

