How to Build a Boardwalk: A Step-by-Step Guide
“Under the boardwalk…down by the sea…on a blanket with my baby…that’s where I’ll be.” Building a boardwalk isn’t exactly what the Drifters were singing about in their 1964 hit single, but it is something that adds beauty, value, and a little bit of fun to any property.
Boardwalks were the first sidewalks. They were created to lift pedestrians above the mud and dust of unpaved streets—and we at ManMadeDIY are going to show you just how to build a boardwalk.
Why Build a Boardwalk?
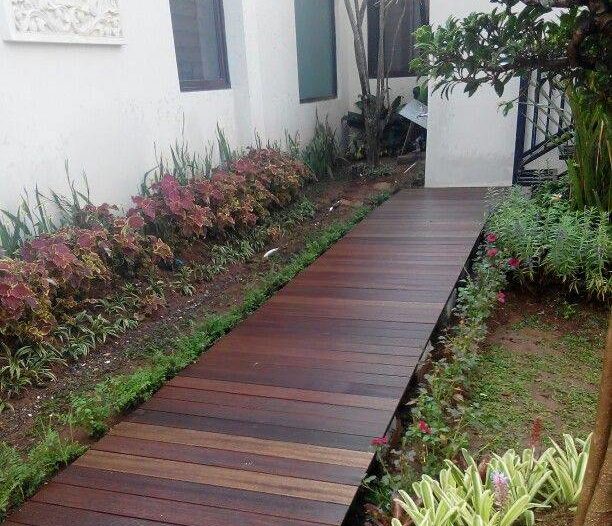
A boardwalk on your property can be a thing of beauty, and if you use the right materials, it doesn’t even have to cost that much. A wooden boardwalk can be a much less costly option compared to labor-intensive, expensive options like stone or concrete.
If you have a garden, small stream, or boggy area on your property a boardwalk can greatly enhance access, and the overall theme of your landscape.
Supplies You’ll Need:
- A level
- Tape measure
- Circular saw
- Jig saw (optional, depending on if boardwalk is curved or not)
- Concrete or brick supports
- Stringers
- Slats of 2×4 or 2×6 pressure treated lumber (or another material—more on that to come)
- Cordless drill
- Hex-head deck screws
Choosing the Right Slats for Your Boardwalk
When you think of a traditional boardwalk, like Coney Island, you picture a wooden boardwalk. Pressure-treated wood slats are the most popular option for building a boardwalk, but it’s not always the best option.
Pressure-treated lumber requires upkeep over the years. The wood can rot, splinter, and become discolored over the years. Treated wood will also decay much faster if your boardwalk is in a wet area because the moisture will speed up the decaying process.
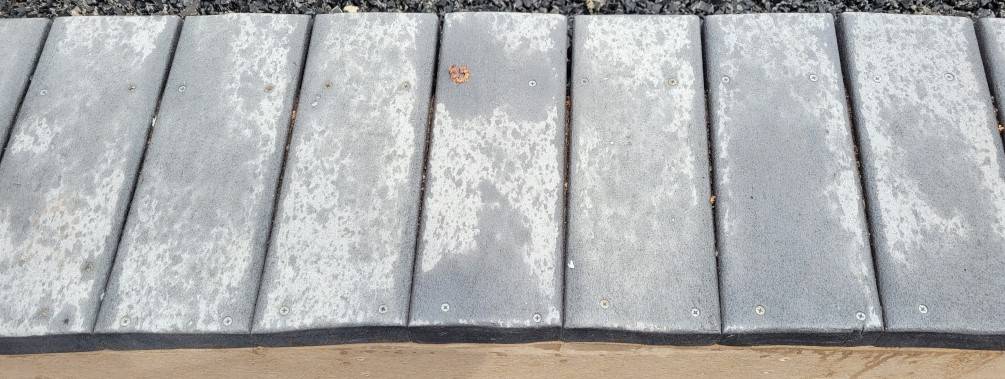
As an alternative, you could use composite deck slats. Composite decking requires less maintenance over time and will hold up for longer, but it’s also more expensive than the traditional treated wood.
Planning Your Boardwalk
Contrary to what you might think, a boardwalk doesn’t have to be constructed in a straight line, so it can still work for a curved path. A straight path is going to a simpler task than curving a wooden boardwalk through the garden, but you want to pick the best option for your backyard, not the easiest, right?
Building a boardwalk is a “build-as-you-go” type of project so you can’t plan out everything ahead of time, but you should still do some prep work before attempting to build a boardwalk. It’s important to know how long you want your boardwalk to be, and the shape it’ll take so you can buy the proper amount of slats, supports, stringers, and any other supplies.
Some of the better boardwalks have a horizontal “step” look that allows movement to the left or right by sliding the slats out a few inches on each successive step from the parallel. This gradual approach requires tighter four-foot spacing by the strings as they move at an angle from parallel, with the slats placed on top following each new four-foot line of sight.

Step 1: Clear and Lay Out The Path
Clear out the area that you’re going to lay the path on, making sure the ground is level and free of any obstacles.
Lay out the path of your boardwalk. Ideally, you’ll be using pressure treated 2×6 lumber for stringers, placed above concrete or brick supports spaced 48” apart.
Why This Distance?
The close 48” distance between supports provides added strength. You can have much longer spans, with not as much support, but if you have a few people or even a heavily loaded wheelbarrow on those wider spans, your boardwalk can collapse.
Step 2: Set The Supports
Set the supports on four-foot centers, at least three feet apart. Throughout the installation, use your level to make sure the supports, stringers, and slats are all even.
The average sidewalk or boardwalk is 42” wide. Your supports can handle stringers on three-foot centers, with a six-inch cantilever on each end of the slats.
Step 3: Put Down Stringers
With the supports in place, put down your first set of stringers. Anchor the first slat with a single hex-head deck screw to hold the stringer in place.
Attach another slat on the opposite end, also with a single hex-head deck screw to hold the assembly together.
Step 4: Attaching Slats to Stringers
Measure diagonally to ensure the first set of stringers are square. If the angle measurements are the same, you can begin to attach slats to the stringers.
Note: If you’re looking to build a boardwalk that’s a straight path and you haven’t done so already, cut the slats for the boardwalk to ensure they’ve all the same length.
Step 5: Continue Laying Slats
Lay down the slats, securing them onto the stringers as you go. If your boardwalk follows a curved path, you can mark the curve you want to follow as you go along. As you’re installing the slats, mark any areas where you’d like to cut the wood or shave off sections to make get the desired shape. Make sure to leave a few inches of space between where you want to cut the wood and the support.
Don’t screw down the final three slats, until the next set of stringers is in place. Use the end of the first run of stringers as a starting point for the second, then third, etc…Your boardwalk will “walk” across your yard as you advance. Check diagonal measurements with each successive set of stringers.
Step 6: Trim Off Undesired Wood
Once all the slats are installed and your markings are made, you can go along and trim any of the undesired wood off. If you’re attempting a tight curve, a jigsaw will work best, whereas a circular saw will work for a more gradual curve.
To transfer the curve to the other side of the boardwalk, use a tape measure to measure a set distance from the already-cut side of the slats. Mark the distance on every board of the uncut side as you go along the length of it. The markings will map out the curve to follow with your saw that complements the already cut side.
Building an Arched Walkway
For a little extra “pizzazz” you can build an arched walkway over a wet area, small pond, or even a Koi pond. You’ll need to screw and glue small two to three-foot sections of stringers together to build a strong enough arch out of 2x8s, then cut a curve in the stair-stepped stringers to create your arch, but it will be worth it.
These simple arches can span up to 96” inches from support to support if they’re constructed of doubled 2x8s.
Adding to Your Boardwalk
Your imagination is your only limit on a boardwalk. Attach a couple of chains for a swinging bridge securely to anchor posts set deep in the ground. Attach the slats to the chains with U-bolts and you’ve created a bridge over a moat for a child’s curiosity.
When your boardwalk is complete you’ll have to decide if it needs a handrail, or is low enough to just be an open walkway. Either way, you’ve added an attractive feature to your property and had fun doing it.

![How To Clean Patio Pavers [Without a Pressure Washer!]](https://www.manmadediy.com/wp-content/uploads/sites/52/2024/06/broom-15377-238x170.png)


