DIY Guide for How to Build a Privacy Fence
Building a privacy fence can be a rewarding project that not only enhances your home’s aesthetic appeal but also provides a sense of seclusion and security. Whether you’re looking to define your property line, keep pets contained, or create a private outdoor space for your family, constructing a privacy fence can meet all these needs. In this guide, we’ll walk you through the essential steps on how to build a privacy fence, offering tips and insights that will help you achieve a professional result, even if you’re a DIY novice.
Embark on a journey of craftsmanship and creativity! Explore TedsWoodworking, your gateway to 16,000+ woodworking projects. Let’s turn your woodworking dreams into reality together.
Understanding Local Regulations and Planning Your Fence Layout
Before you begin, it’s crucial to understand the local regulations and restrictions regarding fence construction in your area. Start by checking with your local building department or homeowner’s association to ensure you comply with any height limits, property line setbacks, and other relevant rules. This step is essential to avoid potential fines and the need to dismantle your work later on.

Once you have a clear understanding of the regulations, start planning your fence layout. Mark your property lines accurately using stakes and string, ensuring you have a clear and precise boundary. Decide on the height and style of your fence, keeping in mind the primary purpose of your privacy fence—whether it’s for privacy, security, or purely aesthetic reasons. Having a detailed plan will make the construction process smoother and more efficient.
Selecting the Right Materials and Tools for Building a Privacy Fence
Choosing the right materials and tools is a critical step in building a durable and attractive privacy fence. Pressure-treated wood is a popular choice due to its resistance to rot and insect damage, but other materials such as vinyl, metal, or composite materials can also be considered based on your preference and budget. Each material has its benefits and drawbacks, so weigh your options carefully.
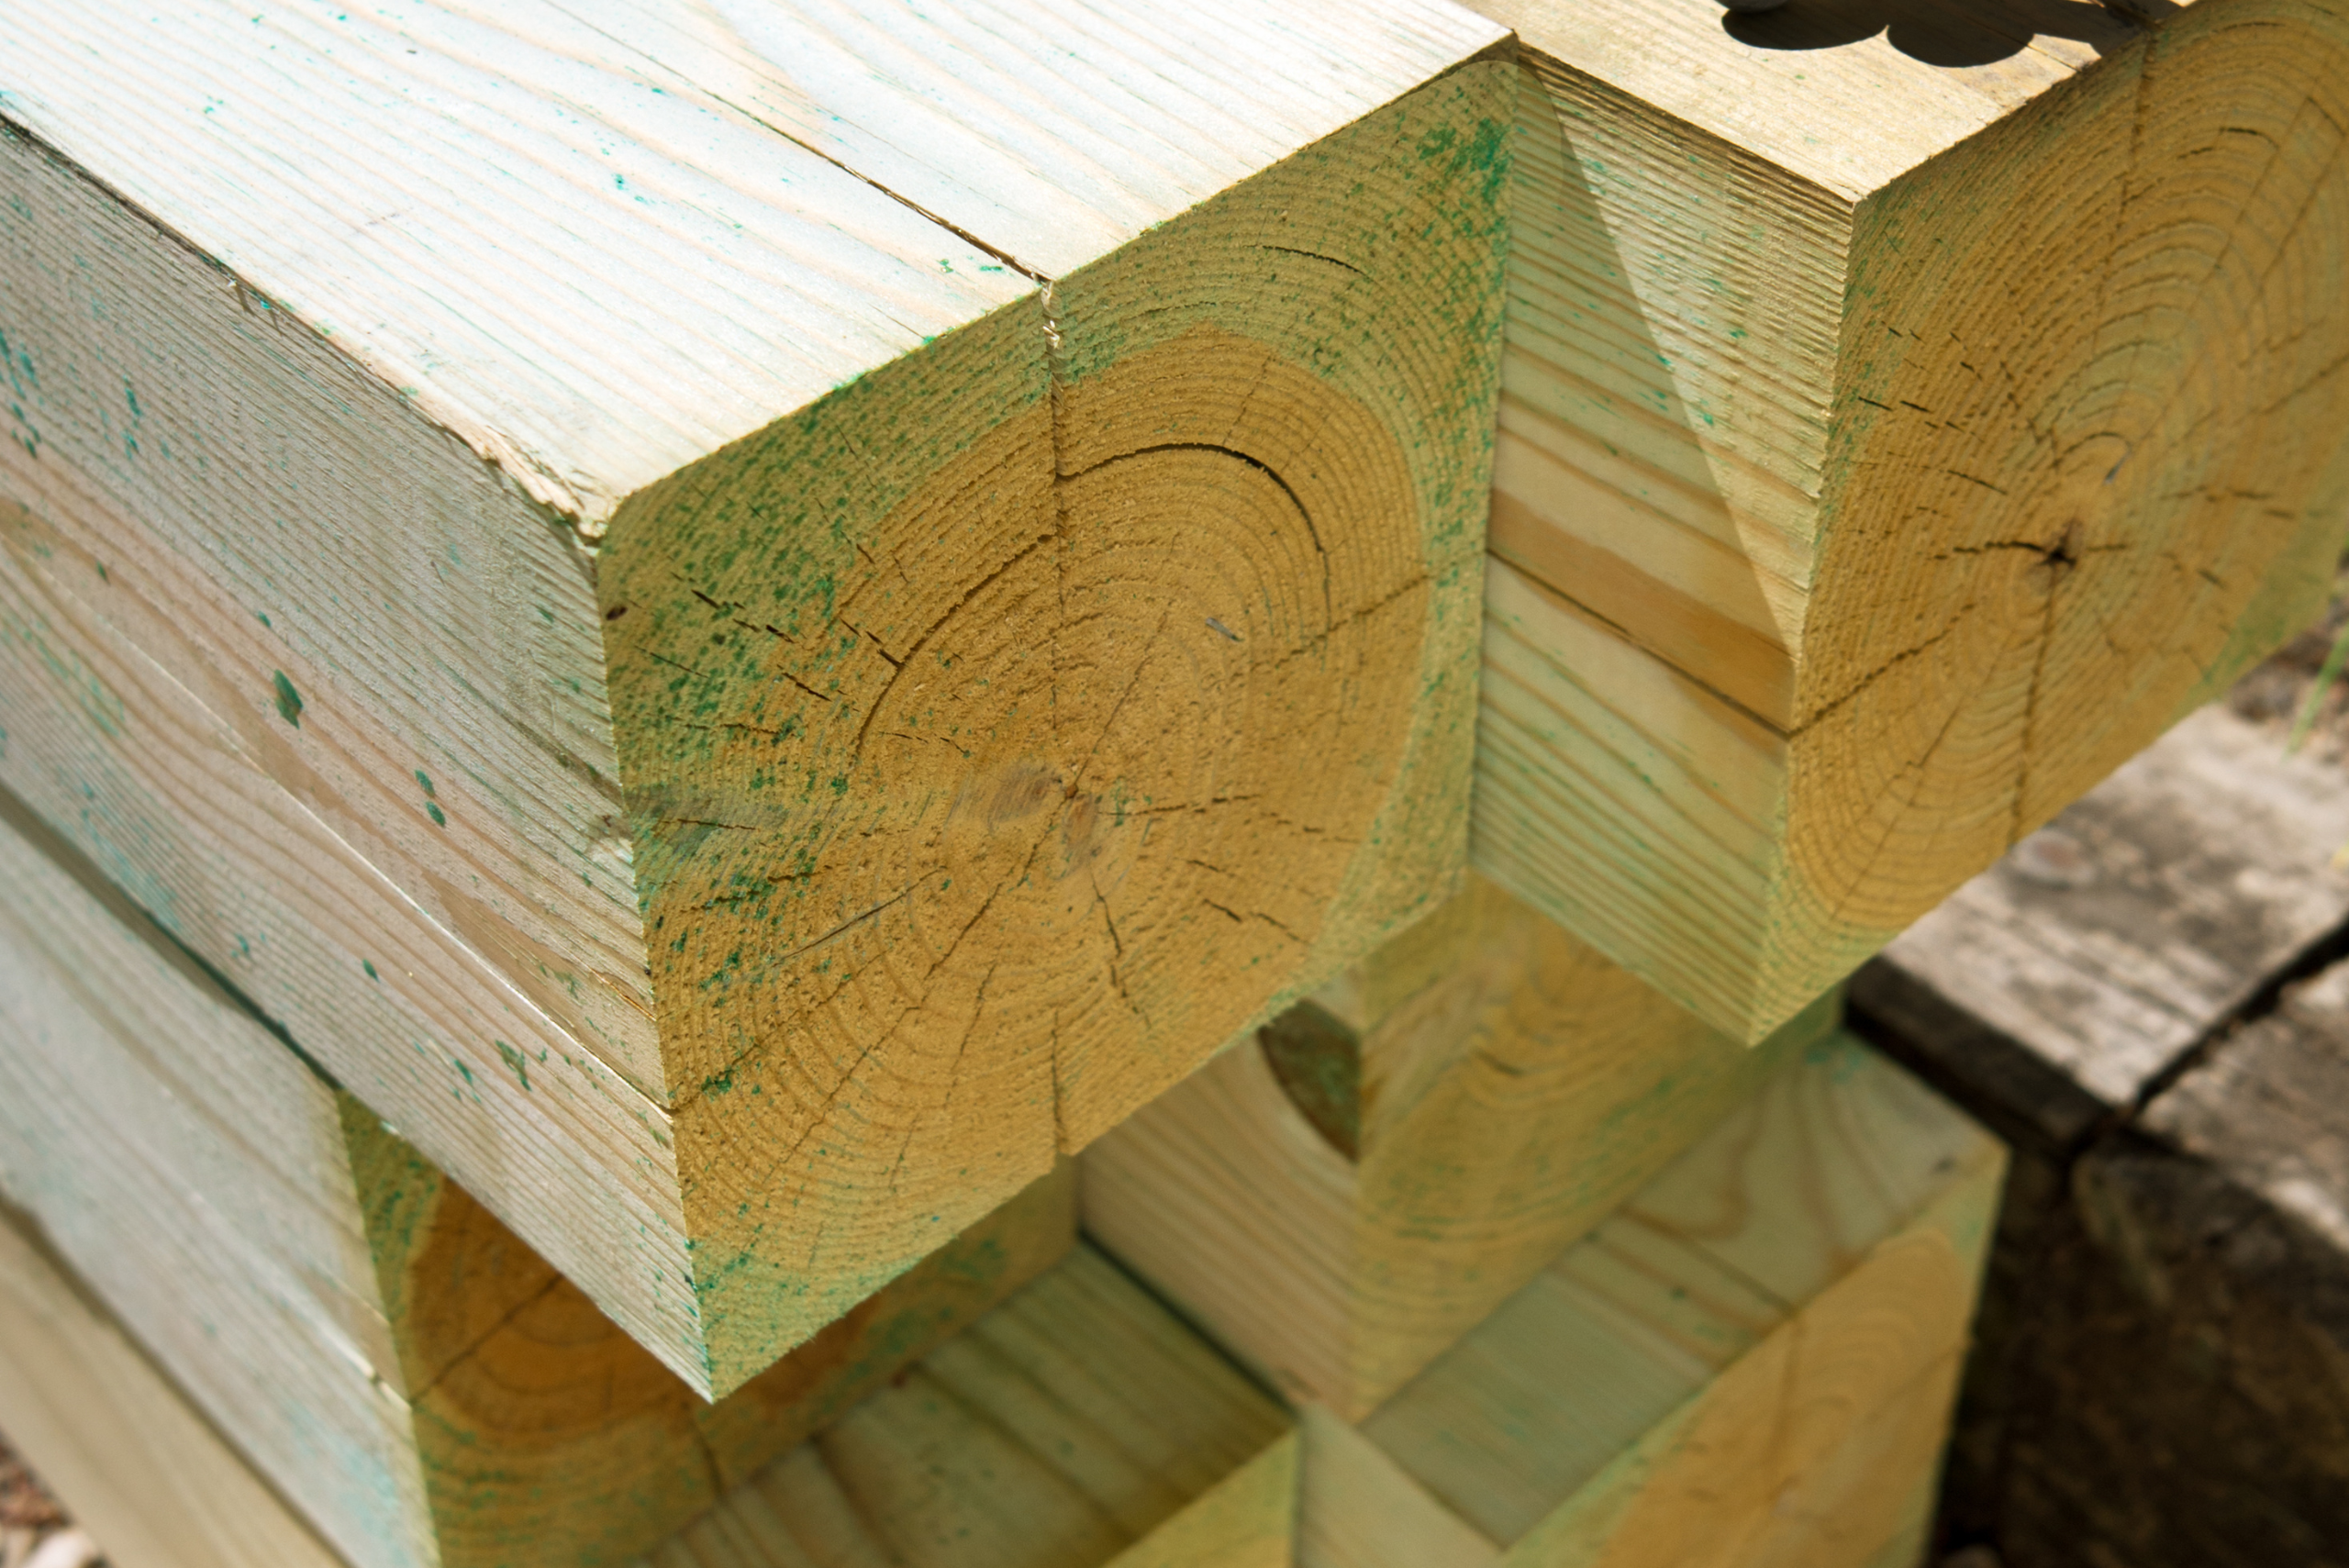
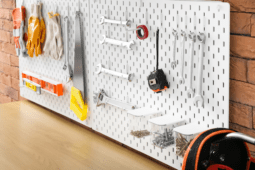
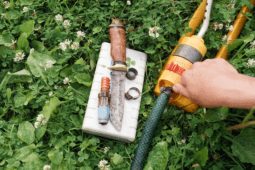
In addition to materials, gather the necessary tools for the job. You’ll need a post-hole digger or auger, a level, a tape measure, a hammer or nail gun, and a saw. Other helpful items include concrete for setting the posts, screws or nails, and protective gear such as gloves and safety glasses. Having all your materials and tools ready before you start will save you time and frustration during the building process.
Preparing the Ground and Setting Fence Posts Properly
Proper ground preparation and accurate post-setting are crucial for a stable and long-lasting fence. Begin by clearing the area of any debris, rocks, or vegetation that might interfere with the construction. If necessary, level the ground to ensure a uniform appearance of your fence.

Next, dig holes for the fence posts using a post hole digger or auger. The depth of the holes should be one-third the height of the fence to ensure stability. Place the posts in the holes and fill them with concrete, making sure each post is level and plumb. Allow the concrete to cure according to the manufacturer’s instructions before proceeding with the rest of the construction. Properly set posts form the backbone of your fence, so take your time to get this step right.
Constructing and Attaching Fence Panels for Optimal Privacy
With the fence posts securely in place, the next step is to construct and attach the fence panels. Depending on the design you’ve chosen, this may involve attaching horizontal rails between the posts and then nailing or screwing vertical boards onto these rails. Ensure that the boards are evenly spaced and aligned to create a uniform look.
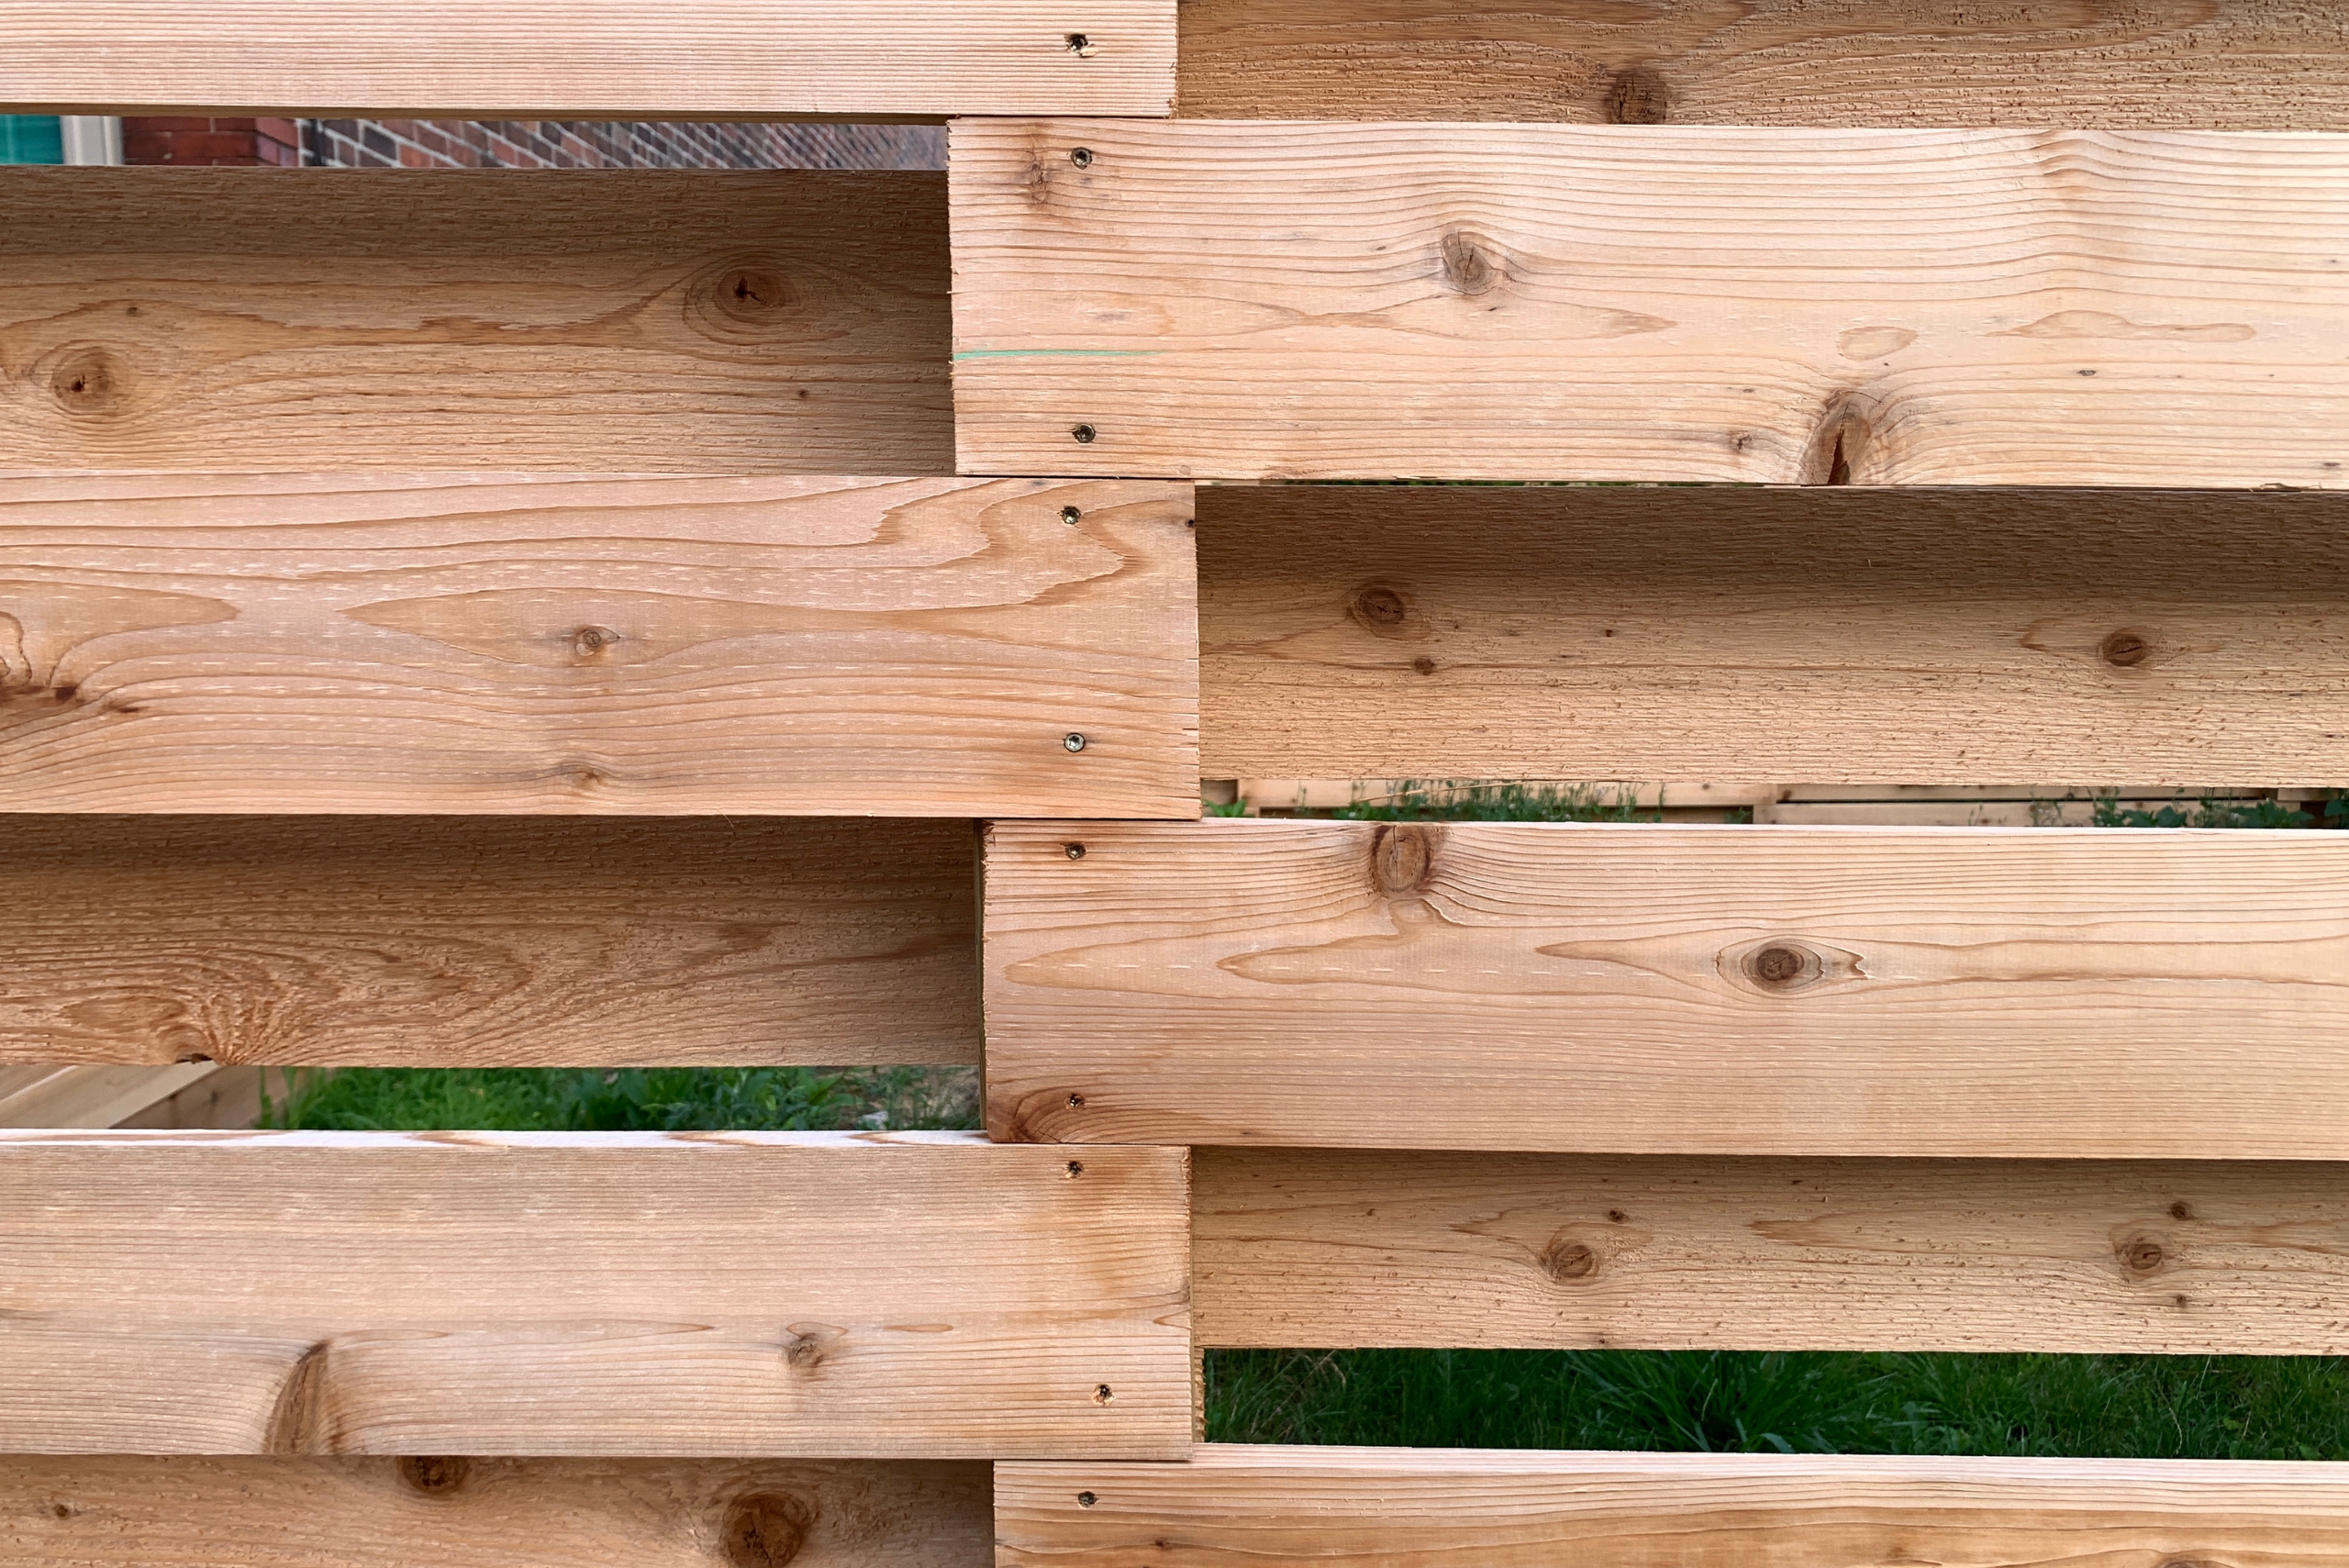
For added privacy, consider overlapping the vertical boards or installing a lattice top. This will not only enhance the visual appeal of your fence but also provide additional coverage. Take your time to measure and cut each board accurately, and frequently check for levelness to avoid a crooked fence. The care you put into this step will be evident in the final appearance of your privacy fence.
Adding Finishing Touches and Maintenance Tips for Longevity
Once your fence panels are in place, it’s time to add the finishing touches that will protect and enhance the look of your fence. Applying a sealant or stain can help protect the wood from weather damage and extend its lifespan. Choose a product that complements your home’s exterior and follow the manufacturer’s instructions for the best results.
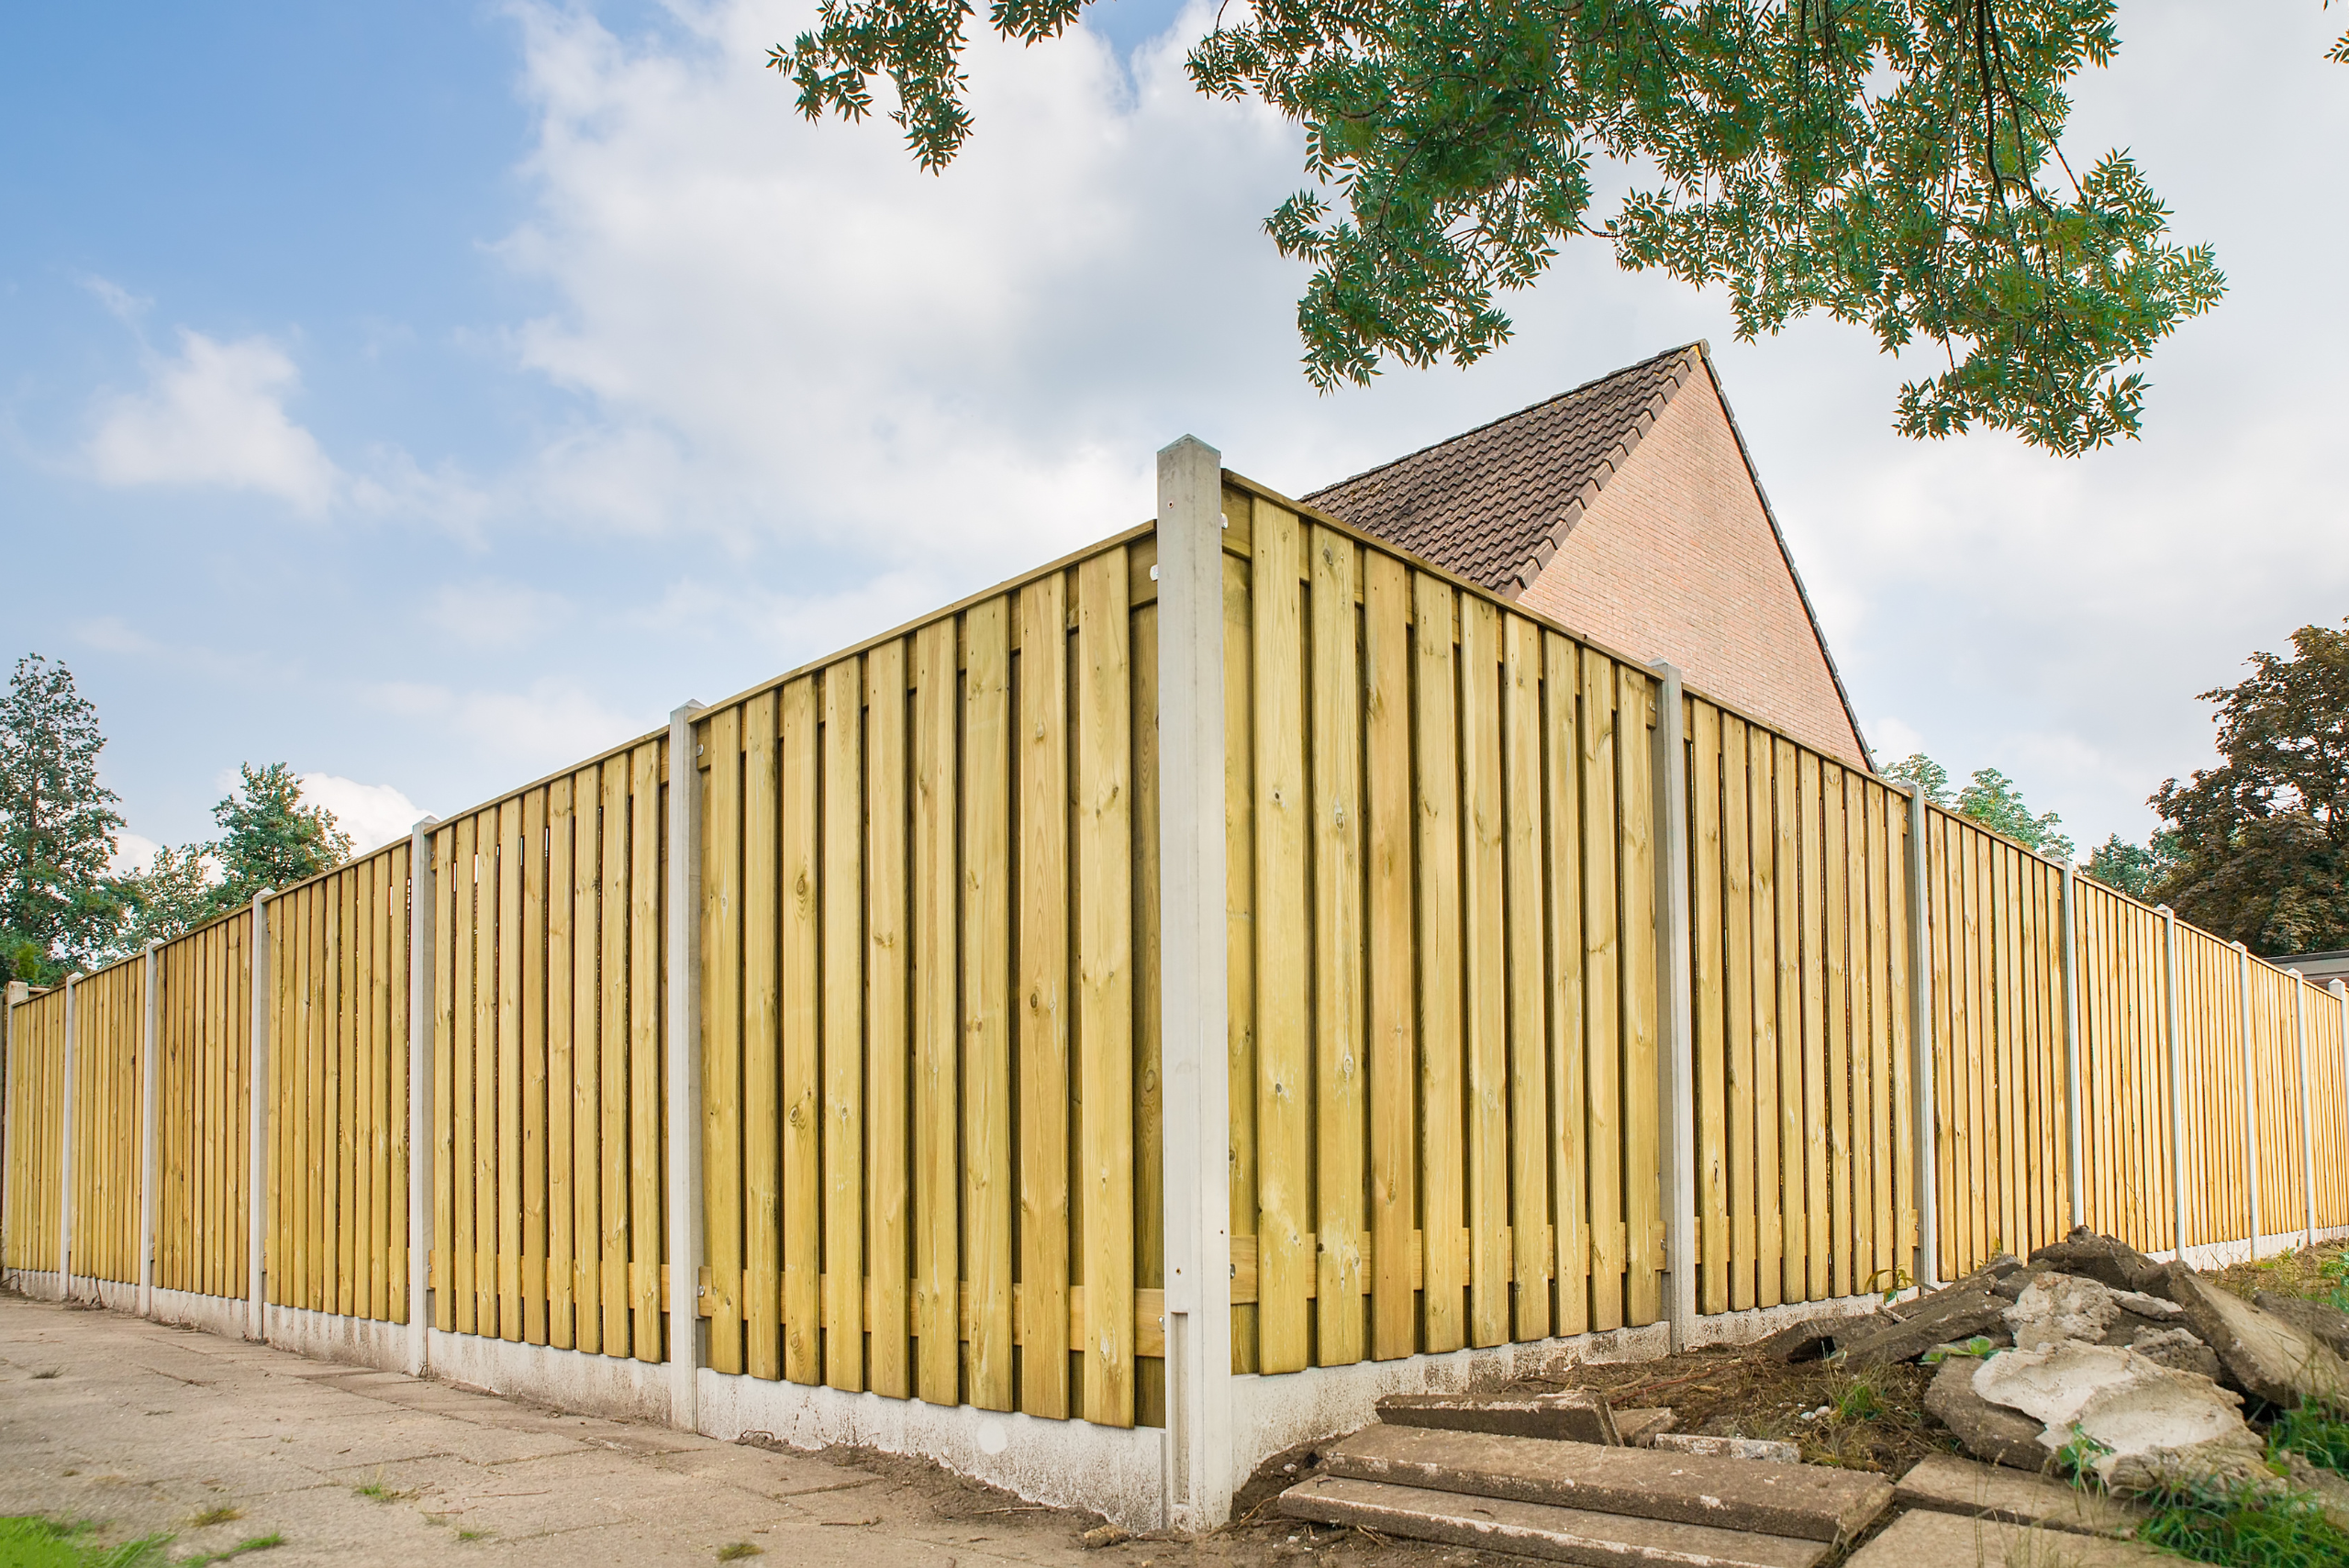
Regular maintenance is essential to keep your fence looking great and functioning well. Inspect your fence periodically for any signs of damage or wear, and make repairs as needed. Cleaning your fence with a mild detergent and water can also help keep it looking fresh. By taking care of your fence, you’ll ensure that it remains a beautiful and functional part of your property for years to come.
Related Articles
- Types of Wood Fences: How to Choose The Right One
- 40+ Wooden Fence Gate Ideas & Designs for Your Backyard
- How to Stain a Wood Fence [And What To Know Before You Start]
Building a privacy fence is a significant undertaking, but the rewards are well worth the effort. Not only have you enhanced the privacy and security of your home, but you’ve also created a beautiful outdoor space that you can enjoy with family and friends. Take a moment to admire your handiwork and appreciate the skills you’ve gained through this project.
As we conclude, remember – TedsWoodworking is your ally in woodworking aspirations. Dive into 16,000+ projects with ease. Your creativity knows no bounds. Happy crafting!
Ready to start your next project? Join our DIY community to receive tool tips, how-to guides, and exclusive creative insights. Subscribe to the ManMadeDIY newsletter now! Click here to unlock a world of hands-on inspiration.


