How To Build A Fast Pinewood Derby Car
The Pinewood Derby was once only available for Cub Scouts, but the competition has moved to Girl Scouts as well with a slightly different name, the Powderpuff Derby, but with the same rules.
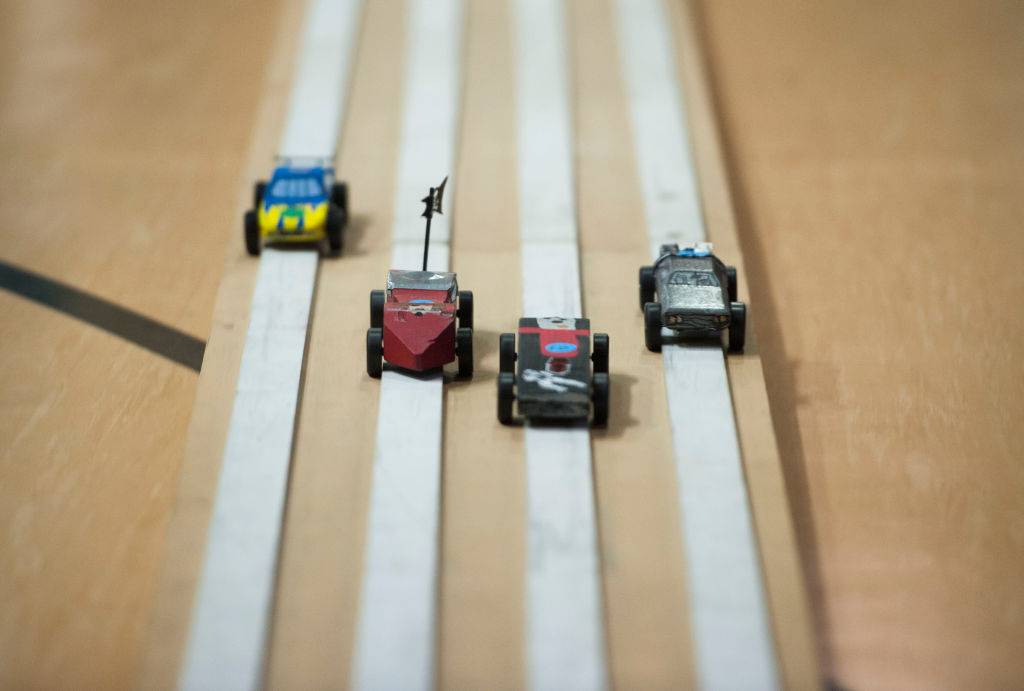
I had the honor of helping my 5-year-old granddaughter enter her first derby as a member of the Daisies. For a kindergartener, the procedure needs to be carefully supervised, especially the cutting and painting process and there are specific rules you must follow. Even the slightest infraction in dimension, weight, or wheel lubricant can get the derby car disqualified. Before we delve into how to build the fastest Pinewood Derby car, let’s take a look at the rules as they’re written for both boy and girl scouts.
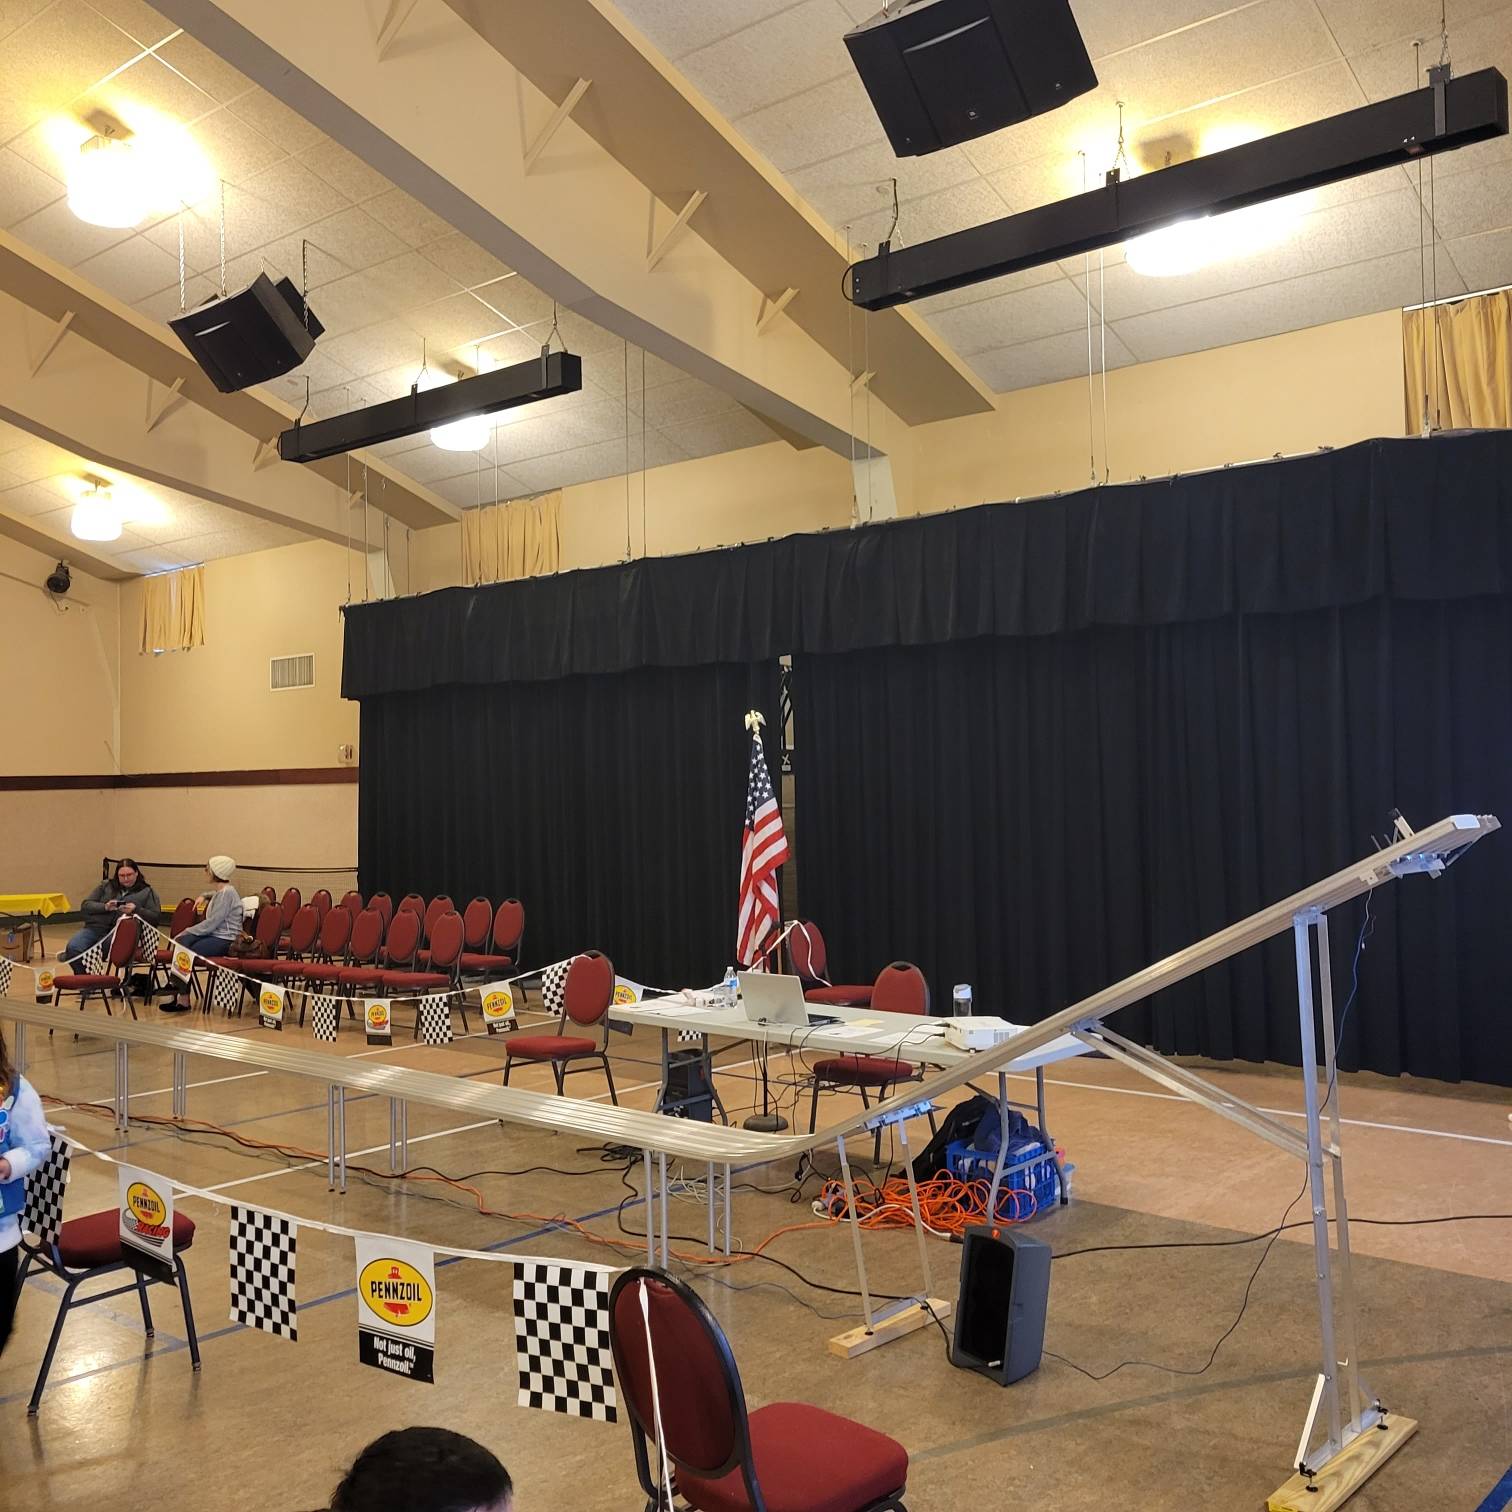
Official Pinewood Derby Rules
- Car Specifications: Width: 2-3/4”; Length: 7”; Weight: Maximum of 5 Ounces; Width between wheels: 1-3/4”
- The car must have been made during the current year (year in which derby is being held). Cannot use previous years cars.
- Wheel bearings, washers, and bushings are prohibited.
- The car shall not ride on springs.
- Only official Cub Scout Grand Prix Pinewood Derby wheels and axles are permitted.
- Only dry lubricant is permitted.
- Details, such as steering wheel and driver are permissible as long as these details do not exceed the maximum length, width and weight specifications.
- The car must be free-wheeling, with no starting devices.
- Each car must pass inspection by the official inspection committee before it may compete.
- If, at registration, a car does not pass inspection, the owner will be informed of the reason for failure and will be given time within the official weigh-in time period to make the adjustment.
The Car
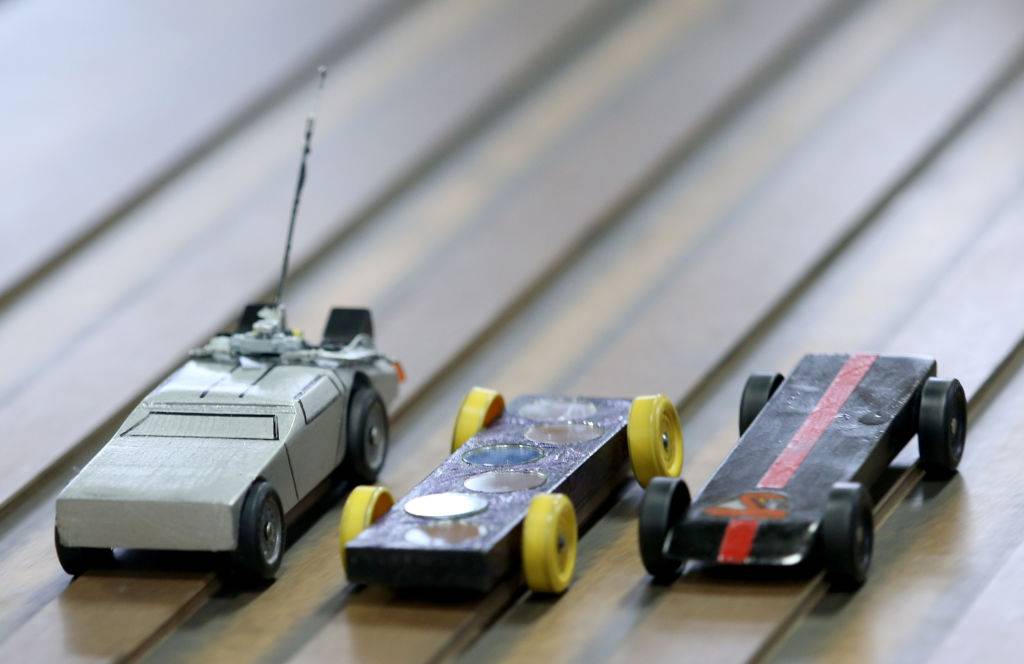
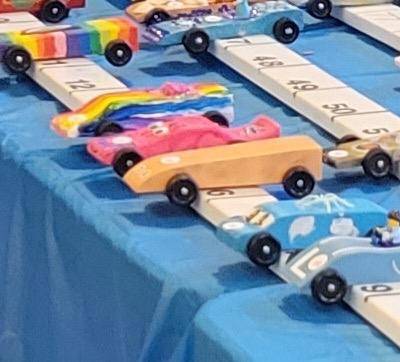
Your troop leader will provide an official Grand Prix Pinewood Derby kit. If they don’t have it you can order one from the organization.
This kit contains a block of wood, four plastic wheels, and four finish nails to be used as axles. Grooves will be cut into one side of the block, the rest of the construction is entirely up to the youngster’s imagination as long as the finished car is 2 ¾” wide, 7” long, and weighs less than 5 ounces. The width between the wheels is already set by the grooves. The height, curve, and shape of the car are all up to the scout.
The Fastest Design
It should be noted that the fastest design is always a wedge, with the thin portion of the wedge in the front and the original height of the block at the back.
Weigh the wood blank on a kitchen scale before you start carving or cutting a design, that will give you an idea of the density of the wood. Some scouts bake the blank in an oven set at 200 degrees for a few hours to lower the weight, but that’s not necessary.
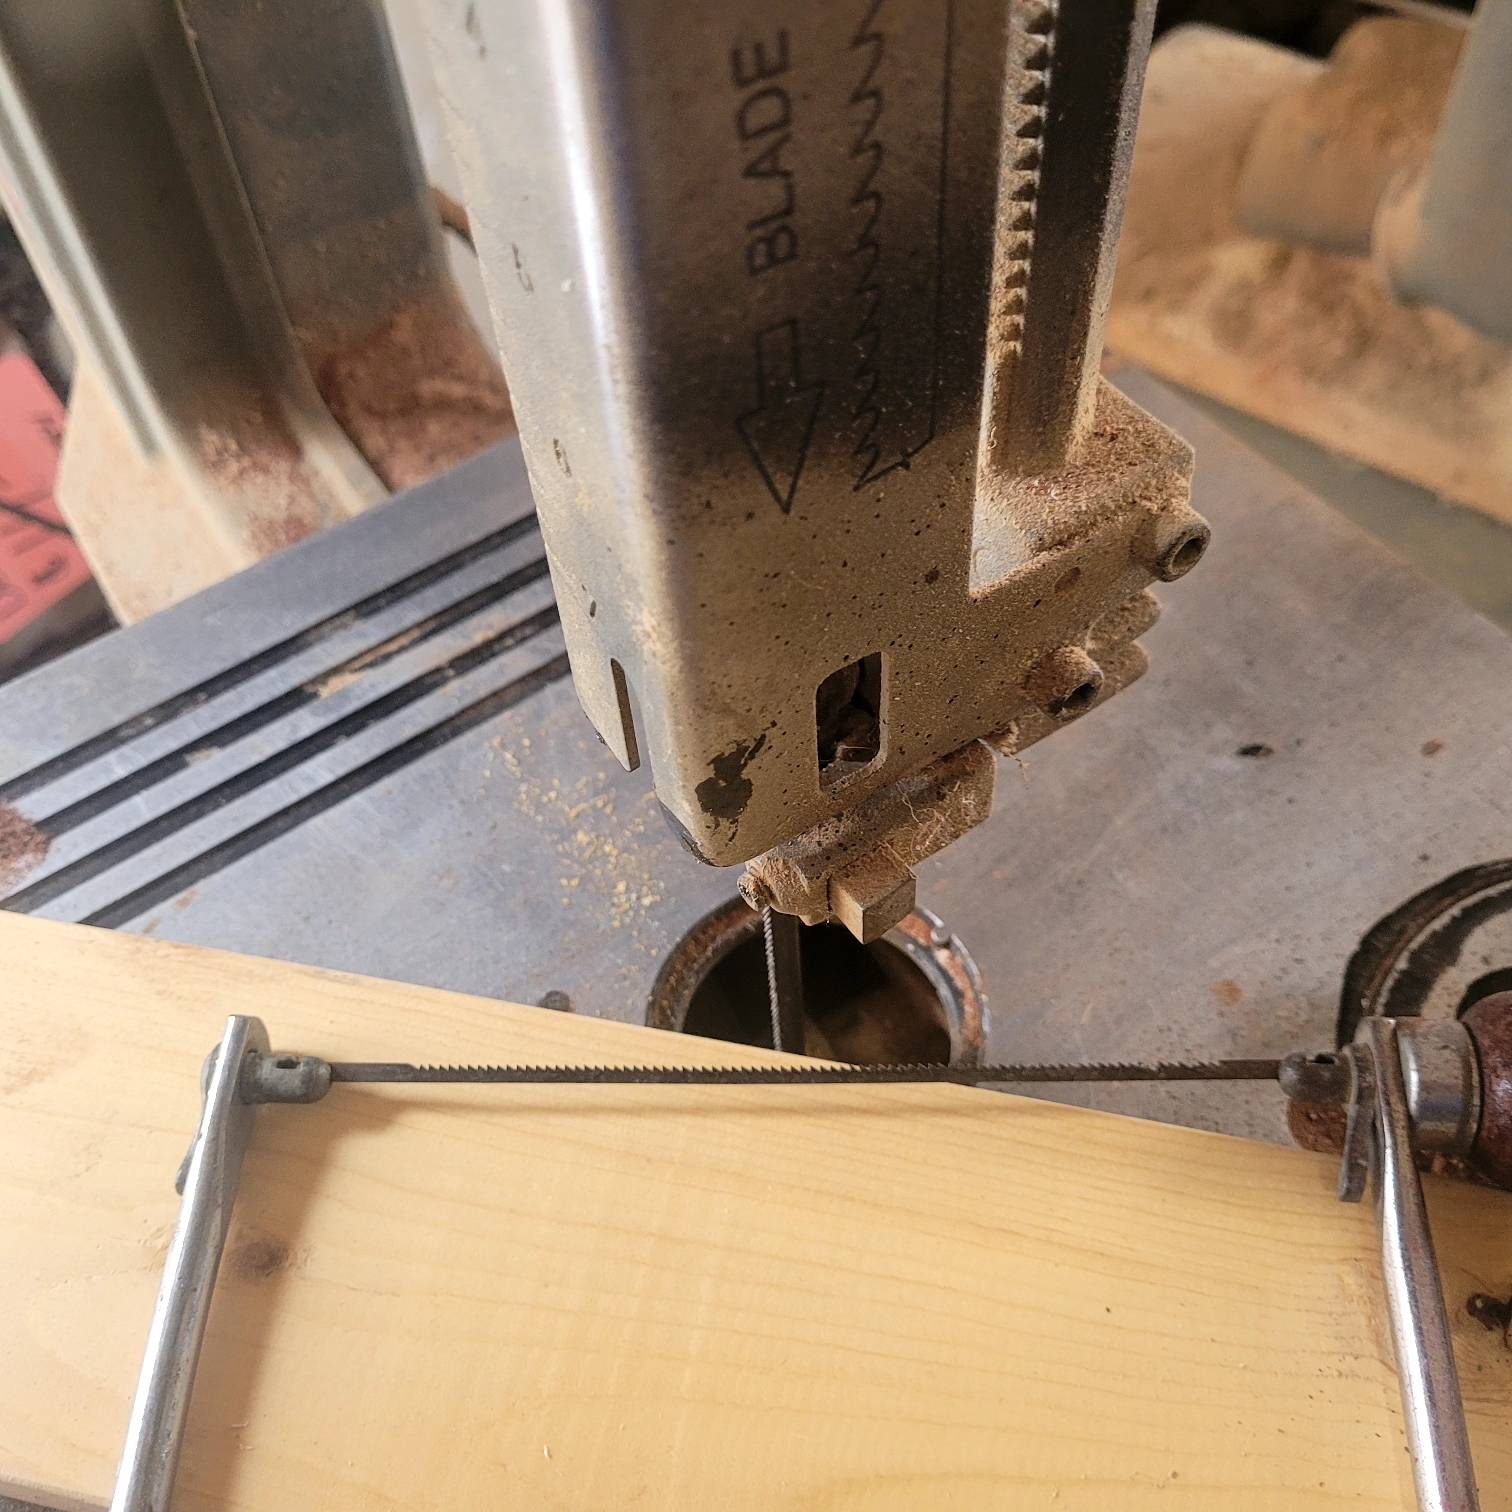
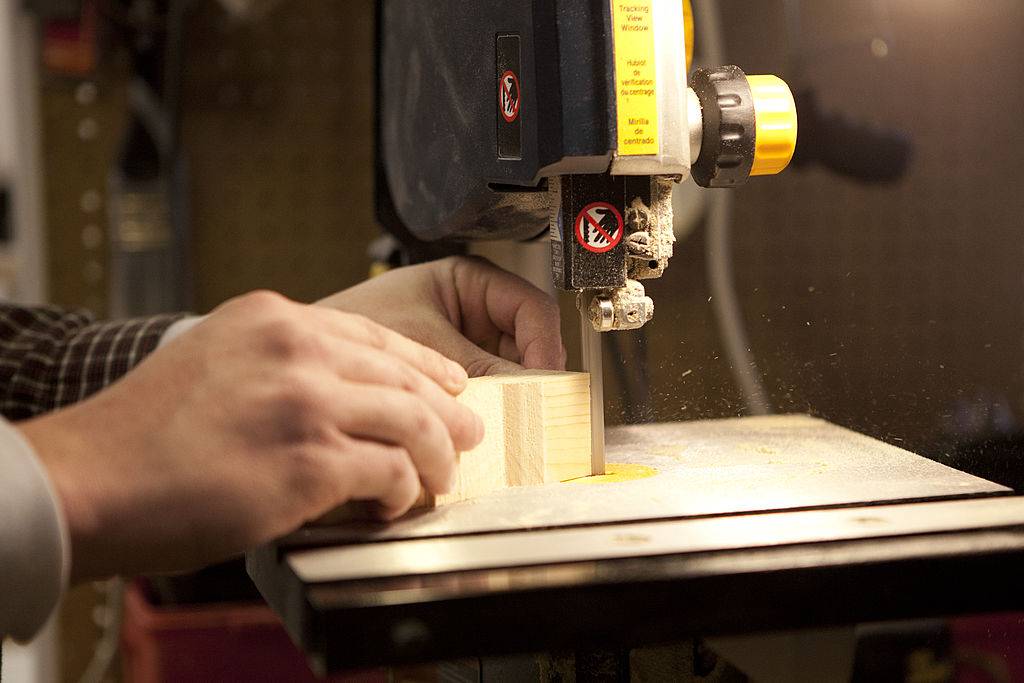
Draw an outline of the new design on the sides of the blank with the grooved section facing the workbench. You can cut the design with a coping saw, a band saw, or sand it to shape with a belt sander.
Sand the finished design with 80 grit sandpaper, then 120, and finally 220 to get it as slick as possible.
Once you’ve reached the final dimensions, weigh the car again. It should weigh substantially less than the original blank.
Adding Weight
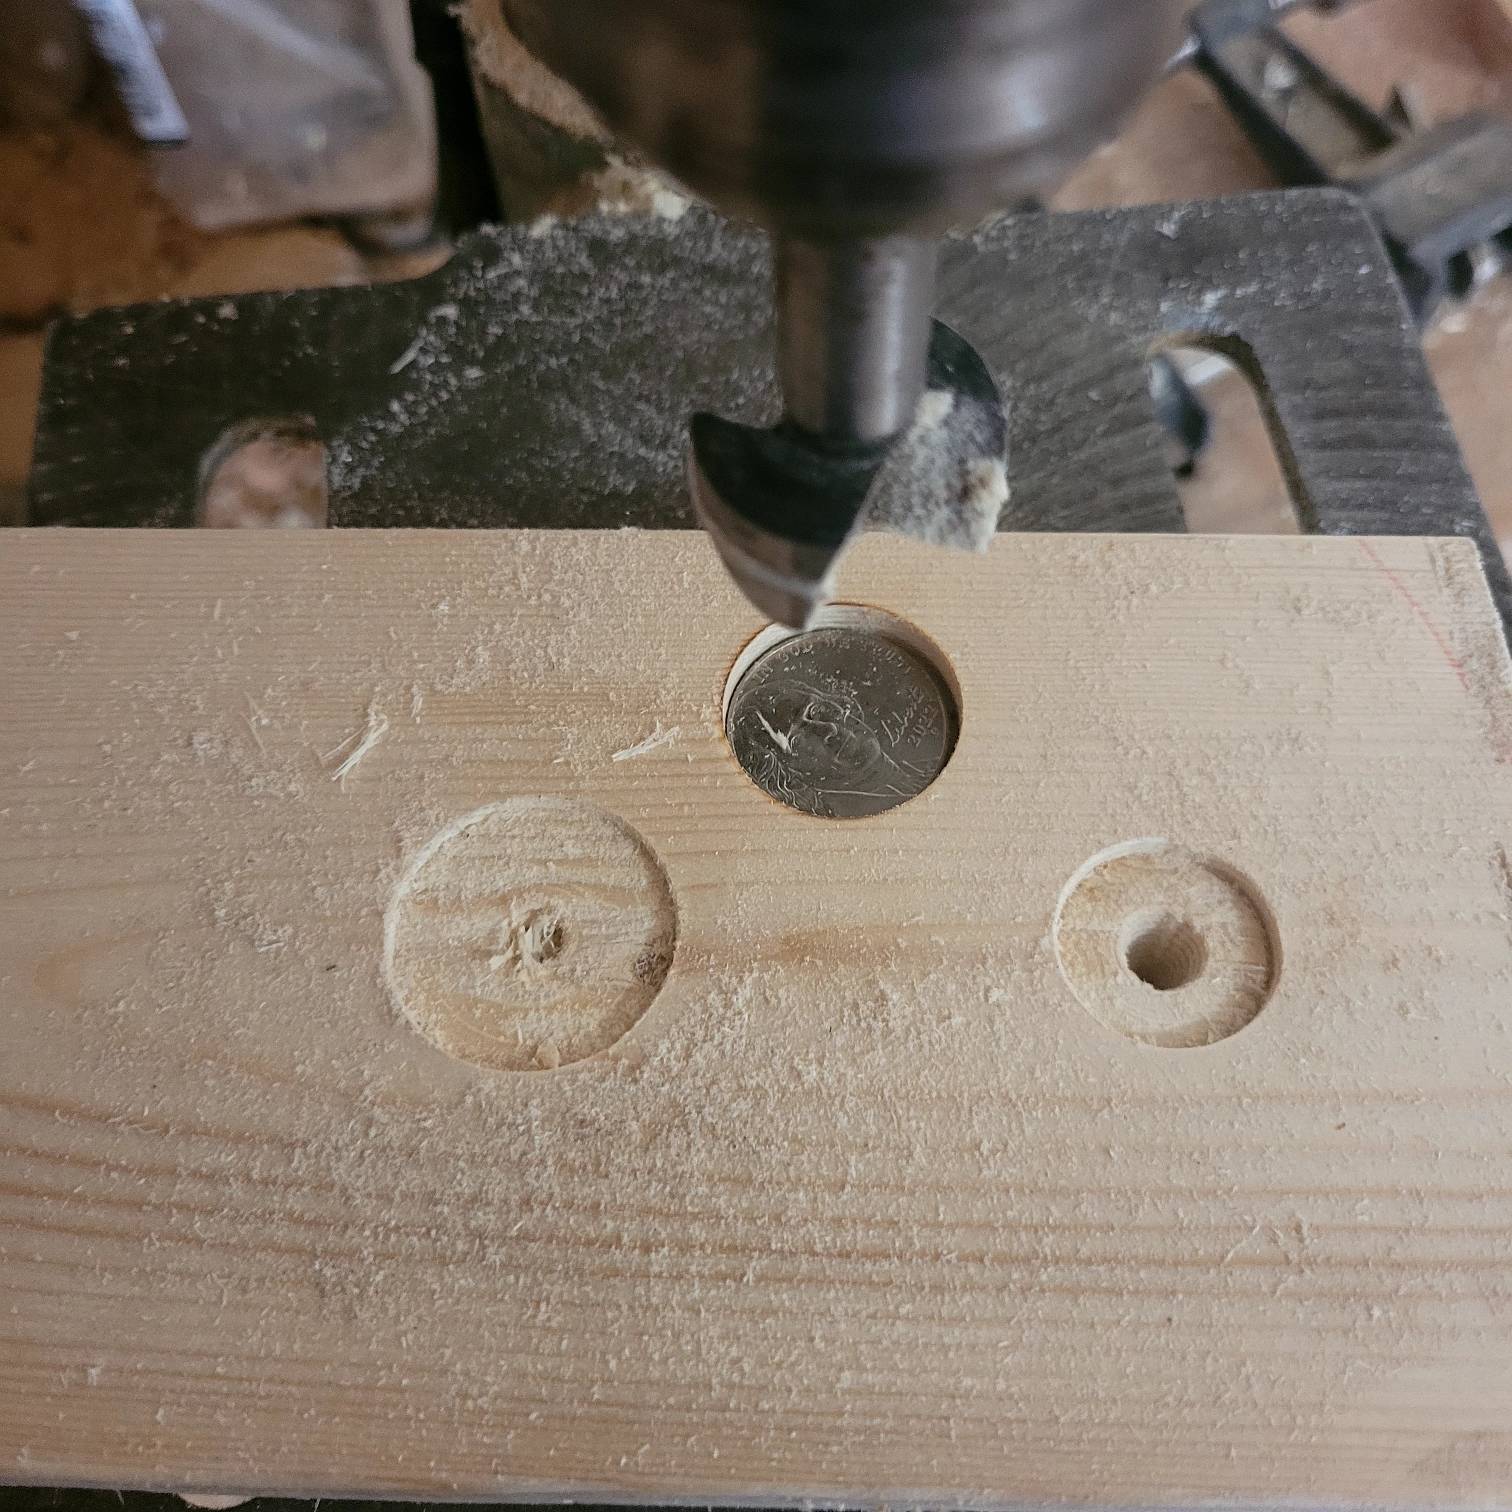
Adding enough nickels to hit 5 ounces (with the wheels and axles included) is the key to getting as much weight as legally possible.
A nickel is .835 inches in diameter and weighs 5 grams. The closest standard drill bit is a 7/8th inch spade, which translates to .875 inches. You can drill multiple holes vertically or bore one horizontally to accommodate the nickels. The nickels can be glued in place vertically, or set in the horizontal hole with a 7/8th cap of wood glued to hold them in place.
Weigh the car repeatedly as you add nickels and keep the plug on the scale as well. Once you’ve found the right number, seal the nickels in place.
FAST TIP: A hint for more speed is to have the weight as far forward as your design allows, this gives a slight advantage at the start.
Painting
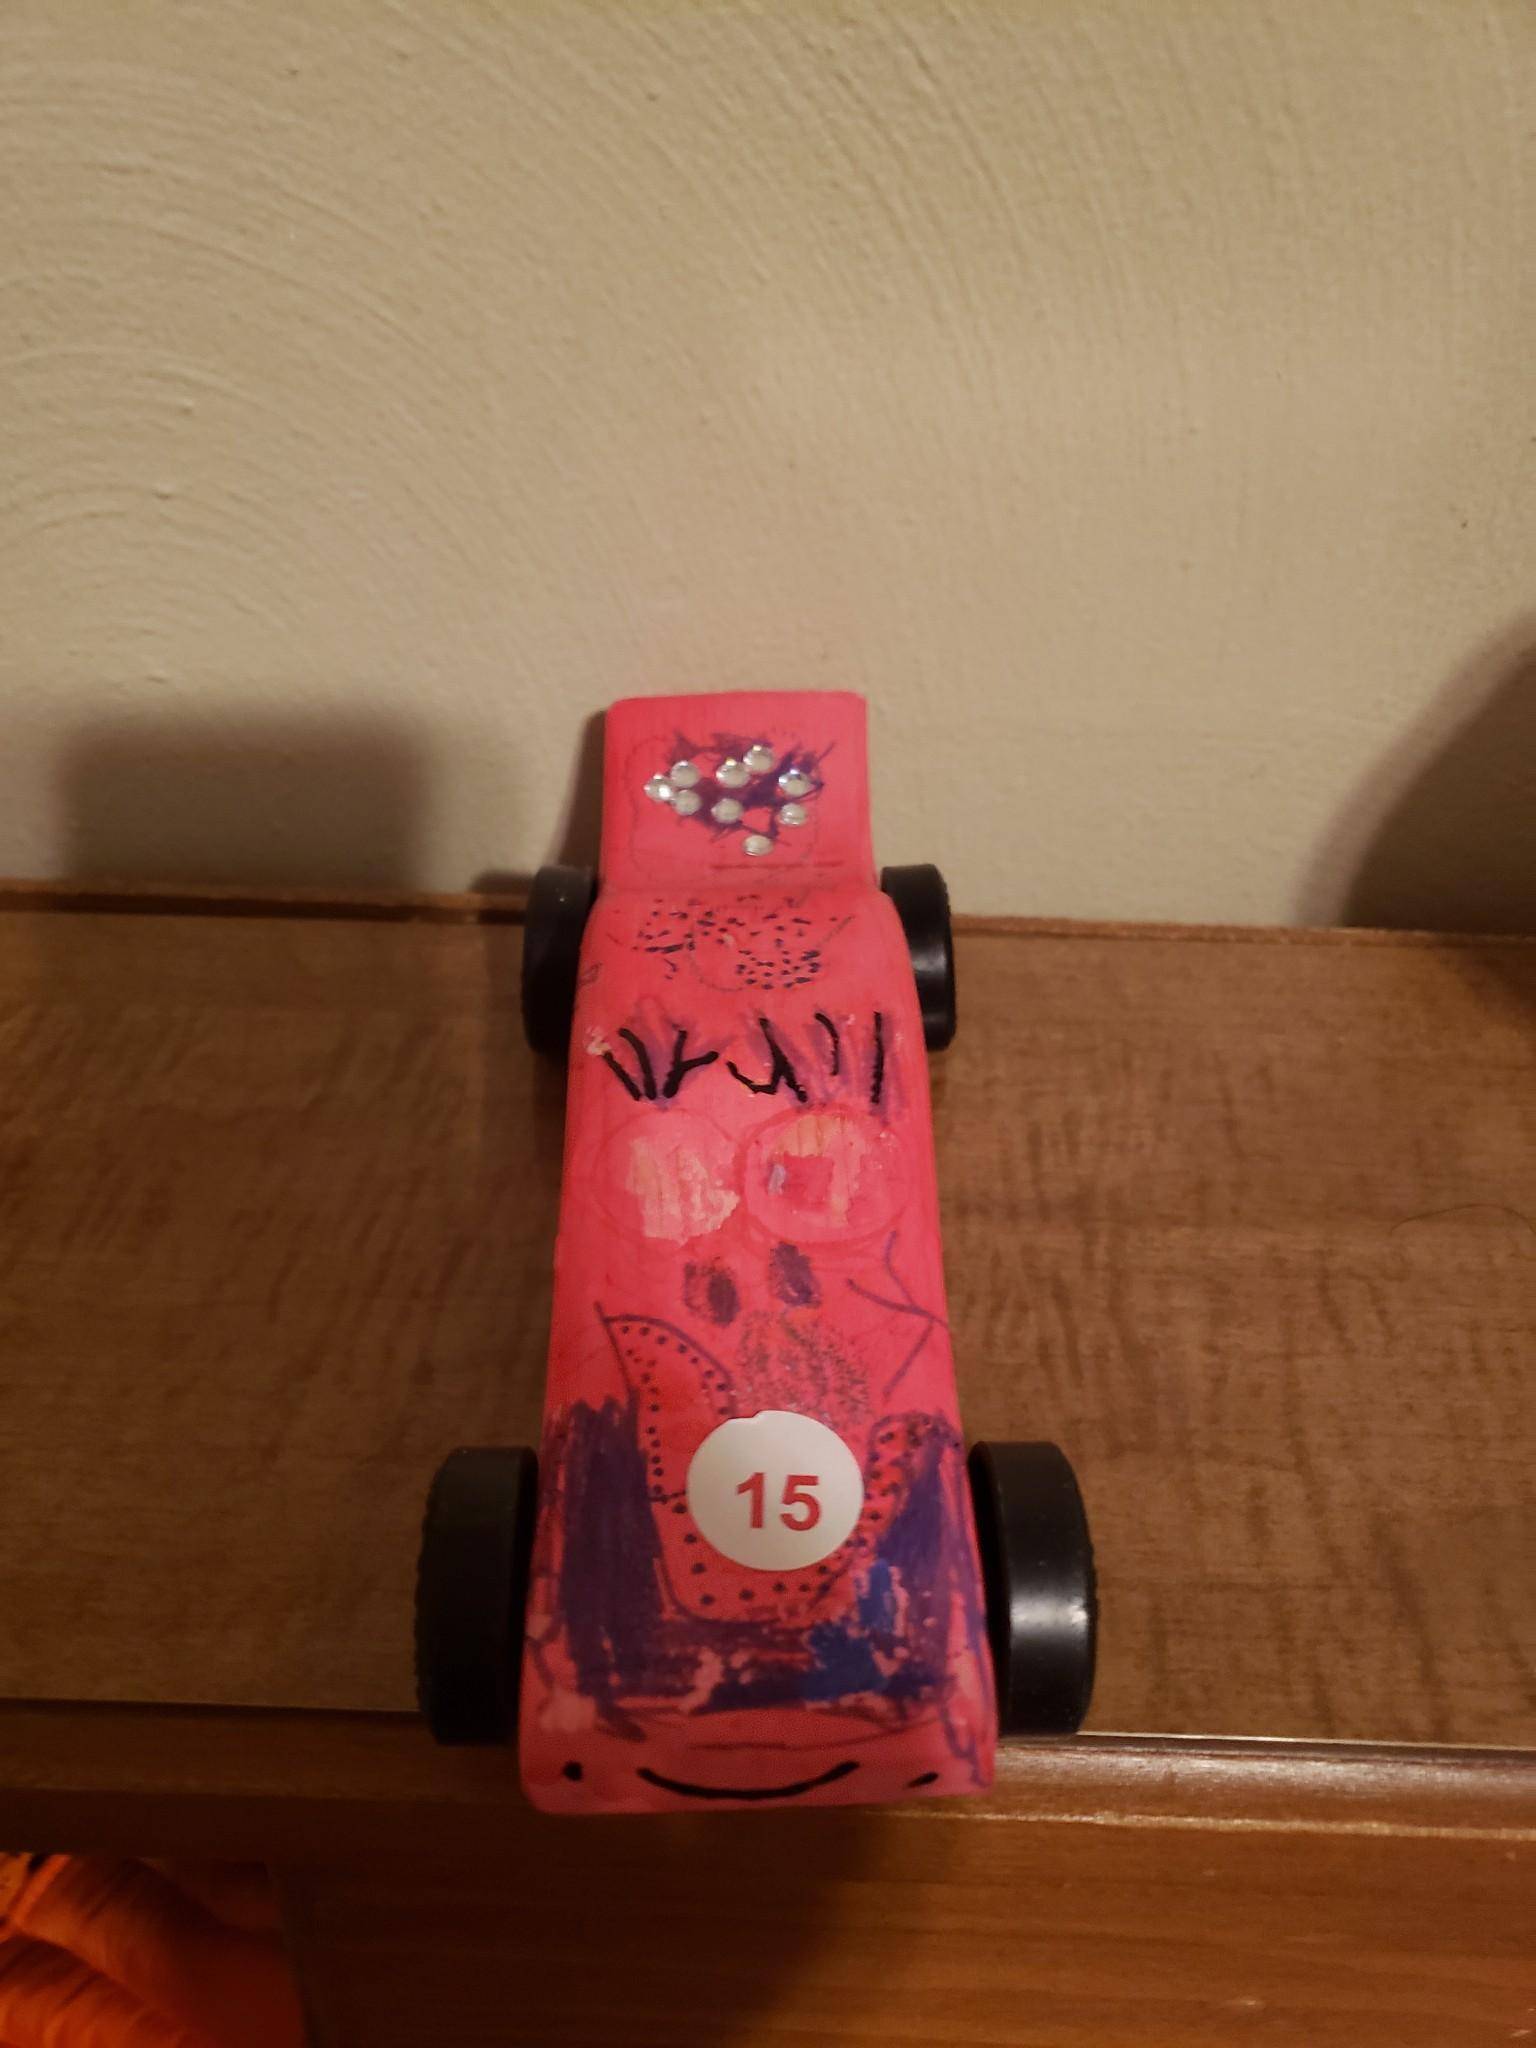
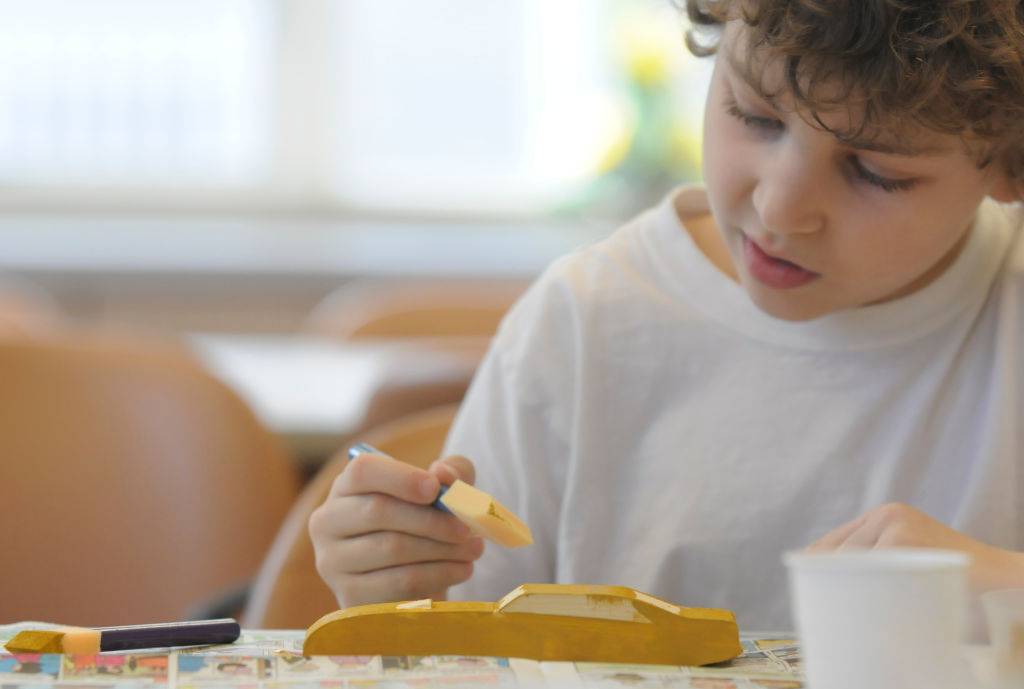
With the nickels in place, and the car sanded smooth, it’s time to paint or decorate the vehicle. The scout can leave it plain or have a little fun with wild colors and decals. My granddaughter painted her car pink and added “googly eye” decals with eyelashes added with a Sharpie.
The Wheels
Reducing friction on the wheels is the key to maximum speed. Slide the axles in place inside the hub of the wheel and run them back and forth to open the hub a bit. Put a little graphite on each axle and continue spinning the wheels. You can’t spin them too much.When the wheels are spinning freely, tap the axles carefully into the groves on the bottom of the car.
FAST TIP: If the car is overweight, drill a small hole near the rear axle and weigh repeatedly until the car is exactly 5 ounces.
Now go out and compete!

