Top Tips on How to Quickly Change a Bike Tire Yourself
Changing a bike tire is an essential skill for every cyclist, whether you’re a seasoned rider or a casual commuter. A flat tire can happen at any time, and knowing how to address it quickly and efficiently can save you from being stranded on the roadside or missing out on a beautiful ride.
This guide will walk you through the process step-by-step, ensuring that you have the knowledge and confidence to tackle this common issue with ease. From gathering the necessary tools to executing the final touches, we’ll cover everything you need to know about how to change a bike tire like a pro.
Importance of Knowing How To Change a Bike Tire
Understanding how to change a bike tire is an essential skill for any cyclist. It ensures that you can handle unexpected flats and keep your ride going smoothly, whether you’re commuting to work, enjoying a weekend trail, or embarking on a long-distance tour.
This knowledge not only saves time and money but also provides a sense of independence and confidence, allowing you to tackle any journey with peace of mind.

Being able to do it yourself offers a myriad of benefits that extend beyond the obvious savings in money and time. Firstly, it fosters a sense of self-sufficiency and independence.
When you learn to tackle tasks on your own, such as how to change a bike tire, you become less reliant on others and more confident in your abilities. This empowerment can boost your self-esteem and give you the courage to take on new and challenging projects.
The process of learning and doing can enhance your problem-solving skills. Facing and overcoming challenges on your own forces you to think critically and develop innovative solutions. These problem-solving abilities are invaluable and can be applied to various aspects of life.
Gather Your Tools and Materials

Before you begin, make sure you have all the necessary tools and materials on hand. Here’s what you’ll need:
- Bike pump: A portable pump is ideal for on-the-go repairs.
- Tire levers: These small tools help you remove the tire from the rim.
- Spare tube: Always carry a spare tube that fits your tire size.
- Patch kit: For minor repairs, a patch kit can be a lifesaver.
- Multi-tool: A bike multi-tool can be useful for various adjustments.
- Gloves: Protect your hands from grease and grime.
Removing the Wheel
The first step in changing a bike tire is to remove the wheel from the bike. Follow these steps:
- Shift to the smallest gear: This makes it easier to remove the rear wheel.
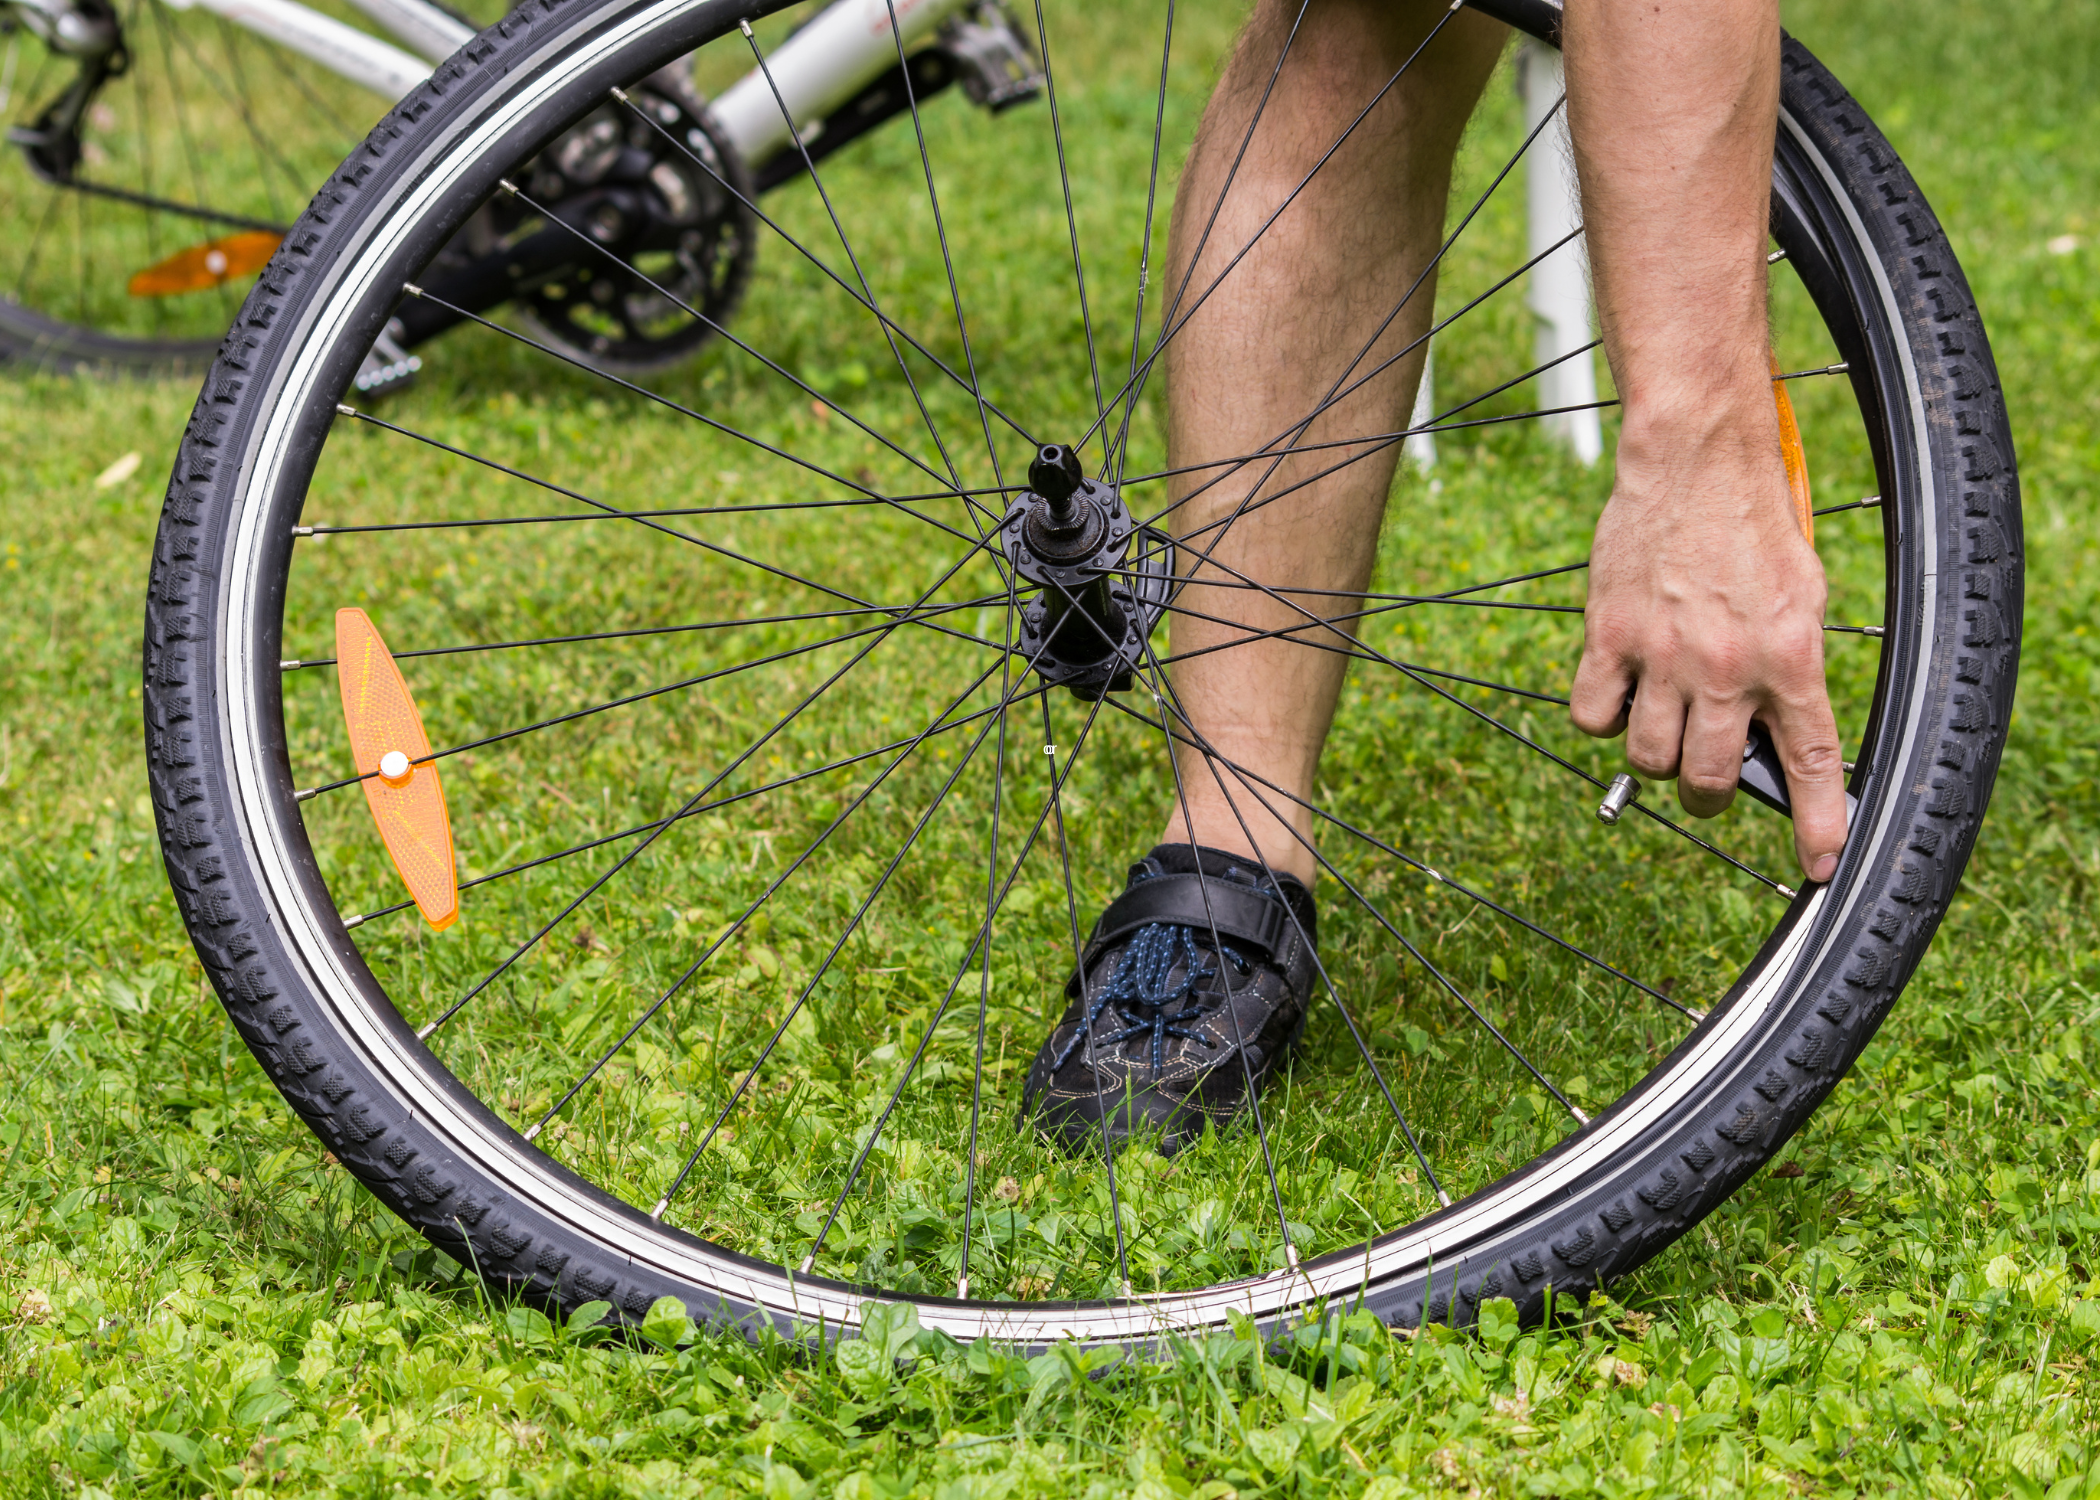
- Open the quick-release lever or axle nuts: Depending on your bike, you may need a wrench to loosen the axle nuts.
- Lift the bike: Carefully lift the bike to remove the wheel from the frame.
Tip: Keep Track of Small Parts
When removing the wheel, be mindful of small parts like washers and spacers. Keep them in a safe place to avoid losing them.
Removing the Tire and Tube
With the wheel off the bike, it’s time to remove the tire and tube. Here’s how:
- Deflate the tire: Release any remaining air by pressing the valve.
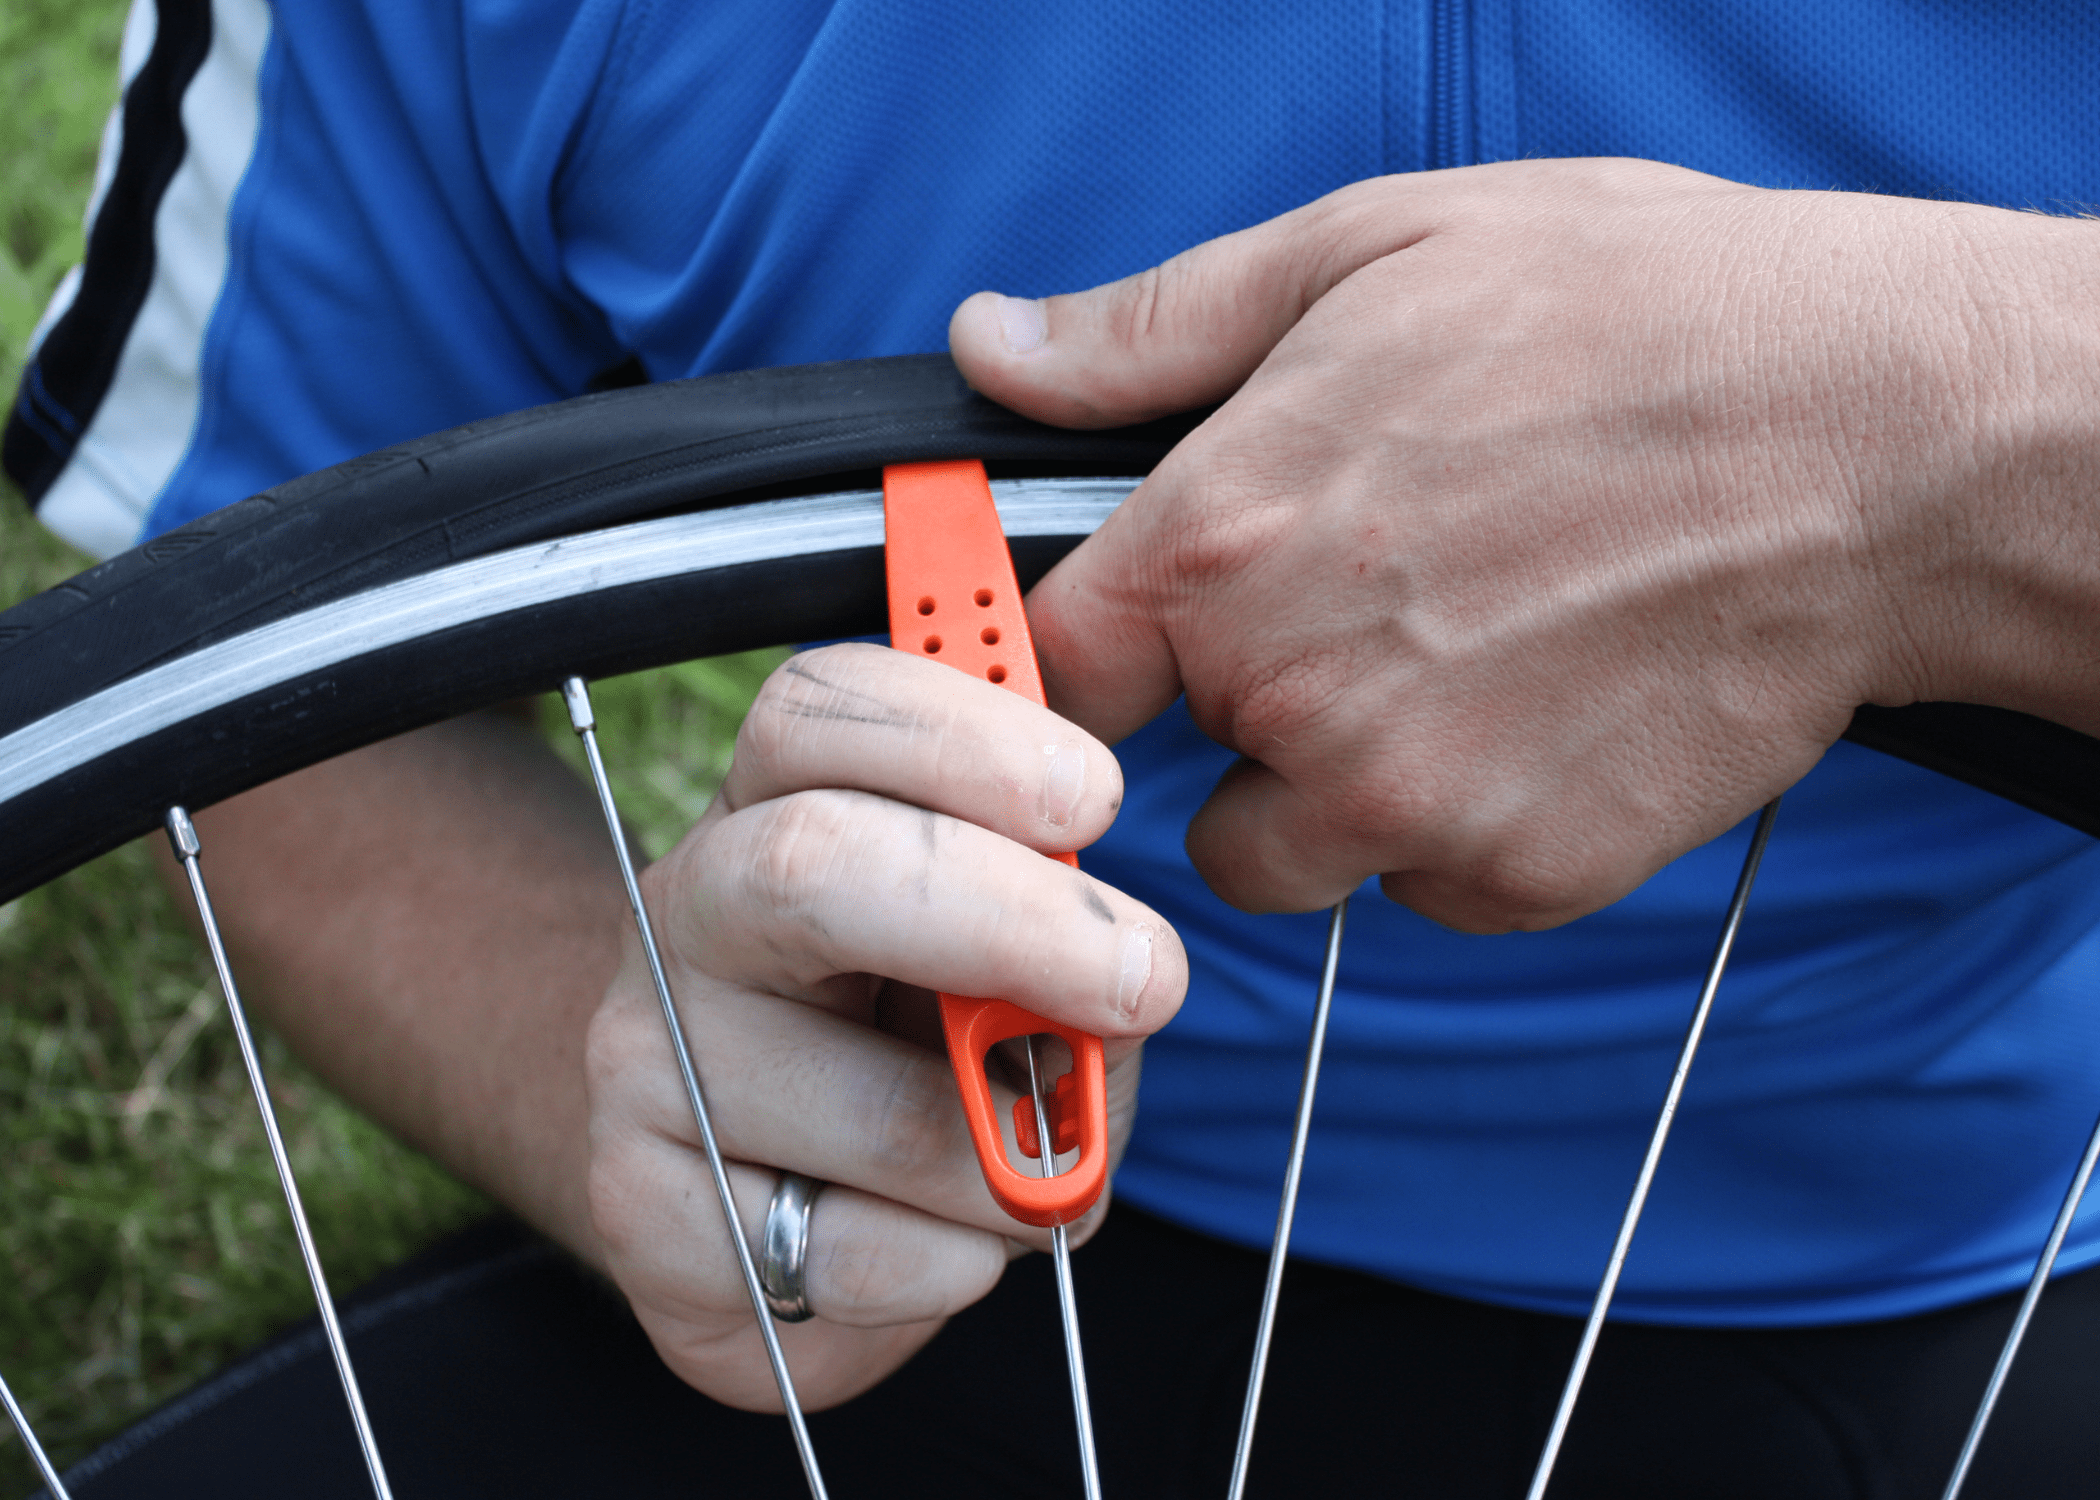
- Insert tire levers: Insert the first tire lever between the tire and rim, then hook it onto a spoke. Repeat with the second lever a few inches away.
- Pry off the tire: Use the levers to work the tire bead over the rim, then slide the lever around the rim to fully remove one side of the tire.
- Remove the tube: Carefully pull the tube out from under the tire.
Tip: Inspect the Tire and Rim
Before installing a new tube, inspect the tire and rim for sharp objects or damage that could cause another flat. Run your fingers along the inside of the tire to check for embedded debris.
Installing the New Tube
Now that the old tube is out, it’s time to install the new one:
- Inflate the tube slightly: Add a little air to give the tube some shape, making it easier to install.
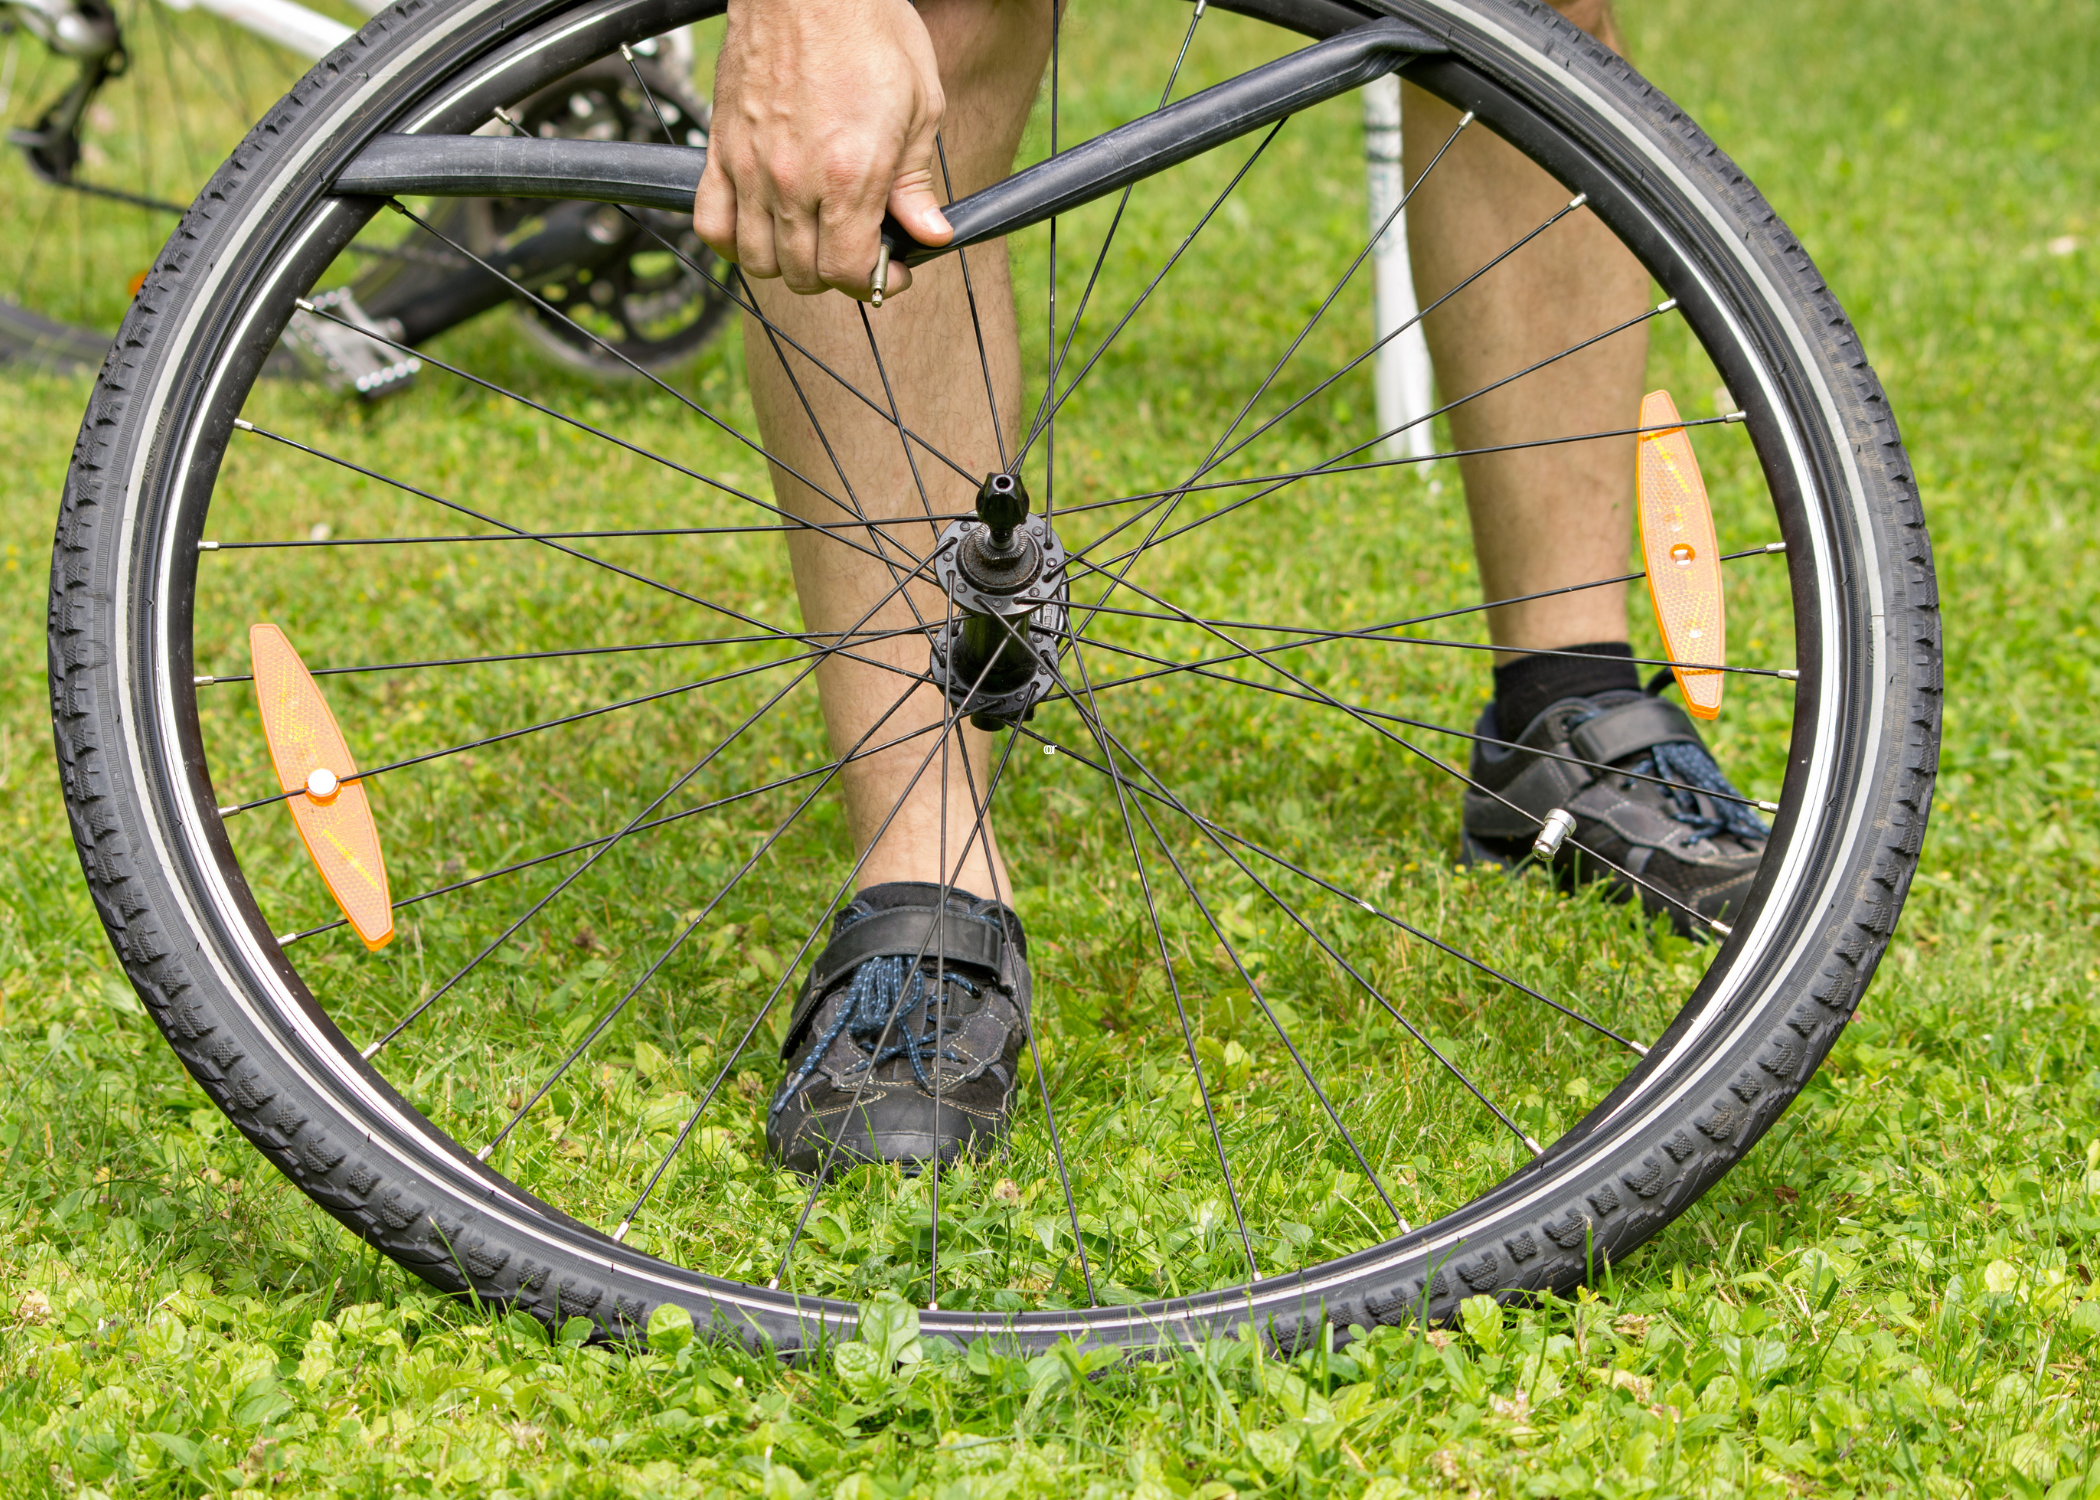
- Place the tube in the tire: Start by inserting the valve stem through the rim, then tuck the tube inside the tire.
- Seat the tire: Starting at the valve, work the tire bead back onto the rim. Use your hands to push the bead into place, avoiding tire levers if possible to prevent pinching the tube.
Tip: Check Tube Placement
Ensure the tube isn’t pinched between the tire and rim, which can cause a puncture when inflated. Gently lift the tire and check the tube placement as you work around the rim.
Reinstalling the Wheel
With the new tube installed, it’s time to put the wheel back on the bike:
- Align the wheel: Position the wheel in the frame, ensuring the chain is properly seated on the smallest gear for the rear wheel.
- Tighten the quick-release lever or axle nuts: Secure the wheel in place, making sure it’s aligned straight.
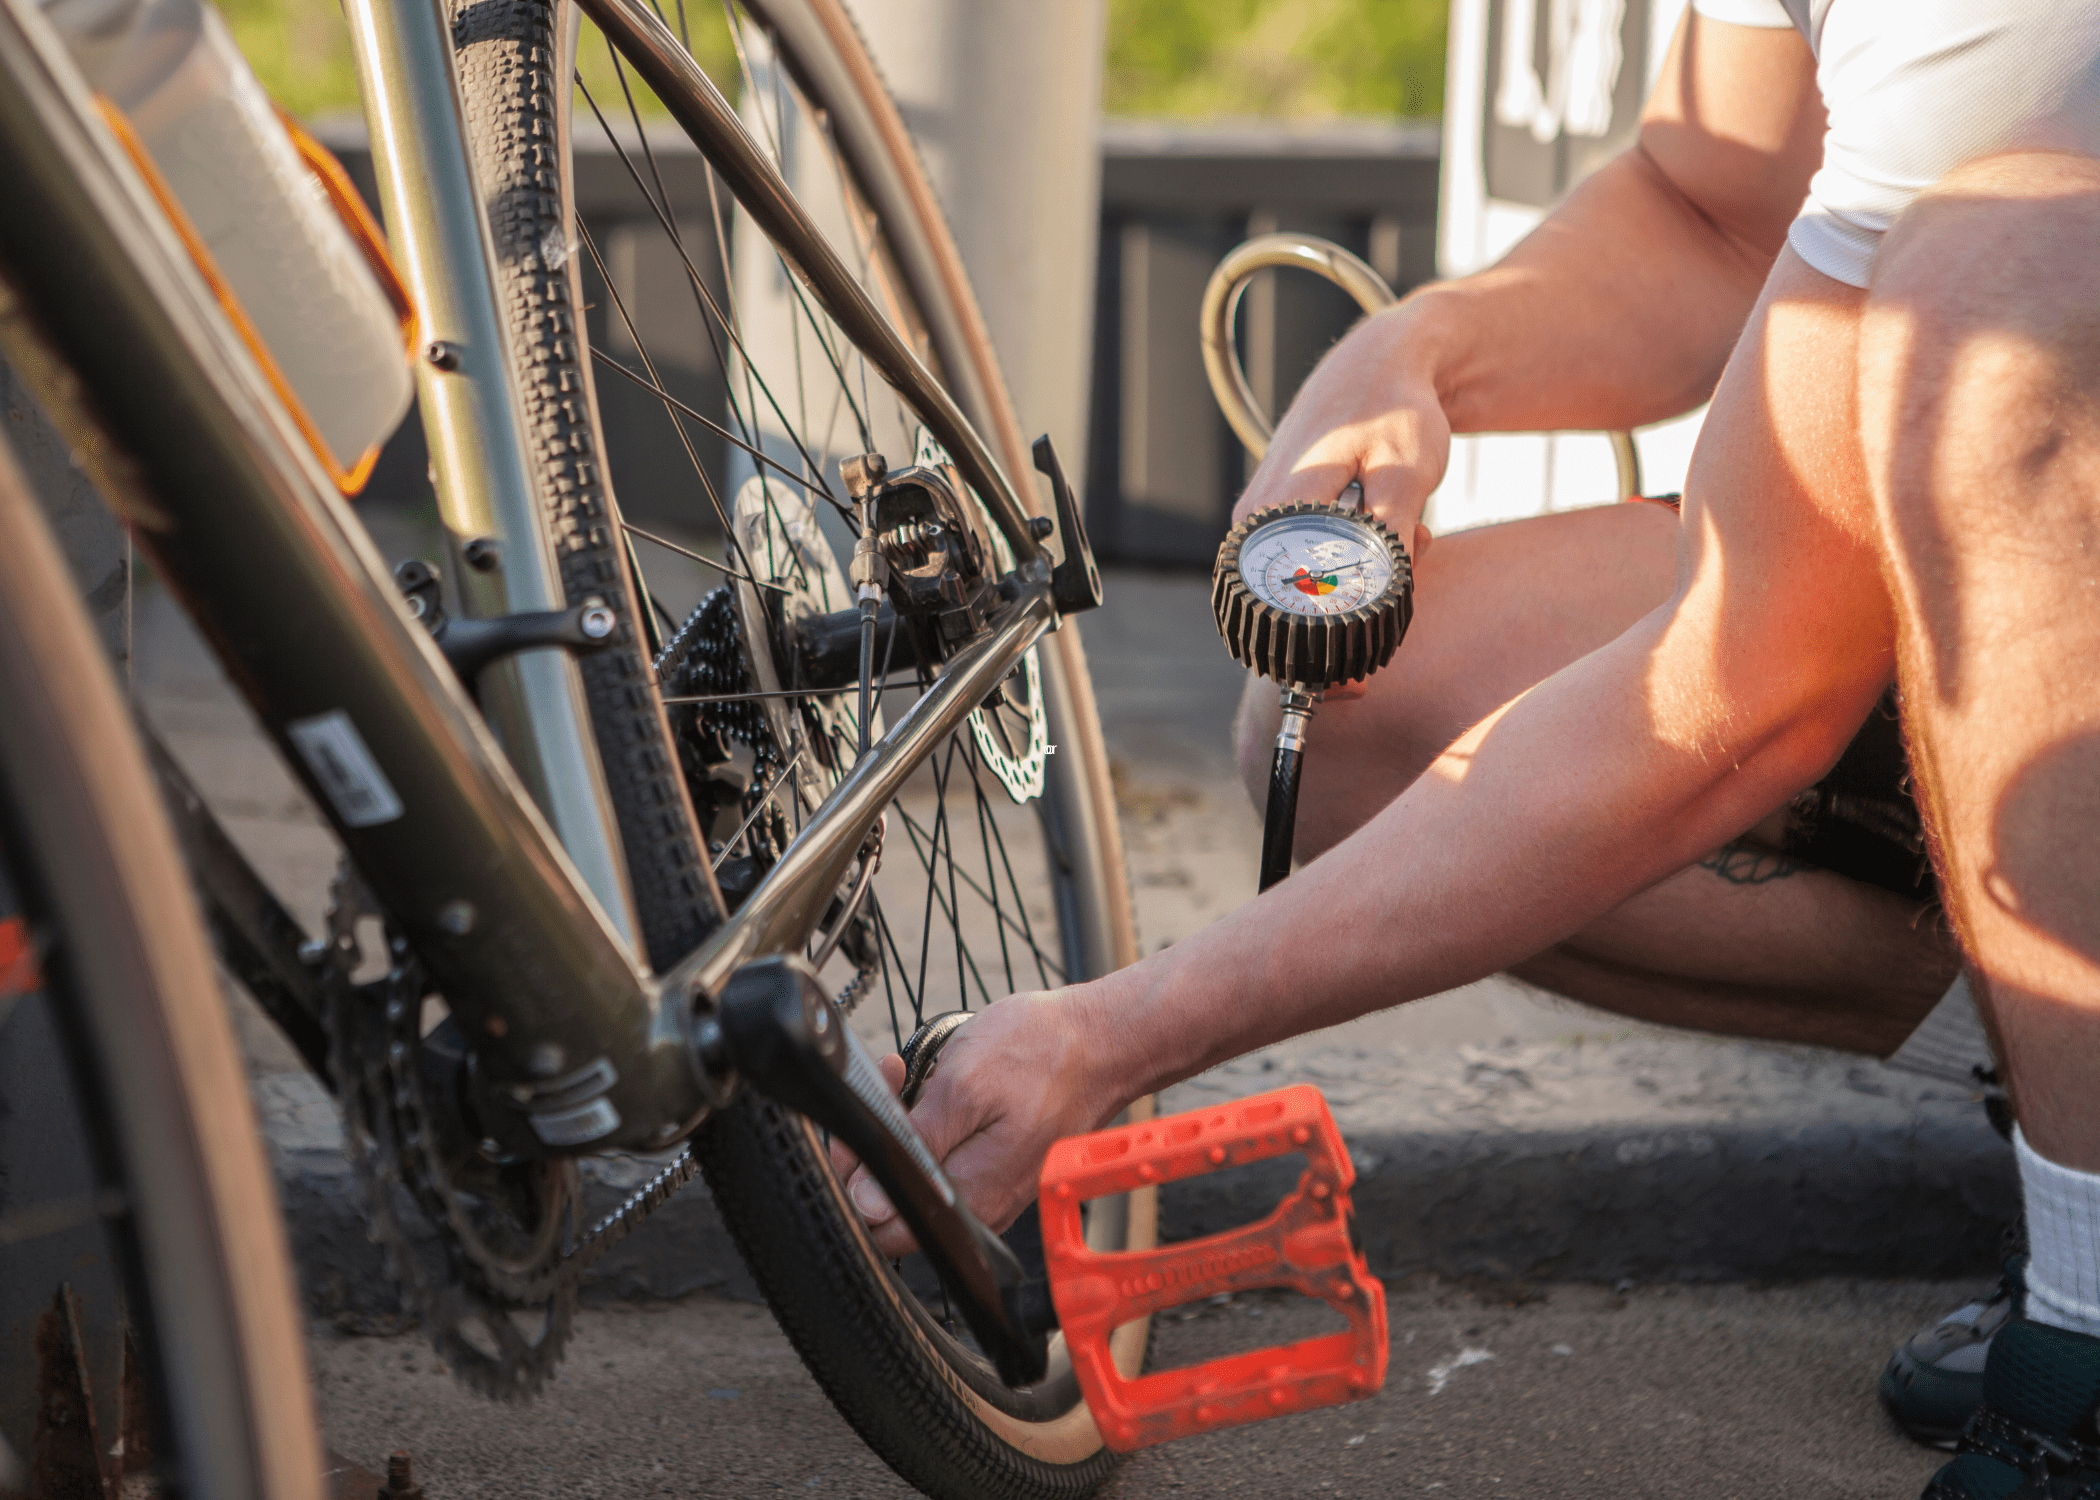
- Inflate the tire: Use your bike pump to inflate the tire to the recommended pressure found on the tire sidewall.

Tip: Spin the Wheel
After reinstalling the wheel, give it a spin to ensure it’s properly aligned and doesn’t wobble. Adjust as needed before tightening the quick-release lever or axle nuts fully.
Final Checks
Before heading out, perform a few final checks:
- Brake alignment: Make sure the brakes are properly aligned and functioning.
- Gear shifting: Test the gears to ensure smooth shifting.
- Tire pressure: Double-check the tire pressure for optimal performance.
Tip: Carry a Repair Kit
When you ride, always carry a basic repair kit, including a spare tube, tire levers, and a pump. This ensures you’re prepared for any unexpected flats.
By following these steps and tips, you’ll be well-equipped to change a bike tire efficiently. Whether you’re a seasoned cyclist or a beginner, mastering this skill can save you time and keep your rides enjoyable. Happy cycling!
Related Articles
- DIY or Buy a Garage Bike Rack: Which is Best?
- 5 Things You Should Take with You on Every Single Bike Ride
- DIY Guide for Swapping from Winter to Summer Tires
Ready to start your next project? Join our DIY community to receive tool tips, how-to guides, and exclusive creative insights. Subscribe to the ManMadeDIY newsletter now! Click here to unlock a world of hands-on inspiration.
Frequently Asked Questions (FAQs)
How often should I check my bike tires for wear and tear?
It’s a good idea to inspect your bike tires regularly, at least once a month, or before long rides. Look for signs of wear, such as bald spots, cuts, or embedded debris.
What should I do if my tire keeps going flat?
If your tire keeps going flat, check for sharp objects in the tire or rim, ensure the tube isn’t pinched, and verify the tire pressure is correct. Persistent issues may require a professional inspection.
Can I use a patch kit instead of replacing the tube?
Yes, a patch kit can be used for minor punctures. However, replacing the tube is often more reliable, especially for larger punctures or multiple holes.
How do I know the correct tire pressure for my bike?
The recommended tire pressure is usually printed on the sidewall of the tire. It’s measured in PSI (pounds per square inch). Use a gauge to ensure accurate inflation.


