How to Change a Thermostat When It Starts to Fail
Replacing a thermostat may seem intimidating, but it’s a straightforward task that can save you money and improve your home’s energy efficiency. Whether you’re upgrading to a smart thermostat or replacing a faulty one, this guide will walk you through the entire process with ease.
Understanding Your Thermostat and When to Replace It
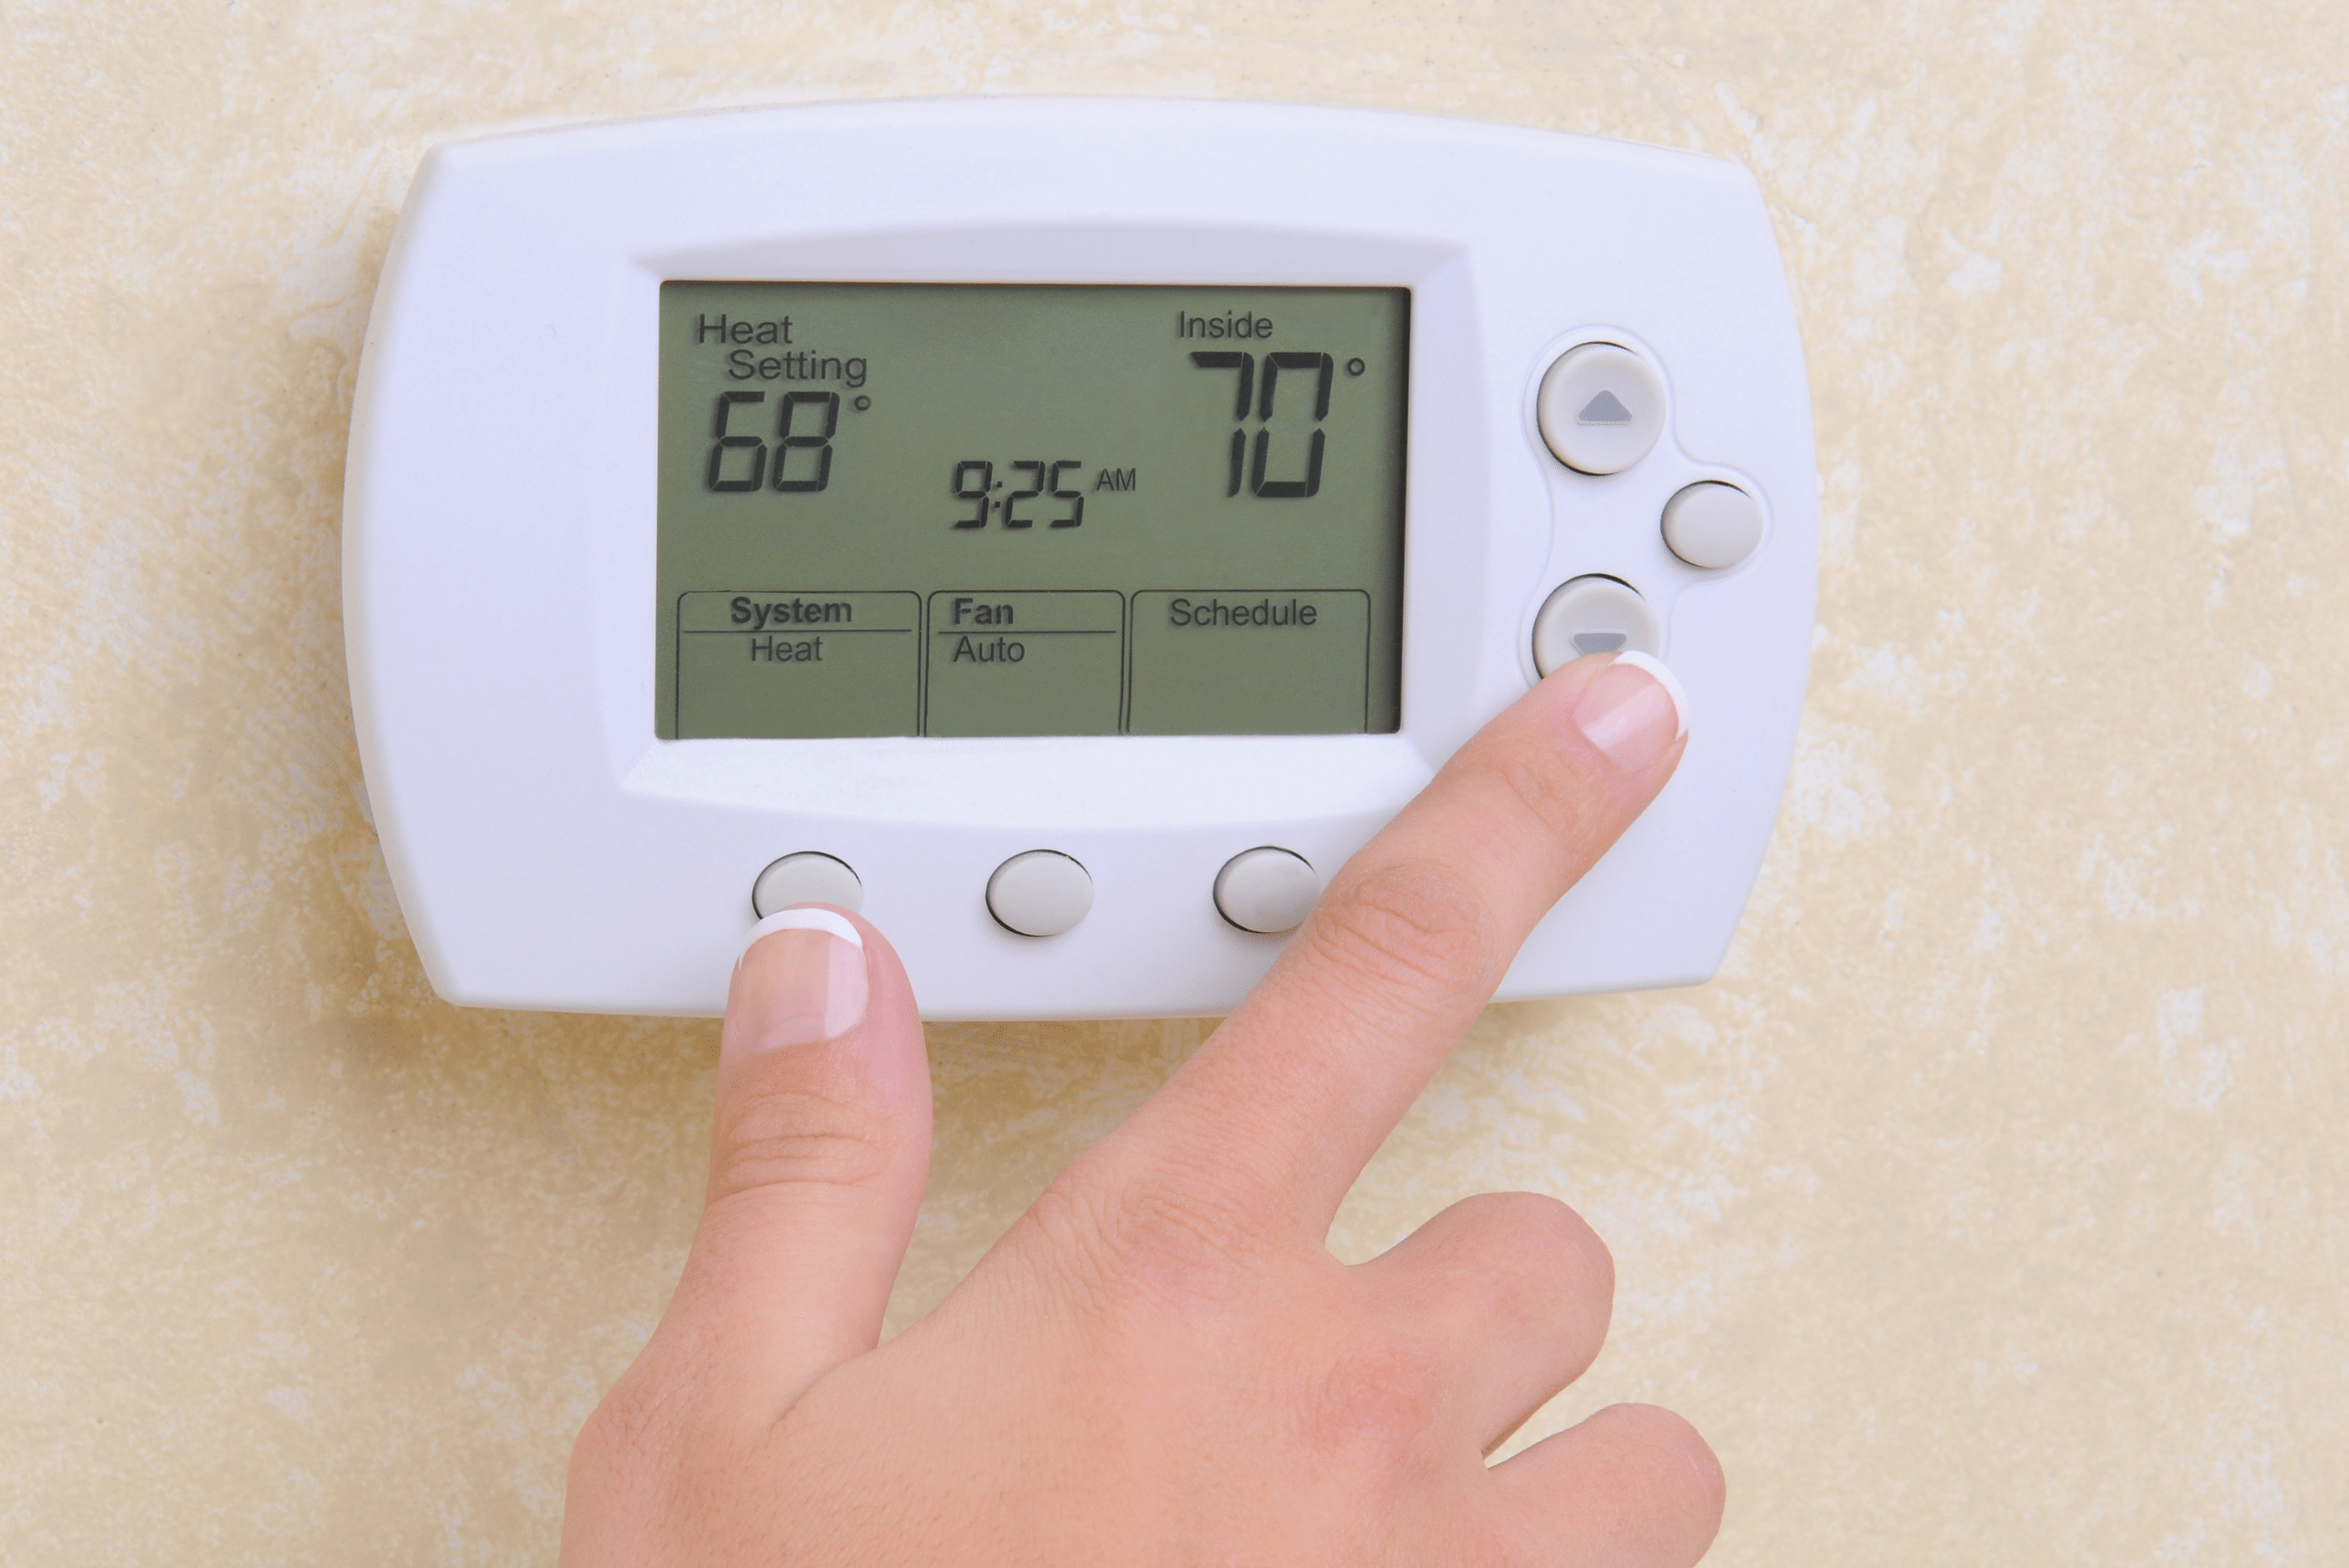
Thermostats play a crucial role in regulating your home’s temperature. If your current thermostat is outdated, malfunctioning, or lacks modern energy-saving features, it’s time for a replacement. Newer models, like smart thermostats, allow for greater control and efficiency, making them a worthwhile upgrade.
Signs you need to change your thermostat include inaccurate temperature readings, frequent cycling of your HVAC system, or complete unresponsiveness. Before diving into the replacement process, make sure to identify the type of thermostat you currently have and its compatibility with your HVAC system.
1. Gathering the Tools and Materials You’ll Need
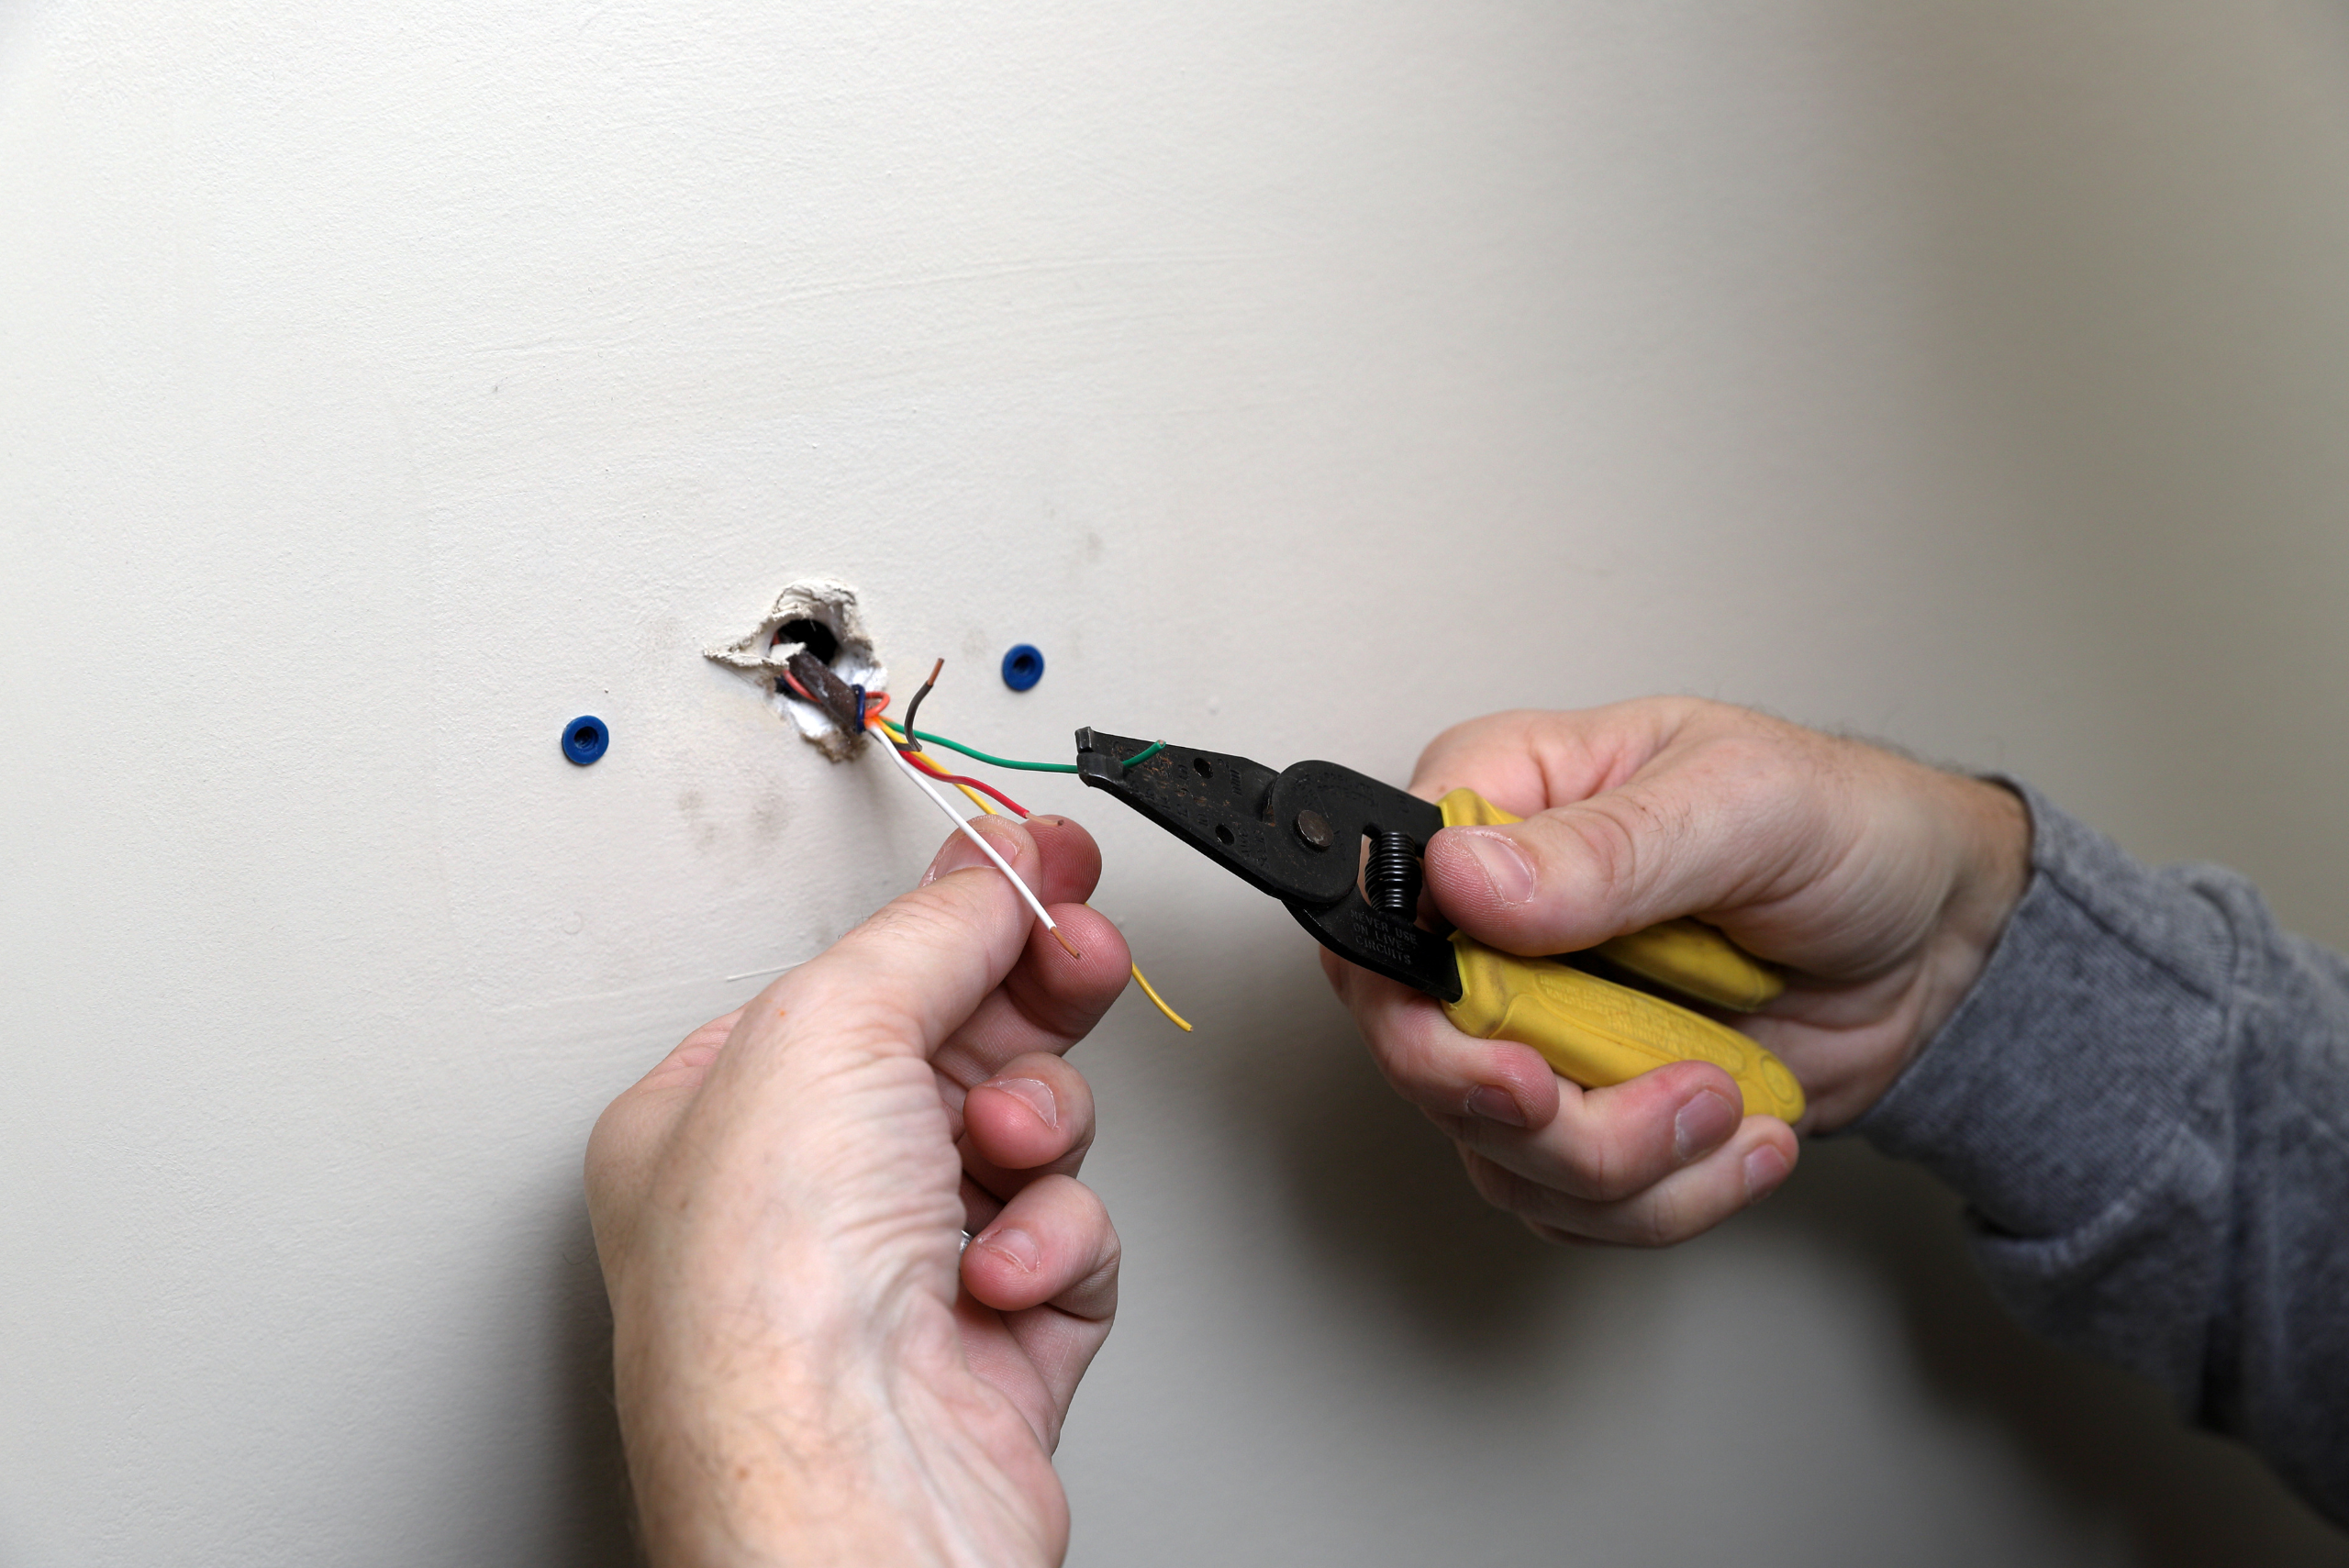
Changing a thermostat requires minimal tools, most of which you likely already have at home. You’ll need a screwdriver, a drill (optional), a voltage tester, and the new thermostat unit.
Before purchasing a replacement thermostat, confirm that it’s compatible with your home’s HVAC system. Most modern thermostats come with compatibility guides to help you make the right choice. Additionally, read the installation instructions provided with the new thermostat to familiarize yourself with the process.
2. Turning Off Power and Removing the Old Thermostat
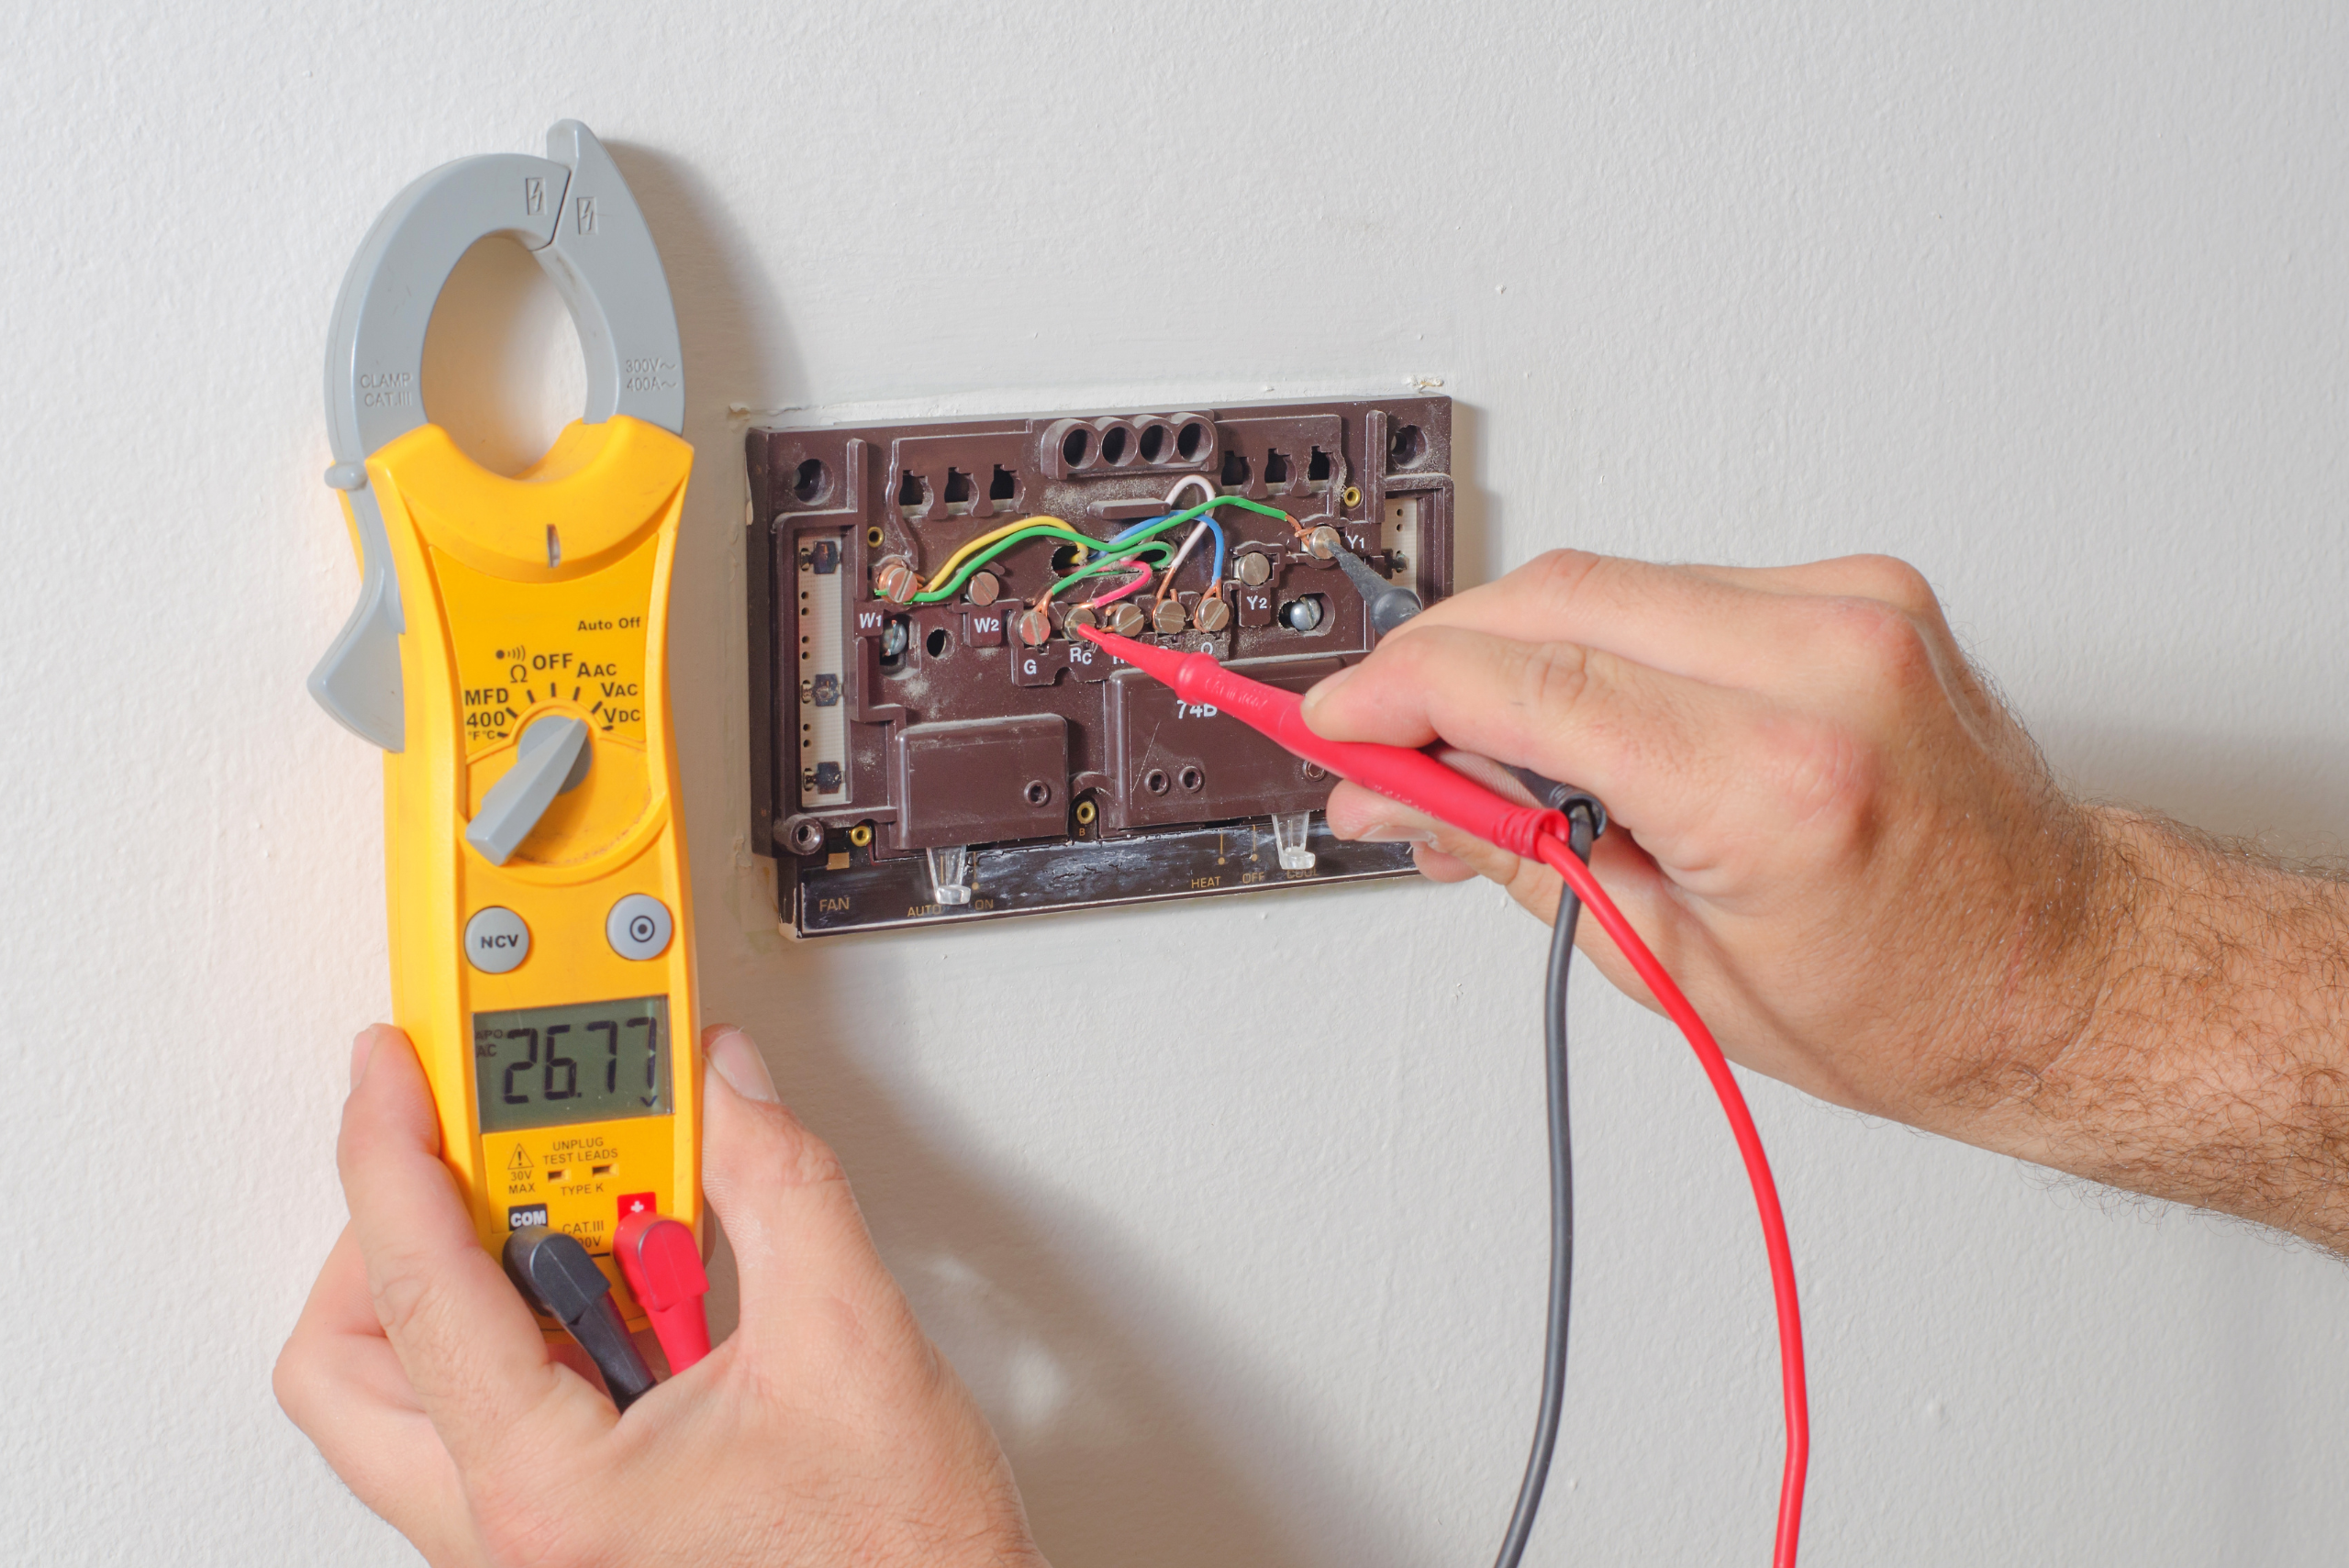
Safety should always come first. Begin by turning off the power to your HVAC system at the circuit breaker. Before proceeding, use a voltage tester to ensure the wires are not live.
Carefully remove the old thermostat’s cover and unscrew it from the wall. Take a photo or label the wires to remember their connections. This step is crucial for ensuring the correct installation of the new thermostat.
3. Installing and Connecting the New Thermostat
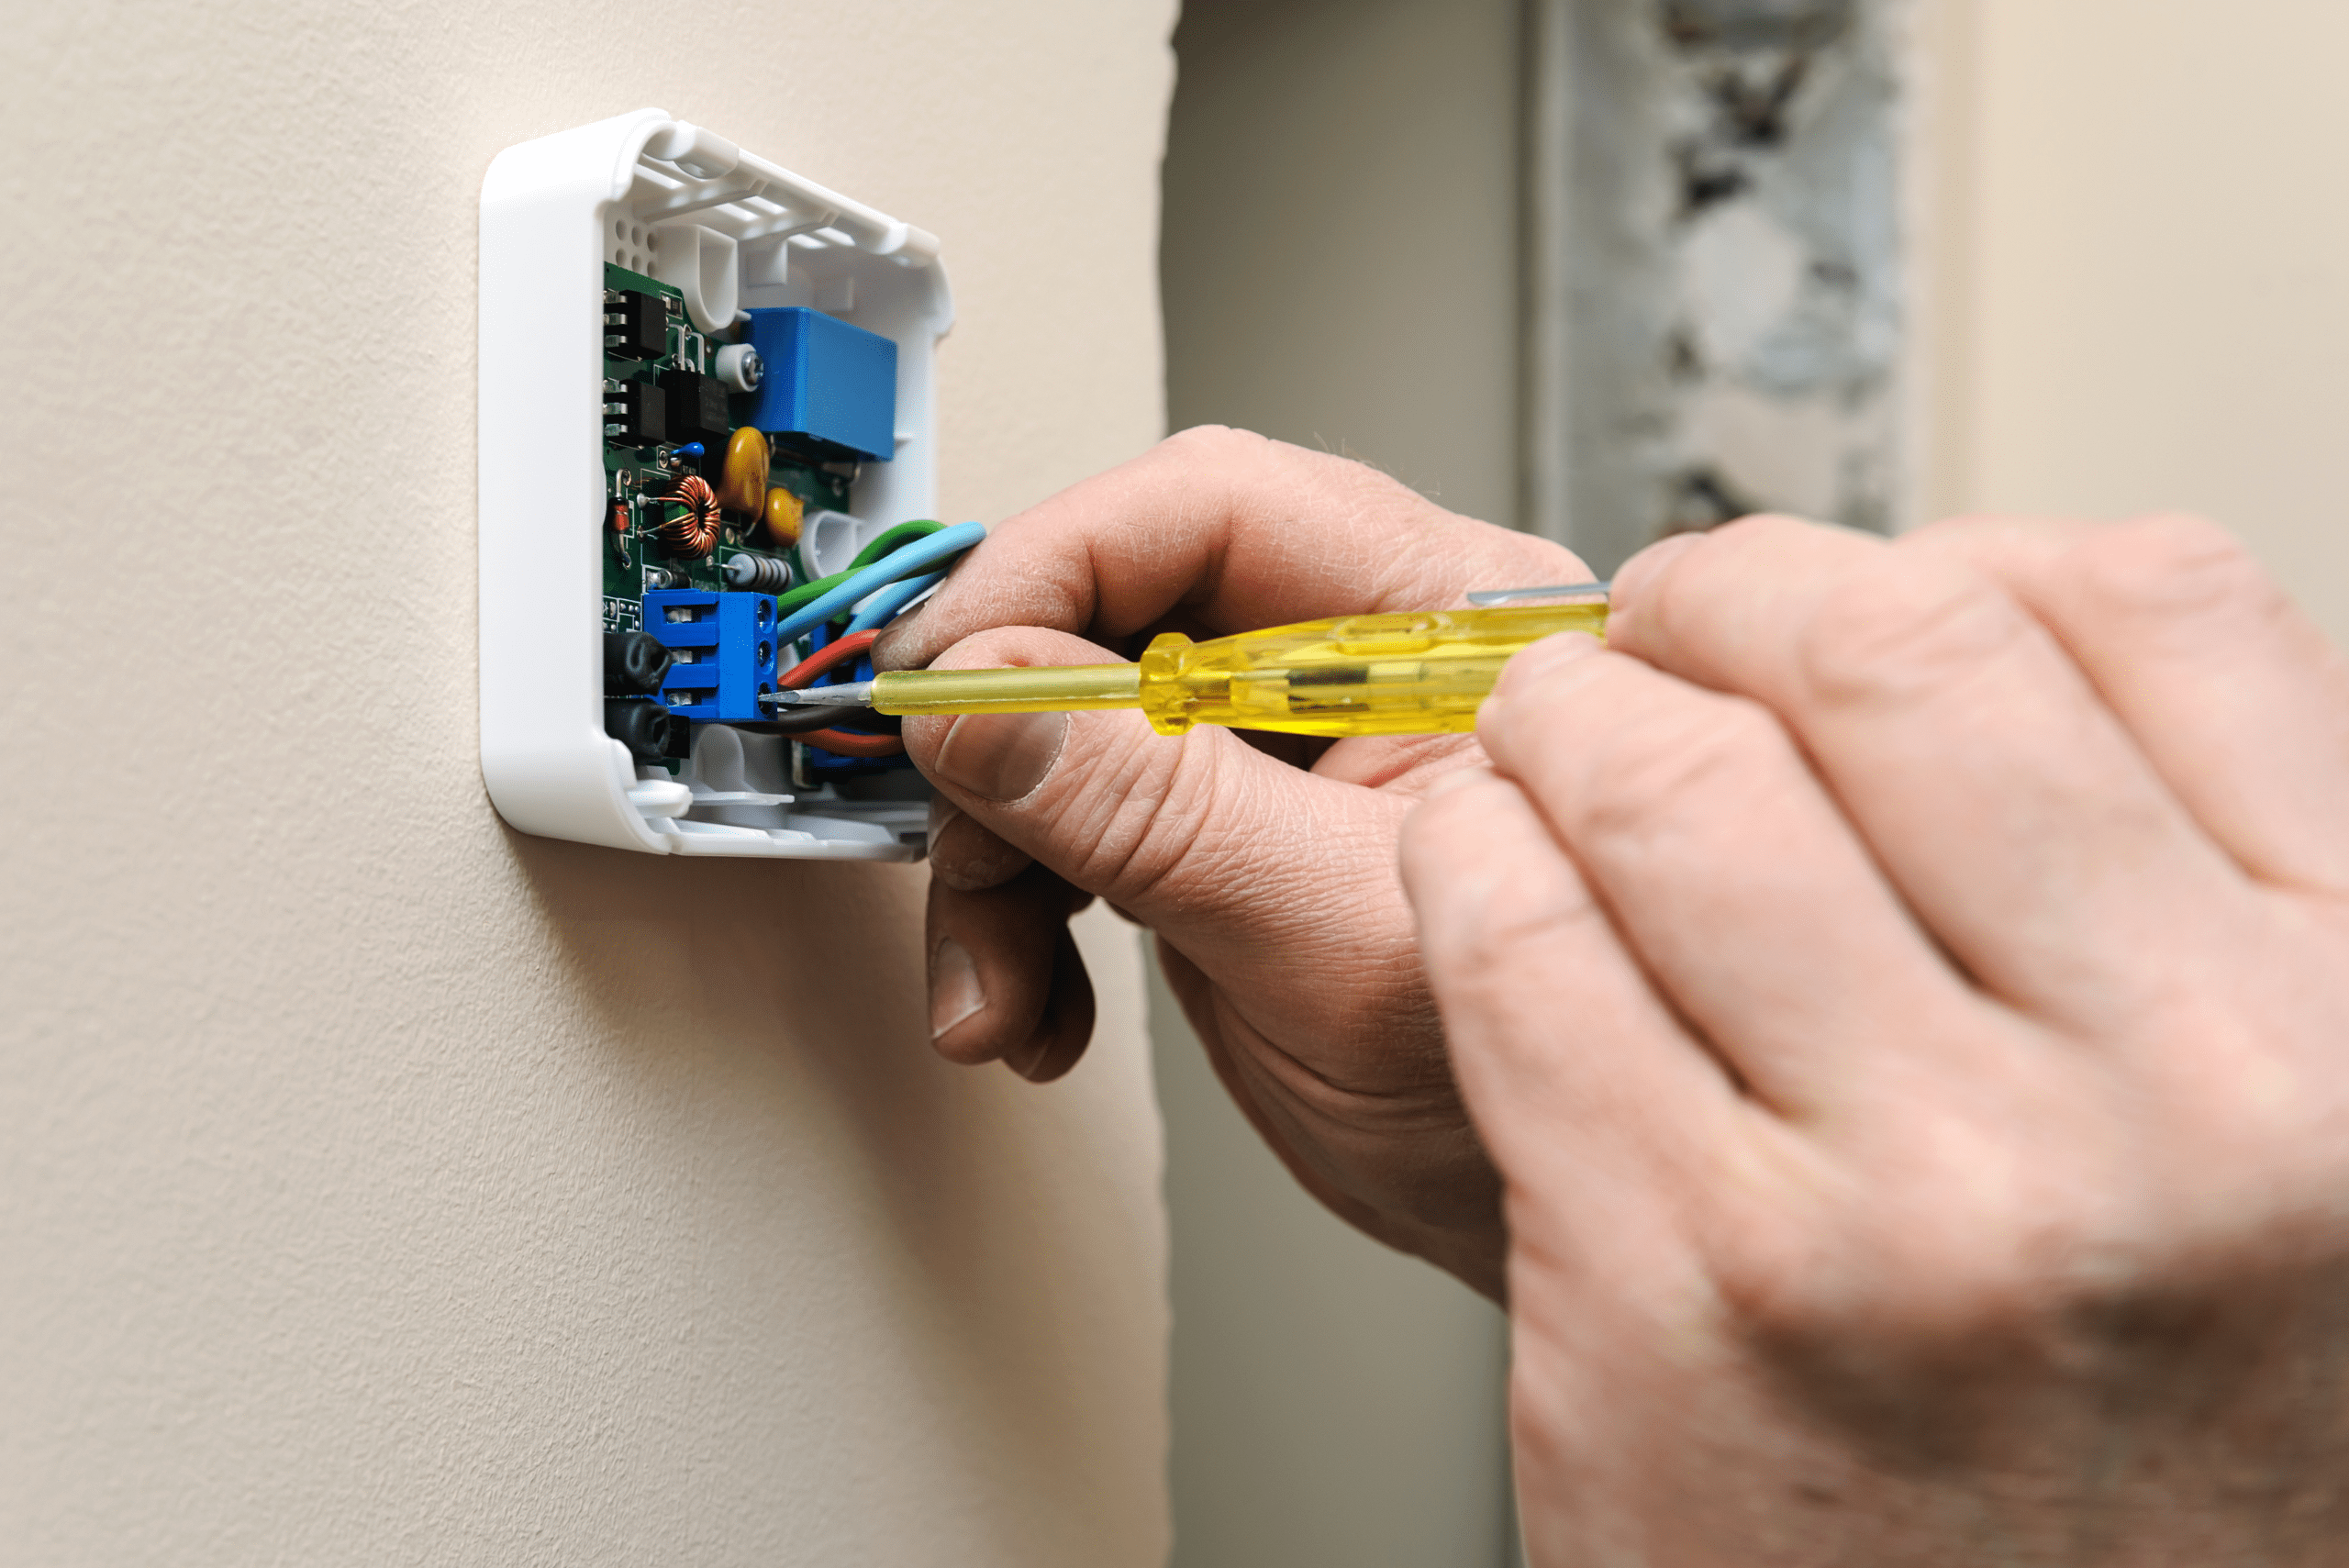
Start by attaching the base of the new thermostat to the wall and aligning it with the existing wiring. Use the screws provided in the kit to secure it firmly.
Next, connect the wires to the appropriate terminals based on your earlier photo or labels. Most thermostats include color-coded wiring diagrams for easy reference. After ensuring all wires are securely connected, attach the cover of the new thermostat and power the system back on.
4. Testing and Configuring the New Thermostat
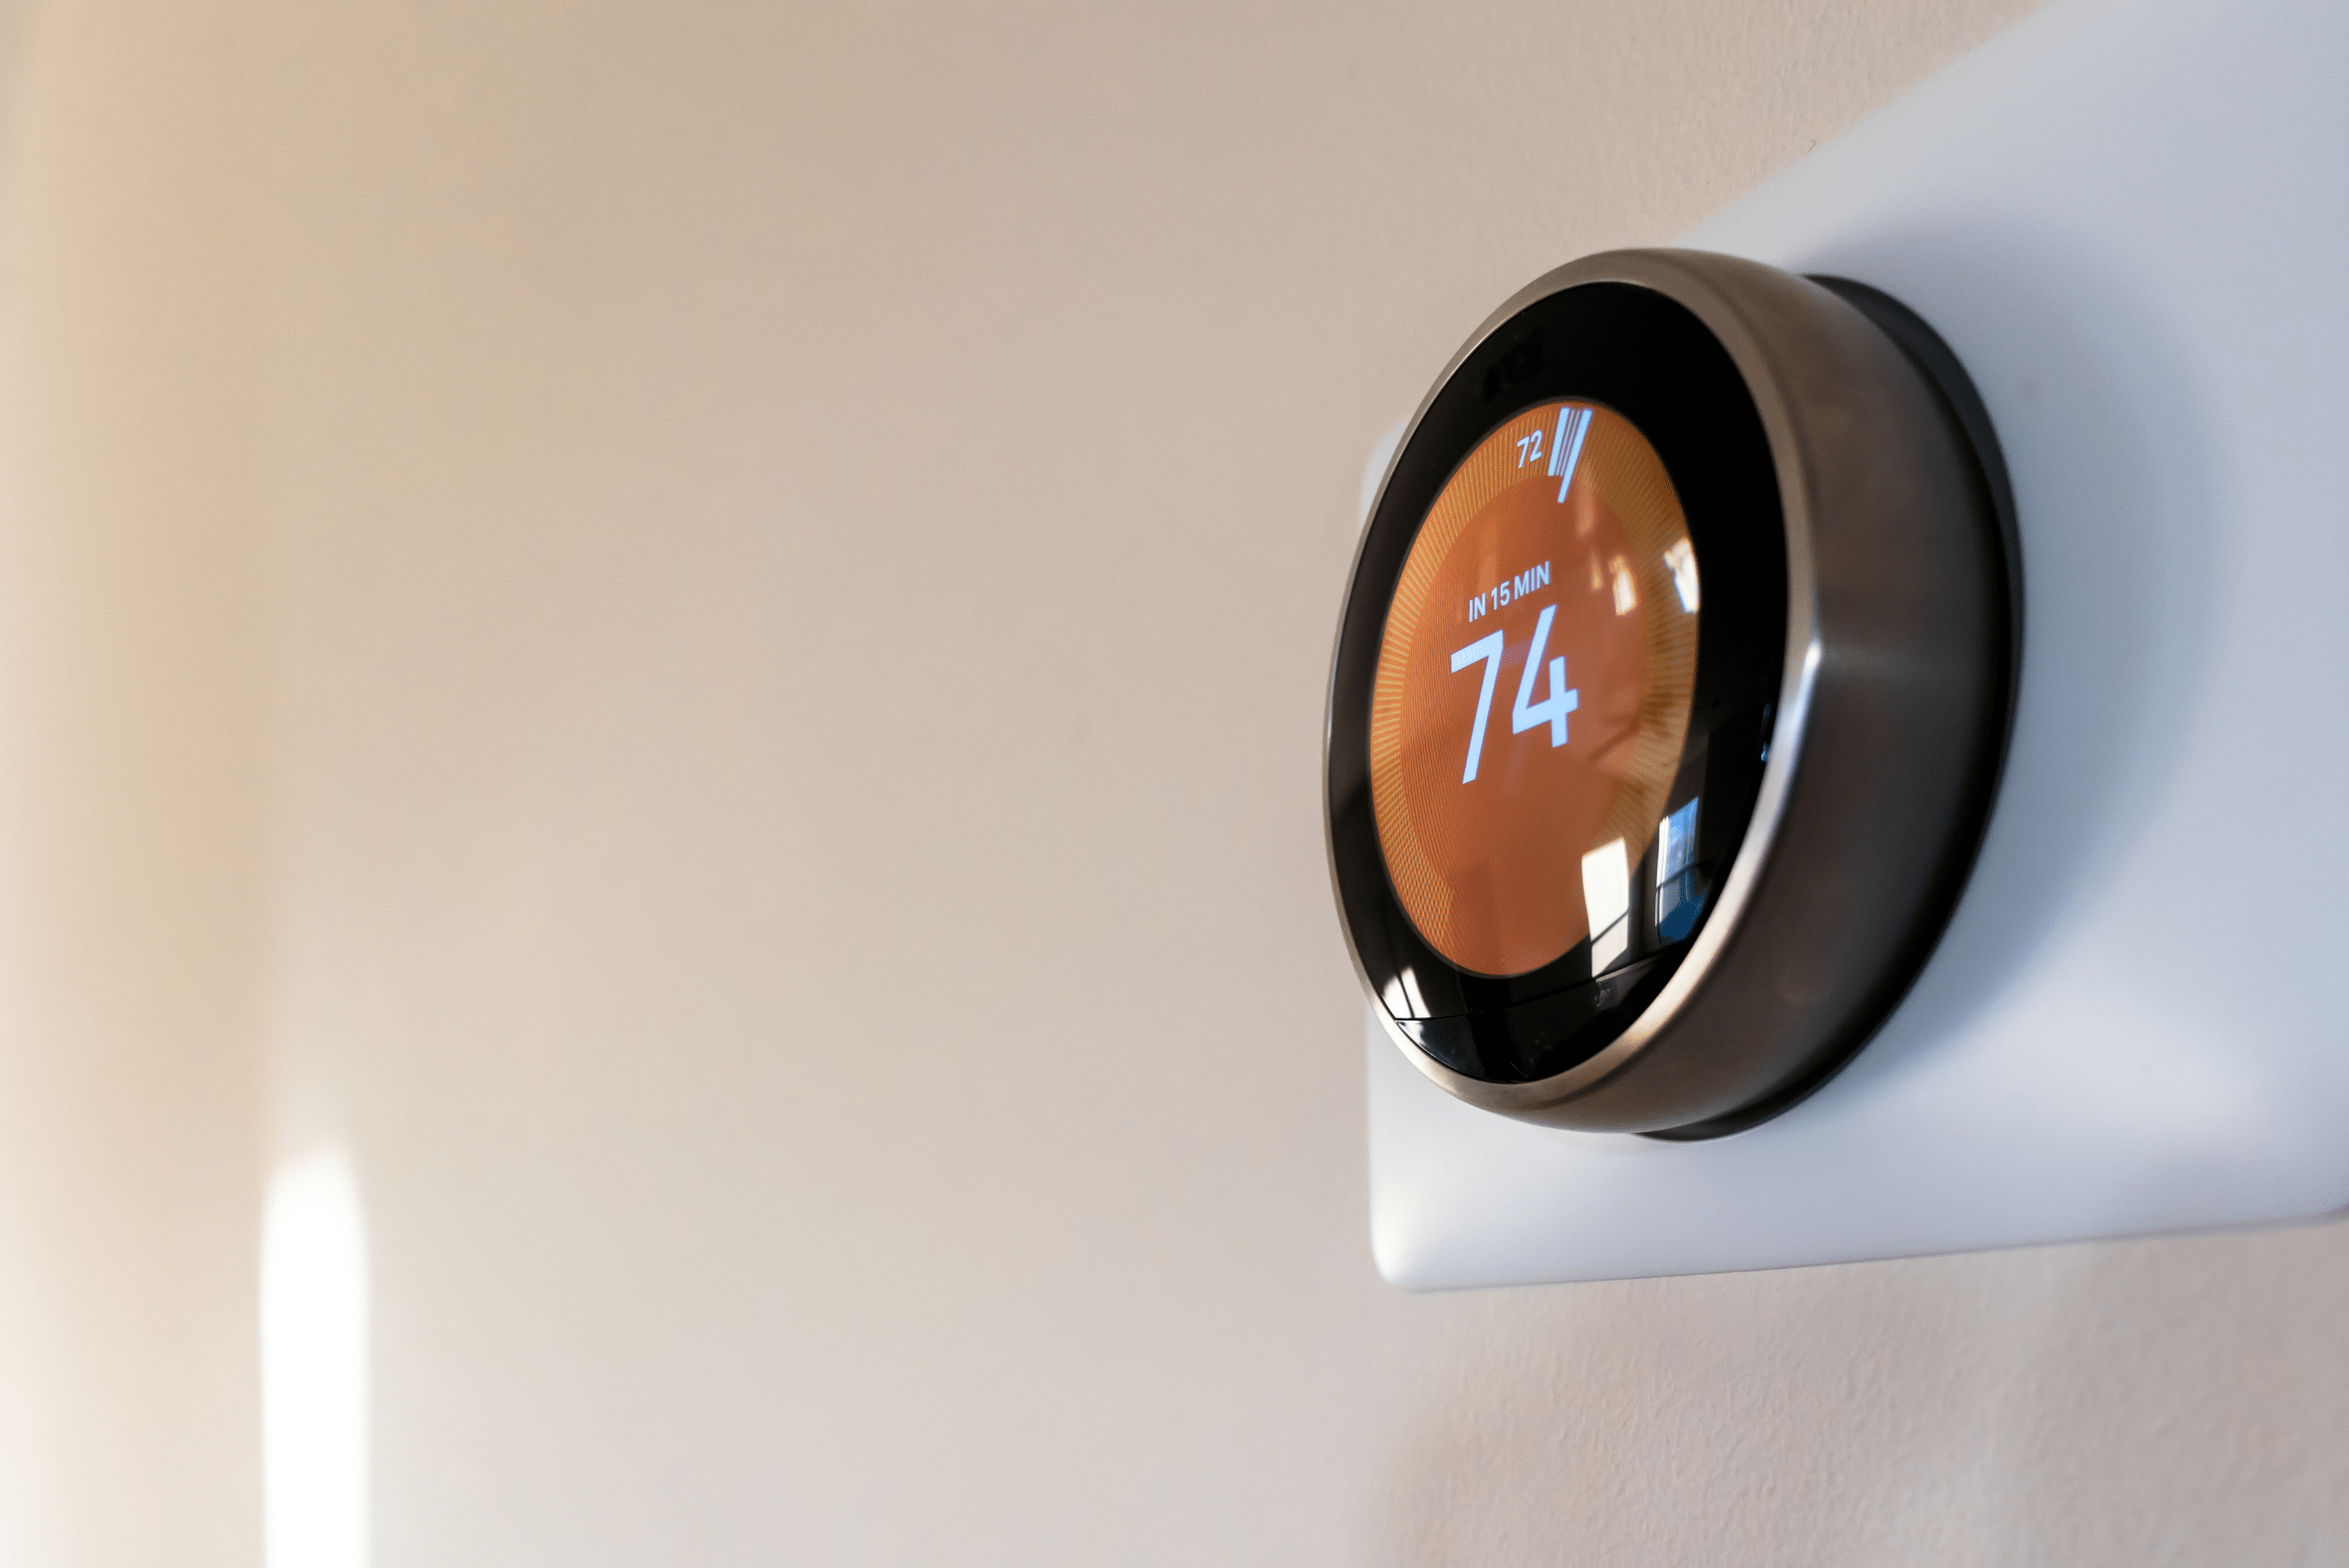
Once the new thermostat is installed, test it by turning on your HVAC system. Ensure that it responds correctly to temperature adjustments and cycles on and off as expected.
For smart thermostats, follow the manufacturer’s setup instructions to connect it to your Wi-Fi network and configure settings like schedules and energy-saving modes. Take time to explore any additional features to maximize your new thermostat’s functionality.
Related Articles
- How to Get Your A/C Clean After a Long Summer
- Get Your Garage Ready for Winter DIY Projects with Smart Heating Tips
- Boost Your Home’s Value With These 8 Upgrades That Deliver Big Returns
Changing a thermostat is a manageable DIY project that can enhance your home’s comfort and efficiency. With the right tools and this guide, you’ll have a fully functional thermostat in no time. Remember to consult your thermostat’s manual for specific instructions and enjoy the energy savings and convenience of your new device.
Ready to start your next project? Join our DIY community to receive tool tips, how-to guides, and exclusive creative insights. Subscribe to the ManMadeDIY newsletter now! Click here to unlock a world of hands-on inspiration.


