Step-by-Step Guide: How to Easily Change a Toilet Flapper for Improved Efficiency
Changing a toilet flapper is a simple yet essential home maintenance task that can save you money and prevent annoying leaks. A faulty toilet flapper can cause your toilet to run continuously, wasting water and driving up your utility bills. Fortunately, you don’t need to be a plumbing expert to replace a toilet flapper. With a few basic tools and the right instructions, you can easily change a toilet flapper in under an hour.
Ready to take on life with unshakable confidence? Whether you’re aiming to excel in your career, improve your relationships, or conquer DIY projects, NLP Hero’s Confidence Course is your key to success. Click here to start transforming your confidence and be better at everything you do!
This guide will walk you through the process step-by-step, ensuring that even beginners can successfully complete this task. So, if you’re wondering how to change a toilet flapper, read on to find out everything you need to know.
Tools and Materials Needed
Before you start the process of changing a toilet flapper, it’s important to gather all the necessary tools and materials. This will make the task much smoother and quicker.
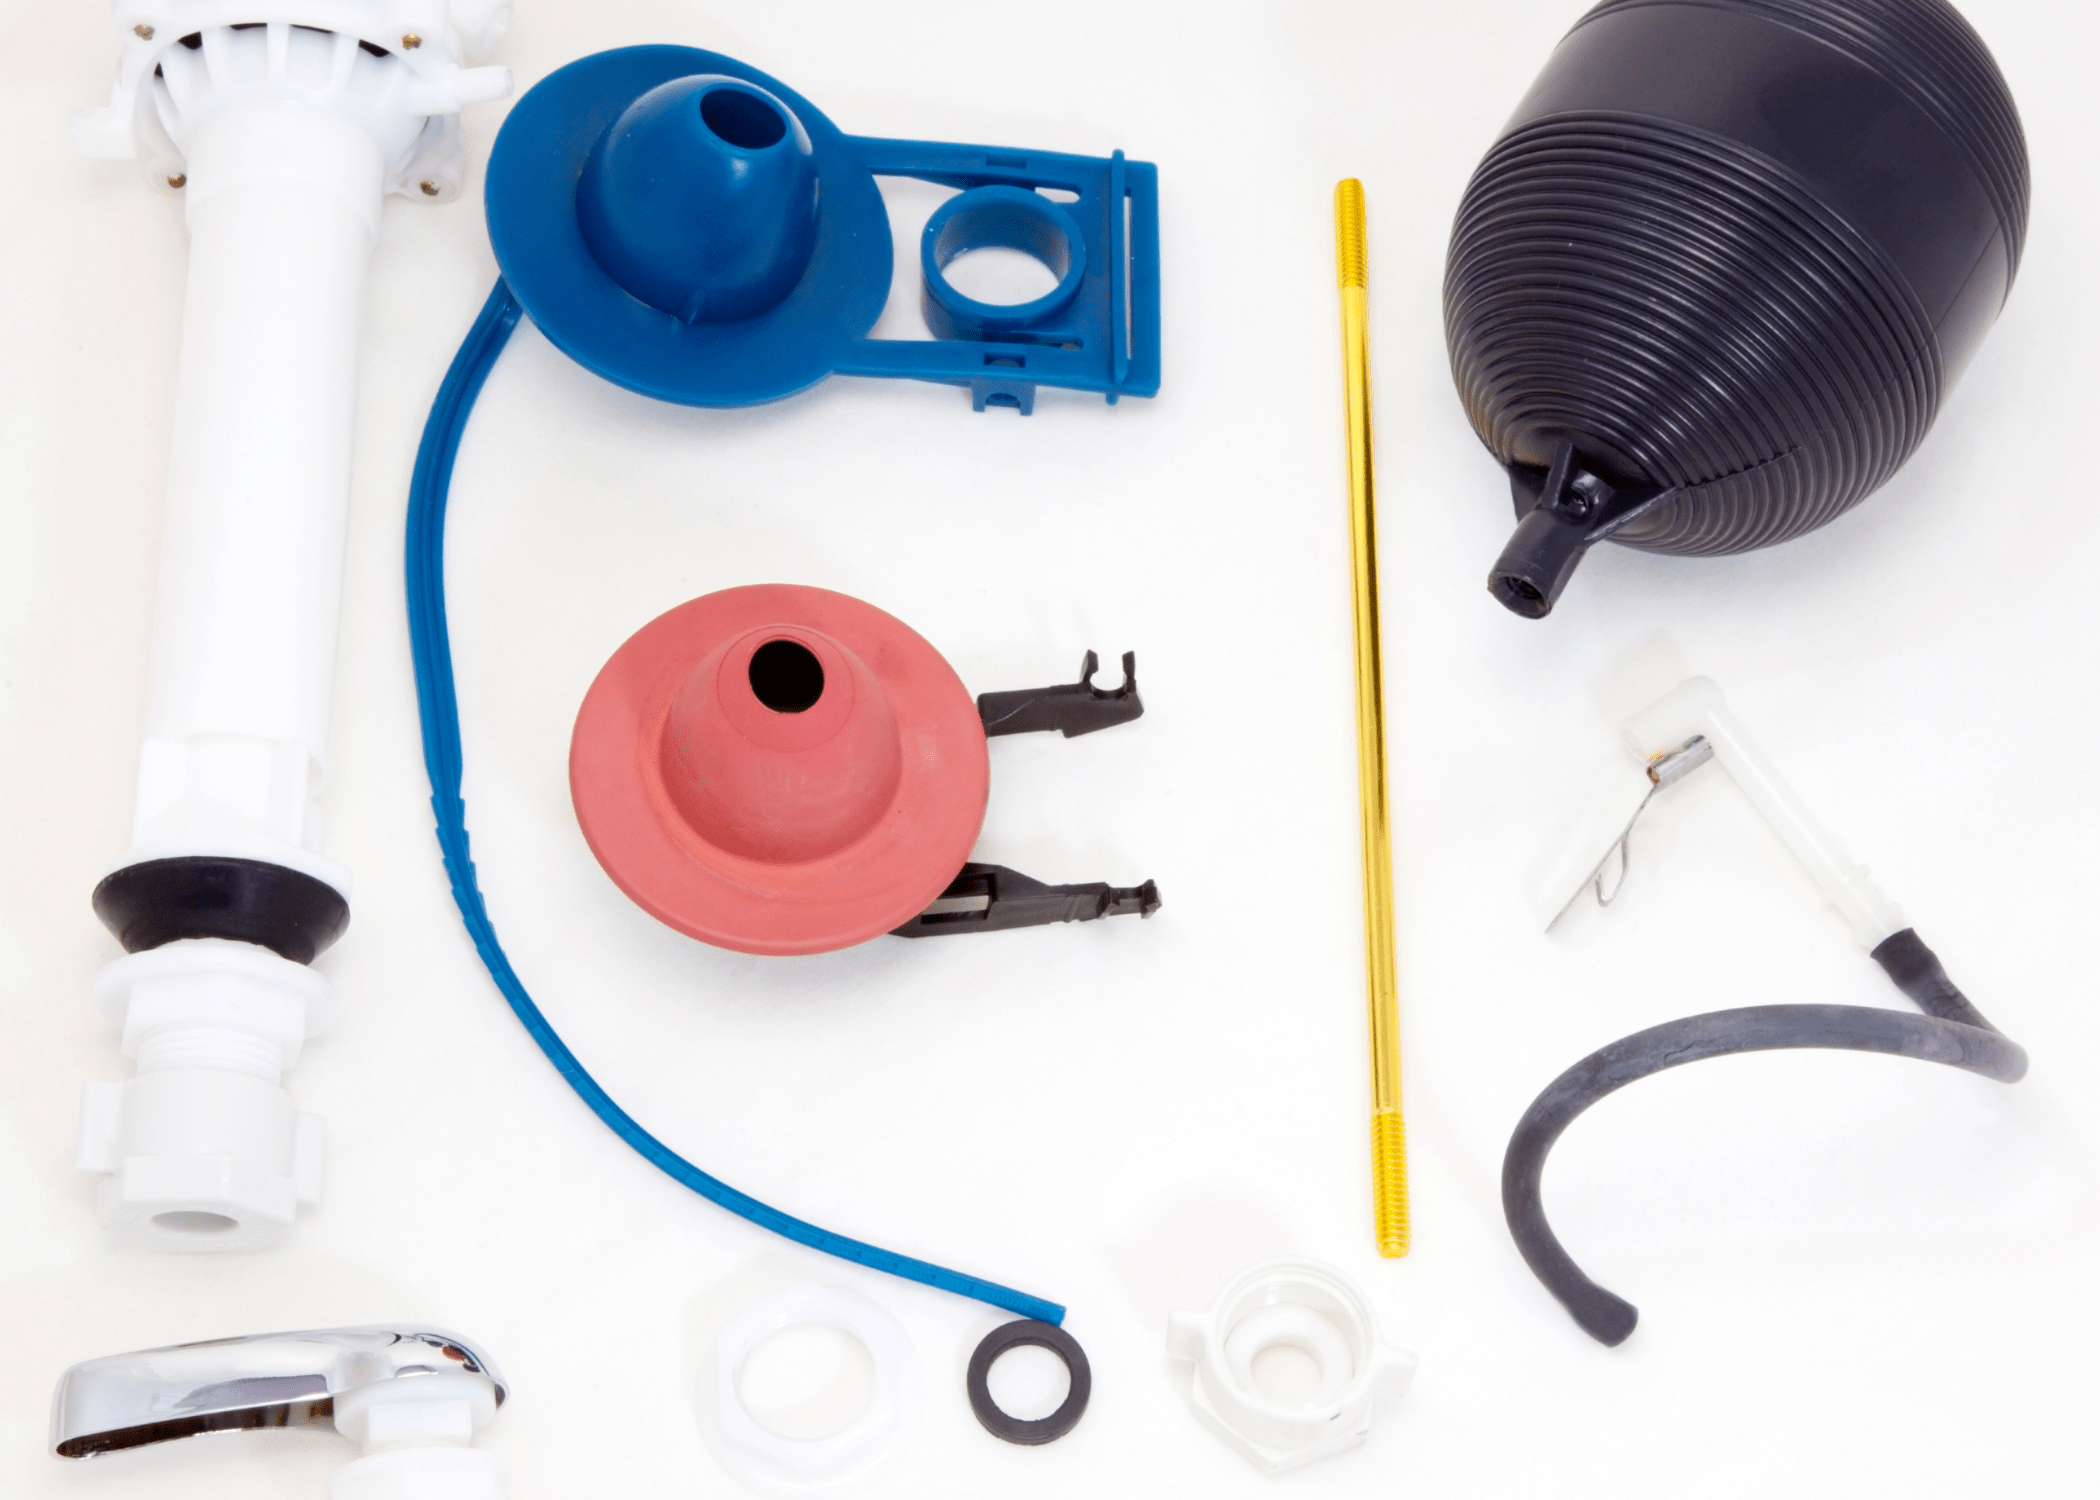
You’ll need a new toilet flapper, which can be purchased at any hardware store. Have a pair of pliers, a sponge, and a towel on hand. The pliers will help you remove any stubborn parts, while the sponge and towel will be useful for cleaning up any water spills.
Turn Off the Water Supply
The first step in how to change a toilet flapper is to turn off the water supply to the toilet. Locate the water shut-off valve, usually found on the wall behind the toilet, and turn it clockwise to close it.
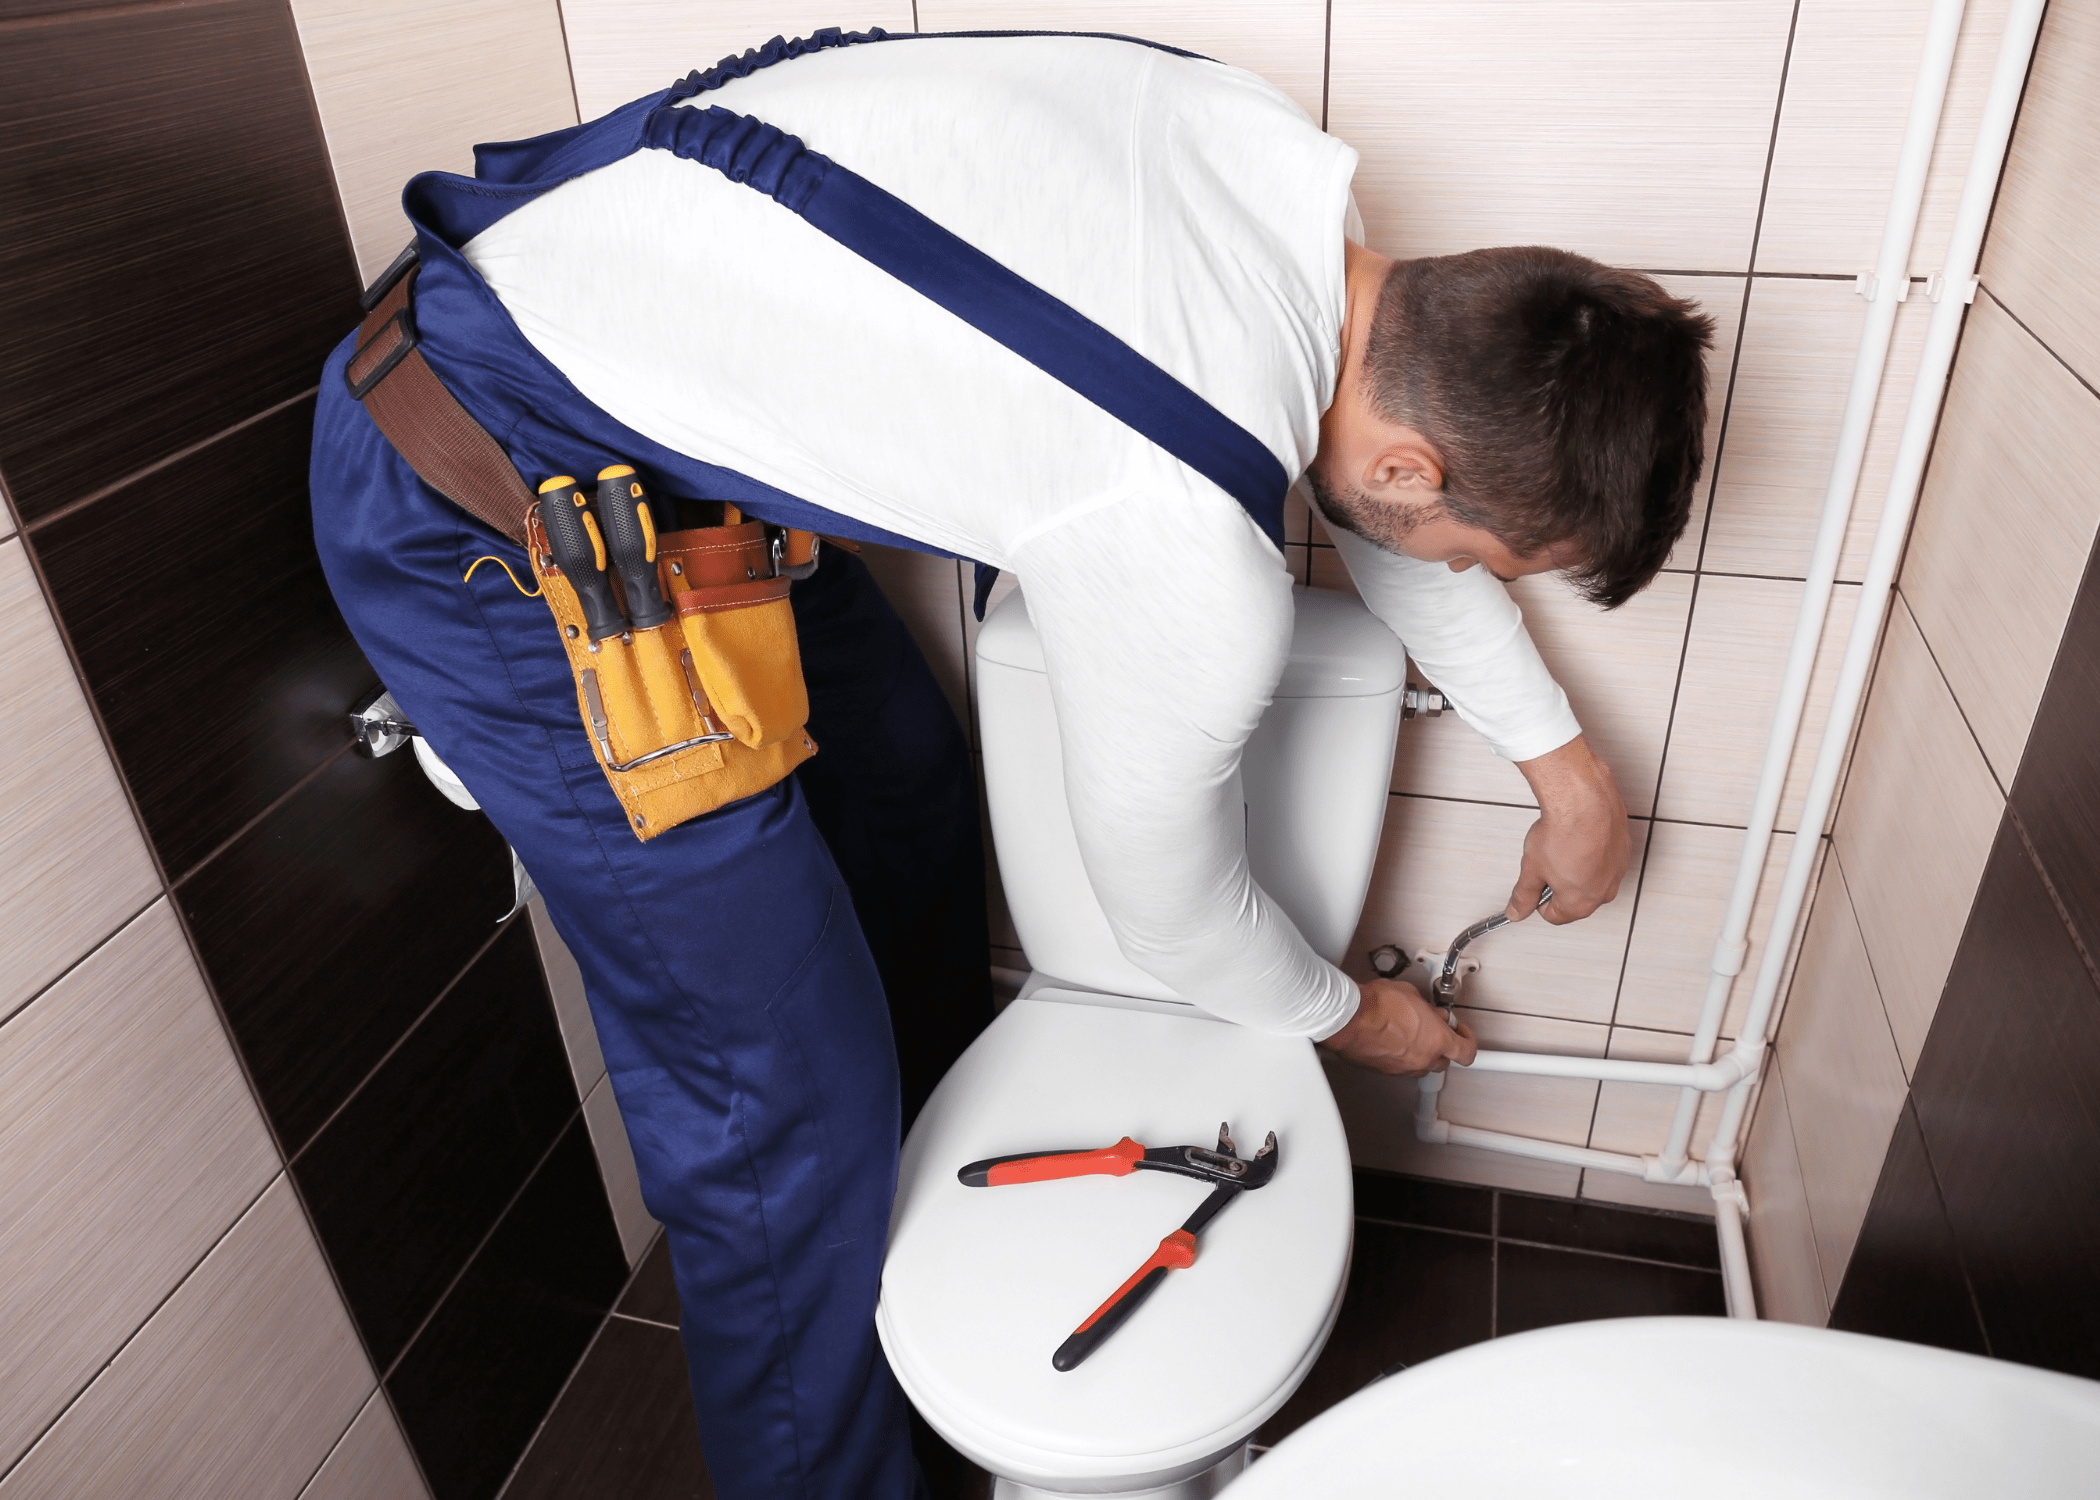
Once the water supply is off, flush the toilet to drain the tank. This ensures that you won’t have a mess on your hands while replacing the flapper. Use the sponge to soak up any remaining water in the tank to keep your workspace dry.
Remove the Old Flapper
Once the water is turned off and the tank is empty, it’s time to remove the old flapper. To do this, take off the lid of the toilet tank and locate the flapper at the bottom. The flapper is usually attached to the overflow tube with a chain. Disconnect the chain from the flush lever and then unhook the flapper from the overflow tube.
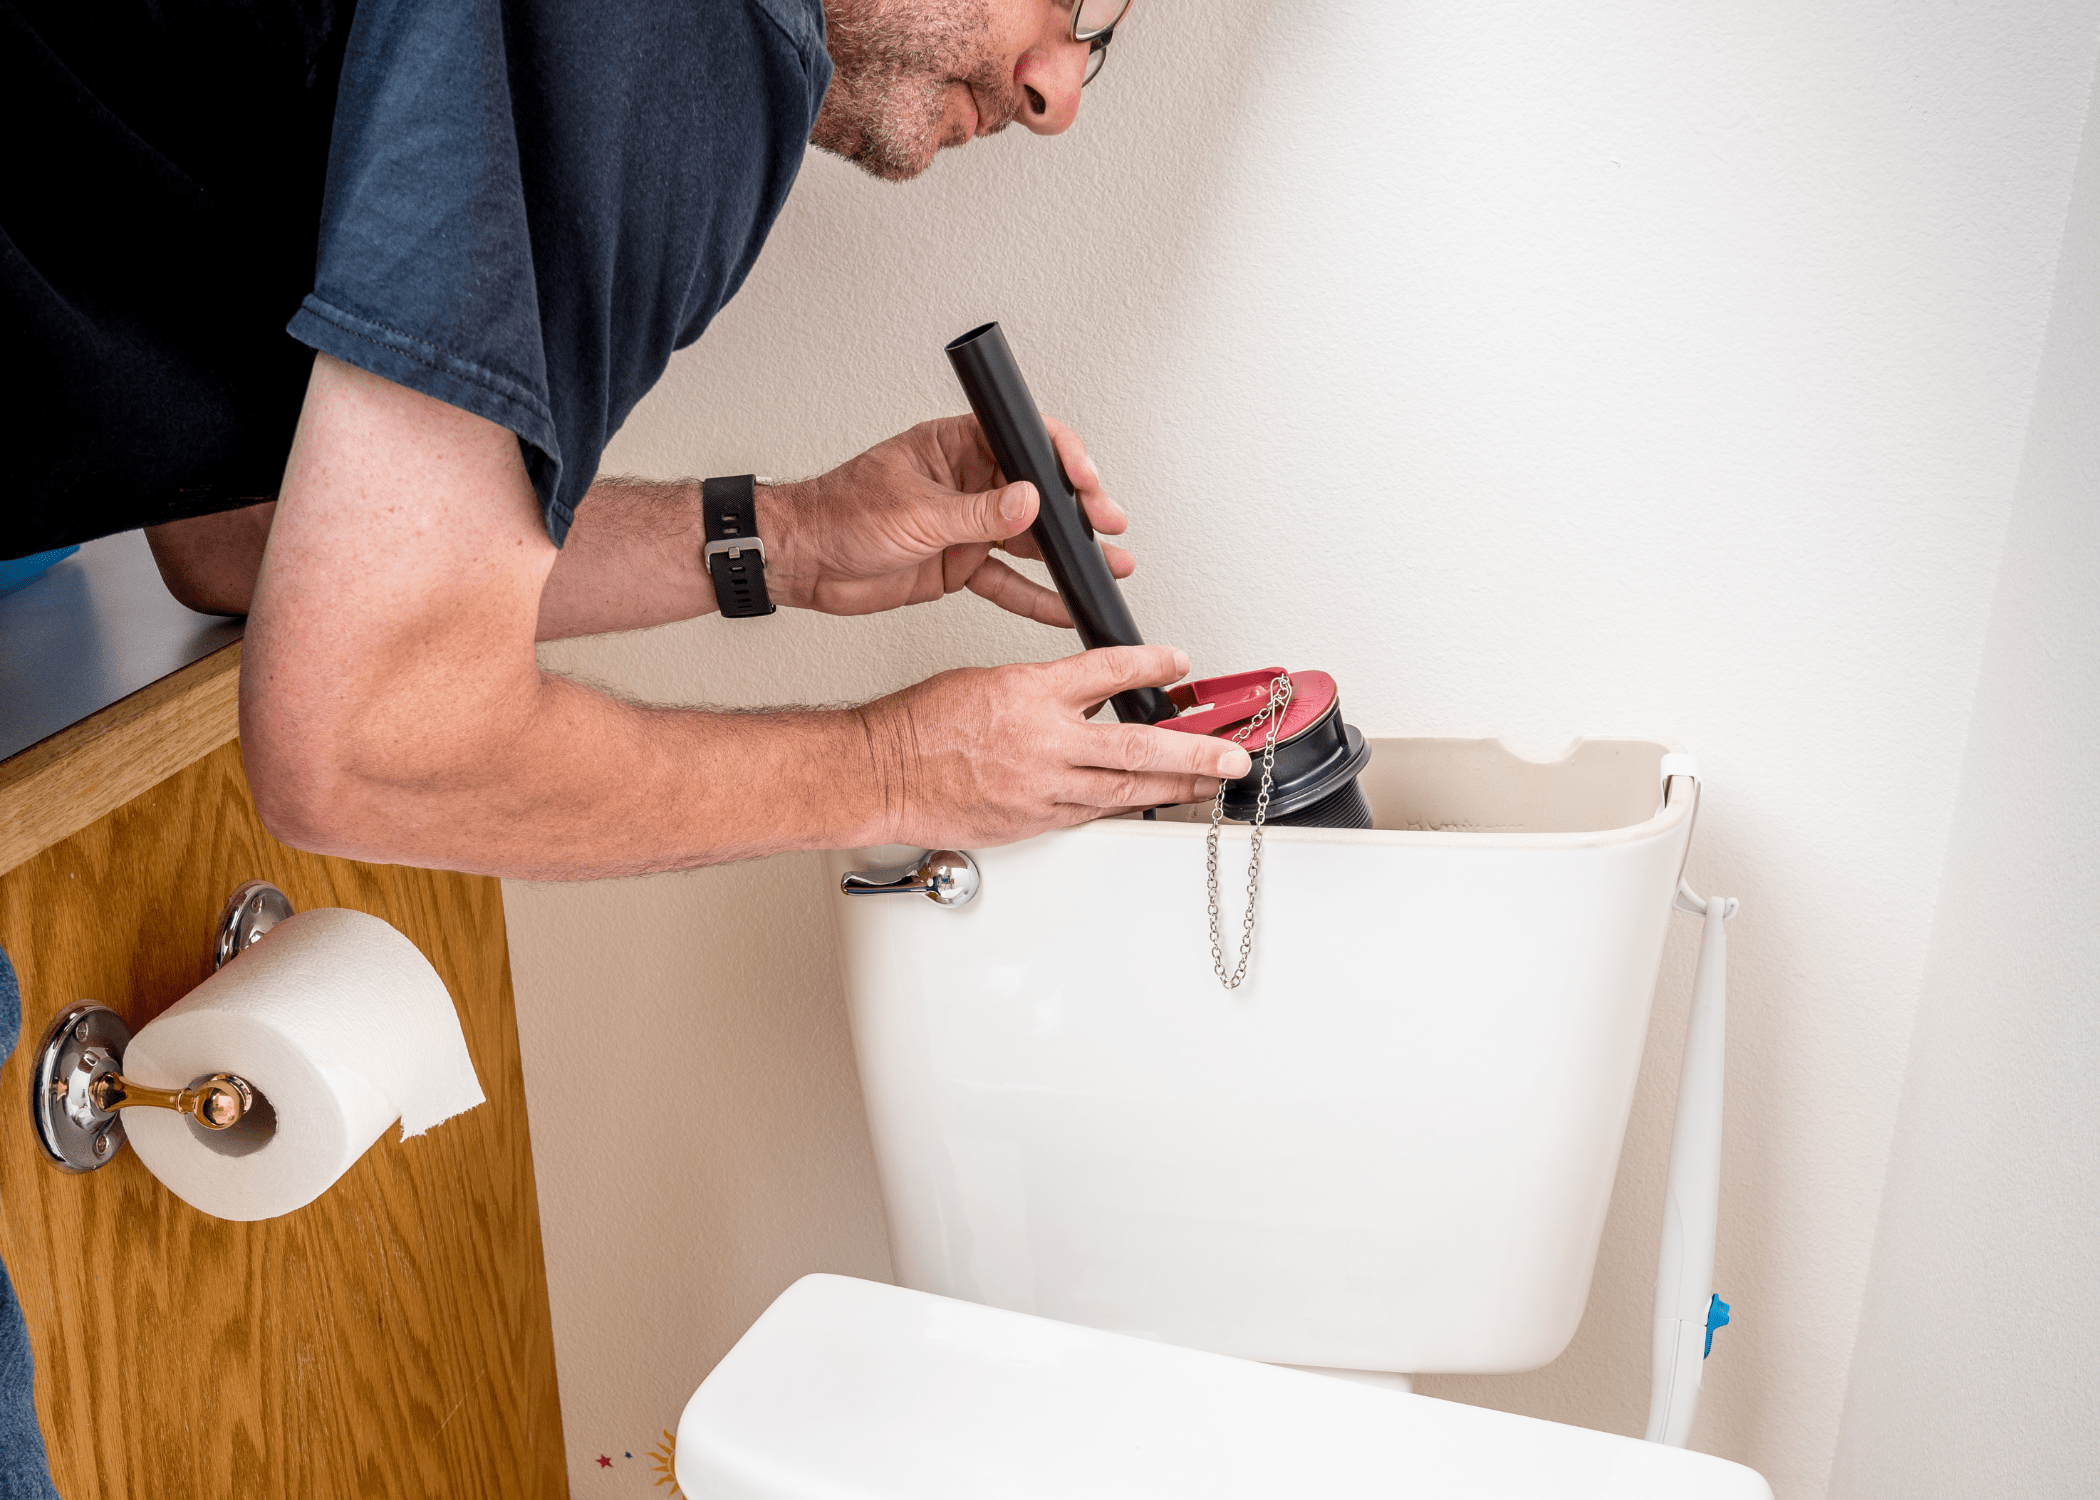
If the flapper is stuck, use your pliers to gently loosen it. Once removed, inspect the flapper for any signs of wear and tear, which could be causing the leak.
Install the New Flapper
Now that the old flapper is out, you can install the new one. Make sure the new flapper is compatible with your toilet model. Attach the new flapper to the overflow tube by hooking it onto the ears or loops on the tube.
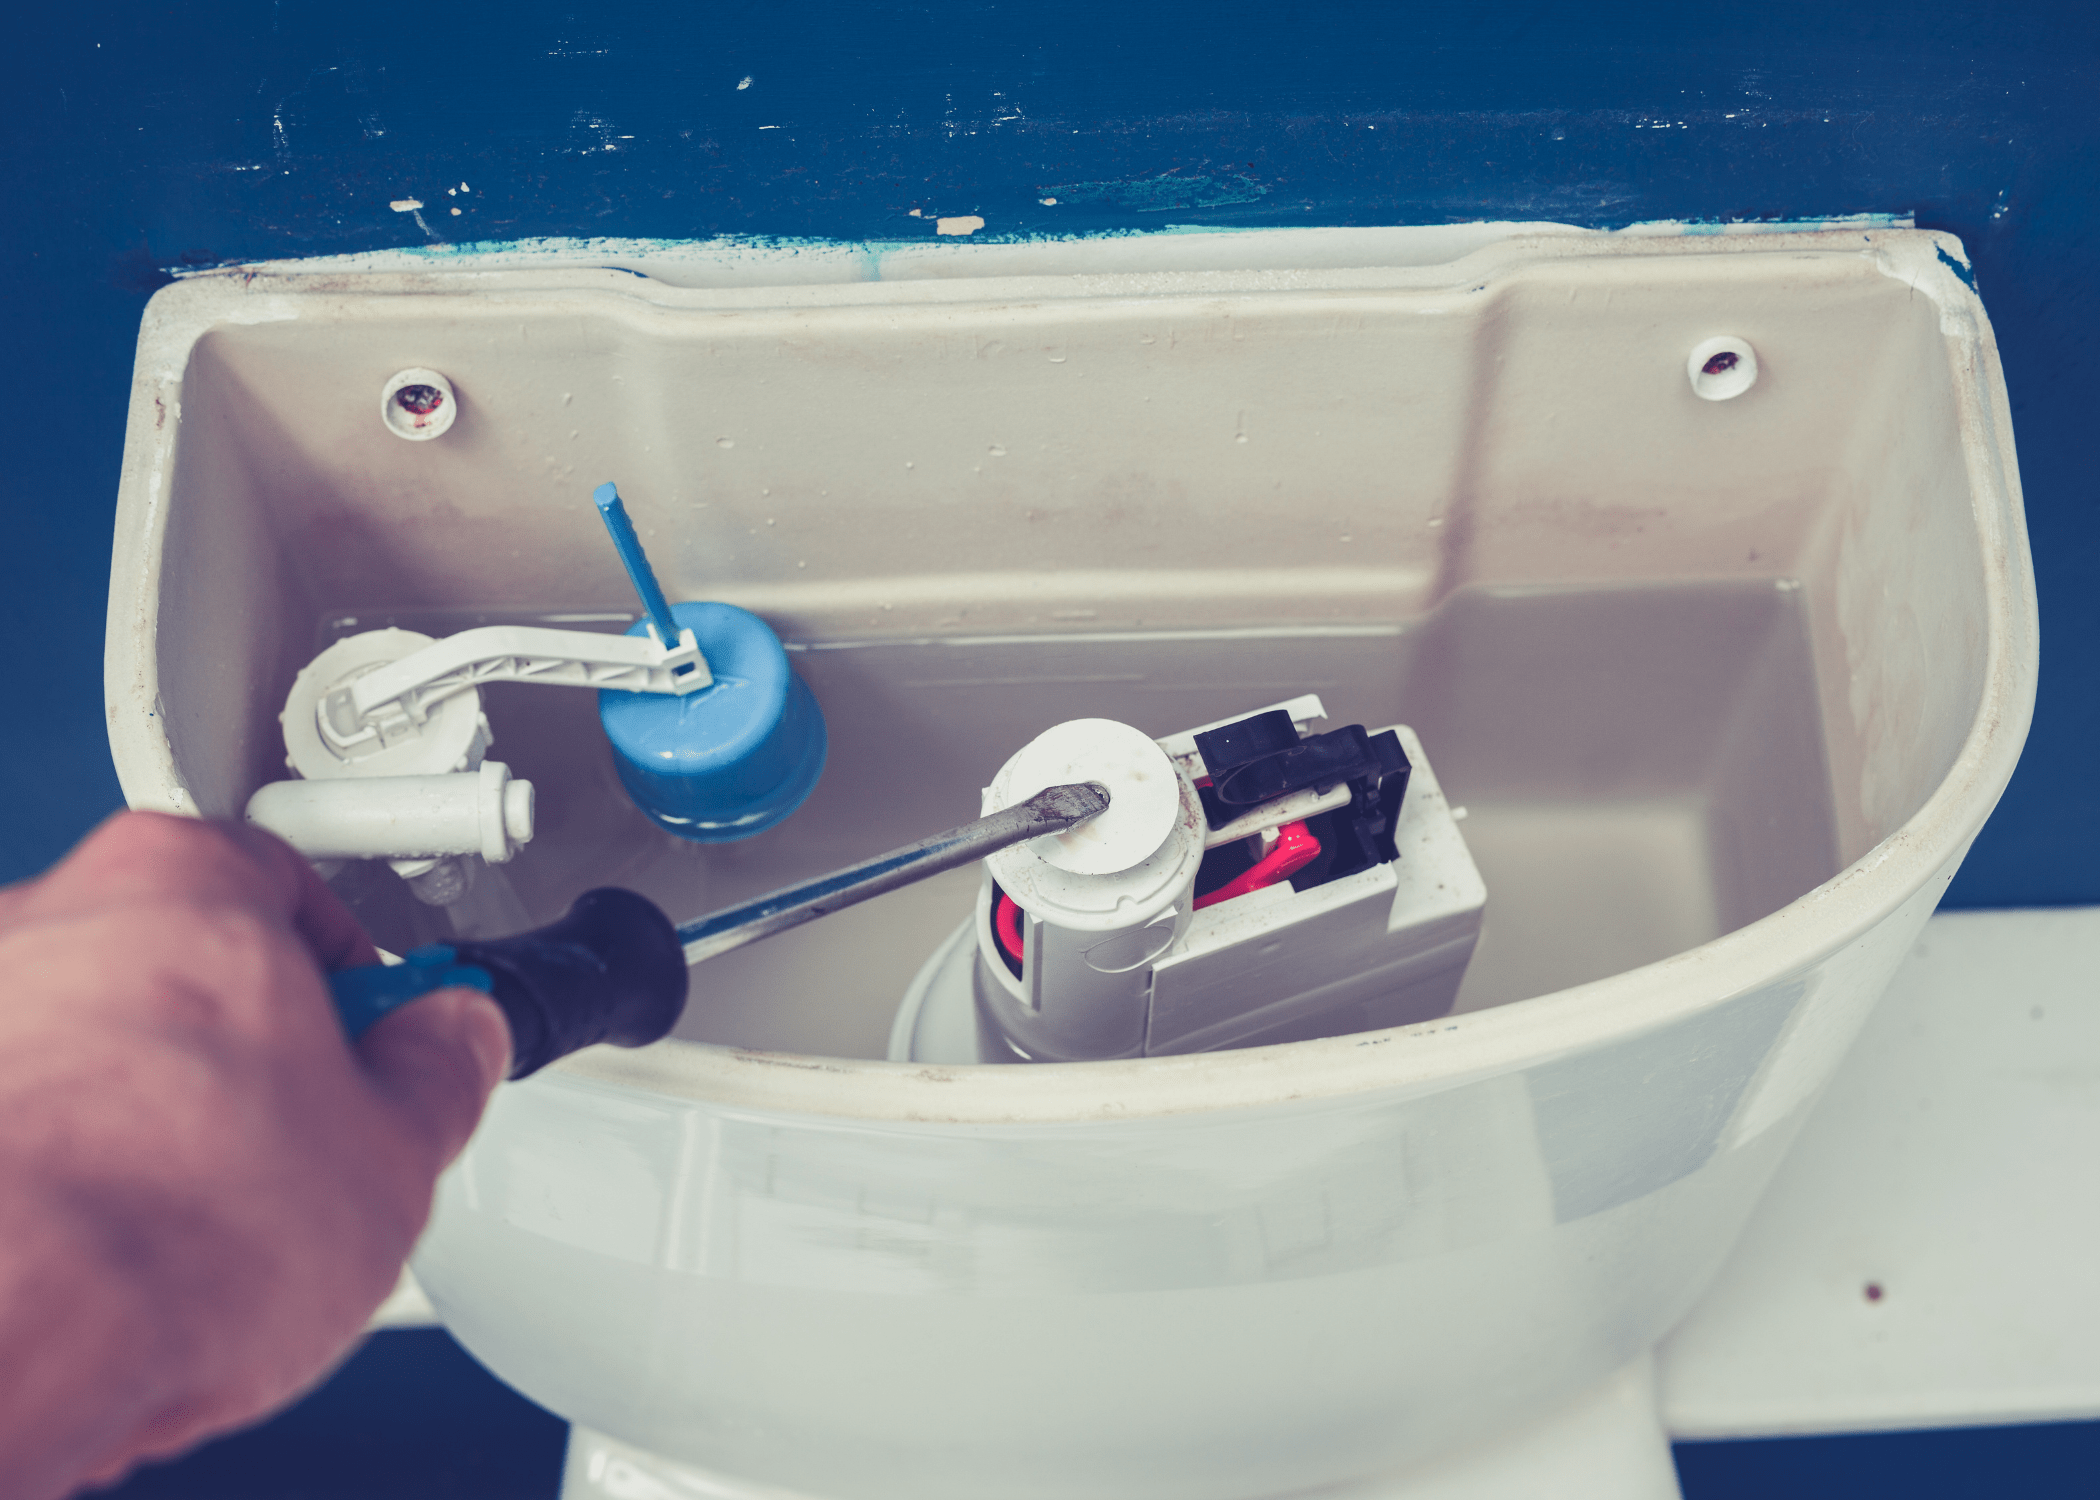
Then, reattach the chain to the flush lever. The chain should have a little slack but not so much that it gets tangled. Adjust the chain length if necessary to ensure a proper fit.
Test the New Flapper
After installing the new flapper, it’s important to test it to make sure it works correctly. Turn the water supply back on by rotating the shut-off valve counterclockwise.
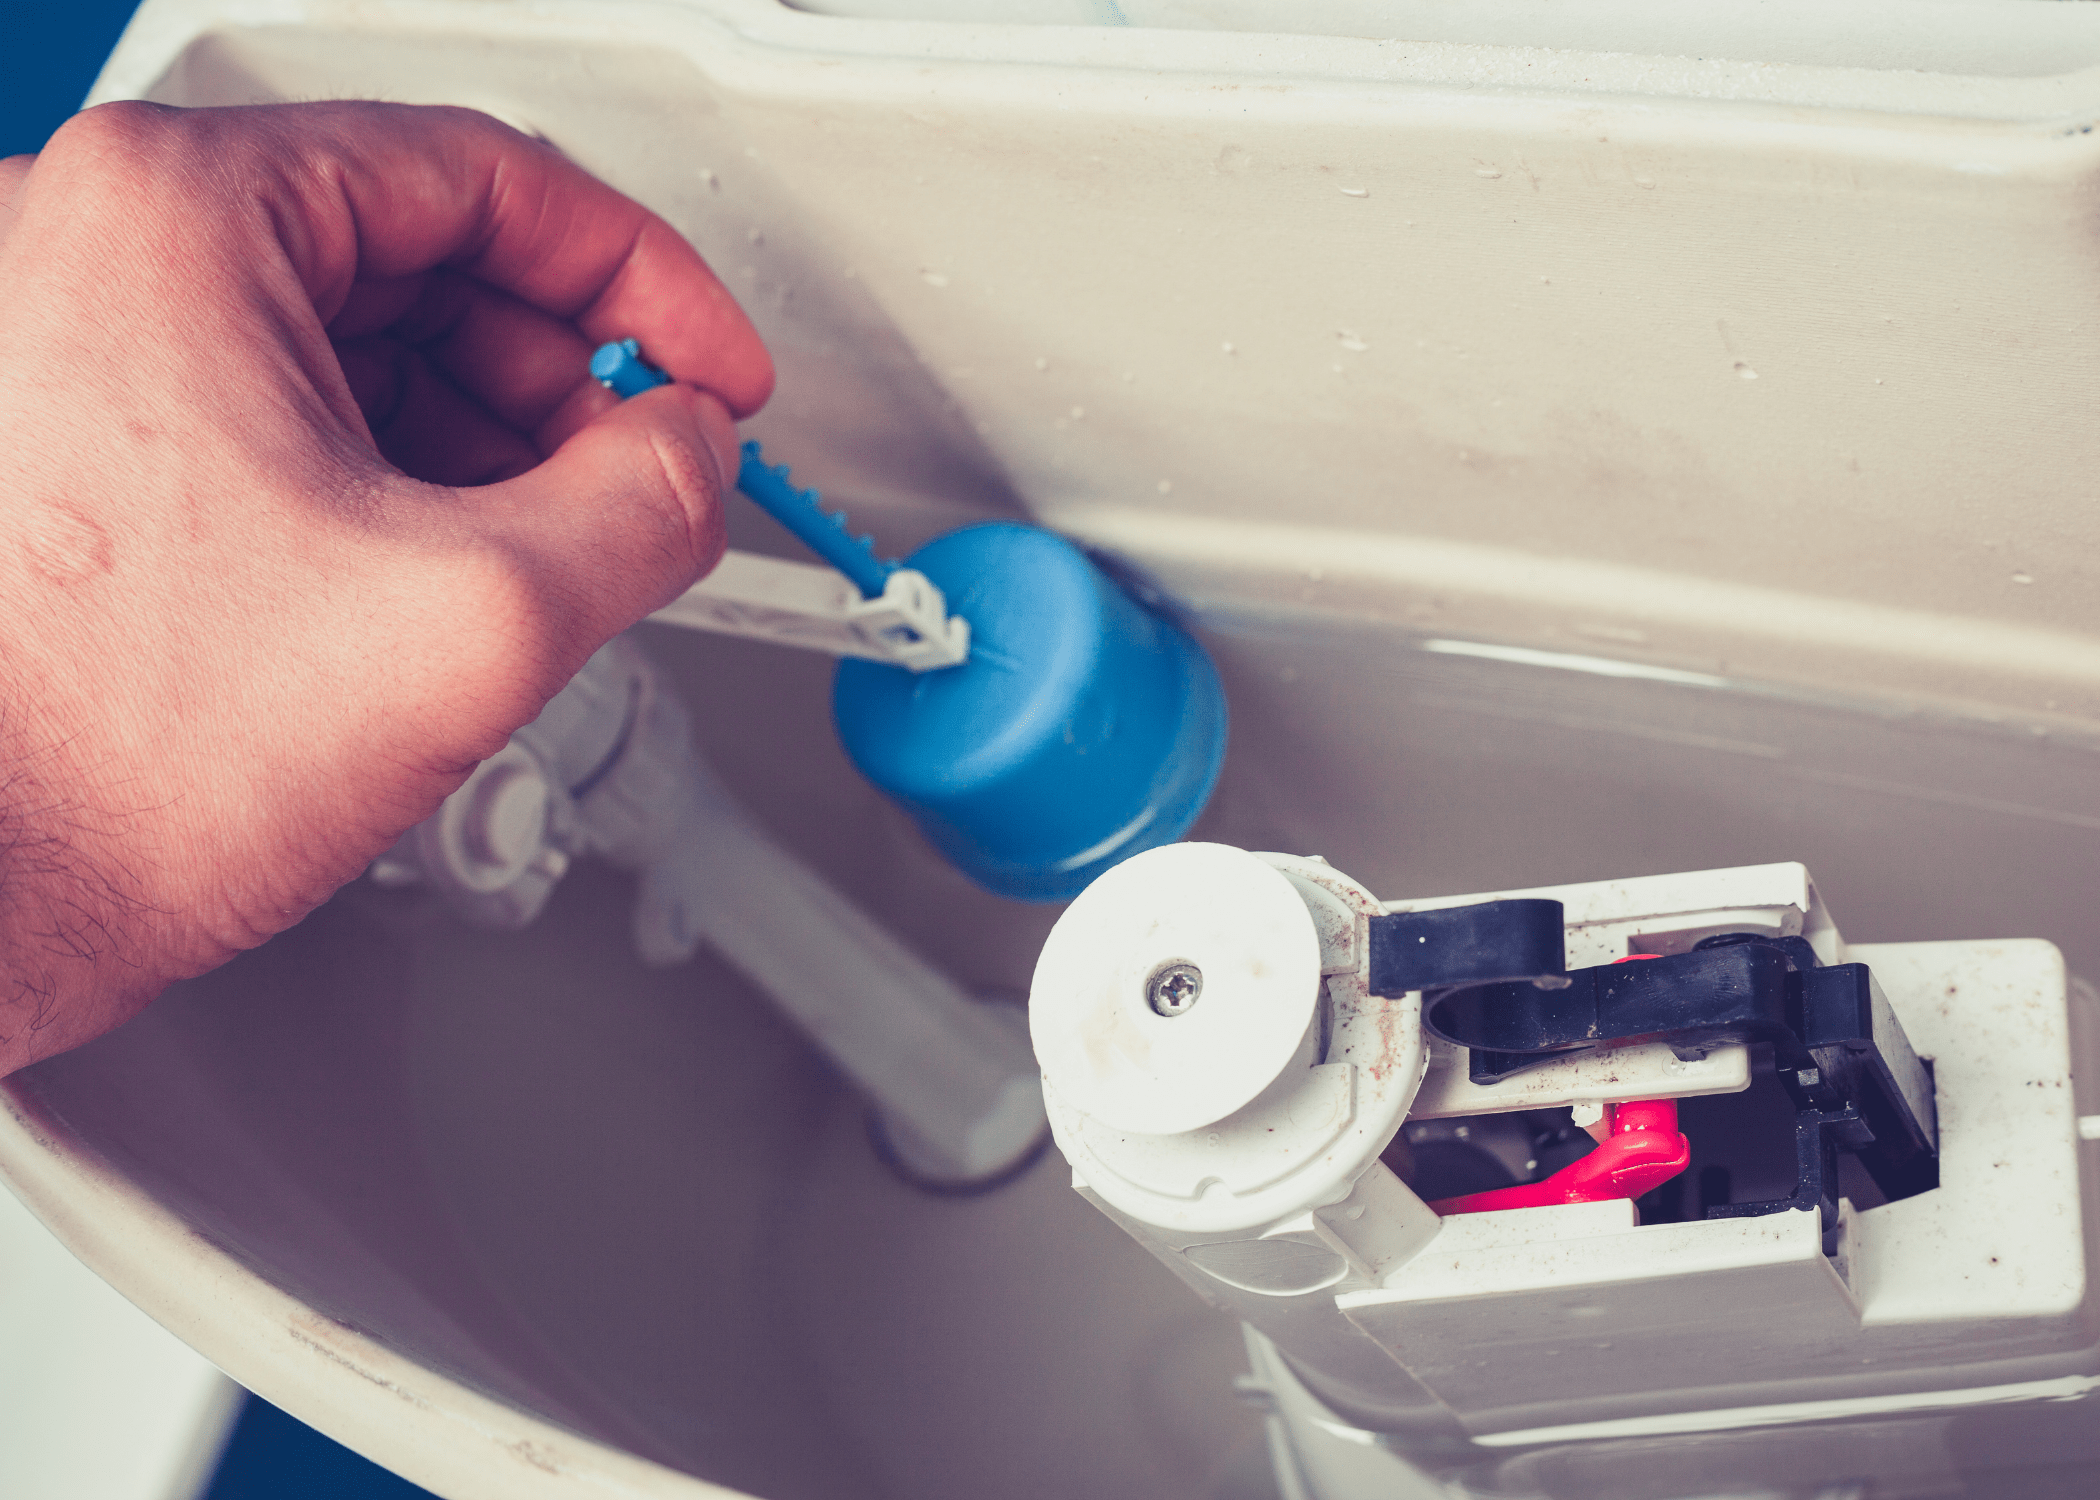
Allow the tank to fill up and then flush the toilet. Watch the flapper as it operates to ensure it seals properly and stops the water flow when the tank is full. If the toilet continues to run, adjust the chain or reposition the flapper until it works correctly.
Final Touches and Maintenance Tips
Once you’re satisfied that the new flapper is working correctly, replace the lid on the toilet tank. To ensure your toilet flapper continues to function well, perform regular maintenance checks.
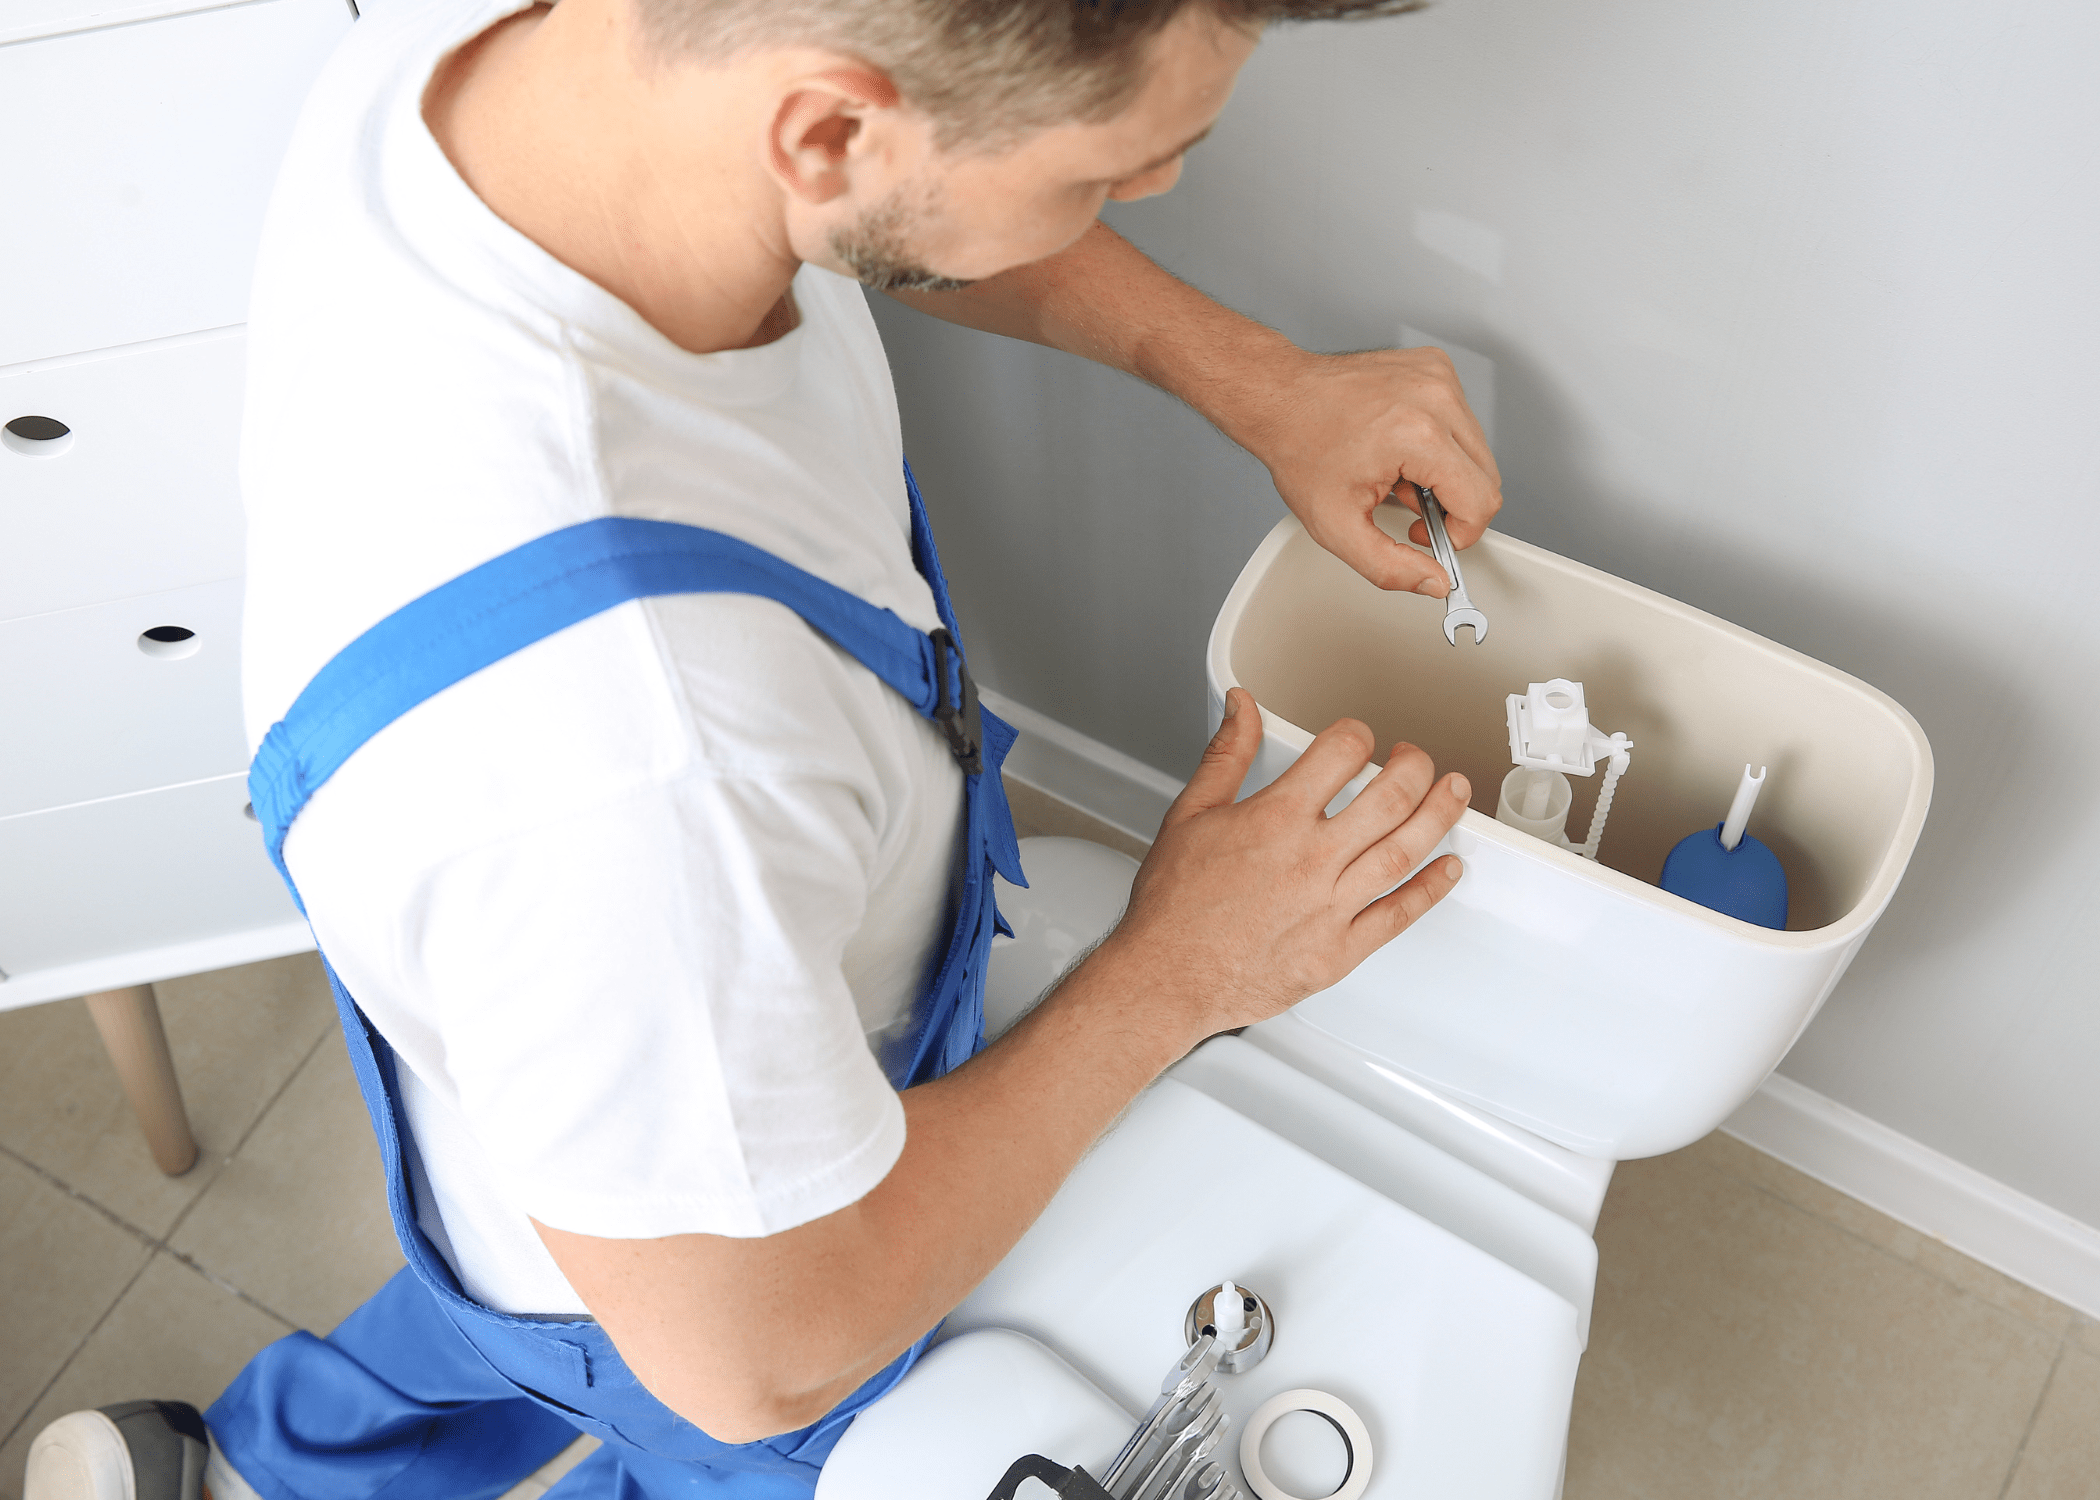
Periodically inspect the flapper for any signs of wear and replace it as needed. Additionally, keep an eye on the water level in the tank to ensure it’s not too high, as this can put extra strain on the flapper and cause it to wear out faster.
Related Articles
Ready to start your next project? Join our DIY community to receive tool tips, how-to guides, and exclusive creative insights. Subscribe to the ManMadeDIY newsletter now! Click here to unlock a world of hands-on inspiration.
Frequently Asked Questions (FAQs)
How often should I change my toilet flapper?
Toilet flappers generally last between 3 to 5 years, but their lifespan can vary depending on the quality of the flapper and the water conditions in your area. Regular inspections can help you catch any issues early.
What causes a toilet flapper to wear out?
Toilet flappers can wear out due to constant use, mineral build-up, and the quality of the water. Hard water can cause more rapid deterioration due to mineral deposits.
Can I use any flapper for my toilet?
No, it’s important to use a flapper that is compatible with your specific toilet model. If you’re unsure which flapper to use, check the manufacturer’s recommendations or consult with a professional.
How do I know if my toilet flapper needs replacing?
Common signs that your toilet flapper needs replacing include a constantly running toilet, incomplete flushes, or visible wear and tear on the flapper.
Is it difficult to change a toilet flapper?
Changing a toilet flapper is a relatively simple task that most homeowners can do themselves. With the right tools and instructions, you can complete the job in under an hour.


