How to Change Transmission Fluid in an Automatic Vehicle
Changing your transmission fluid may seem like a daunting task, but with the right guidance, it can be a straightforward and rewarding experience. Transmission fluid is the lifeblood of your vehicle’s transmission system. It lubricates, cools, and provides the necessary hydraulic pressure to ensure smooth gear shifts. Regularly changing this fluid is crucial to maintaining the longevity and performance of your car. This guide will walk you through everything you need to know about how to change transmission fluid, making the process easier and more efficient.
Ready to take on life with unshakable confidence? Whether you’re aiming to excel in your career, improve your relationships, or conquer DIY projects, NLP Hero’s Confidence Course is your key to success. Click here to start transforming your confidence and be better at everything you do!
Understanding the Importance of Regularly Changing Transmission Fluid
Transmission fluid plays a vital role in the functionality of your vehicle’s transmission system. Over time, this fluid can degrade, becoming contaminated with metal shavings and other debris. This can lead to poor performance and even severe transmission damage if left unchecked. Regularly changing your transmission fluid helps prevent these issues, ensuring that your vehicle runs smoothly and efficiently.

In addition to avoiding costly repairs, maintaining clean transmission fluid can improve your vehicle’s fuel efficiency. Old, dirty fluid forces the transmission to work harder, which can result in higher fuel consumption. By keeping your transmission fluid fresh, you can enjoy a more economical and environmentally friendly ride.
Essential Tools and Materials You Will Need for Changing Transmission Fluid
Before you start changing your transmission fluid, you must gather all the necessary tools and materials. These include a jack and jack stands, a drain pan, a funnel, and a wrench set. You’ll also need the correct type and amount of transmission fluid specified in your vehicle’s owner manual. Also, you should get a transmission fluid if you are removing the transmission pan.
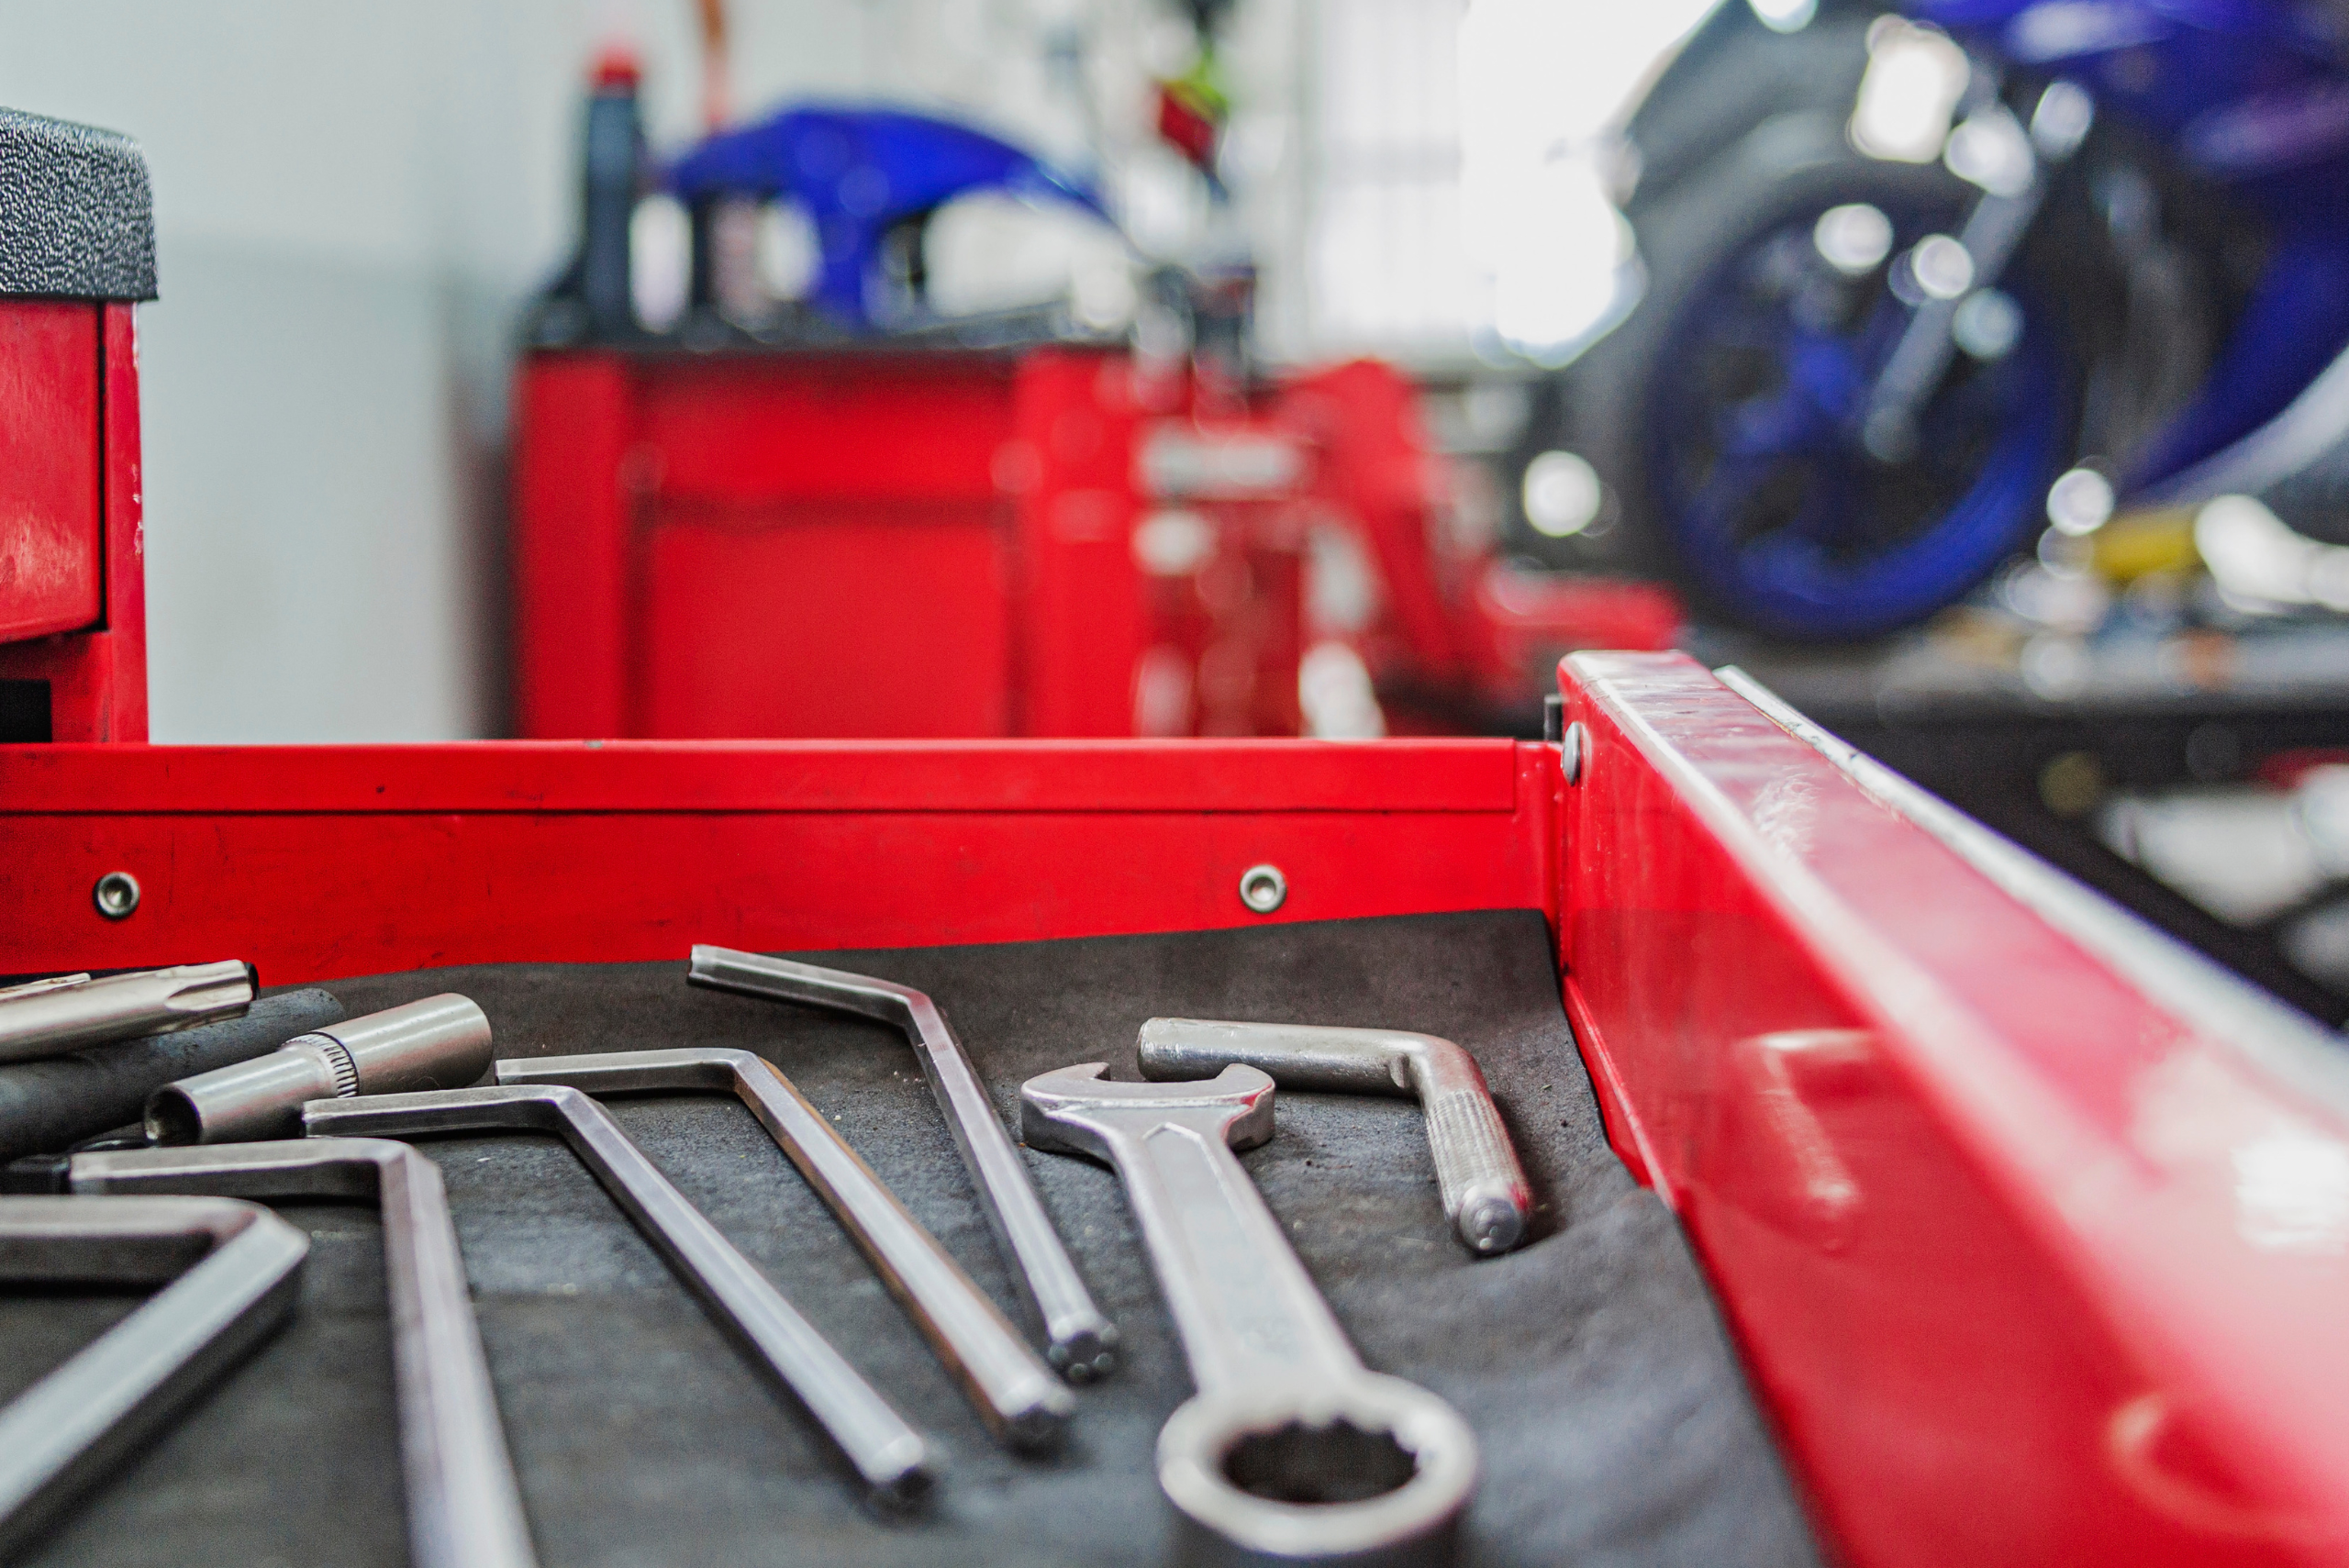
Having the right tools and materials on hand will make the process much smoother and reduce the risk of mishaps. Additionally, wearing gloves and safety glasses is recommended to protect yourself from potential spills or splashes. With everything ready, you’re well-prepared to tackle the task at hand.
Step-by-Step Guide on How to Drain the Old Transmission Fluid Safely
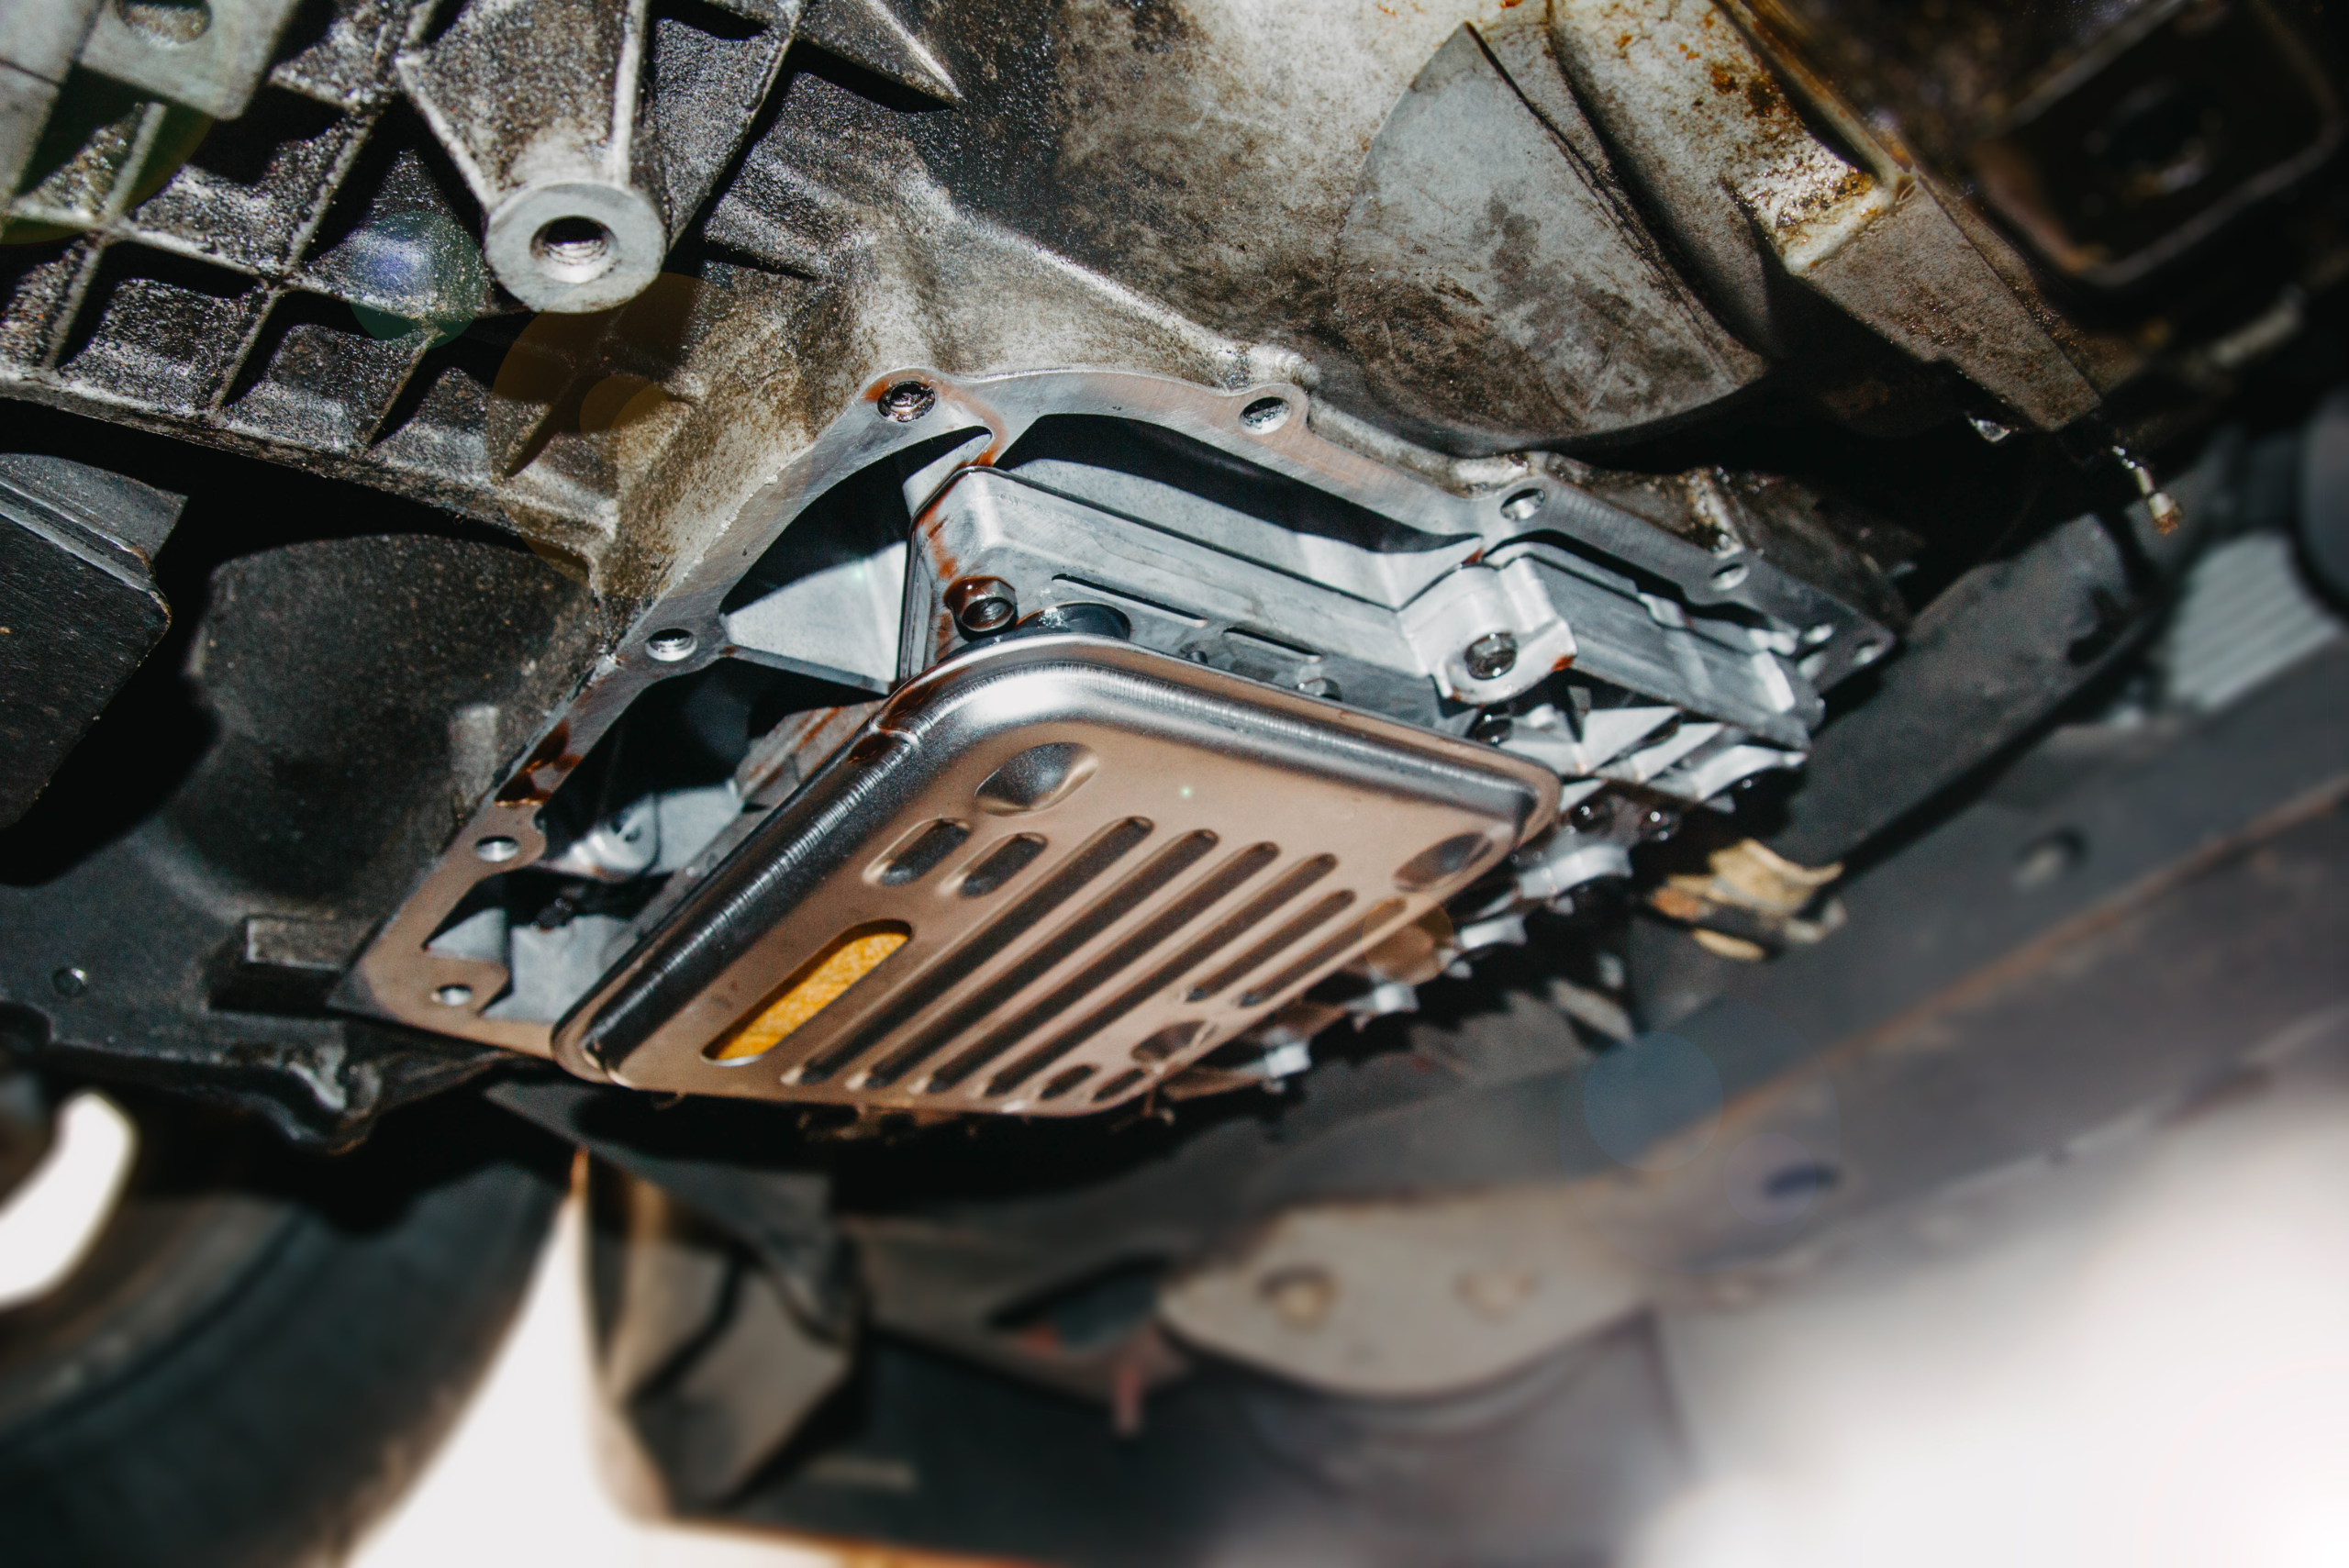
The first step in changing your transmission fluid is to drain the old fluid. Follow these steps to do so:
- Start by lifting your vehicle using a jack and securing it on jack stands.
- Make sure the car is on a level surface to avoid any accidents.
- Locate the transmission pan, which is usually found beneath the transmission system.
- Place a drain pan underneath to catch the old fluid.
- Remove the drain plug using a wrench and allow the fluid to drain completely. (Some models might not have a drain plug, requiring you to remove the pan while catching the fluid at the same time.)
- This may take a few minutes, so be patient. Once the fluid has stopped draining, replace the drain plug securely. (If you removed the pan, check if the gasket is reusable or if you need a new one.)
- Be sure to dispose of the old fluid properly, as it can be harmful to the environment.
Removing and Replacing the Transmission Fluid Filter for Optimal Performance
After draining the old fluid, the next step is to remove and replace the transmission fluid filter. The filter is responsible for trapping contaminants and preventing them from circulating through the transmission system. Over time, it can become clogged, reducing its effectiveness.
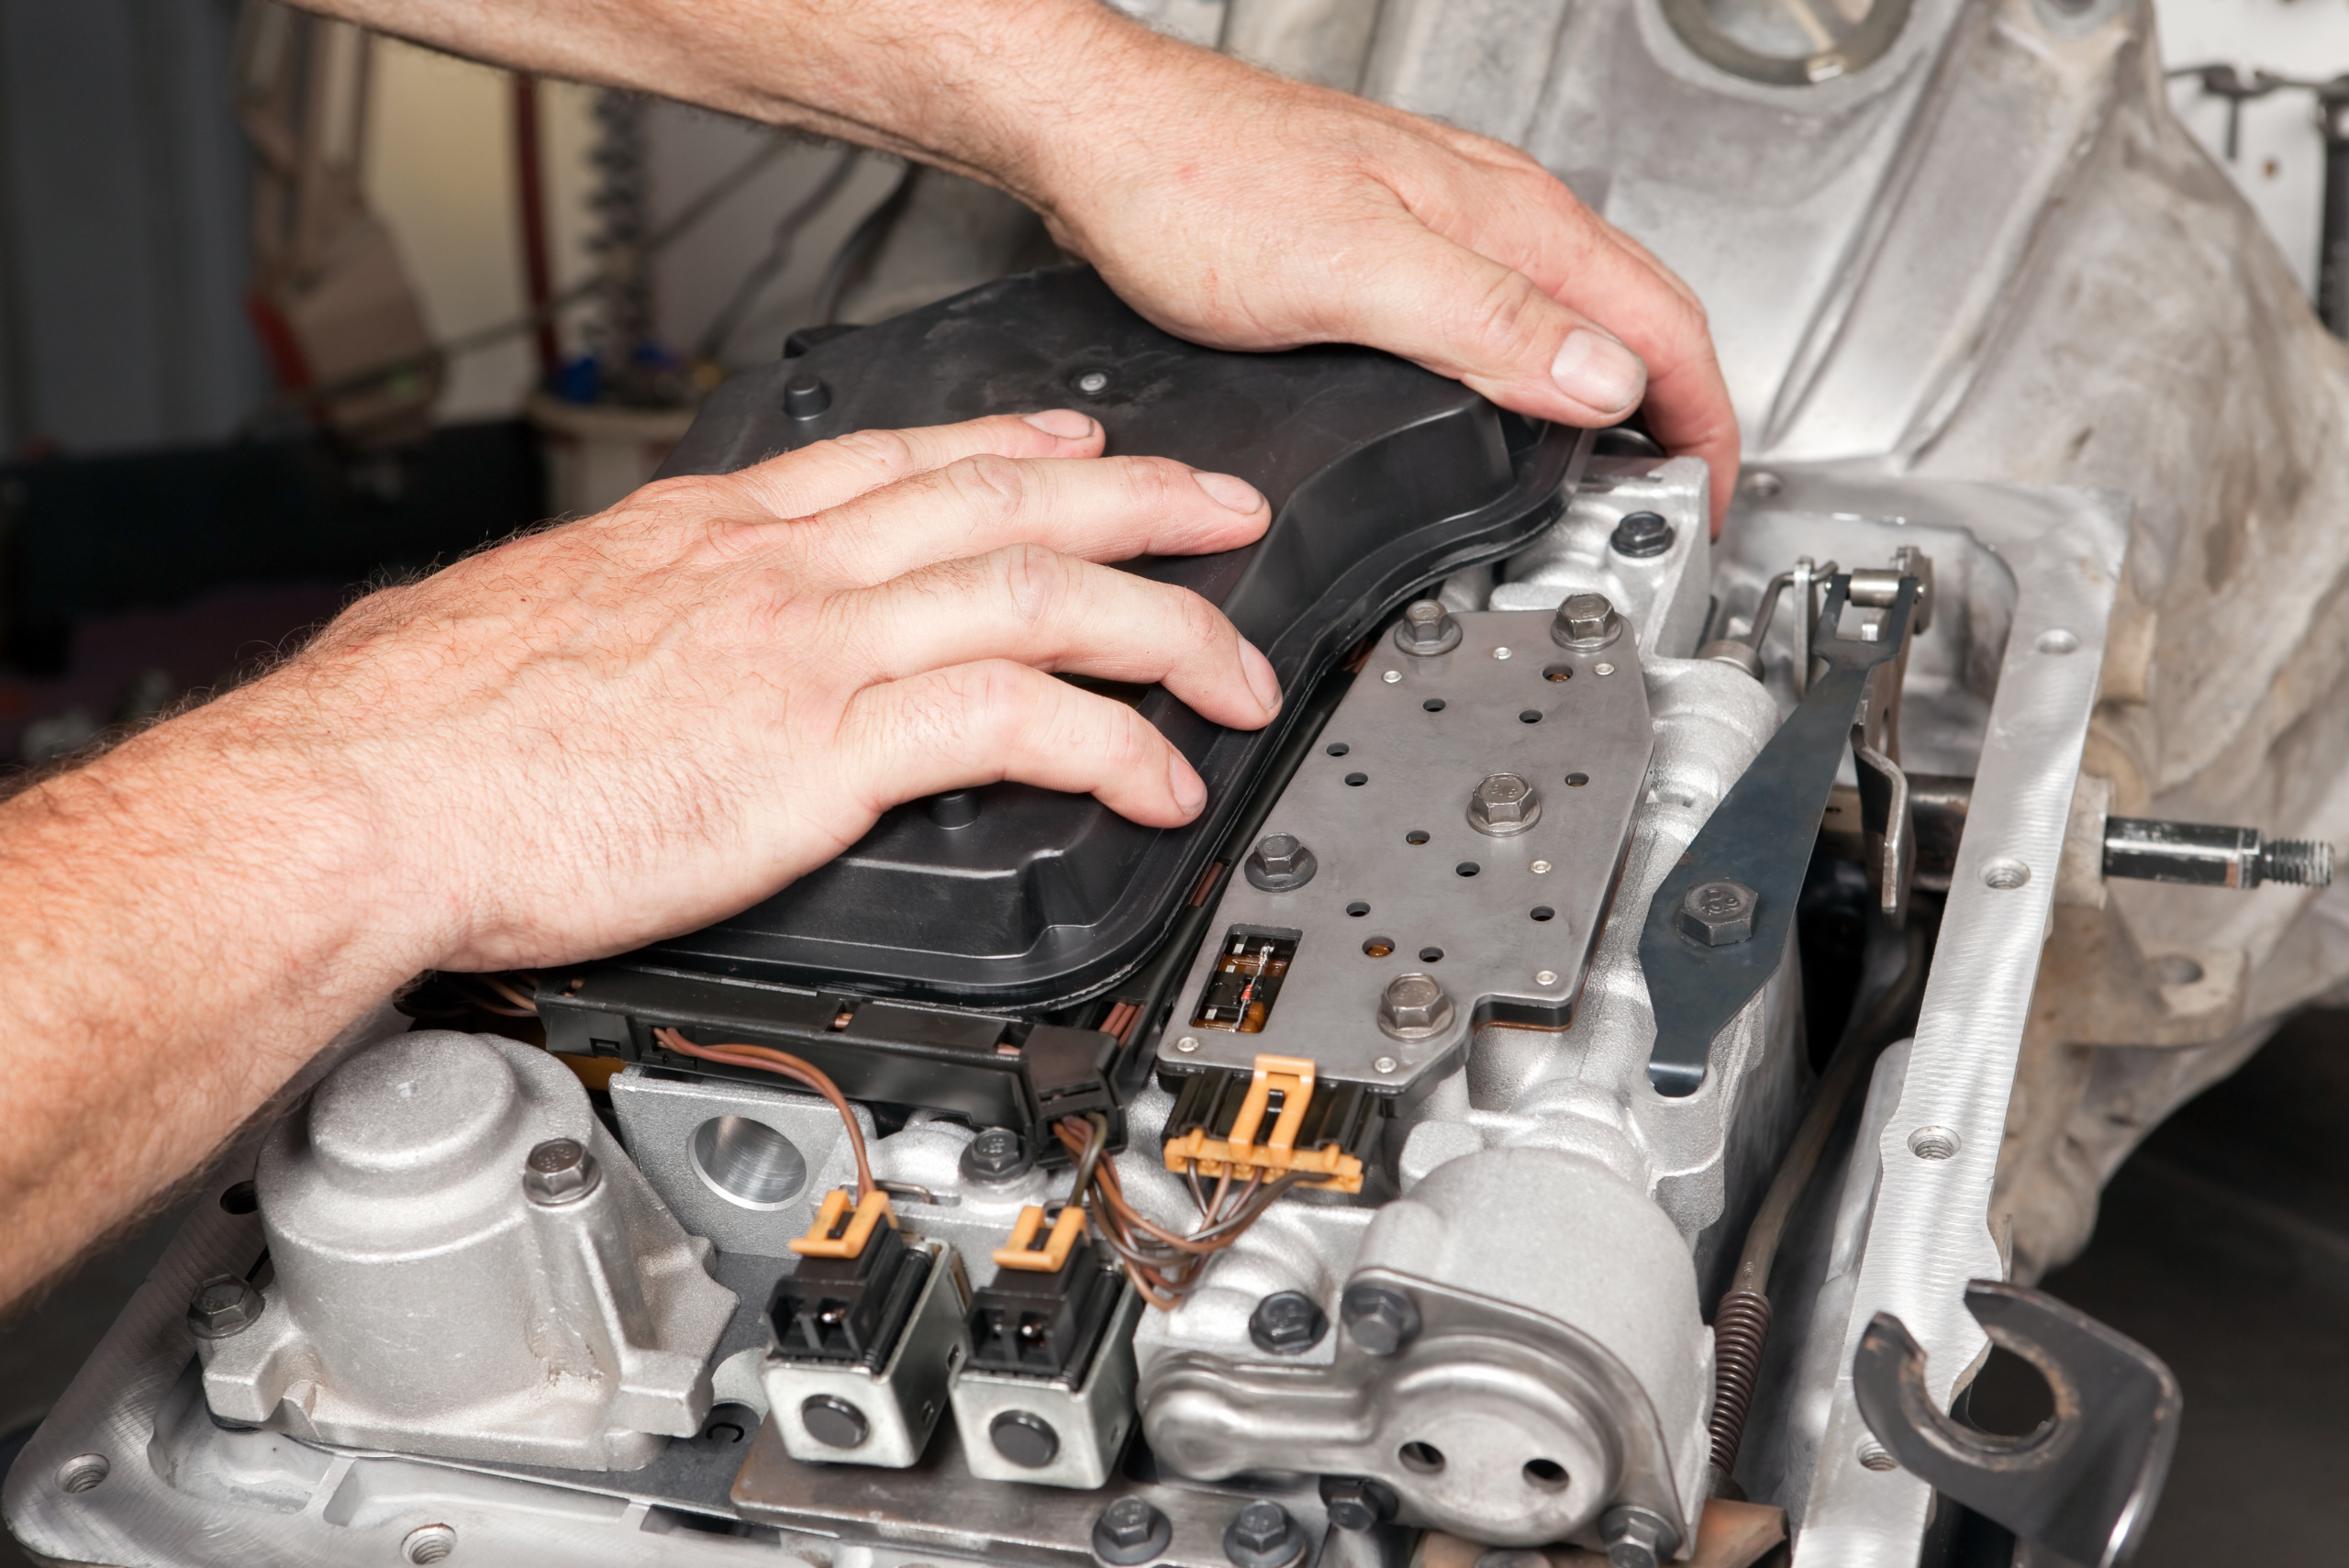
To remove the filter, locate it within the transmission pan which you will have to unbolt and carefully take it out. Install the new filter by following the instructions provided with the replacement part. This usually involves securing it in place with screws or clips, but sometimes it can be pressure fitted in as well. Replacing the filter ensures that your transmission fluid remains clean and free of debris, contributing to the overall health of your transmission system.
Refilling the Transmission Fluid Correctly to Ensure Proper Lubrication
With the old fluid drained and the filter replaced, it’s time to refill the transmission with fresh fluid. Using a funnel, pour the new transmission fluid into the fill port, which is typically located near the transmission dipstick. Refer to your vehicle’s owner manual for the correct type and quantity of fluid required.
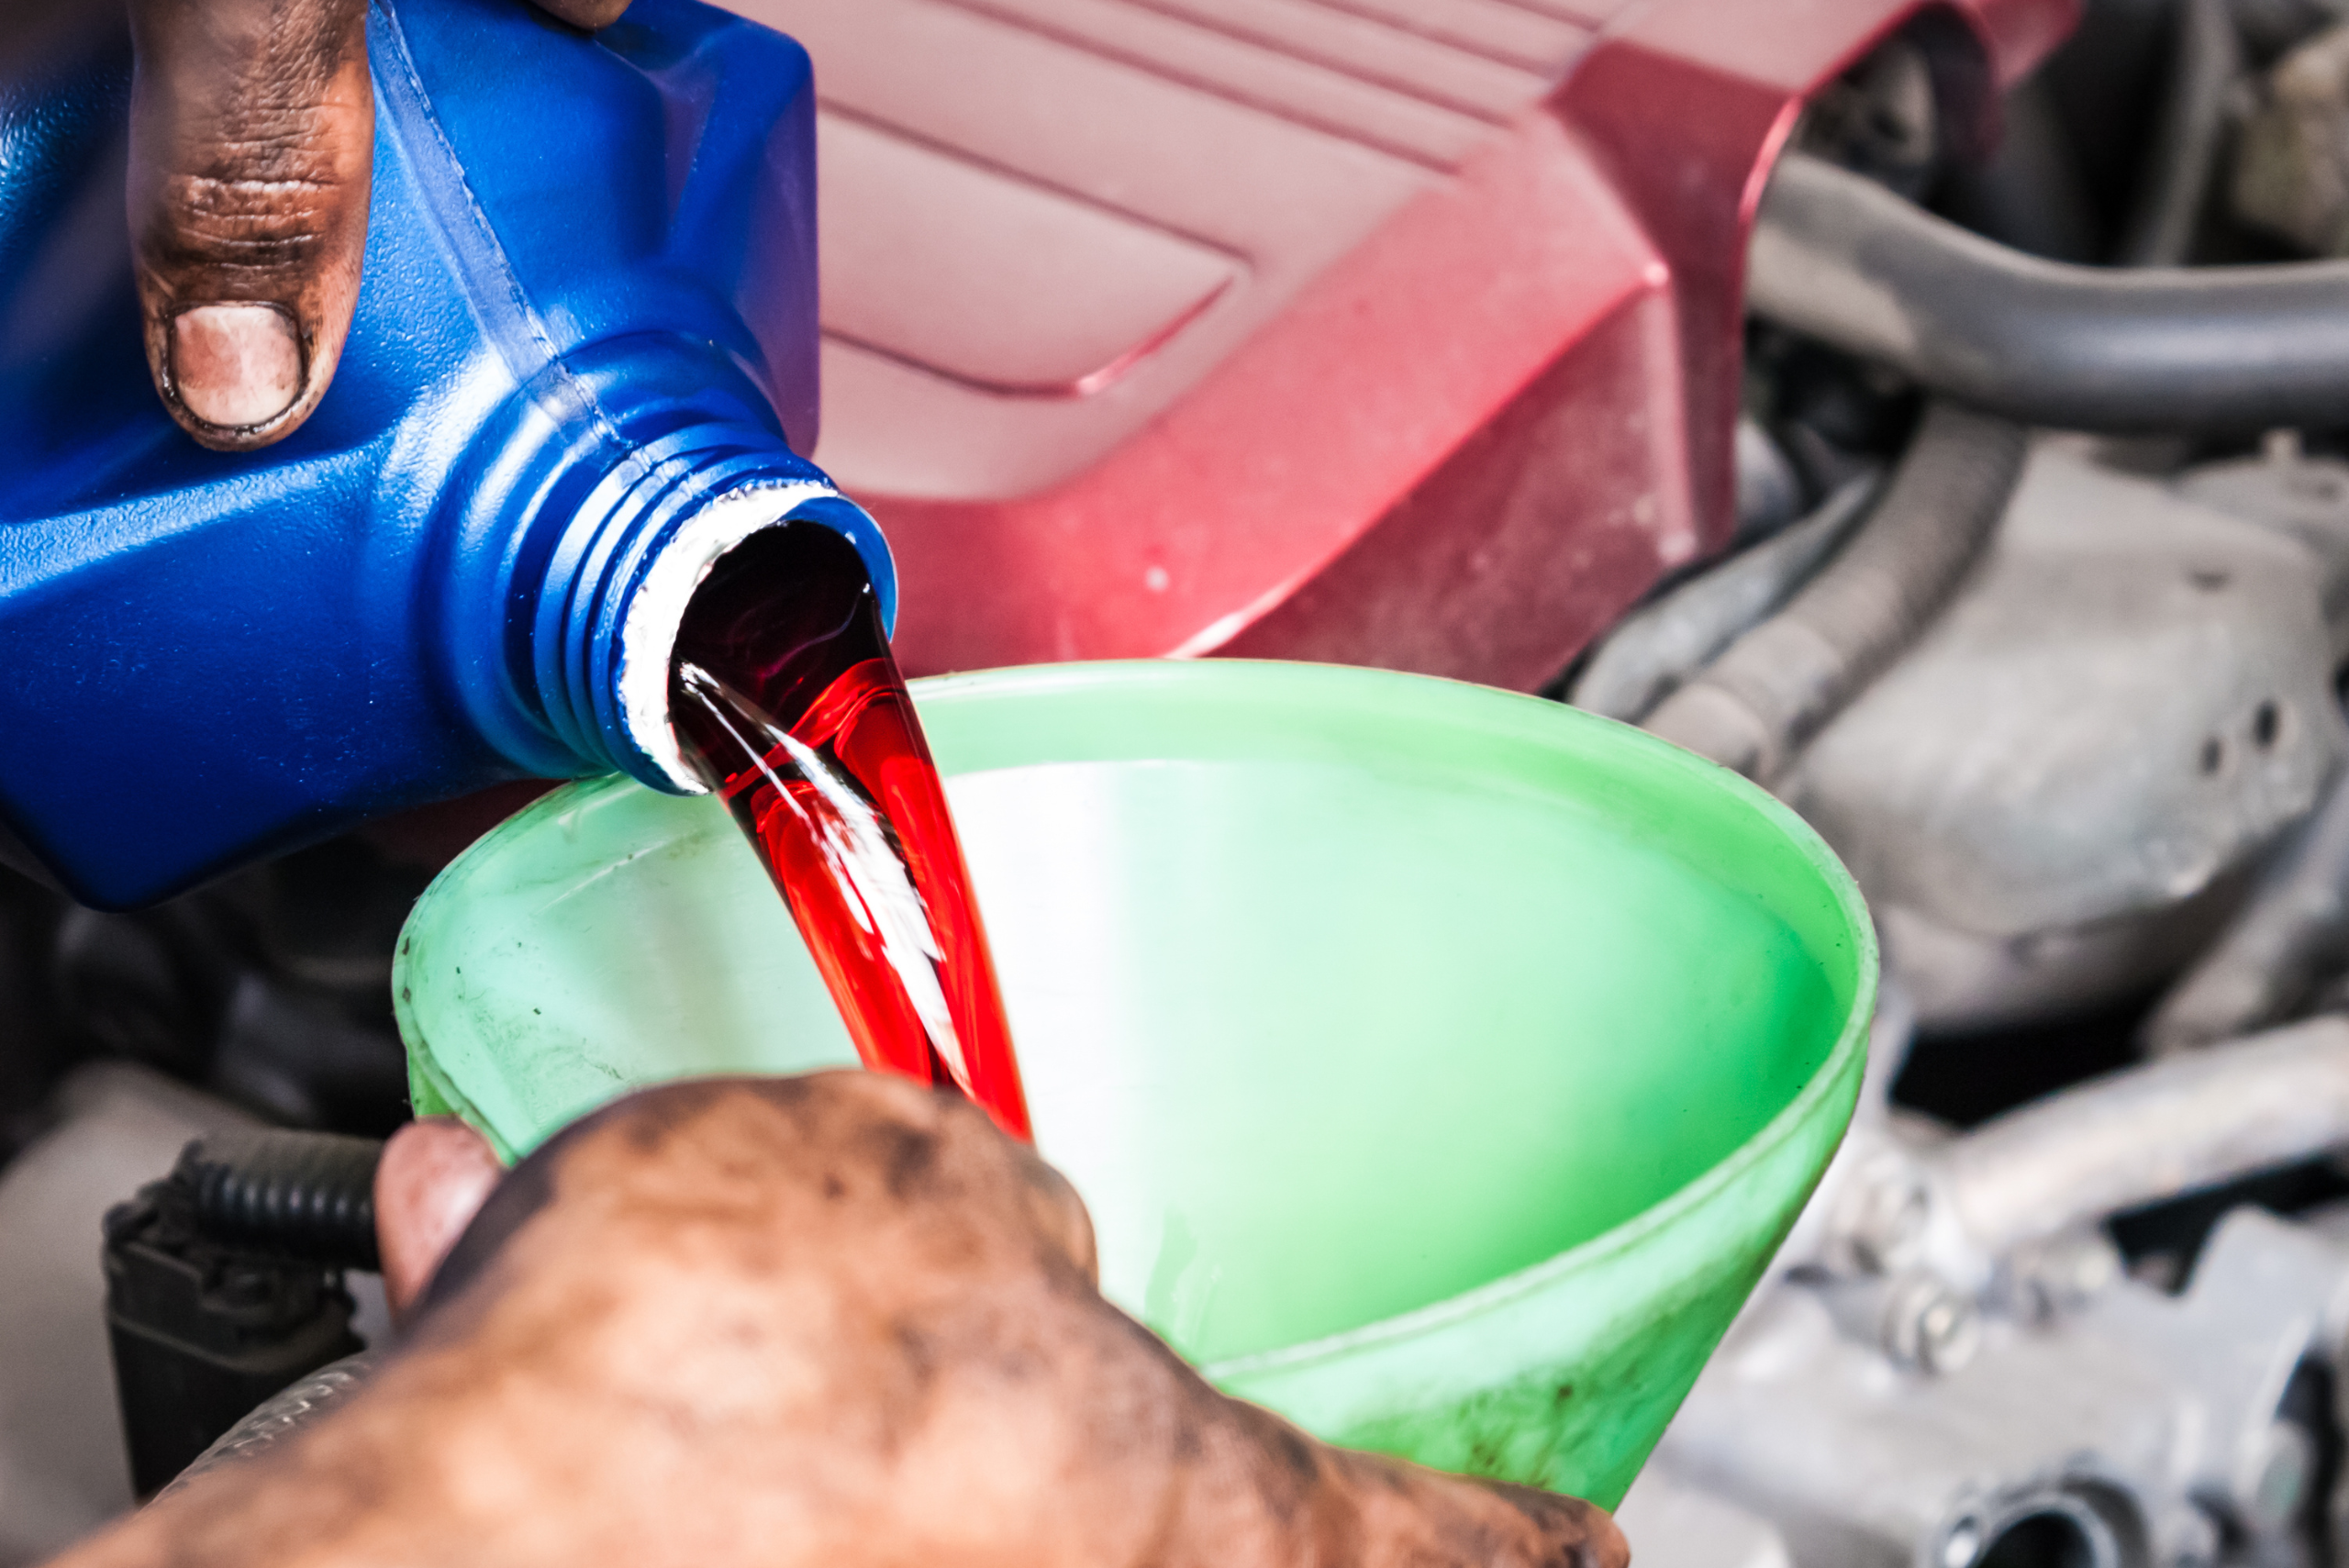
It’s important to add the fluid slowly and check the level regularly using the dipstick. Overfilling or underfilling can lead to performance issues. Once you’ve added the correct amount of fluid, replace the fill cap securely. Start your vehicle and let it run for a few minutes, checking for any leaks and ensuring that the transmission fluid circulates properly. Depending on your vehicle’s model, it might require you to shift between the gears for 30 seconds in each to circulate the fluid within the torque converter and other internal components.
Final Steps and Tips for Maintaining Your Transmission Fluid Over Time
After successfully changing your transmission fluid, there are a few final steps to ensure everything is in order. Take your car for a short drive to allow the new fluid to circulate through the system fully. Pay attention to how the transmission shifts and listen for any unusual noises. If everything seems smooth, you’ve done a great job.
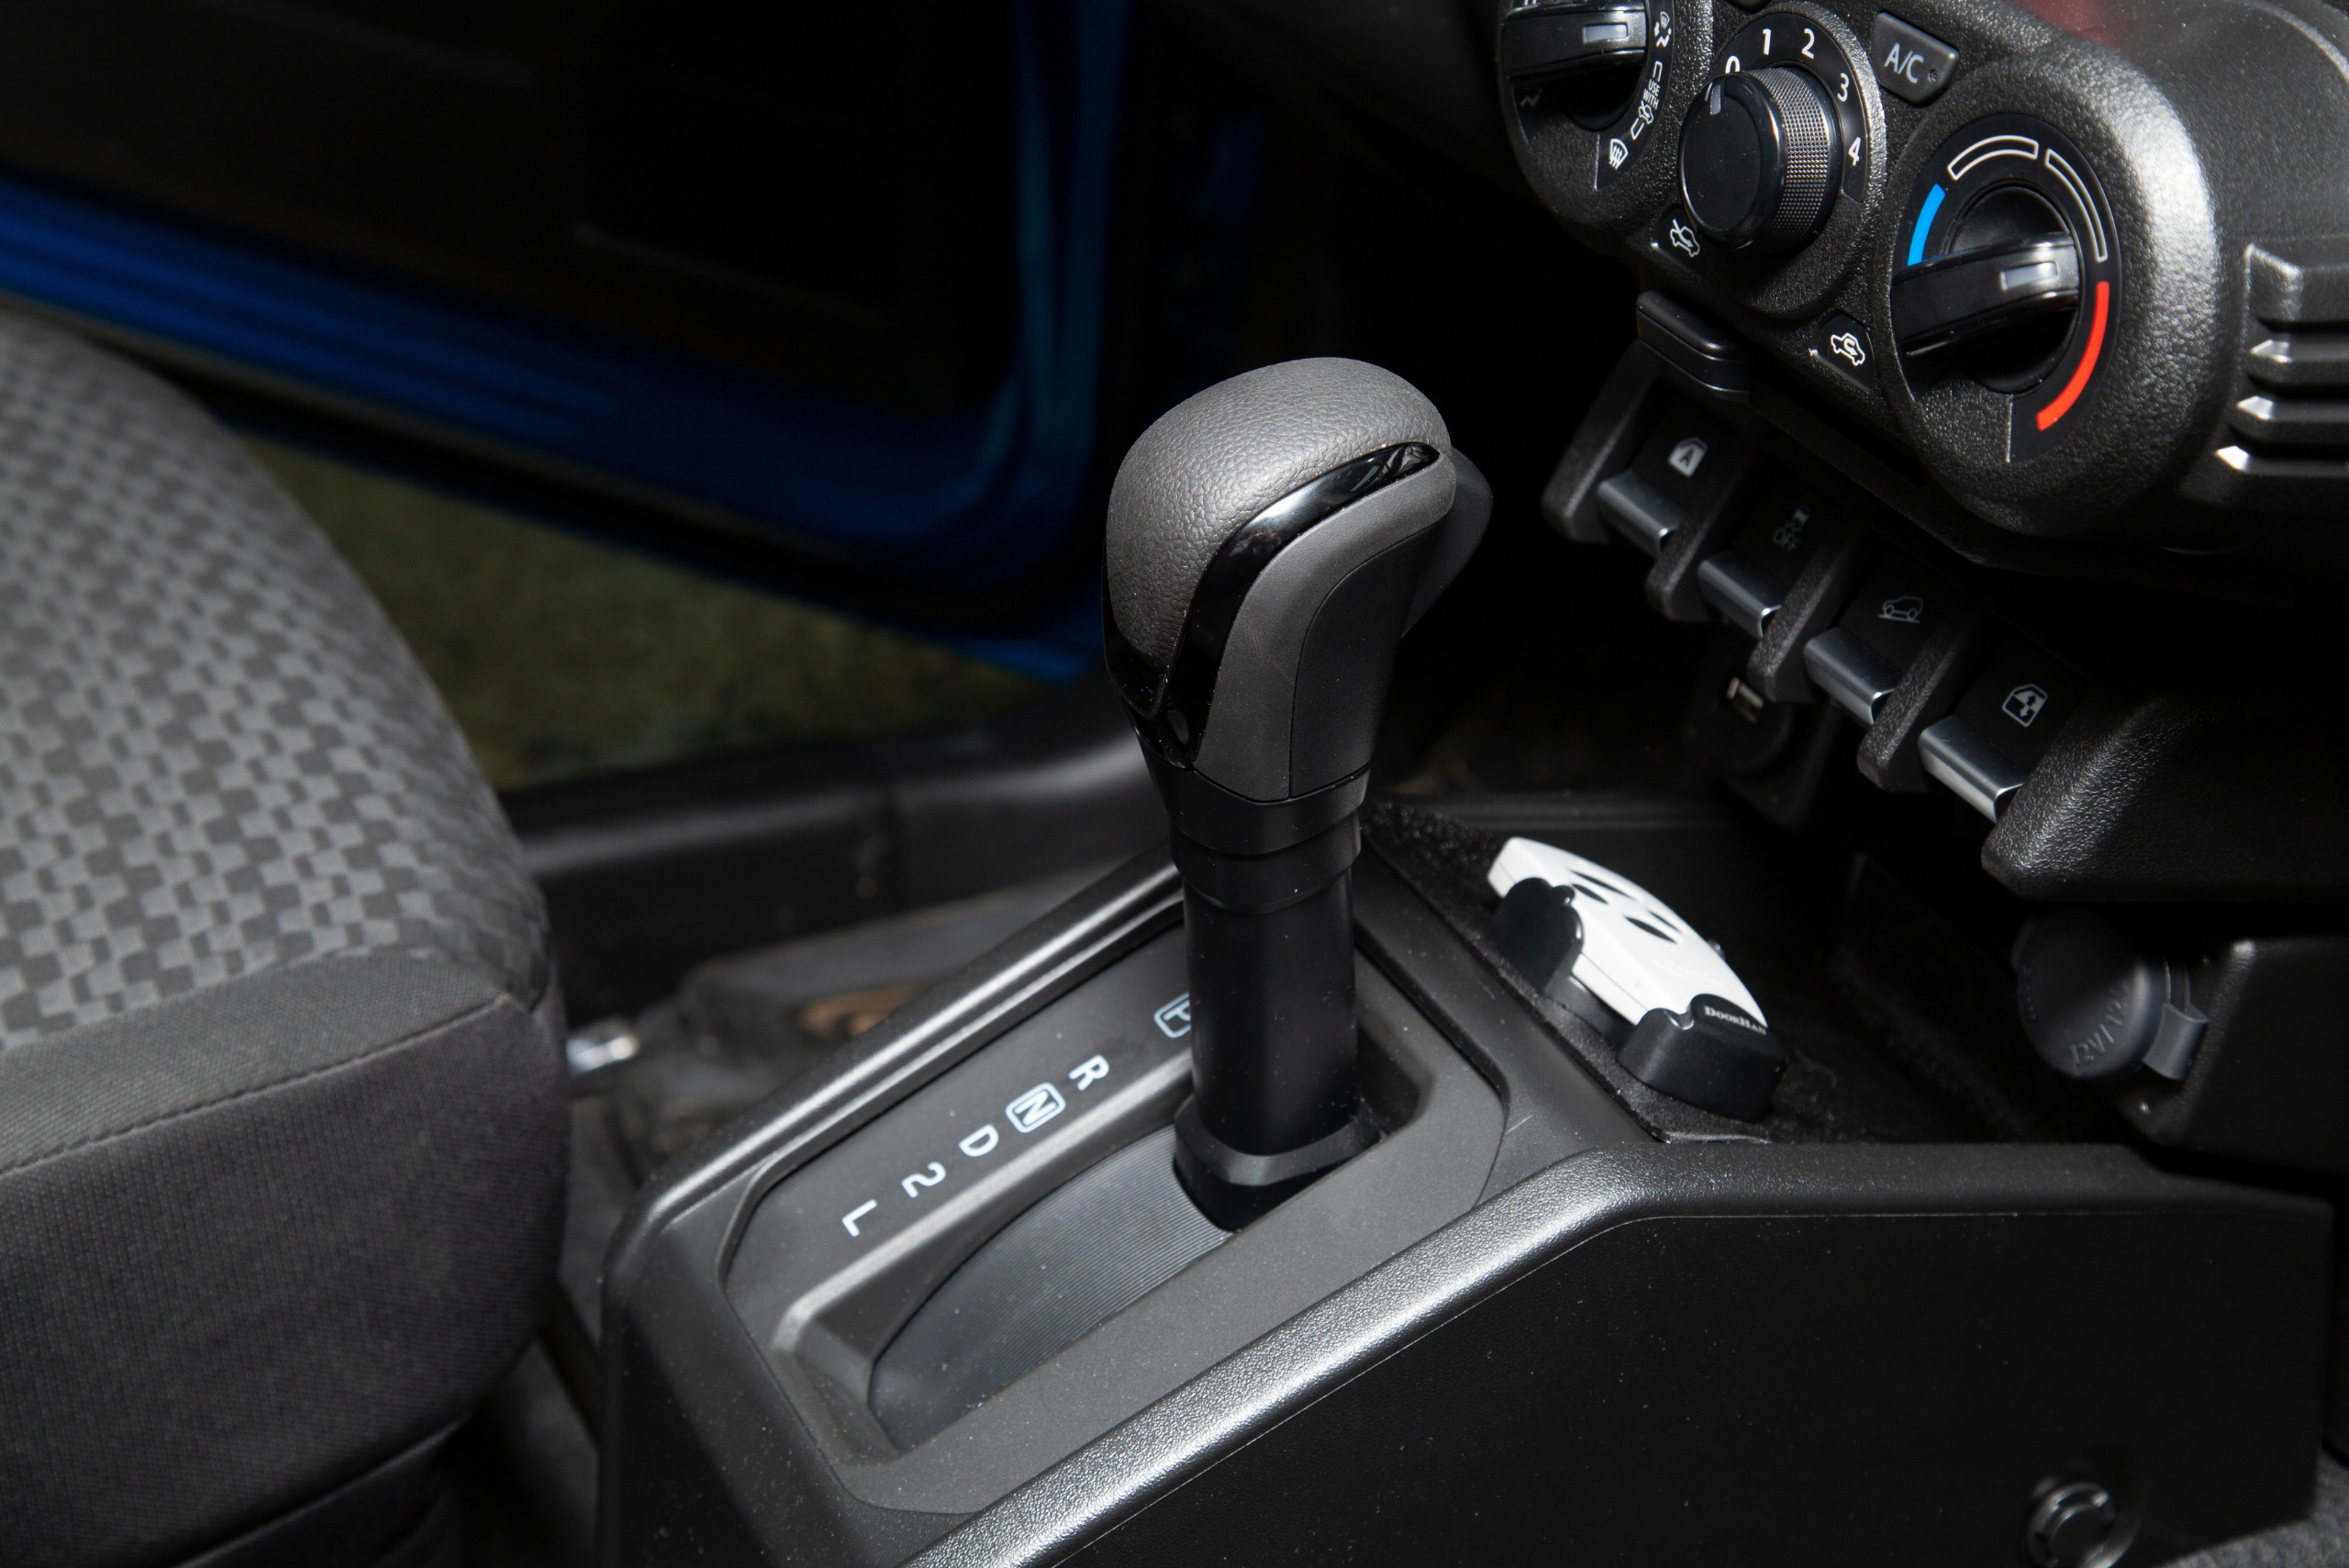
To maintain your transmission fluid over time, it’s essential to check the fluid level regularly and top it up as needed. Keep an eye out for any signs of leaks or discoloration, which could indicate a problem. By staying proactive and following a regular maintenance schedule, you can extend the life of your transmission and keep your vehicle running smoothly for years to come.
Related Articles
- How to Recharge Car AC to Enjoy Comfortable Drives on Hot Days
- Car Battery Replacement – Step-by-Step Guide for DIY Enthusiasts
- The 3 Best Car Window Cleaners of the Year
Changing your transmission fluid yourself can be a rewarding and cost-effective way to maintain your vehicle. Not only do you save money on labor costs, but you also gain a deeper understanding of your car’s mechanics. Regularly changing your transmission fluid helps prevent costly repairs and ensures that your vehicle performs at its best.
By following this guide on how to change transmission fluid, you can take control of your vehicle’s maintenance and enjoy the peace of mind that comes with knowing your transmission is in top condition. Remember, a well-maintained transmission leads to a smoother, more efficient driving experience and, ultimately, a longer-lasting vehicle.
Ready to start your next project? Join our DIY community to receive tool tips, how-to guides, and exclusive creative insights. Subscribe to the ManMadeDIY newsletter now! Click here to unlock a world of hands-on inspiration.


