The Best Way To Clean a Pizza Stone
Who doesn’t love pizza? The bubbling cheese, the sheer potential for toppings, and the way the flavors explode when they hit your mouth. Pizza has become a staple in American culture for good reason and isn’t going anywhere anytime soon.
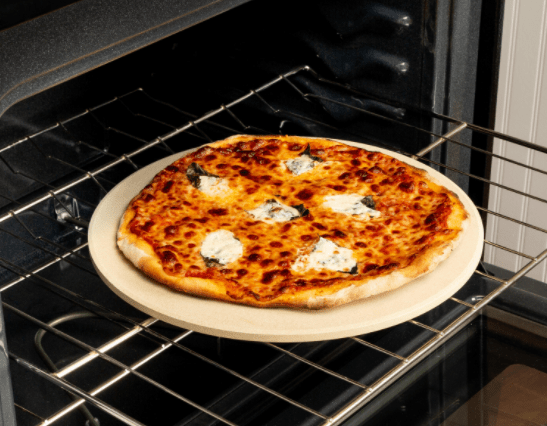
Making a pizza in your own oven gives you the opportunity to explore and create. Using a pizza stone during the process can mimic the brick pizza oven properties that result in an even, consistent cook and help can the pizza develop a crispy crust. But keeping it clean can be difficult.
The process of keeping it clean mostly entails getting the melted on ingredients that build up over time. With a scraper, a little bit of baking soda and water, and elbow grease you can get your pizza stone looking clean once again.
Why Use a Pizza Stone?
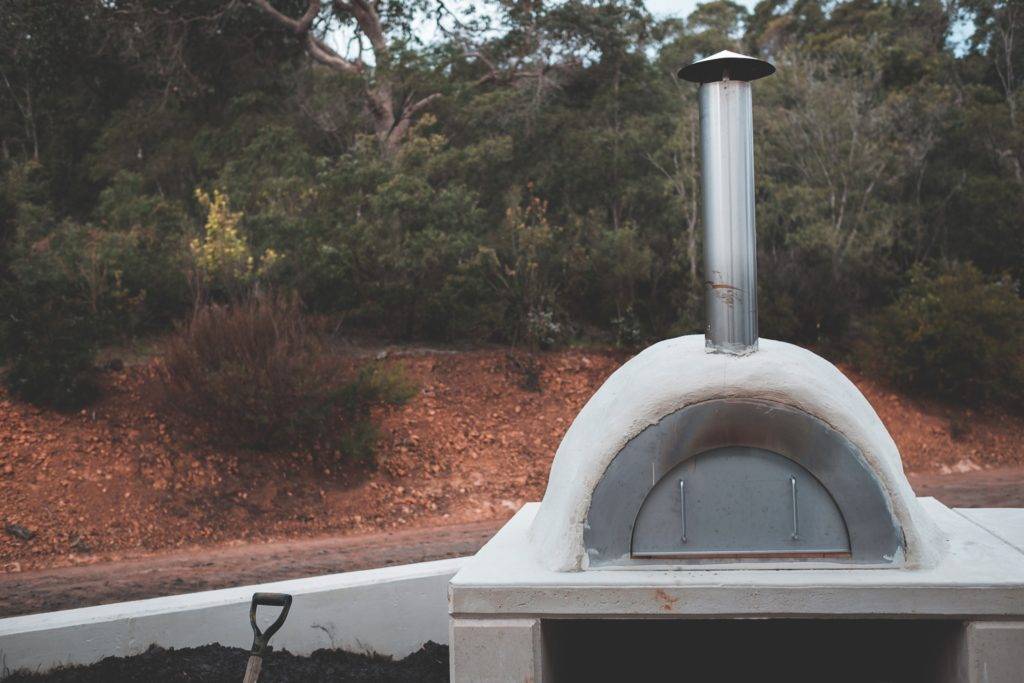
While you can pop your pizza into the oven, there is a distinct difference between that and the traditional brick oven experience. So, to mimic the brick oven experience, pizza stones were created to provide a more even cook than ever before.
How to Clean a Pizza Stone
The good news is that you can keep your pizza stone clean with a little bit of work. As is the case with anything else, a little bit of consistency can go a long way towards helping to keep your pizza stone cleaner for longer.
Step 1: The Necessary Tools
Like any other task out there, you have to have the right tools to get the job done. The good news is that keeping your pizza stone clean really isn’t too complicated or fancy. Most of the tools needed you probably already have in your kitchen or can grab for relatively cheap.
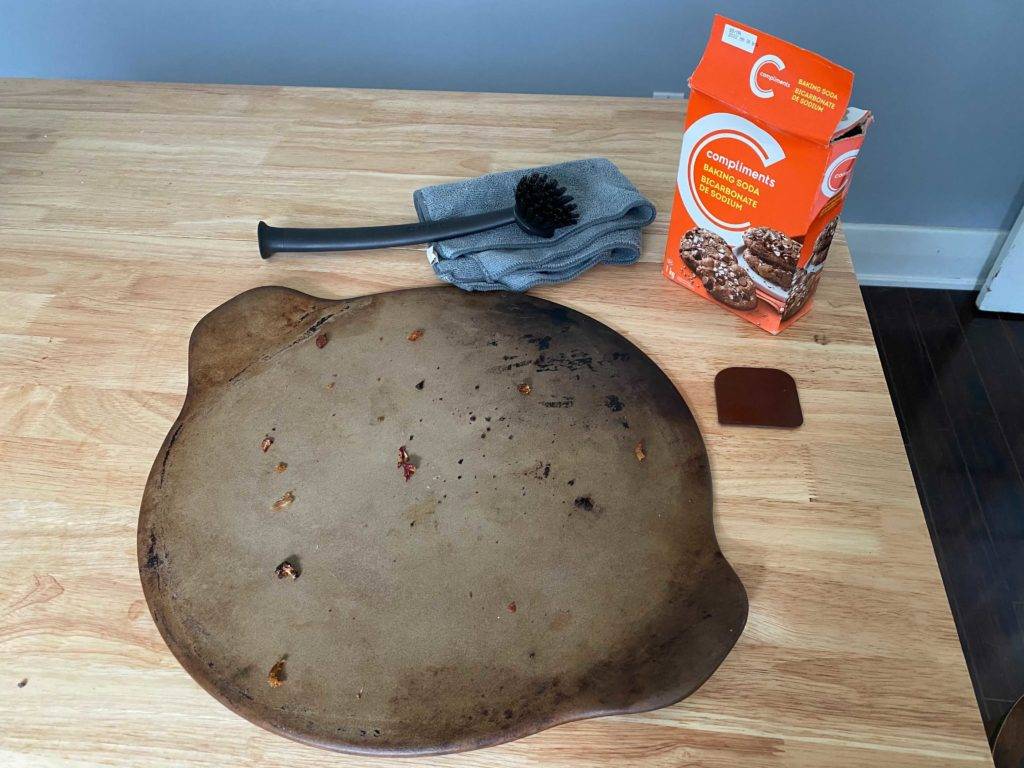
You also won’t need soap or water to do the job. Pizza stones are meant to withstand extremely high heats, which kills any bacteria that may have found itself on the stone. Pizza stones also tend to retain moisture since they are porous. So that means washing it in the sink with soap can lead to potentially soggy, soapy-tasting pizza. Instead, equip yourself with these tools:
Scraper. You don’t want to use anything sharp or metallic that could scratch up the stone. You can find specific pan scraper sets that are designed specifically for this purpose. If you have a plastic spatula, that should work in a pinch as well. For really tough gunk, you can upgrade to fine-grade or even medium-grade sandpaper.
Cloth/Towel. While you don’t want to leave moisture on the stone, a damp cloth will allow you to wipe down the surface without it soaking in completely. Moisture in the middle of your stone is never a good thing for your pizza.
Baking Soda. There’s a good chance that you have stains on your pizza stone if you are here. The good news is that it won’t impact the taste or cook of your pizza. Mixed with water, baking soda can get tough stains up easily.
Stiff-Bristled Brush. When you need to scrub, you need to be certain you aren’t damaging your pizza stone. This will get the job done.
Step 2: Make Sure the Stone is Cool
You never want to clean your pizza stone fresh out of the oven. First and foremost, it is dangerous and could wind up burning you. Always use best safety practices when doing anything, especially something that goes in the oven.
Not only that, but abrupt changes in temperature can cause your pizza stone to crack. Give it time to cool down; usually a few hours or even overnight is the safest means of ensuring that it is cool enough.
Step 3: Loosen Up Stuck On Debris
This is probably the toughest part. Use a plastic scraper to get all of the stuck-on crust, cheese, and other food debris that gets leftover. Remember that you want to avoid metal scrapers here as it could scratch and otherwise harm the pizza stone.
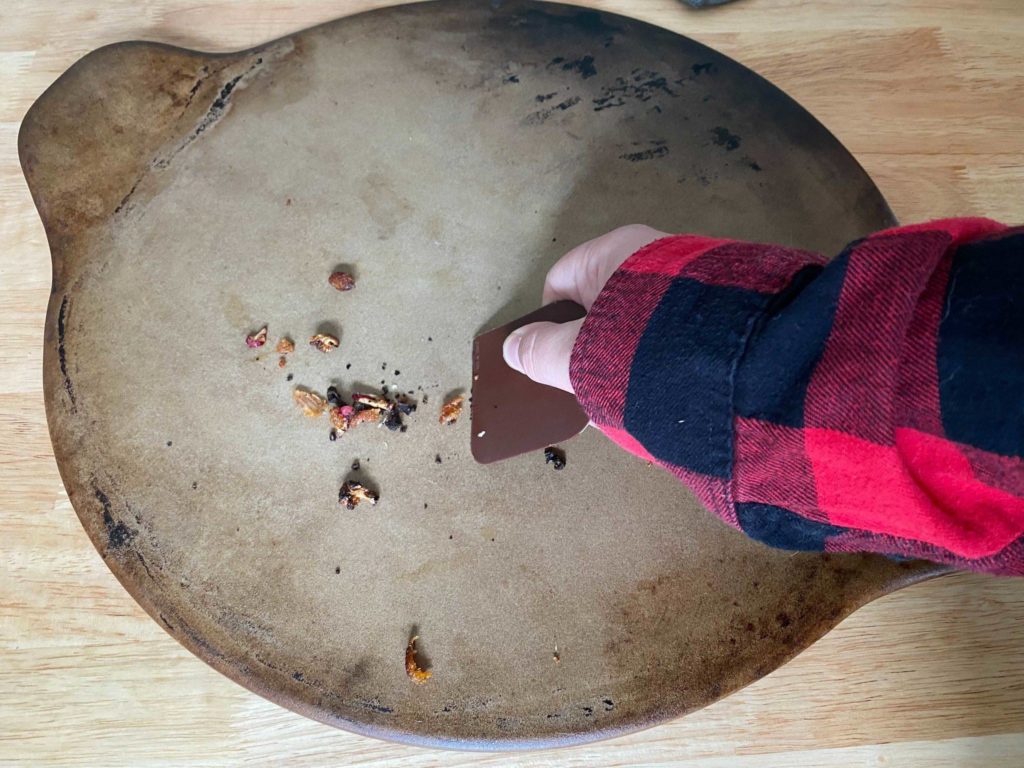
This step will probably take you a while depending on how dirty the stone is. Getting to the foodstuffs while it is still warm is a good way to save yourself a lot of trouble. Make sure you get as much as you can if you can’t get it all.
Step 4: Wiping Down the Pizza Stone
When you are satisfied with your scraping efforts, it is time to take a slightly damp towel or cloth to the pizza stone. Make sure that you use as little water as you possibly can. The stone is porous and excess moisture can and will get trapped below the surface.
By using a little bit of water, you prevent soaking and can still wipe more gentle stains. If you feel like the stains are a bit more heavy-duty, don’t just add more water and scrub harder. There is a good chance that some of the stains will remain, which means moving to the next step.
Step 5: Baking Soda Mix
For the truly tough stains, you will need to create a mixture of baking soda and water. Mix the baking soda and water in a bowl to create a pliable paste. Spread the paste over the entirety of the pizza stone, ensuring even coverage.
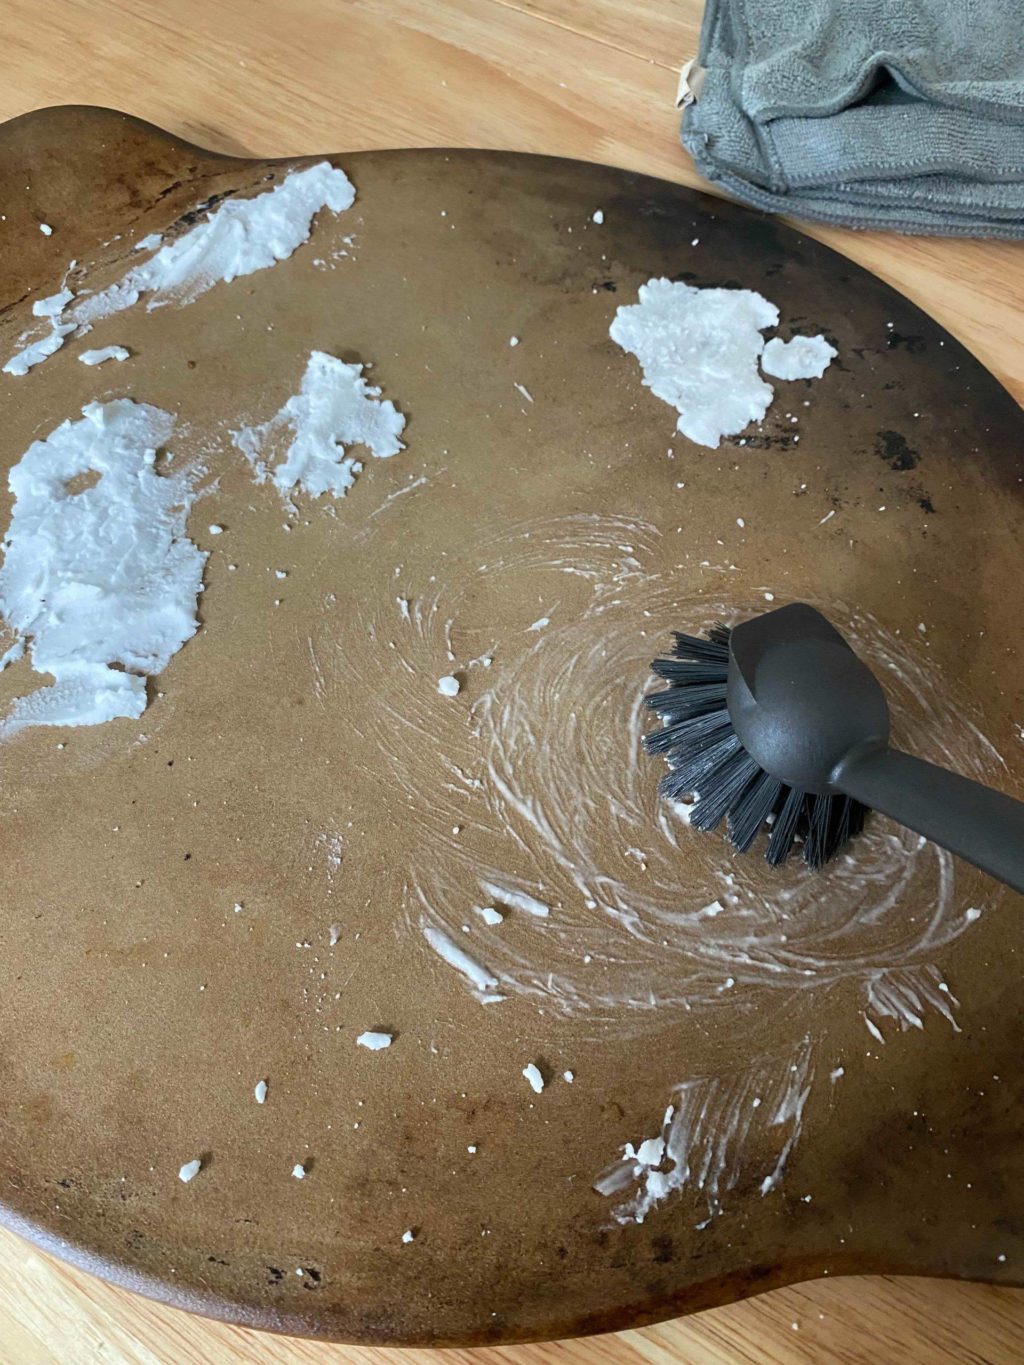
You want to cover the tough stains at the very least. Take your scrubbing brush and gently work the paste over the debris or stain, using circular motions as you go. The baking soda mixture should be able to break down the stain, making it easier to remove.
Step 6: Wipe Again
When you have sufficiently scrubbed the stains, grab your damp cloth again. Wipe away all of your baking soda mixture, giving the pizza stone the necessary time to air dry. When it has properly dried, give it a once-over.
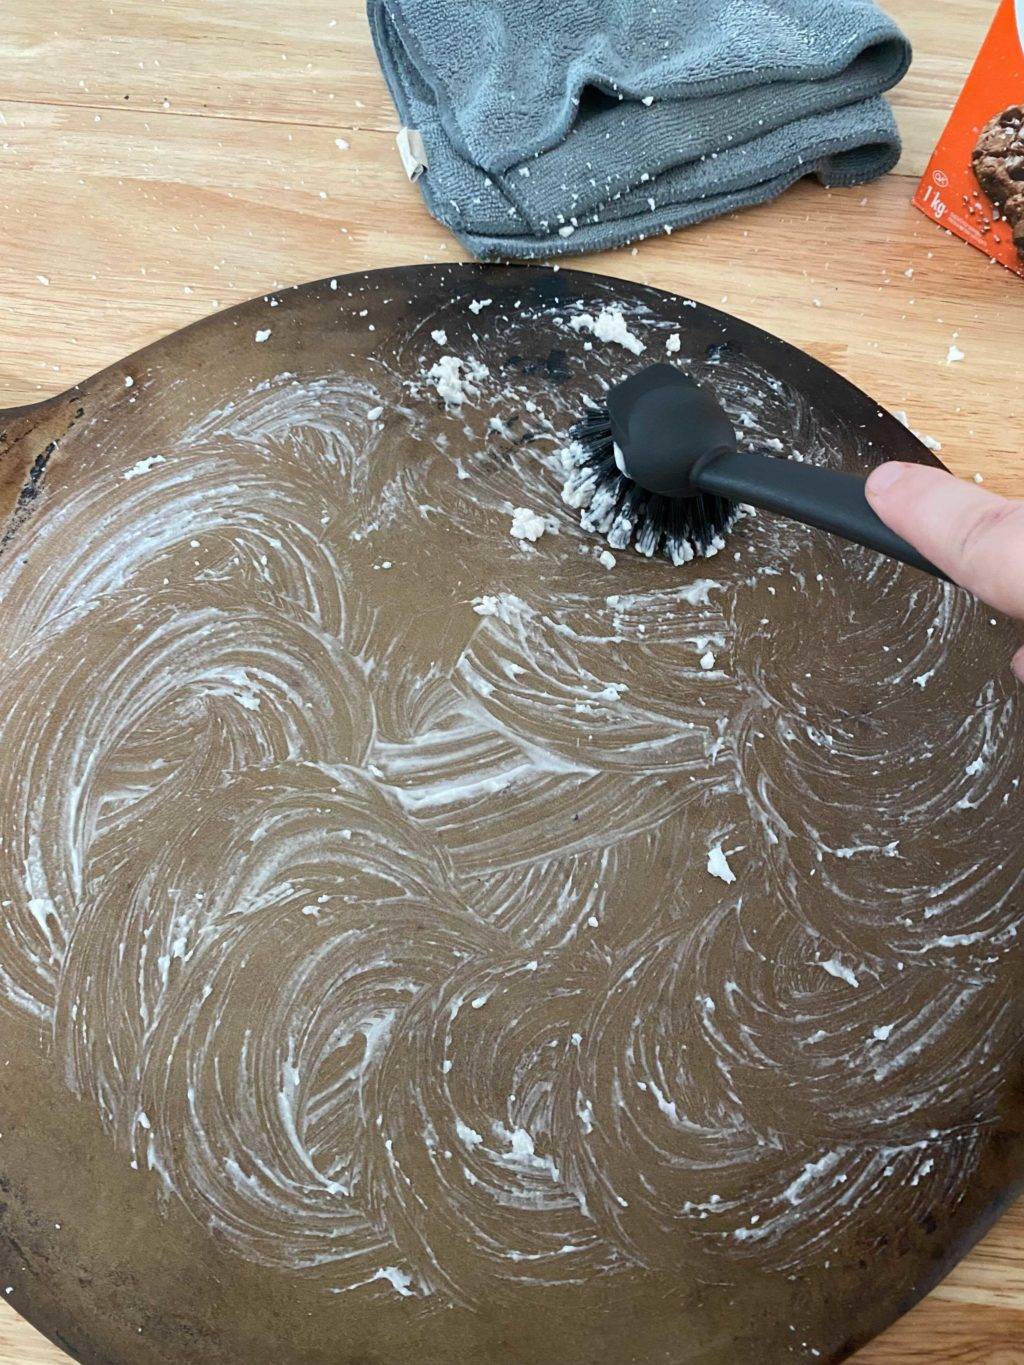
Depending on the severity of the stains, you may have to repeat the process more than once. Make sure that you wipe away the residue each time that you use the paste; you don’t want it sticking to the surface and getting heated up under your pizza.
Step 7: Heat is Your Friend
Perhaps you have made it this far and there are still stuck-on pieces of debris and old melted cheese to contend with. Don’t worry, that’s totally normal. And there is something else that you can do to possibly remove them.
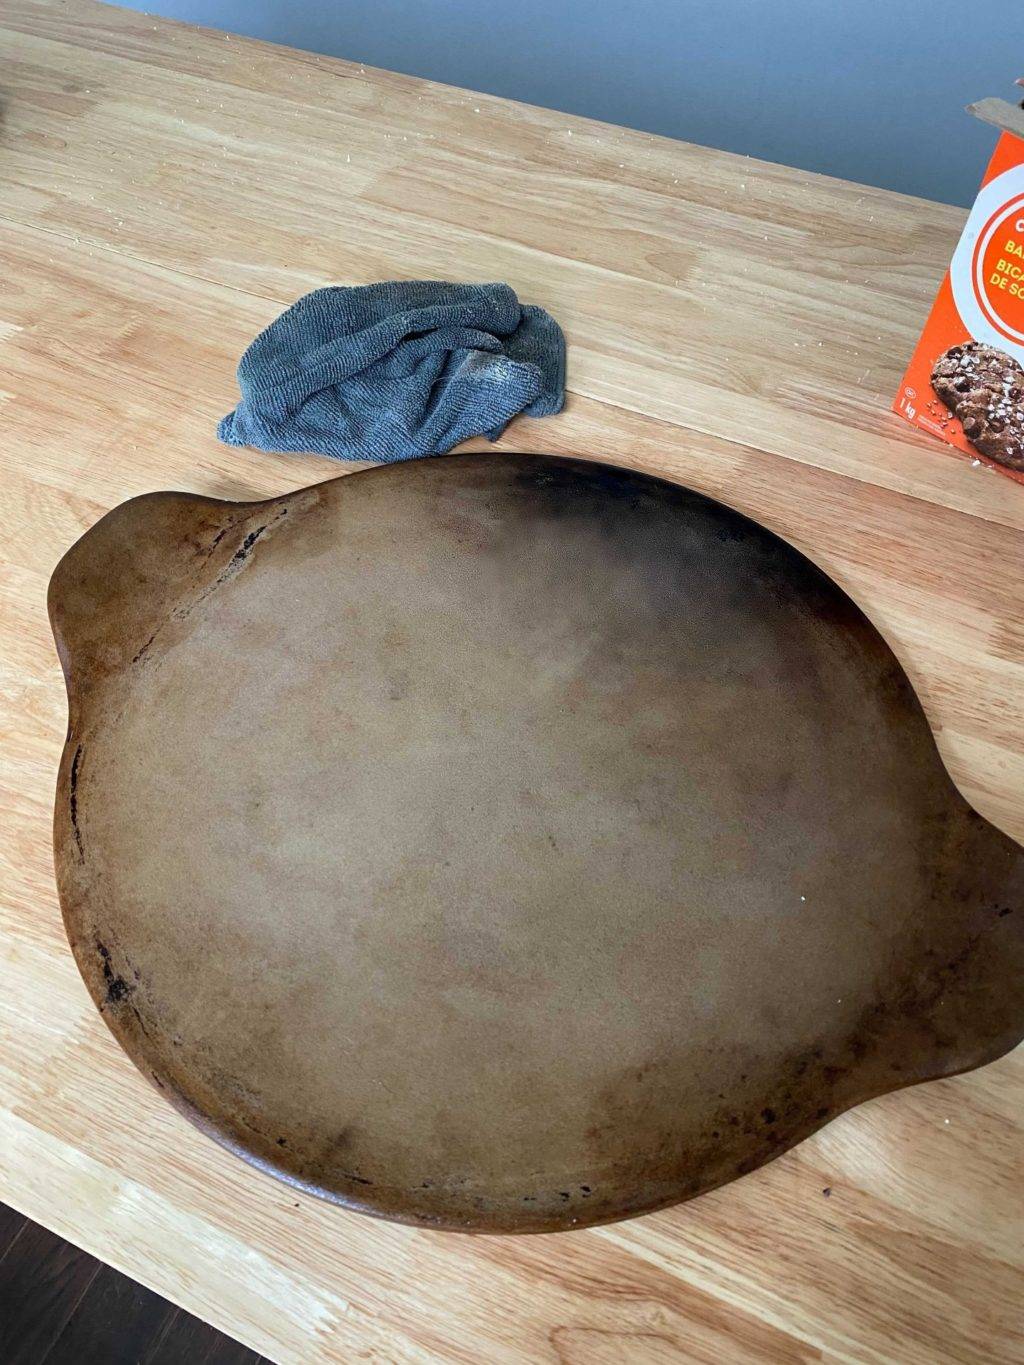
If all else fails, stick the stone back in the oven at 500 degrees Fahrenheit. Let it bake for an hour or so; this should loosen up any leftover debris sufficiently so that you can scrape it away. When the stone is cooled sufficiently, wipe it down to remove any loose debris. Finally, store your freshly cleaned stone back in the oven.
How Often Should You Clean Your Pizza Stone?
There are a few things to keep in mind. For one, scraping off any food debris when done using can save you a lot of time. When cheese, crust and other food scraps are allowed to remain stuck to the stone and dry, you are going to have a hard time getting them off.
That said, your stone will have discoloration and will retain some of those stains. There isn’t much to be done about that. Make sure to gently wipe down the surface of your pizza stone with each use. It should help you to keep the worst of it off of your pizza stone.
When it comes to deeper cleaning, do so at your discretion. If it has been a few times since you cleaned the stone, maybe get that brush and baking soda out and do a deeper cleaning. The longer you wait, the worse it will be, so just get it over now.
What to Do If You Used Soap and Water?
Perhaps you are reading this too late. You’ve used soap and water to clean your pizza stone, so that means it is ruined and your pizza crust will taste soapy from now on, right? Well, not so fast. There is something you can do.
If you used soap and water to clean your pizza stone, don’t worry. Simply grab a can of crescent rolls at the grocery store, spreading the dough out flatly and evenly over the entire surface of the pizza stone. Make sure that you get even coverage throughout for the best results.
Bake according to the instructions on the can. The idea here is that the heat will draw out the soap from within the pizza stone and infuse it into the crescent rolls. You can simply pull off the crescent rolls and toss them in the garbage when you are done.
Should you still taste soapy flavoring in your food, try cleaning the pizza stone again with the baking soda method. It may take a time or two, but you should be able to eventually rid yourself of that soap flavoring. And at least you know not to use that method again when cleaning your pizza stone.


