How To Cut A Perfectly Straight Line For Your Next DIY Project
Mastering the skill of how to cut straight lines is essential for various home reno and DIY projects. Whether you’re working with wood or any other material, a clean, straight cut can significantly impact the overall appearance and fit of your project. Understanding the right tools and techniques can make the process much simpler and more precise, ensuring that your results are both visually appealing and structurally sound.
Selecting the Right Tools for Cutting Straight Lines
When looking to achieve precision in your projects, selecting the right tools is crucial, especially when trying to cut straight lines. For starters, a high-quality cutting guide is essential.
This can be a simple ruler or a specialized cutting guide designed for use with various tools like saws or rotary cutters. The material of your guide plays a significant role as well; metal guides are typically the most durable and provide a reliable edge to work against without shifting during the cutting process.

Preparing Your Workspace for Cutting Tasks
When preparing your workspace for cutting tasks, it’s crucial to create an environment that enables precision and safety. Ensuring that your surface is clean, stable, and free from any obstructions can make all the difference in maintaining control over your materials and tools.
A clutter-free workspace not only helps in focusing on the task but also reduces the risk of accidents. It’s advisable to have sufficient lighting; good visibility is key to achieving accurate measurements and cutting straight lines without any hassle.

How to Cut Straight Lines Using a Ruler or Straight Edge
When you need to cut straight lines, a ruler or straight edge can be your best ally. Start by securing your material on a stable surface to avoid any movement that could disrupt the precision of your cut.
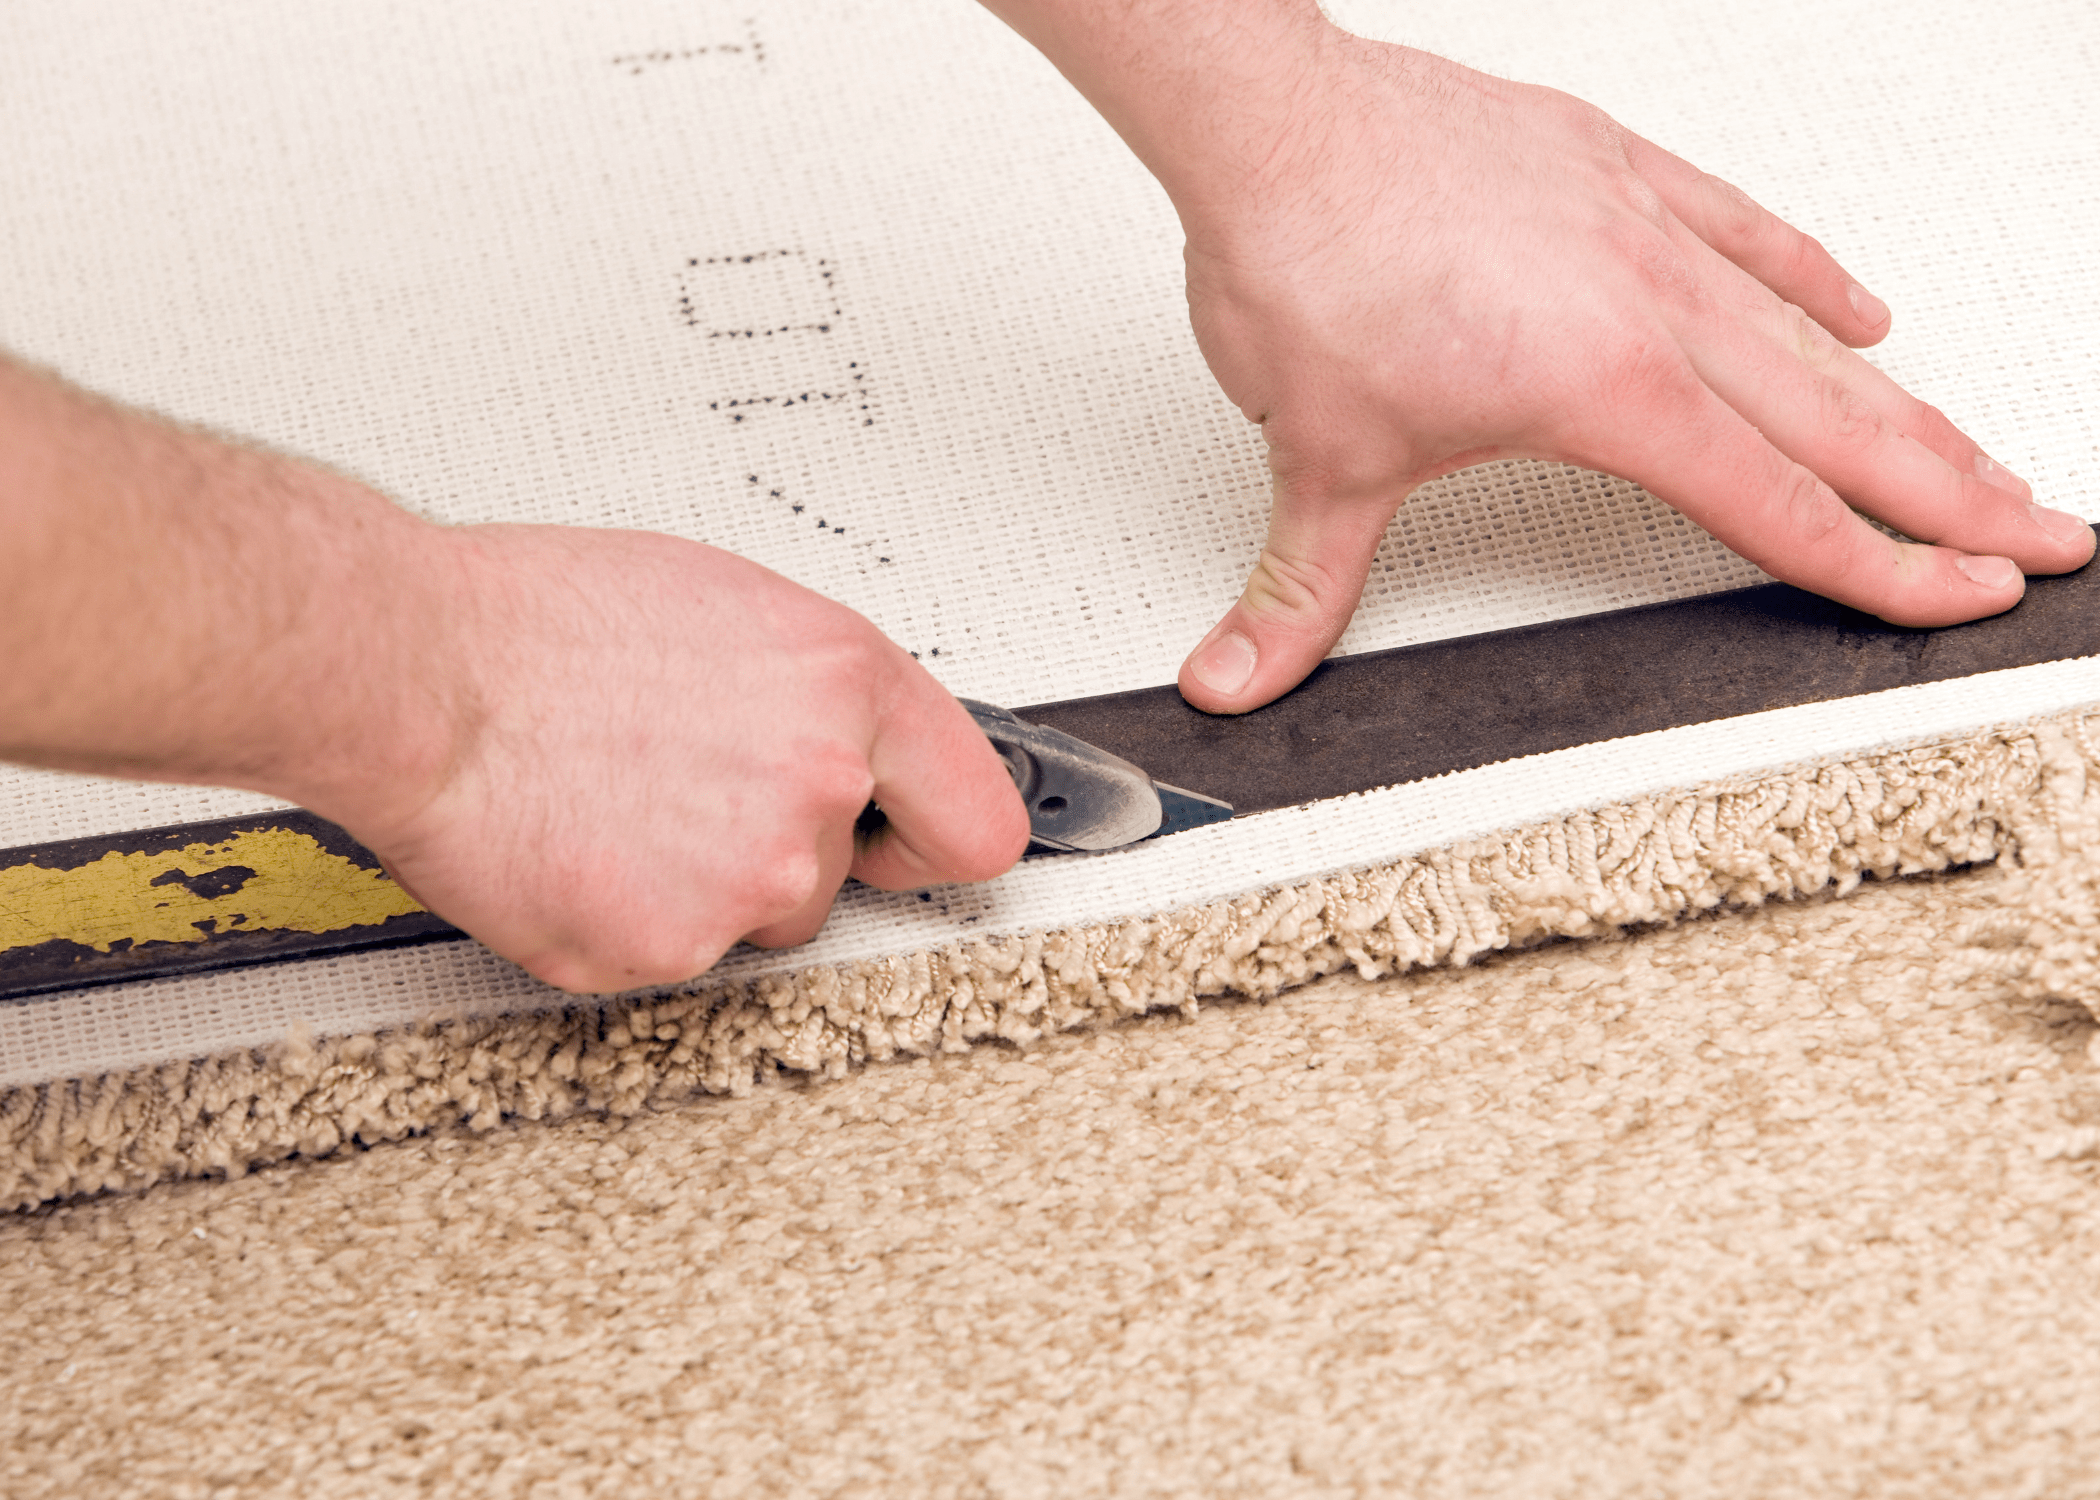
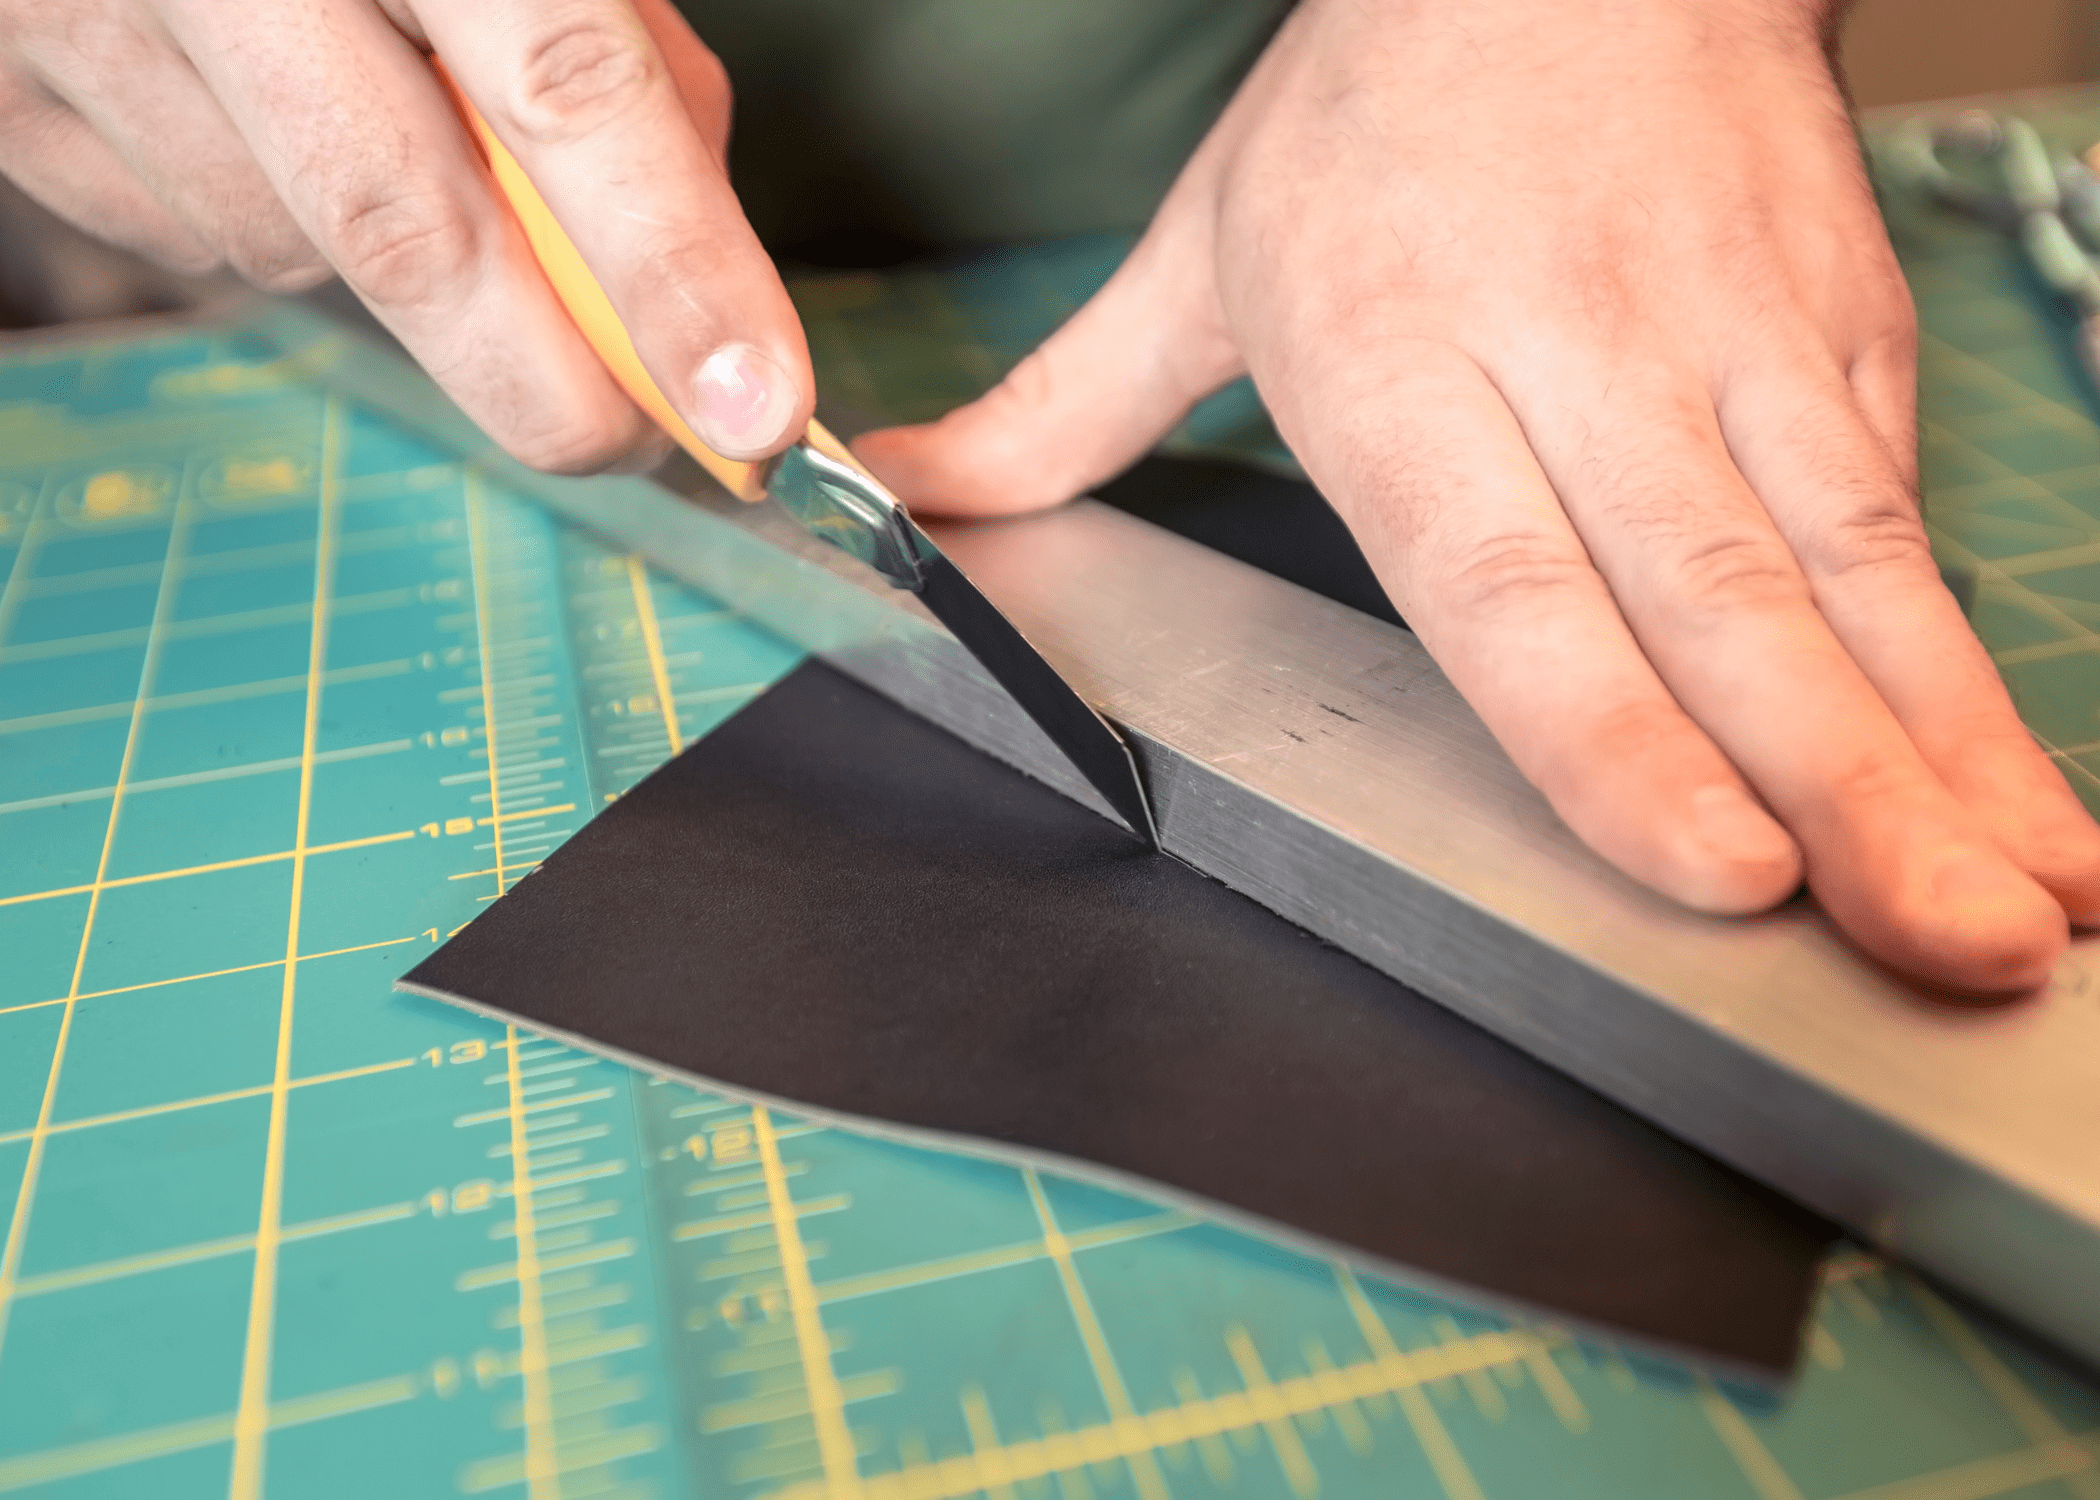
Place the ruler along the line where you intend to cut, ensuring it is perfectly aligned with your marking. Hold the ruler firmly in place with one hand while you use a sharp utility knife or rotary cutter in the other hand. Apply consistent pressure as you glide the blade along the edge of the ruler.
This method provides a guide that helps prevent the blade from veering off course, ensuring a neat, straight line.
Techniques to Follow When Measuring for Straight Cuts
When preparing to make accurate cuts, a well-executed measuring process is essential. One effective technique is to use a sturdy, reliable tape measure or a ruler for smaller projects.
Another great strategy involves the use of a square or a T-rule to guarantee right angles and straight lines across the material. Positioning the square along the edge of your material helps maintain alignment during marking.
When working with larger sheets, such as plywood or drywall, clamping a straight edge or a level along the line where the cut will be made can serve as a guide for your cutting tool, ensuring a straight line from start to finish.
Remember, taking your time to measure and line everything up correctly can save a lot of extra work fixing crooked cuts later on.
How to Cut Straight Lines with Scissors
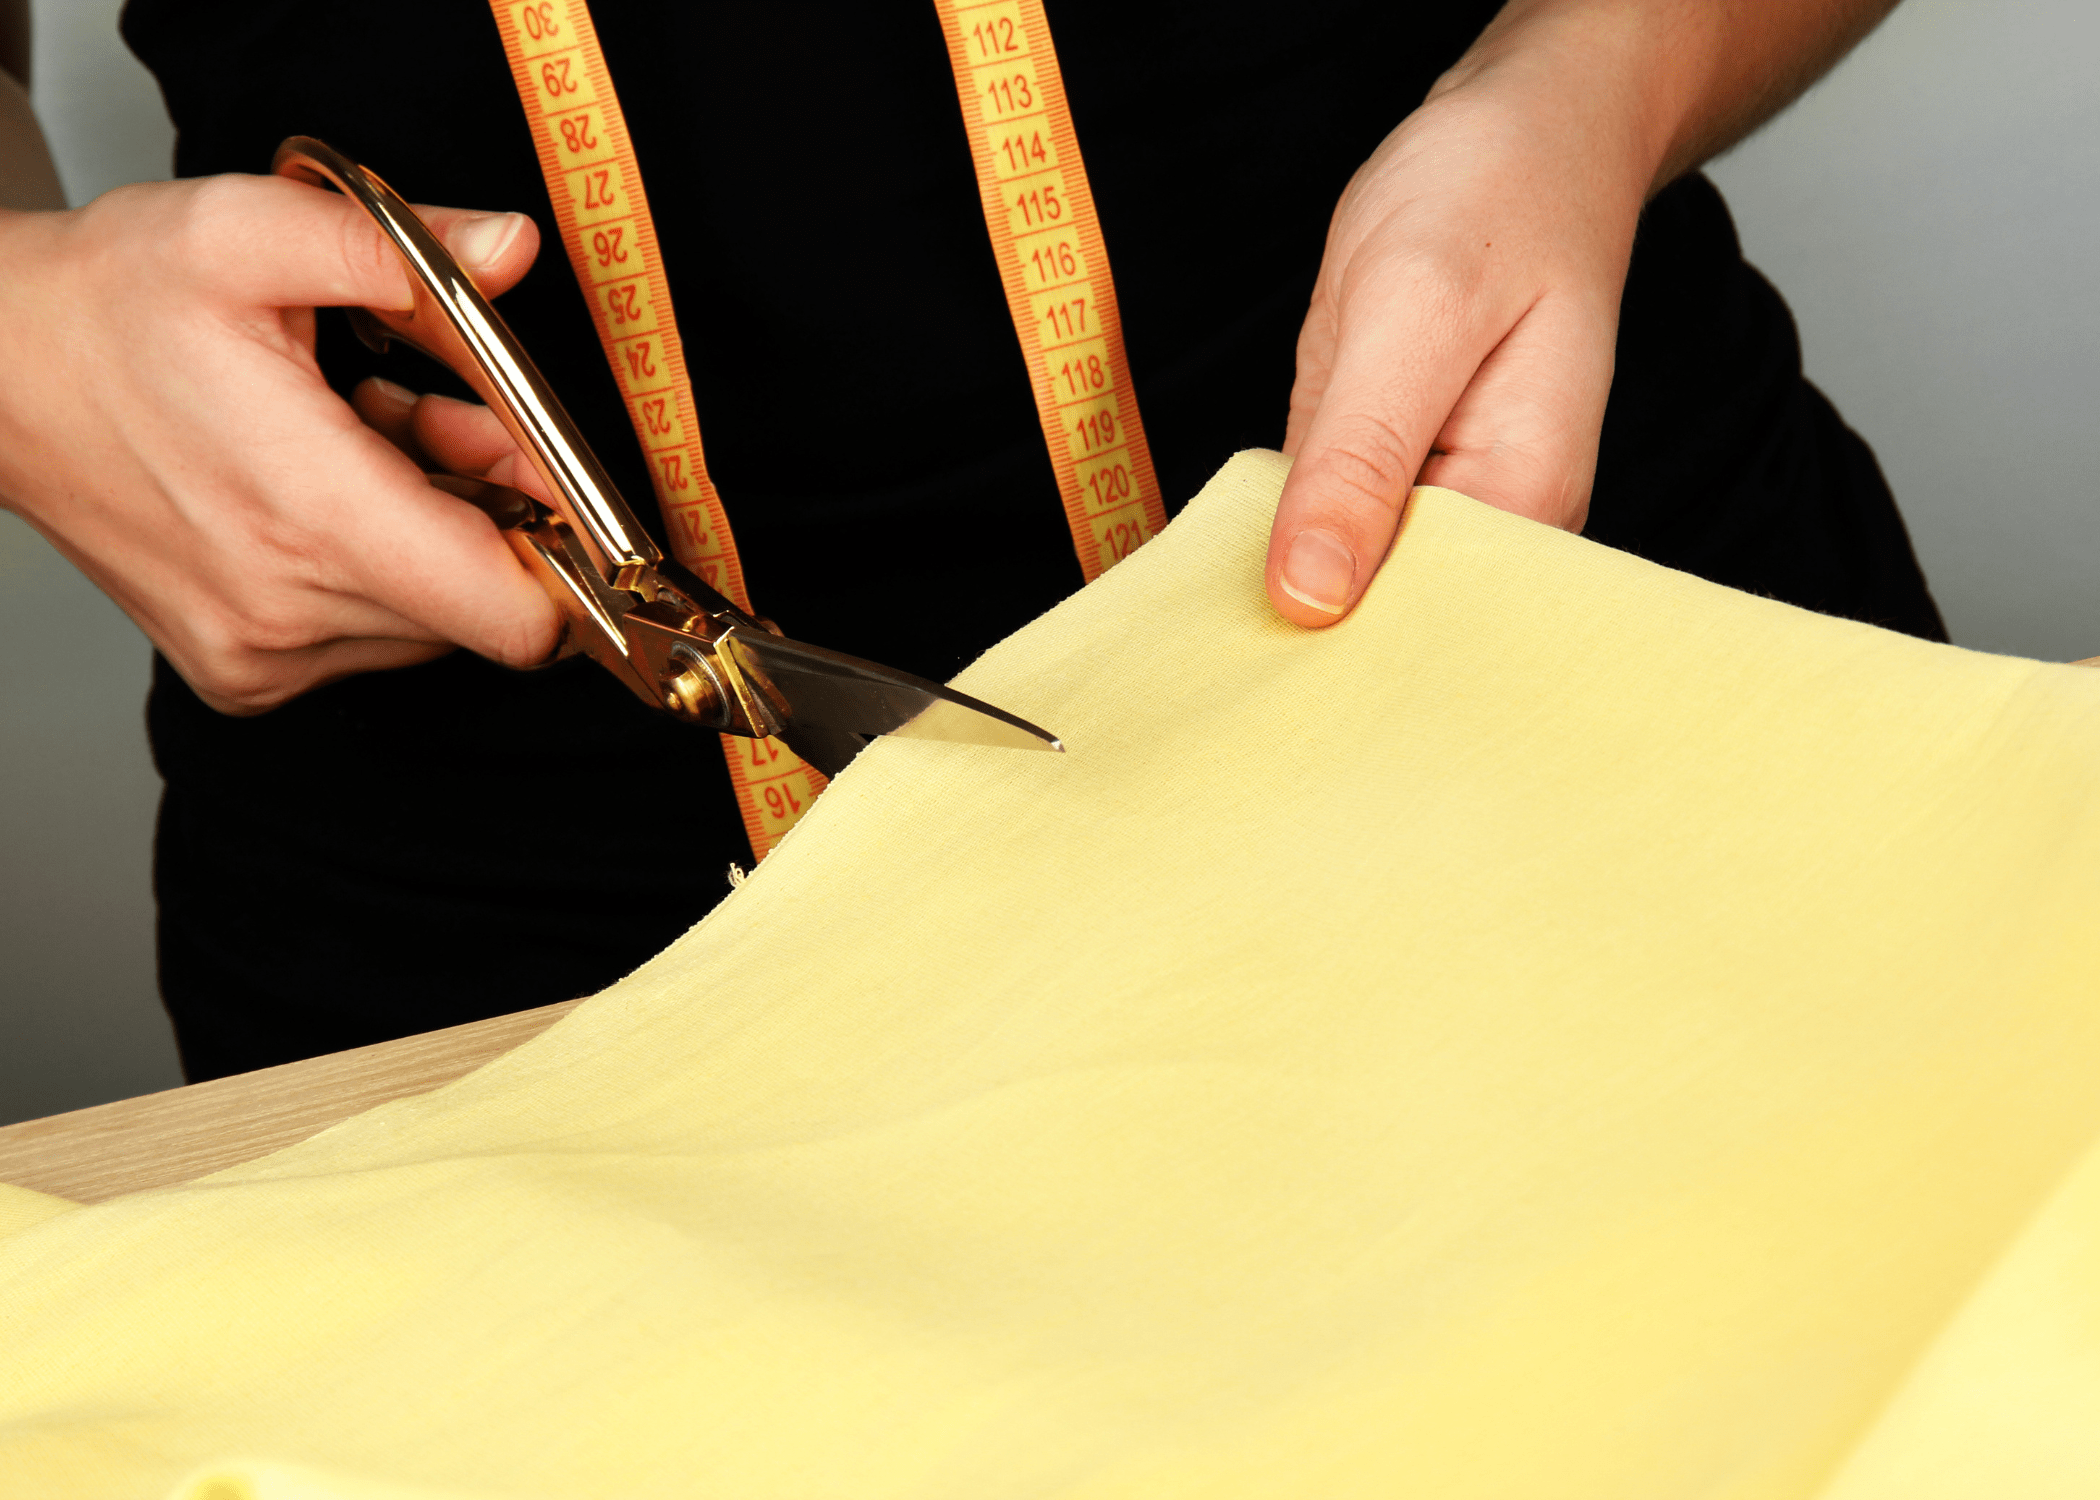
When attempting to cut straight lines with scissors, it’s essential to start with the right tools. Make sure your scissors are sharp and fit comfortably in your hand.
Dull blades or ill-fitting scissors can lead to jagged lines and a frustrating cutting experience. Position your material on a flat surface and hold it taut without stretching it. This stability helps maintain control as you cut. For longer cuts, consider using a ruler or a piece of tape along the line you intend to cut to serve as a guide, ensuring your scissors follow a straight path.
Using a Circular Saw for Straight Lines in Woodworking
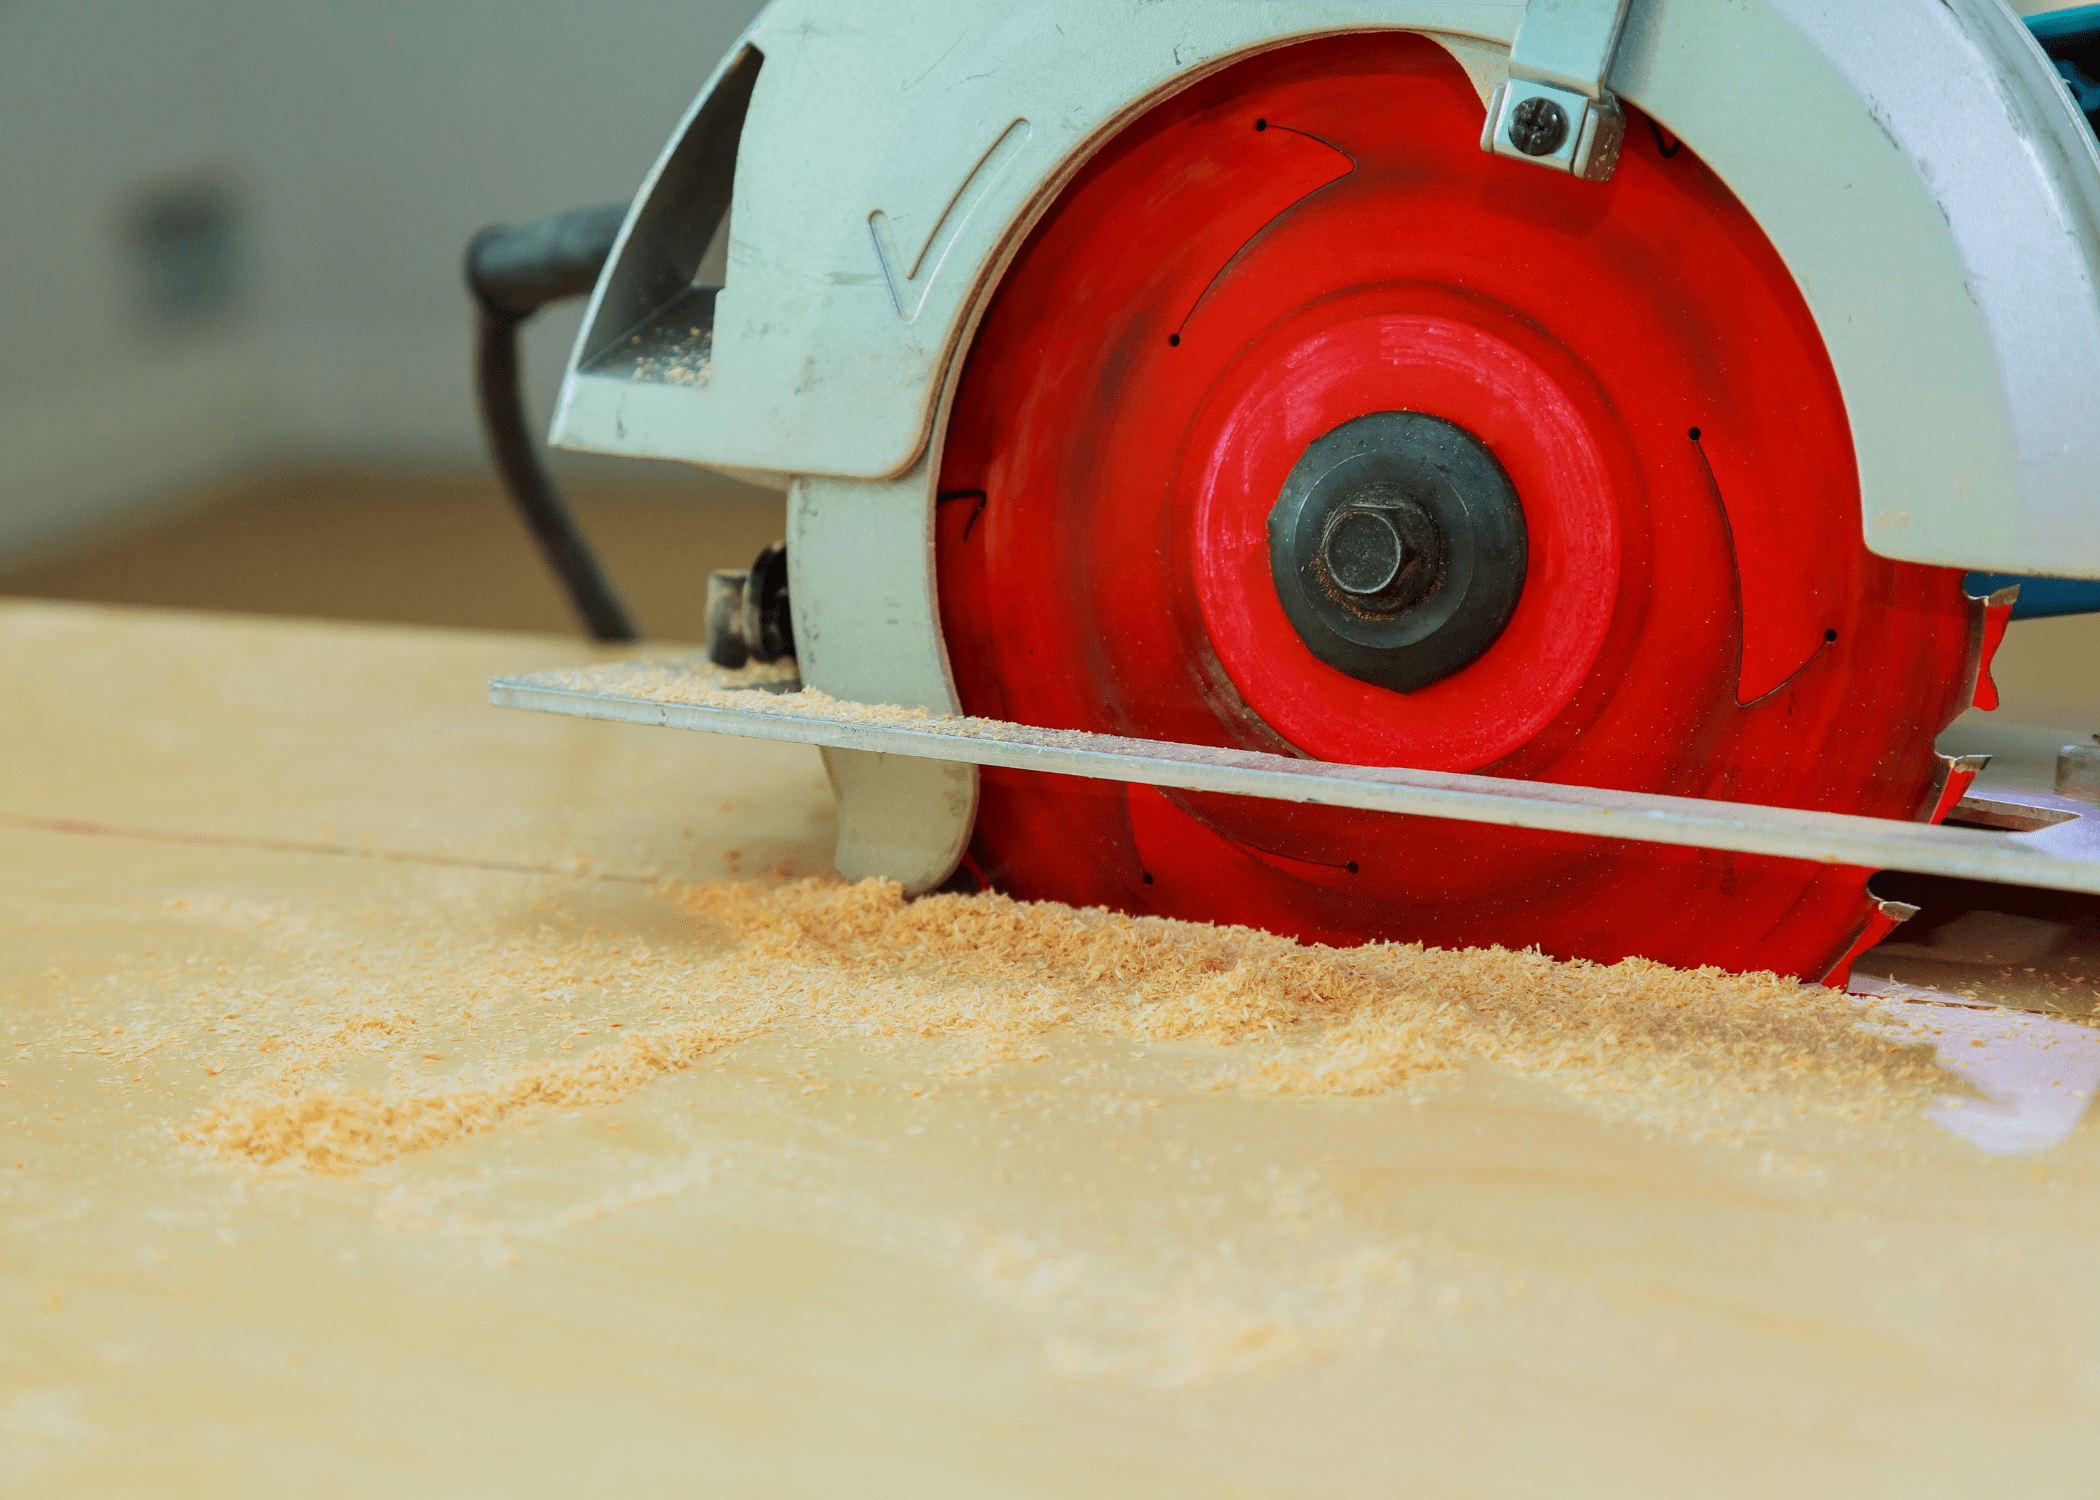
Using a circular saw for straight lines in woodworking requires precision and a bit of know-how. Firstly, it’s essential to ensure your circular saw is in good condition.
The blade should be sharp and appropriate for the type of wood you’re cutting. Begin by marking your cutting line clearly on the wood.
For enhanced accuracy, use a guide rail or a straight edge clamped securely along the marked line. This setup not only guides the saw but also helps prevent the blade from wandering, which is crucial for maintaining a straight line.
Maintaining a steady feed rate is vital as pushing the saw too fast can result in a rough cut while moving too slowly can burn the wood. Keep an eye on the blade’s path and make slight adjustments as needed to stay on course.
Tips for Maintaining Tool Sharpness for Precise Cuts
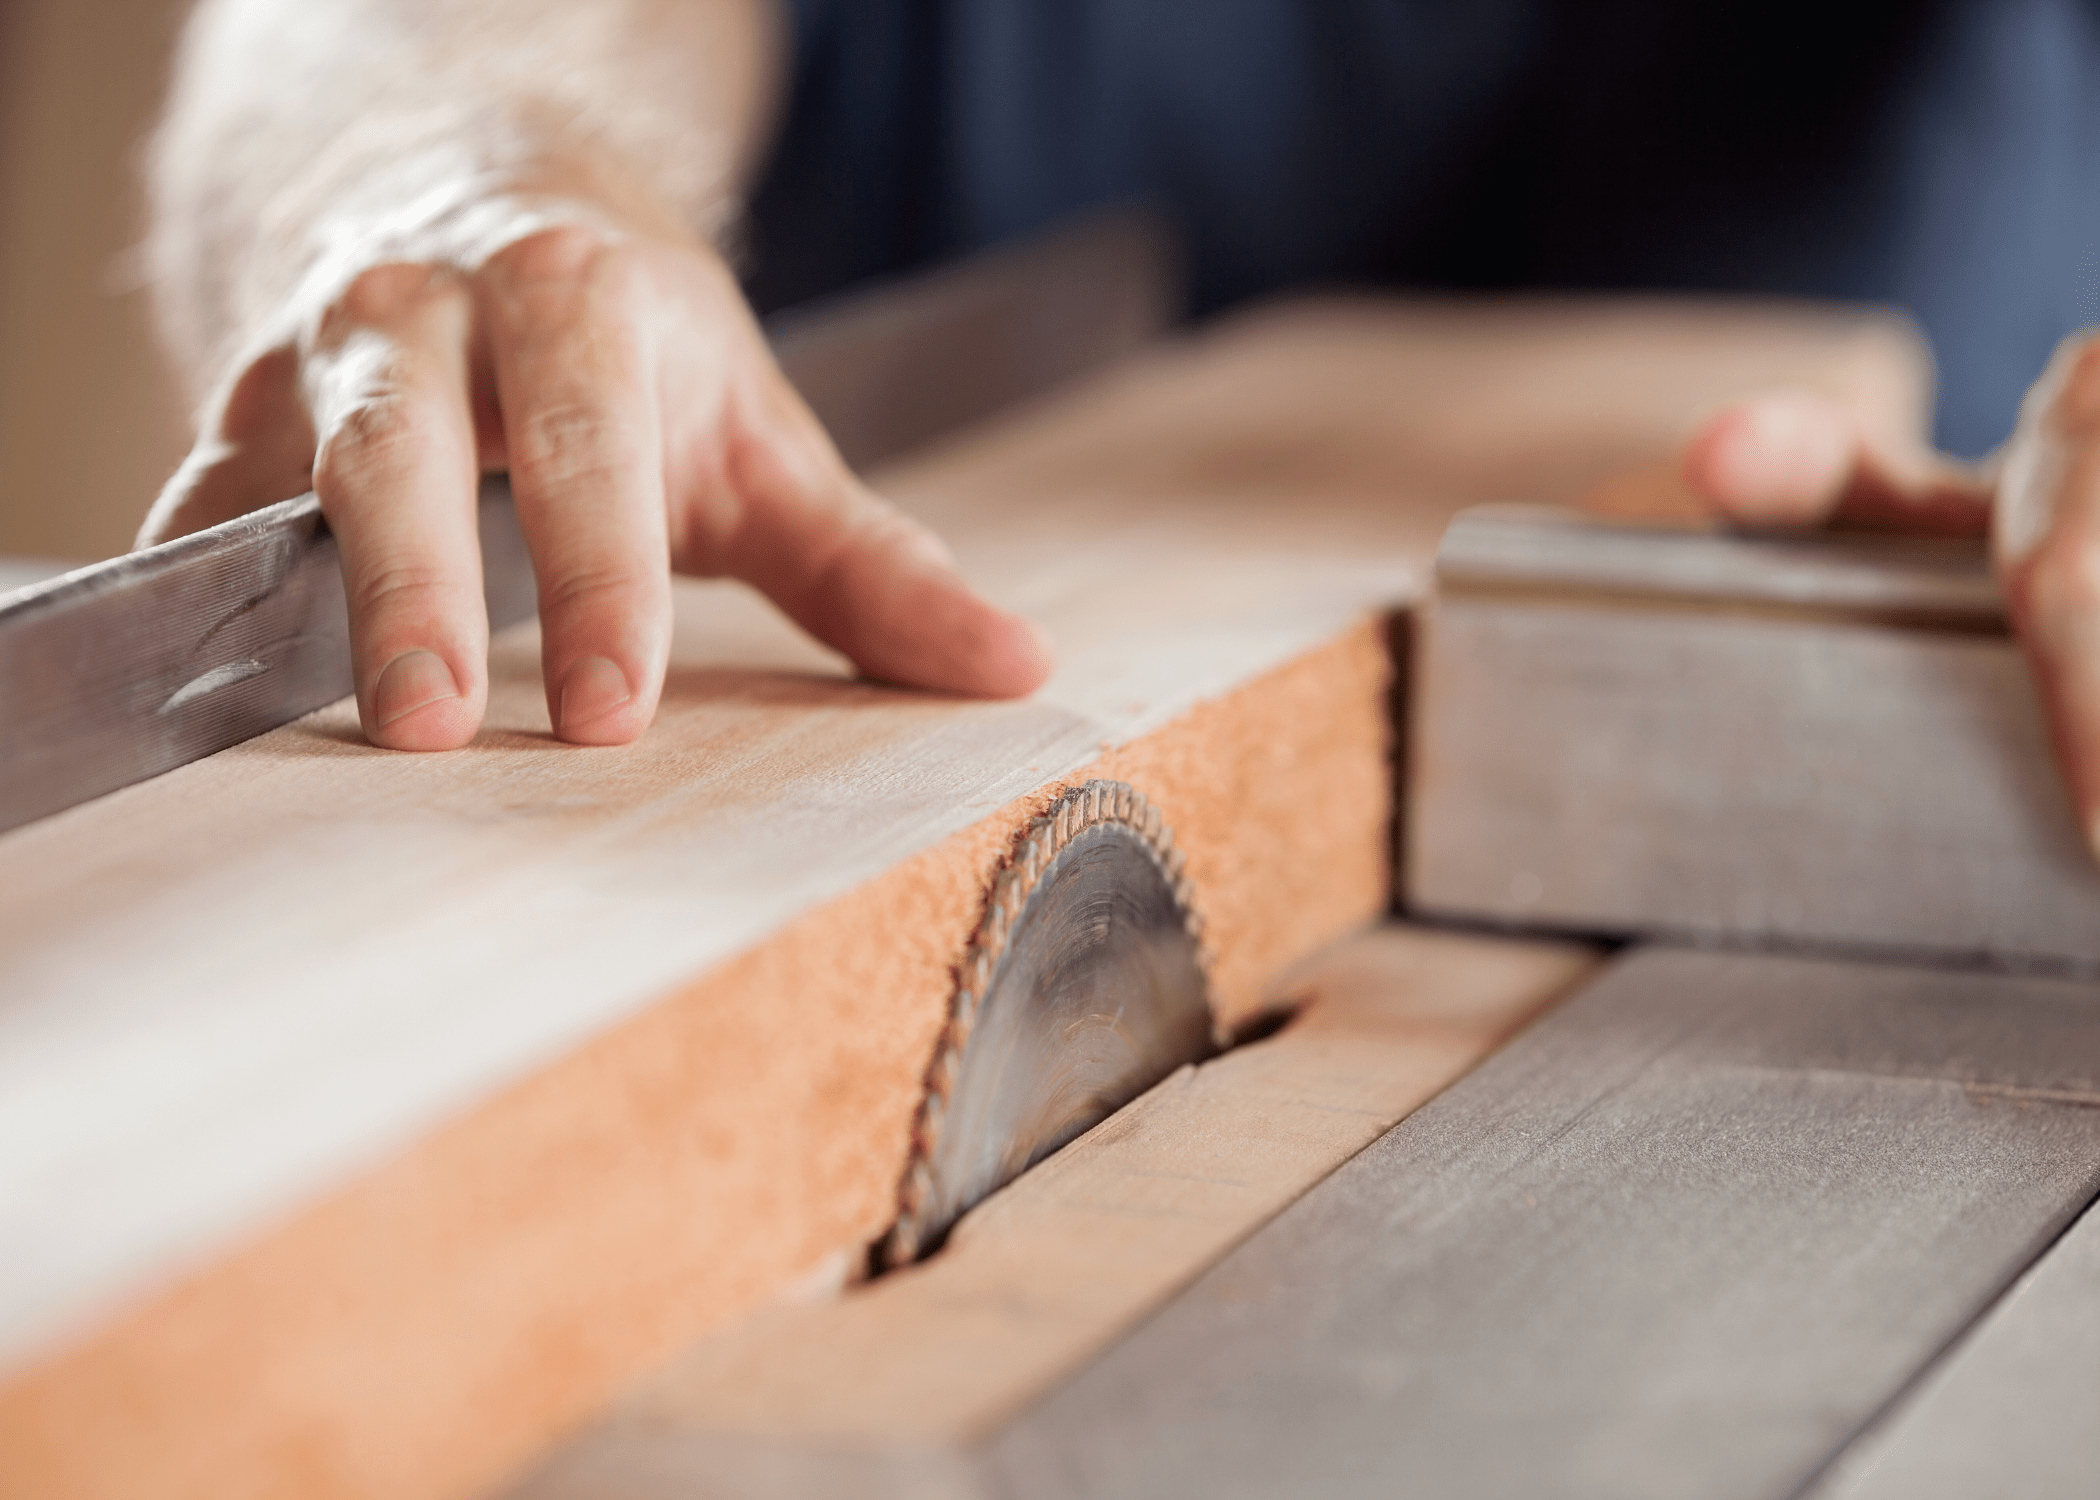
Maintaining the sharpness of your cutting tools is vital to ensuring that you can always achieve clean, precise cuts. A dull blade can lead to jagged edges and may require more force to cut through materials, which can be dangerous.
Regularly honing your blades with a suitable sharpening stone or steel can keep them in top condition. It’s also crucial to use the right tool for the right job to prevent unnecessary wear and tear. For example, using a fine-toothed saw for delicate cuts in wood will help preserve the blade’s sharpness longer than if a coarse-toothed saw were misused for the same job.
How to Cut Straight Lines with a Utility Knife
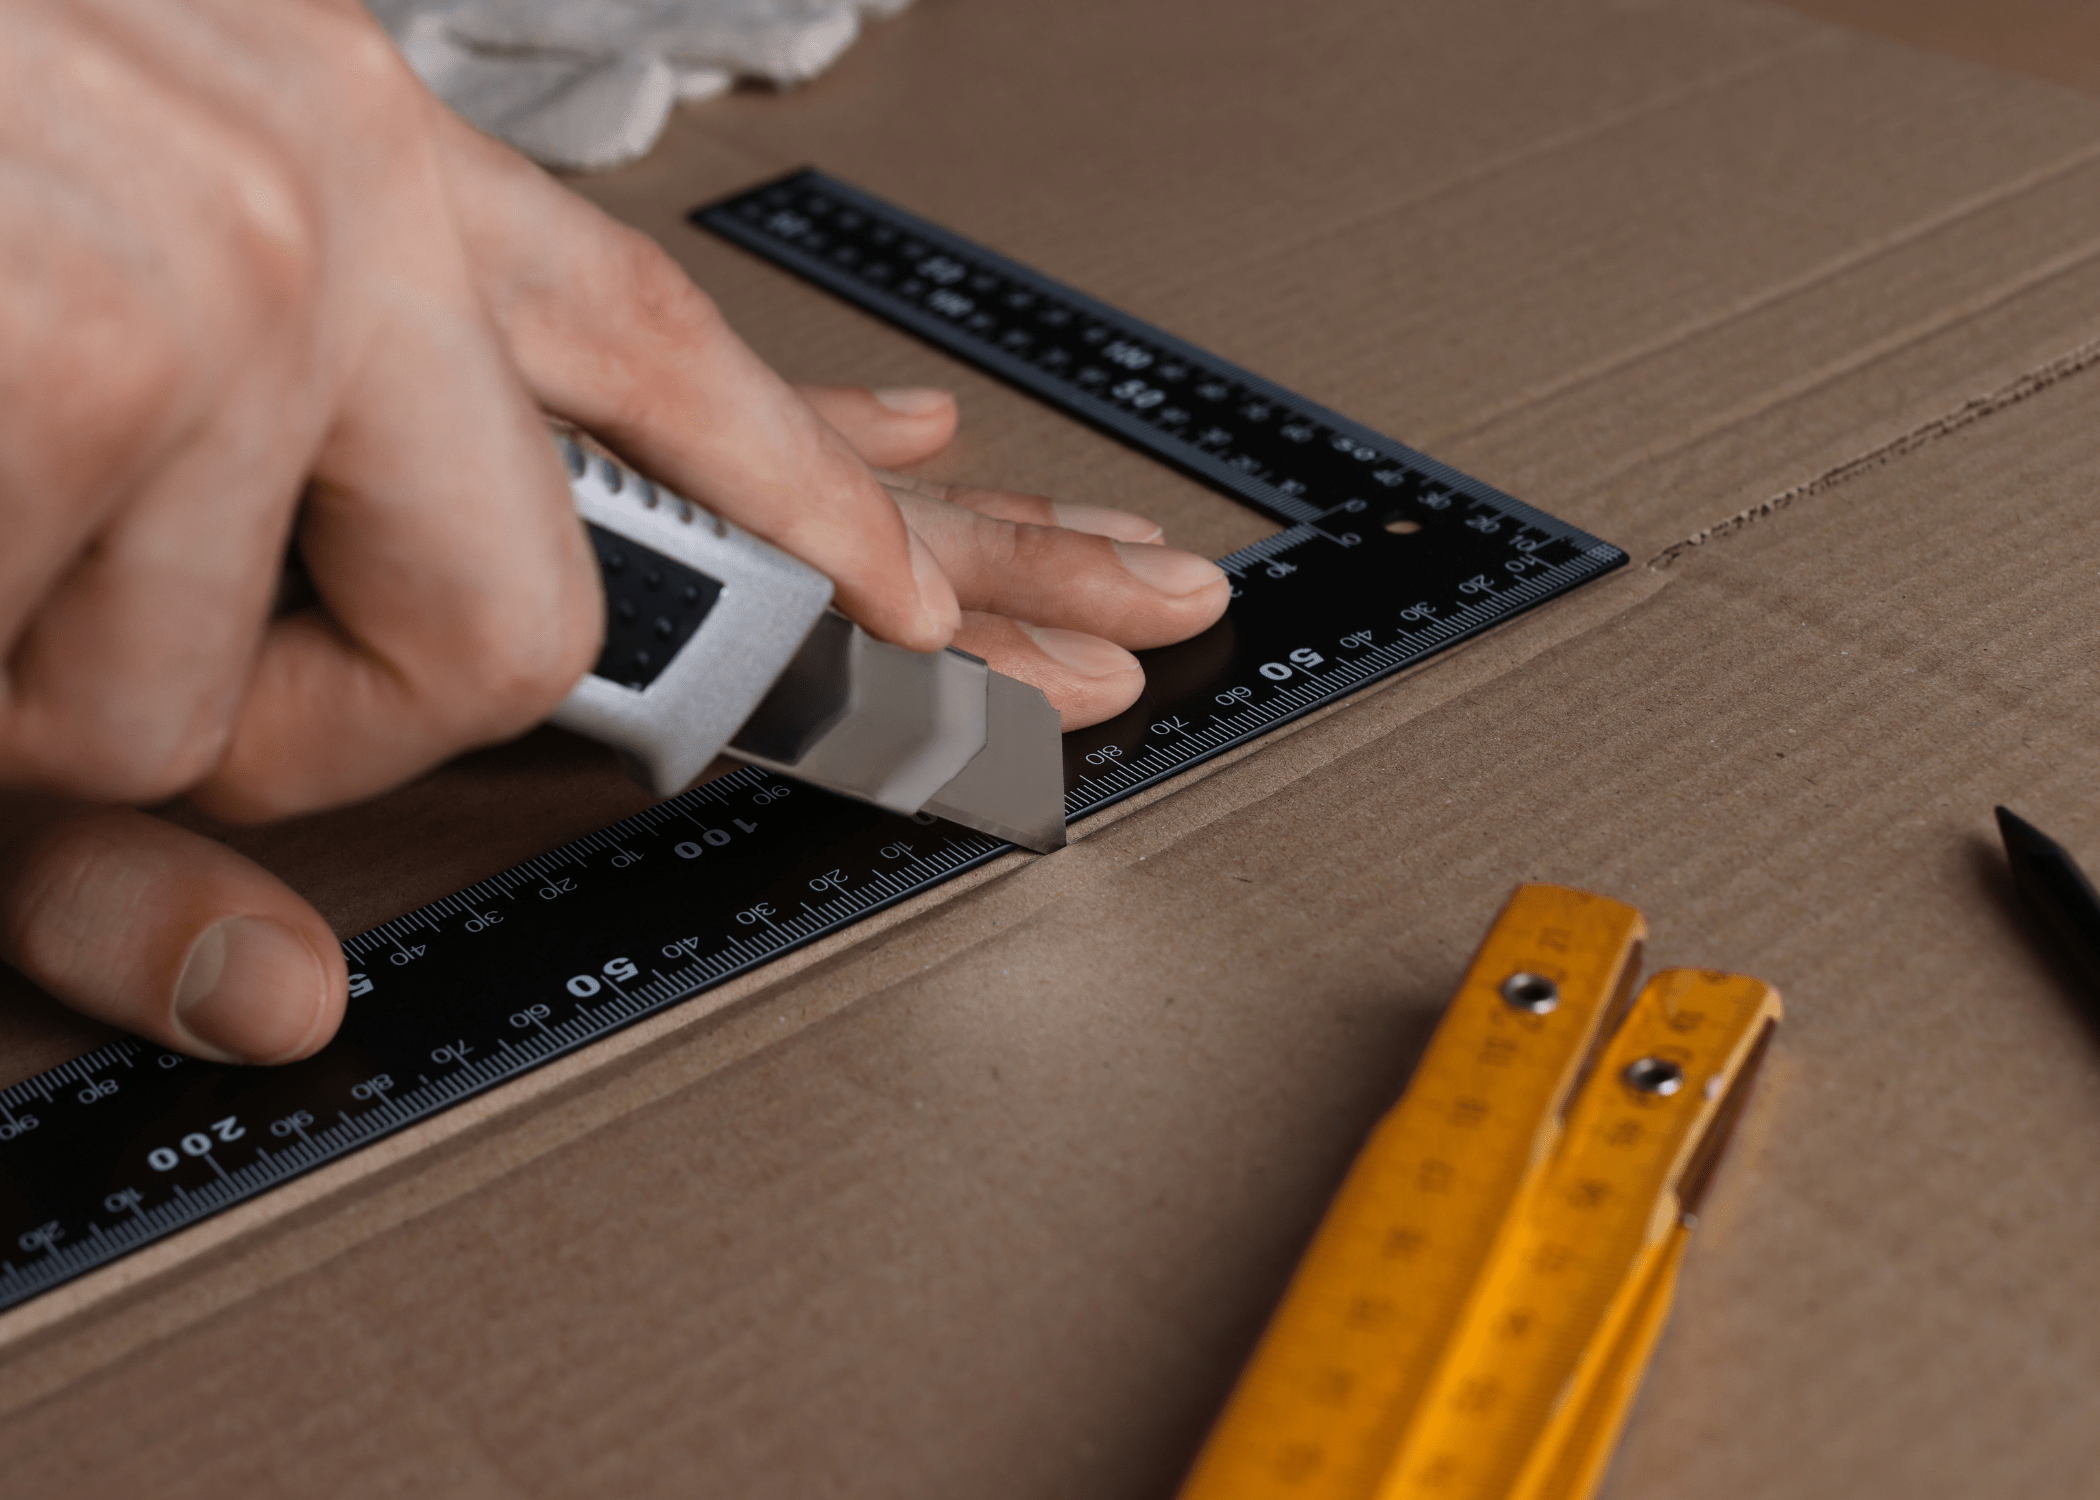
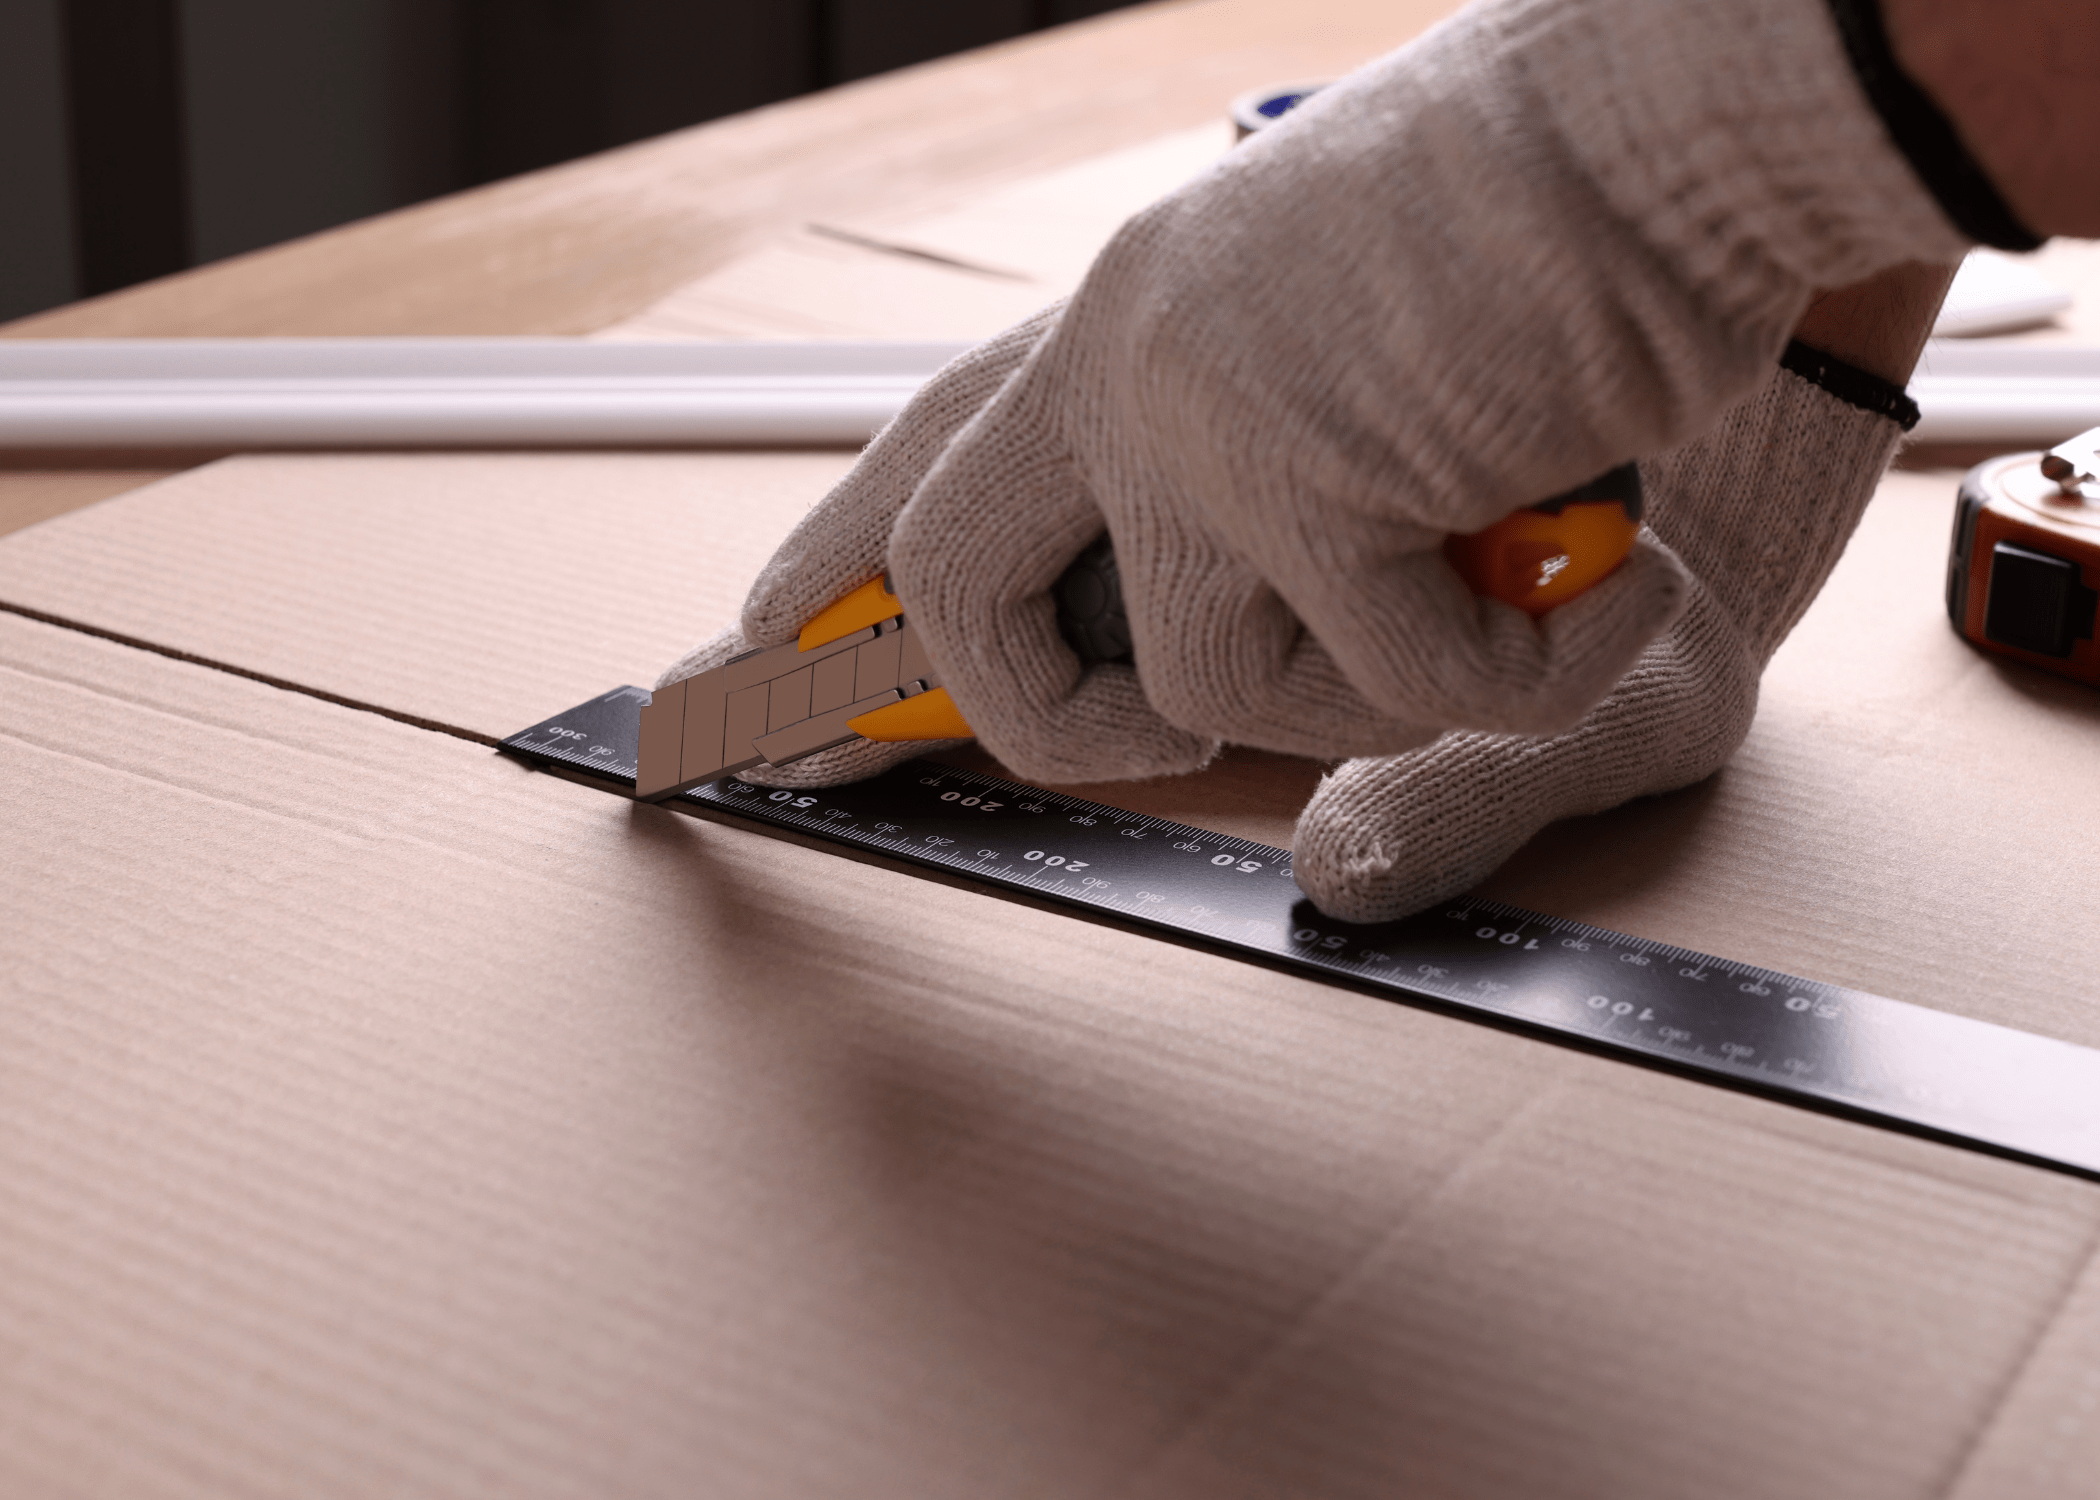
When working with a utility knife to achieve precision, cutting straight lines can often mean the difference between a professional-looking project and a makeshift job. The first step is to ensure that your utility knife is equipped with a sharp blade; a dull blade can divert from the intended path because it requires more force to make the cut.
Position your material on a stable, flat surface and use a straightedge guide such as a ruler or a T-square to guide your cuts. Hold the straightedge firmly in place with one hand while the other hand gently pulls the utility knife along the edge. Apply consistent pressure and speed to maintain control and precision.
Safety Precautions When Cutting Straight Lines
It’s crucial to prioritize safety to avoid any unnecessary accidents. Always ensure that your workspace is well-lit and free from clutter to reduce the risk of mishandling cutting tools.
Wearing safety goggles can protect your eyes from any flying debris, and sturdy gloves can help shield your hands from sharp edges and potential slips. It’s also important to use tools that are in good condition; dull blades require more force and can be unpredictable, thereby increasing the risk of injury.

Troubleshooting Common Issues in Cutting Straight Lines
One common issue many people encounter is the blade veering off the intended path. If you’re wondering how to cut straight lines, ensuring your blade is sharp and your cutting surface is stable is a key step. A dull blade can drag or skip, causing deviations that are frustrating and hard to correct.
Another challenge is maintaining a consistent pressure and angle throughout the cutting process. Variations can easily lead to wavy or jagged edges rather than clean, straight lines. A good technique is to make a light scoring cut first, which acts as a guide for subsequent deeper cuts.
This method provides more control and precision, making it easier to stay true to your marked line. Remember, patience is crucial; rushing can lead to mistakes, so take your time to ensure the best results.
- 4 Effective Techniques For How to Cut Circles in Wood
- Mastering the Art of Miter Cuts on a Miter Saw
- How to Cut Hardie Board – Tips and Techniques
Ready to start your next project? Join our DIY community to receive tool tips, how-to guides, and exclusive creative insights. Subscribe to the ManMadeDIY newsletter now!
