How to Cut Plexiglass (Acrylic) Sheets [2 Easy Methods]
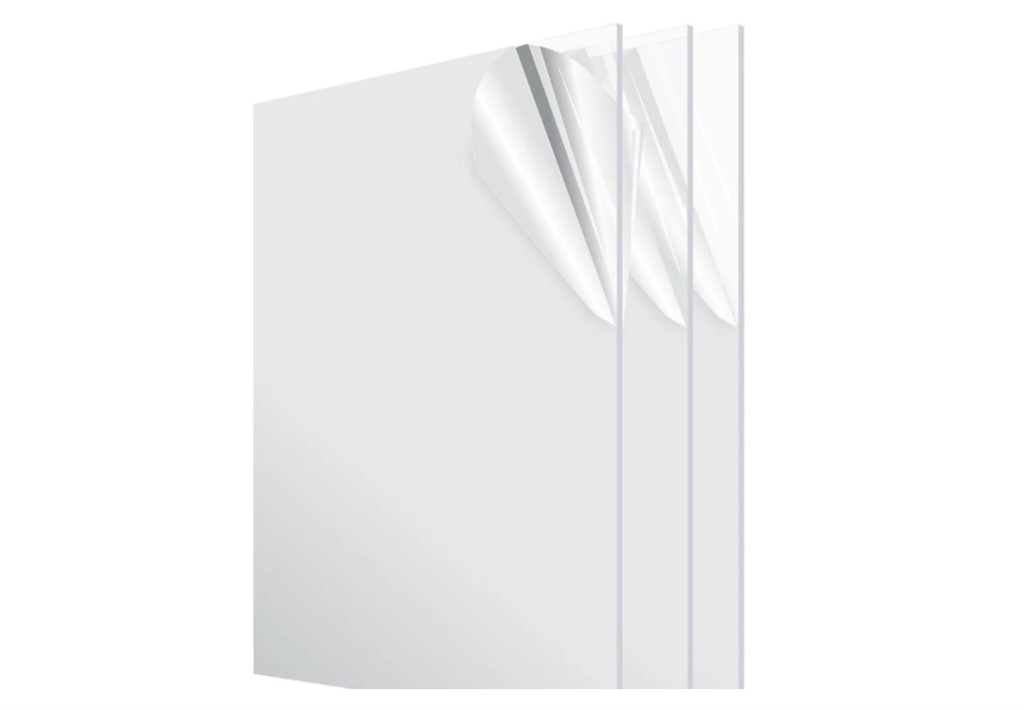
Plexiglass is a durable and versatile material. Also known as acrylic, it is a shatterproof and cost-effective substitute for glass. Some even prefer it due to its durability and lightweight. The good news is that do-it-yourselfers can cut plexiglass themselves, making it a preferable choice in workshops.
But how do you cut plexiglass? It isn’t as simple as cutting a thinner material. There is also the matter of scratching. Plexiglass scratches quite easily, which is why the sheets tend to come covered in a thin, protective layer of film. Cutting plexiglass can be done, carefully, using a utility knife or circular saw. Here is how to use each.
Two Methods for Cutting Plexiglass
There are traditionally two methods for cutting plexiglass. There is the utility knife (or box cutter, glass cutter, etc.) and there is the circular saw (or saber saw, table saw, or jigsaw). One method provides greater control while the other provides greater power and a quicker cut.
Whichever method you choose, precision and care are required. The last thing that you want to do is perform a miscut or create a long gouge in the plexiglass. You must also be careful not to scratch the plexiglass, either, as it can ruin the aesthetic.
Cutting Plexiglass with a Utility Knife
Keep in mind that these methods are for cutting relatively thin plexiglass, about 3/16-inch or so. Anything thicker and you may have greater difficulty in cutting. You can always try to perform a cut on a thicker piece but it may be better to seek professional intervention.
Step 1: Measure and Mark
Before you can begin making any kind of cut, you must place your measurements and marks. The rule should always be “measure twice, cut once” and that is the rule we will follow here. The idea is that you are absolutely certain of your marks before making your cut.
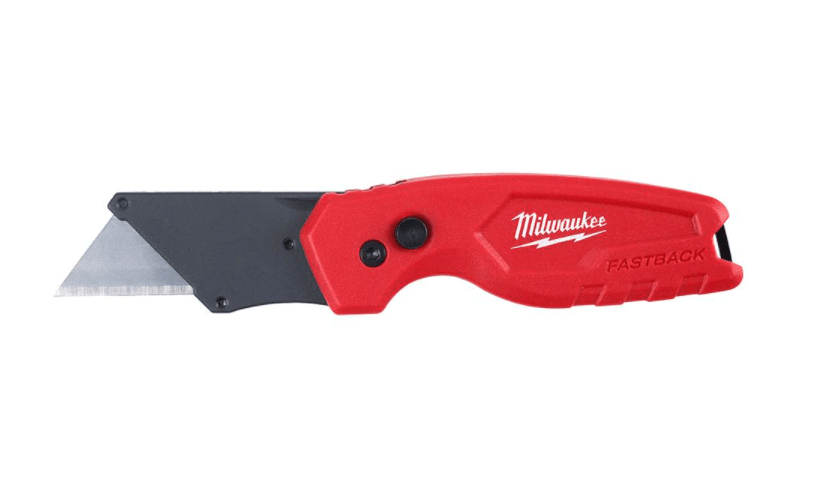
Lay the sheet down on a flat surface. Use your yardstick and marker to measure and then draw the line that you are going to cut. Hold the yardstick up against the line as flush and even as you can. Run the dull side of your utility knife along the yardstick. This is meant to score the sheet, giving you an easier line to work with.
Step 2: Continue Scoring
In order to make an accurate, even cut, scoring is a vital part of the process. Though we got off to a good start in step one, it is just a start. You will need to score the same line again and again in this next step, doing so smoothly and carefully.
Score the line again, as many as 10 to 12 times if necessary. You want to make a deep groove in the Plexiglas. Don’t worry, you wouldn’t cut through the plexiglass just yet. We don’t want to cut through the plexiglass so much as make it thin enough that it can be folded and snapped.
Flip the plexiglass over and perform scoring on the other side using the dull part of your blade. This will make cutting all the way through the plexiglass easier, ensuring a cleaner, neater cut.
Step 3: Snapping the Plexiglass
The constant scoring is meant to create a deep groove in the plexiglass from each side. In order to successfully “cut” your section plexiglass, you need to hold the plexiglass securely in place using a clamp. Just be careful not to overtighten.
With the plexiglass held securely in place, apply a sharp downward pressure to the plexiglass. The portion that extends past the edge of your work surface should snap off along the scoring lines that you created in the prior steps. You now have your new section of plexiglass.
Using a Circular Saw for Thicker Sheets
When it comes to thinner sheets of plexiglass, a utility knife is always going to be the better option. But what if you are dealing with plexiglass that is thicker than the aforementioned 3/16-inch? That is where having a circular saw (or table, saber, or jigsaw) comes in handy.
Step 1: Choosing the Right Blade
Regardless of which type of saw that you choose, it is of the utmost importance that you select the right blade for the job. There are certain types of blades made specifically for the purpose of cutting acrylic. Even still, a metal-cutting blade that has carbide tips should be able to do an effective job.
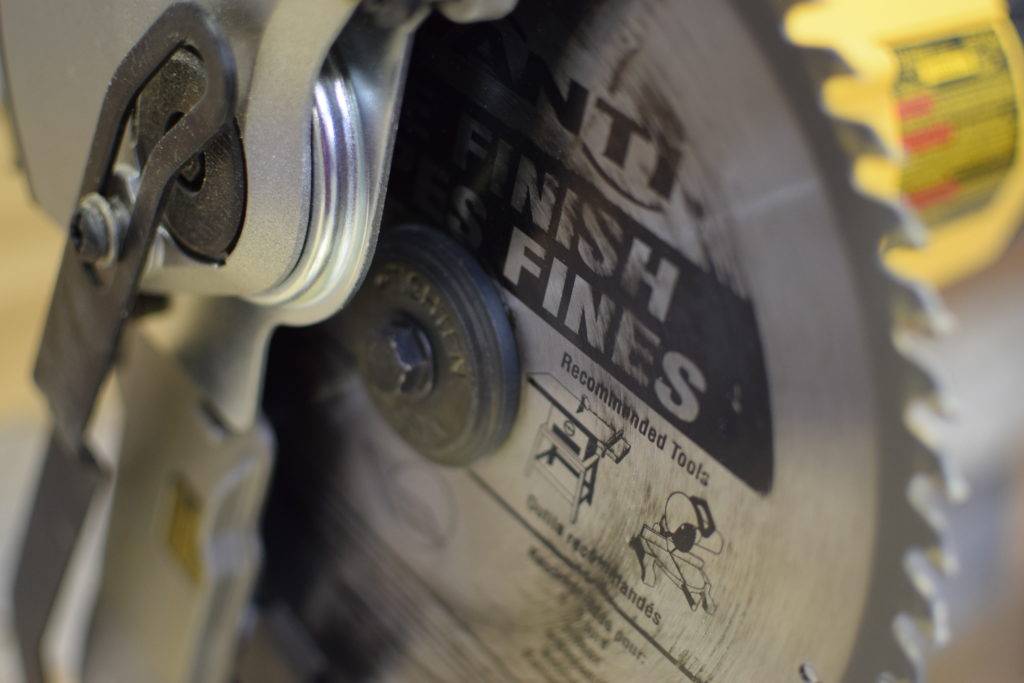
Before you commit to a blade, just make sure that the teeth are evenly spaced. There should be no rake and the height and shape of the blade should be uniform.
Step 2: Measure and Mark
The process is similar in one way to using a utility knife and that is the measuring and marking. No matter what you are using to make the cut, the line must be straight and even otherwise you will wind up with a crooked cut.
Use your yardstick and marker to create the line for your cut. Remember to line up your yardstick as evenly as possible before making your mark.
Step 3: Cut
This part of the process is a little different. With a utility knife, we are merely scoring the plexiglass and then snapping off the piece at the end. With the circular saw (or whatever type of saw you use), you will be cutting clear through the plexiglass.
It is preferable to use a clamp to keep your plexiglass steady. Also, take caution that the blade doesn’t overheat. When that happens, the plexiglass is more prone to cracking or chipping. If you have a water-cooling blade, it is better suited for these applications.
How to Buff and Polish Cut Plexiglass
When you are done cutting, no matter the method that you choose, you might find that the edge of your plexiglass is uneven and not exactly attractive. That’s okay and totally normal. There is also a remedy.
It is important to note here that if the edge will not be visible, there is no real need to remedy this issue. But if you can see the edge, here is what you will need to do to buff out those imperfections.
Step 1: Sanding
You can use a power sander for this but it won’t produce results quite as good as doing the job by hand. Start by using 120- or 180-grit waterproof sandpaper. Use your sandpaper in tandem with a rubber or wood sanding block to get the smoothest results.
As you go and the plexiglass starts to smooth out, you will want to use a finer grit sandpaper. Keeping the same coarseness of sandpaper runs the risk of scratching the plexiglass. By the time you get to the end of the process, you should be using 600-grit sandpaper.
Step 2: Buffing
You will need an electric drill here as well as a buffing pad. Apply a polishing compound, one that has been formulated for plastic, to the edge of the plexiglass. Use your drill and buffing pad to bring the edge of the plexiglass to a near-perfect polish.
This step requires time and patience. It also depends on just how perfect a polish that you want to achieve. You can always opt to buff by hand but will get the job done quicker with your drill.
How To Avoid Breaking or Cracking Plexiglass as You Cut
Plexiglass is very durable but that does not mean it is unbreakable. As covered above, an overheated blade can make the plexiglass more susceptible to cracking and breaking. When you are making your cut, there are a few things that you can do to prevent those damages from occurring.
Keep the blade cool. In the section where we make our cut with the circular saw, it is recommended that you have a water-cool feature. Keeping the blade of your saw cool is imperative to preventing cracking and breaking.
If you notice the blade beginning to overheat, turn it off and give it a chance to cool. You can also add a little bit of soapy water to the surface of the plexiglass to provide additional lubrication.
Score deep. When you go with a utility knife, make sure that you score a deep, straight-line before you attempt to break the material. The less pressure required to break the plexiglass, the less likely you are to see cracking and breaking.
Don’t remove the plastic film. When you buy a sheet of plexiglass, there should be a thin layer of plastic film covering it. The film protects the plexiglass from scratching during the travel process. Turns out that it can also prevent your tool from scratching the plexiglass as you cut, too.
Pick the right blade. Should you opt to use a power saw or hand tool, the blade is imperative. Make sure it is sharp; a dull blade will fight with the material, leading to cracking and breaking. Even if that doesn’t happen, your cut edge will be seriously rough.


