How to Cut Sheet Metal the Right Way for Clean, Precise Cuts
Have you ever marveled at the sleek lines and precise angles of custom metalwork? While it may seem daunting, cutting sheet metal is a skill any DIY enthusiast can master with the right tools and techniques. Whether you’re crafting a custom computer case, building unique home decor, or tackling an automotive project, knowing how to cut sheet metal opens up a world of creative possibilities. In this guide, we’ll explore four proven methods to help you achieve clean, accurate cuts on your next metal-working adventure.
Ready to take on life with unshakable confidence? Whether you’re aiming to excel in your career, improve your relationships, or conquer DIY projects, NLP Hero’s Confidence Course is your key to success. Click here to start transforming your confidence and be better at everything you do!
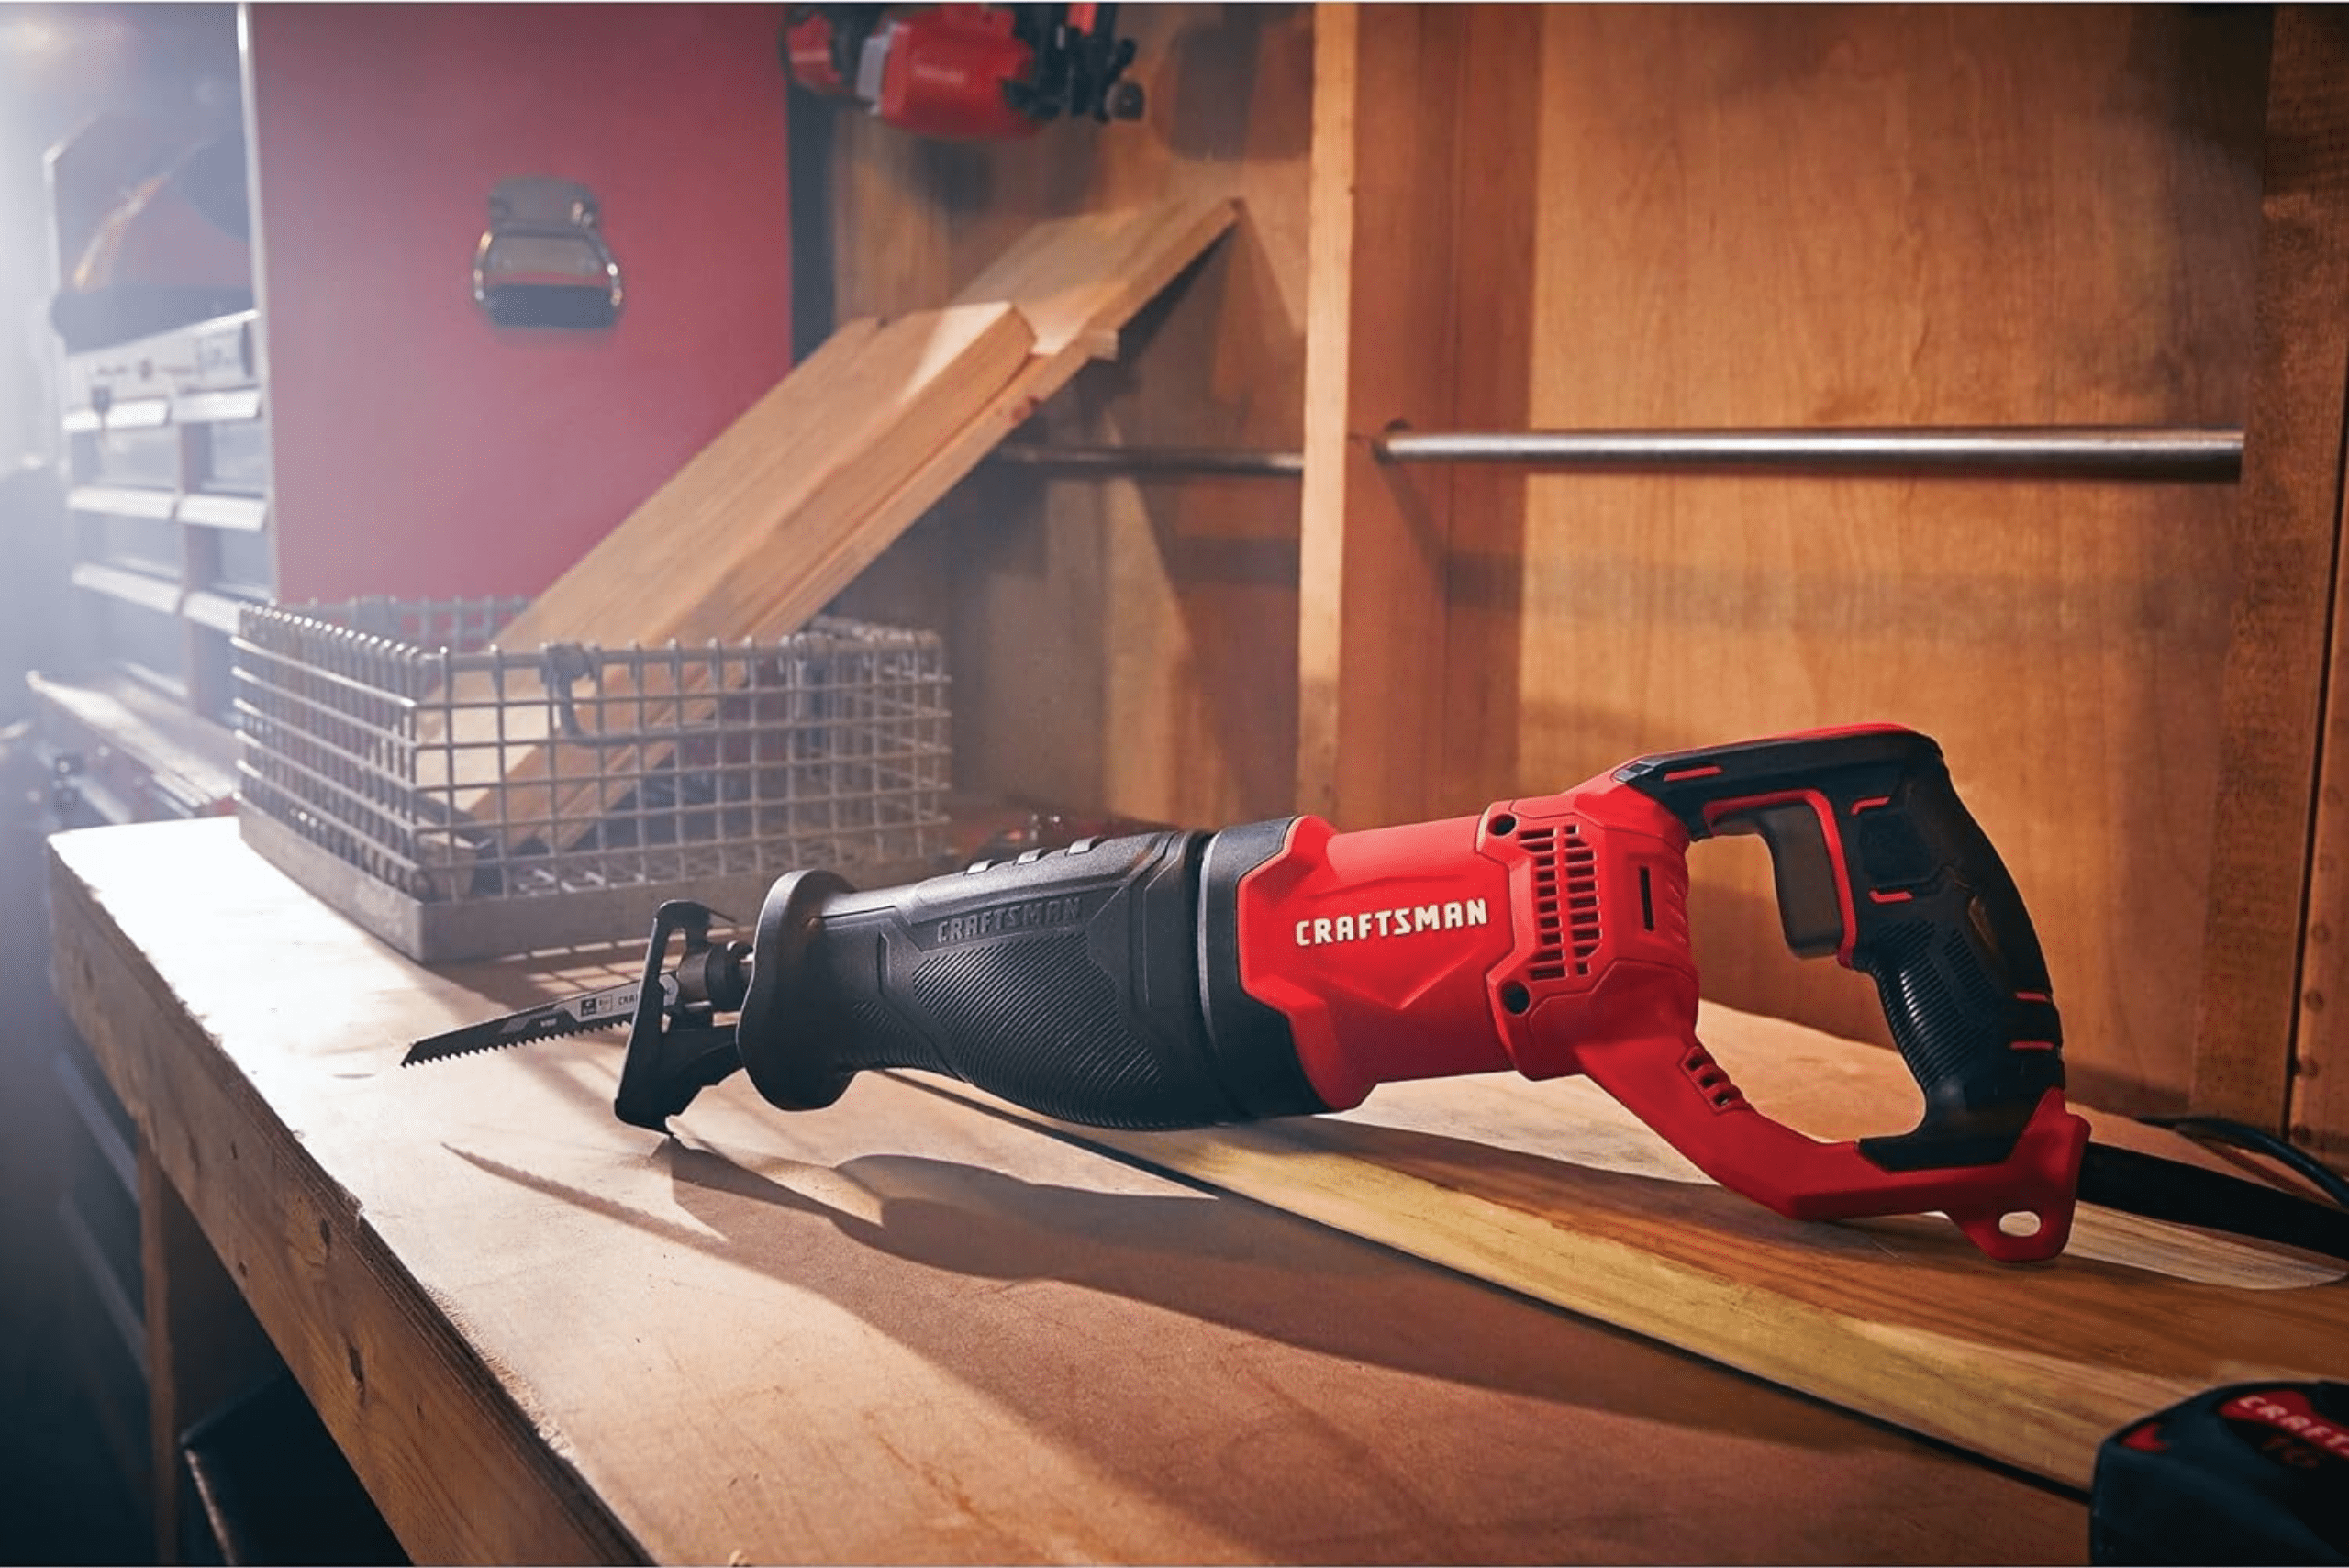
Straight and Simple: Electric Saws for Long Cuts
When you need to make long, straight cuts in sheet metal, an electric saw is your best friend. Here’s how to use one effectively:

- Choose the right blade: Opt for a fine-toothed metal cutting blade with at least 24 teeth per inch. This ensures a smooth cut without damaging the metal.
- Prep your workspace: Secure your sheet metal to a sturdy work surface using clamps. This prevents vibration and ensures a clean cut. Apply masking tape along your cut line on both sides of the metal to minimize scratches and provide a guide.
- Safety first: Always wear safety goggles, ear protection, and work gloves when operating power tools. Sheet metal edges can be razor-sharp, so handle with care.
- Make the cut: Start the saw before touching the metal, then guide it slowly and steadily along your cut line. Let the saw do the work – don’t force it. Keep the blade perpendicular to the metal surface for the cleanest cut.
Pro tip: Apply a thin layer of cutting wax to your saw blade before use. This reduces friction and helps prolong the life of your blade.
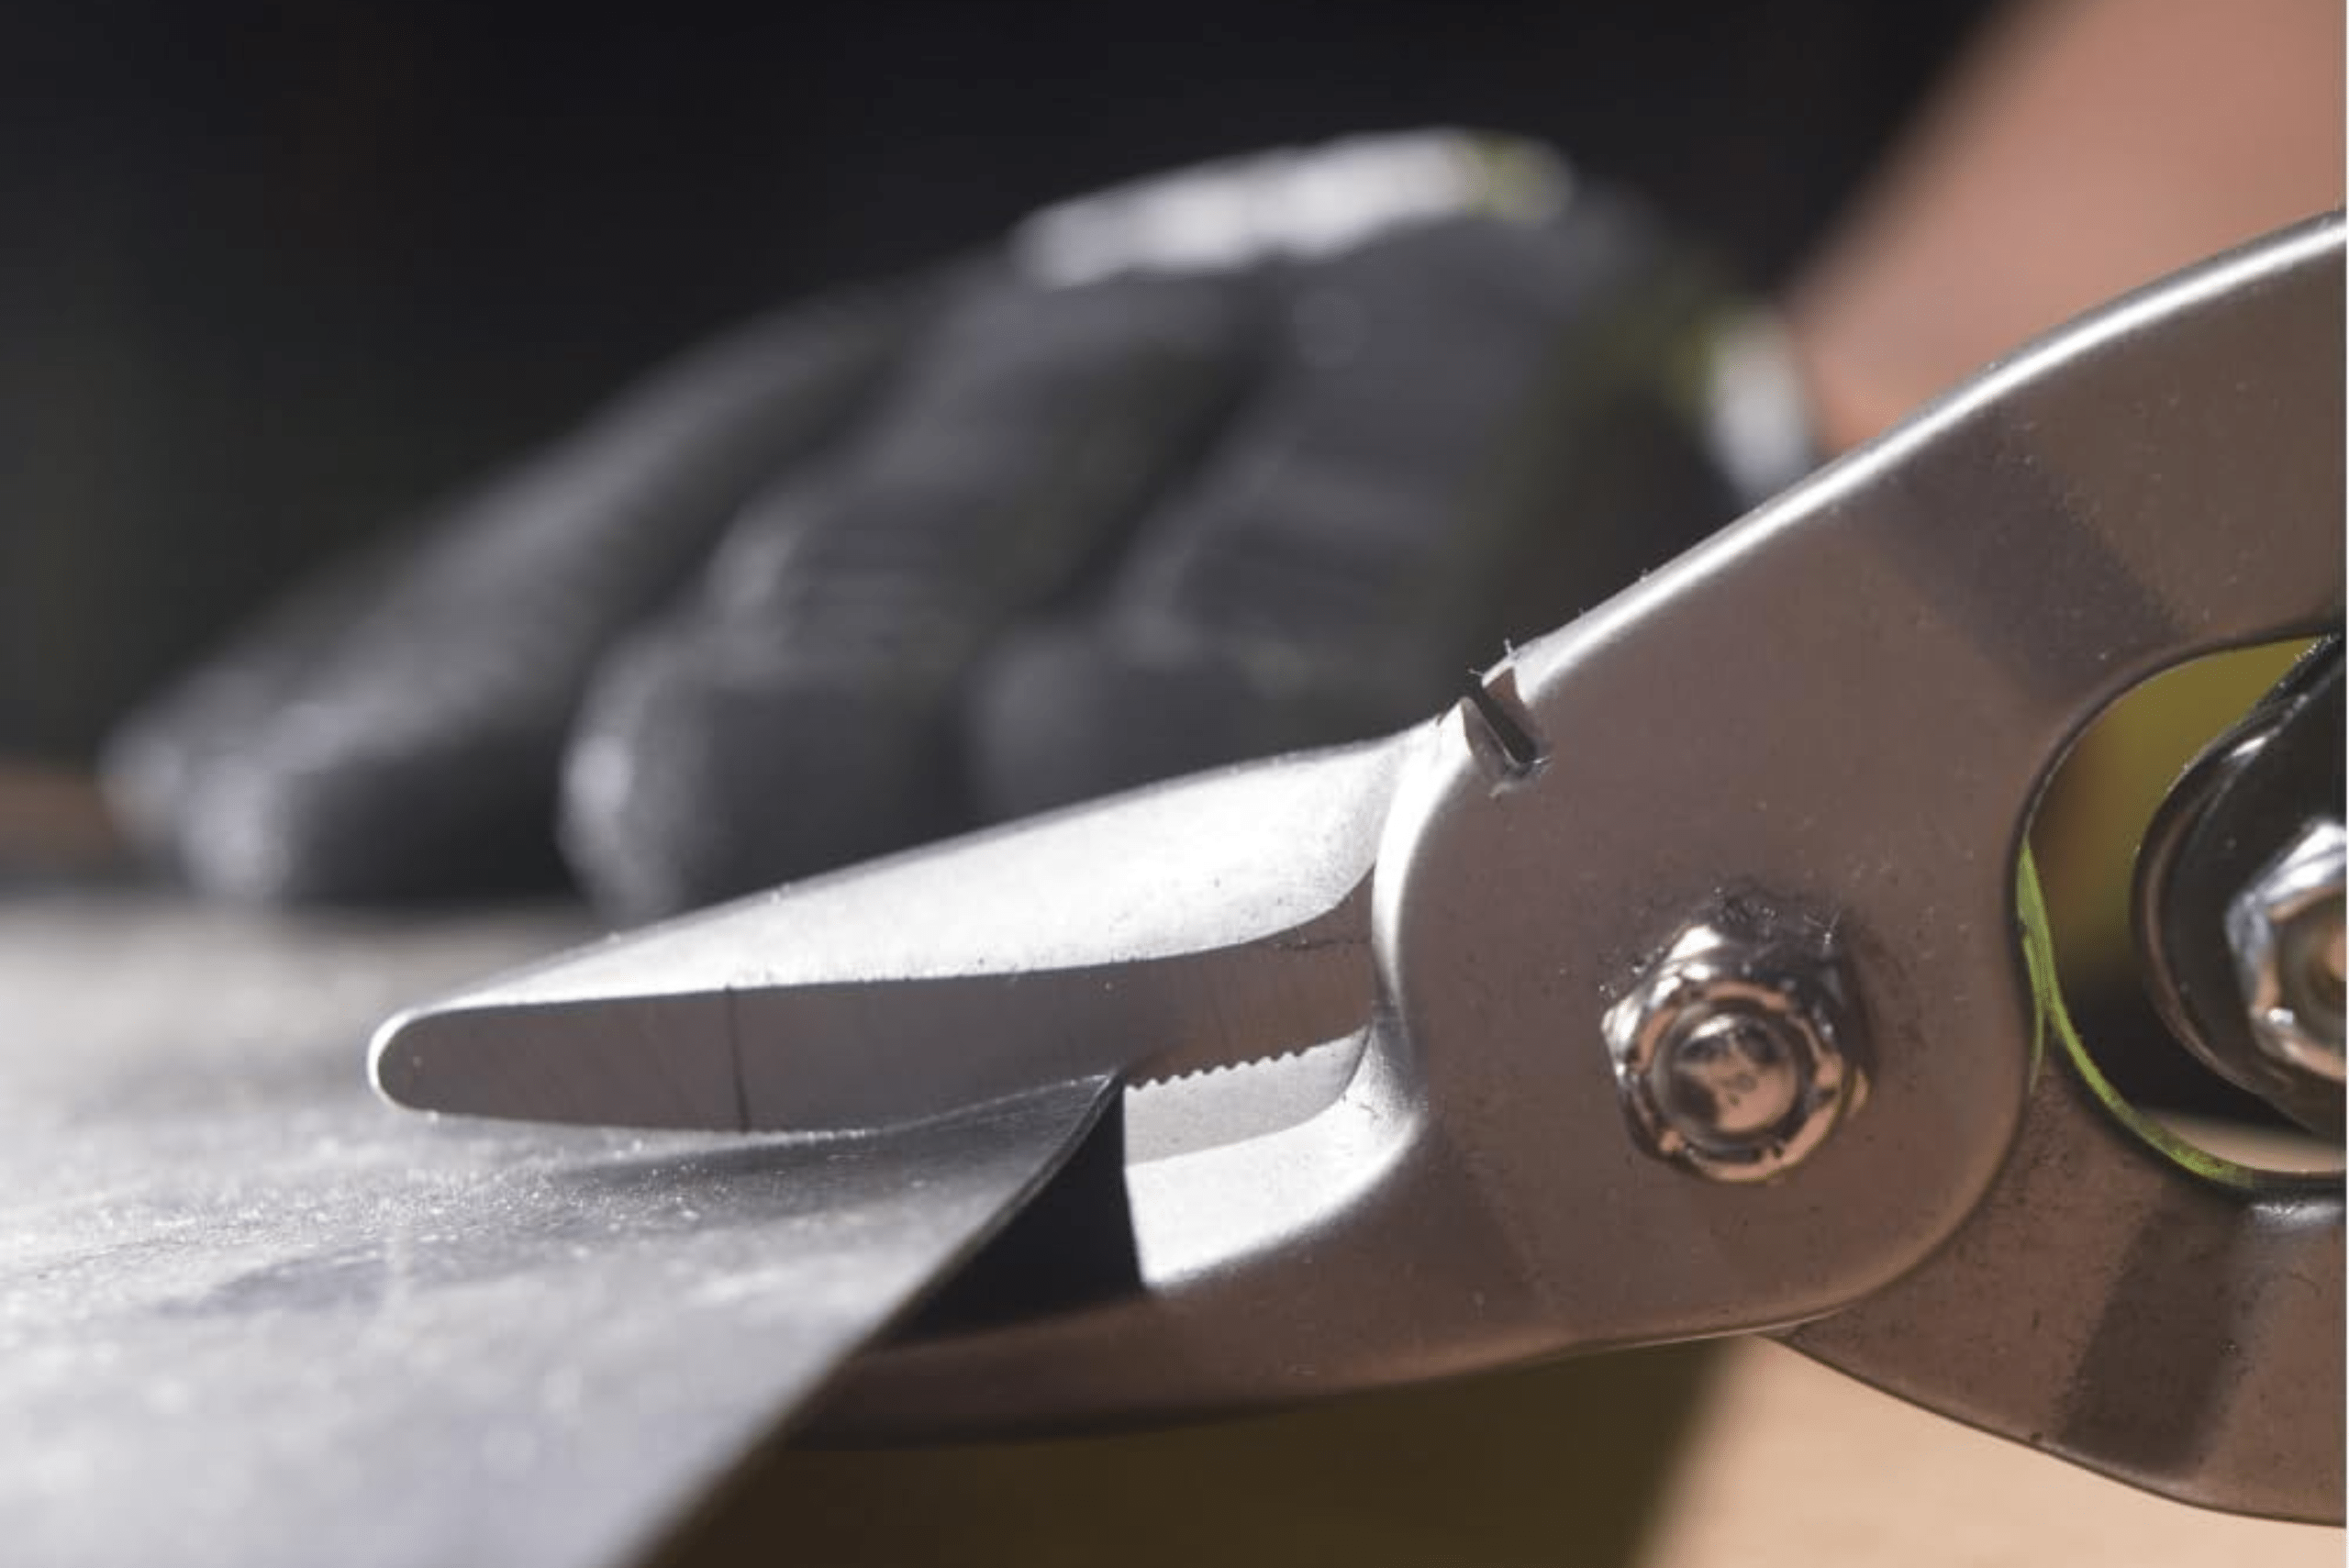
Curves and Contours: Mastering Tin Snips
For thinner gauge metals and curved cuts, tin snips are an indispensable tool. Here’s how to use them effectively:

- Choose the right snips: Most tin snips are color-coded – red for left curves, green for right curves, and yellow for straight cuts. Having a set of each allows you to tackle any shape.
- Mark your cut line: Use a permanent marker to clearly outline your desired cut. For complex shapes, consider creating a paper template first.
- Start at the edge: Begin your cut at the edge of the sheet metal, aligning the blades with your cut line. Squeeze the handles firmly and make small, controlled cuts.
- Follow the curve: As you cut, slightly twist the snips in the direction of the curve. This helps prevent the metal from binding between the blades.
- Finish with finesse: For interior cuts, drill a starter hole large enough for the snips to fit through. Work your way outward from there.
Pro tip: Keep your snips well-oiled and sharp for the best results. Dull blades can deform the metal edge.
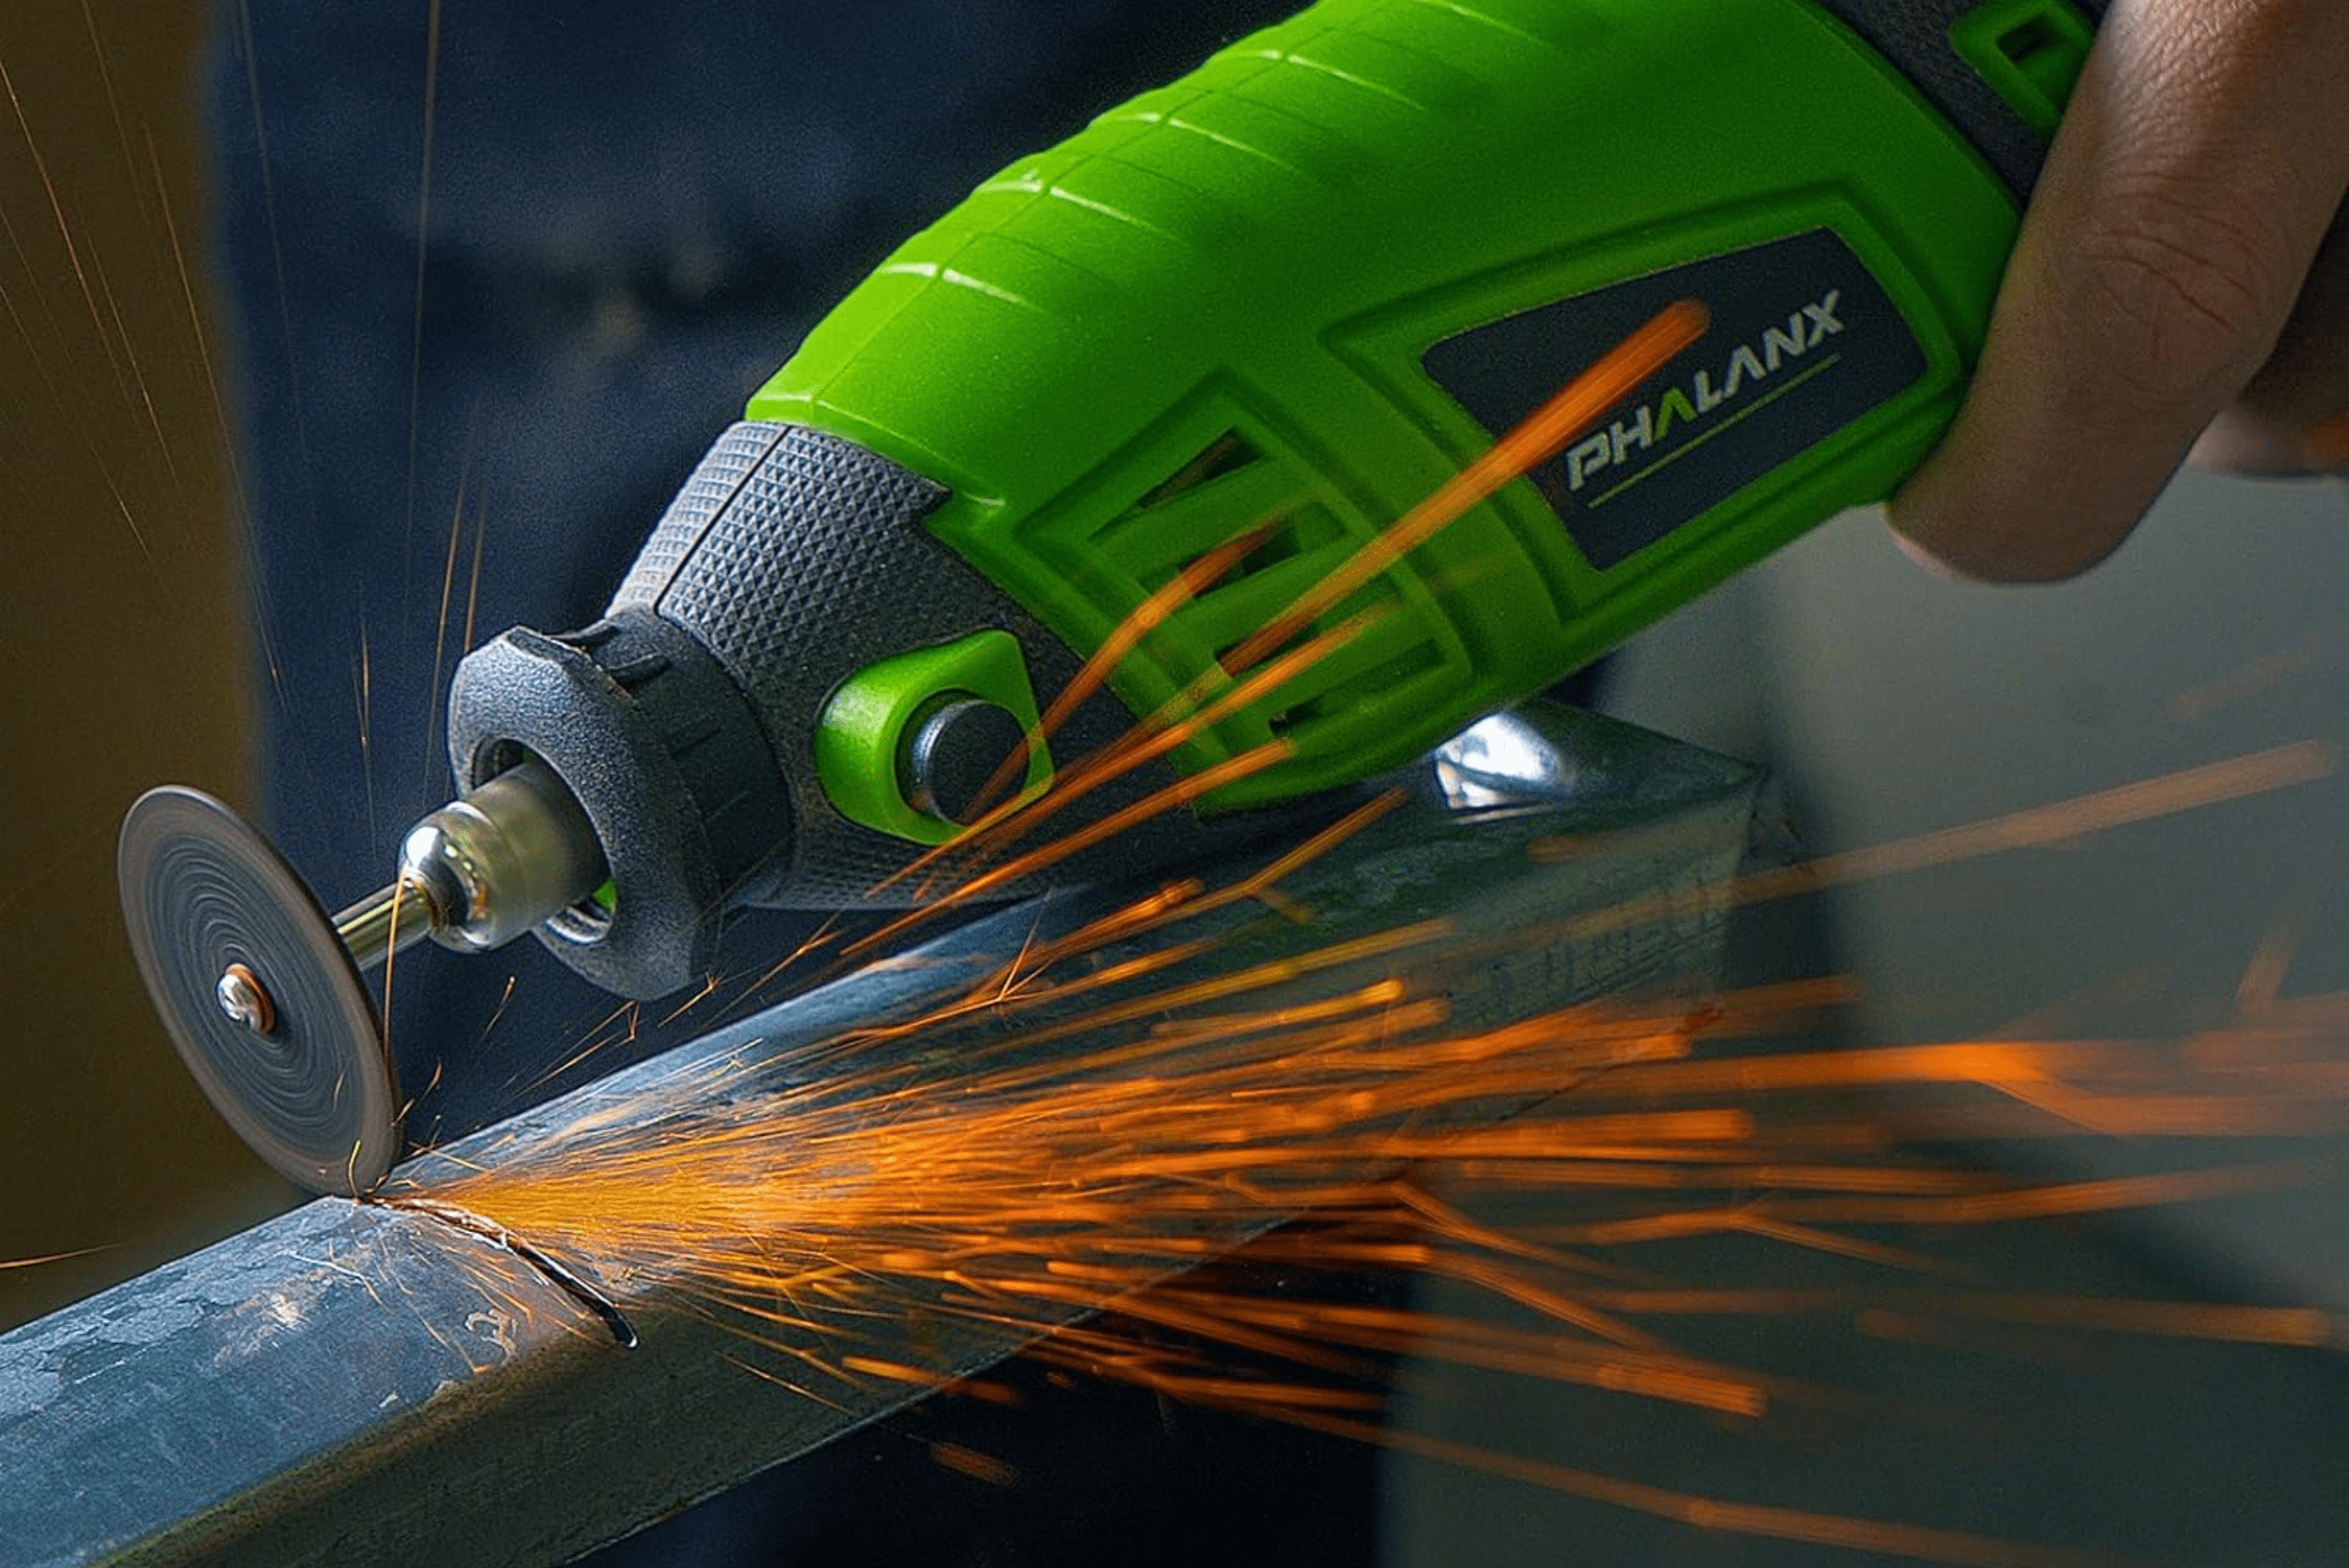
Precision and Detail: Dremels for Intricate Work
When it comes to small, detailed cuts or working in tight spaces, a Dremel tool with a metal-cutting attachment is hard to beat. Here’s how to use one:

- Choose the right attachment: A reinforced cutting wheel or spiral cutting bit works well for most sheet metal tasks.
- Secure your workpiece: Clamp your metal firmly to prevent movement and vibration during cutting.
- Mark your cut line: Use a fine-point marker to clearly outline your intended cut.
- Start slow: Begin cutting at a lower speed setting, gradually increasing as you become comfortable with the tool’s behavior.
- Guide with care: Use both hands to steady the Dremel – one on the tool body and one near the cutting end for precise control.
- Follow the line: Move the Dremel slowly and steadily along your marked line. Let the tool do the work; don’t force it.
Pro tip: For extremely intricate cuts, consider using a Dremel flex-shaft attachment for even greater control and maneuverability.
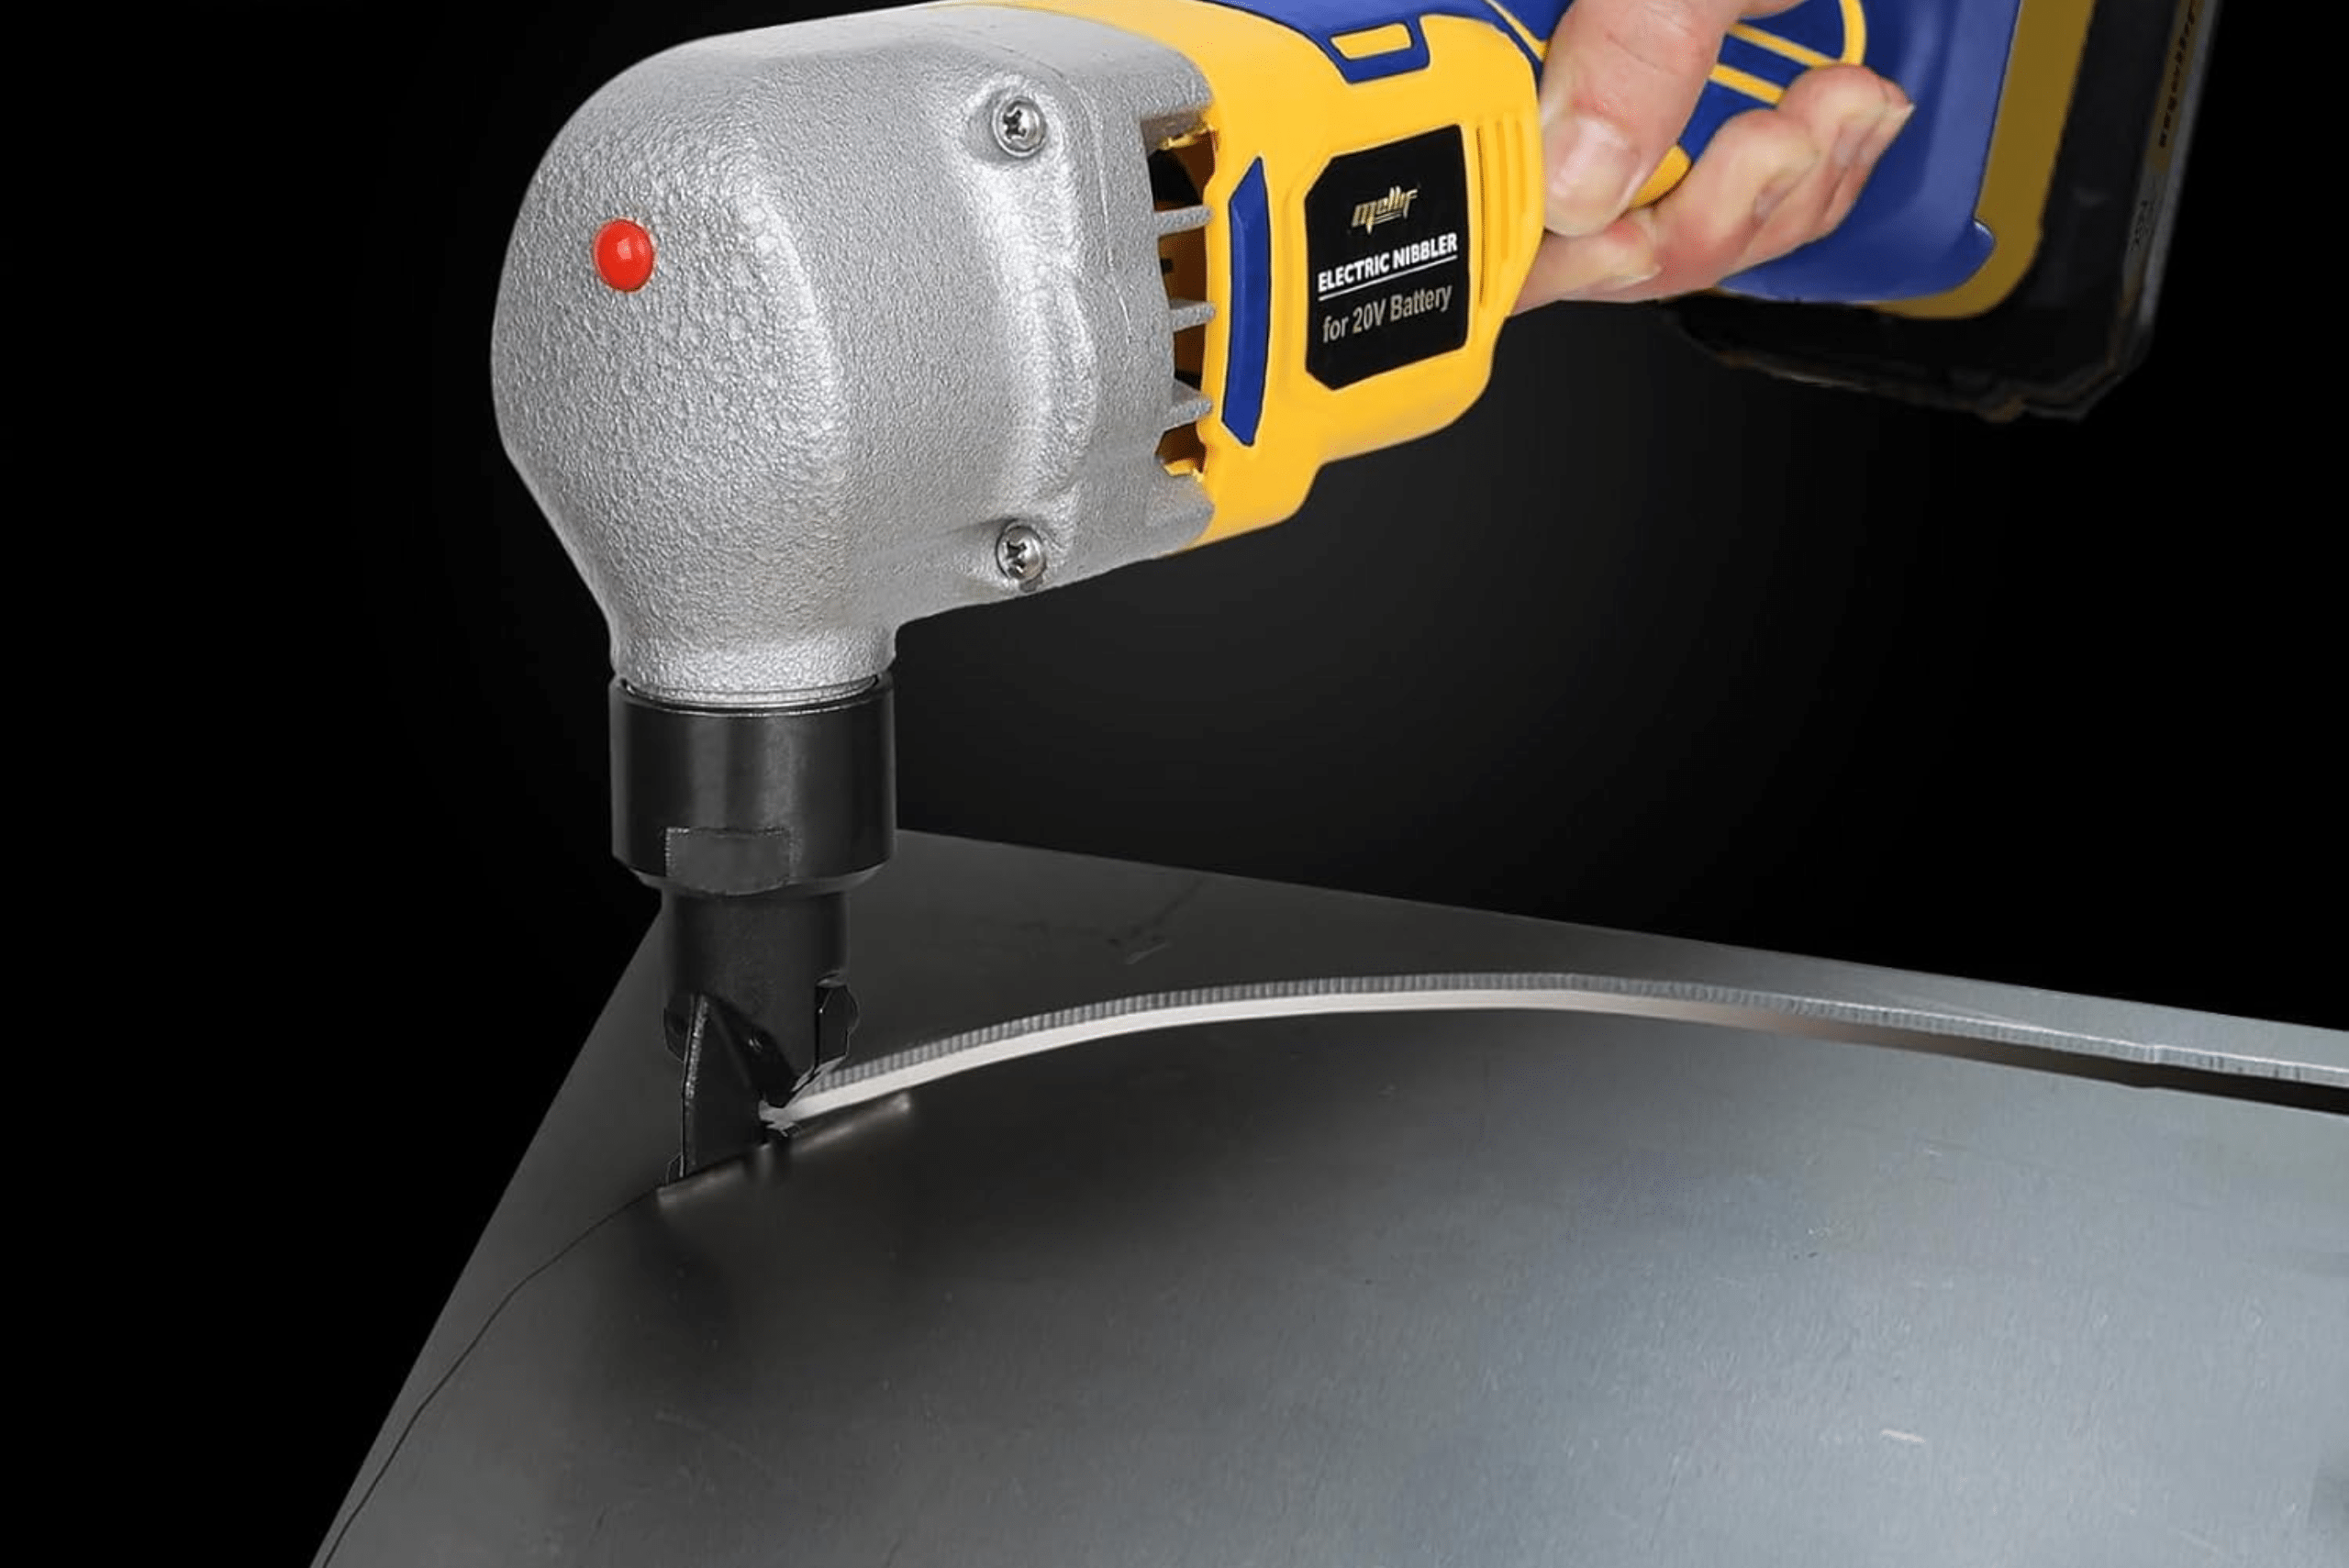
Quick and Clean: Metal Nibblers for Efficiency
For faster cutting of straight lines or gentle curves in thicker sheet metal, a metal nibbler is an excellent choice. Here’s how to use one:

- Choose the right nibbler: Electric nibblers are more efficient for larger projects, while manual ones work well for smaller tasks.
- Mark your cut line: Use a straightedge and marker to clearly define your intended cut.
- Start at the edge: Position the nibbler at the edge of the sheet metal, aligning it with your cut line.
- Guide steadily: Move the nibbler slowly along your marked line. The tool will punch out small pieces of metal as you go.
- Clean up edges: Use a metal file to smooth any rough spots along the cut edge.
Pro tip: Nibblers create small metal chips as they cut. Work over a drop cloth or in an area that’s easy to clean up afterward.
Related Articles
- Top Tips for Choosing and Using Drill Bits for Metal
- How to Cut Metal Studs: Expert Tips for Precision
- 9 Best Ways to Remove Rust From Metal
With these four methods in your DIY arsenal, you’re well-equipped to tackle a wide range of sheet metal cutting projects. Remember, practice makes perfect – start with some scrap pieces to get a feel for each technique before diving into your main project. Always prioritize safety by wearing appropriate protective gear and working in a well-ventilated area.
As you gain confidence, you’ll find that cutting sheet metal opens up exciting new possibilities for your DIY endeavors. From custom electronics enclosures to unique home decor pieces, the only limit is your imagination. So grab your tools, fire up that creativity, and start crafting with metal like a pro!
Ready to start your next project? Join our DIY community to receive tool tips, how-to guides, and exclusive creative insights. Subscribe to the ManMadeDIY newsletter now! Click here to unlock a world of hands-on inspiration.


