A Step-by-Step Guide on How to Fell a Tree with a Chainsaw
Felling a tree with a chainsaw is a task that requires careful planning, knowledge, and safety precautions. Whether you’re clearing land, harvesting wood, or removing a hazardous tree, understanding the process is crucial. This guide will walk you through the essential steps for how to safely and efficiently fell a tree with a chainsaw, ensuring you have the confidence and skills to get the job done right.
Understanding the Importance of Safety Gear and Proper Preparation
Before you even think about starting your chainsaw, it’s essential to prioritize safety and preparation. Equip yourself with the necessary safety gear: a hard hat, safety goggles, hearing protection, chainsaw chaps, and sturdy gloves. This gear will protect you from potential hazards such as falling branches, flying debris, and chainsaw kickbacks.
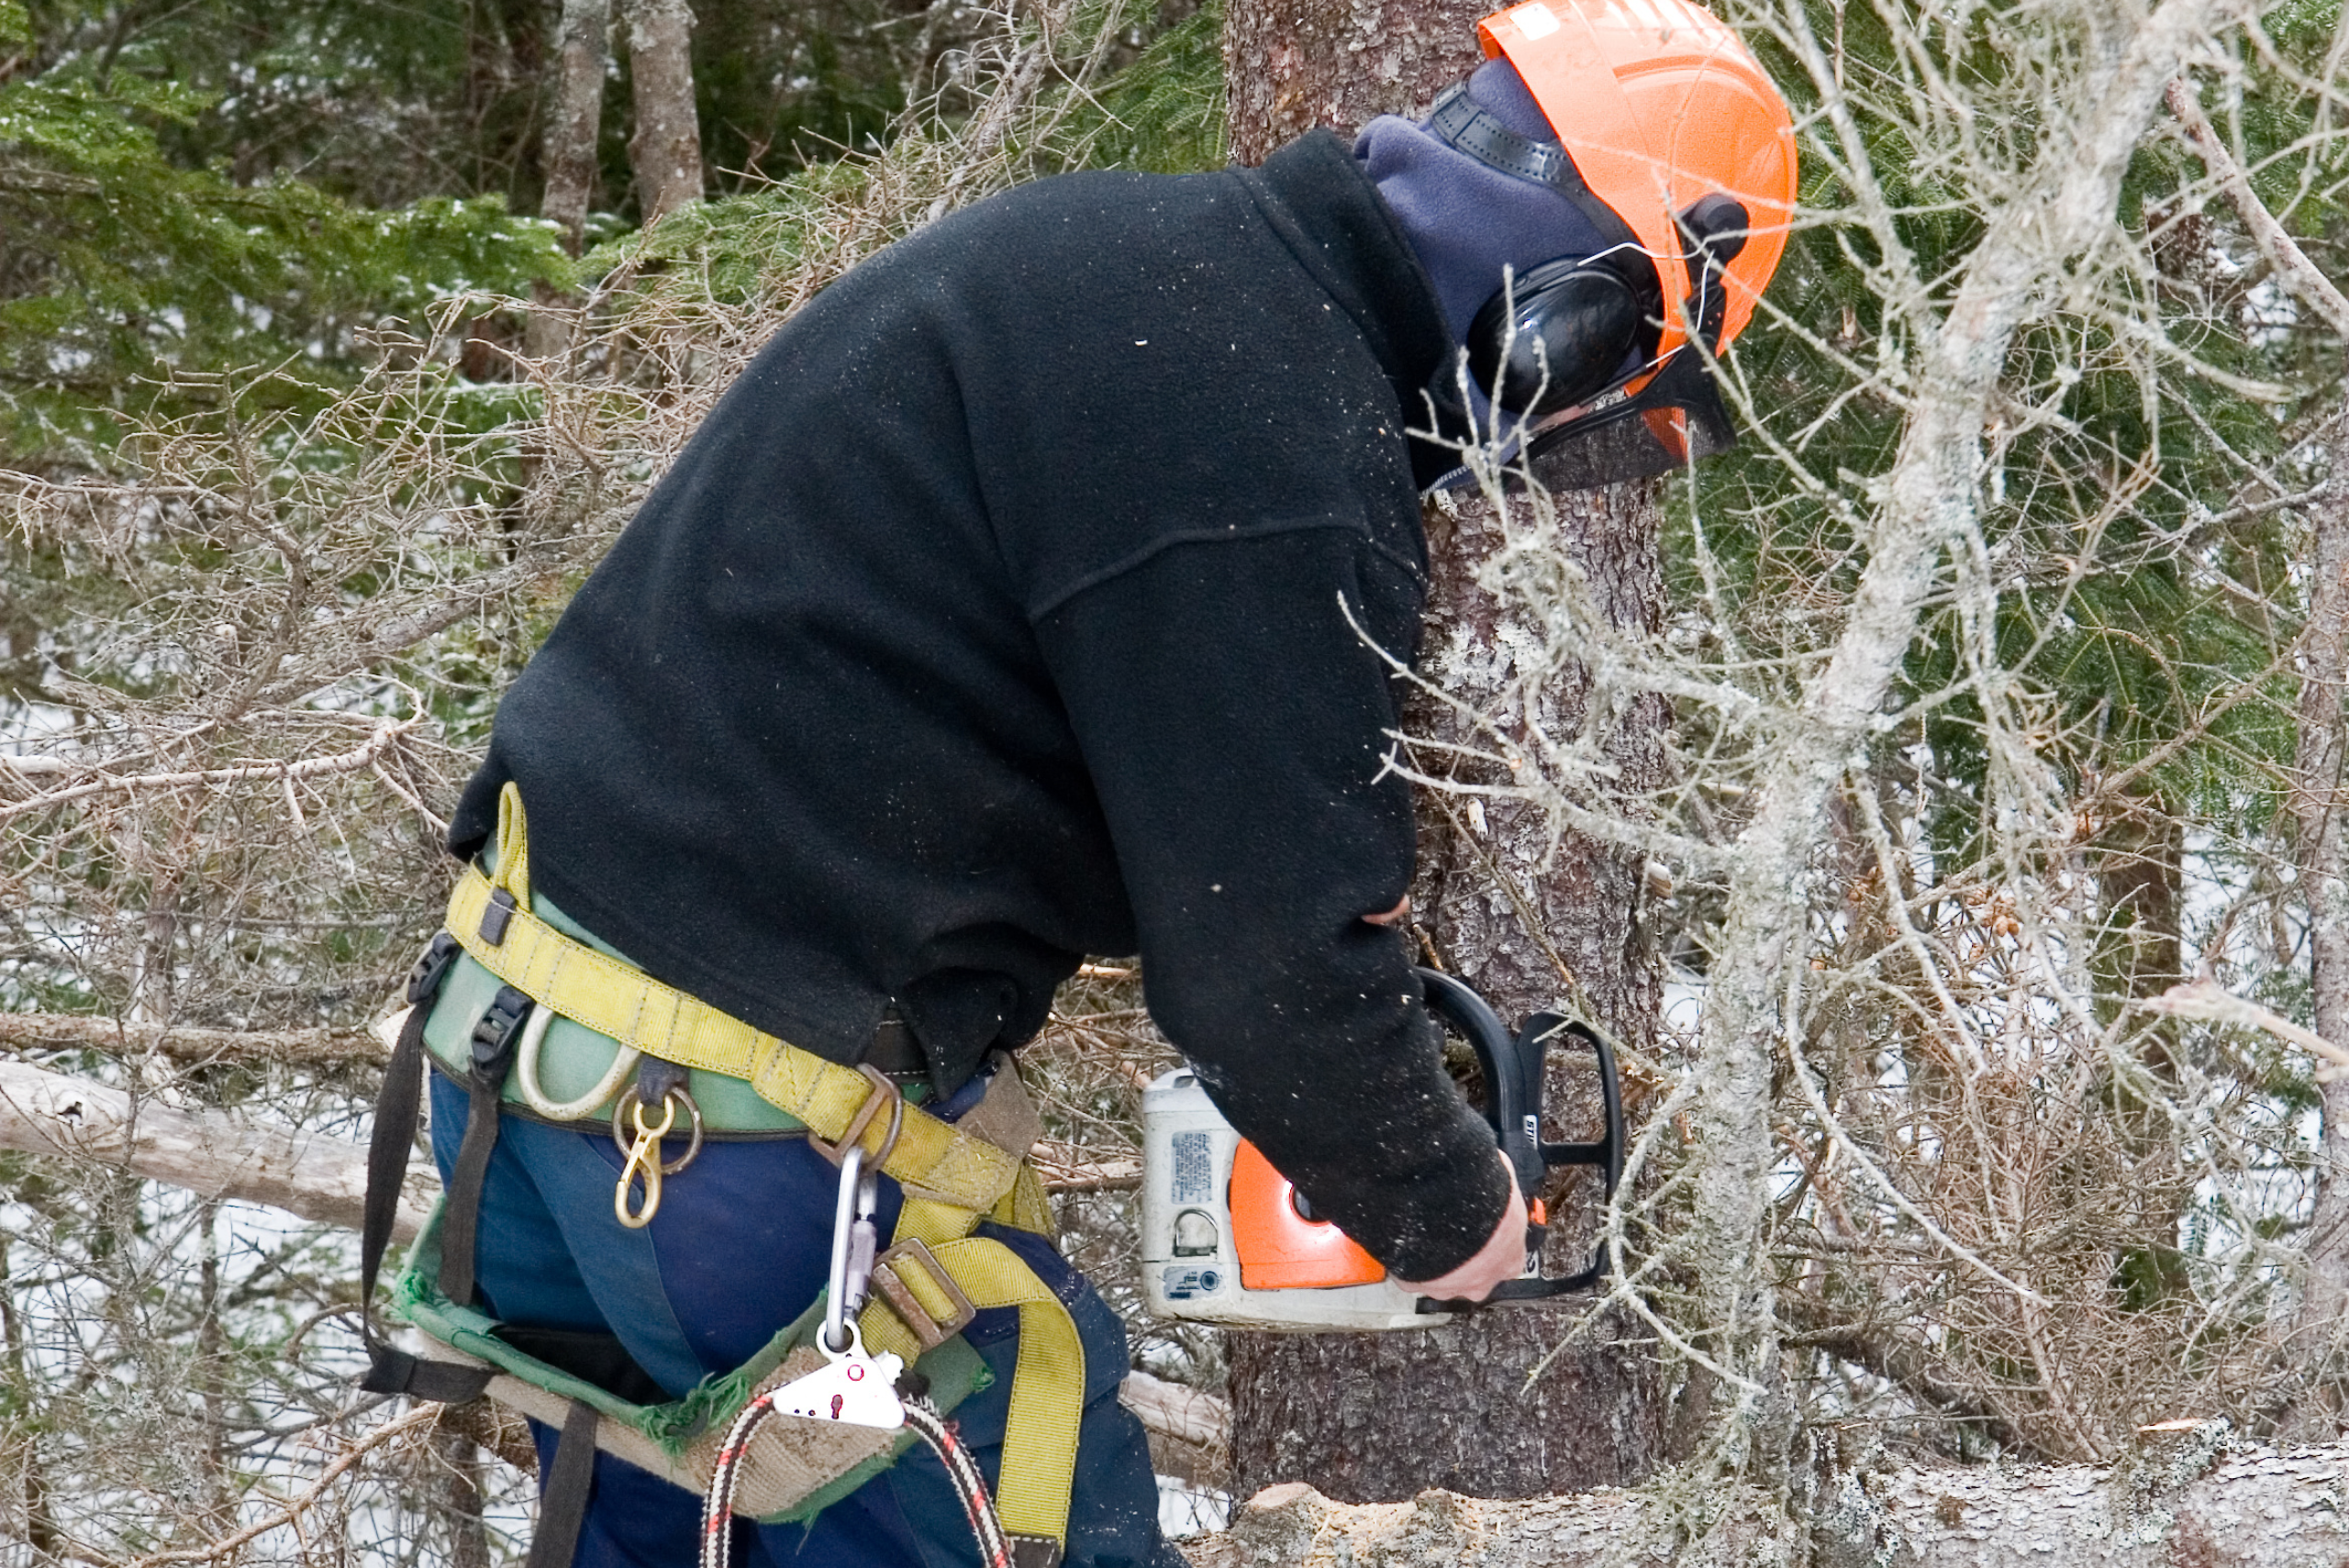
Preparation doesn’t stop at safety gear. Ensure your chainsaw is in good working order, with a sharp chain, full fuel tank, and proper oil levels. Inspect the tree you plan to fell. Look for signs of disease, dead branches, or rot that could affect the tree’s falling path. Clear a work area around the tree, removing any obstacles that could trip you up or interfere with your escape route.

Planning the Tree’s Fall Direction and Escape Route is Crucial
Determining the direction in which you want the tree to fall is a critical step in the felling process. Consider natural lean, wind direction, and the tree’s weight distribution. Choose a clear path for the tree to fall, free of other trees, buildings, or power lines.
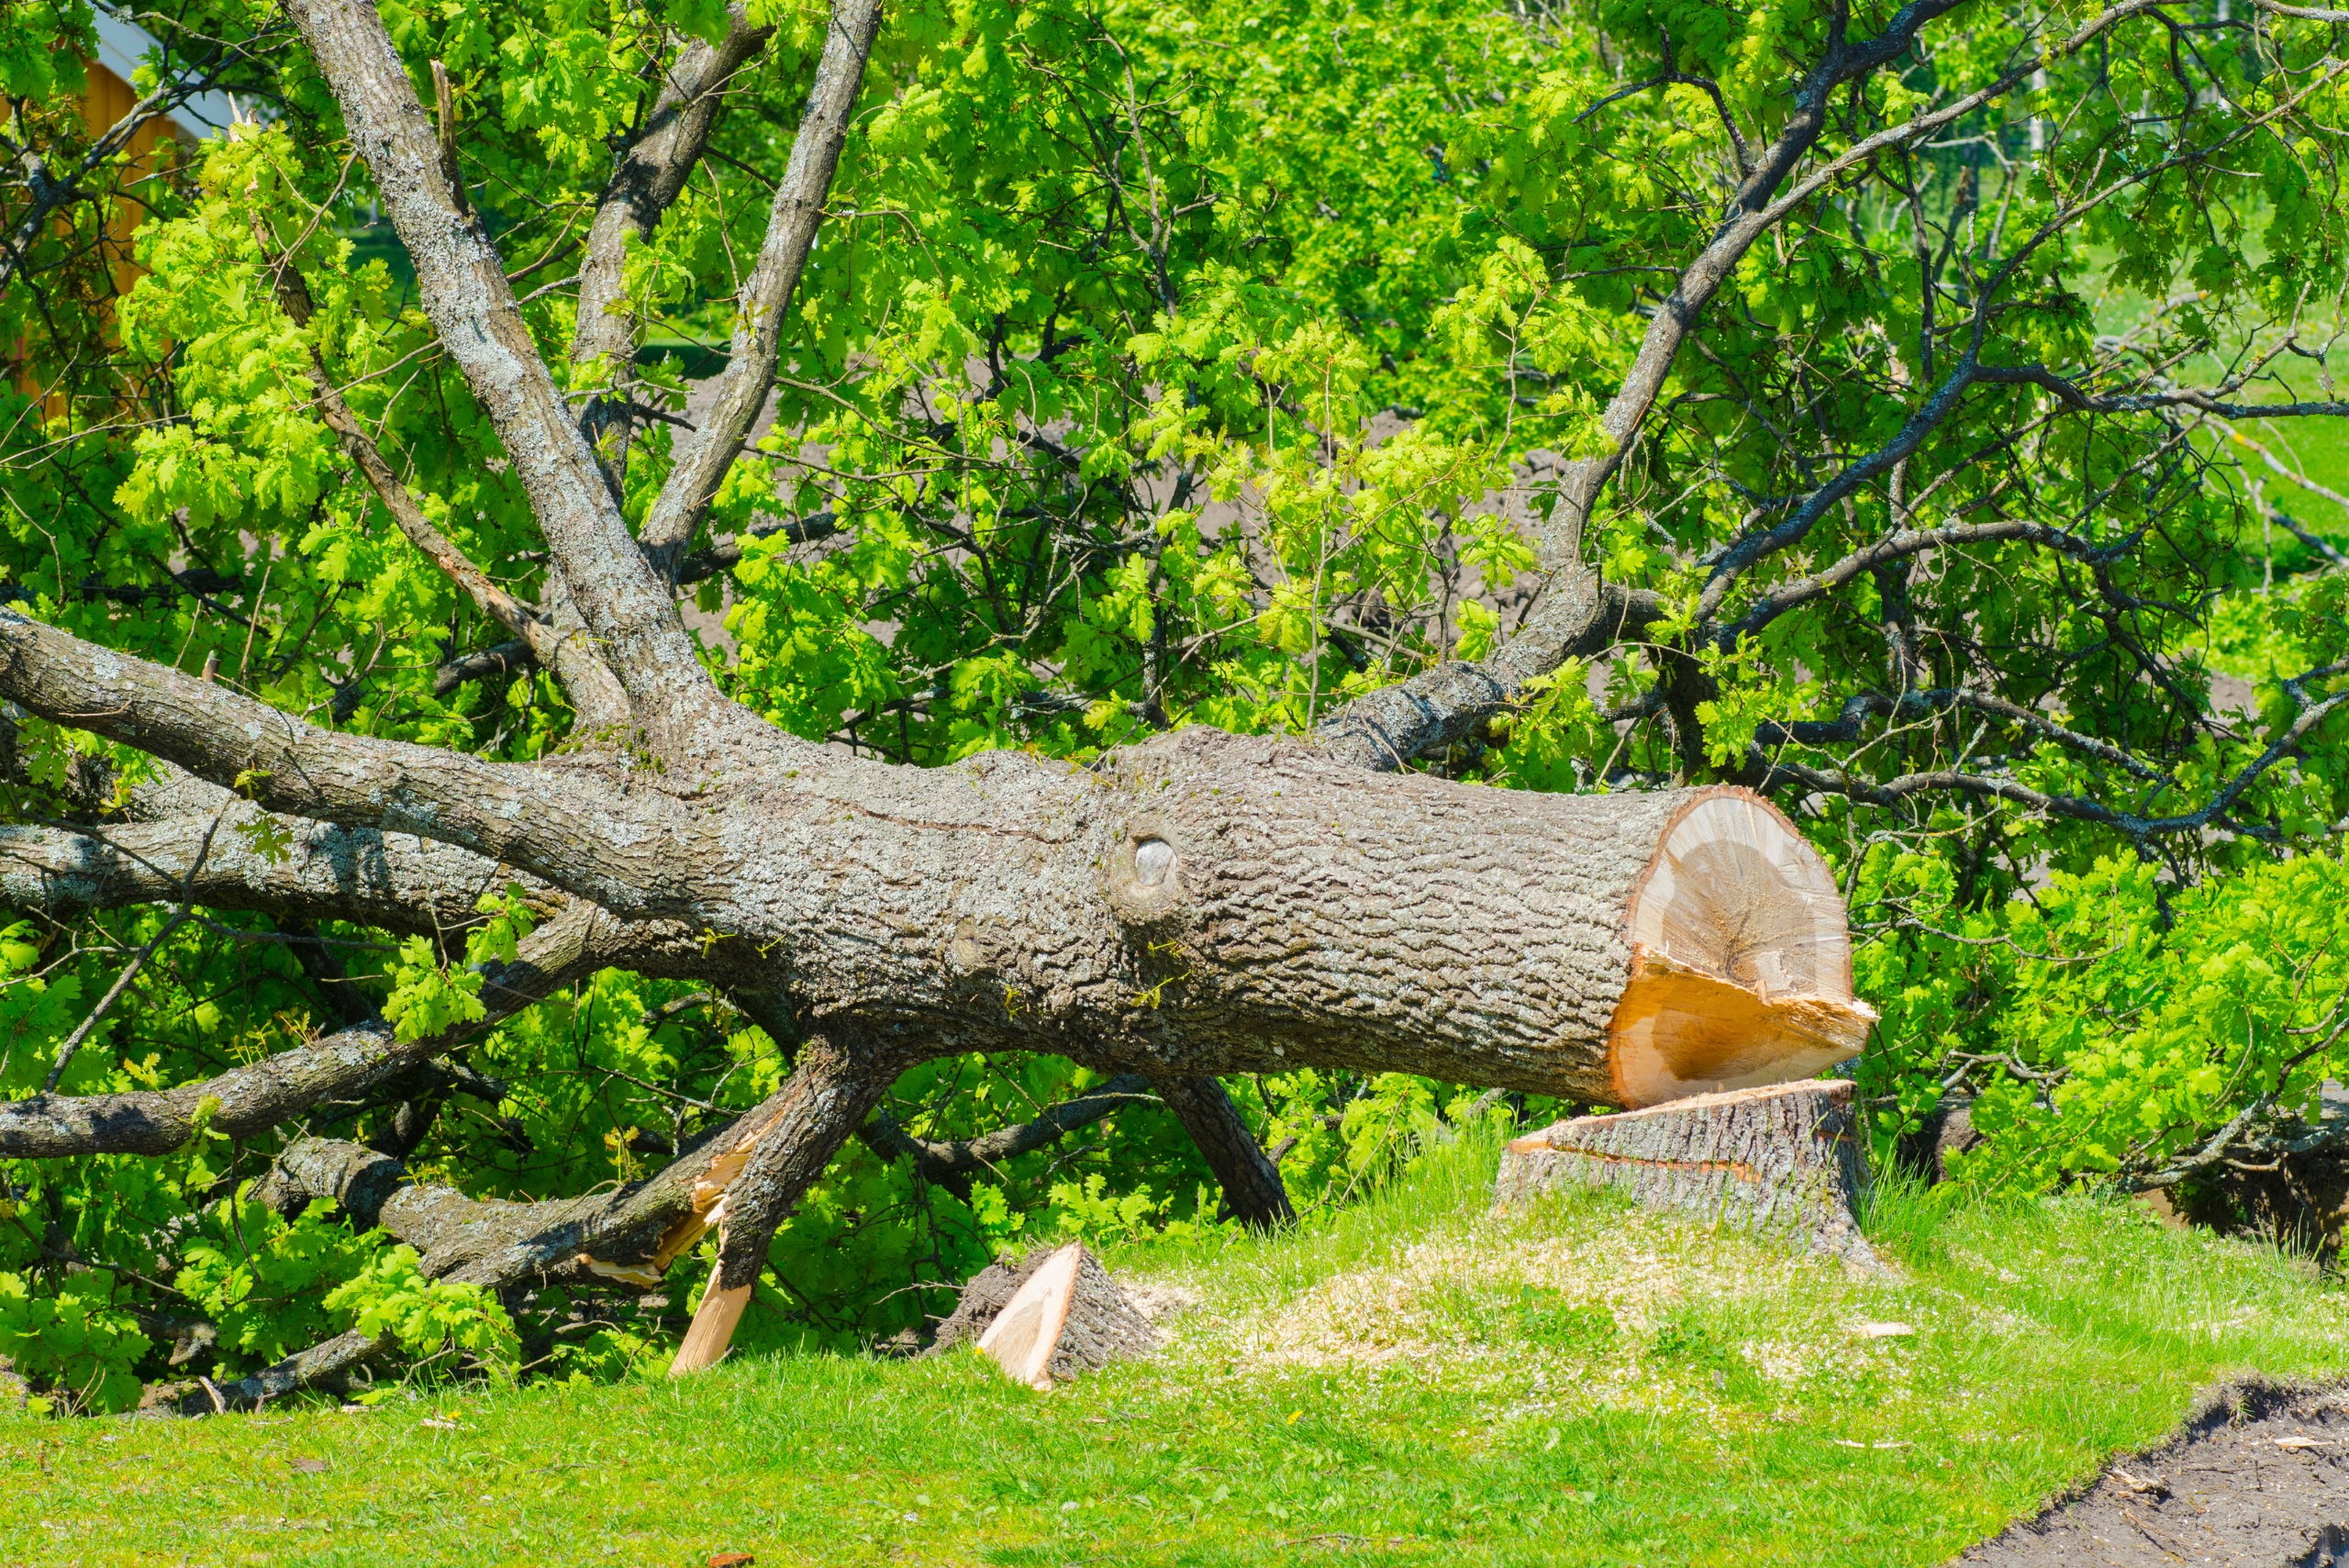
Once you’ve chosen the tree’s fall direction, plan your escape routes. You need at least two clear paths at a 45-degree angle away from the expected fall line. These routes should provide you with a safe retreat if the tree doesn’t fall as planned. Always keep these paths clear of tools, branches, and other debris.
Making the Face Cut – The First Key Step in Felling a Tree
The face cut is the first cut you’ll make on the tree, creating a notch that determines the direction of the fall. This cut consists of two angled cuts that form a notch on the side of the tree facing the desired fall direction. The notch should be about one-third of the tree’s diameter.
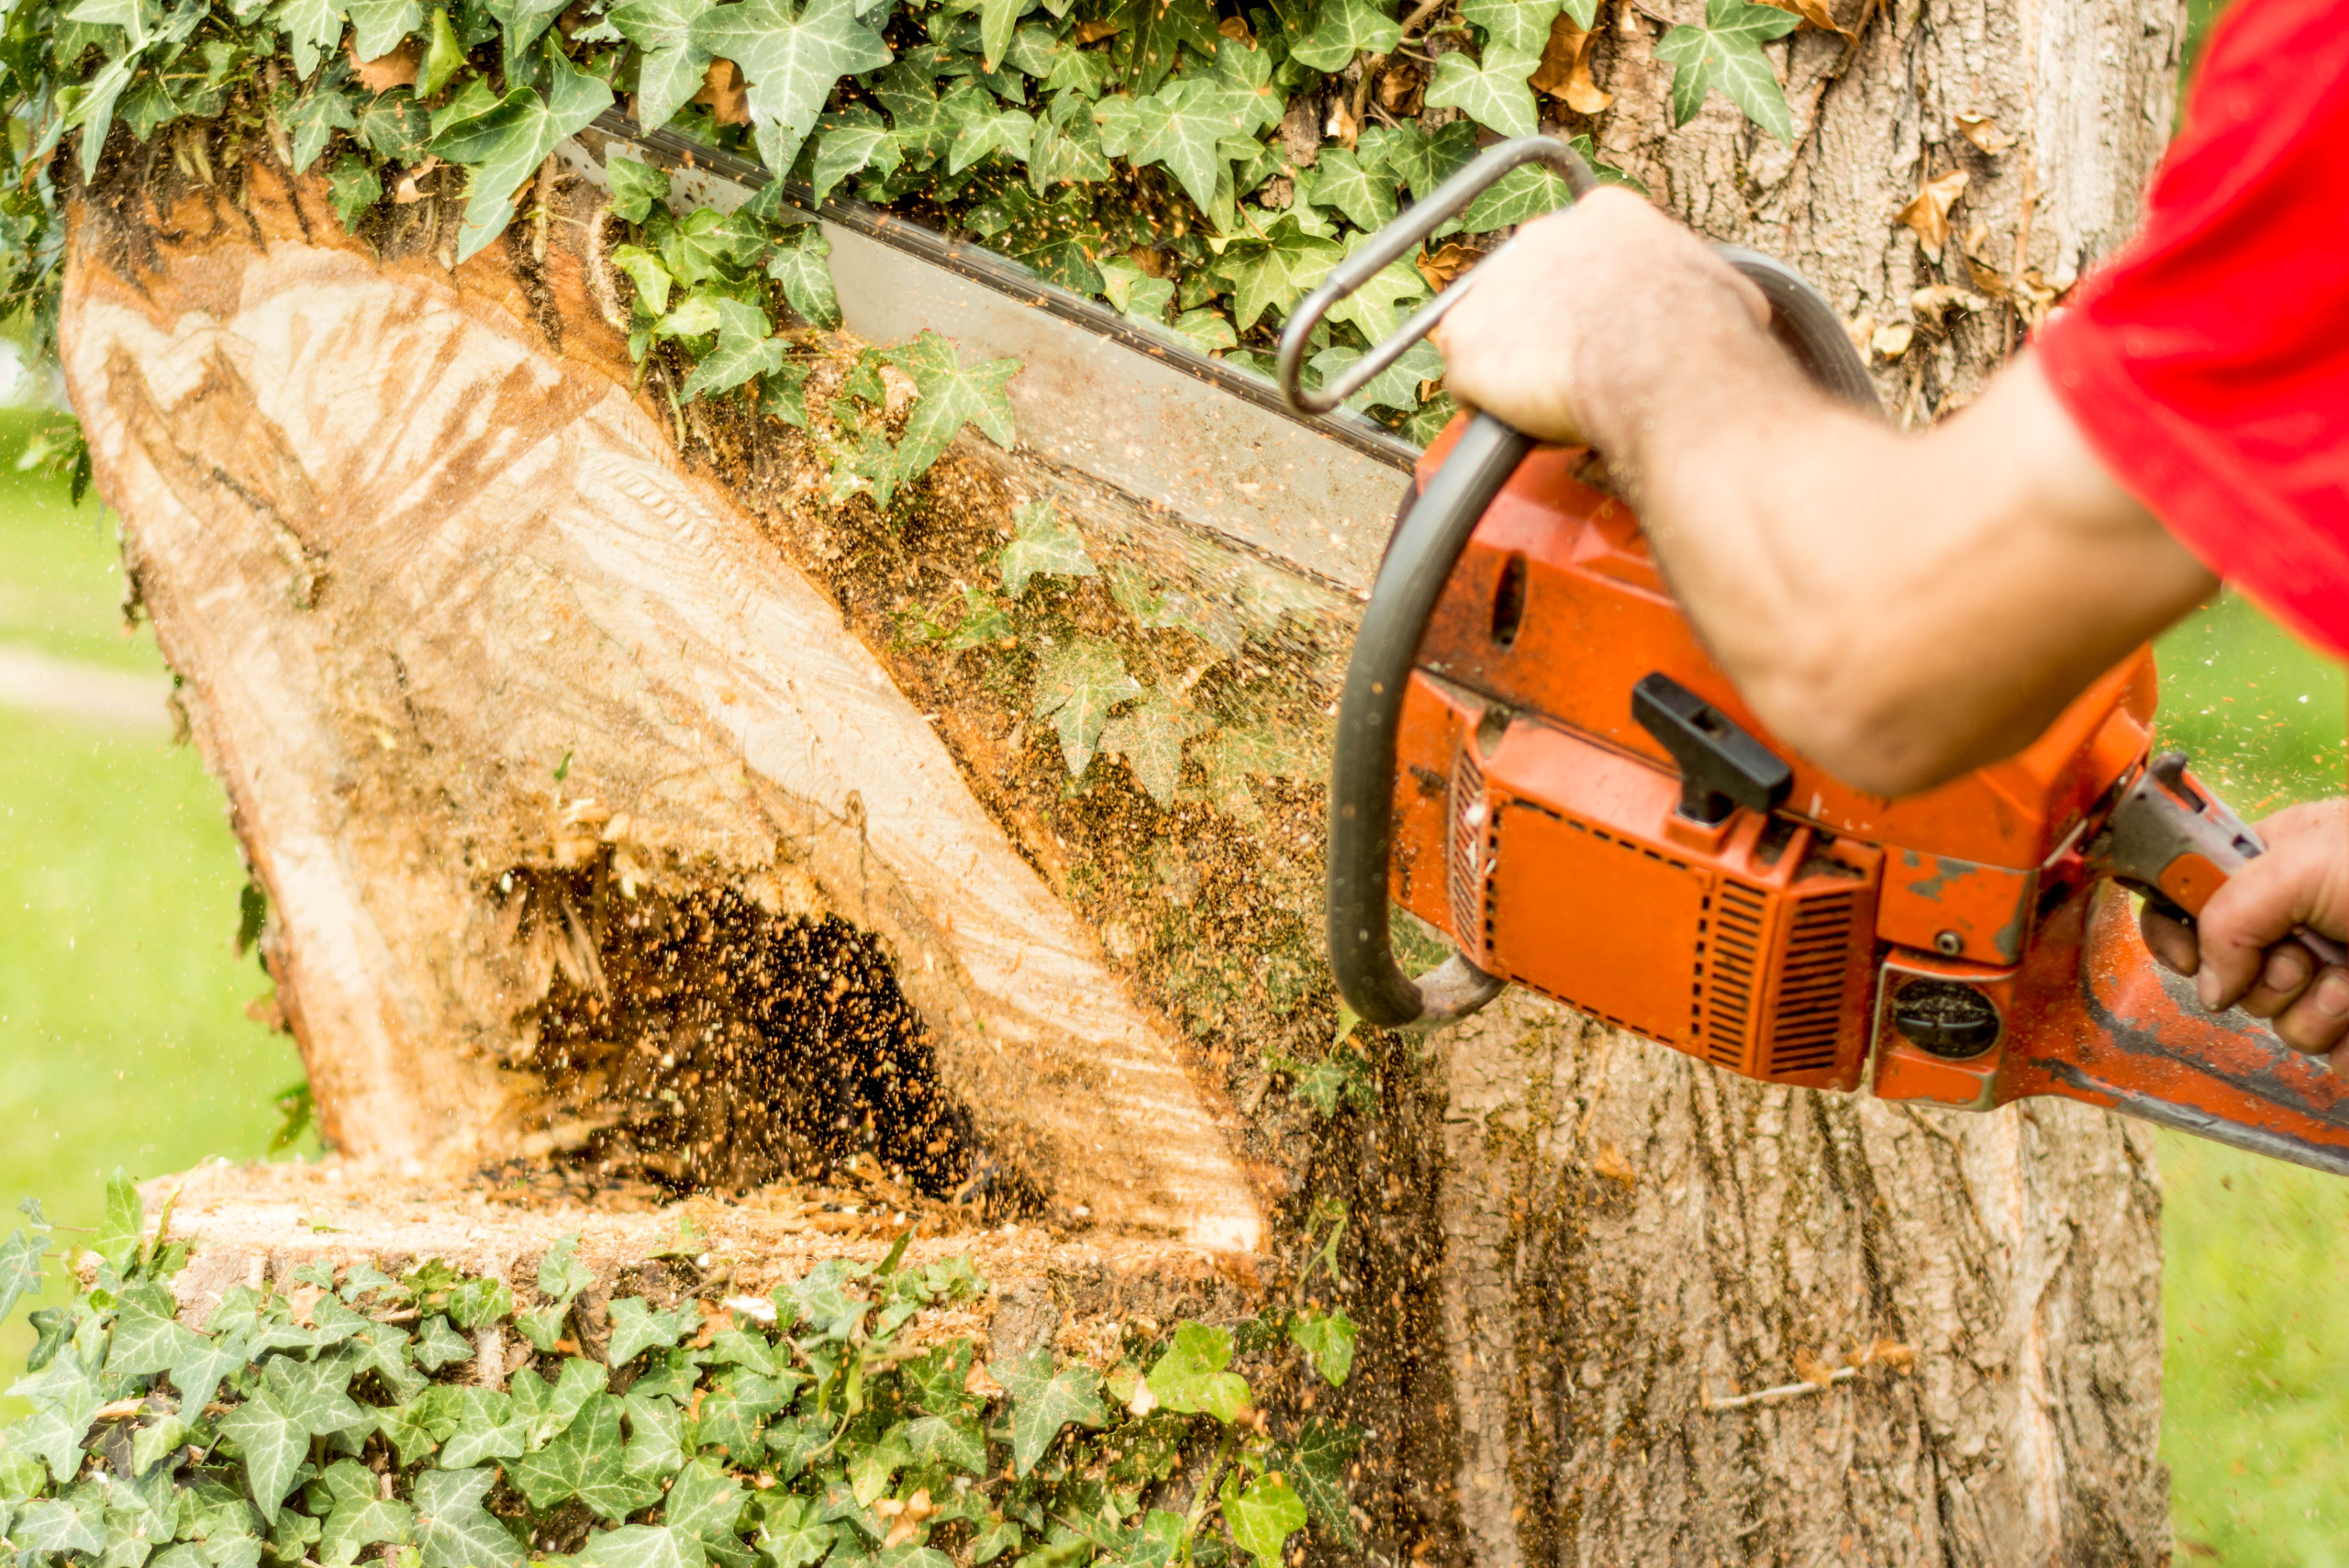
Start by making a horizontal cut at the base of the tree, about knee height. This cut should go straight into the tree, stopping one-third of the way through. Next, make a second cut above the first, angling it downward to meet the end of the horizontal cut. This will create a notch, or “face,” on the tree. Ensure the cuts are clean and meet precisely to avoid any complications during the felling process.
Making the Back Cut to Control the Tree’s Fall with Precision
The back cut is the final cut that will bring the tree down. This cut should be made on the opposite side of the face cut, slightly above the bottom of the notch. The back cut releases the tree from its stump and allows it to fall in the direction of the face cut.
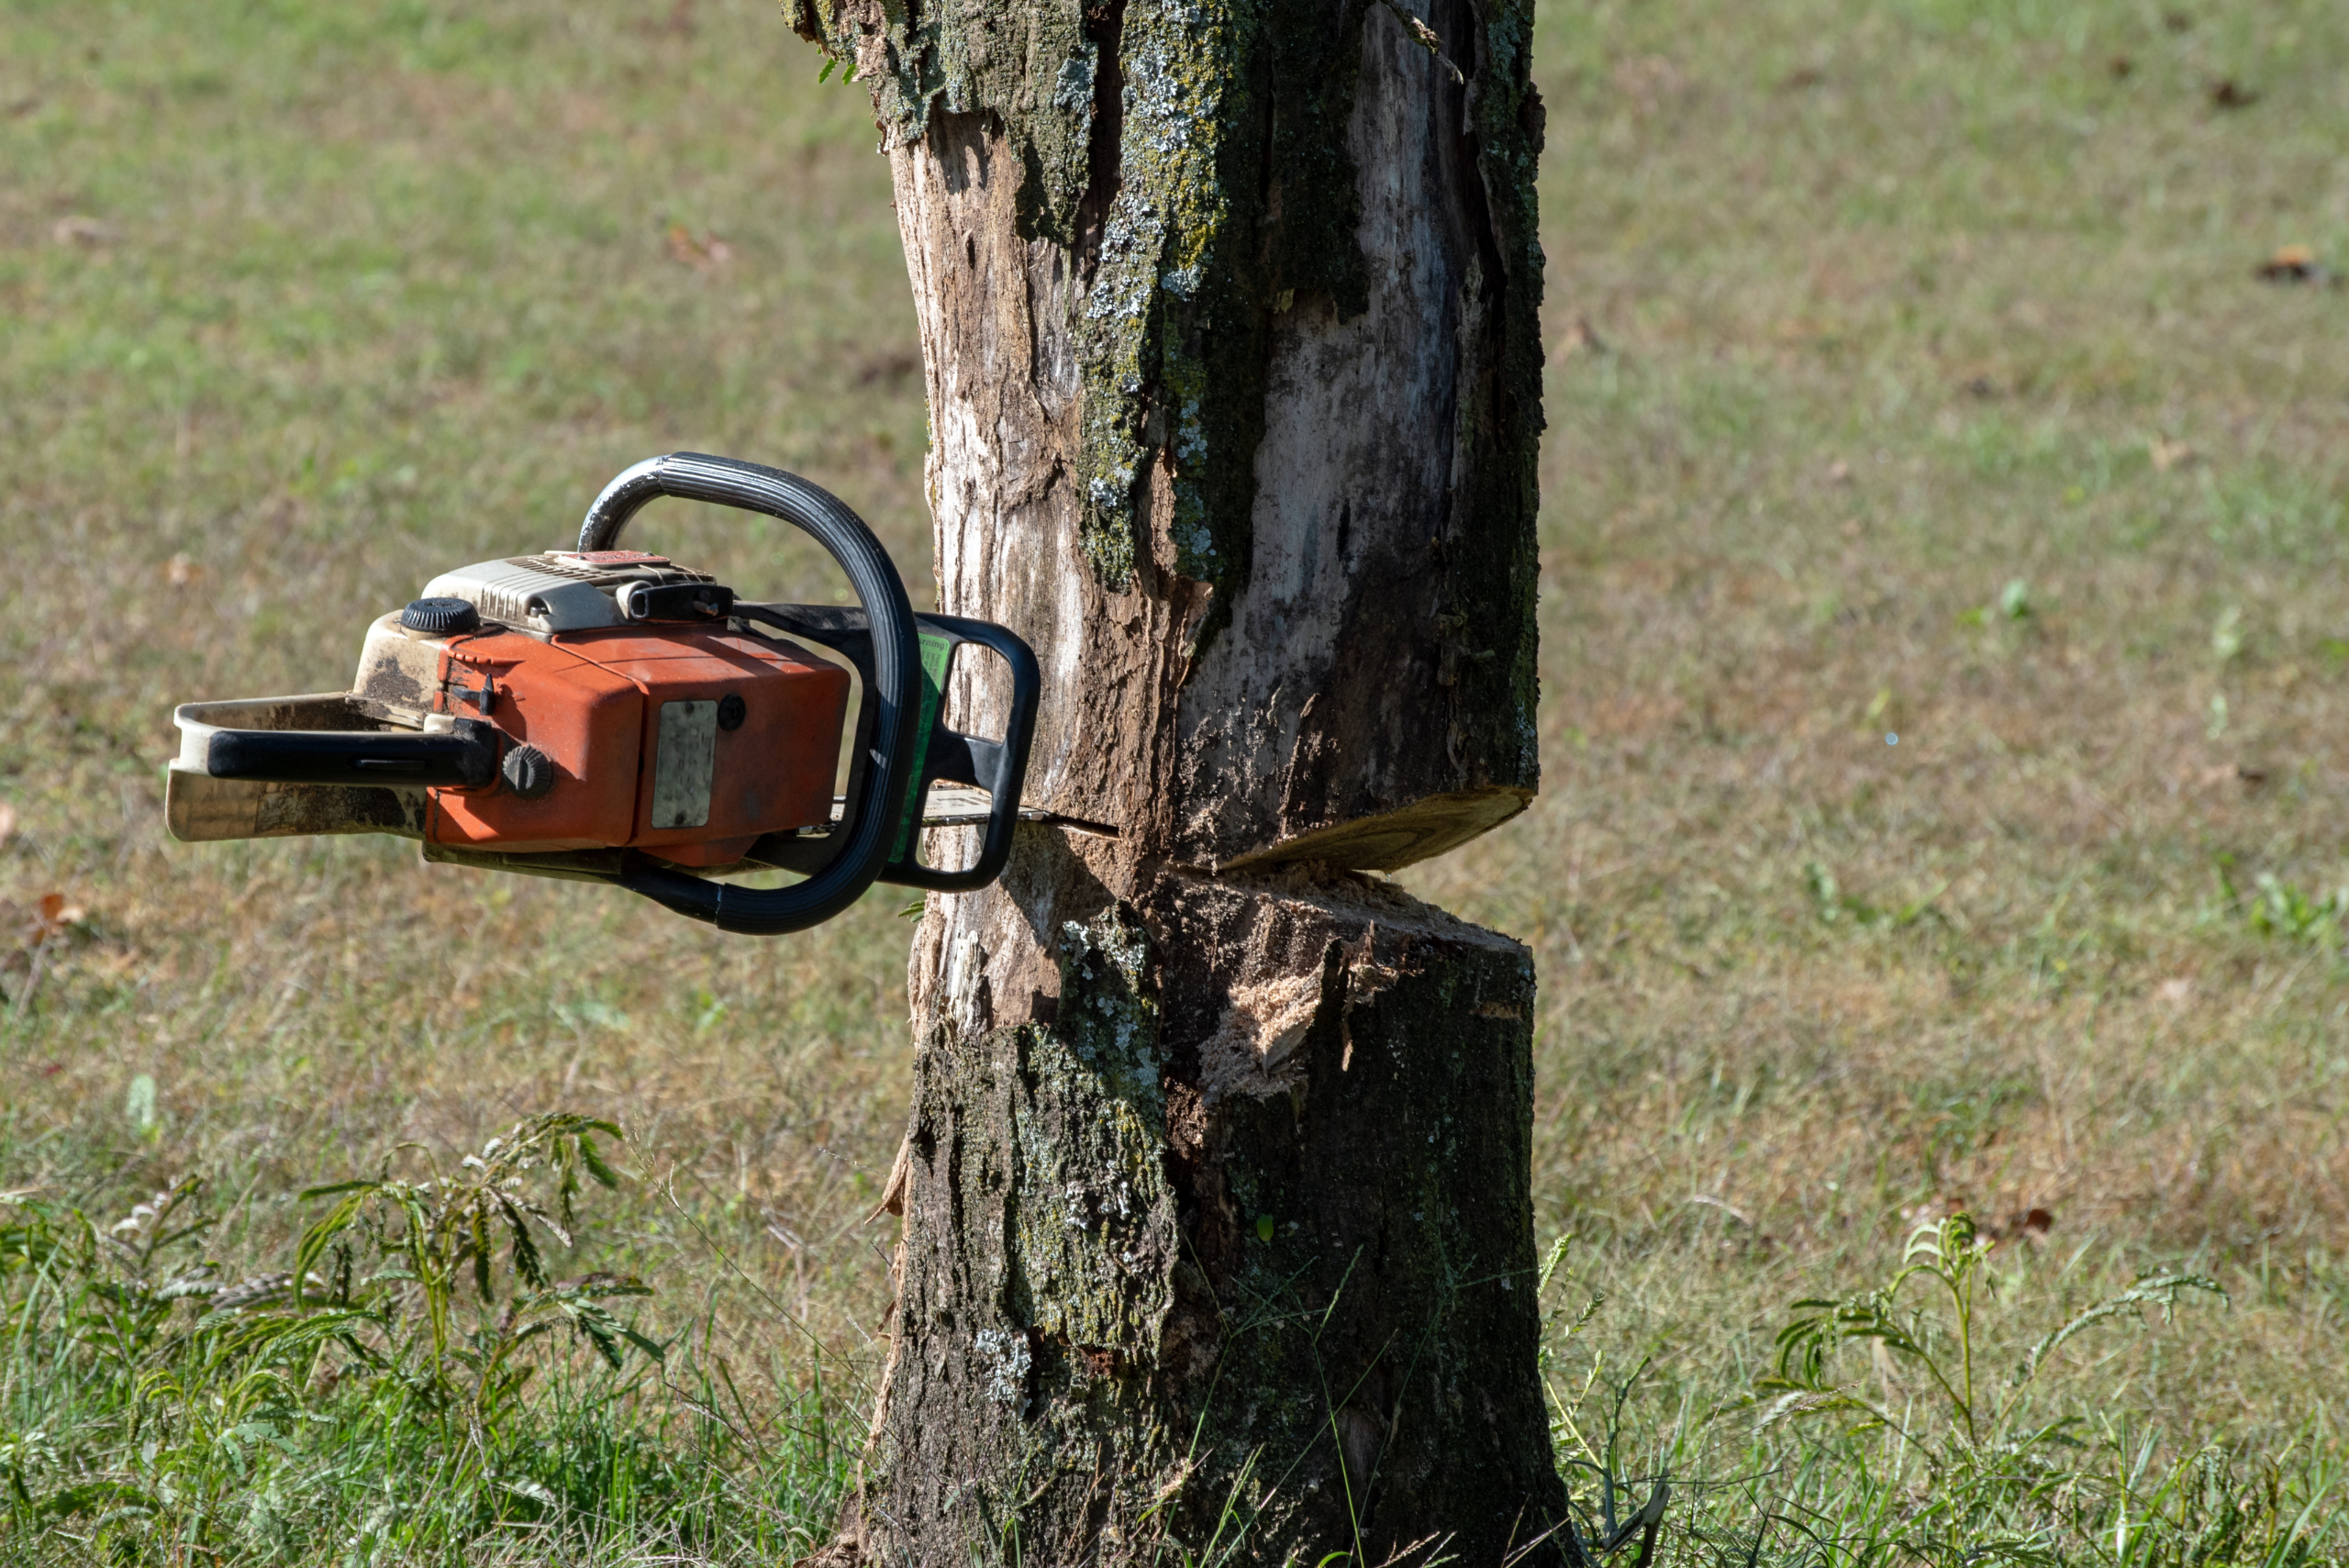
Begin by making a horizontal cut on the opposite side of the notch, ensuring it’s slightly higher than the bottom of the face cut. Cut slowly and steadily, watching for any signs of movement in the tree. As the cut deepens, the tree will begin to lean and eventually fall. Always be ready to retreat along your planned escape routes, keeping a close eye on the tree’s movement.
The Importance of Post-Felling Cleanup and Tree Disposal
Once the tree is safely on the ground, the job isn’t finished. Proper cleanup is essential to ensure safety and prepare the wood for its intended use. Start by removing the branches, known as limbing. Use your chainsaw to cut the branches flush with the trunk, working from the base of the tree upwards.
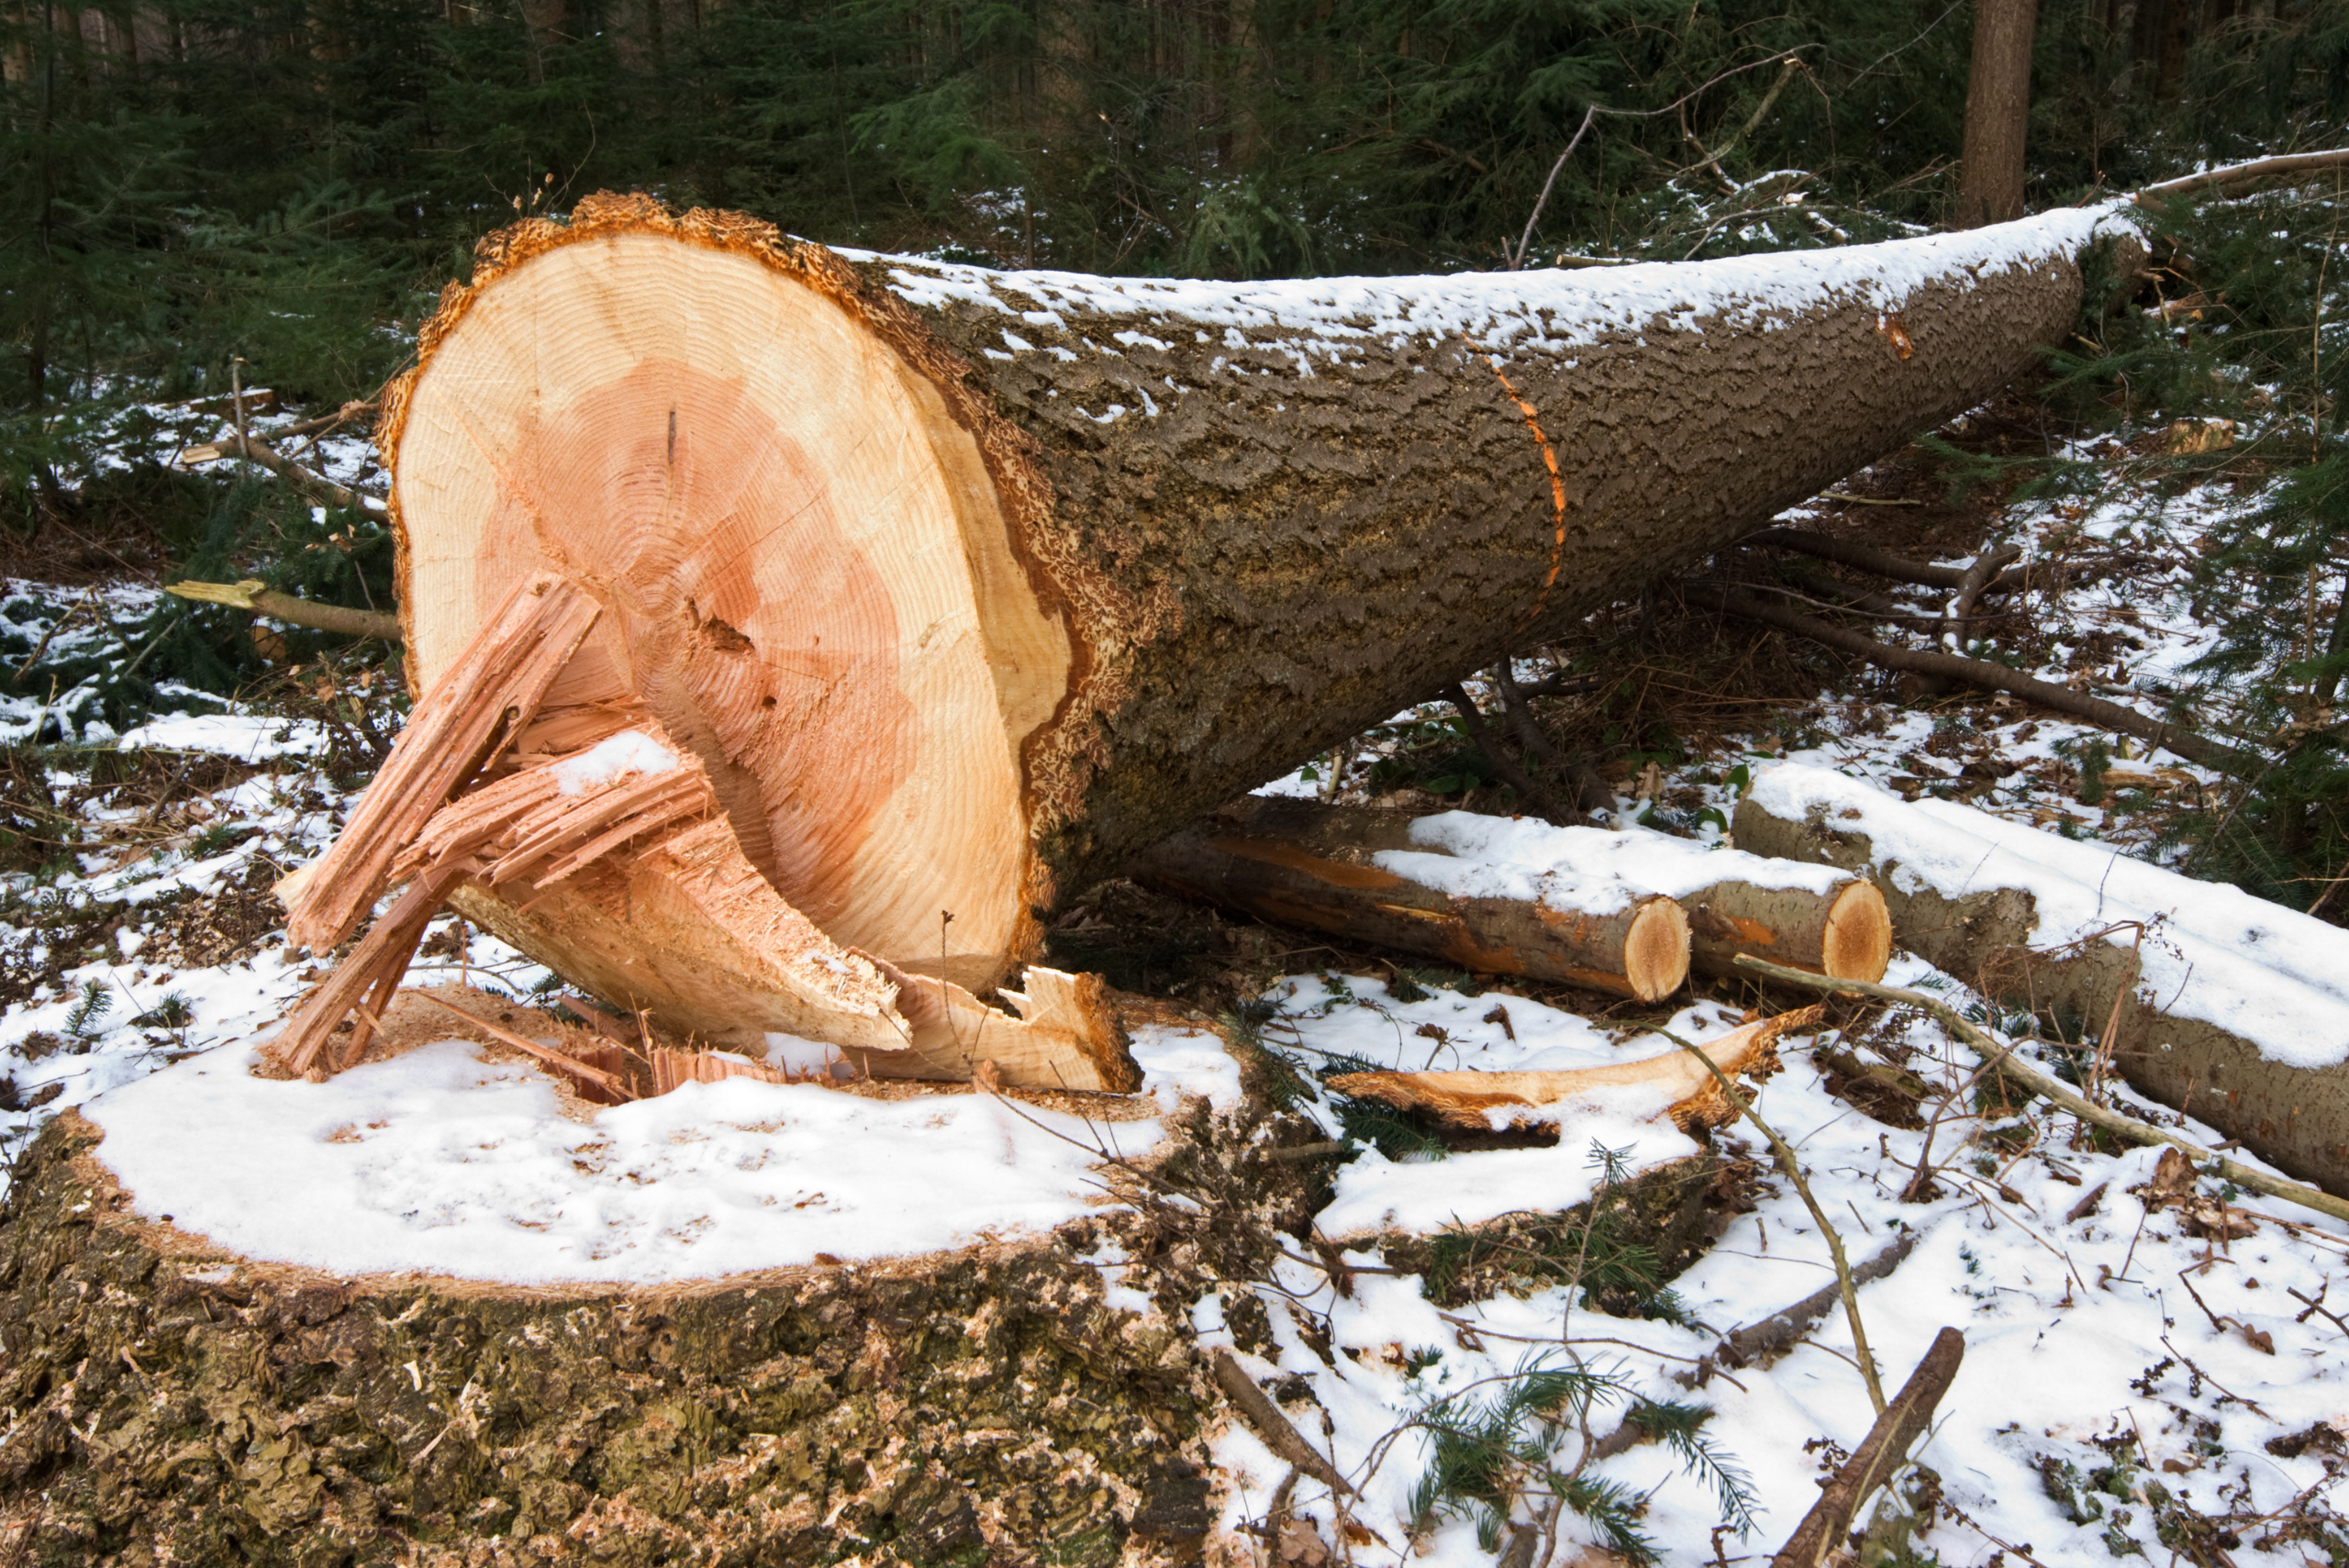
After limbing, cut the trunk into manageable sections, a process called bucking. Measure and cut the trunk to the desired lengths, depending on how you plan to use the wood. Stack the cut sections neatly, and clear the area of any remaining debris. Proper disposal of the tree and branches will keep your worksite safe and tidy.
Related Articles
- Mastering Tree Cutting: General DIY Guide
- How to Notch A Tree
- How to Build a Treehouse: Step-by-Step Guide
Felling a tree with a chainsaw is a task that demands respect for the power of the equipment and the unpredictability of nature. By following these steps and prioritizing safety, you can confidently and effectively fell a tree, ensuring both your safety and the successful completion of your project. Remember, practice makes perfect, so take your time, stay safe, and enjoy the satisfaction of a job well done.
Ready to start your next project? Join our DIY community to receive tool tips, how-to guides, and exclusive creative insights. Subscribe to the ManMadeDIY newsletter now! Click here to unlock a world of hands-on inspiration.

![How To Clean Patio Pavers [Without a Pressure Washer!]](https://www.manmadediy.com/wp-content/uploads/sites/52/2024/06/broom-15377-238x170.png)
