How to Locate and Repair A Roof Leak
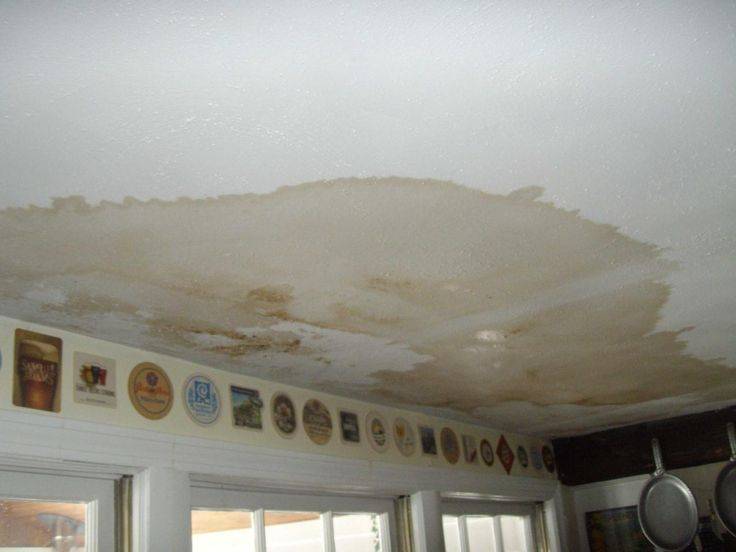
Tracking down and repair roof leaks is one of the easiest jobs to do, but a process that can be as frustrating as any you’ll ever take as a do-it-yourself home repair person. In fact, it’s probably easier than actually replacing water damaged ceiling. The brownish, orange stains on your ceiling and walls are (unfortunately) a good indicator that you have a leaking roof.
Rule Out The Obvious
If you’ve ruled out water pipes as a source of the problem first, it’s time to climb up into the attic and eventually outside on the roof.
Obvious leaks are easy to spot. Perhaps a bit of flashing has come loose after a strong wind, or maybe the sun has finally used its ultraviolet power to crumble a once viable rubber roof jack into submission.
If these are the source of the leak, your job will be a quick one. Just remove and replace. In the world of leaking roofs, there are not the typical culprits. They only occur in a small fraction of leaking roofs.
Locate The Original Source
The first step is to climb on the roof and look for obvious problems. If they are present, mitigate the situation and you’ll most like done with the repair.
The problem with leaks is that those stains below on your ceiling and walls don’t give you any substantial indicator of where the water is originating.
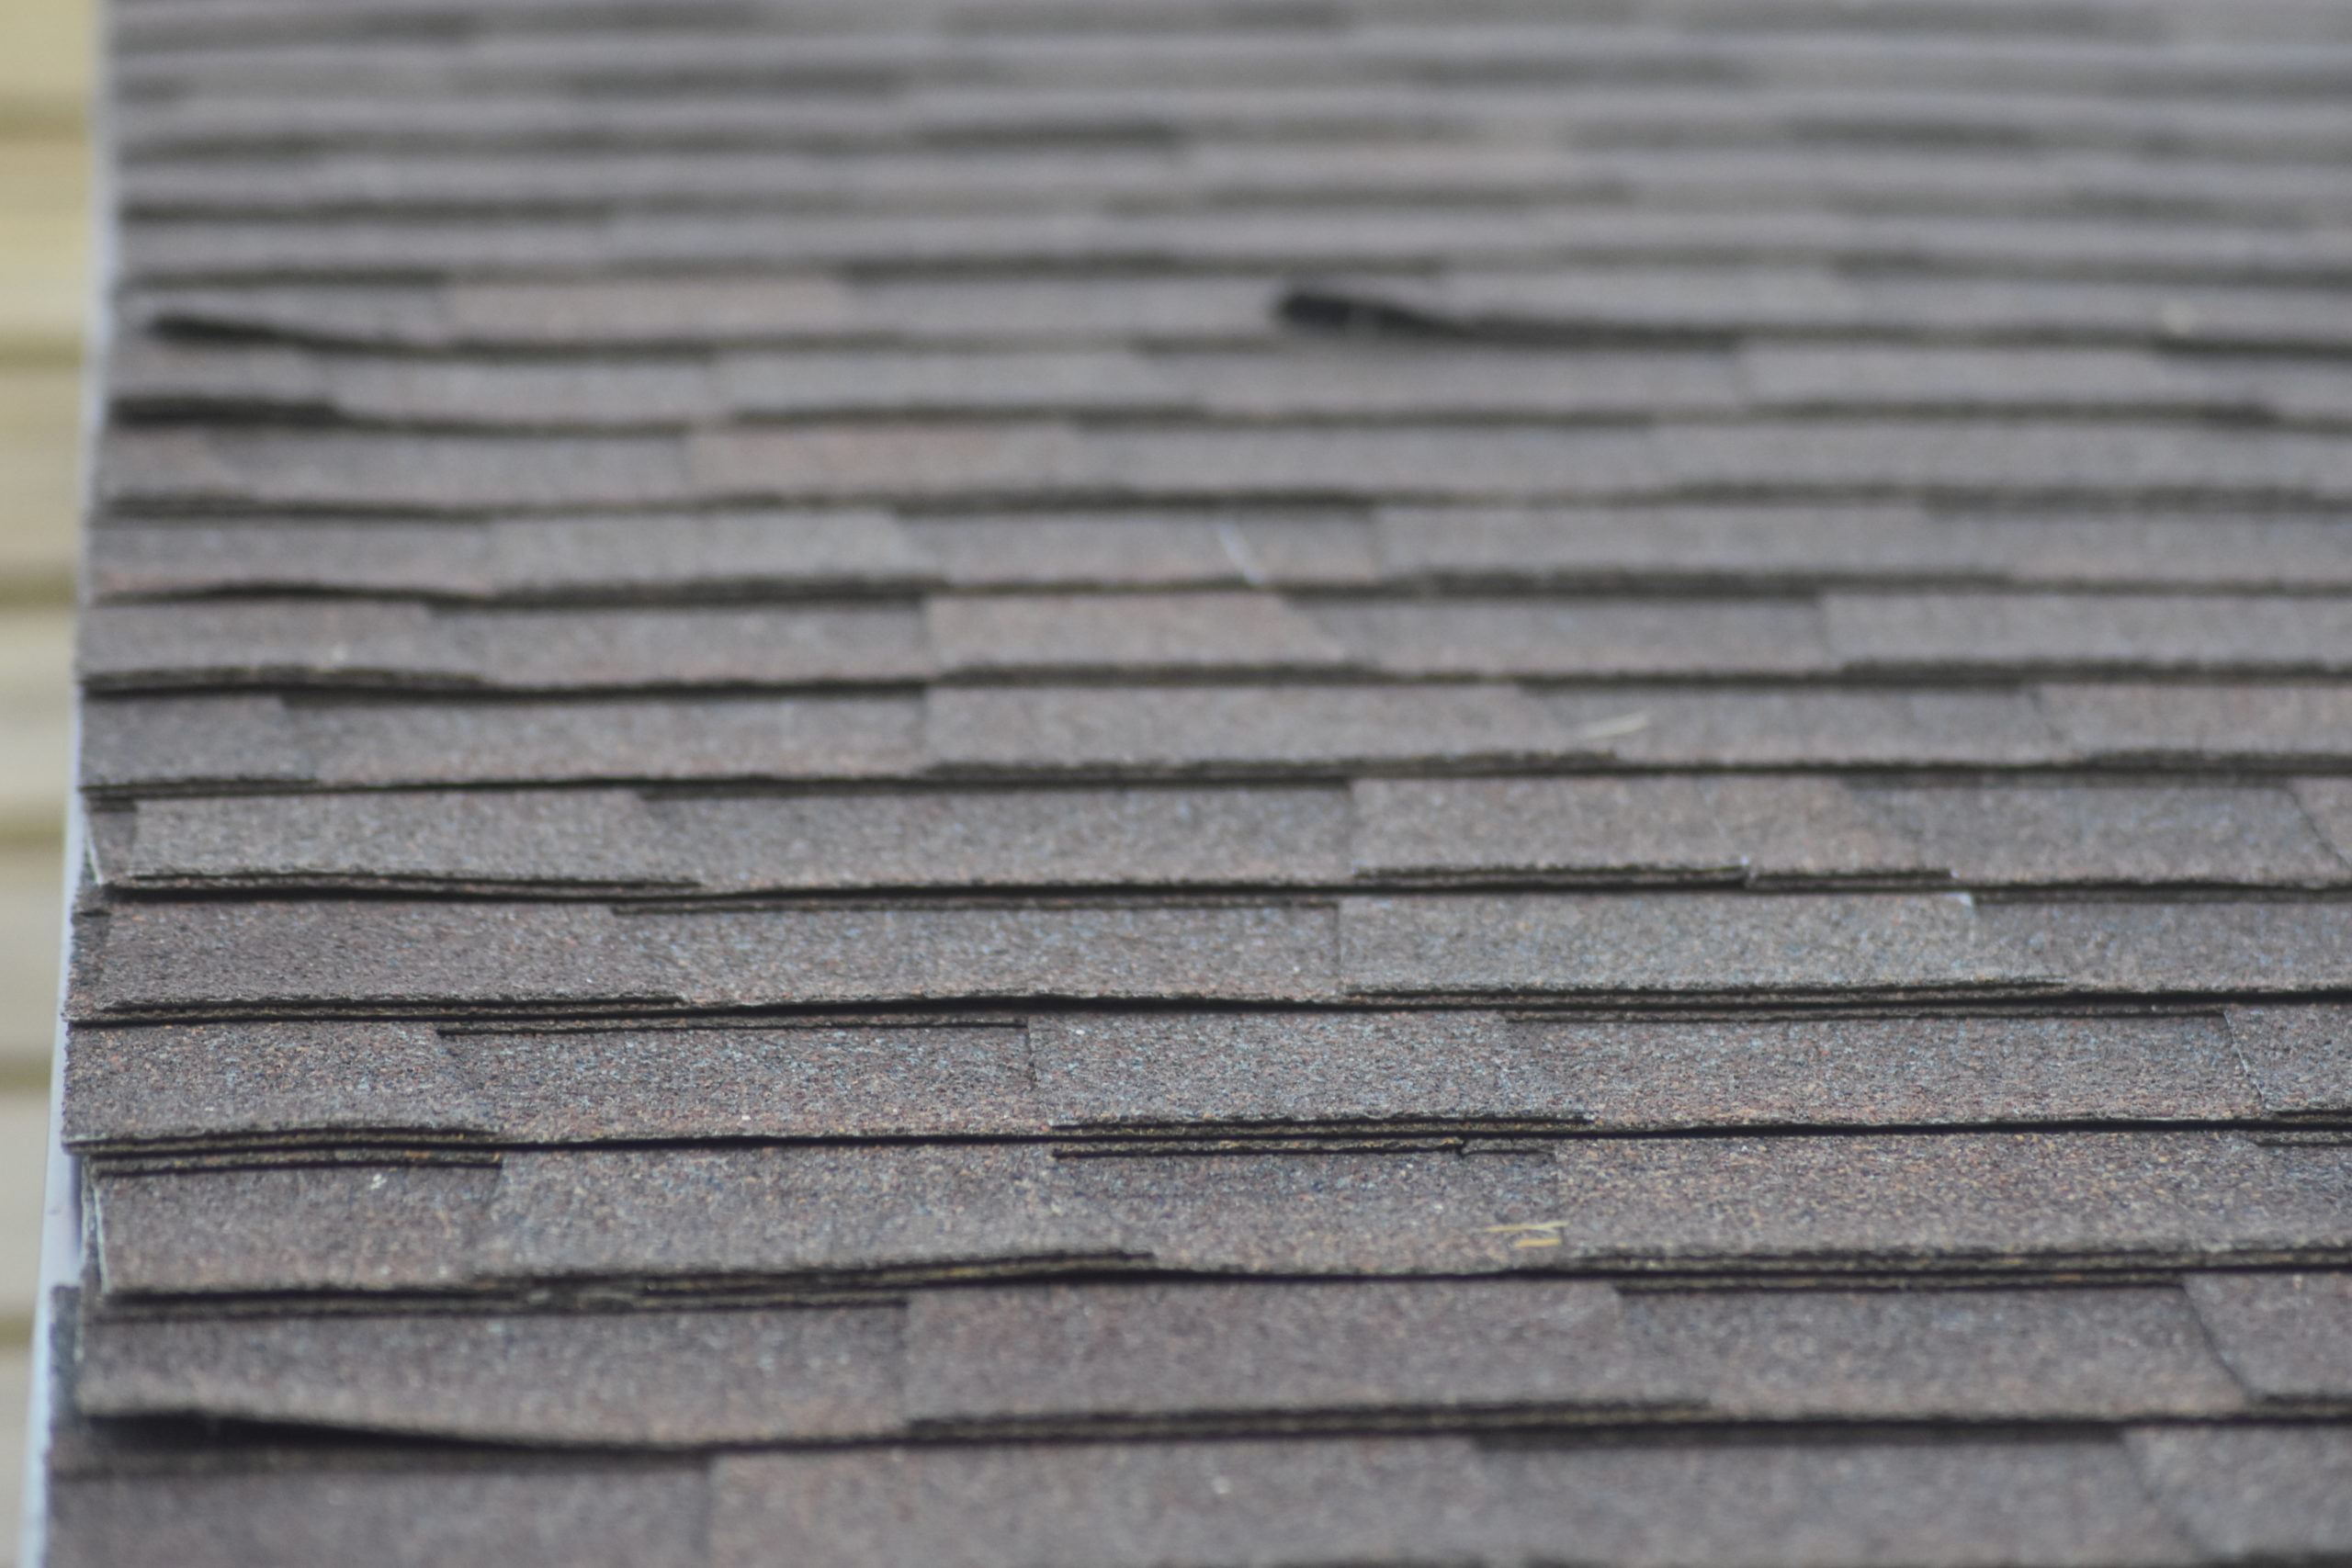
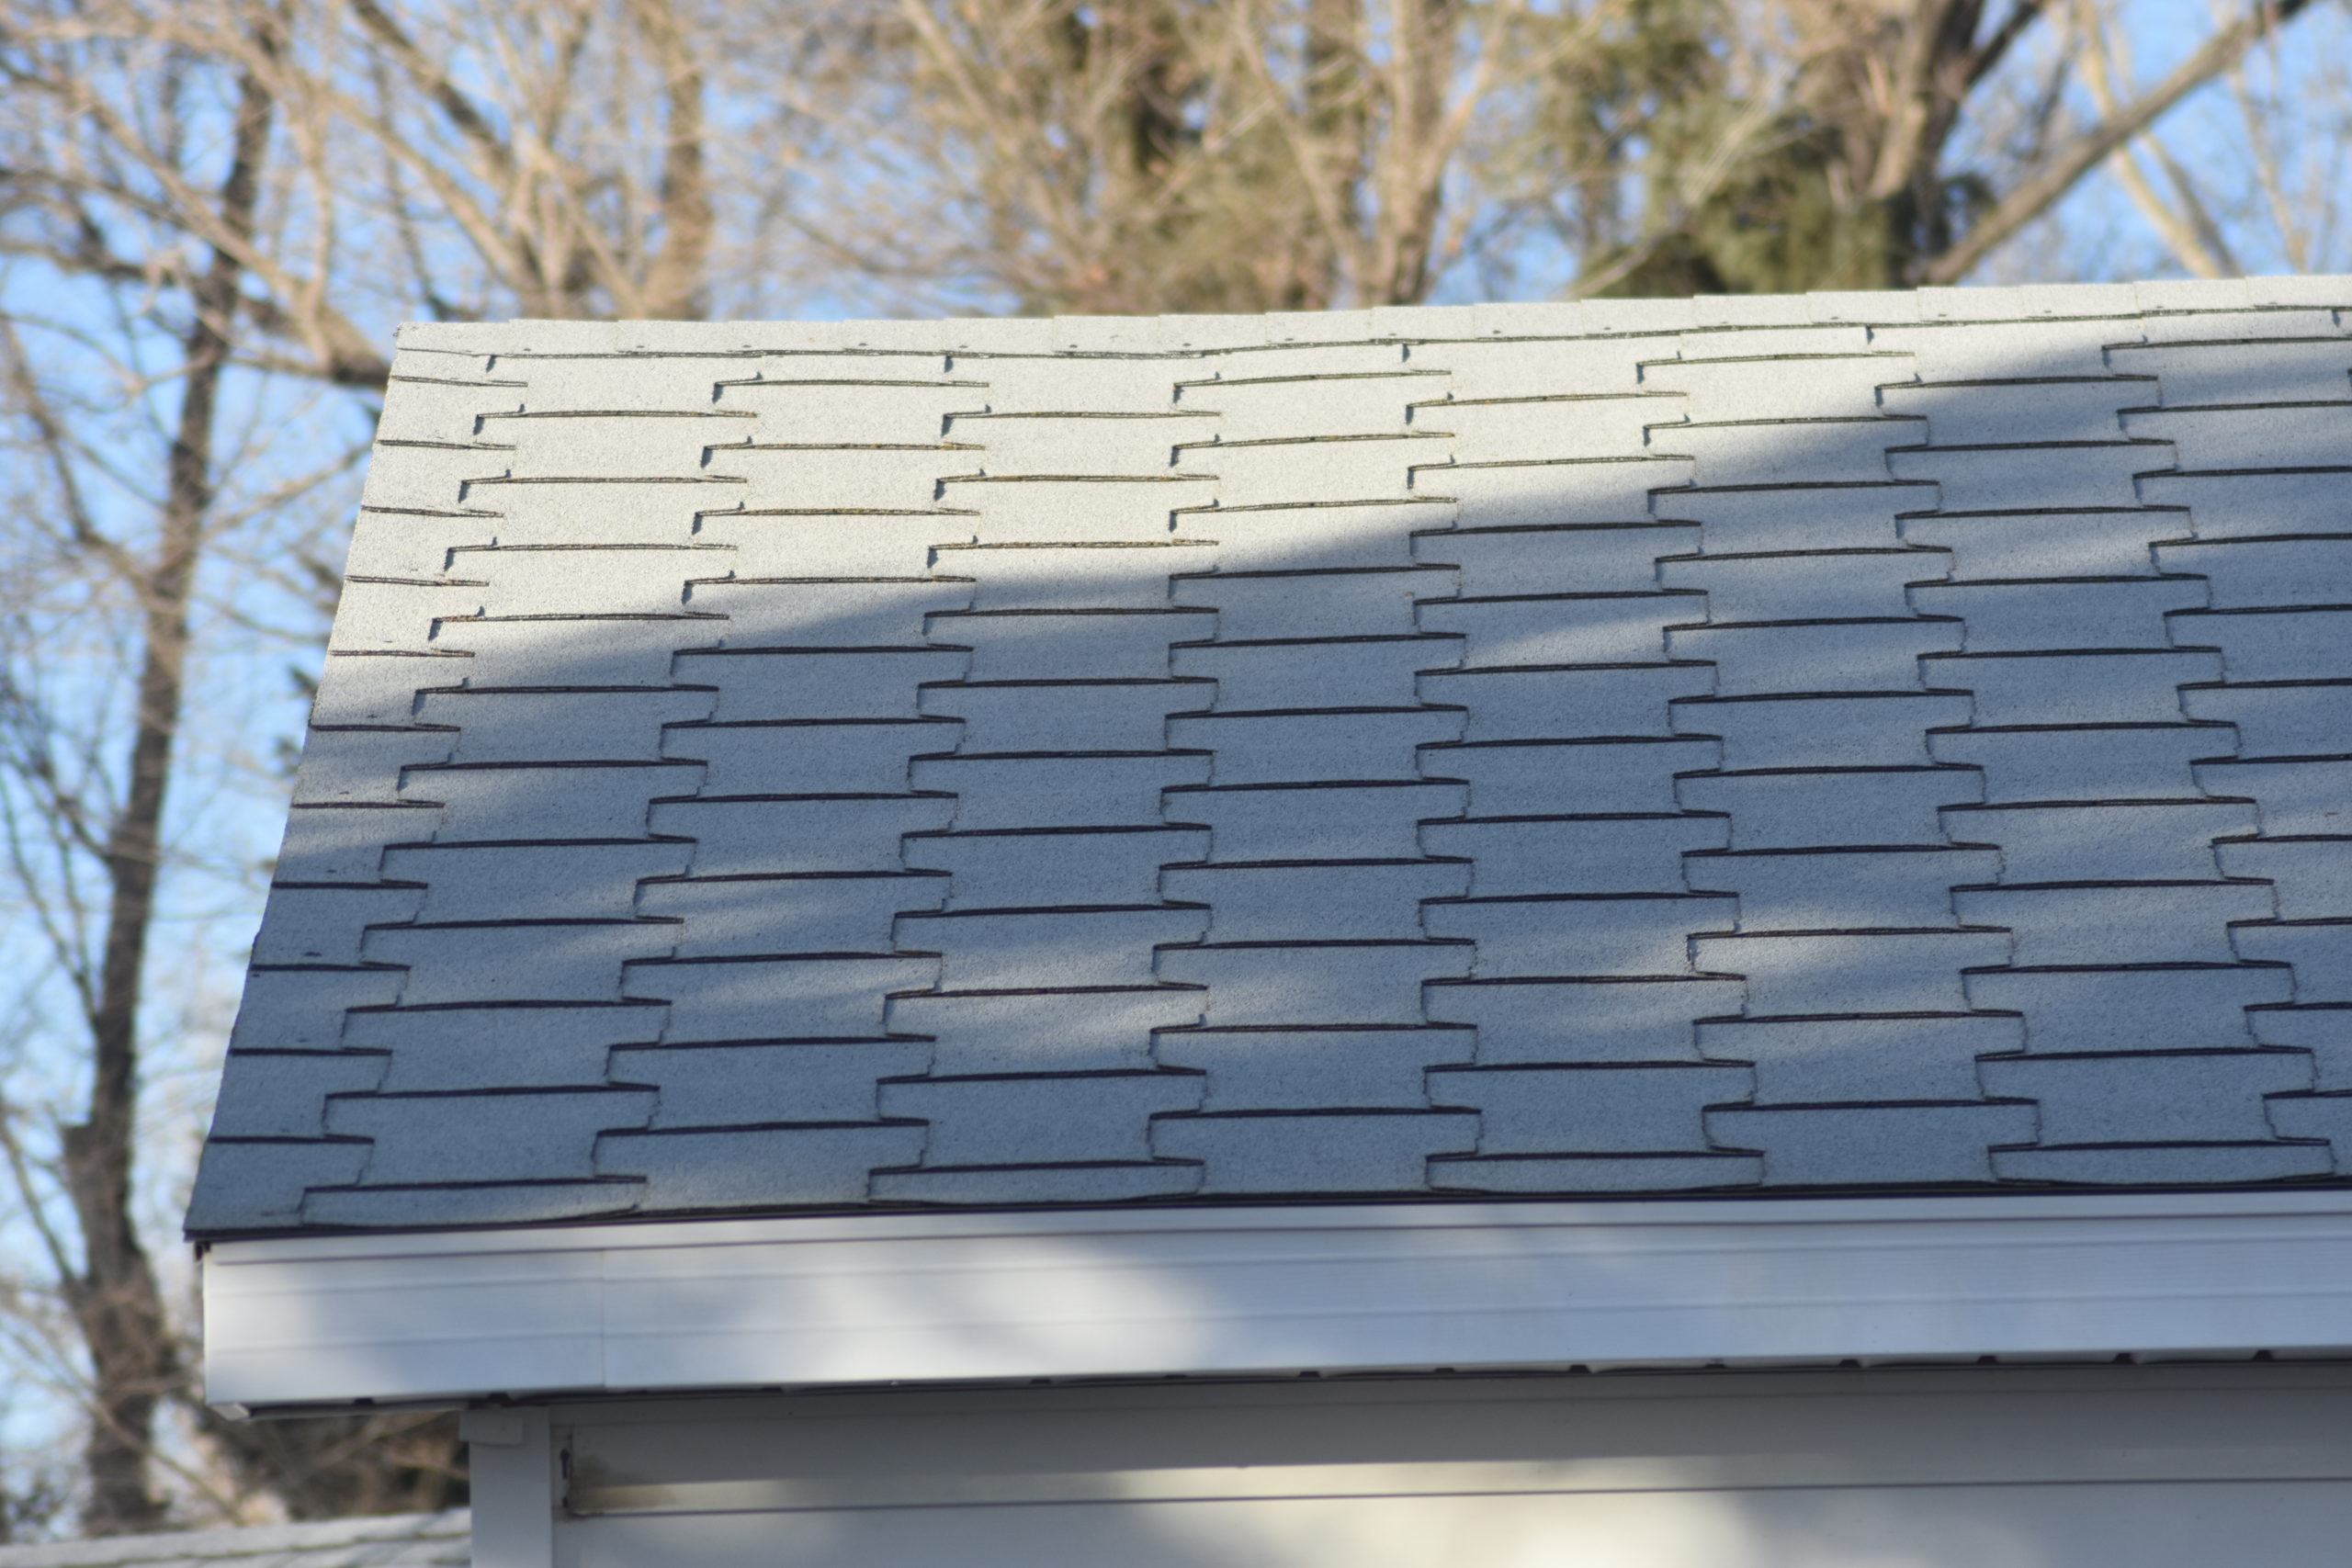
Water can flow into a home, follow a roof truss a few feet, then take another turn, flowing on an insulted electric wire or other structure, and then drop onto the sheetrock below before completing the process with a stained wall or ceiling. What’s more likely is a pinhole or very small tear in shingles where water can seek the path of least resistance. Finding these tiny tears in asphalt shingles brings out the best Sherlock Holmes in any homeowner.
Go Up Into the Attic
If nothing is evident on a visual survey of the shingles or metal roofing, it is time to go inside the attic and begin sleuthing. Once in the attic take a powerful flashlight and begin searching the roof above for wet spots or water damage.
The wet spots you find may or may not be directly below the breach in your shingles or metal. The odds are that they are not.
Once you find a wet spot, begin tracing it back to an area above the spot. Water flows downhill as we all know, so that wet spot had to form either near the location of the damaged structure below or above the wet spot itself.
Use visual landmarks once you’ve found the suspected leak. A vent pipe, roof vent, or a change in the angle of the roof structure along a hip or valley allows you to mentally mark the suspected location in reference to these points before you go back on the roof.
Work Backwards
Once you’re back on the roof. Traceback your steps using the references you set inside the attic. As you close in on the suspected location begin trying to move shingles and pull on any exposed nails in an asphalt roof.
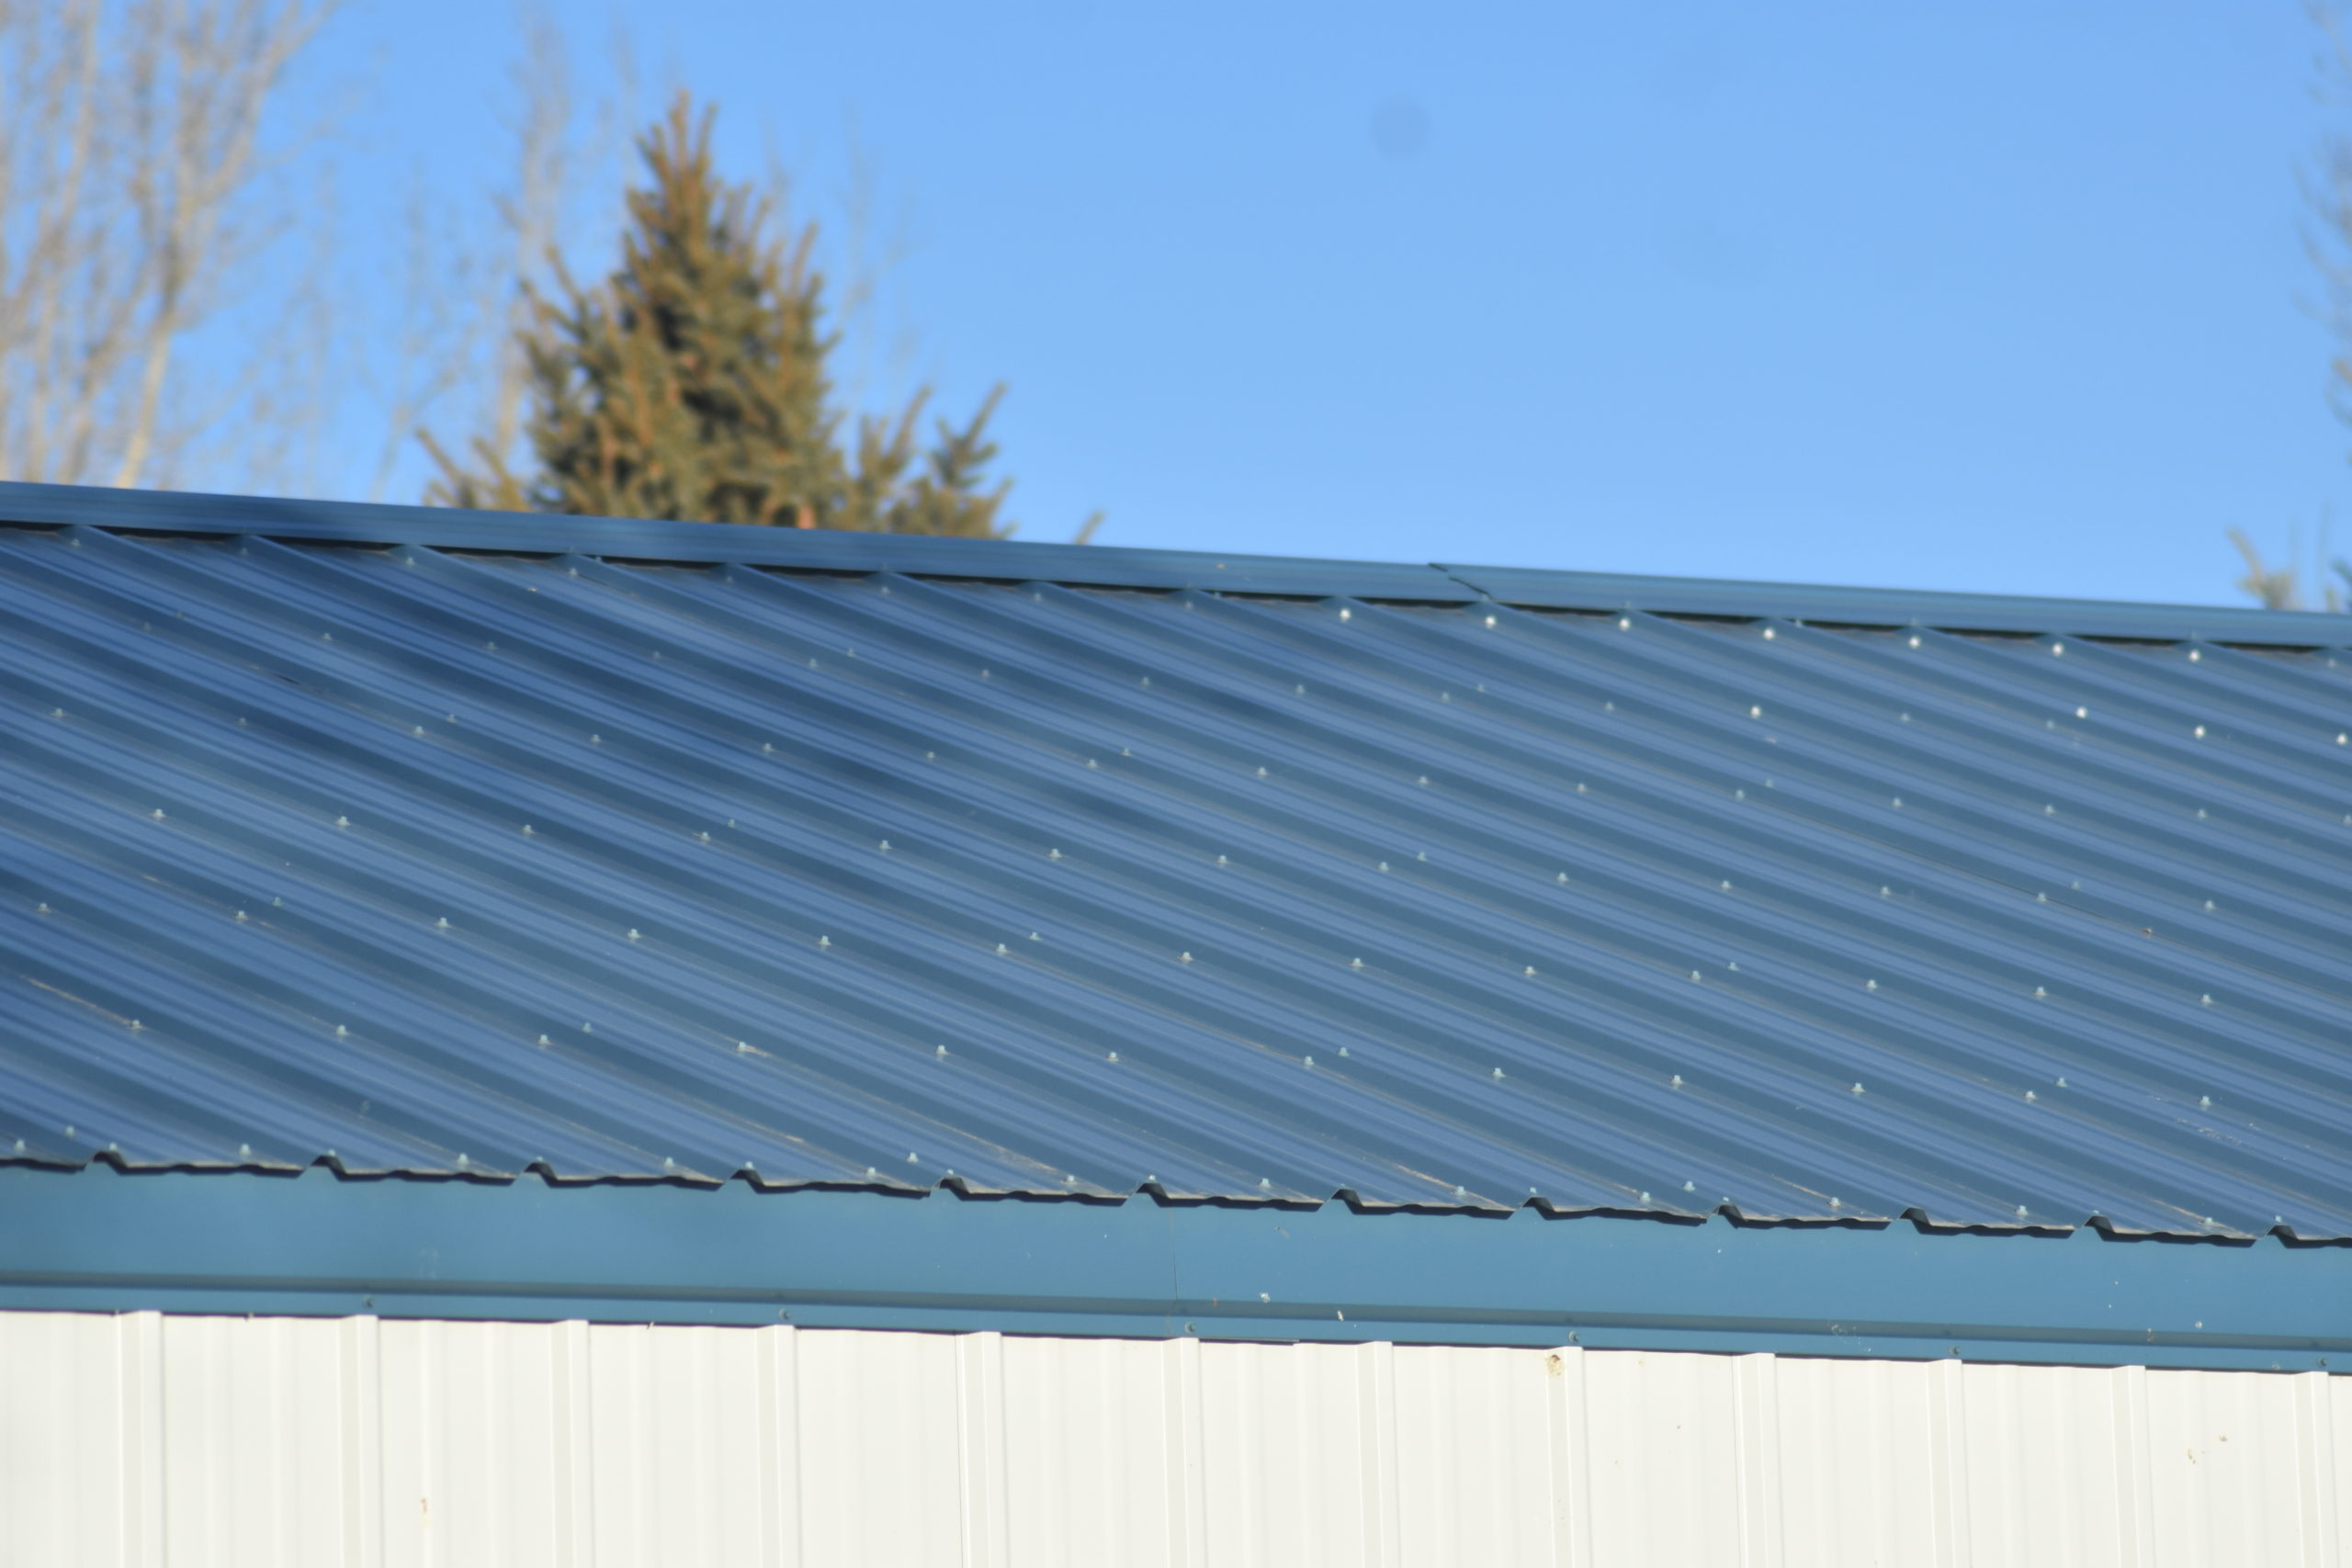
If the roof is metal, pull on the joints between the metal sheets to ensure they’re tight. Twist the self-taping sheet metal screws with your fingers. If they’re loose enough to move by hand, you’ve most likely found the problem.
Blackjack adhesive in a caulking gun solves a lot of roofing problems. If you think the problem is a loose shingle or a compromised nail. Fill the area with a few shots of Blackjack, then press the shingle back down. It works best in direct sunlight on warm days.
If you have a metal roof with loose screws, tighten them back up with either a handheld nut driver or a cordless drill.
A shot of clear sun-resistant acrylic caulk on the suspect area won’t hurt, and ensures a little more protection if you’ve found the leak.

That’s about it. You’ll either have to wait for the next rain to test your solution, or you can get a garden hose and spray down the suspect area.
Don’t be daunted if the leak is still there. Even seasoned roofing professionals have problems locating many leaky spots on a roof. Just repeat the procedure until you’ve solved the problem.


![How To Clean Patio Pavers [Without a Pressure Washer!]](https://www.manmadediy.com/wp-content/uploads/sites/52/2024/06/broom-15377-238x170.png)
