How to Fix A Broken Sprinkler Head
Every fall you blow out the sprinkler system after the last watering cycle. Everything worked perfectly in September. In May, when you turn the system back on you discover many things have gone wrong over the intervening months.
Call it gremlins if you wish, but in-ground sprinkler system repairs are the herald of approaching summer. They don’t have to be difficult, don’t require a professional lawn service, and most important of all, they don’t cost a lot of money to get back into operation. All you need is a little knowledge and guidance on how to fix a sprinkler head that’s broken.
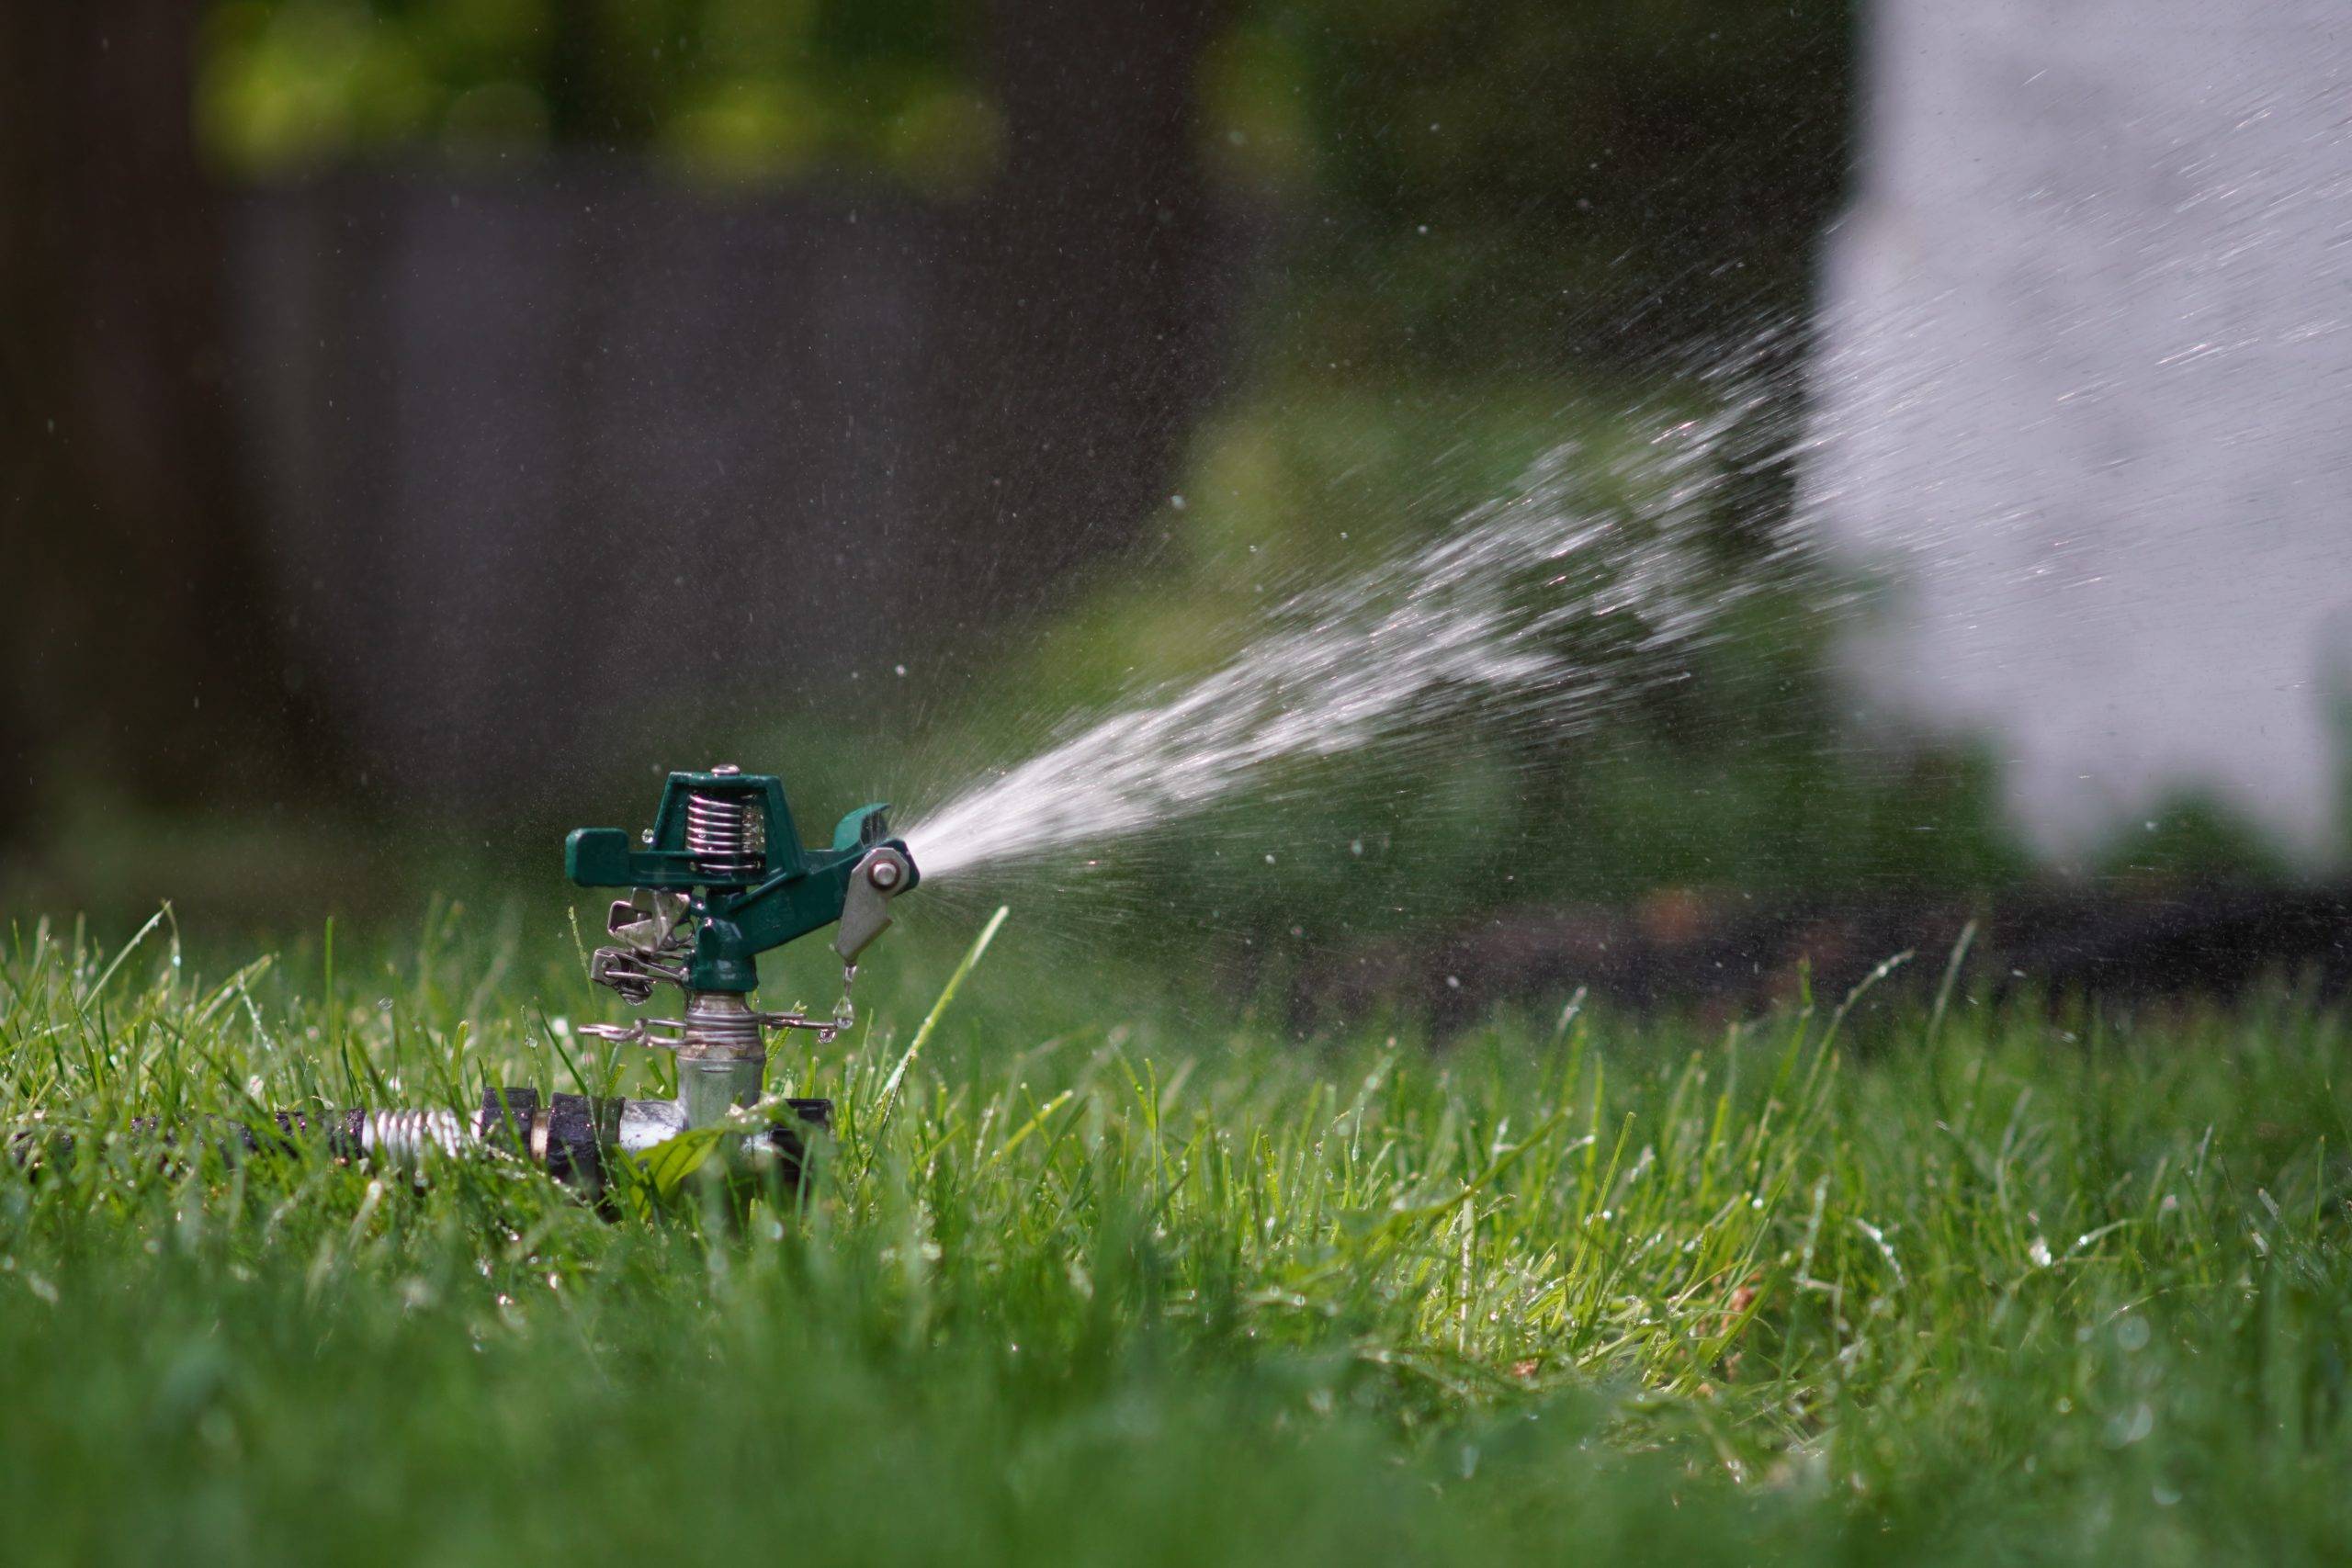
Frozen ground heaves as it thaws and freezes with the seasons. After a few years, that expansion and compression can wear away the connections on every underground sprinkler. While they’re easy to repair, sometimes the hardest thing to do is to locate the broken valve, popup, or connecting pipe.
Spotting a Leak in the Sprinkler System
The first sign of sprinkler issues is a lack of water pressure on the heads in your yard. If they don’t pop up ready to go to work and are instead sluggish and slow to rise, you have a leak in your system.
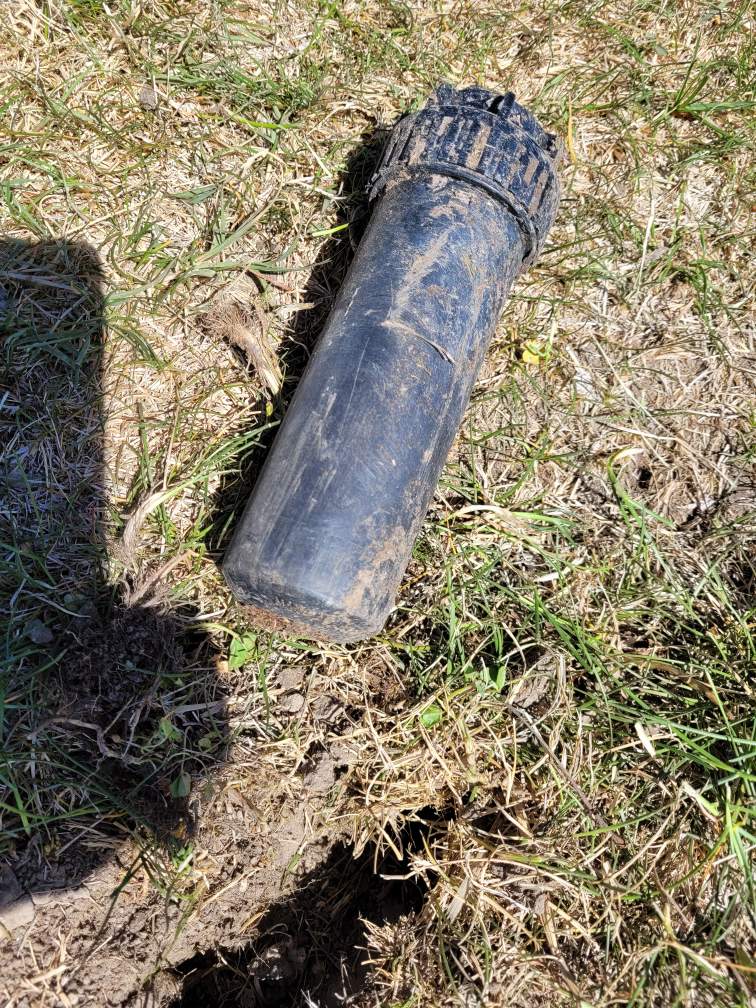
Sprinklers are pressure-based, contained in zones with three to six popups on a single line with everything hooked to a high-pressure water source. If a sprinkler leaks—whether above or below ground—the pressure is reduced on all the other heads in that zone.
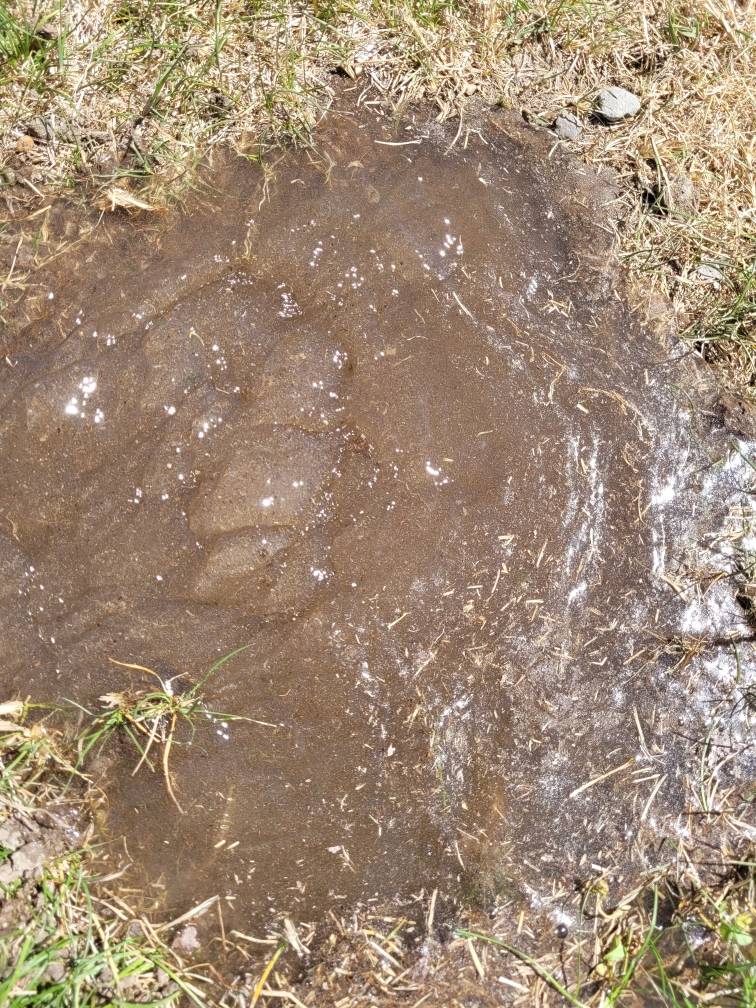
First look at the heads, are they leaking water around the popup? Is there a wet spot in the lawn where there shouldn’t be one? You won’t discover this immediately. You’ll need to let the system run at that zone for 15 minutes at the low-pressure stage. As the system runs, look for pooling water. Those pools are where you’ll find the break.
The best tool for this job is a shovel. Once you discover the source of the leak, you’ll have to dig around the bubbly water to uncover the broken pipe or sprinkler head.
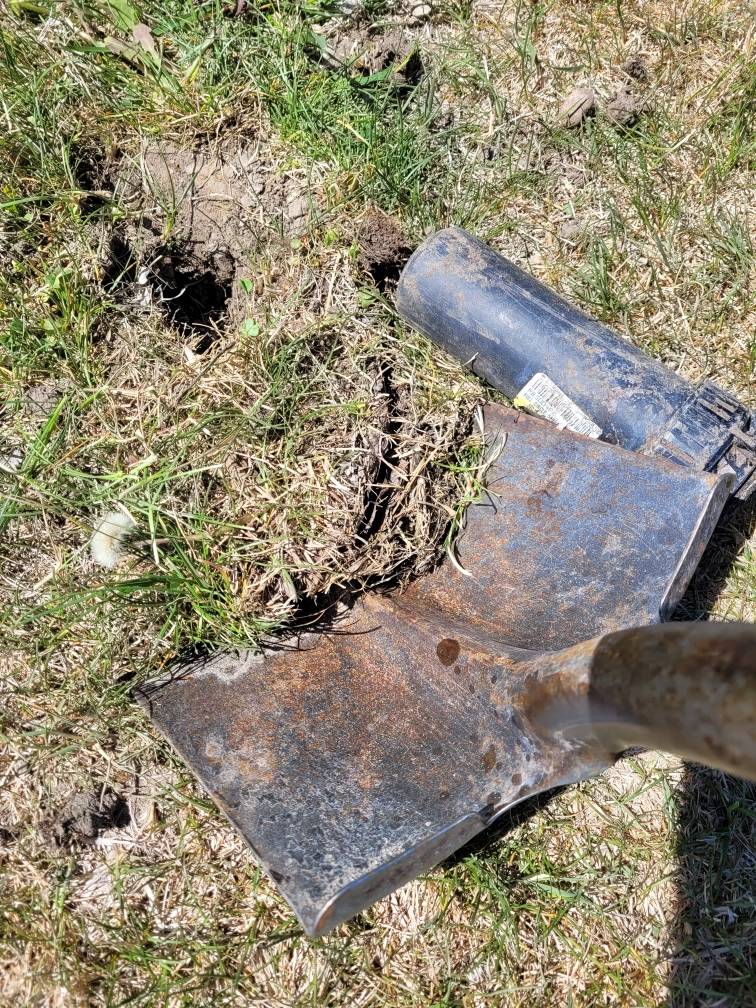
Remove the Leaking Head
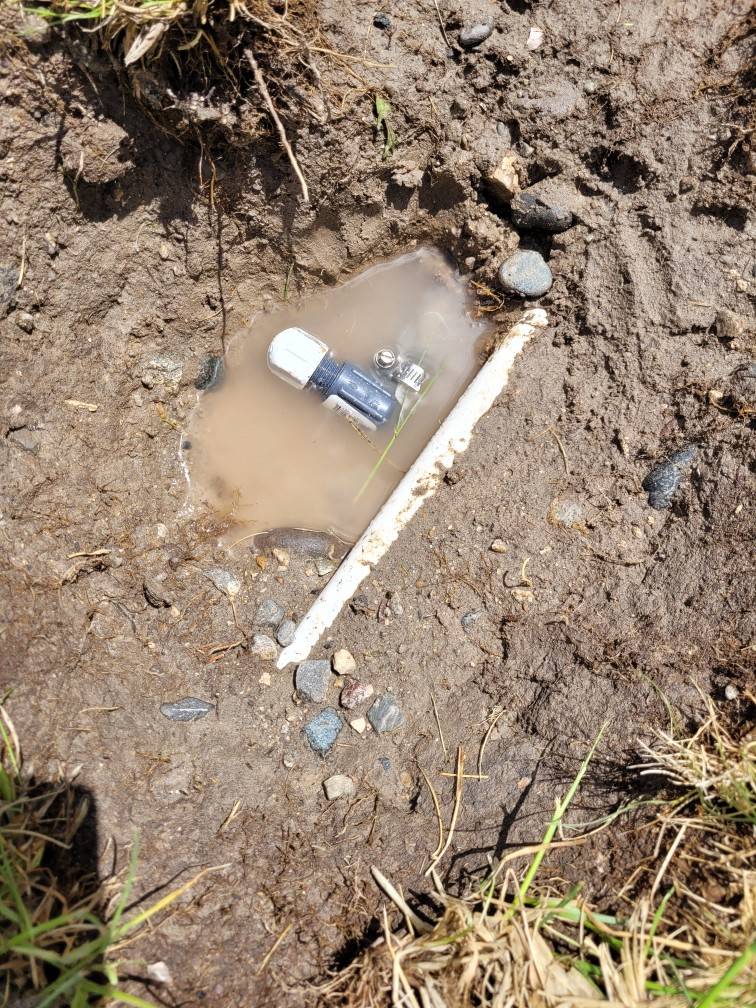
With the source of the leak located, dig around the leak, remove the sprinkler head by unscrewing it then look and feel around under the water to locate a break.
The most common breaks occur during the winter when someone drives over a sprinkler zone. The ground may be frozen, but it has enough give to break a line if a pickup rolls over it.
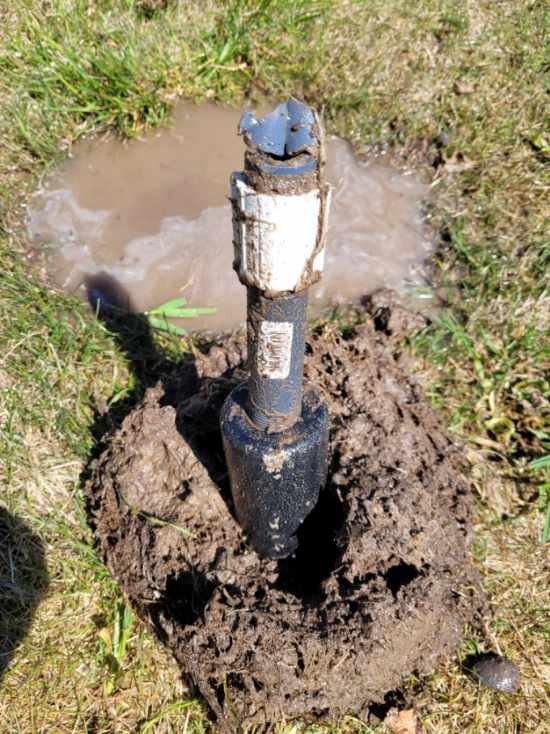
Locating the leak can be difficult with water, mud, and sand swirling around. Let the water run on high, reach around in the hole you’ve dug, and try to feel the source of the water. Once you find the flow, trace it back to the break.
Fixing the Broken Head
Let the water do the work. Running water will clear debris from the break, allowing a tighter fit with the new pipe you’re going to mount. Turn the water off, let it drain from the hole, and locate the underground fitting that needs to be replaced.
You may have to cut the main pipe, patch the hole, then glue in a slip joint to allow the uprights to connect to a sprinkler head. Most of the time, you just have to get another fitting, with good clear threads then screw it back into the mount.
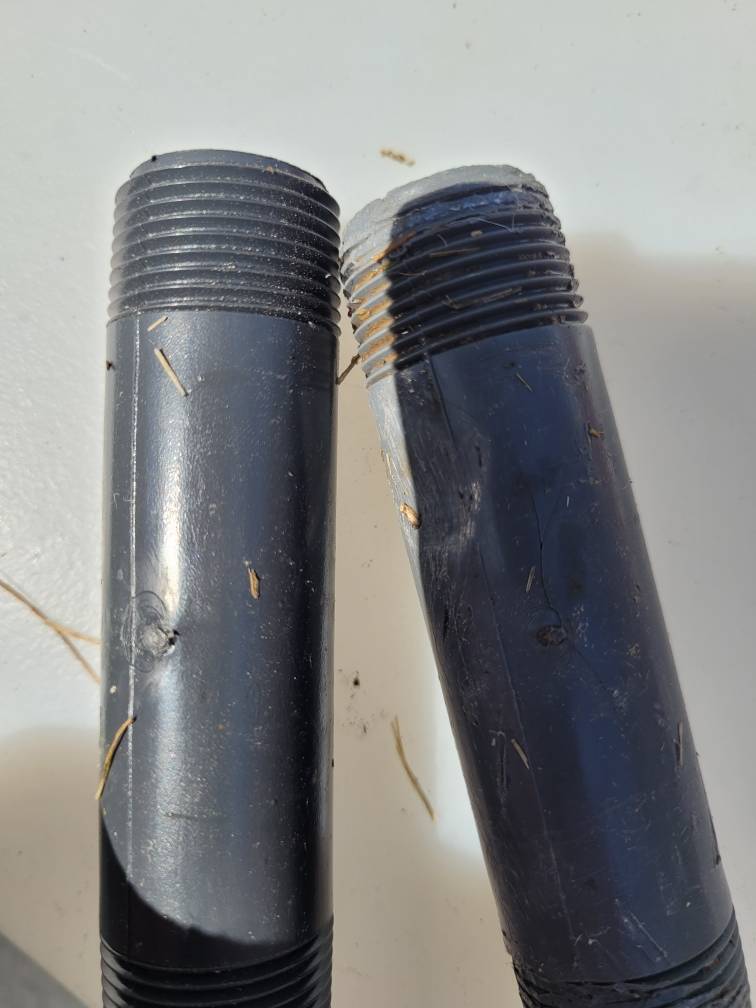
Once everything is tightened, turn on your system again. If you’re lucky it will jump back to life after the initial repair. If the system remains sluggish, you have another leak to locate.
Simply repeat the process of discovery, remove, replace and test, until all sprinkler heads, in all zones are working properly.
All that work, with just a weekly run around the yard with a lawnmower to show for it.


