How to Fix Cracked Grout Without Pulling Tiles
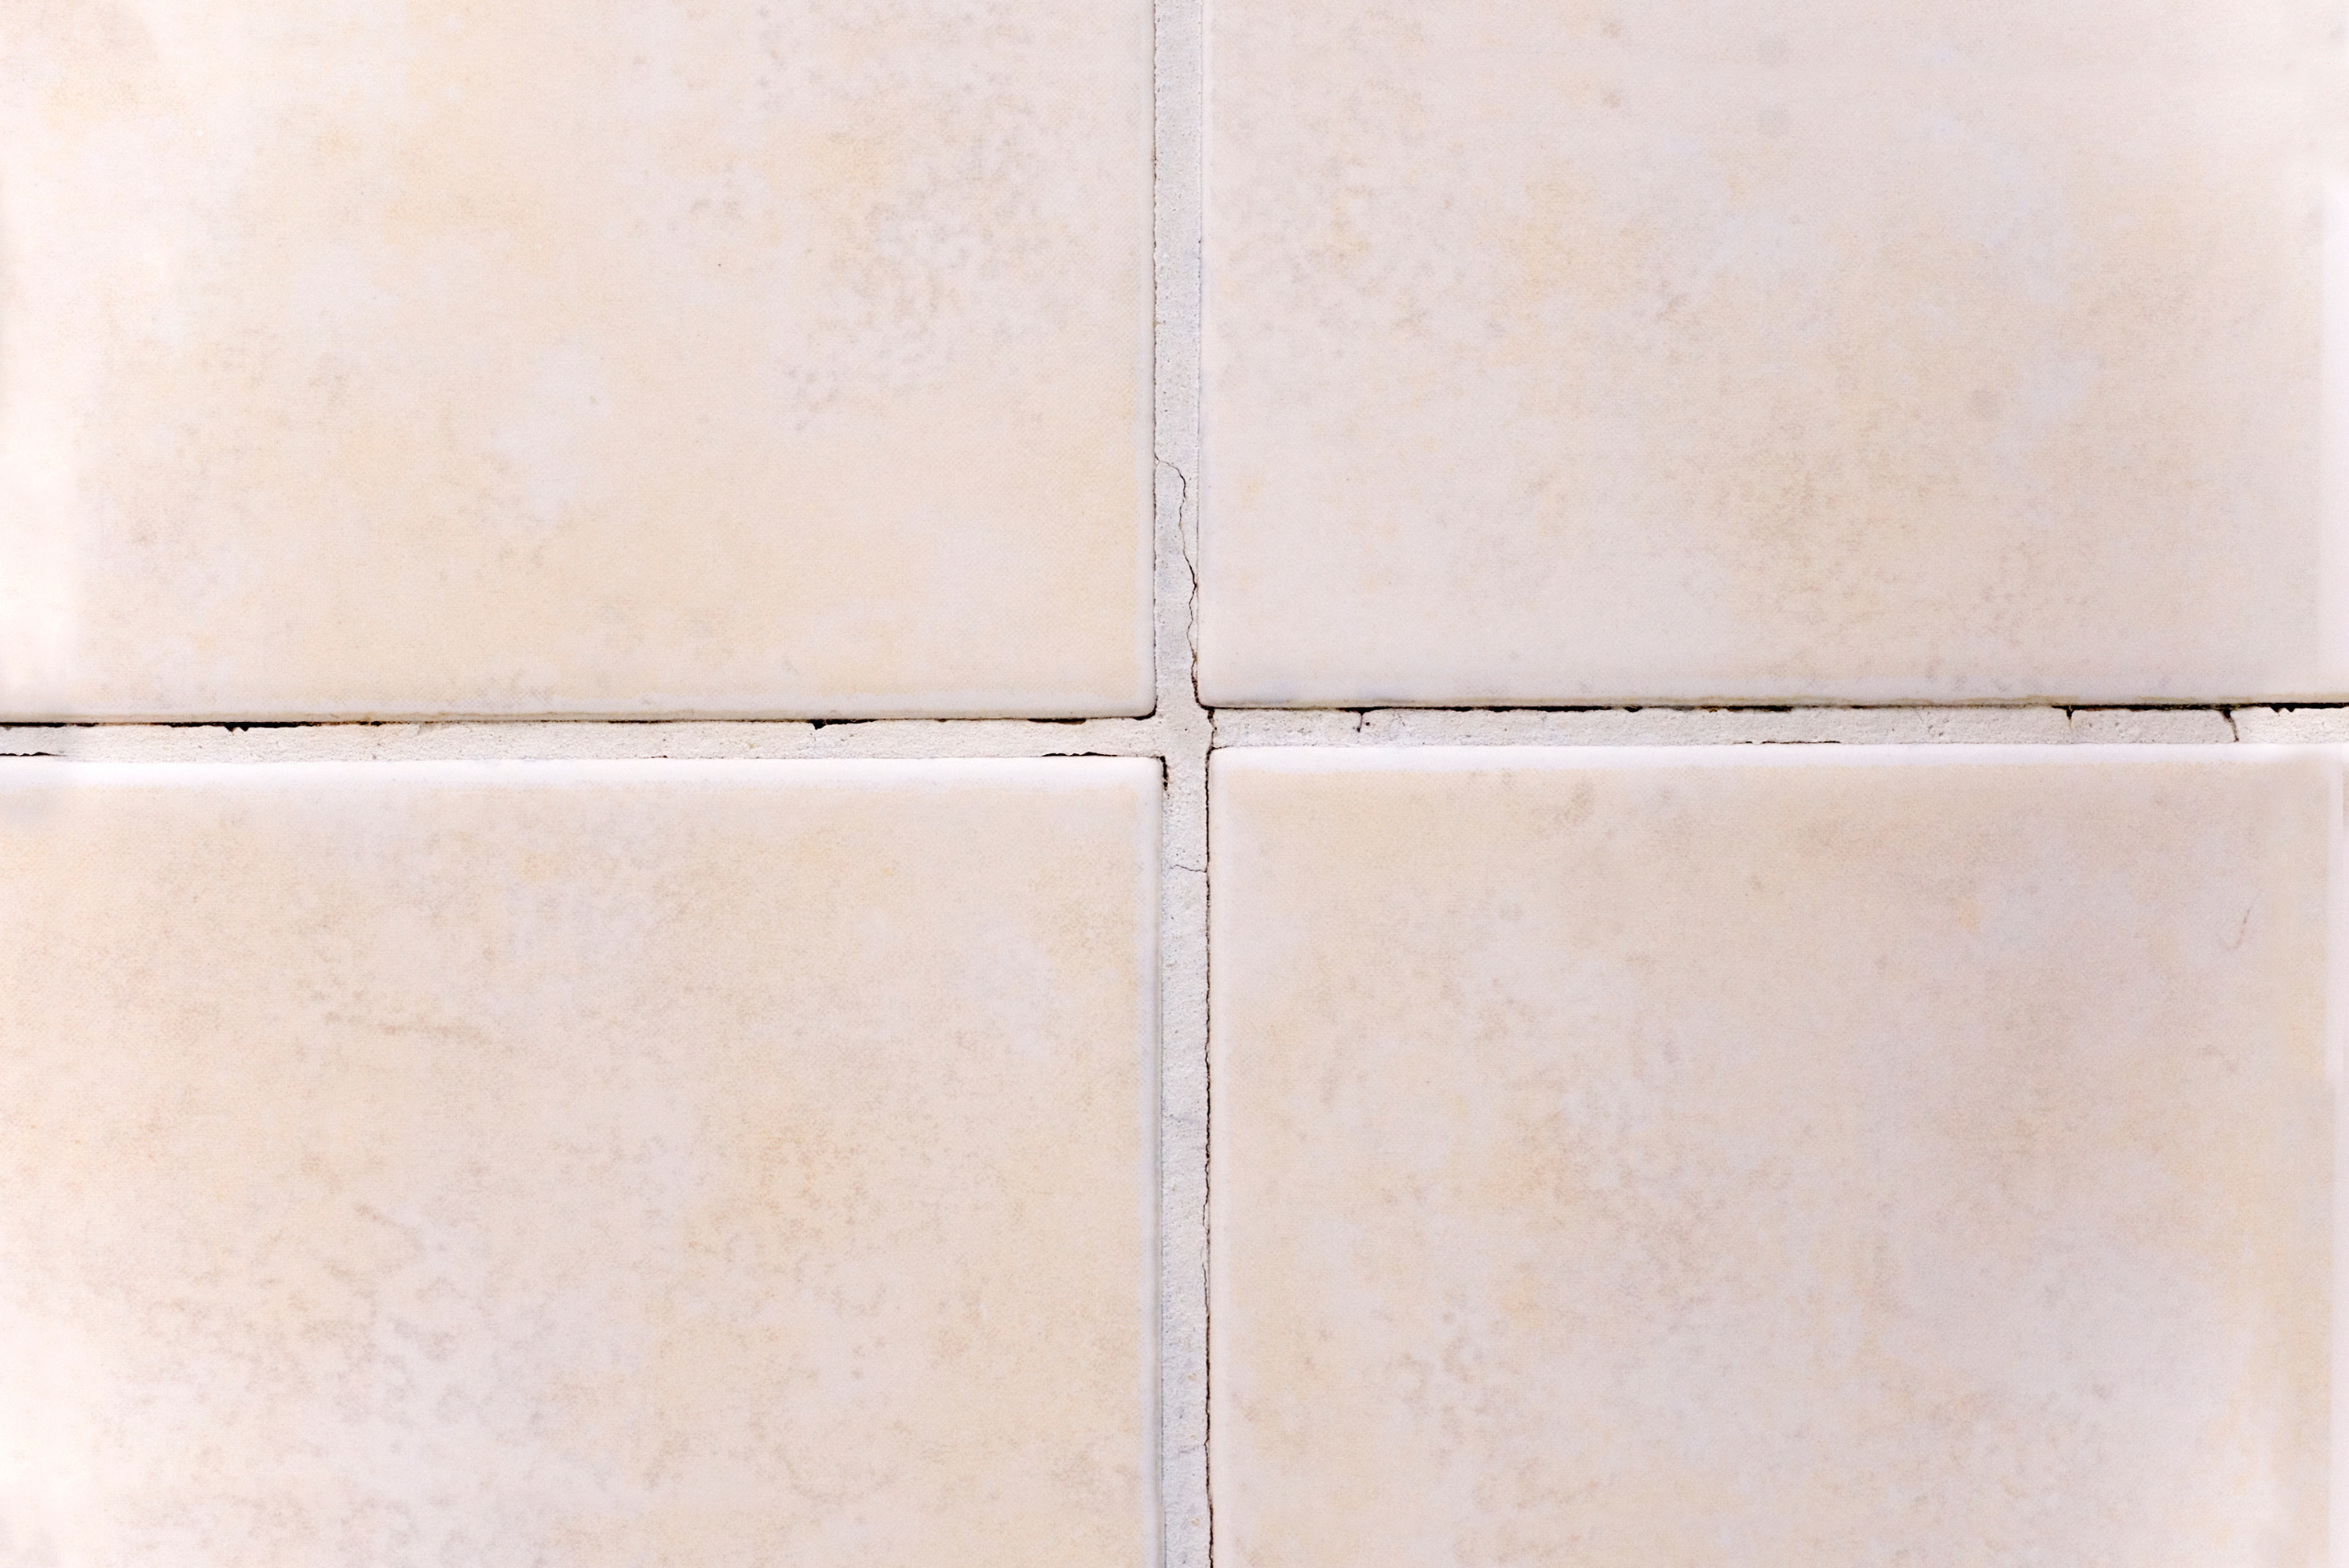
Cracked grout can be an eyesore and lead to more significant issues if not addressed promptly. Whether it’s in your bathroom, kitchen, or any tiled area, fixing cracked grout is an essential task for maintaining both the appearance and functionality of your space. This guide walks you through the steps to repair cracked grout effectively, ensuring a long-lasting and polished result.
Identifying the Cause of Cracked Grout
Before fixing cracked grout, it’s important to understand why it happened. Common causes include excessive movement in the substrate, improper grout application, or using the wrong type of grout for the space.
By identifying the root cause, you can take measures to prevent future cracking. For instance, if the issue is due to movement, consider reinforcing the underlying structure before proceeding with repairs.
Removing the Damaged Grout
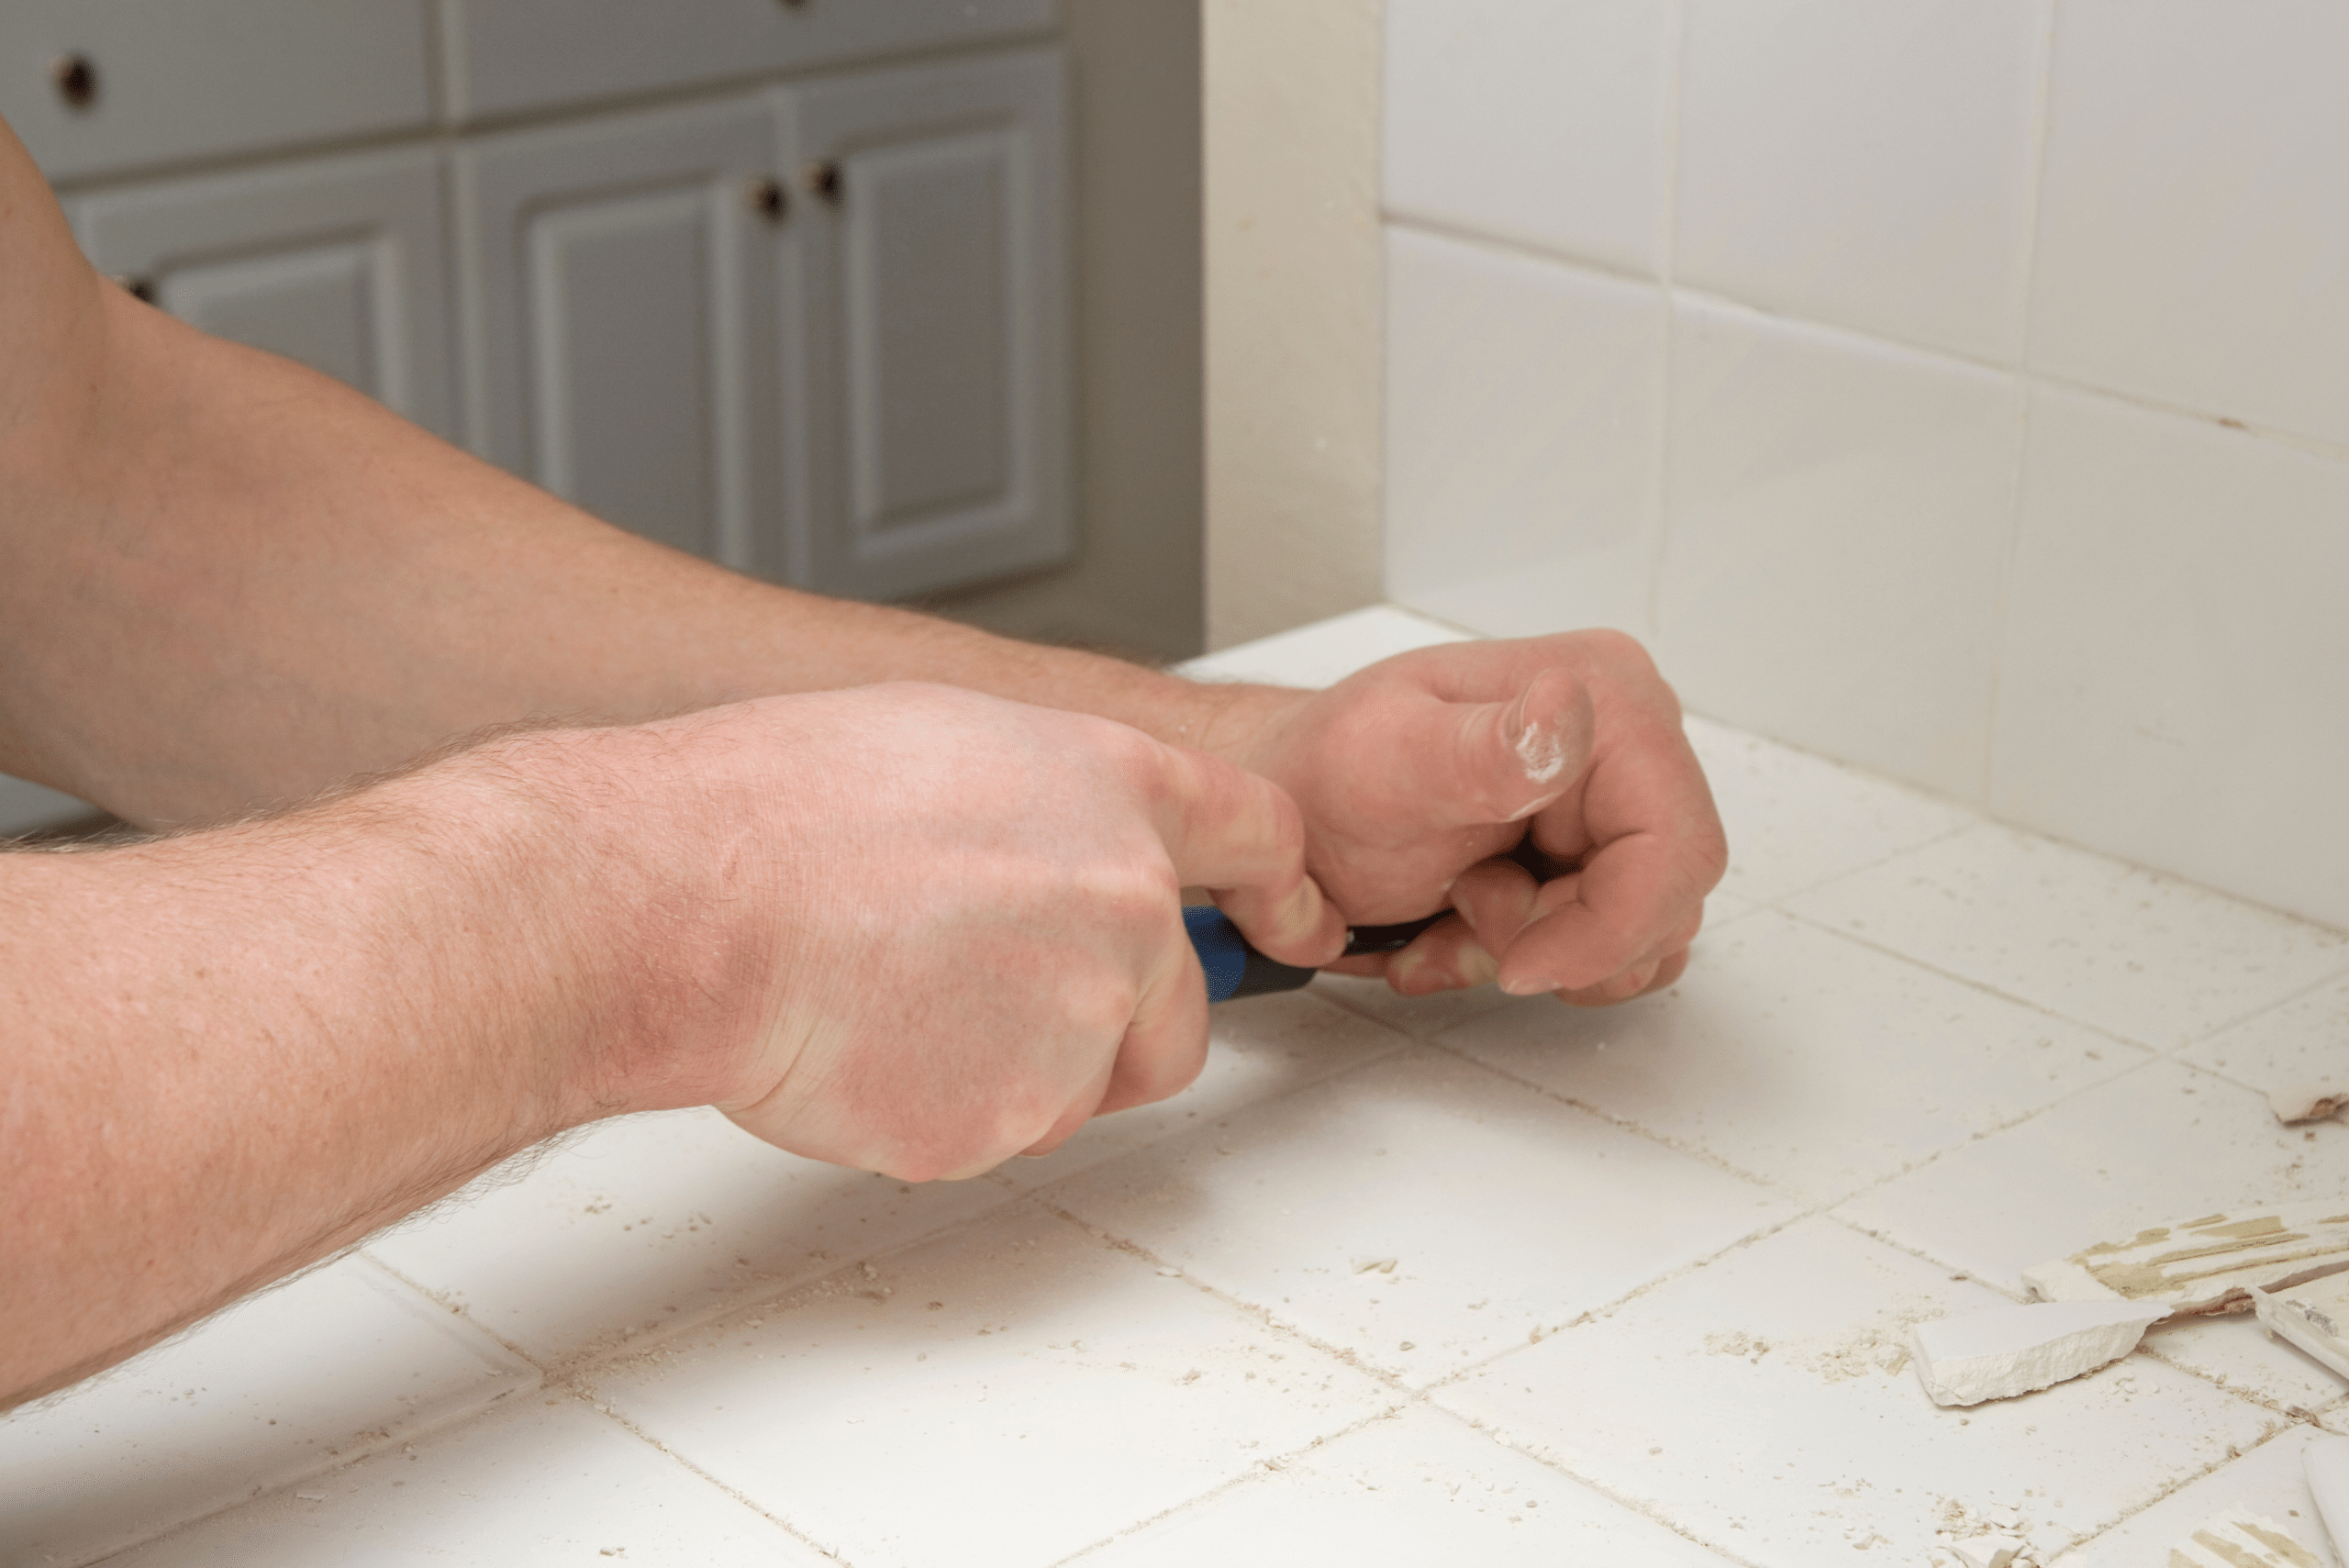
To fix cracked grout, start by removing the damaged sections. Use a grout saw or a rotary tool to carefully scrape away the cracked grout without damaging the surrounding tiles. Work slowly and methodically to ensure precision.
Once the damaged grout is removed, clean the area thoroughly to eliminate dust and debris. A clean surface is essential for the new grout to adhere properly and achieve a smooth finish.
Choosing the Right Grout
Selecting the appropriate grout is critical for a successful repair. There are two main types of grout: sanded and unsanded. Sanded grout is best for wider joints, while unsanded grout works well for narrower ones.
Additionally, consider the environment where the grout will be applied. For areas exposed to moisture, like bathrooms, opt for grout with waterproof properties or add a sealant after application to enhance durability.
Applying the New Grout
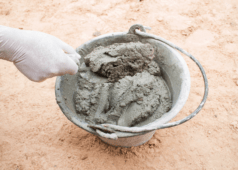
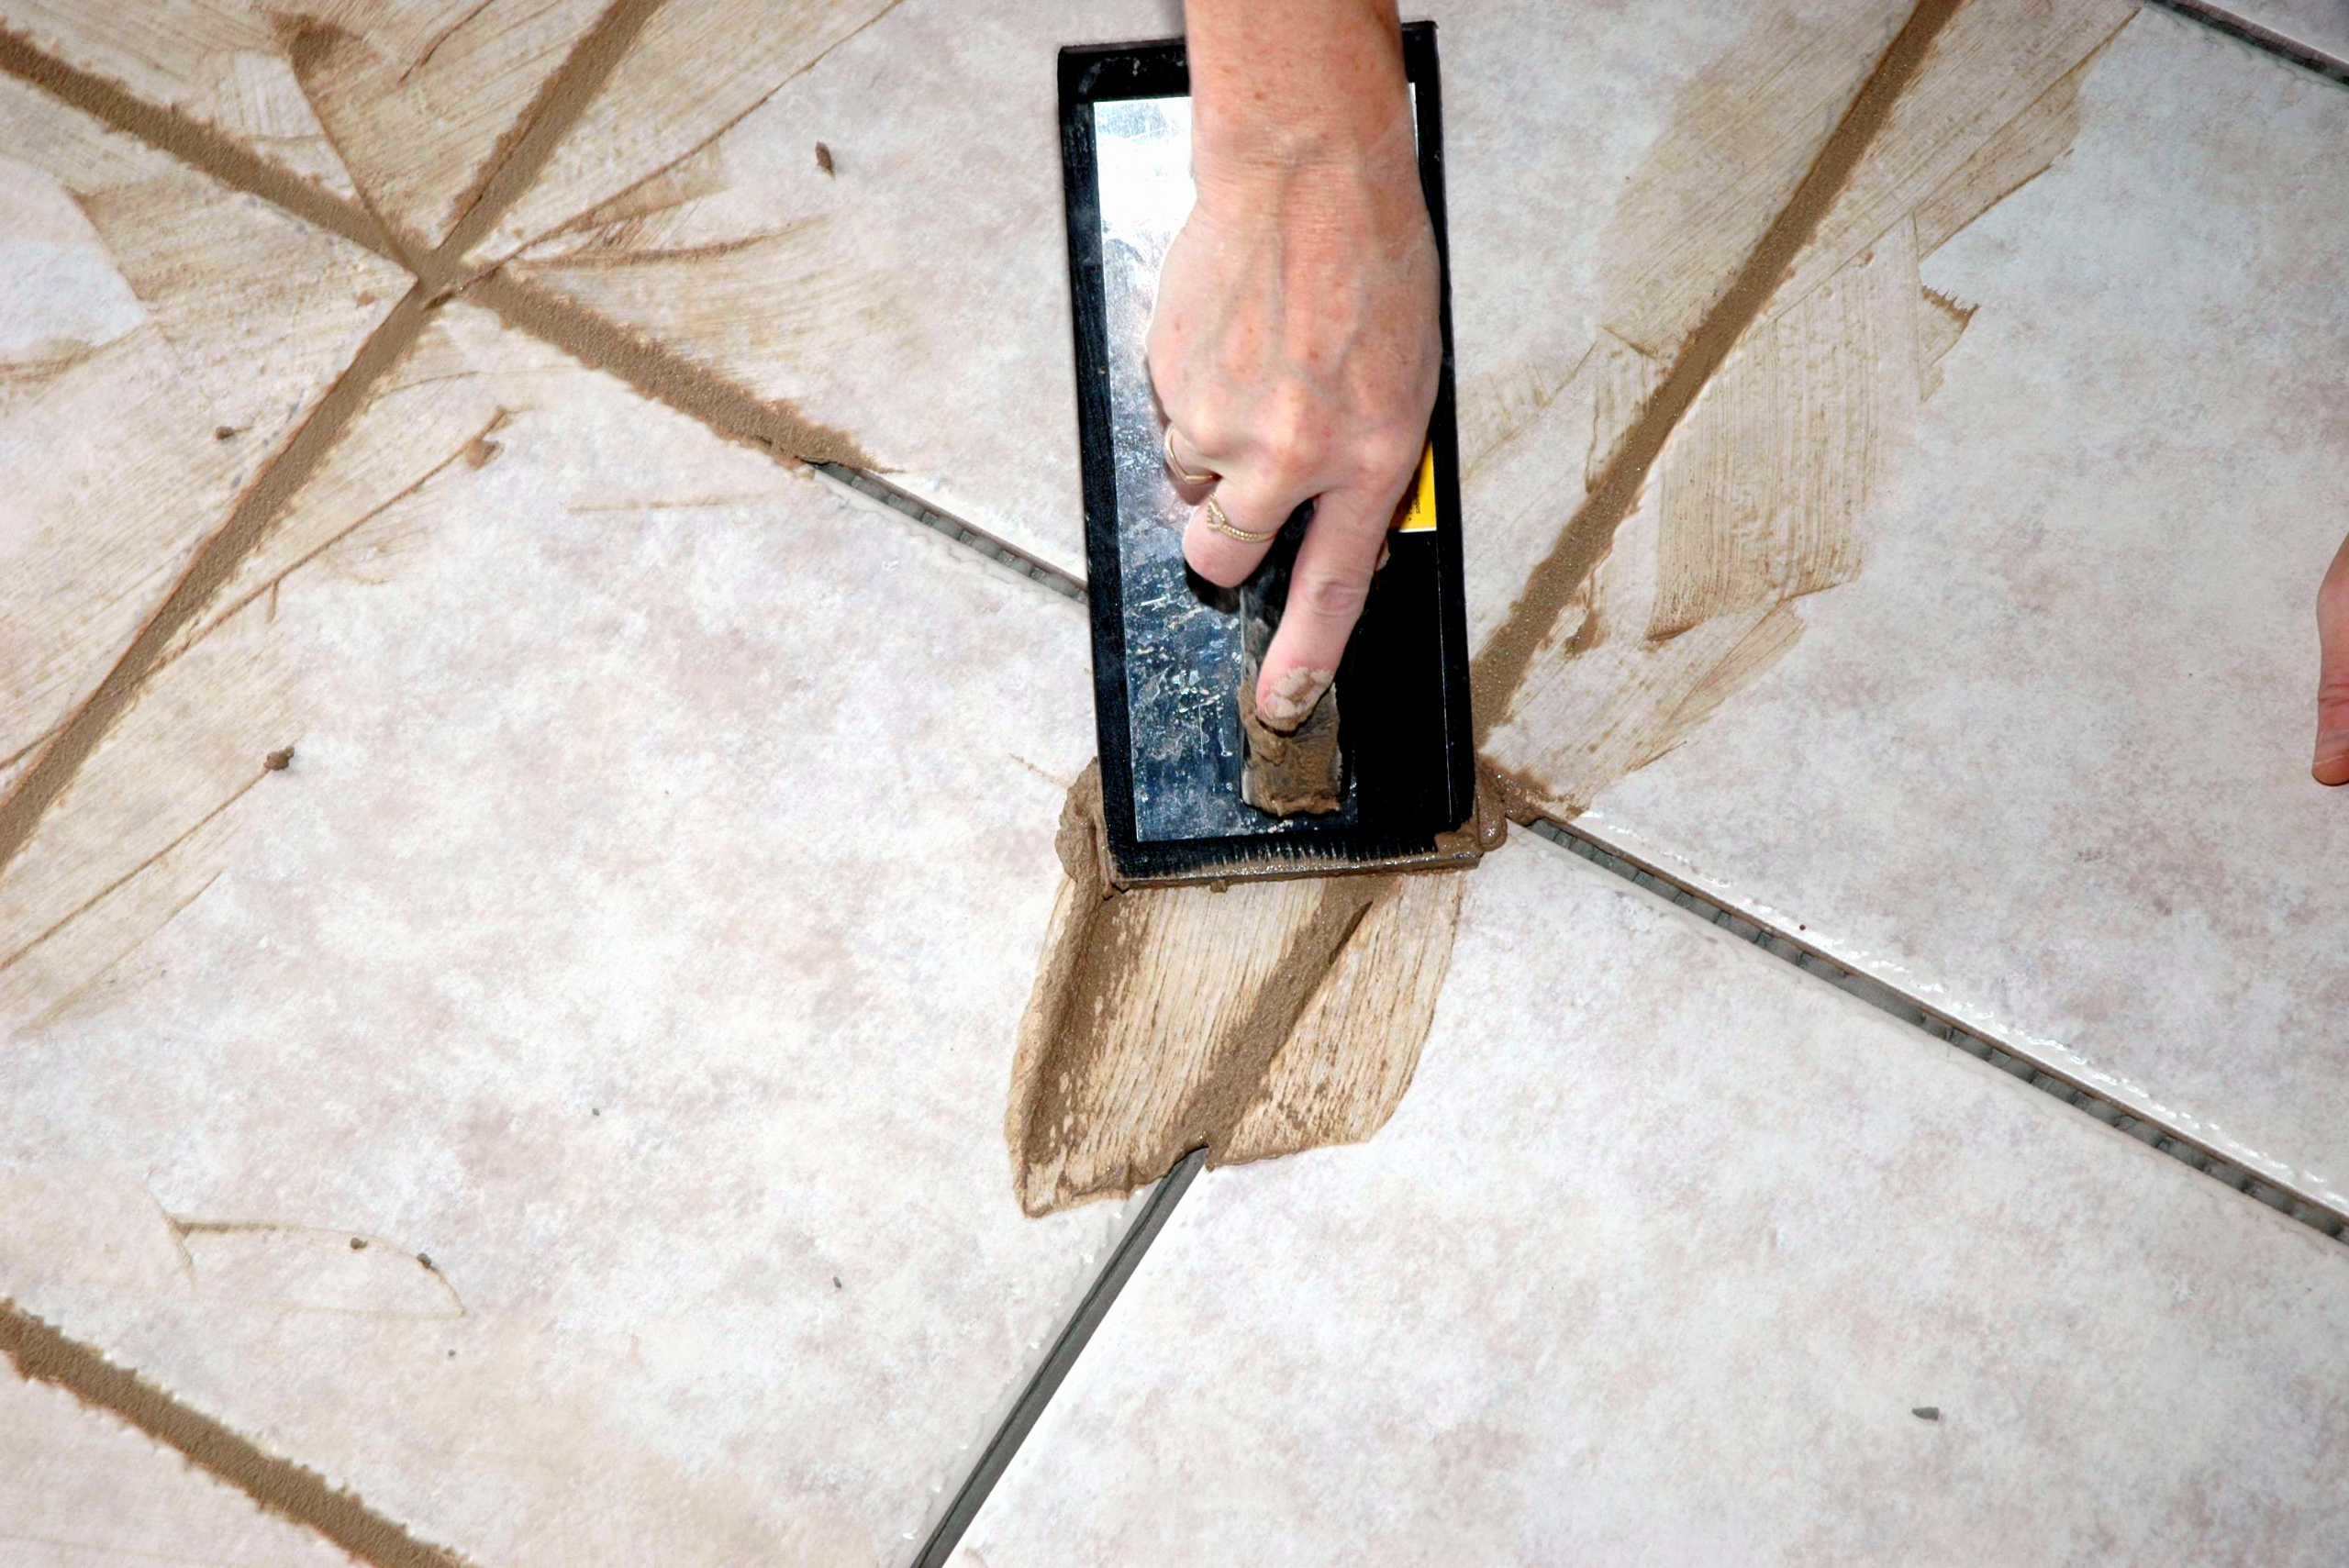
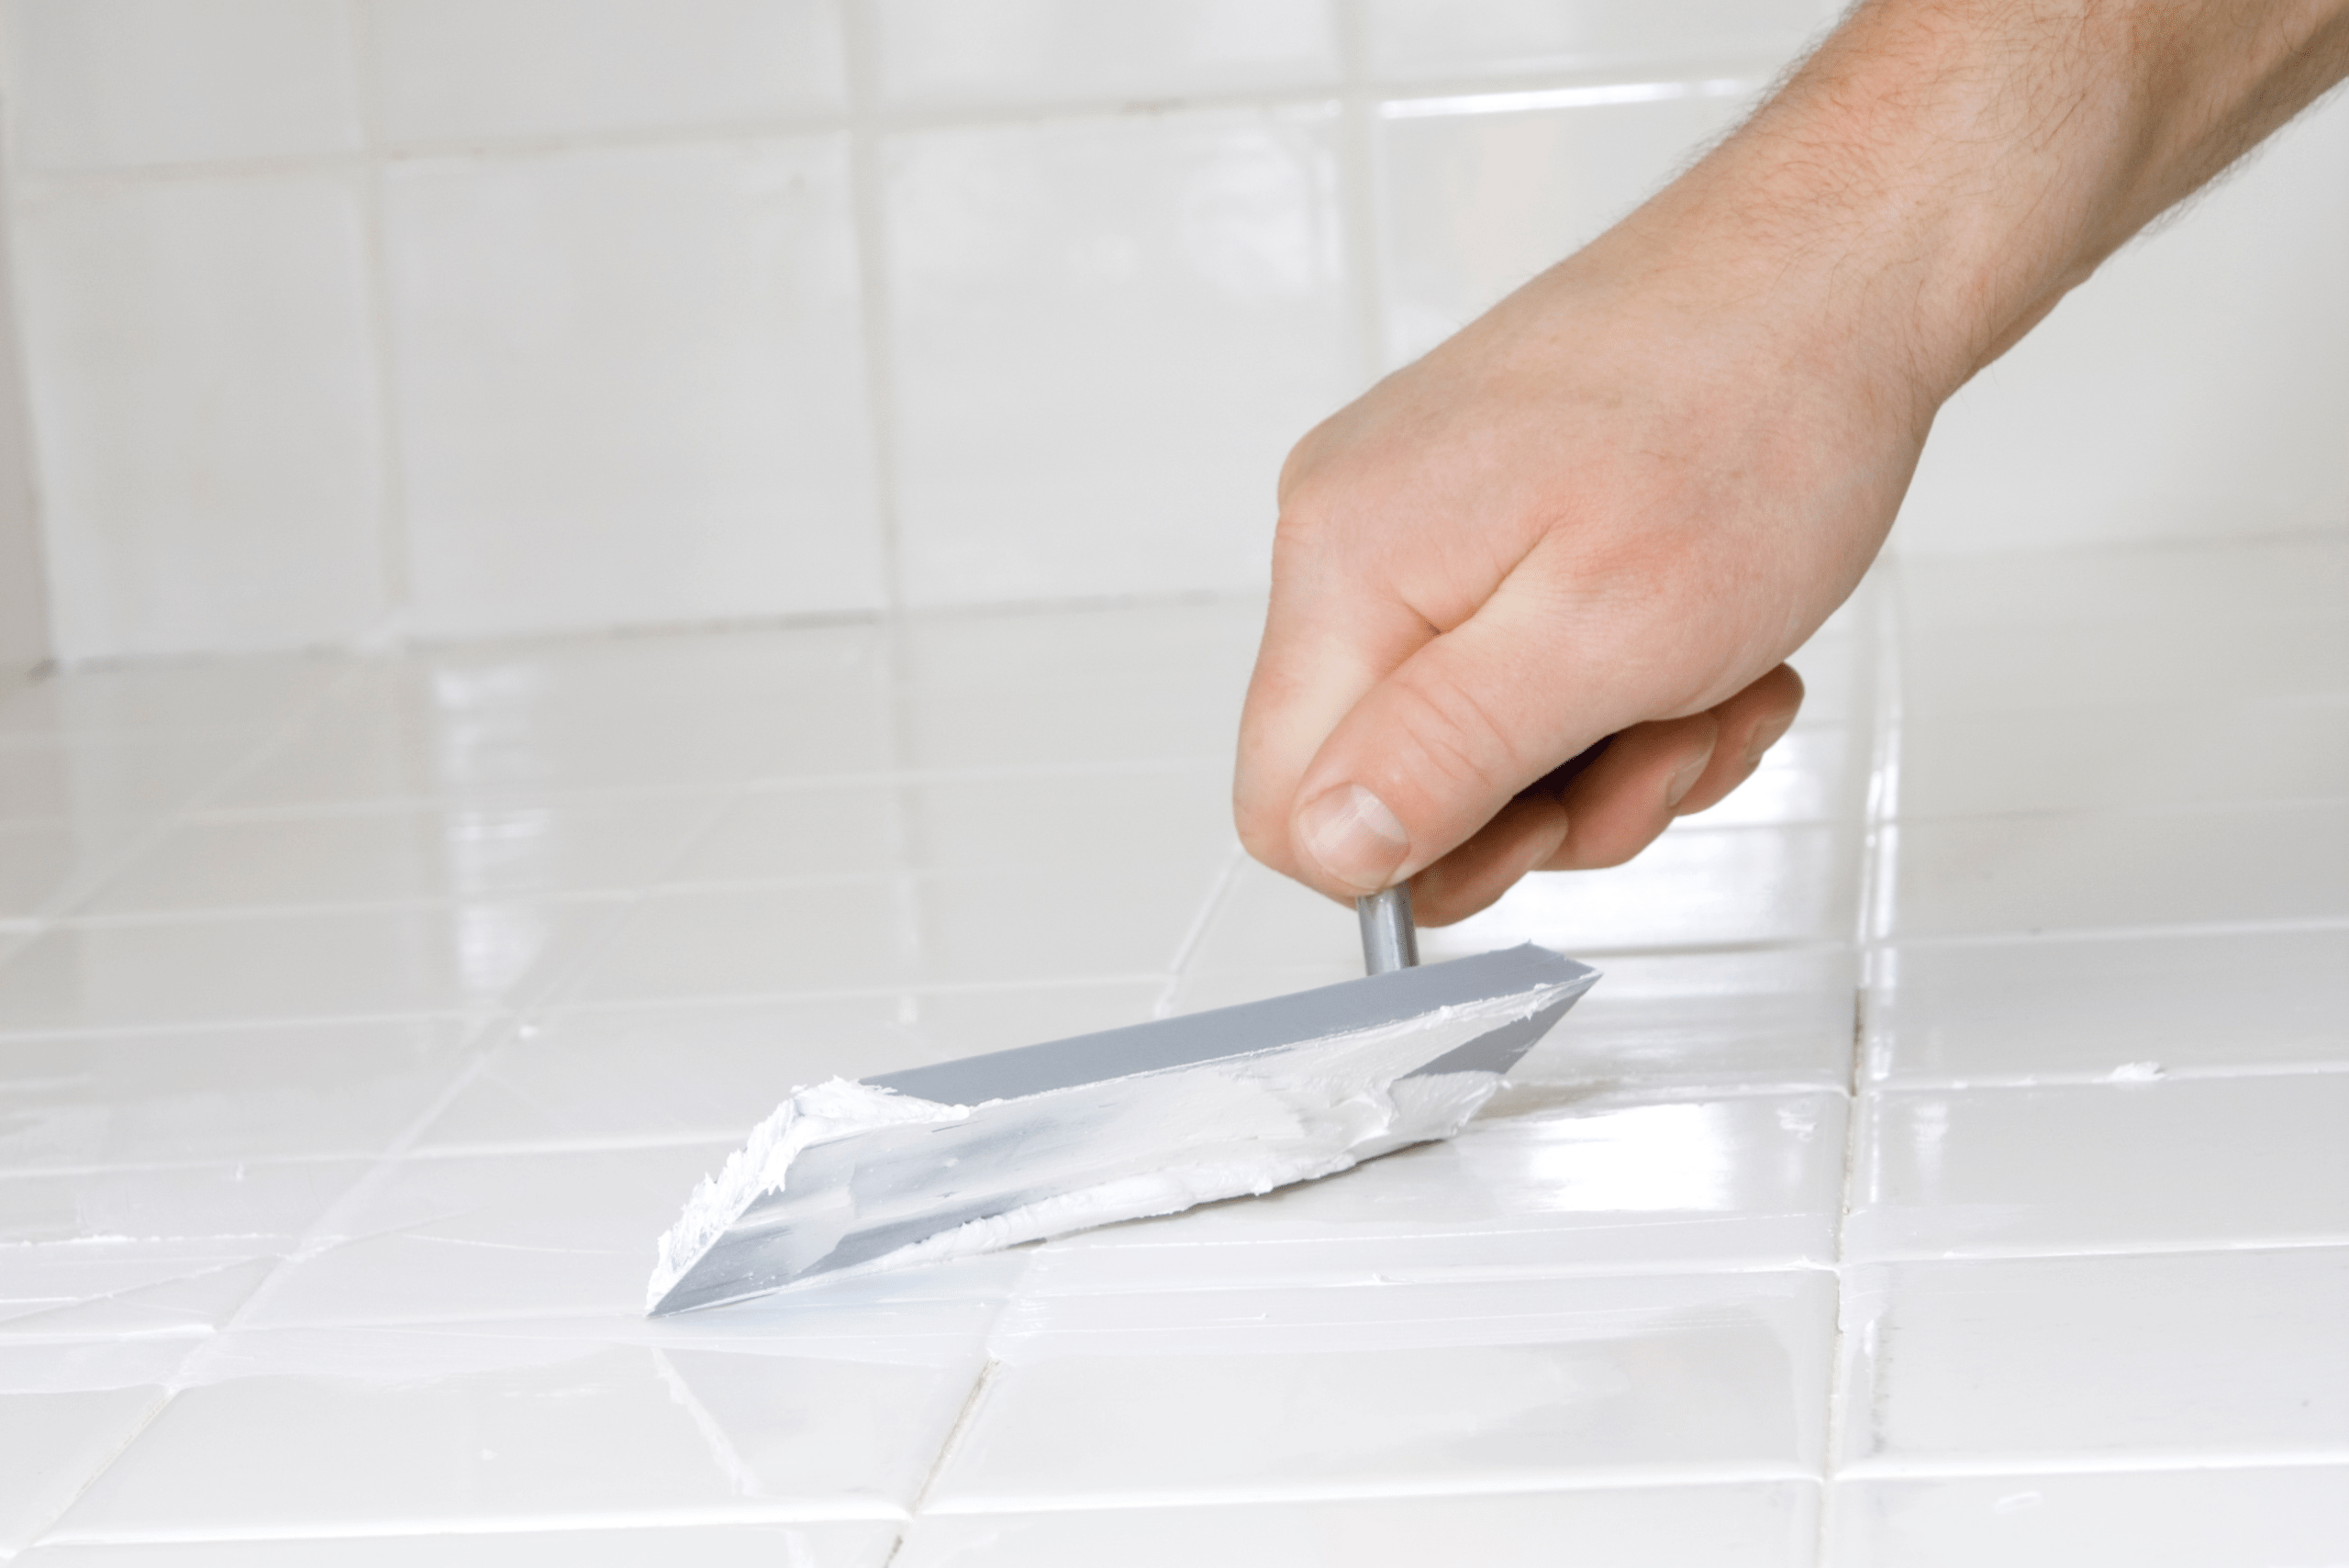
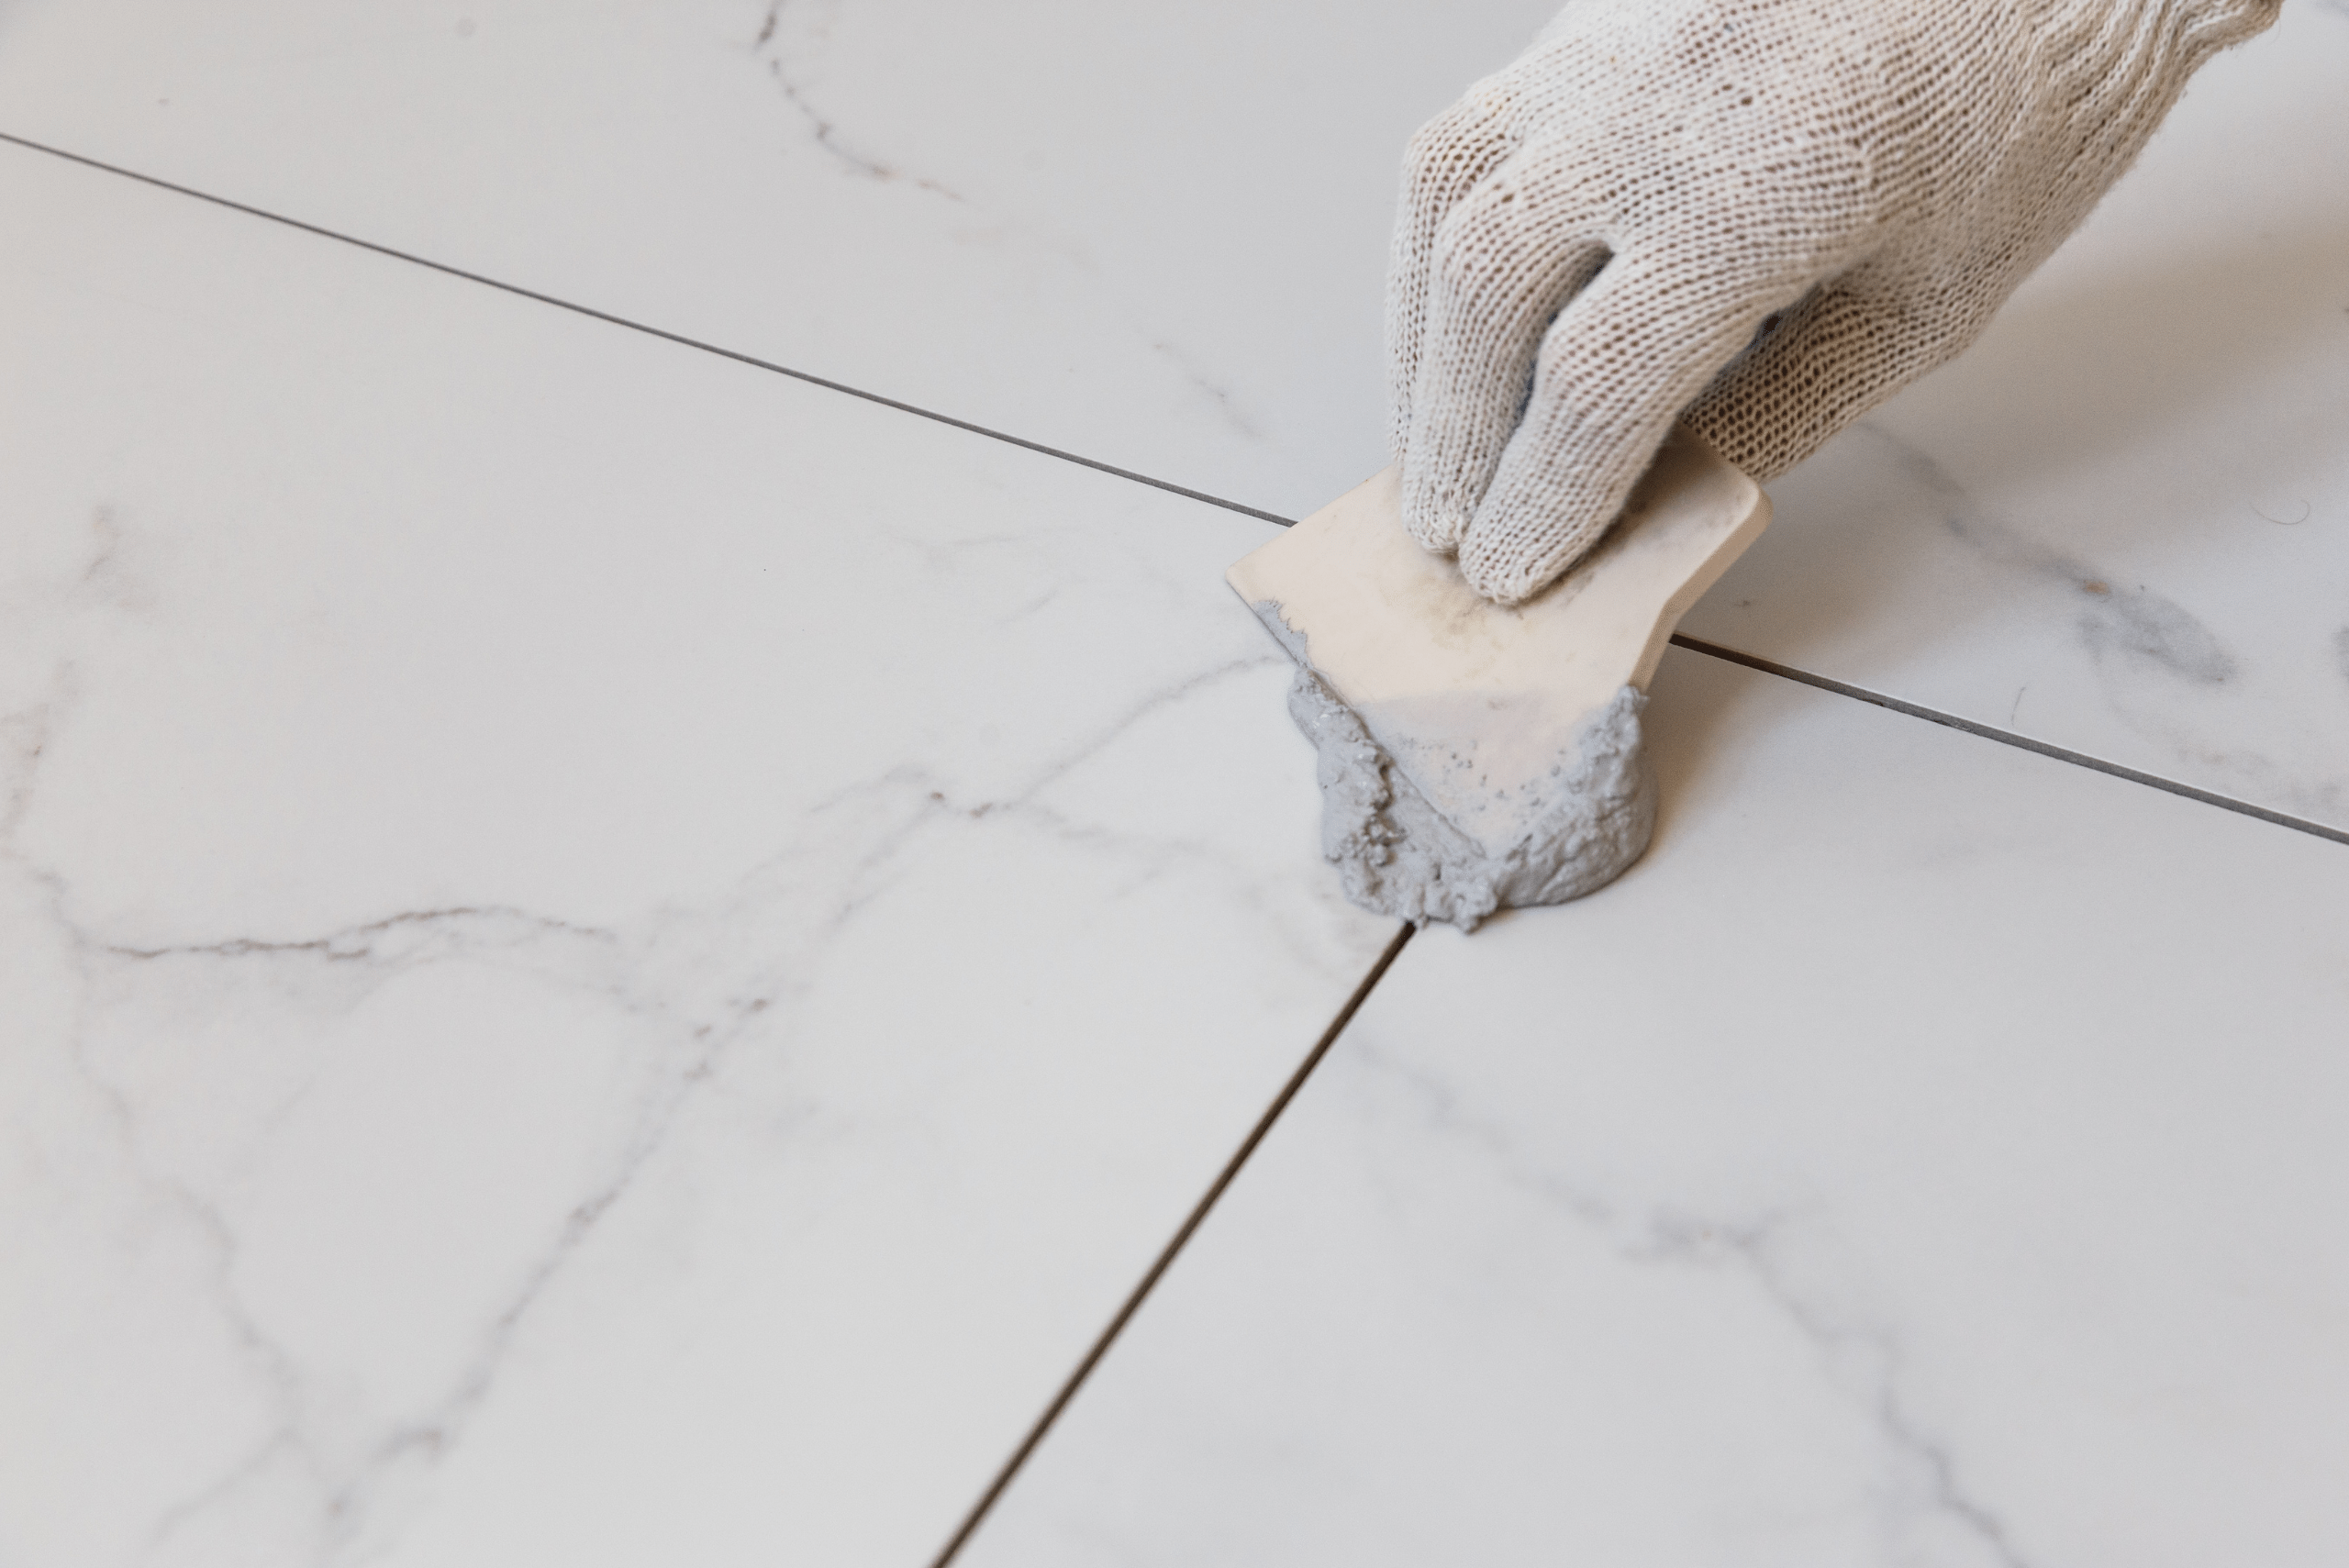
Mix the new grout according to the manufacturer’s instructions, ensuring a smooth and consistent texture. Use a grout float to press the grout into the joints, filling them completely.
After applying the grout, wipe away excess material with a damp sponge, being careful not to remove grout from the joints. Allow the grout to cure as per the product’s recommendations before exposing it to water or heavy use.
Maintaining Your Grout
To prevent future cracks, regular maintenance is key. Seal your grout periodically to protect it from moisture and staining. Keep the tiled area clean and dry, especially in moisture-prone spaces like showers and kitchens.
If you notice small cracks starting to form, address them promptly to avoid more extensive damage. Early intervention can save time and effort in the long run.
Related Articles
- How to Clean Floor Grout Without Scrubbing
- Cement vs Concrete: What’s the Difference and Which Should You Use?
- How to Cut Tile – A Step-by-Step DIY Guide for Home Projects
Fixing cracked grout doesn’t have to be a daunting task. By understanding the cause, using the right tools and materials, and following proper application techniques, you can restore your tiled areas to their original beauty. Regular maintenance ensures your grout stays intact, keeping your space looking fresh and functional for years to come.

