How to Fix Paint Drips Like A Pro
Painting a room can be a rewarding experience, but it can also be frustrating when paint drips occur. These pesky drips can ruin the look of your walls and floors, making them appear sloppy and unprofessional. Fortunately, fixing paint drips is not difficult and can be accomplished with a few simple steps.
In this article, we will discuss various methods for fixing paint drips and provide tips for preventing them in the future. Whether you are a seasoned DIY enthusiast or a novice painter, these techniques will help you achieve a flawless and beautiful finish.
Prevention
One of the most common causes of paint drips is applying too much paint at once. When you overload your brush or roller with paint, it can result in drips and an uneven finish. To avoid this, start with a small amount of paint and gradually add more as needed. This will help you achieve a smooth and consistent application without excess paint buildup.
Another cause of paint drips is poor surface preparation. Paint will not adhere properly to dirty or uneven surfaces, which can result in drips and other imperfections. To prevent this, thoroughly clean your walls and remove any debris or loose paint before painting.
Quick Tips for Prevention:
- Use a high-quality paintbrush or roller: Cheap brushes or rollers can leave behind bristles or lint, which can cause drips and uneven coverage.
- Thin the paint: If your paint is too thick, it can easily drip and splatter. Follow the manufacturer’s instructions for thinning the paint to the right consistency.
- Don’t overload your brush or roller: Dip just the tip of your brush or roller into the paint, and then tap off the excess on the side of the can. This will help prevent drips and ensure even coverage.
- Use painter’s tape: Apply painter’s tape along the edges of your surfaces to protect them from paint splatters and drips. Make sure the tape is pressed down firmly to prevent any paint from seeping underneath.
- Work in smaller sections: Rather than trying to paint an entire wall at once, break it up into smaller sections. This will help you focus on one area at a time and prevent drips from forming as you rush to finish.
- Paint in a zig-zag pattern: Rather than painting in straight lines, use a zig-zag pattern to help distribute the paint evenly and prevent drips from forming.
- Watch for drips as you go: Keep an eye out for drips as you paint, and use a clean brush or roller to smooth them out before they dry. This will help ensure a smooth, even finish without any unwanted drips.
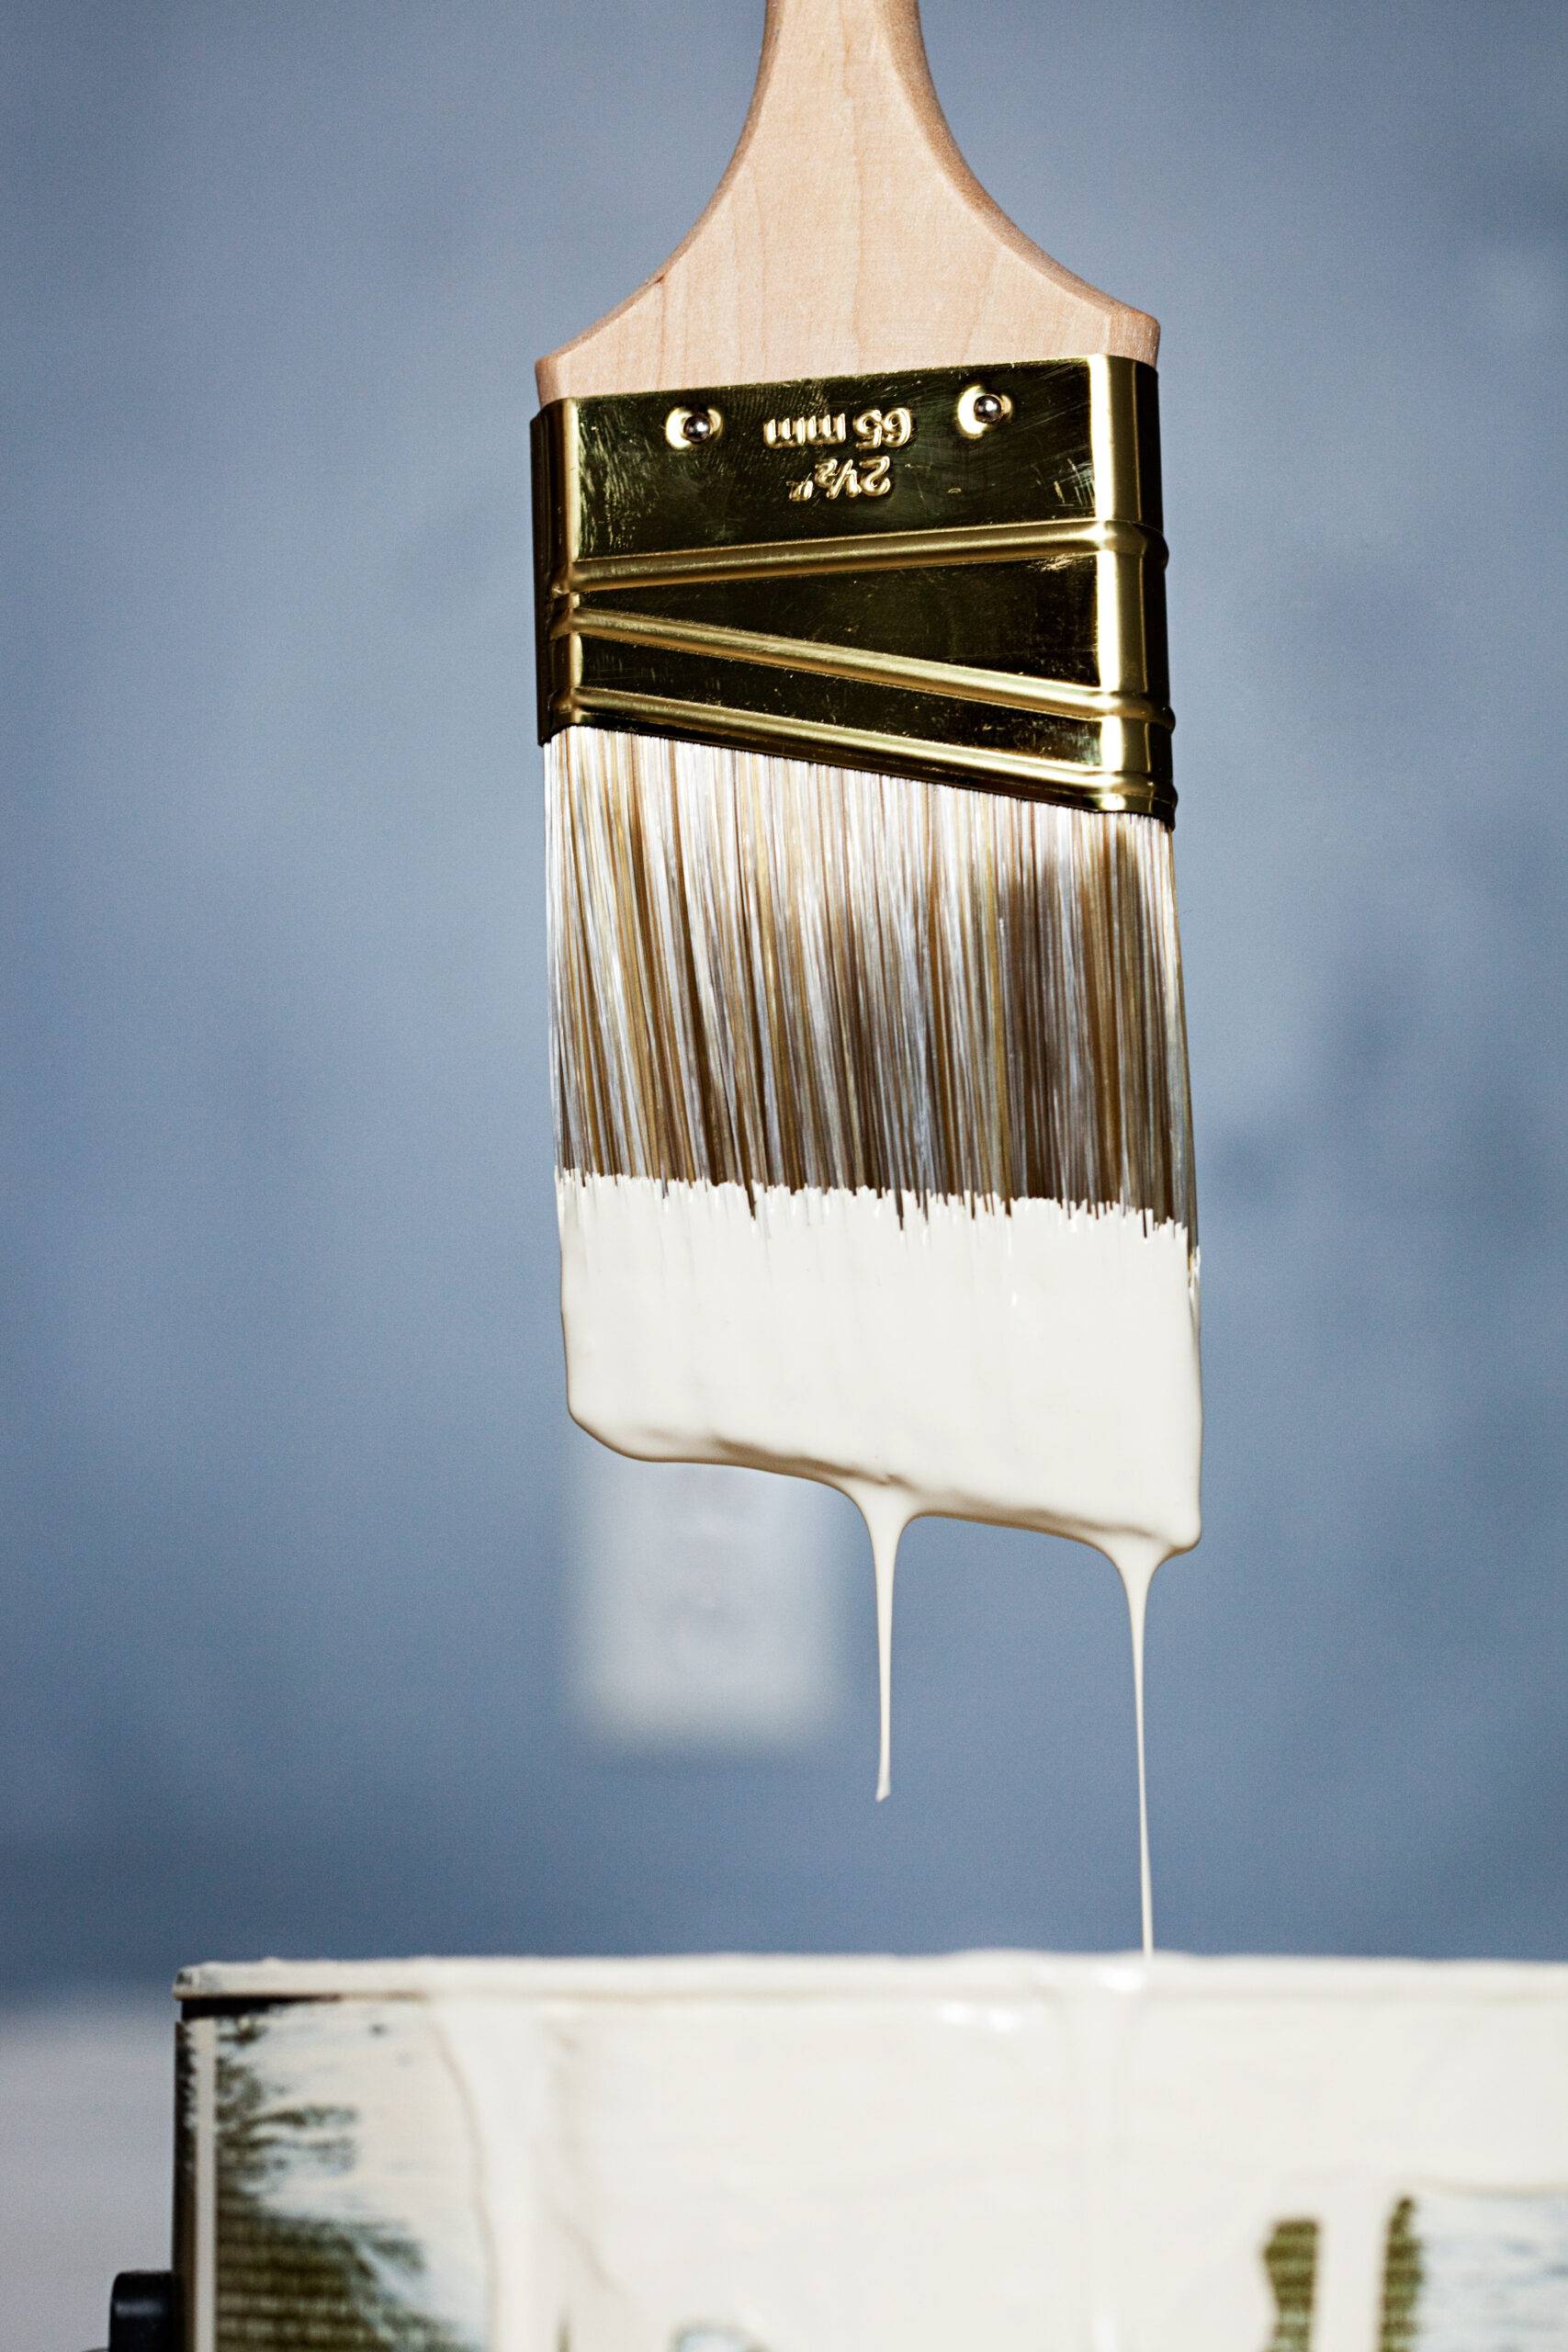
Process of Removing Paint Drips
Step 1: Identify the Drip
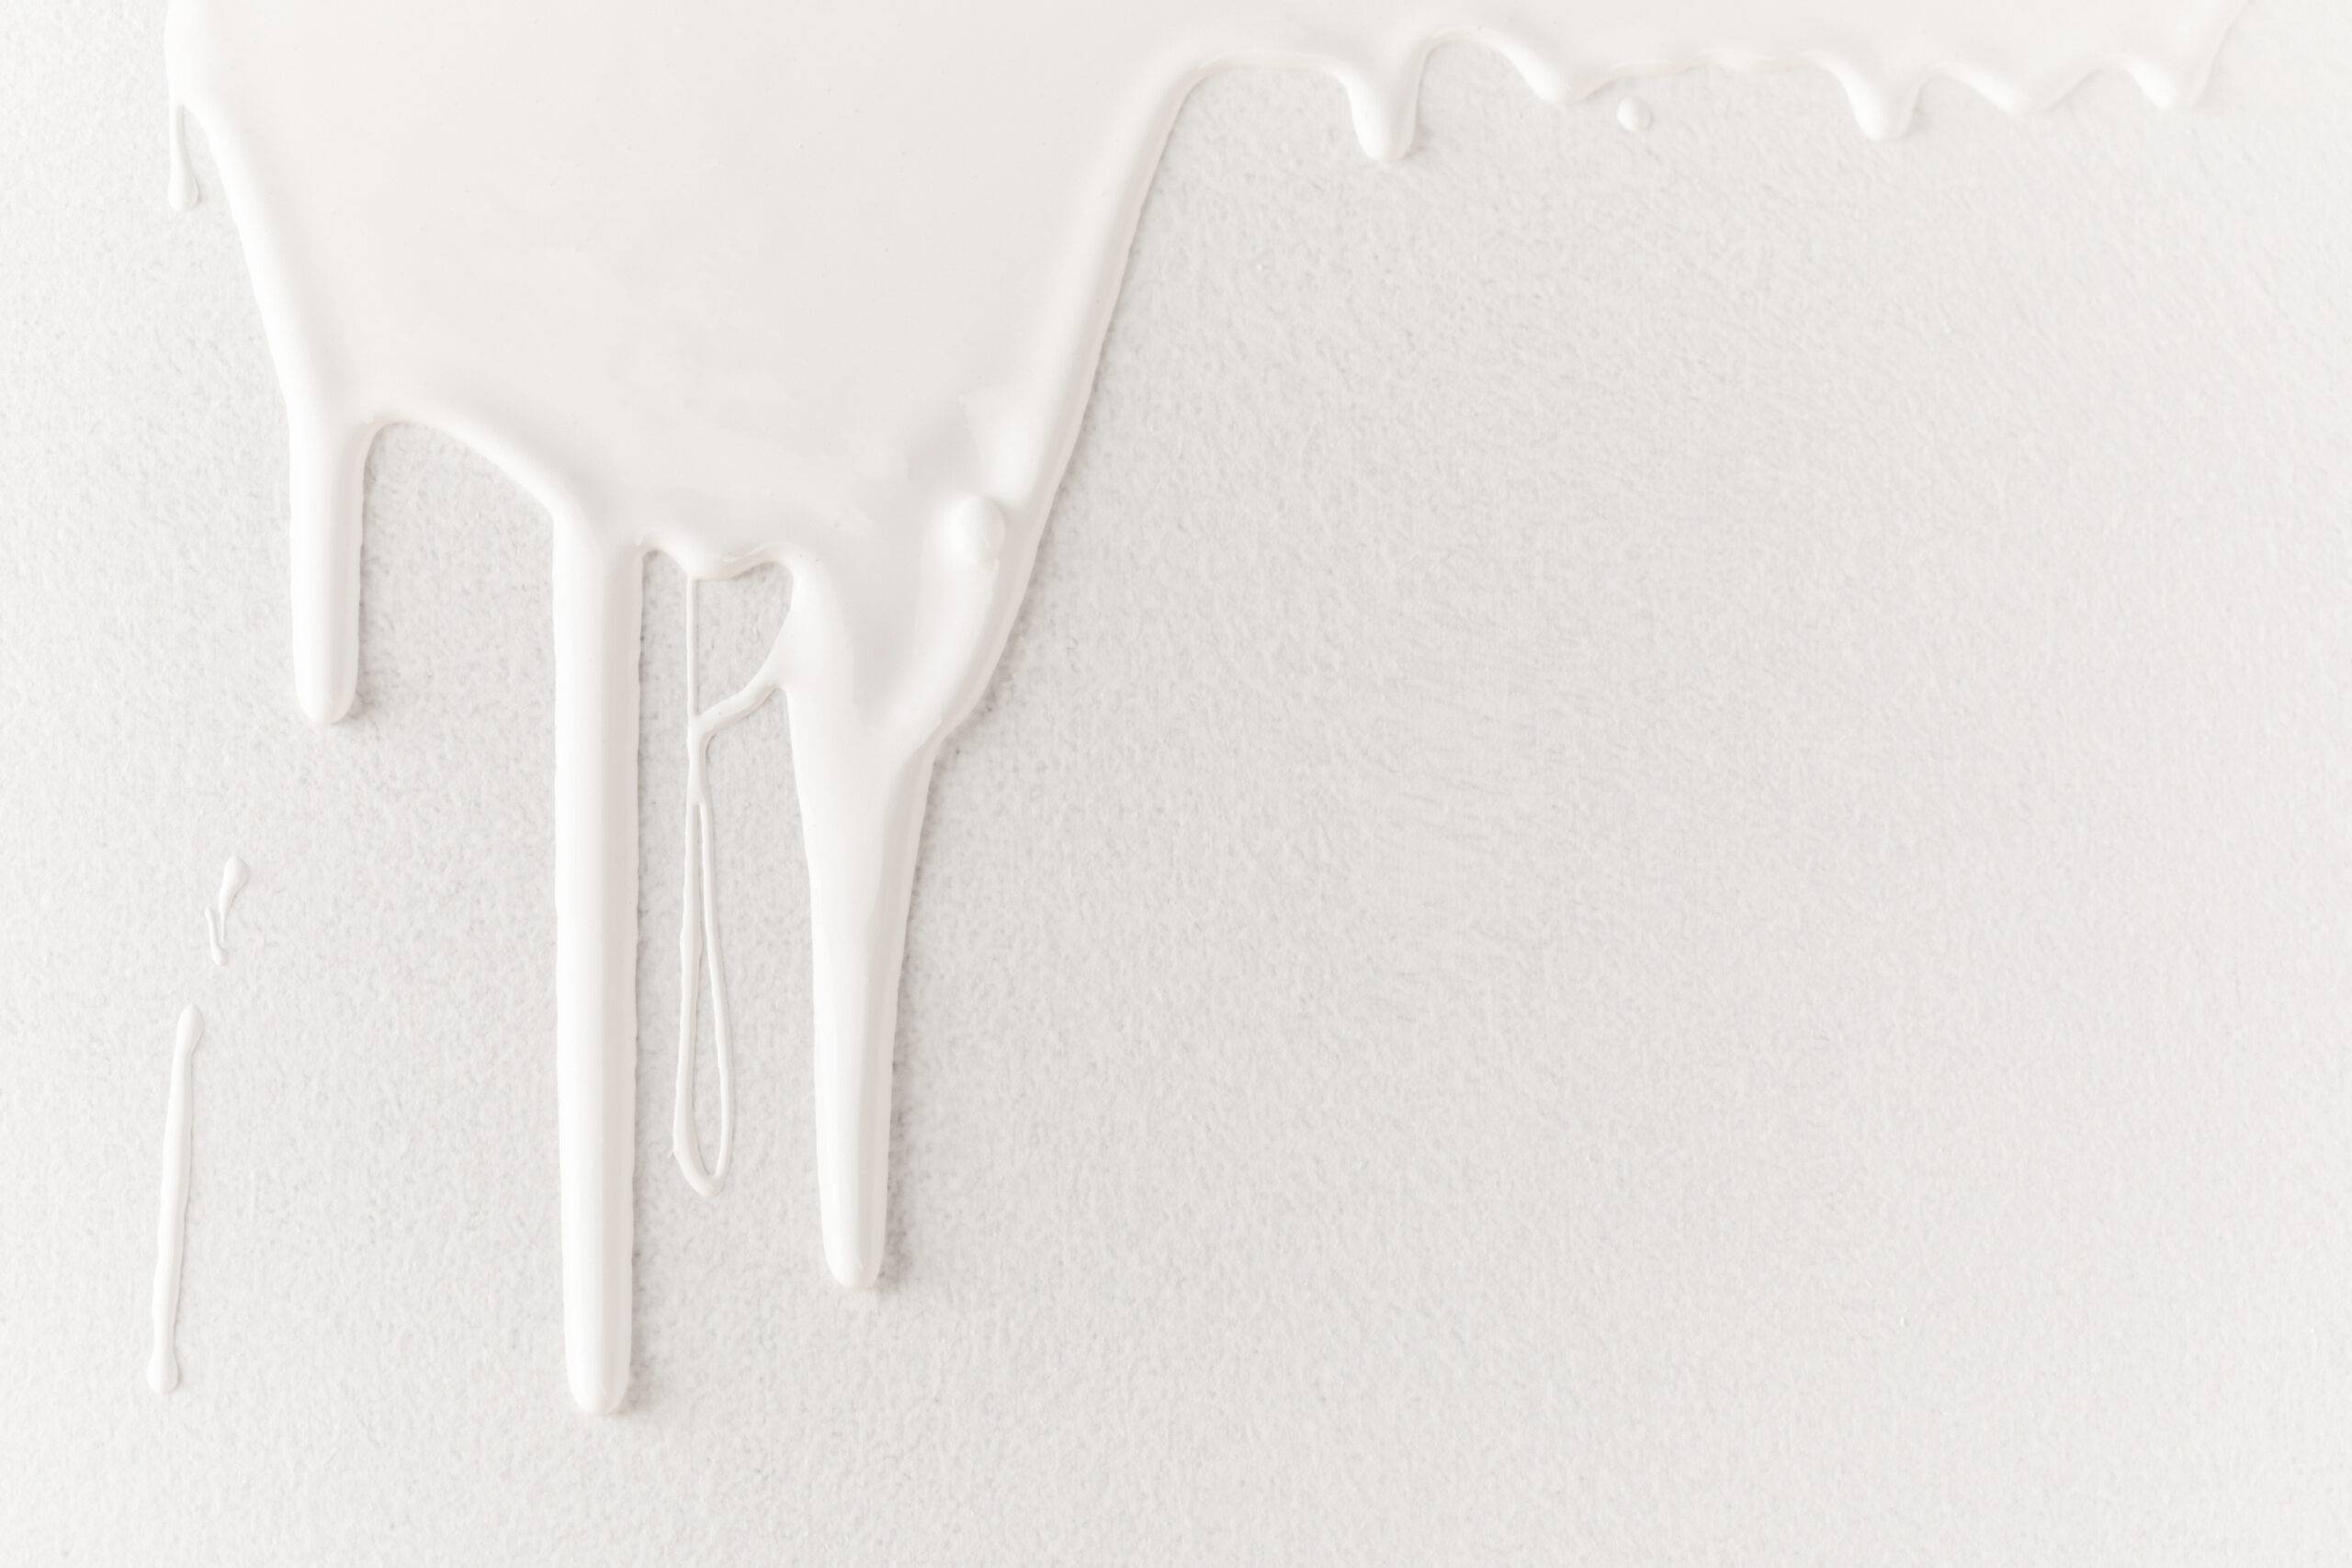
The first step in fixing a paint drip is to identify it. Look for any spots where the paint has dripped down the surface. These drips are often easy to spot, as they are thicker than the rest of the paint and can create an uneven surface.
Step 2: Wait for the Paint to Dry
Before you can fix the drip, you need to wait for the paint to dry completely. Trying to fix a drip while the paint is still wet will only make the problem worse. Depending on the type of paint and the conditions in which you are painting, this can take anywhere from a few hours to a full day.
Step 3: Sand the Drip
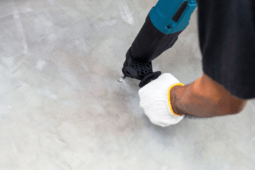
Once the paint has dried, you’ll need to sand the drip down. Use a fine-grit sandpaper to sand the drip until it is level with the rest of the paint. Be careful not to sand too much, as this can damage the surrounding paint and create an even bigger problem.
Step 4: Clean the Surface
After sanding, use a damp cloth to clean the surface of any dust or debris. Allow the surface to dry completely before moving on to the next step.
Step 5: Repaint the Area
Once the surface is clean and dry, it’s time to repaint the area. Use a small brush to carefully paint over the spot where the drip was. Be sure to feather the edges of the new paint into the surrounding area to blend it in as seamlessly as possible.
Step 6: Wait for the Paint to Dry Again
Finally, wait for the paint to dry completely before applying a second coat, if necessary. This will ensure that the drip is completely covered and that the surface is smooth and even.
Complications
Removing paint drips can be a challenging task that requires patience and attention to detail. One complication that you may encounter is that the paint drips have dried and hardened, making them difficult to remove. In this case, you may need to use a scraper or sandpaper to gently remove the drips, being careful not to damage the underlying surface.
Another complication is that the paint drips may have seeped into porous surfaces, such as wood or fabric, making it harder to remove them completely. In these cases, you may need to use a specialized paint remover or solvent to break down the paint and make it easier to remove.
Finally, removing paint drips from textured surfaces, such as stucco or brick, can be especially challenging. In these cases, you may need to use a combination of scraping, sanding, and chemical solvents to remove the paint drips without damaging the surface.
Overall, removing paint drips can be a time-consuming and challenging process that requires careful attention to detail and the use of specialized tools and techniques. However, with patience and persistence, you can achieve a smooth and even finish that enhances the overall look of your painted surfaces.
In conclusion, fixing paint drips is a simple process that can save you time and frustration in the long run. By following these tips and techniques, you can achieve a professional-looking finish that will make your room look beautiful and polished. With a little patience and practice, you’ll be a paint drip expert in no time!

