How to Fix Scratches on Wood Floors Correctly
Wood flooring has a natural beauty to it that can’t be matched. It is also widely sought after, which can make it add value to your home along the way. That is, of course, so long as the floors have been well-maintained. When there are scratches and scuffs on your wood floor, it can wind up taking away from its natural beauty.
Any imperfections in your wood flooring should be addressed with the right methods and tools, whether they be water stains, surface wear and tear, or more serious damage. There are more than a few ways that you can combat those imperfections, making your wood flooring look as good as new once again. Even old, beat-up wood flooring can be made look like new again with the right help.
Steps For Fixing Hardwood Floor Scratches
If you happen to notice that your hardwood floors look a little worse for wear, don’t fear. There are several ways that you can get your wood floors to look new once again. Here are just a few of the most pertinent steps for how you can bring those wood floors back to life.
1.) Give it a Good Clean
Sometimes, it can seem as though your wood floors have scratches when really it is just a scuff or maybe some dirt. With the right cleaner and a little bit of elbow grease, you can make those patches look new again without having to go through some more comprehensive measures. Before you go into something more thorough, give the floors a good but gentle cleaning, but also know that there are a few things that you should do in order to get an ideal clean.
Don’t use any brooms or potentially abrasive pads, as they can actually scratch the floor and leave your floors looking worse than when you started. Likewise, don’t soak the floor using water or some kind of liquid cleaner since it can get into tough-to-reach areas and cause water damage. Start by using a vacuum or soft mop to get any hair, dirt, dust, and debris from wood surfaces. Then, create your cleaning mixture using a couple of drops of liquid soap with about a quarter of water. Spray over the floor, then wipe it all up using a microfiber cloth.
When you have finished wiping up the cleaning mixture, spray some water over top, buffing it away using a soft, dry cloth. There are plenty of non-toxic wood cleaners out there that should be quite safe, particularly for polyurethane-finished floors if you want to go the safest route. Just make sure you stick with a cleaning agent that is water-based in order to avoid damage to the floor.
2.) Camouflage with Walnuts
Yes, you read that right, walnuts. The reason is that walnuts have both natural brown dyes and emollients that can work to not only repair your wood floors but also enhance them. Before you go just rubbing walnuts on the floor, there are a few steps to keep in mind.
Start by warming up the oil within the nut using your fingers; the heat from your hands should do the trick. Take the walnut and rub it into the areas of your floor that look worn or scratched. Use small, circular motions to keep things even as you apply. After the initial application, give it a couple of minutes to set in before wiping it all away using a soft cloth.
Natural coconut oil can work to minimize scratches and marks on floors that are either unfinished or freshly sanded. After wiping away the oil, you should then apply a very thin coating of the coconut oil using a sponge or brush for even coverage. Give it about five minutes to dry before buffing it out using your soft cloth. It should provide a richer look to the wood than you would have otherwise achieved.
3.) Sand it Out
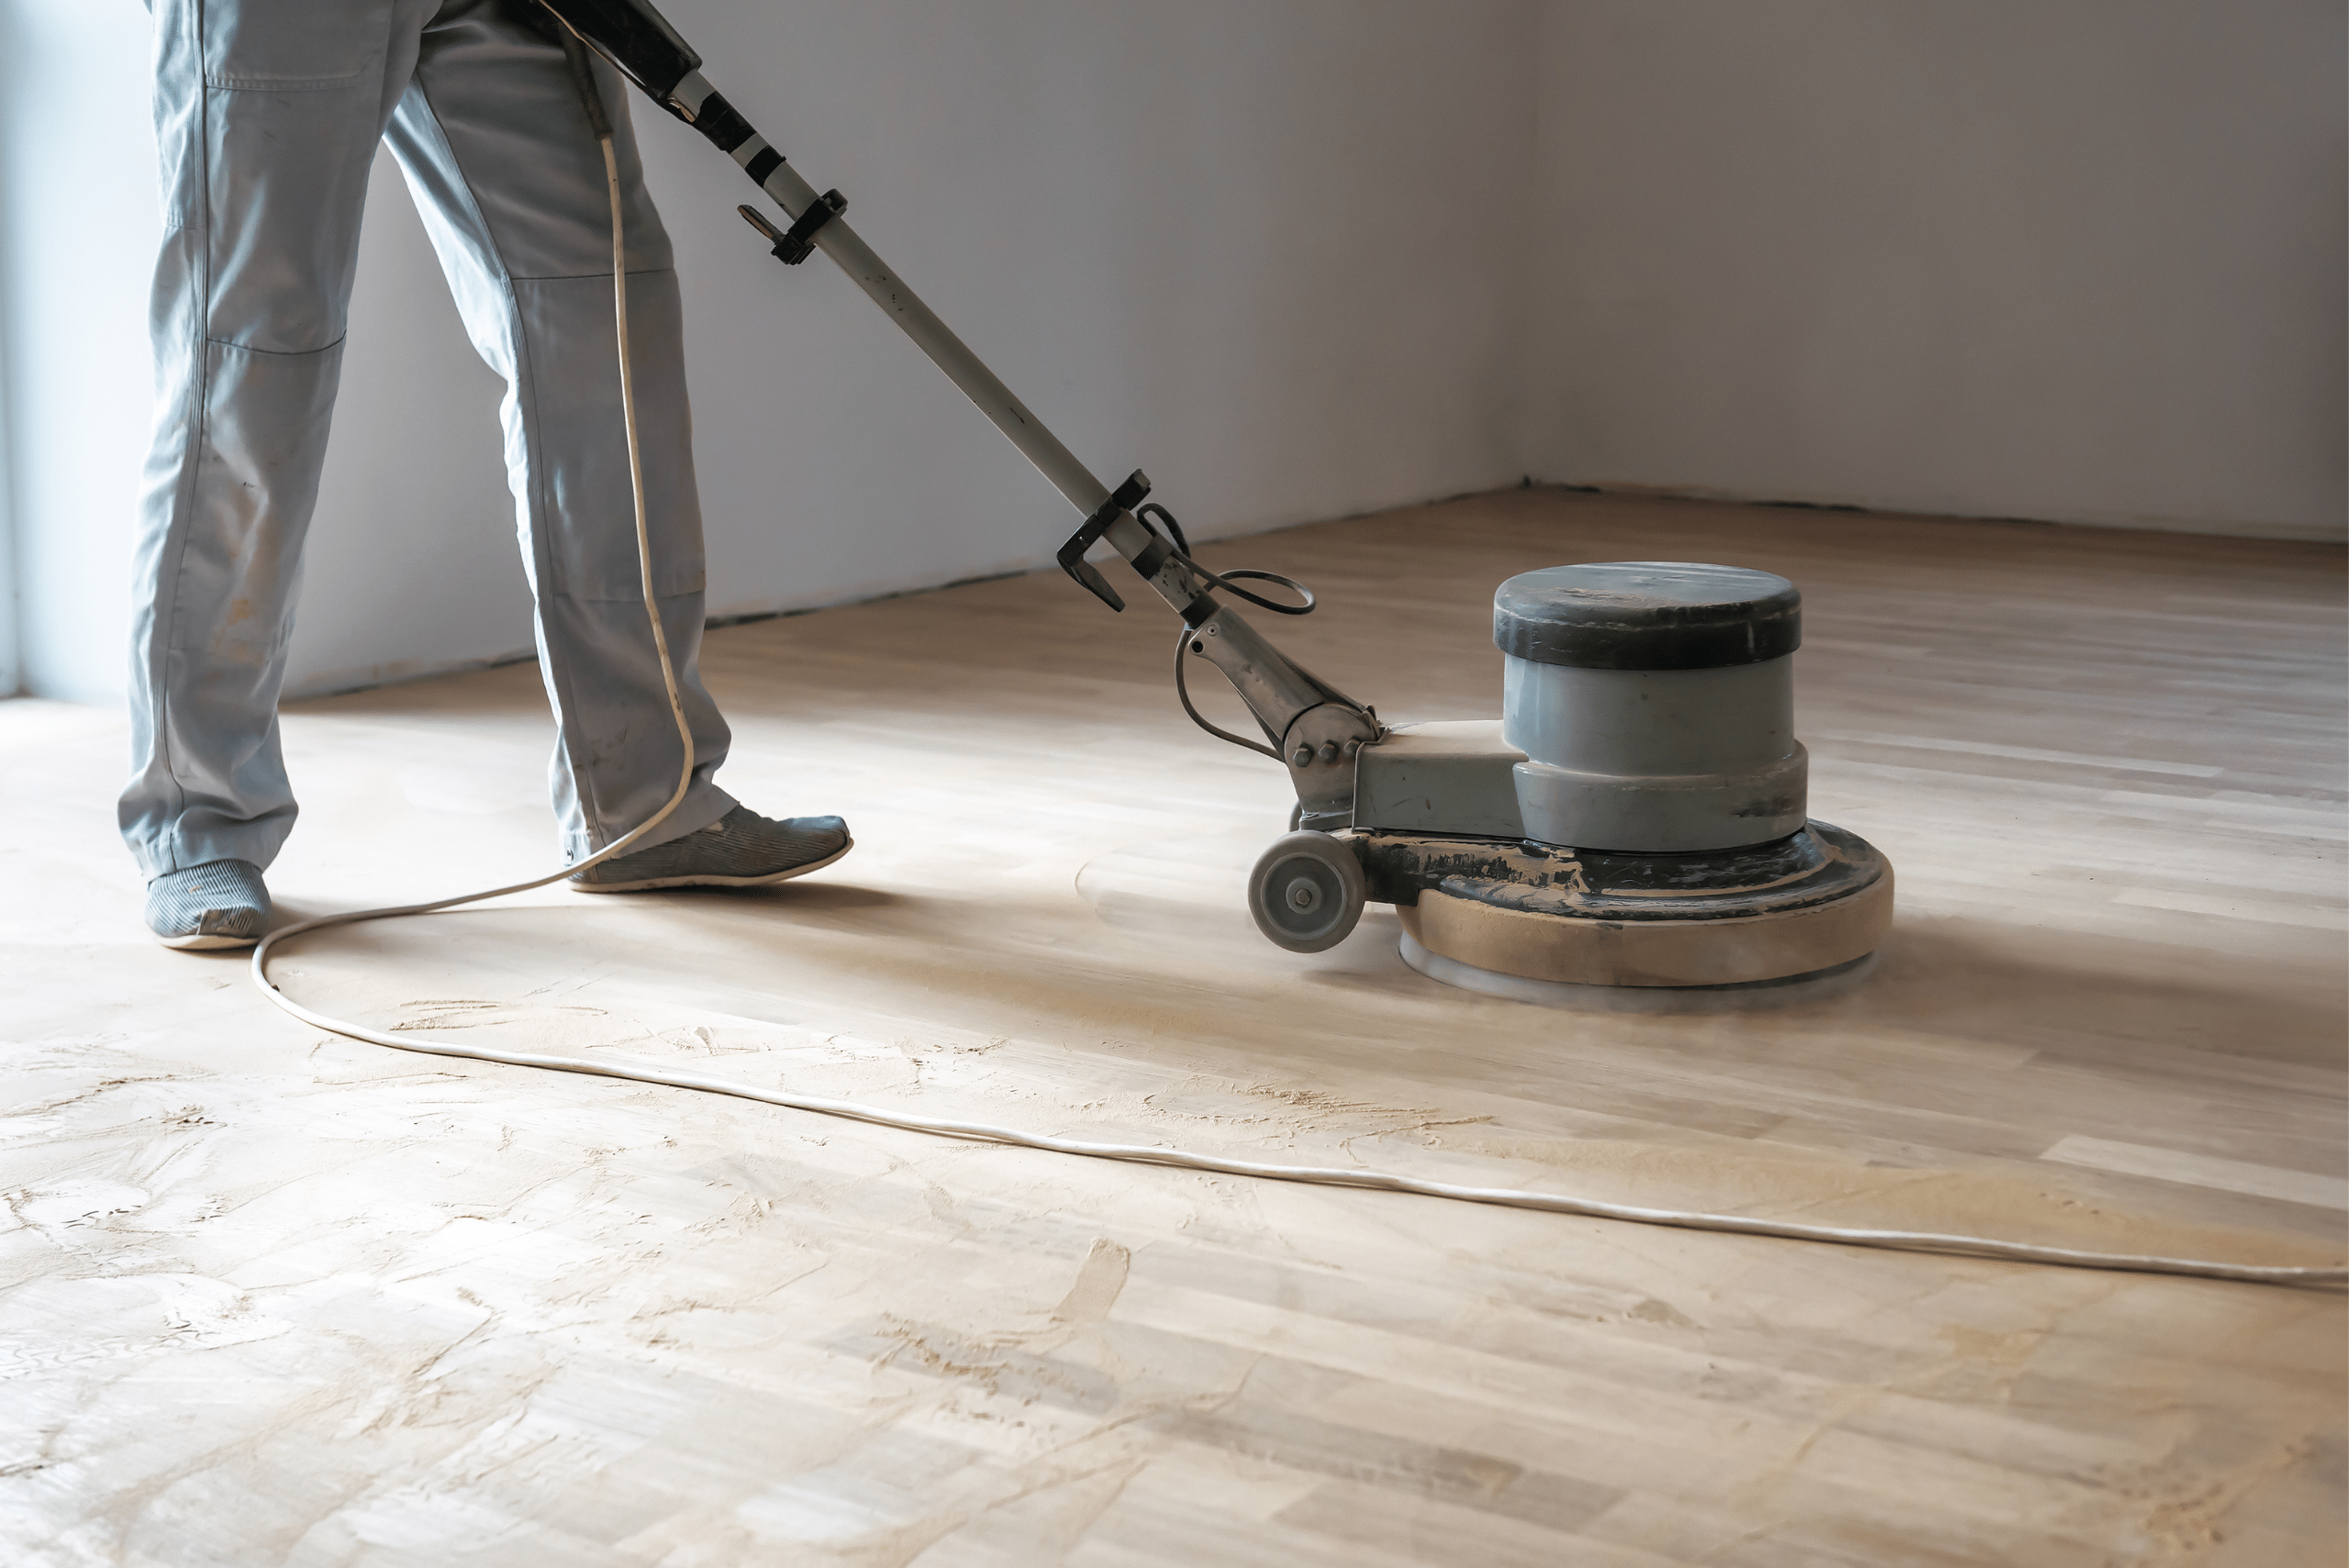
As can be seen by cleaning your floors, there is a lot to be said about a little bit of elbow grease. With fine-grained sandpaper, you can work to get those scratches out through a little bit of buffing. Start by getting a fine-grain sandpaper. Something grittier or more abrasive will have the opposite effect, creating more scratches than solutions. Begin by sanding the floor in the same direction as the grain. Going against can also have a counter effect and wind up doing more harm than good.
Keep in mind that using sandpaper will buff away any of the stains that previously covered the wood, be it old or fresh. It is always good to find an area of the flooring that is kind of hidden away so you can do a test patch to see what it looks like. You can then sand and apply the same color of staining to ensure a better match.
When staining, oil-based urethanes are your friend. They might have a stronger smell to them, but they tend to have a little bit of a yellow tinge to them that will better match older flooring. Remember, the test patch will help prevent mismatching issues when you come to the staining part of the process. Before staining, make sure that you have properly cleaned the sanded area and have completely buffed out the scratch before moving forward with the staining process.
4.) Wood Floor Products
Depending on your level of experience, as well as the depth of the scratches in the wood, some of the more basic DIY solutions may not be quite what you had hoped it to be. For that reason, finding something that was specifically created to tackle scratches may be the best bet.
There are a number of good scratch repair products out there to choose from. Some of them not only reduce those scratch marks – caused by pets, shoes, dirt, furniture, and more – but can also clean and polish as well.
Depending on the product, there may even be different tone options to choose from, though they will largely be just light and dark tones. Still, some of these products have the kind of nourishing oils within that will cover those scuff marks and provide greater protection to the wood. Best of all, they can usually be applied using a soft, clean cloth, so you don’t need to invest in brushes or other tools.
5.) Look to Your Pantry
If you can get a little creative, there may be a few items within your pantry that can help you get the job done. For instance, olive oil and baking soda mixed together can not only remove those scratches from your wood floors but also help reduce them from coming back.
Just make sure that you take the steps to thoroughly clean the floor, vacuuming and wiping away any dirt, hair, and dust. When you are confident that the floor has been properly cleaned, apply the baking soda (which should be moistened with a few drops of olive oil) over the impacted areas. Give your concoction a few minutes to do its job; five minutes or so should do the trick.
Grab a soft sponge and buff the spot lightly. It should be enough to buff out the scratches, depending on the depth. When you have finished buffing away those scratches, take the time to thoroughly wipe away the baking soda and oil. A damp cloth will do the trick; follow it up with a dry towel to get everything completely off the floor.
6.) Start Over
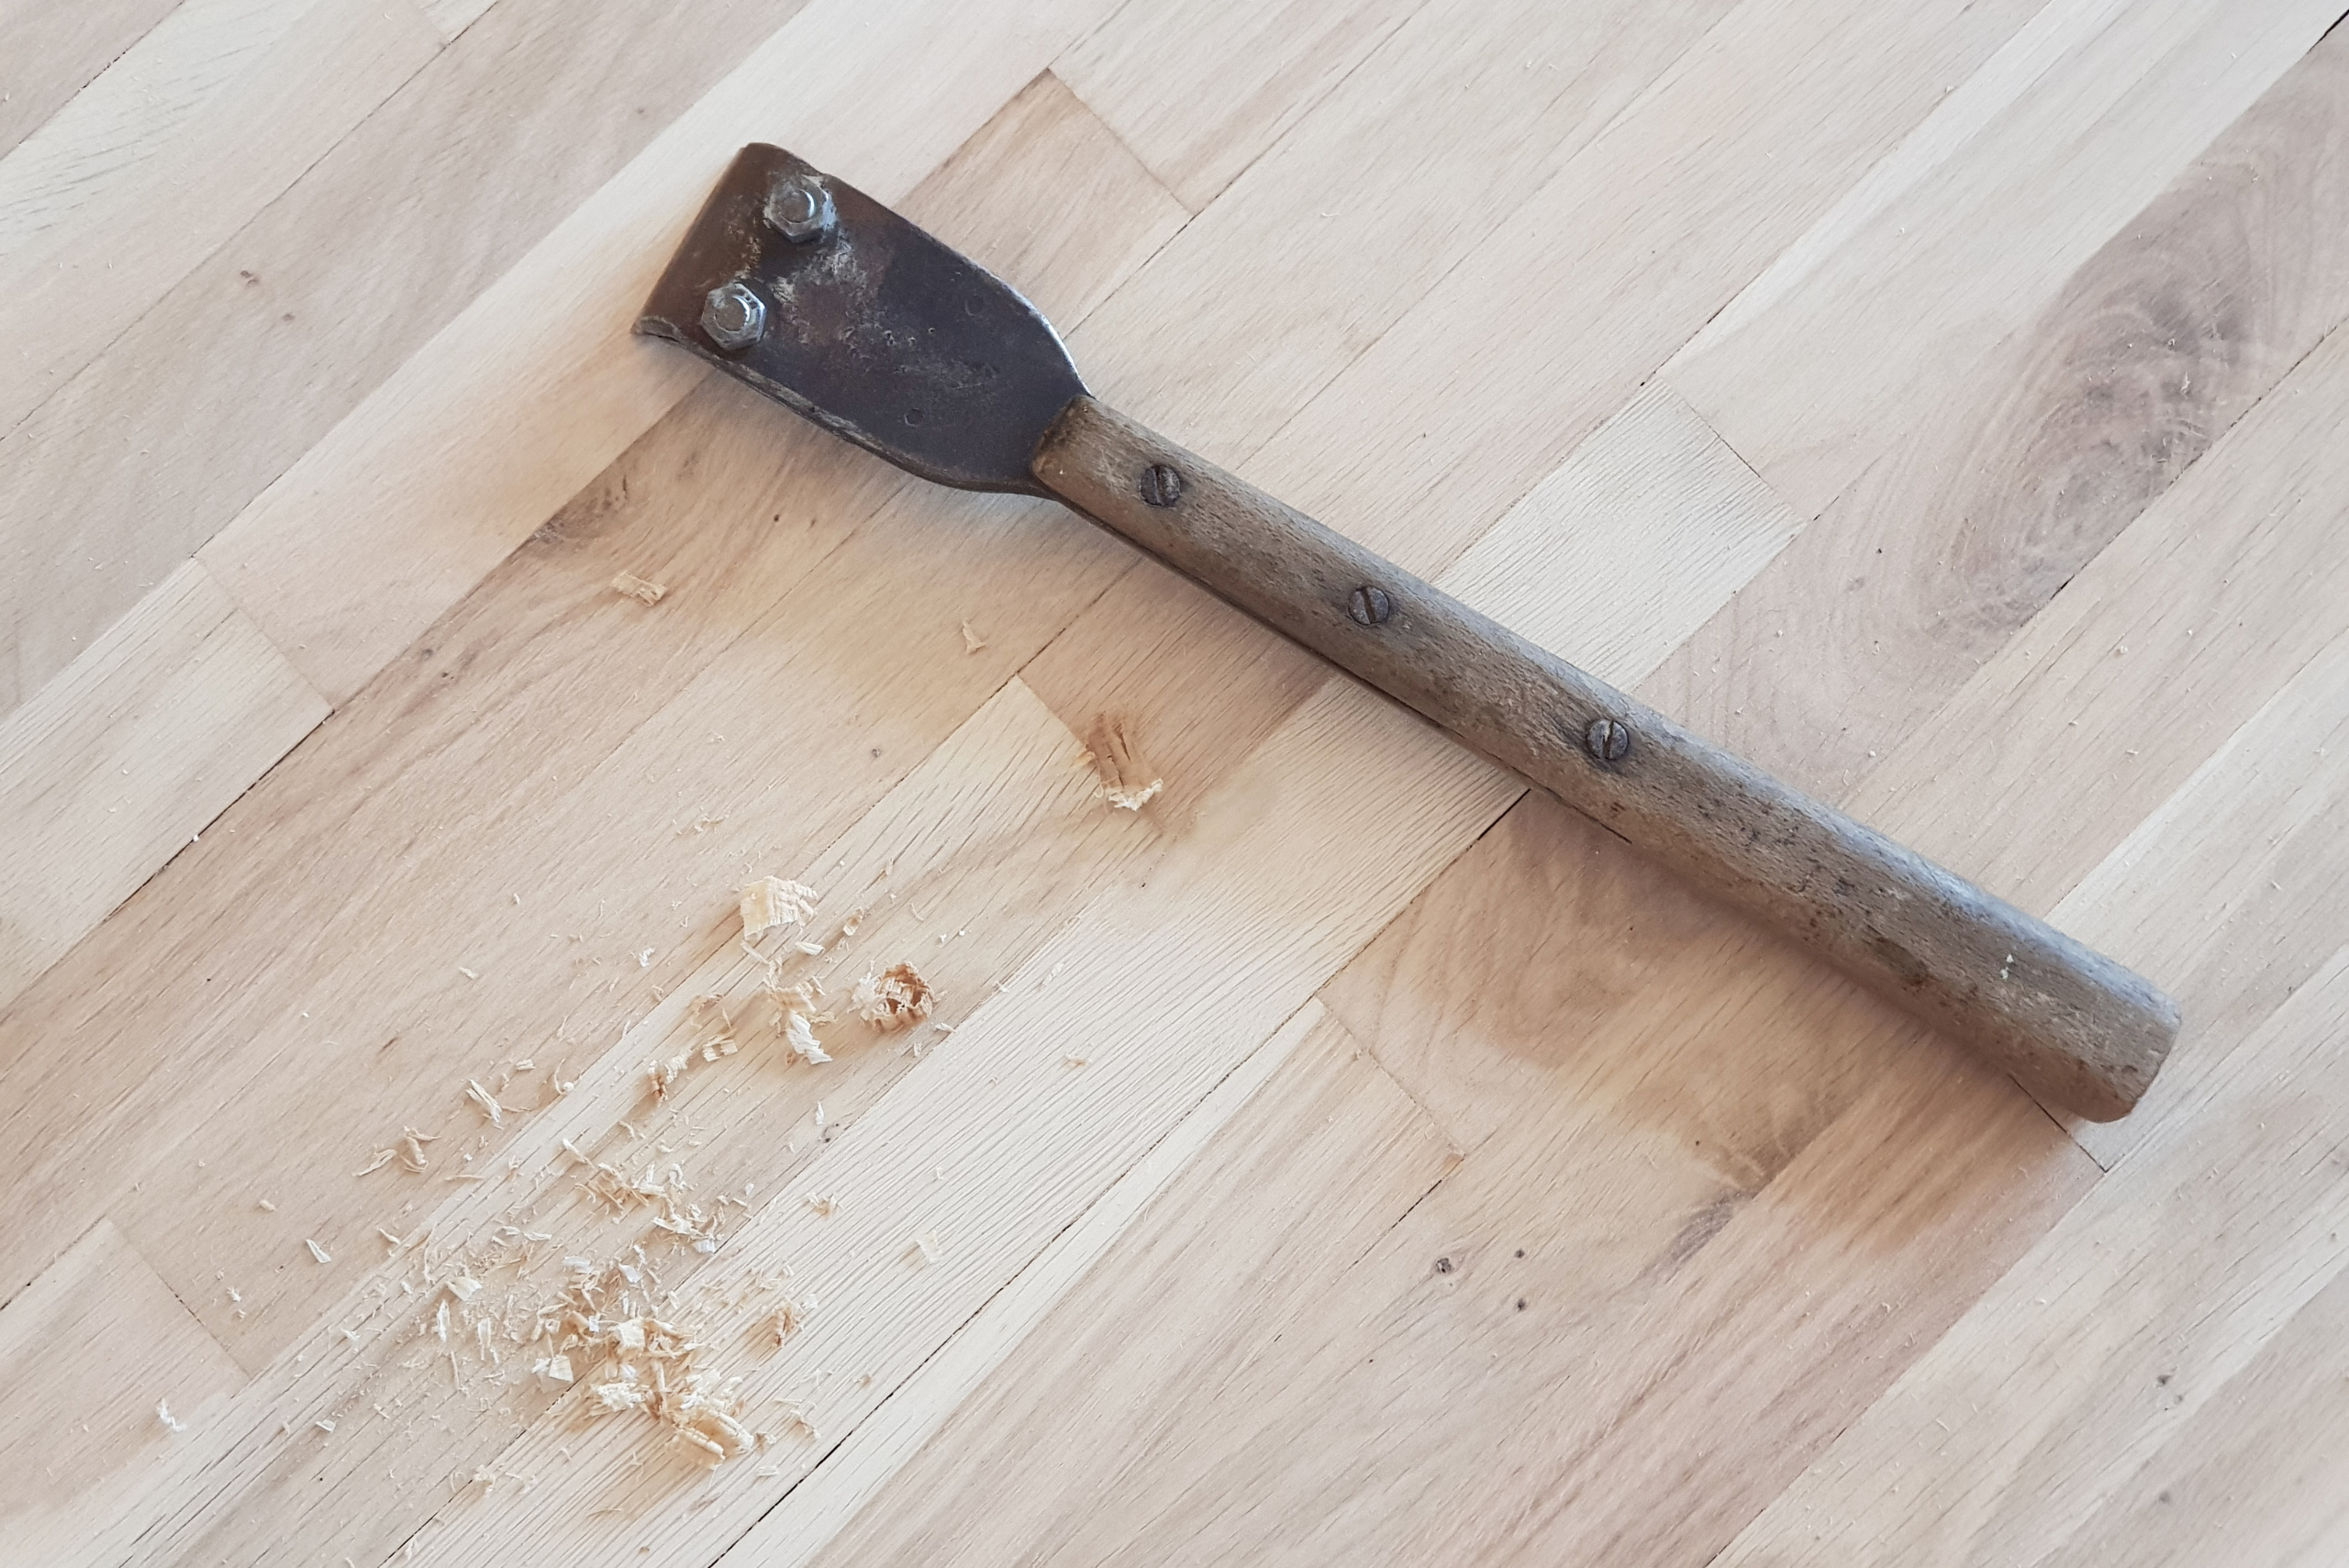
Some wood floors are beyond saving. When they are in bad shape, taking the steps to remove the scratches may be a futile effort. The average wood flooring, even that which is in bad shape, will be covered by layers of wax, polyurethane, and even paint. The good news is that you can strip that all away and start again.
Go with a liquid stripping agent, preferably one that is low on fumes, for optimal safety. Following the instructions on the back is paramount, especially for safety reasons. These are dangerous chemicals, after all, and mishandling them can have serious repercussions.
When you have applied the stripper safely, use a bit of fine-grade steel wool, being sure to stay in the direction of the grain. This should remove some of the excess stripper and allow it to do its job. It is a good idea to do a test patch to see how the stripper will look, much as you would do a patch test when staining.
7.) Color the Scratches in
There are some wood stains out there that can help to minimize the appearance of some deeper scratches. Those wood stains will come in gel, water-based, oil-based, or combination varieties depending on the finish of your floor. How to choose the right stain comes down to the finish of your wood floor. The goal is not to minimize the scratch but to fill it in entirely.
Water-based stains typically come in a lot more shade options, which means being able to pair up your stain to your flooring (it is also easier to clean). Oil-based stains take longer to dry and can create some difficulty in use, though they do provide a lot longer-lasting, richer color than any of the others out there. The combination stain, meanwhile, is probably the most optimal for polyurethane finishes.
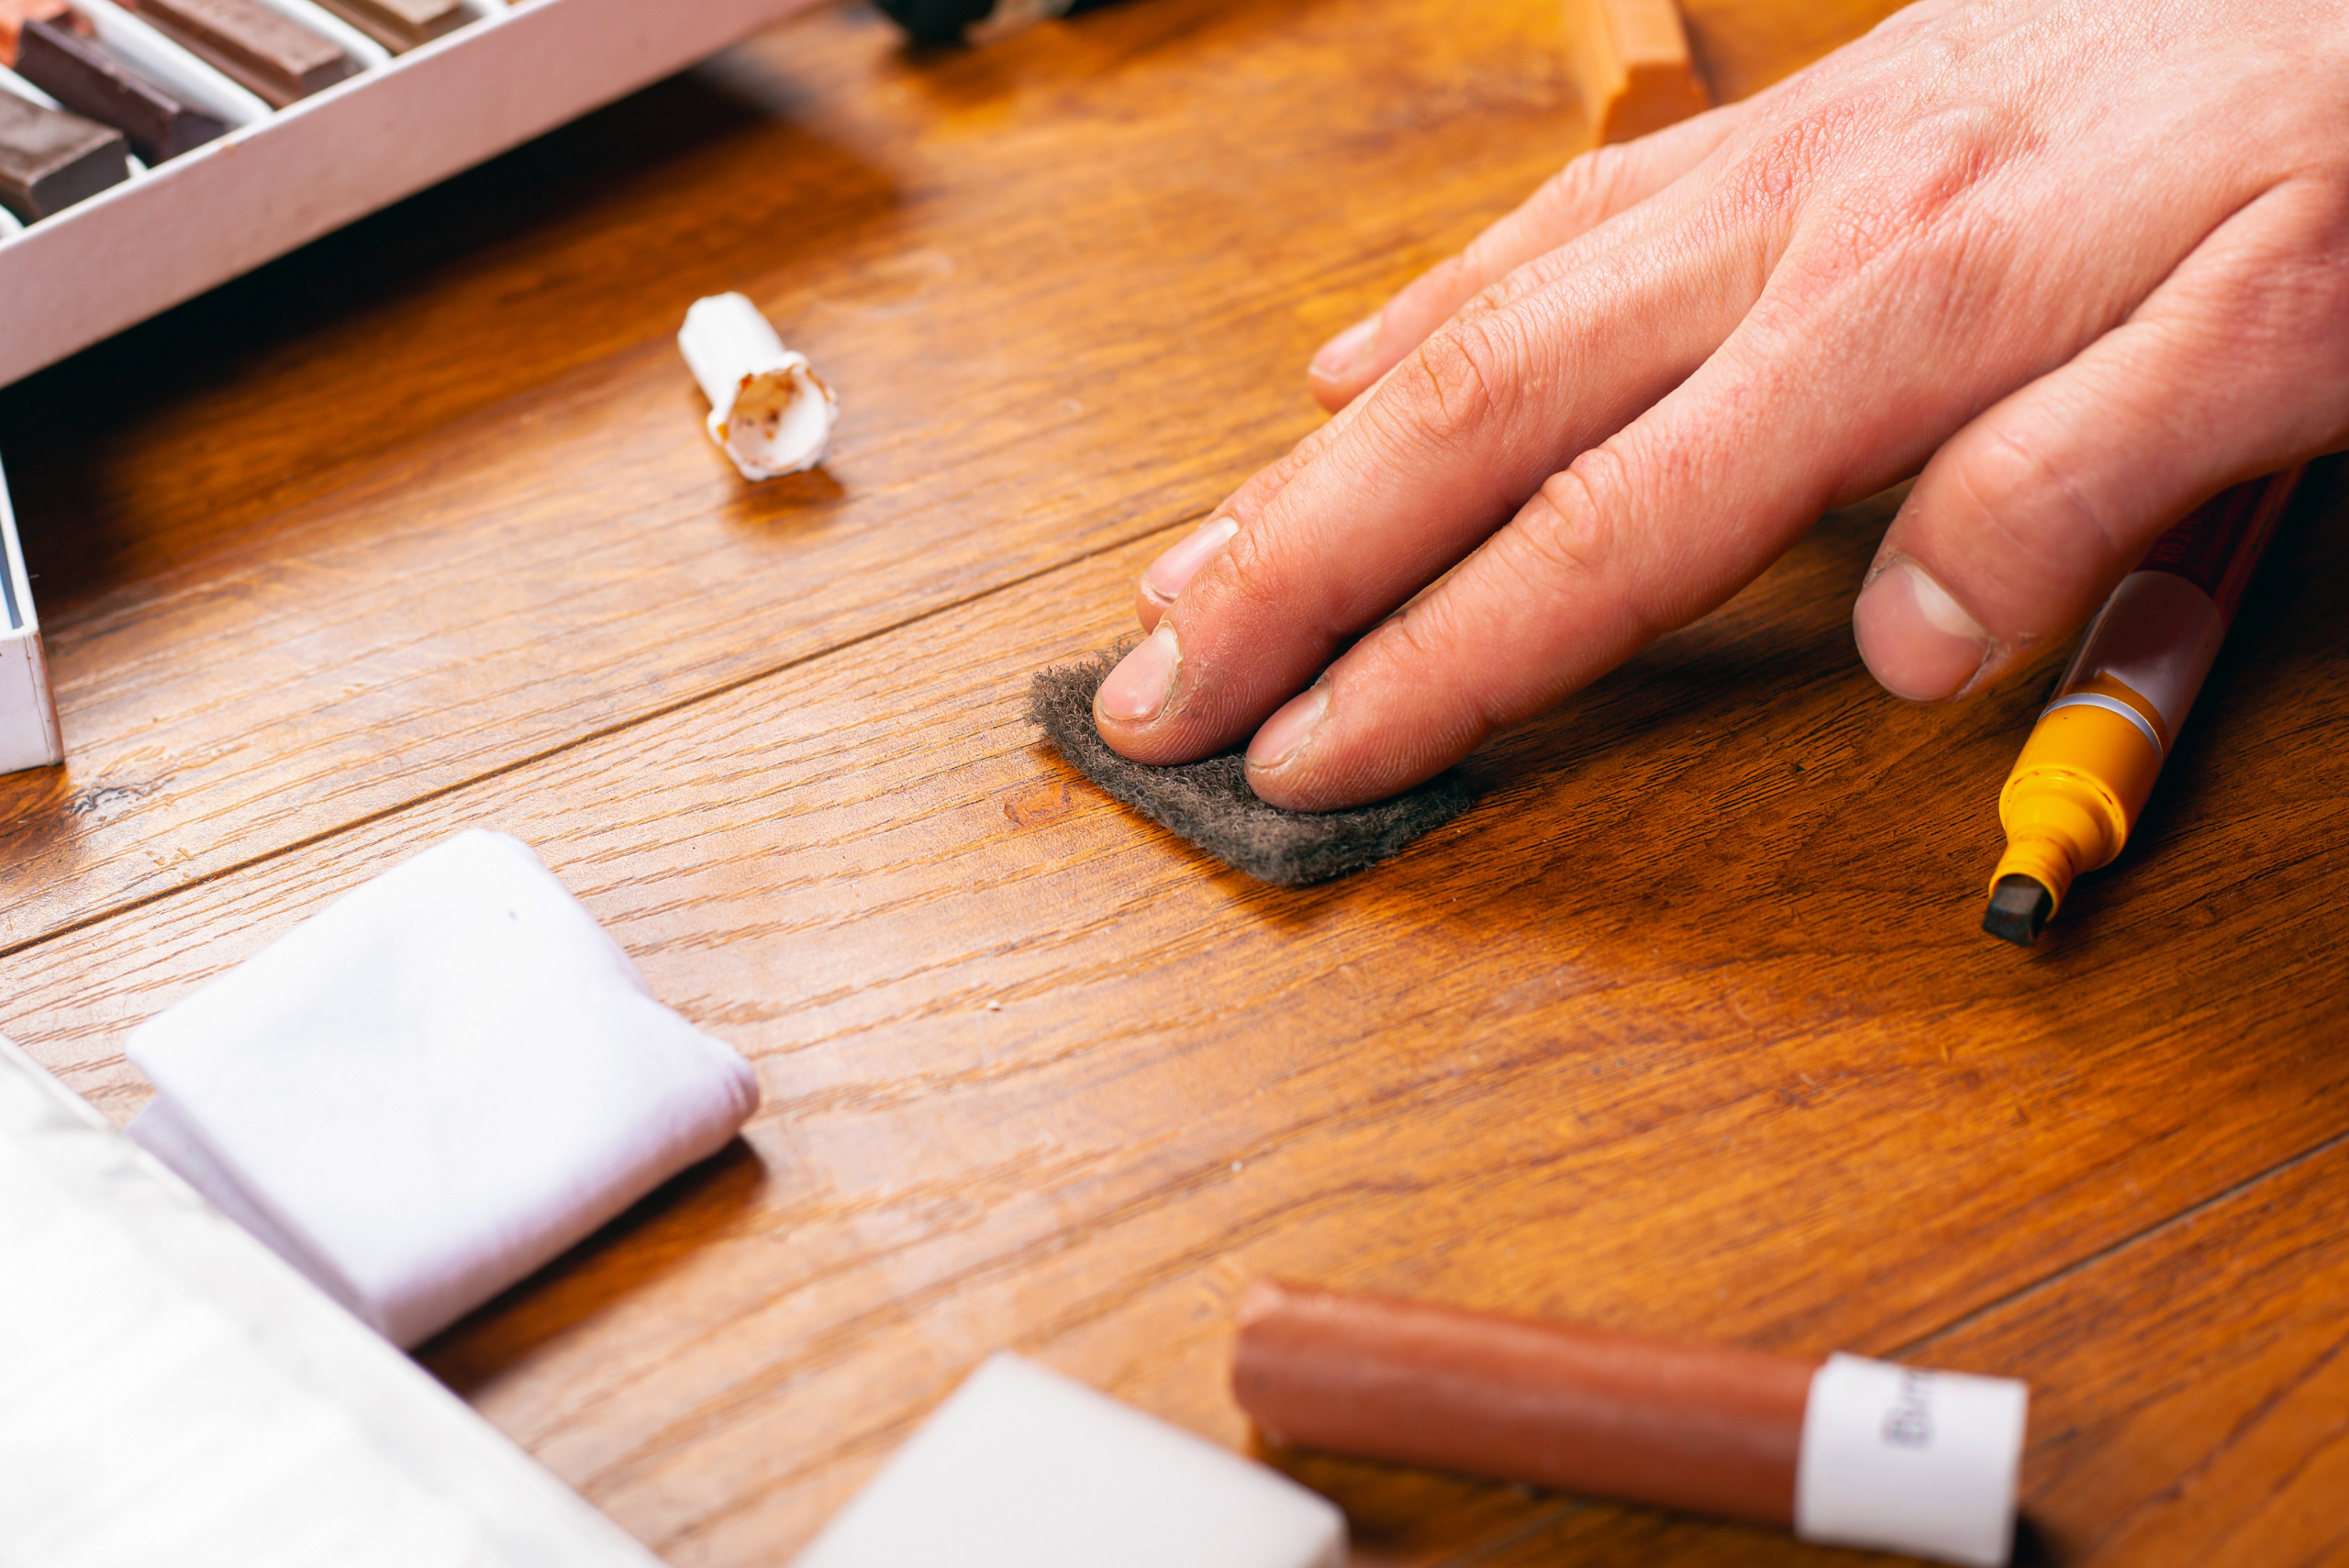
There are also a variety of stain markers, blending pencils, and the like to choose from. Those allow for greater control and don’t have quite the mess that the average stain would carry with it. The only problem is that it may take some time and trial and error to find the right fit for your floor. Whatever you go with, make sure that you follow the instructions on the package. Deviating can create a different finish than is expected.
8.) Bondo It
For those who simply don’t want to start anew but have deeper scratches and gouges to contend with, there is one final option. Using a wood filler like Bondo can be a great way to fill in those areas and make them look as close to new as possible.
Wood filler, for the most part, has the ability to be sanded and then either stained or painted. There are also pre-colored latex wood fillers out there that can serve the same purpose. The good thing about those is that they come in a different array of colors, though you may have to do some blending to find the right color match.
For smaller, deeper holes and scratches, this may be the best option. Bondo or other wood filler is great at getting into the crevices and filling them in. With a little sanding, staining, and finishing, you can get your floors looking almost as good as new.


