Step-by-Step Guide: How to Properly Flush a Tankless Hot Water Heater
Maintaining your tankless water heater is crucial to ensuring its longevity and efficiency. Over time, minerals and sediment can build up within the system, reducing its performance and potentially causing damage. Knowing how to flush a tankless water heater can save you from costly repairs and keep your hot water flowing smoothly. This process is relatively simple and can be completed with a few basic tools and some patience.
Ready to take on life with unshakable confidence? Whether you’re aiming to excel in your career, improve your relationships, or conquer DIY projects, NLP Hero’s Confidence Course is your key to success. Click here to start transforming your confidence and be better at everything you do!
In this article, we will walk you through the step-by-step process of flushing your tankless water heater, discuss why it’s important, and provide tips to make the task easier. Whether you’re a seasoned DIY enthusiast or a first-time homeowner, our comprehensive guide will equip you with the knowledge you need to maintain your tankless water heater effectively.
Why Flushing Your Tankless Water Heater is Important
Flushing your tankless water heater is essential for removing mineral buildup and sediment that can clog the system. Over time, hard water deposits can accumulate, particularly in areas with high mineral content. This buildup can lead to decreased efficiency, increased energy consumption, and even damage to the heater’s components.
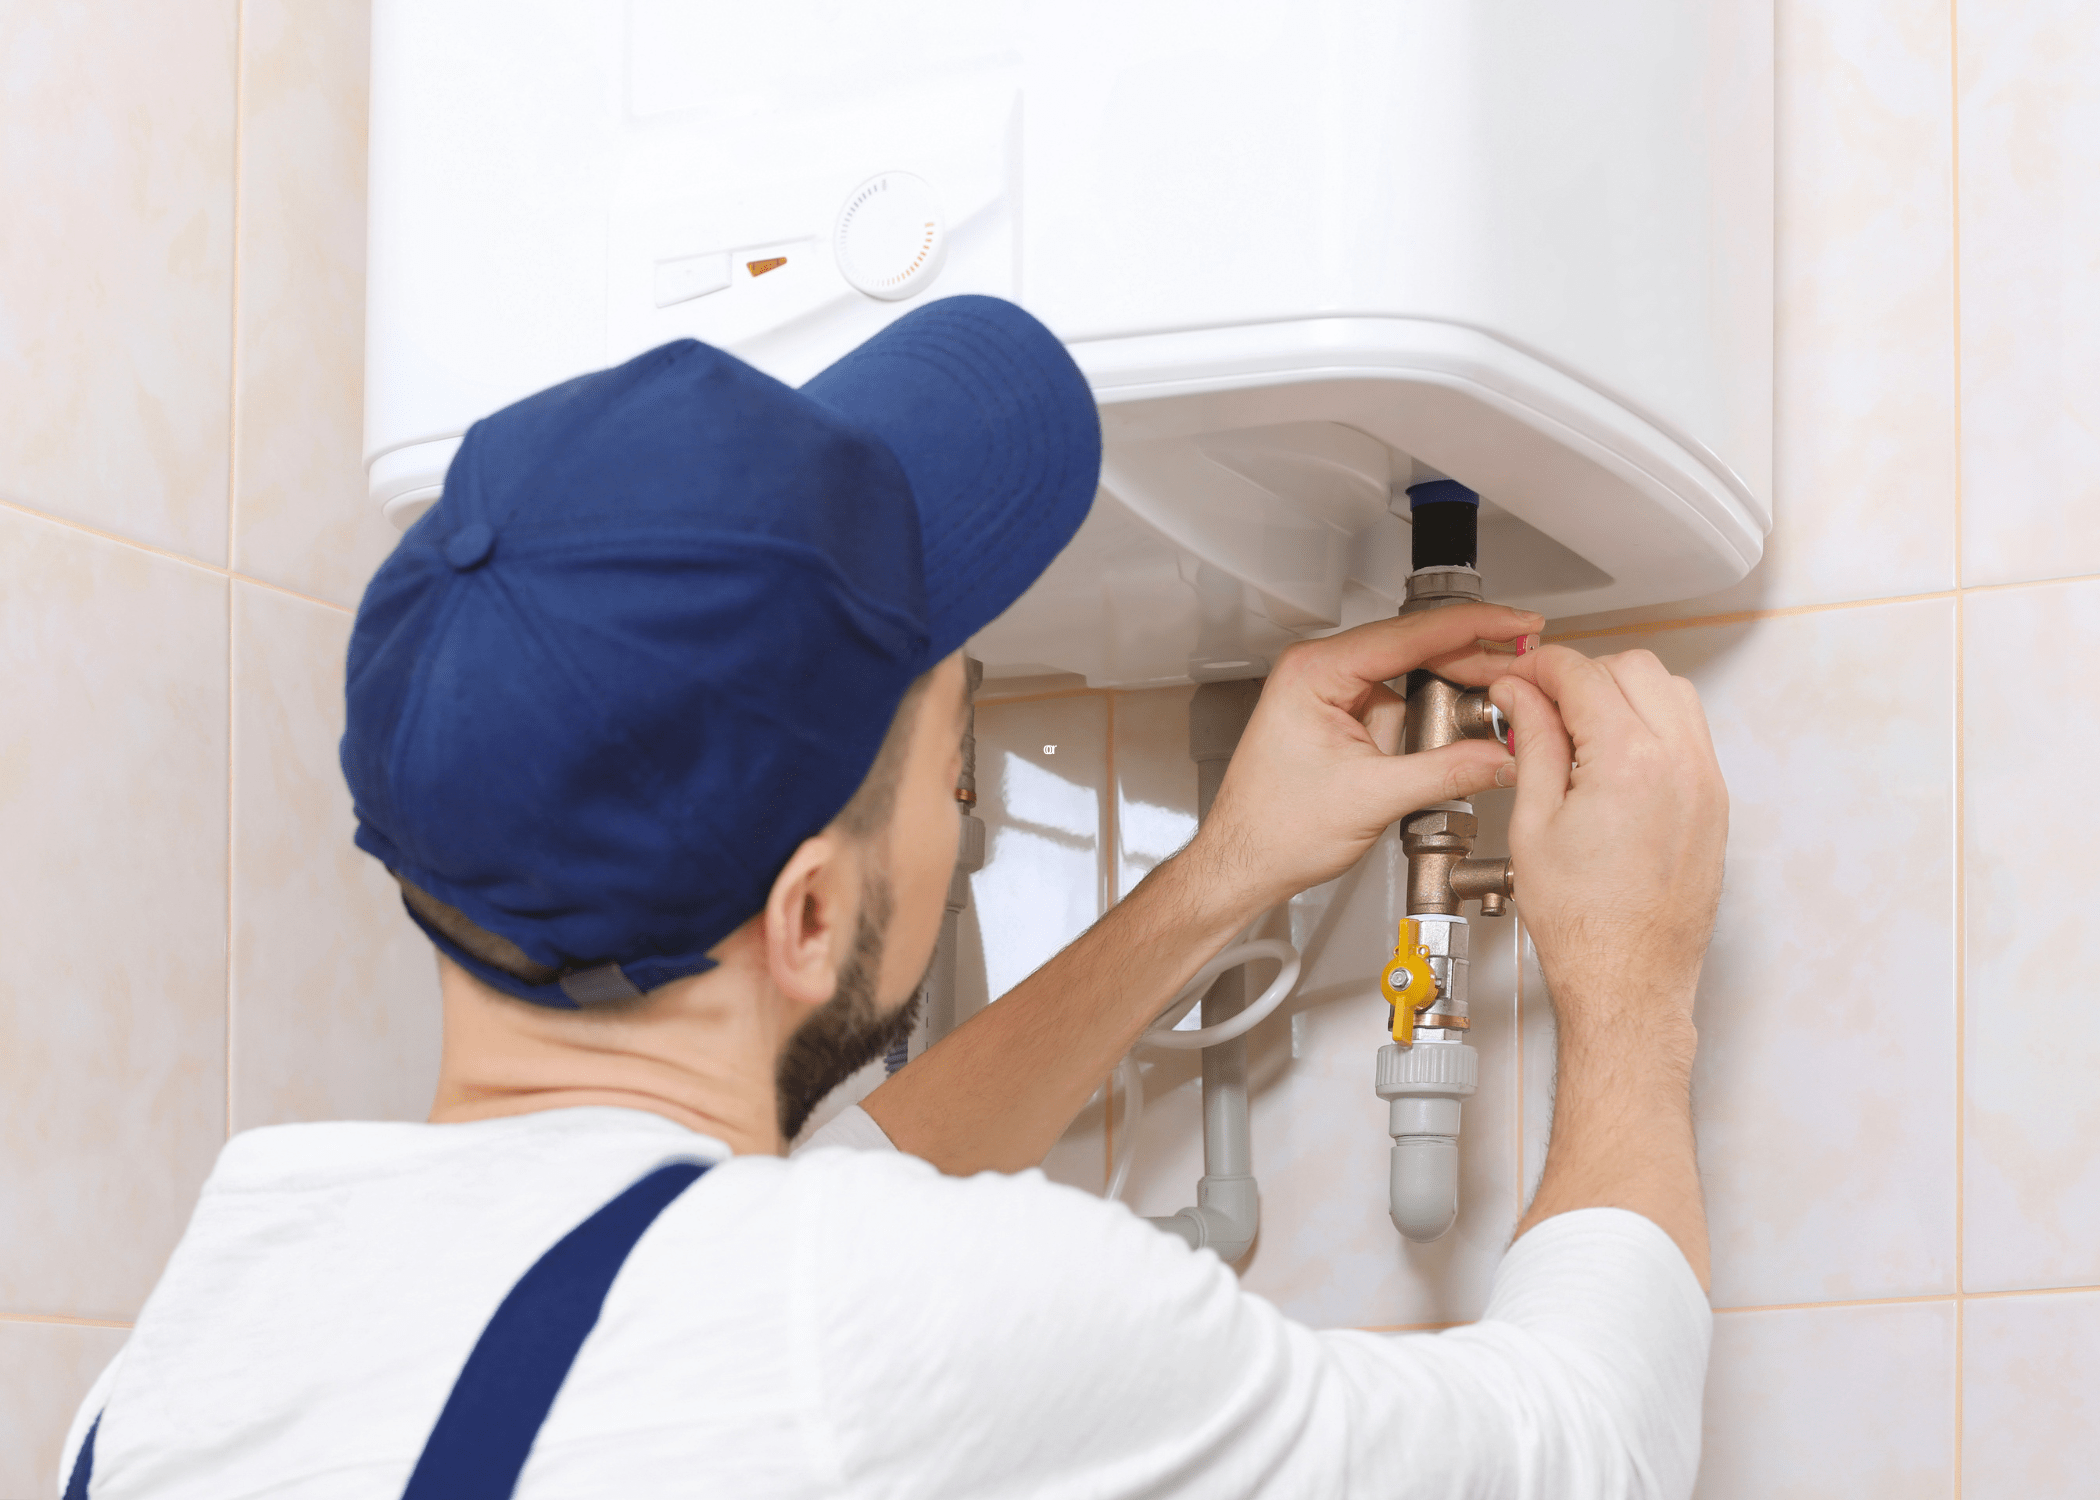
By regularly flushing your tankless water heater, you ensure it operates at optimal performance, extending its lifespan and saving on energy bills. Moreover, flushing helps maintain water quality by preventing contaminants from circulating through your plumbing system.
Tools and Materials Needed
Before you begin the process of flushing your tankless water heater, gather all the necessary tools and materials. You will need a submersible pump, a bucket, a hose, white vinegar, and a screwdriver. The submersible pump is crucial for circulating the cleaning solution through the heater, while the white vinegar acts as a natural descaling agent to dissolve mineral deposits.
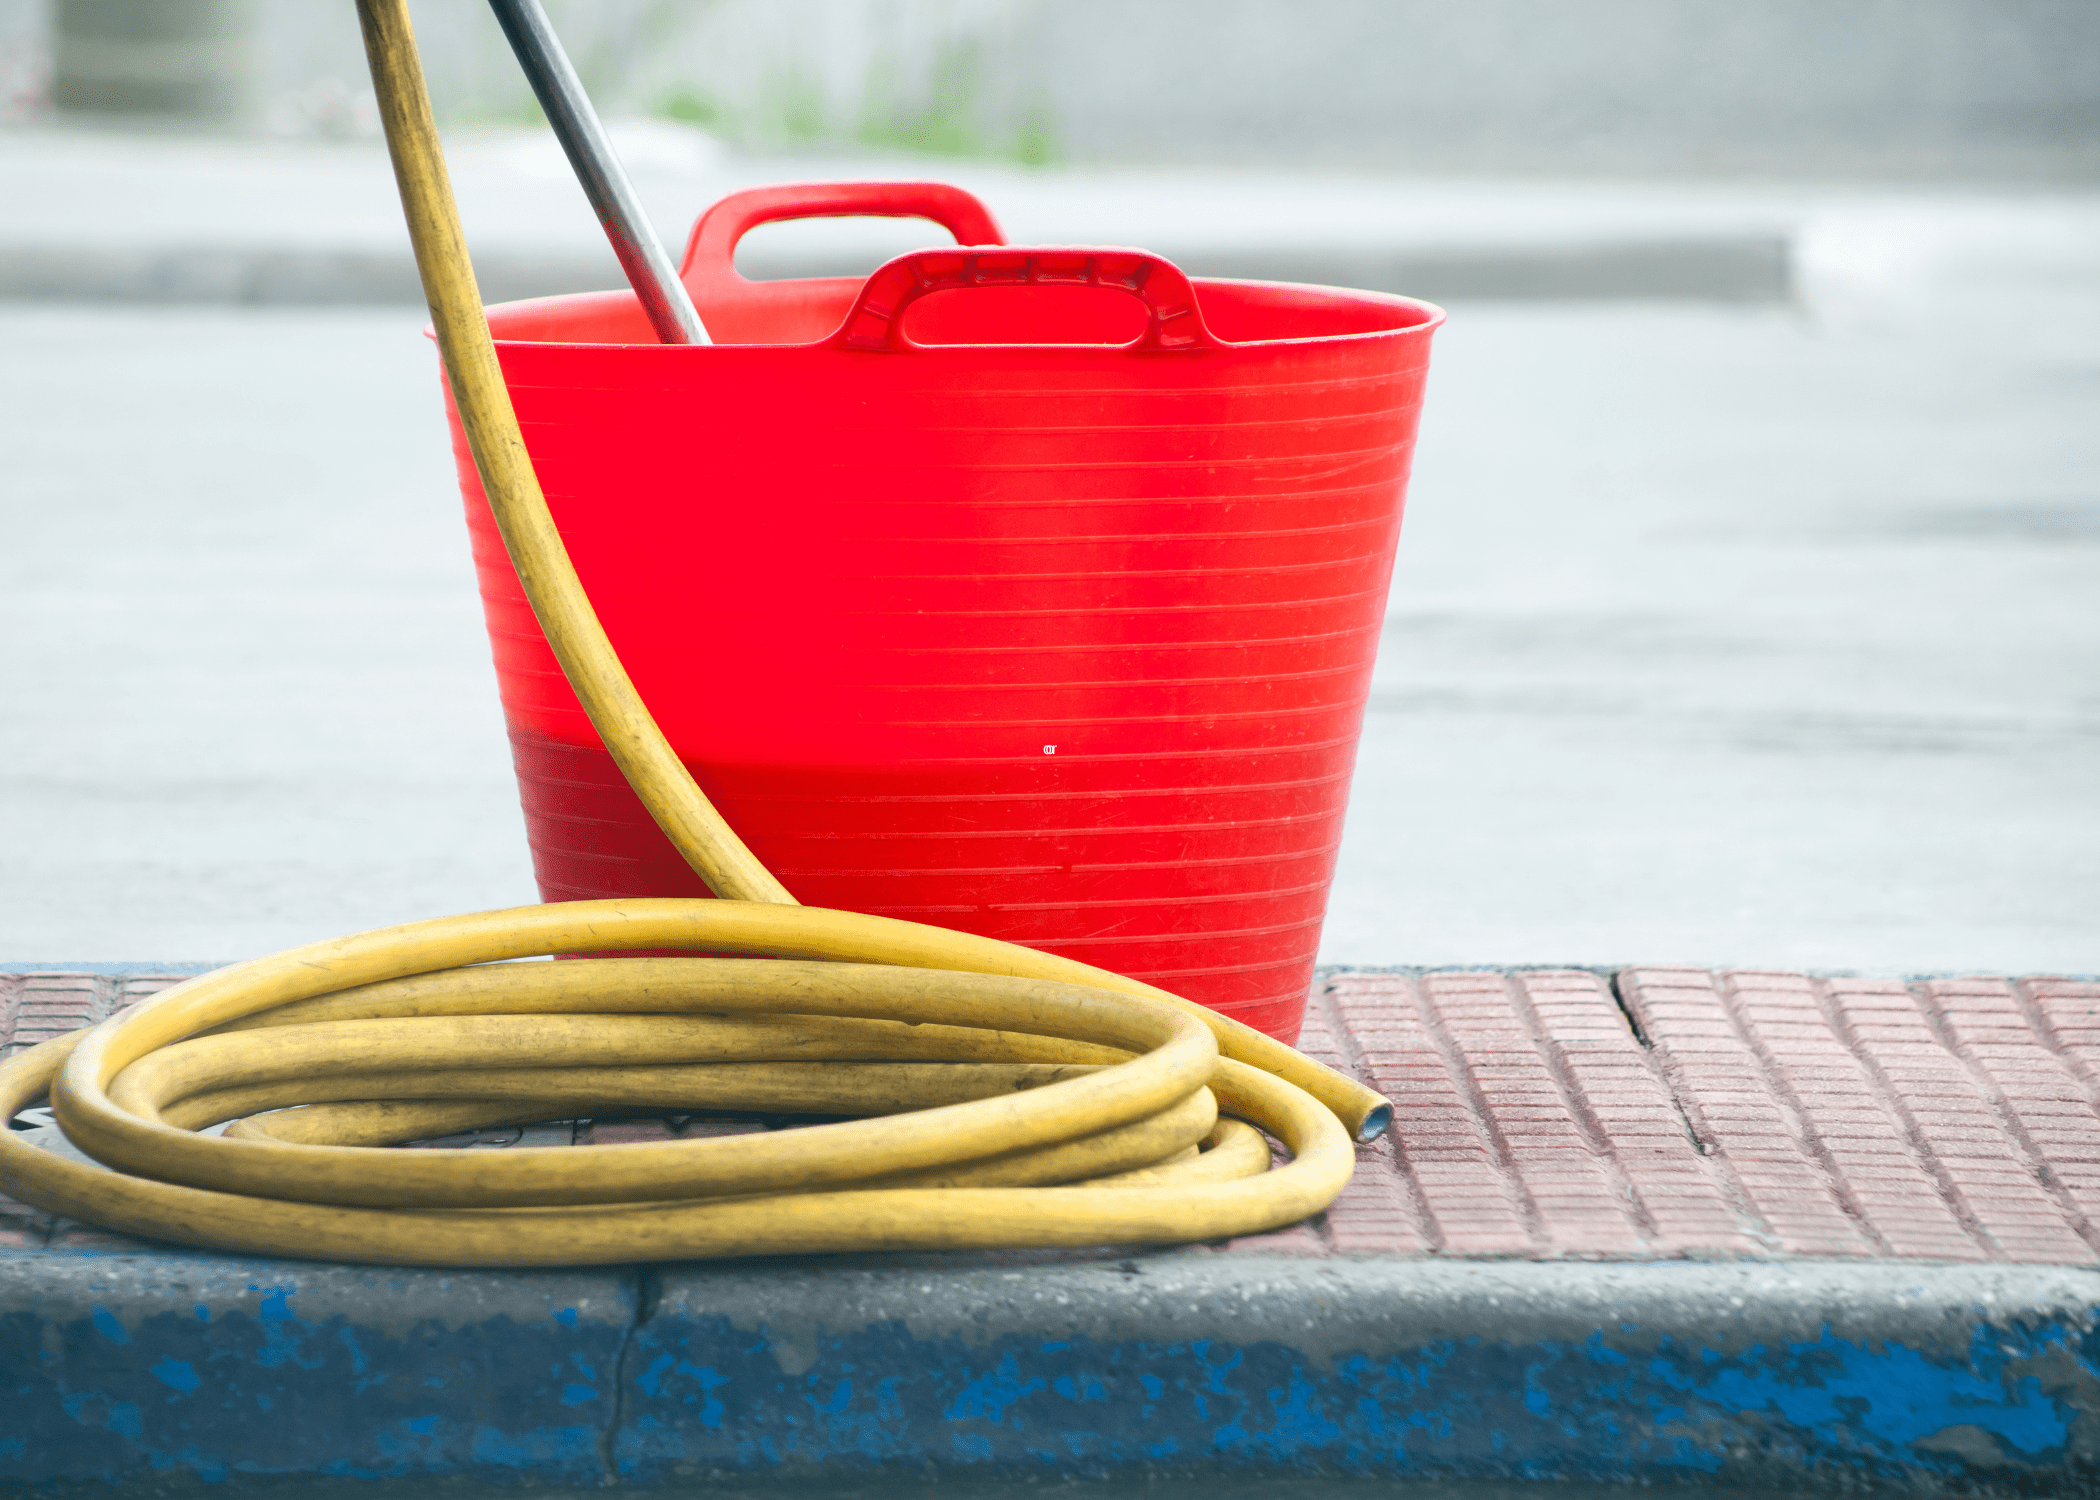
A bucket will collect the used solution, and a hose helps direct the flow of water. Make sure you have everything on hand to avoid interruptions and ensure a smooth flushing process.
Preparing Your Tankless Water Heater for Flushing
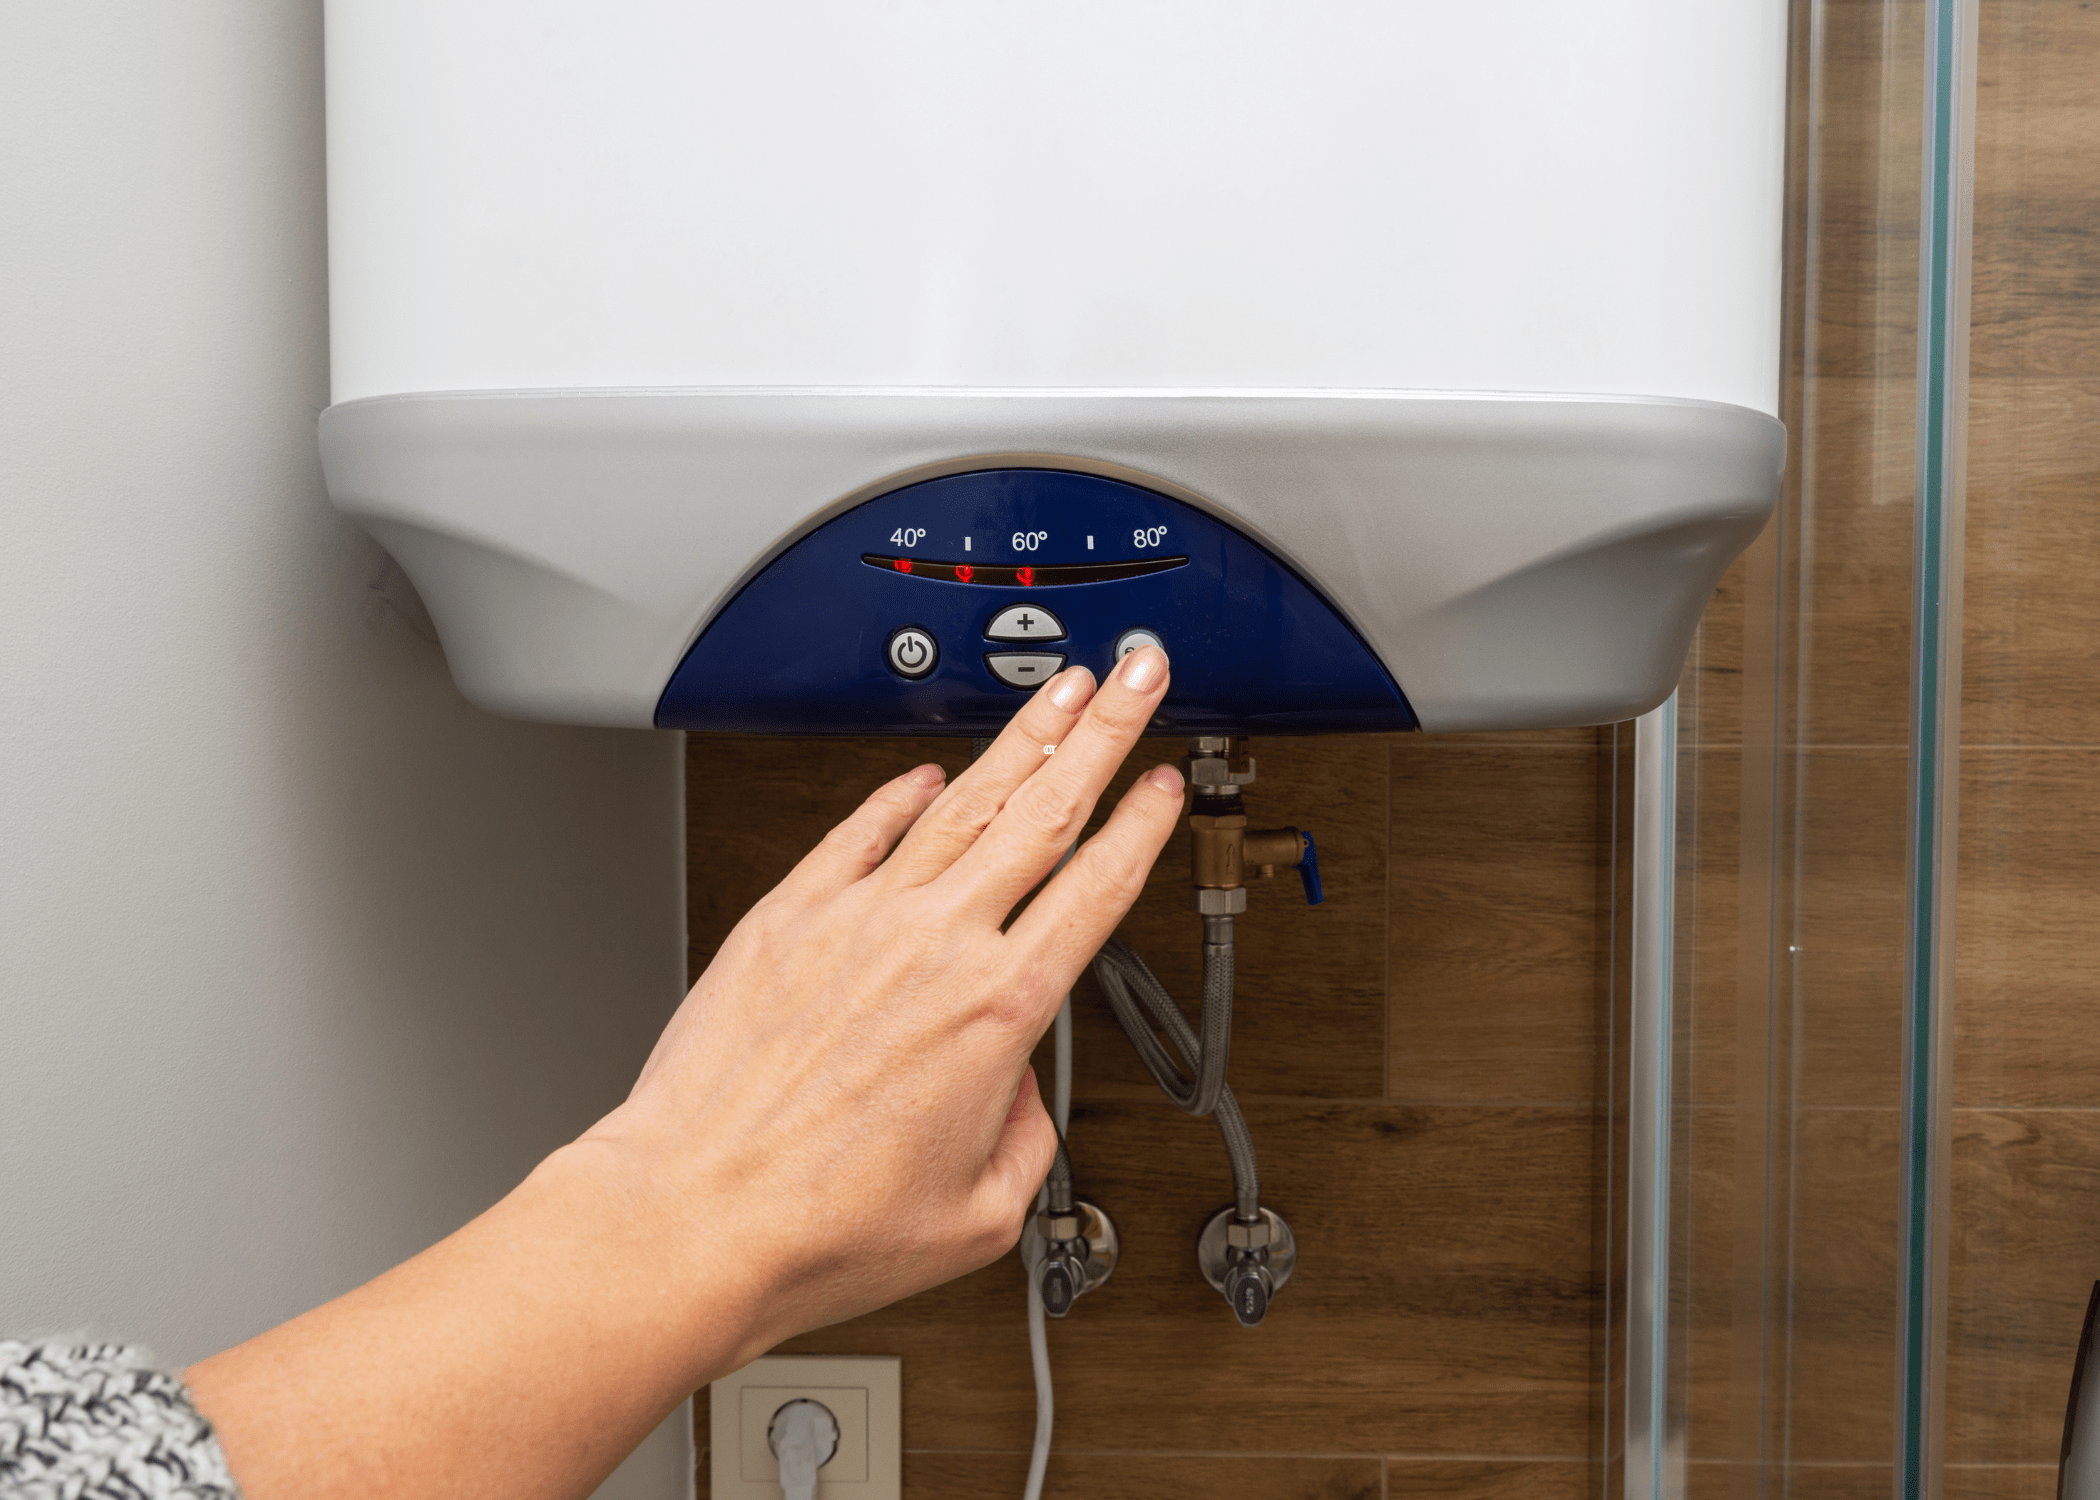
Preparation is key to safely and effectively flushing your tankless water heater. Begin by turning off the power supply to the unit—this could be a gas valve for a gas heater or a circuit breaker for an electric model. Next, shut off the water supply to the heater to prevent any accidental spills.
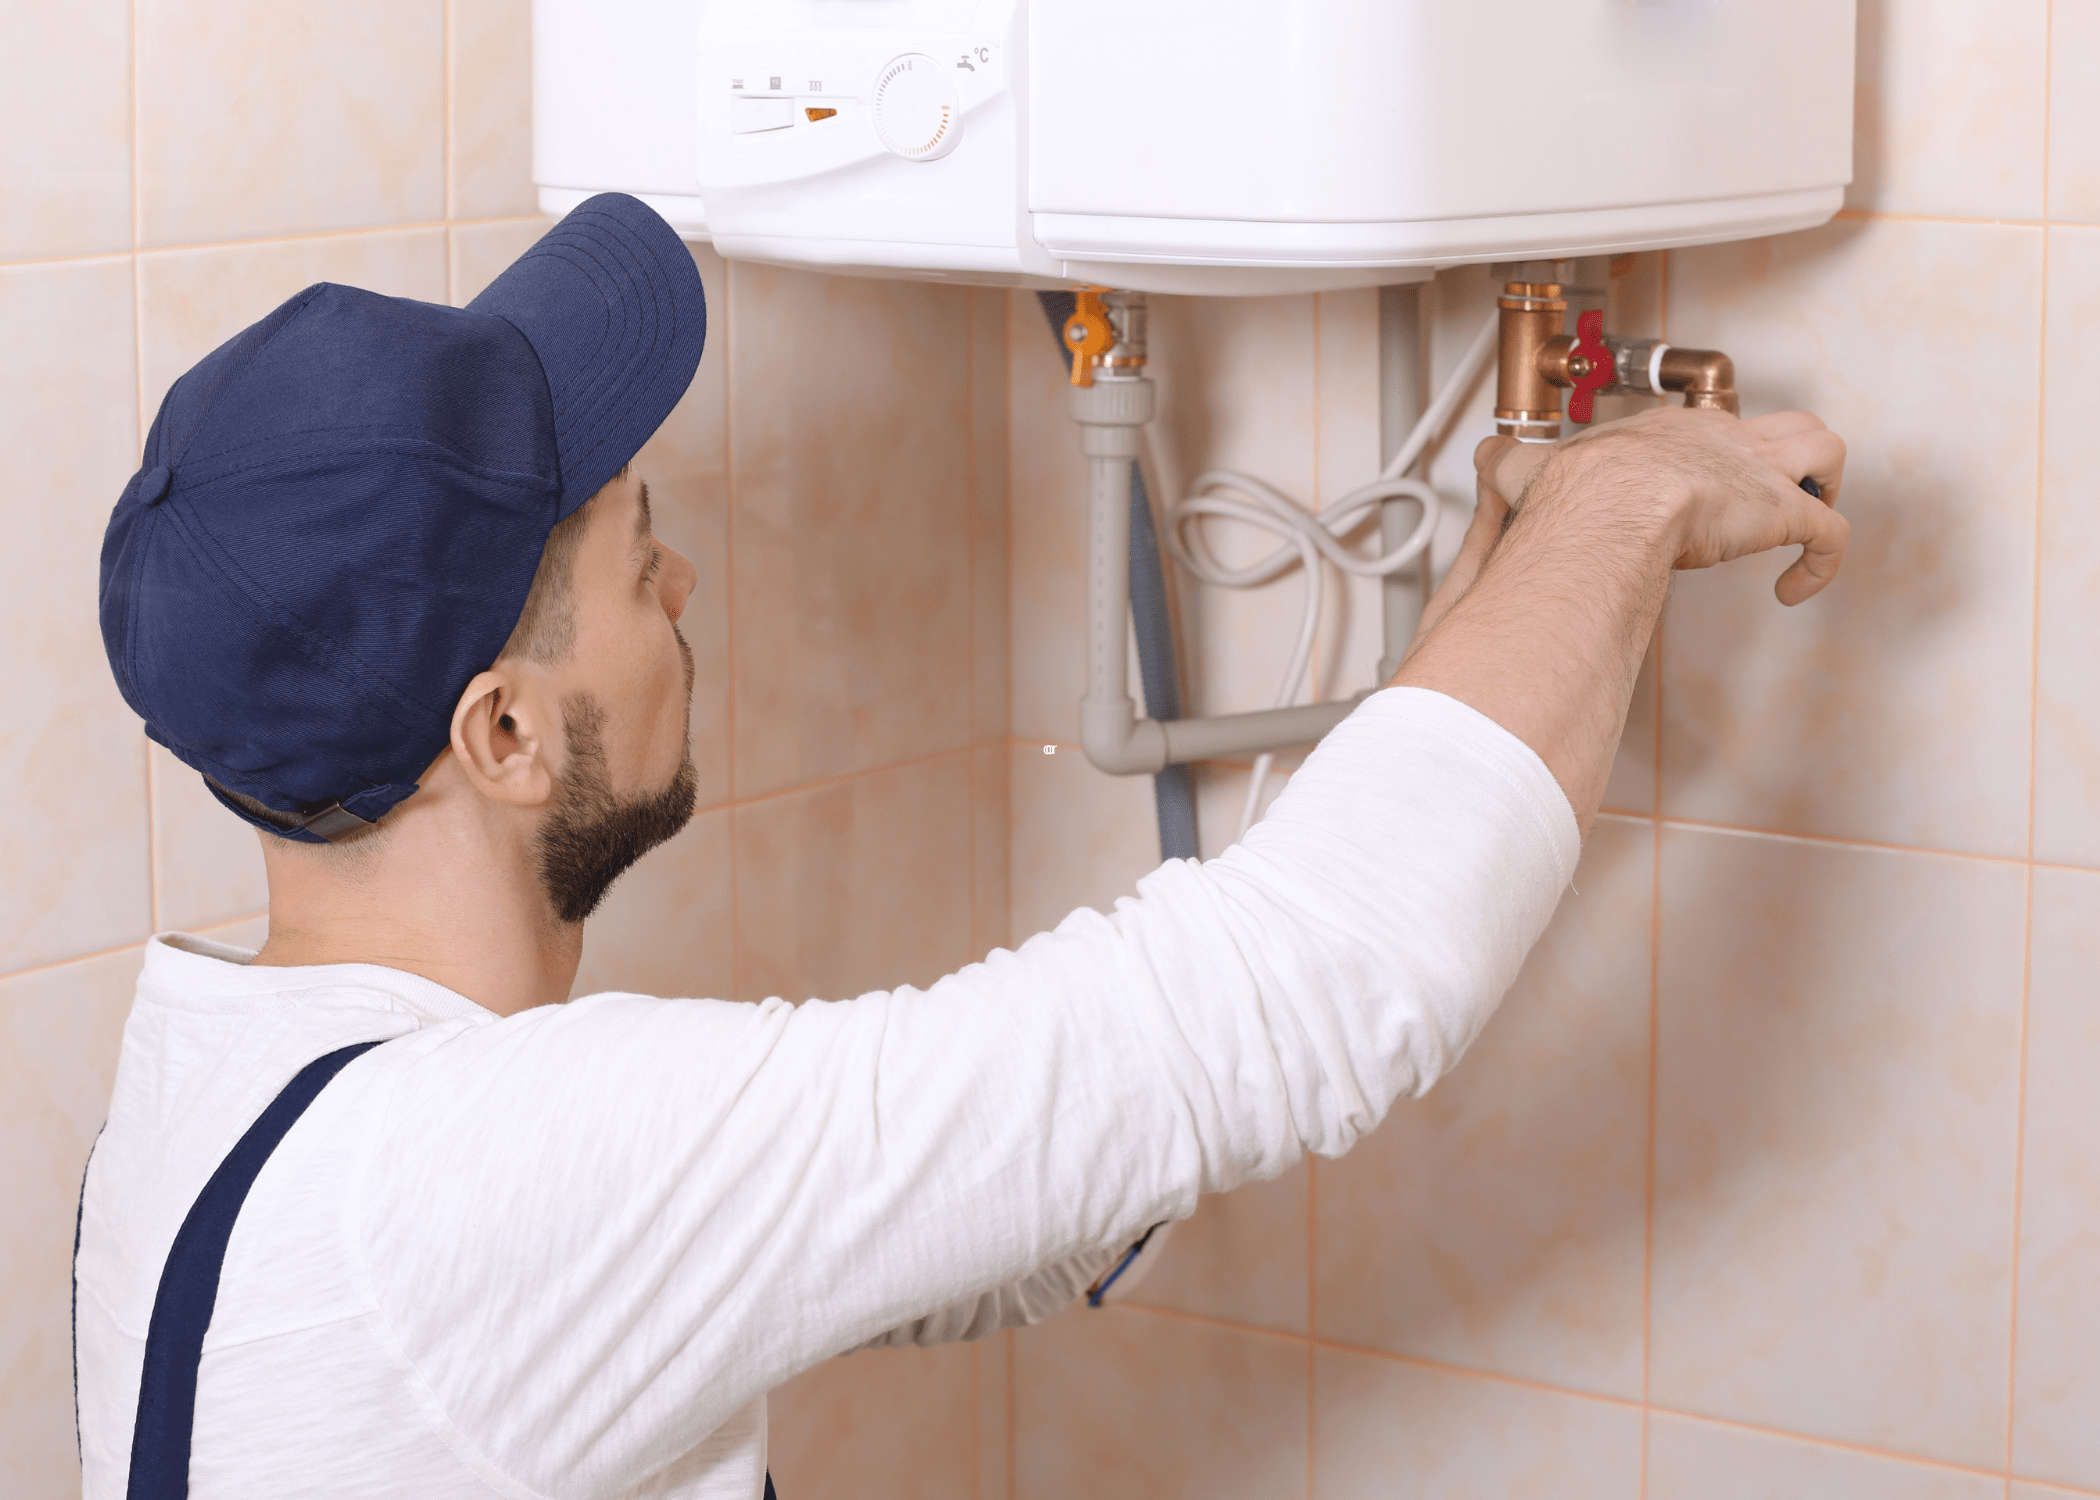
Locate the service valves, usually positioned near the bottom of the unit, and attach the hose to the cold water service valve. Place the other end of the hose into a bucket filled with white vinegar. This setup allows the cleaning solution to circulate through the heater.
Flushing the System
To flush your tankless water heater, start by opening the service valves and turning on the submersible pump. The pump will draw the vinegar solution through the cold water service valve, circulate it through the heater, and expel it via the hot water service valve into the bucket.
Allow the pump to run for about 45 minutes to an hour. This duration gives the vinegar enough time to dissolve the mineral deposits and clean the internal components. After the specified time, turn off the pump and close the service valves. Disconnect the hose and dispose of the used vinegar solution.
Rinsing and Reassembling
Once you have flushed your tankless water heater, it’s important to rinse the system thoroughly to remove any remaining vinegar residue. Reattach the hose to the cold water service valve and run clean water through the system for about 10 minutes. This step ensures that all traces of vinegar and dissolved minerals are flushed out.
After rinsing, close the service valves, reattach the unit’s cover, and turn the water supply back on. Finally, restore power to the heater by turning on the gas valve or flipping the circuit breaker.
Testing Your Tankless Water Heater
After reassembling and turning the power back on, it’s time to test your tankless water heater to ensure it’s functioning correctly. Open a hot water tap and let the water run for a few minutes.
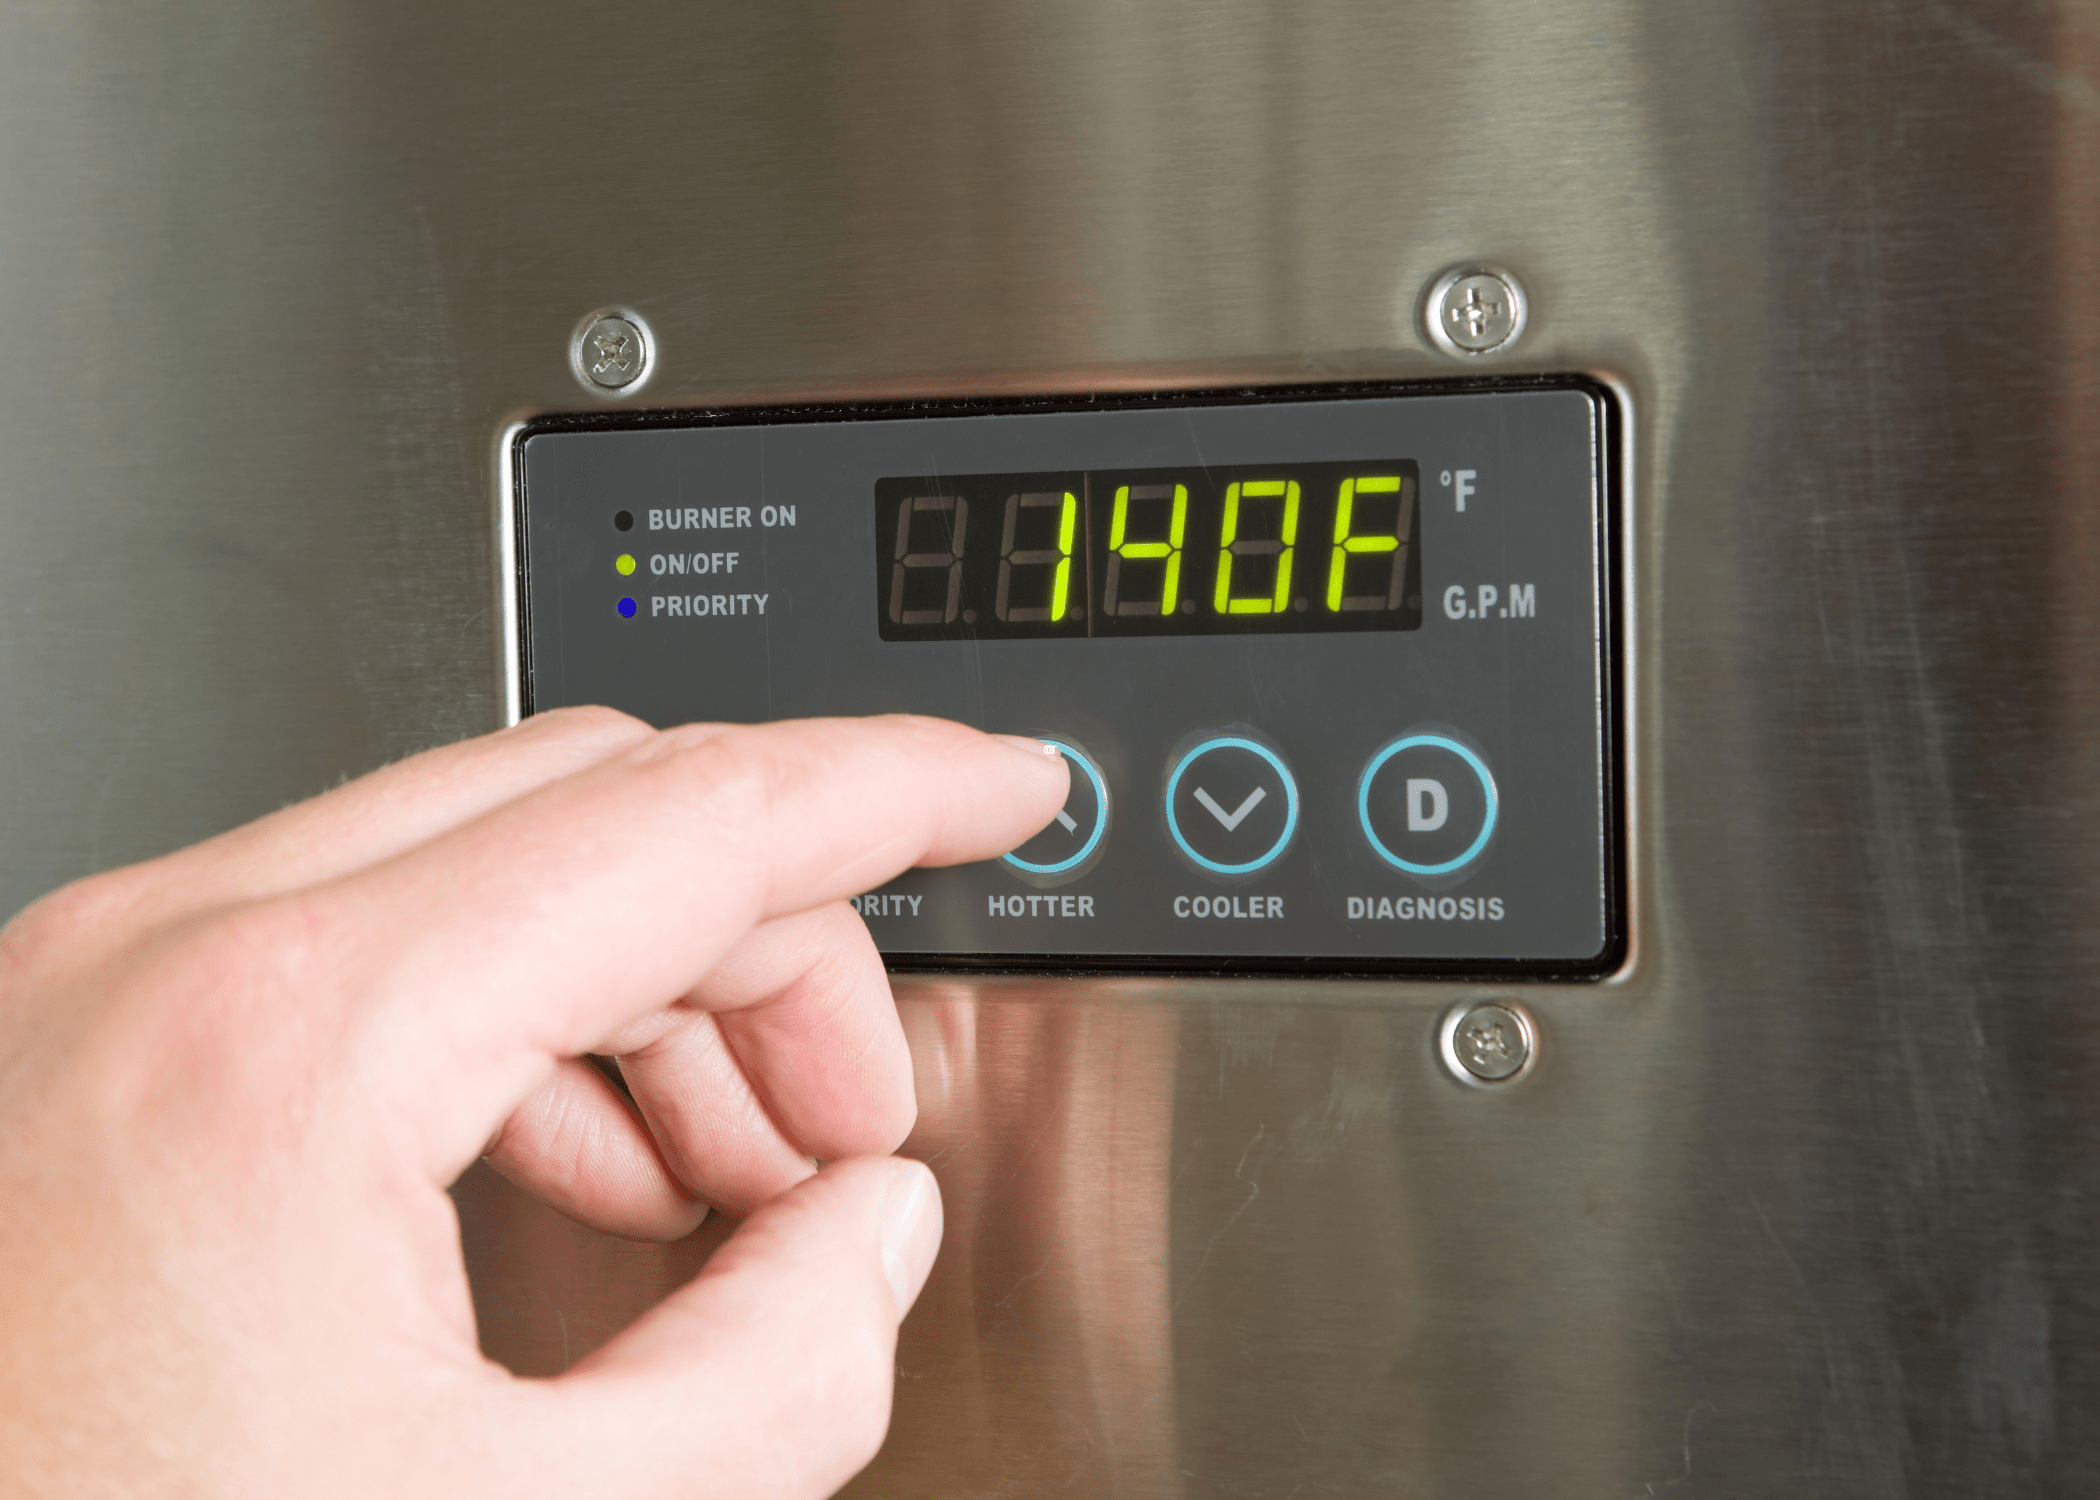
Check for a steady flow of hot water and listen for any unusual noises that might indicate remaining sediment or air pockets in the system. If the water temperature is consistent and the heater operates quietly, then the flushing was successful. Regularly testing your heater after maintenance helps catch potential issues early and ensures reliable performance.
Maintenance Tips for Longevity
To keep your tankless water heater in top condition, incorporate regular maintenance practices. Flushing the system at least once a year is recommended, especially if you live in an area with hard water. Additionally, consider installing a water softener to reduce mineral buildup.
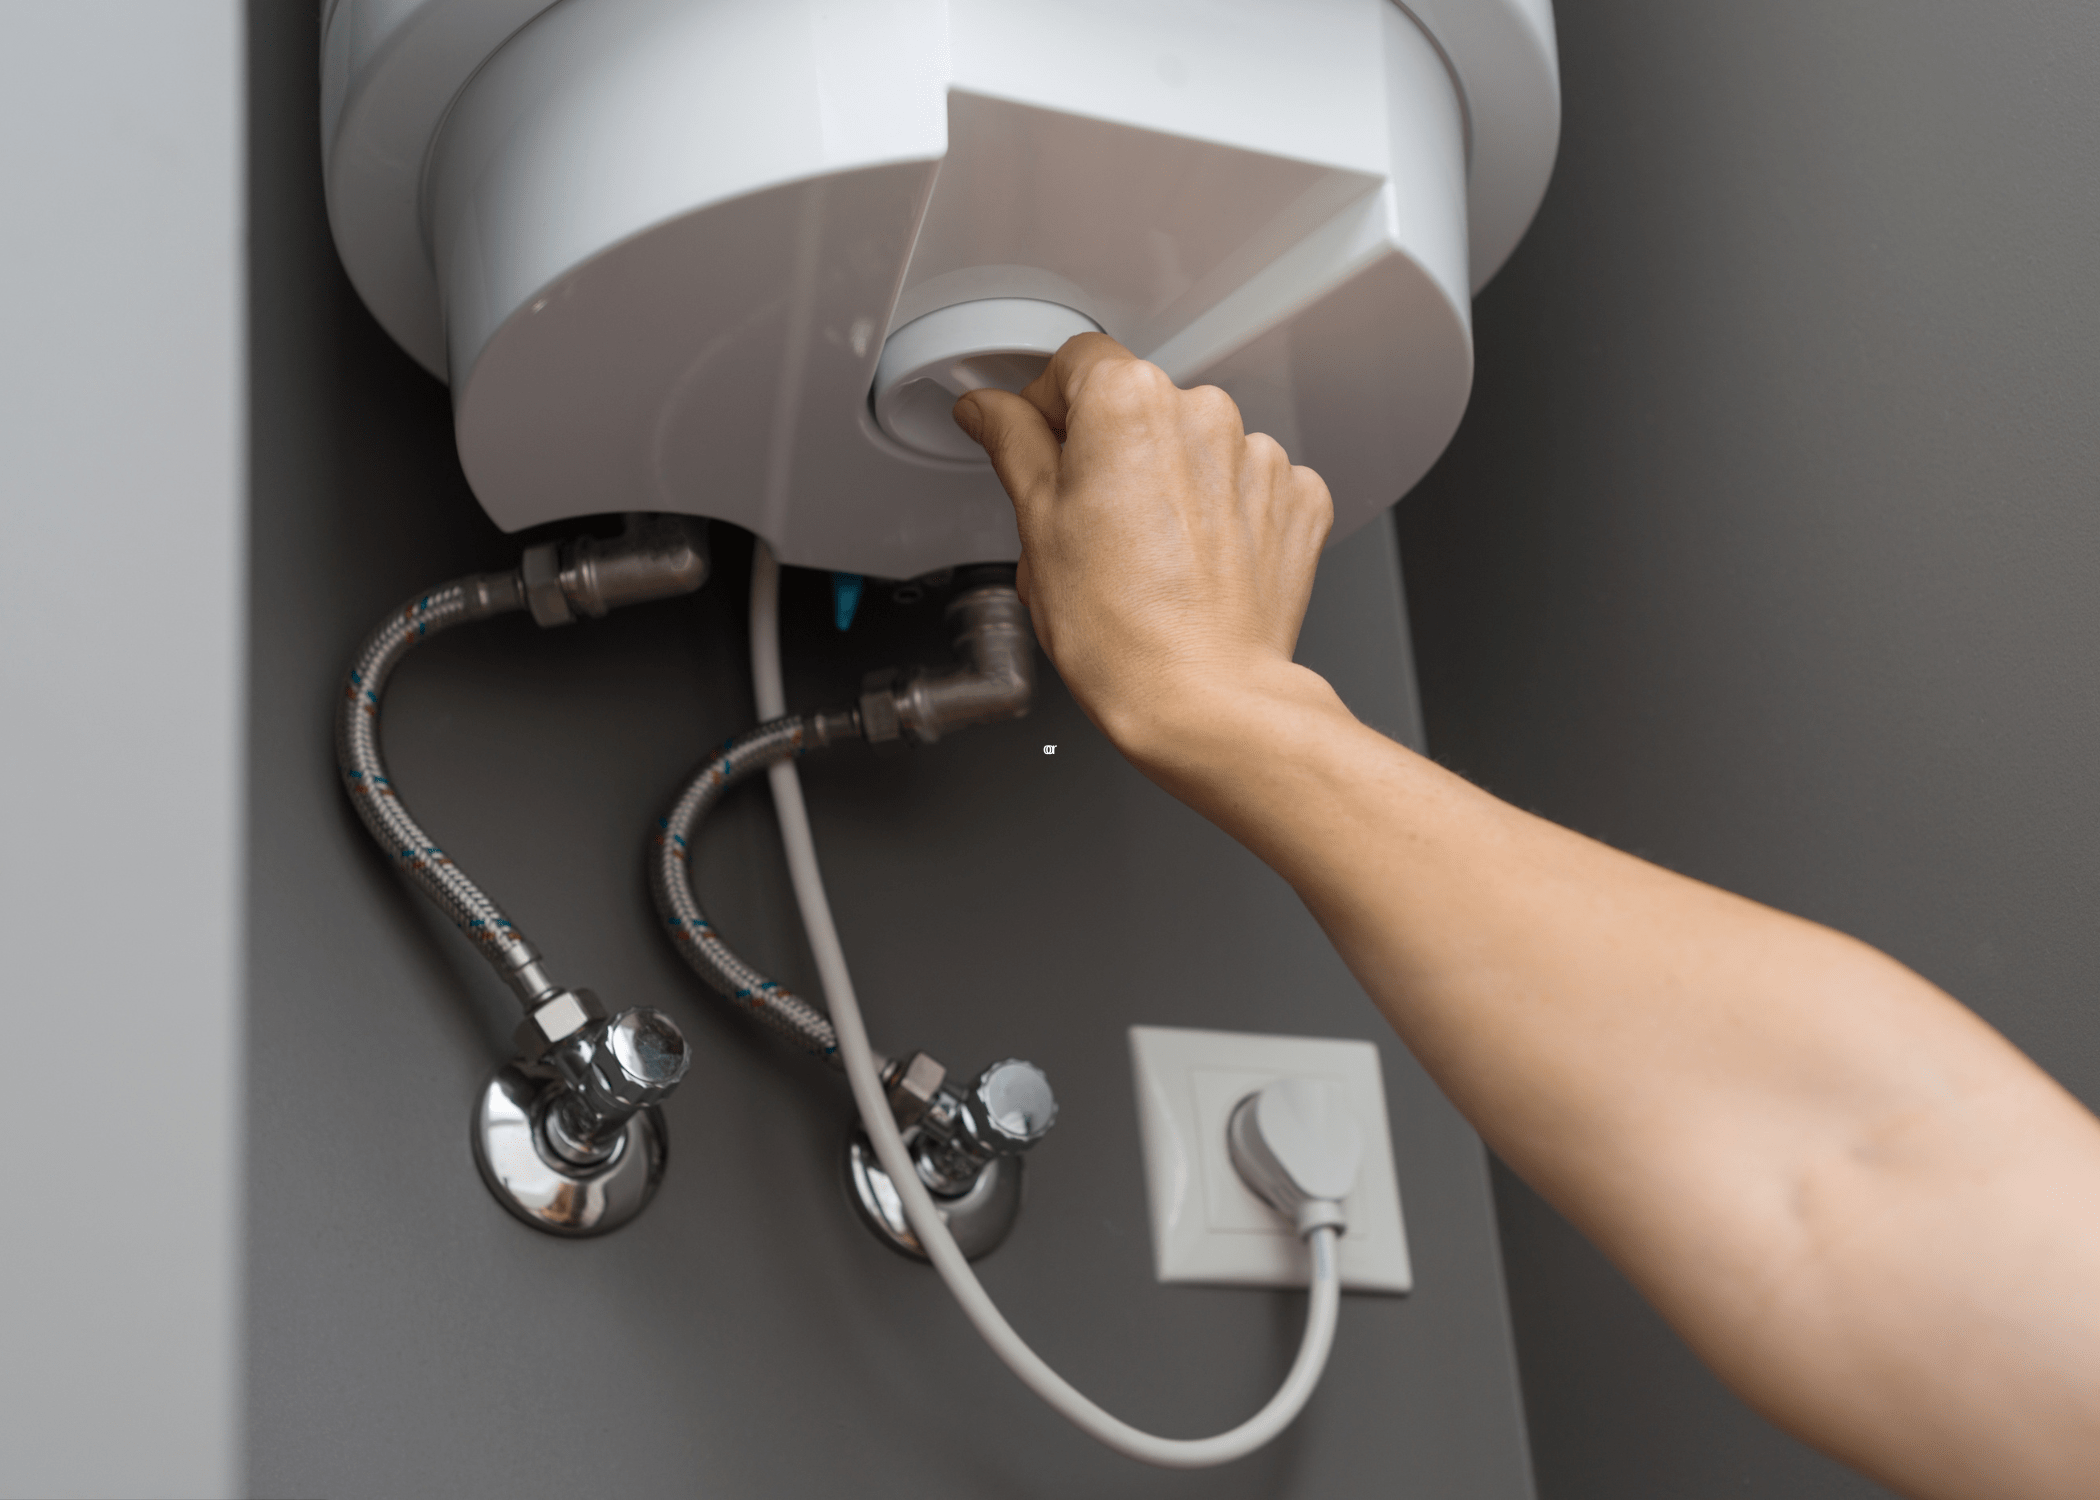
Regularly inspect the heater for any signs of leaks, corrosion, or unusual noises. Keeping the area around the heater clean and free of debris can also prevent potential issues. By staying proactive with maintenance, you can enjoy efficient hot water and a longer-lasting tankless water heater.
Related Articles
- How to Improve Water Pressure in Your Home
- 11 Surprising Home Maintenance Misconceptions You Should Know
- How to Ignite a Pilot Light for Water Heater
Properly maintaining your tankless hot water heater by flushing it regularly can significantly extend its lifespan and ensure it operates efficiently. By following the steps outlined in this guide, you’ve taken an important step towards safeguarding your home’s hot water supply and avoiding costly repairs. Regular maintenance not only enhances the performance of your heater but also provides peace of mind knowing that your system is running smoothly.
If you found this guide helpful, feel free to explore our other home maintenance tips and DIY projects. Taking a proactive approach to home care can make a big difference in the long run. Happy flushing!
Ready to start your next project? Join our DIY community to receive tool tips, how-to guides, and exclusive creative insights. Subscribe to the ManMadeDIY newsletter now! Click here to unlock a world of hands-on inspiration.
Frequently Asked Questions (FAQs)
How often should I flush my tankless water heater?
It is recommended to flush your tankless water heater at least once a year. However, if you have hard water, consider doing it every six months to prevent excessive mineral buildup.
Can I use any descaling solution for flushing?
White vinegar is a safe and effective natural descaling solution. While there are commercial products available, vinegar is readily accessible and environmentally friendly.
What should I do if my heater still isn’t working properly after flushing?
If your tankless water heater continues to have issues after flushing, it may require professional servicing. Contact a certified technician to diagnose and address any persistent problems.
Will flushing the heater void my warranty?
Manufacturers typically recommend regular maintenance, including flushing, which should not void your warranty. Always refer to your heater’s manual for specific maintenance guidelines.
Can I flush the tankless water heater myself, or should I hire a professional?
Flushing a tankless water heater is a straightforward DIY task. However, if you’re not comfortable performing the maintenance yourself, hiring a professional is always a safe option.


