How to Properly Flush a Water Heater
As a homeowner, there are a lot of tasks that you need to keep on top of to make sure your house is running the way it’s supposed to. One of the most overlooked ones is maintaining and flushing that hot water heater. As long as you have hot water coming out of the tap, you don’t spend a lot of time thinking about where it comes from.
Truth be told, most of us learn nothing about a hot water heater before we end up owning one. But flushing the hot water heater is an important part of its maintenance. The inside of that tank can suffer a serious buildup of sediment, mineral deposits, and in some cases bacteria if you’re not careful.
Luckily, flushing a hot water tank is not as intimidating a task as it might seem. Modern hot water tanks especially are very easy to maintain. If you have a few minutes to spare on a weekend, you can get the job done without a lot of fuss.
Why Is It Important to Flush Sediment From a Water Heater?
If you let sentiment go for too long in your water heater, it can actually build up a thick enough layer to calcify. That means it will turn into a solid chunk and reduce the volume and performance of your water heater. It’s not unheard of for people to leave a water heater for years without flushing it and having to replace the entire unit.
If you haven’t flushed yours before, don’t feel embarrassed. Most people don’t, and it’s never a bad time to start.
How to Flush a Water Heater (step-by-step)
There are a few ways to approach flushing a water heater, but this method is easy and requires the least amount of accessories and parts.
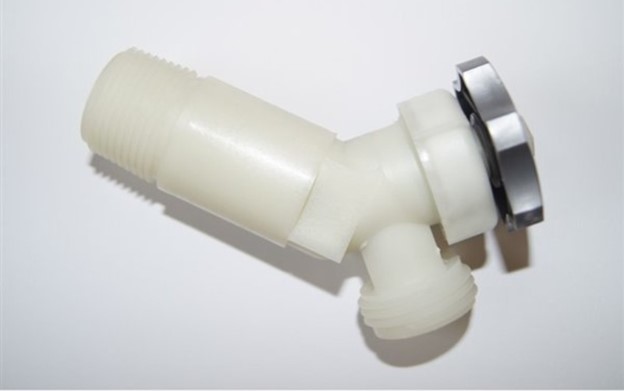
You may or may not have to replace the drain spigot on the bottom of your water heater if it’s become so clogged with sediment that it no longer works properly. Luckily these drain valves only cost you a few dollars for a replacement at places like Amazon or Home Depot if you need one.
1. Turn it off
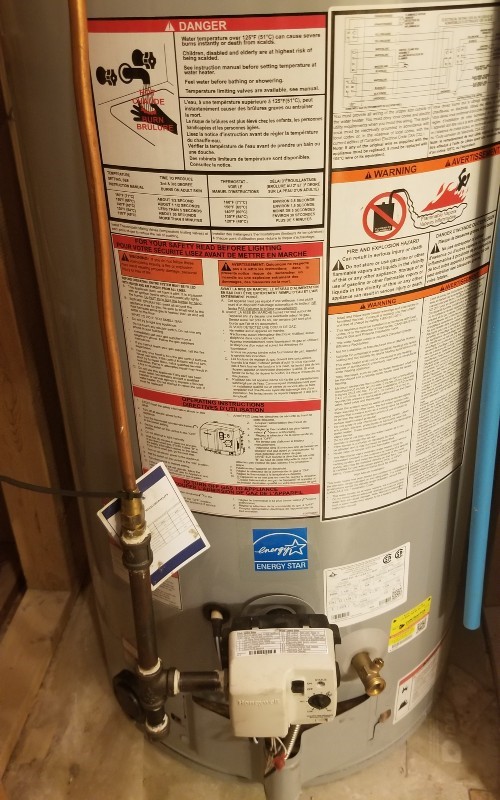
You’re going to want to start by turning off your hot water heater. The thermostat for a gas unit has a switch on it that should allow you to turn it between on, off, and pilot. If you have an electric heater, switch it off at the breaker.
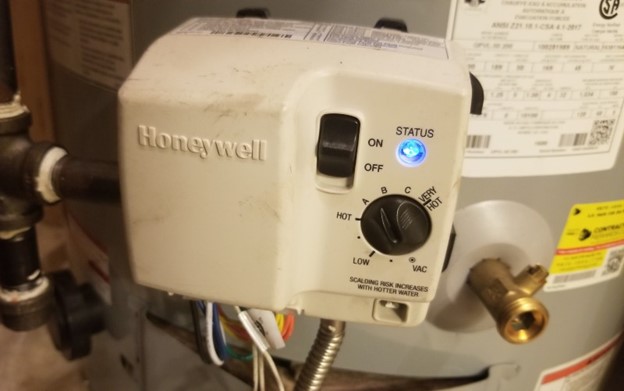
2. Shut the gas off
If your water heater is gas, you’re going to need to shut the gas off now. There should be a valve on the gas pipe that leads into your water heater. Turn this to the off position.
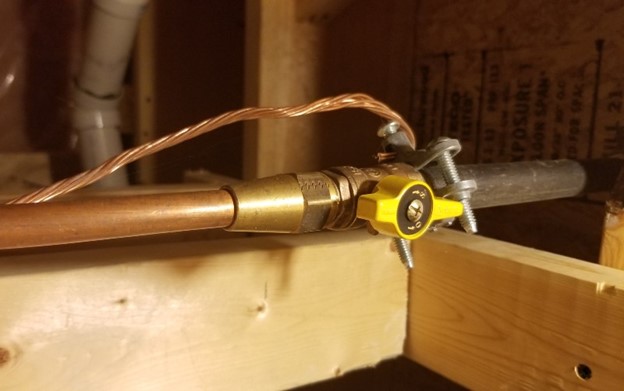
3. Shut off the water supply
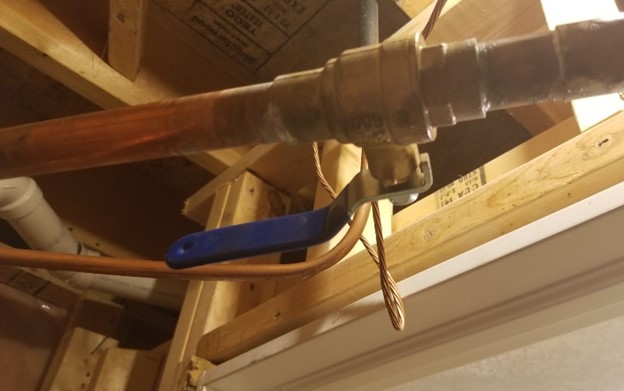
Now it’s time to shut off the water supply to your water heater. Follow the water supply from the top of the tank back towards the wall until you find the valve and turn it off completely.
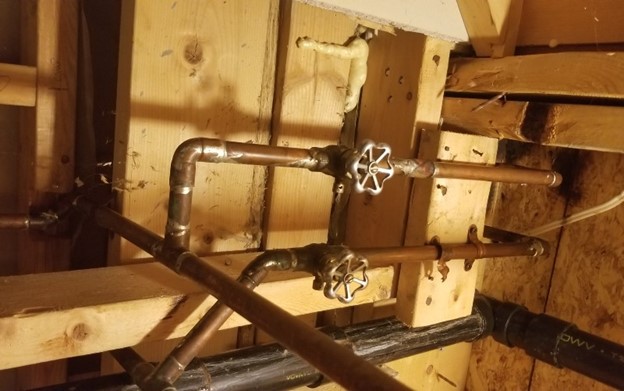
4. Drain the tank
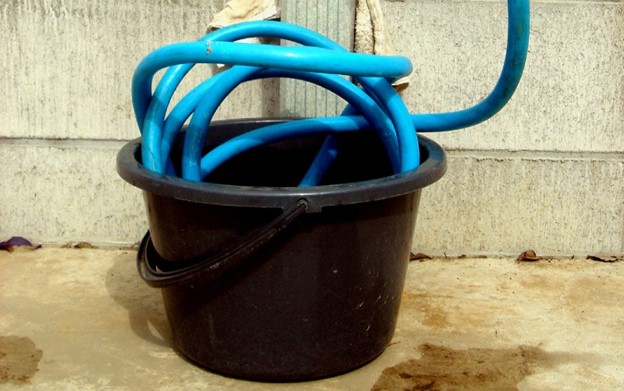
At the bottom of your tank, probably close to the thermostat, is a drainage spigot. Connect a garden hose to this to allow for easy drainage. Have the free end of the hose ready to drain into something like a bucket or a floor drain if you have one in your basement.
If you’re letting the water drain directly into a floor drain, put something like a kitchen colander under the end of the hose. This will allow you to catch the sediment that comes out and prevent it from clogging the drain.
5. Drain the hot water from your house
Turn on your houses’ hot water faucets. It’s best to turn on several, including ones on upper floors in your house. Let it run and leave it running while you flush your water heater. This will reduce the volume of water, reduce the temperature, and prevent a vacuum from forming.
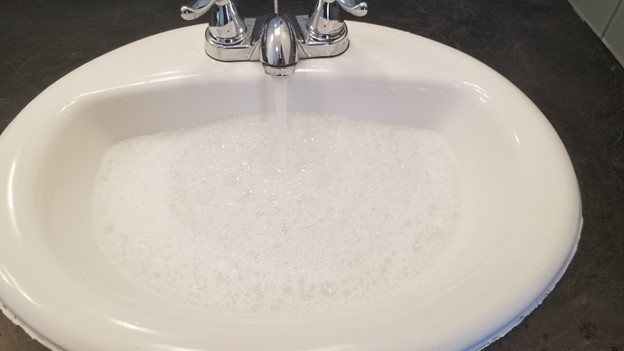
6. Check the drainage spigot
Turn on the drainage spigot. Depending on how long it’s been since your tank was last flushed, you may have a small amount of sediment or you may have a seriously nasty situation here.
If the water is coming out brown and sludgy, you’re probably going to need to drain the entire tank.
- If you open the valve but nothing comes out, you have another issue to deal with. You may have a problem with pressure buildup, and you must use the pressure release valve to lower it.There should be a drainage pipe below the pressure release valve, so have a bucket position to do that before you release it as water will drain out. It’s going to be hot water as well, so be careful. This should release the pressure enough to get the water flowing out of the drain spigot.
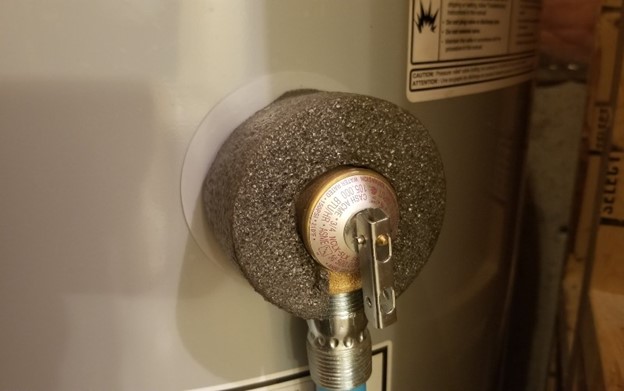
- If you still don’t have any drainage after releasing the pressure release valve, then you may have a clog. If this is the case, you’re going to want to connect a wet-dry vac to the drain valve to push out some of the blockage.
- If your blockage still isn’t coming loose, then there’s one more potential solution. You can remove the temperature pressure release valve and attach the wet-dry vac to apply suction and drain some water out. That will allow you to remove the drainage spigot which must be clogged at this point and replace it with a new, clear spigot.
7. Flush the tank
Once you’ve cleared the spigot if necessary and finished draining the tank, it’s time to turn the cold water back on. This will finish flushing out the tank, including removing any stuck sediment at the bottom. Let the water run until you can see that it’s coming up clear.
8. Check for remaining sediment
When you’re confident that the water no longer has sediment in it, then you can turn off the cold water. At this point, you can then turn off the drainage spigot and remove the hose. Remember to shut off the pressure release valve if you opened it.
9. Return switches to normal
You can put everything back the way it was before you started. Turn off all the faucets in the house, turn on the water leading to your tank, and let it fill up again. Once it’s full, give the pressure relief valve a chance to release excess air and then close it again.
10. Release any remaining air
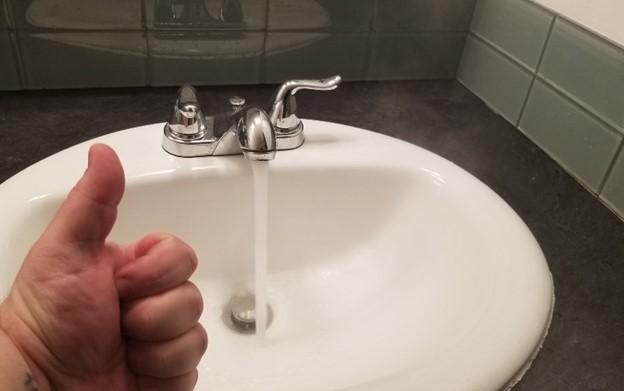
Before you heat up the water again, turn on the hot water in a sink again to let any air in the lines escape. Once the water runs out uninterrupted, you should be good to go so you can turn the water off.
11. Turn the power back on
It’s time to turn the gas back on or, if you’re using an electric heater, what the breaker again to resume power. You could also turn your thermostat back on and relight the pilot lights to start heating up your hot water.
12. Allow time for the water to heat up
It’s going to take a bit of time for your hot water to heat up, so consider giving it a good 20 minutes to a half-hour to get up to temperature. After you’re sure you’ve waited long enough, turn on a hot water tap again somewhere and ensure that the water is coming out hot.
The Cost Savings of Flushing Your Water Heater
Flushing your water heater doesn’t have to be a monumental task. It doesn’t even have to take up more than an hour of your time at most. If you maintain it regularly you extend the life of your water heater, ensure that your family has quality, clean hot water, and make it easier every time you have to do it.
Your best bet is to pick a day that you can remember every year. Make it Memorial Day, St Patrick’s Day, whatever is going to stick out in your head. It will be the day that you go drain the water heater and keep everything running smoothly.
Replacing a water heater is probably going to cost you over $1,000 if something goes wrong with the one you have. Even if you just need to get your unit repaired because the sentiment got too bad, you’re looking at probably $50 to $150 an hour for a plumber to come out and take a look at it for you.
A little preventative maintenance is only going to cost you time and goes a long way to keeping money in your wallet rather than being spent on a water heater. Plus, you get the satisfaction of knowing you handle the job on your own; it wasn’t that difficult, and you could do it again anytime you need to. That’s a pretty good feeling. Let the ManMade community know if this method worked for you by sharing it with us on our Facebook or Pinterest.

