How to Glaze a Window [Easy DIY]
Glazing and reglazing a window is a bygone technique that was once the standard for window installations. Glazing held multi-paned glass solidly inside a wooden frame. You’ll still find these old-style windows in many locations, and perhaps not so surprisingly in this era of returning to the past with nostalgic fixtures, and other home design it is making a resurgence. We’ll show you why you need to reglaze your window and an easy DIY glaze for tightening up your drafty old windows using glazing putty.
Glazing A Window
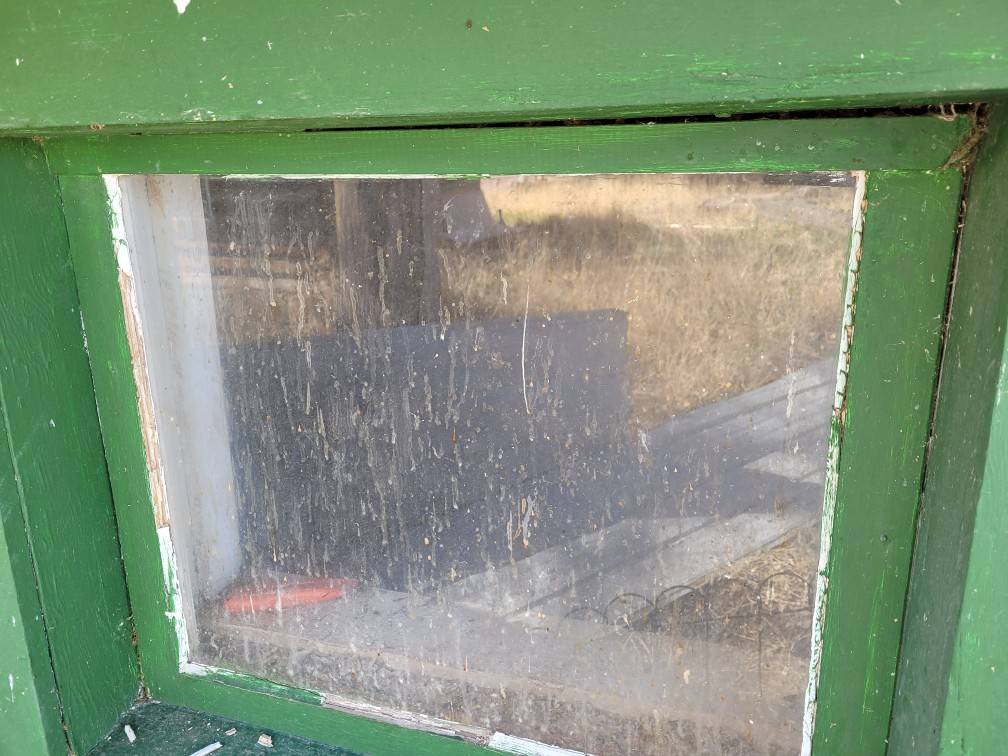
A glazed window has four parts:
- The individual panes are supported by small wooden members
- The glass itself
- The glazing points that hold the glass in place
- The glaze is applied on all four corners of the glass to lock it in place.
We’ll focus on removing glazing, and replacing it with new material. The glazing points are part of this process.
What NOT To Do
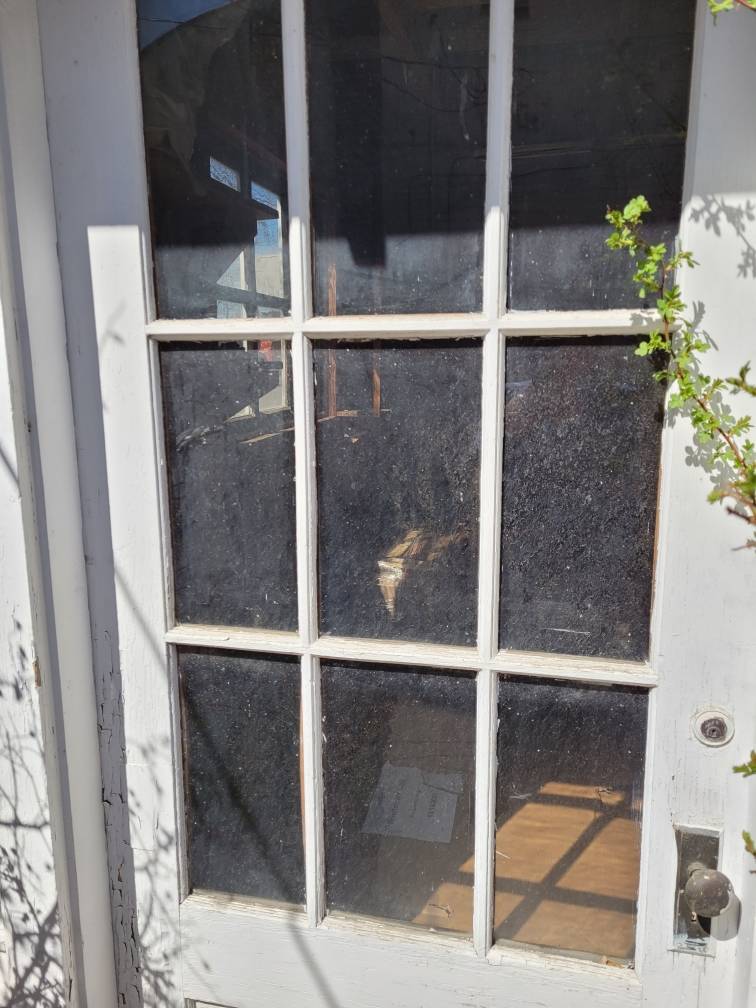
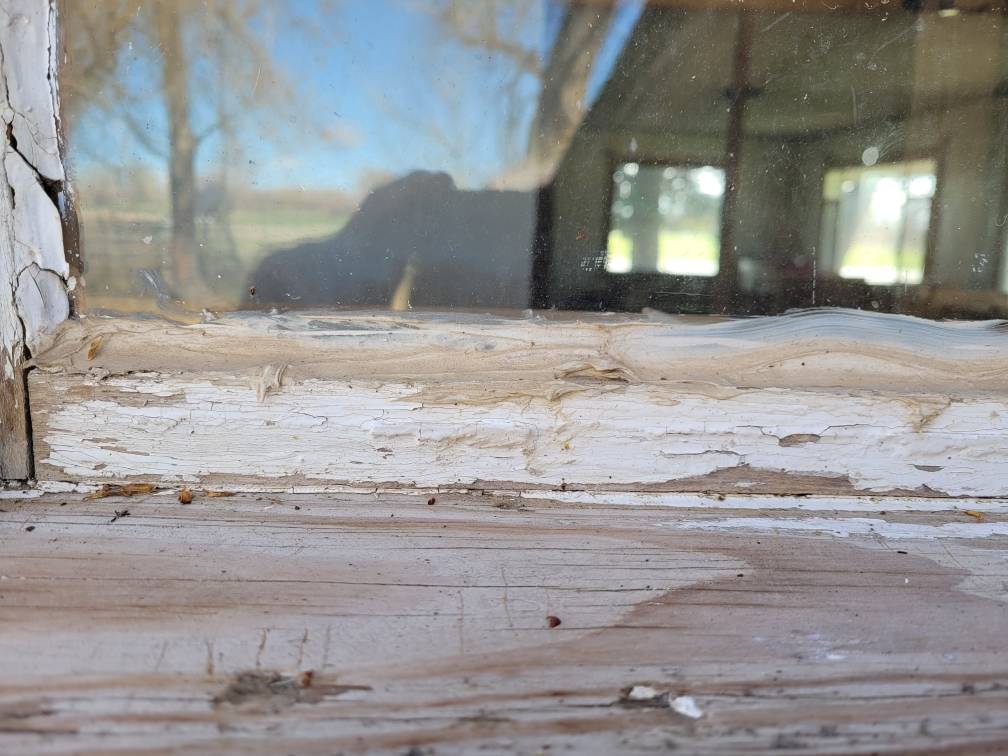
Old window glaze dries, breaks away, is damaged by the elements, and even destroyed by rodents. As the glaze disappears, the integrity of the window is affected.
Some people make sloppy, haphazard attempts to keep the windows in place with acrylic caulk, or even bits of wood nailed along the glass to hold it in place. These are stopgap measures and are not attractive, long-term viability.
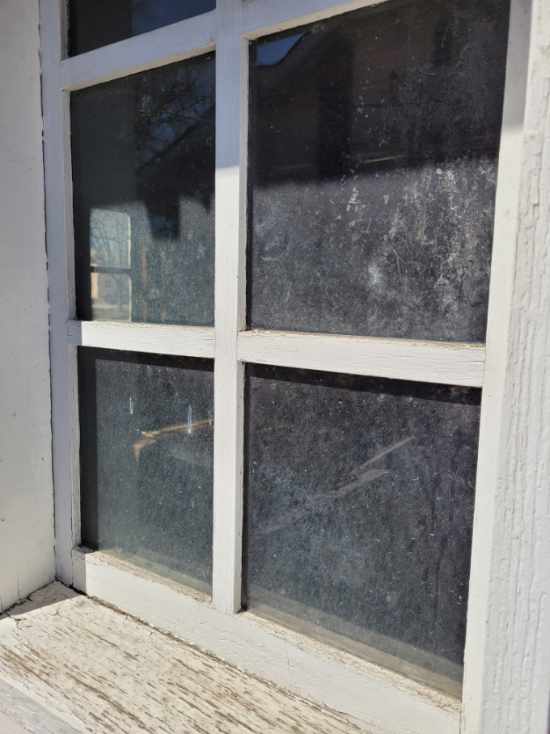
Step One: Remove The Existing Glaze
Removing the existing glaze completely is the first step. A screwdriver, utility knife, and putty knife are almost always the best tools to use. Scrap out the loose caulk with the screwdriver or putty knife. If any material remains, just the utility knife to carefully cut the caulk away on both connection points.
Step Two: Check for Glazing Points
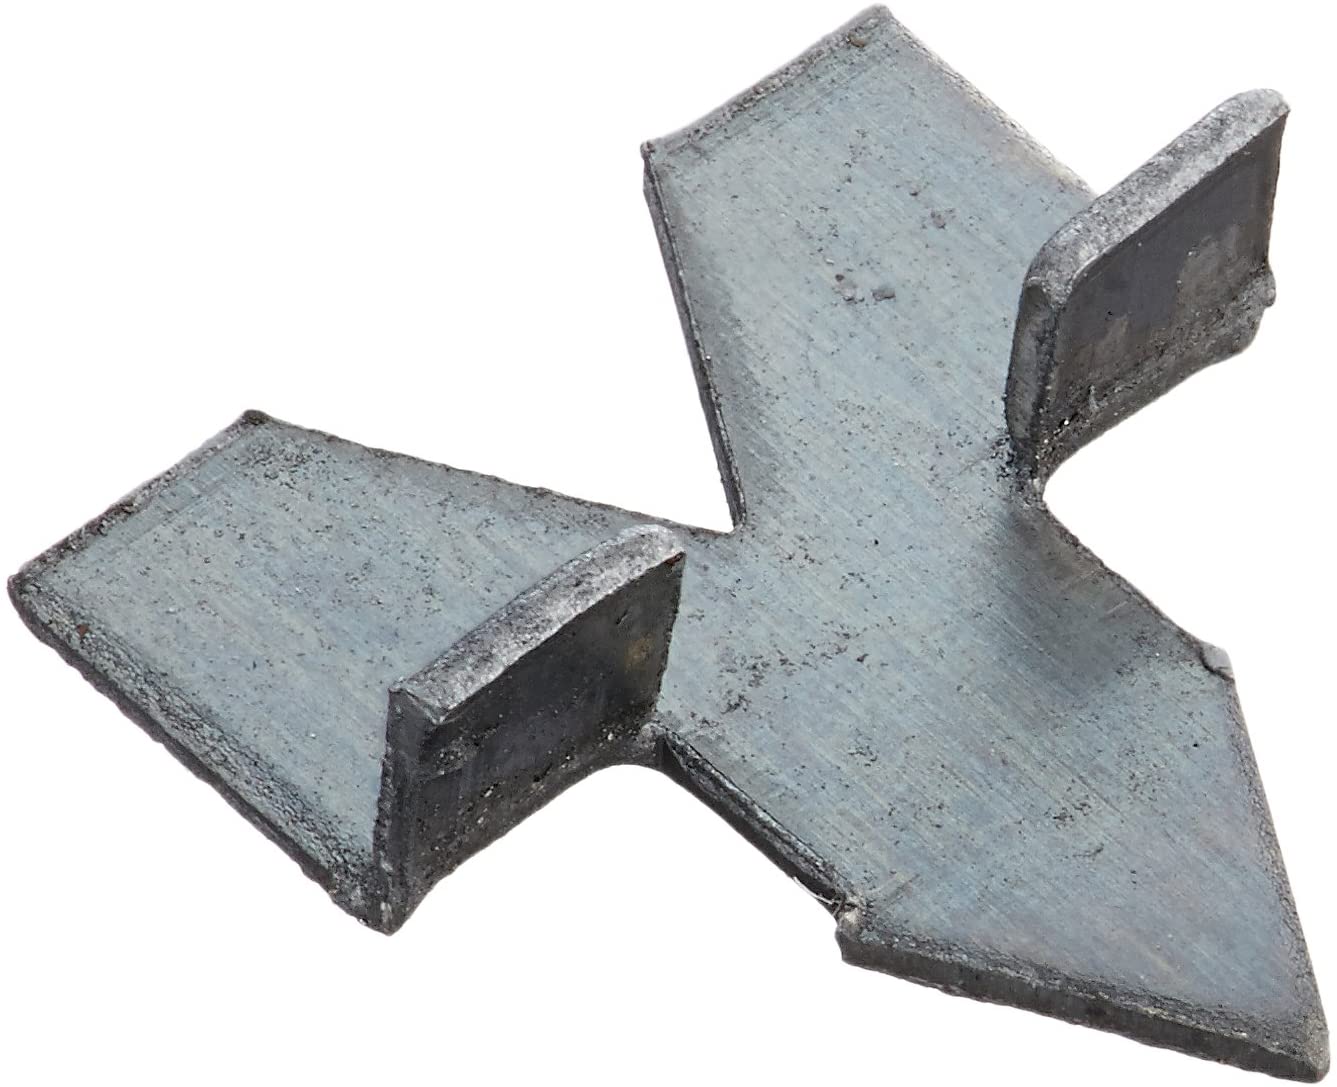
With all the visible glaze removed, scrape the frames again. While scraping check for glazing points. Points are little triangle-shaped metal insertions, put in place with a blade-style screwdriver. Small panes require just one point per side, with additional points necessary as the window size increase.
Apply pressure to each glazing point to ensure it is solid.
Step 3: Apply The New Glaze
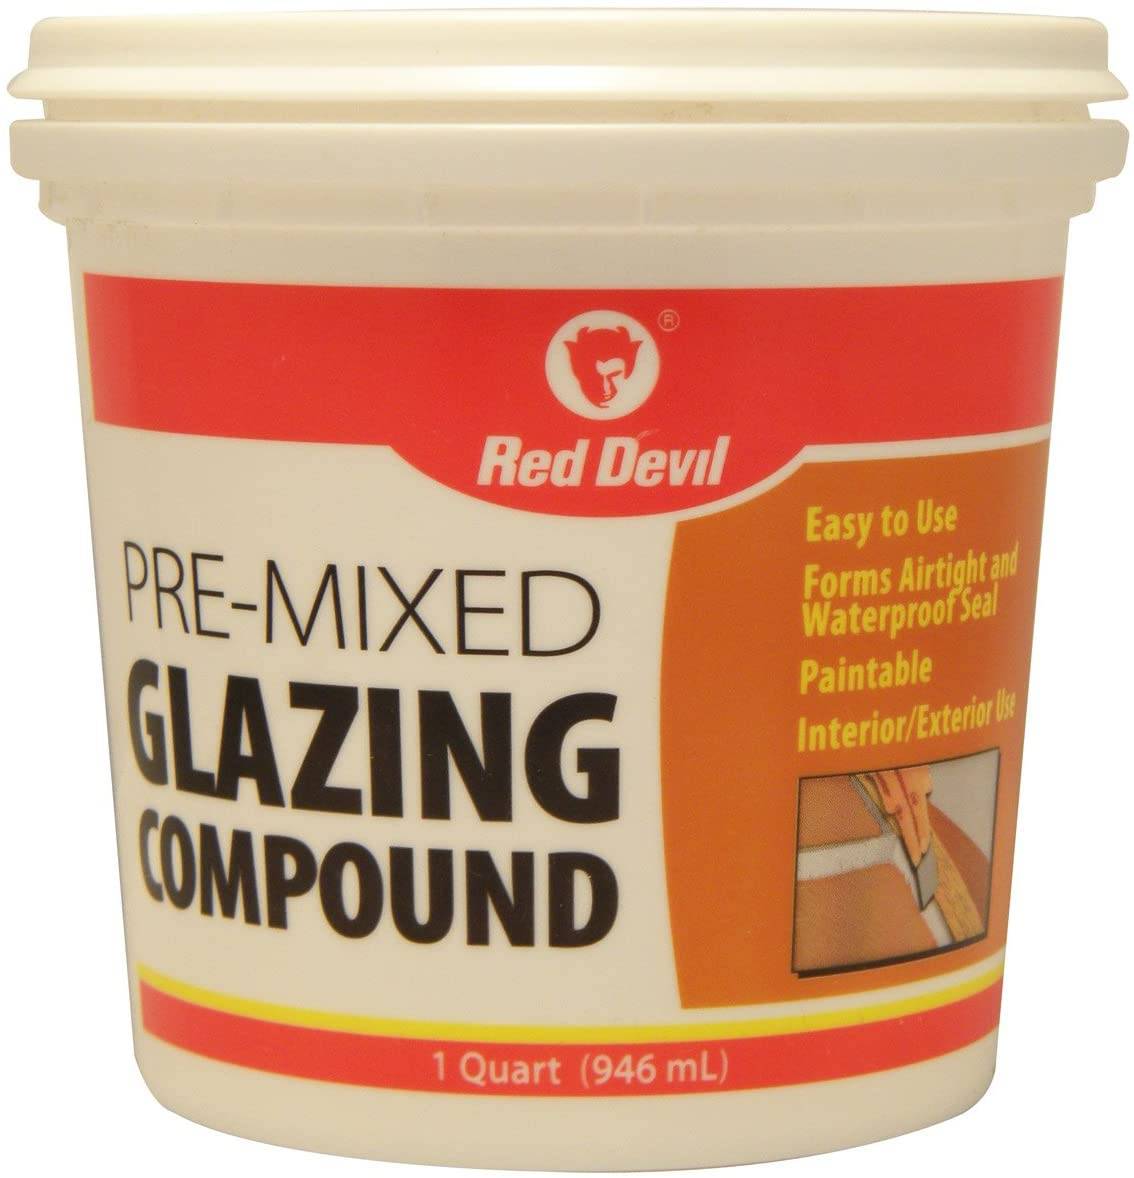
It’s time to apply the new glaze. Water-based acrylic glazing compound is the easiest to work with since cleans up so easily.
Apply a thin bead of glaze along each side of the window. With the glaze in place, you can use your fingertip to smooth it evenly, a butter knife, or for big jobs, a specially designed glazing knife.
Make sure the glaze is evenly distributed.
Final Steps:
You can do this job with the window in place vertically, or you can remove the window, and place it horizontally on sawhorses.
Doing every pane in a window at the same time is the preferred method, since drying at an even rate creates a rock-solid finished product.
When the glaze is dry, remove any excess with a flat razor scraper. Clean the windows with an ammonia-based cleaner, and put them back into use.
You’ve just eliminated drafts, rattles, and enhanced the beauty of your home in one simple process.

