How To Graft a Fruit Tree [Your Garden Will Thank You]
Grafting fruit trees can substantially increase the variety, and productivity of a few trees in your yard, or even a small orchard. Increased resistance to disease, harsh weather, and even drought can be made with just a little research, some well-placed cuts, and a lot of patience.
Grafting has a long and successful history in the agricultural world. This spring when the local nursery begins to sell fruit trees, odds are they’ll have a variety of three-in-one, or even five-in-one trees ready to plant.
Nurseries graft on a commercial scale, with one experienced worker able to cut, and graft several hundred cuttings each day. You probably don’t have that many in mind, but even a handful can dramatically increase the productivity, the fragrance, and the look of the fruit trees on your property.
The first lesson is to do a little research, not all apples graft well on every apple tree. Some are very adaptable while others won’t take no matter how much time and effort you spend on them.
In the continental United States, apples, pears, and cherries are the most popular grafting tree.
John Chapman, better known as Johnny Appleseed, was a real person, who brought tens of thousands of apple trees to Ohio and the surrounding Great Lakes States back in the early 19th century.
The ever-widening variety of apples available on the market are a result of careful cross-breeding, and many thousands of hours spent grafting cuttings from various trees to find the perfect cross-pollinator.
Apples were abundantly popular on homesteads across America in the late 18th and through the early 20th century. In those days, beer wasn’t widely available, wine was still largely a European product, and distilled liquor wasn’t popular yet either. But hard cider was, and most of the apples grown in America found themselves in bottles of the “good stuff” each autumn as the harvest was pressed into cider, then fermented into hard cider.
That demand isn’t what it once was, but you can still enjoy the trees in your yard, enhance the variety of fruit they produce and earn the satisfaction of growing your own produce.

Make A Sharp, Clean Cut On The Tree
The first step is to find a well-producing, compatible tree to take a cutting from. Once you’ve found the right tree or trees, the fun begins.
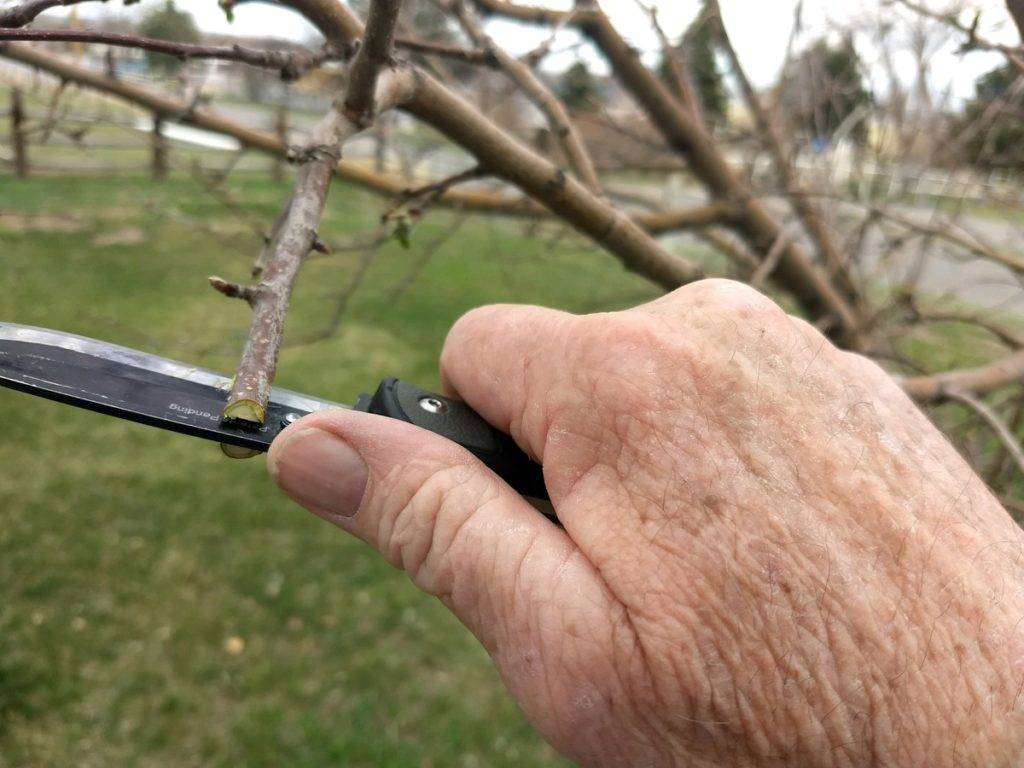
Take a cutting from a small, (less than half-inch) diameter limb that produced fruit the previous year. Springtime, while frost is still present each morning, and the trees are dormant is the best time to take cuttings.
Cut the limb with a sharp knife, or a cutter that doesn’t crush the limb. Once you’ve cut what you need, wrap each cutting in a piece of damp newspaper, and store them in a five-gallon plastic bucket.
Transport Your Cutting To A New, Healthy Tree
Keep the cuttings moist and at a temperature between 38 and 45 degrees, this preserves the cutting but isn’t warm enough to spur growth.
As soon as the danger of frost has passed, take your cuttings to their new home. Select a branch on your existing tree that is the same diameter as the cuttings to be grafted.
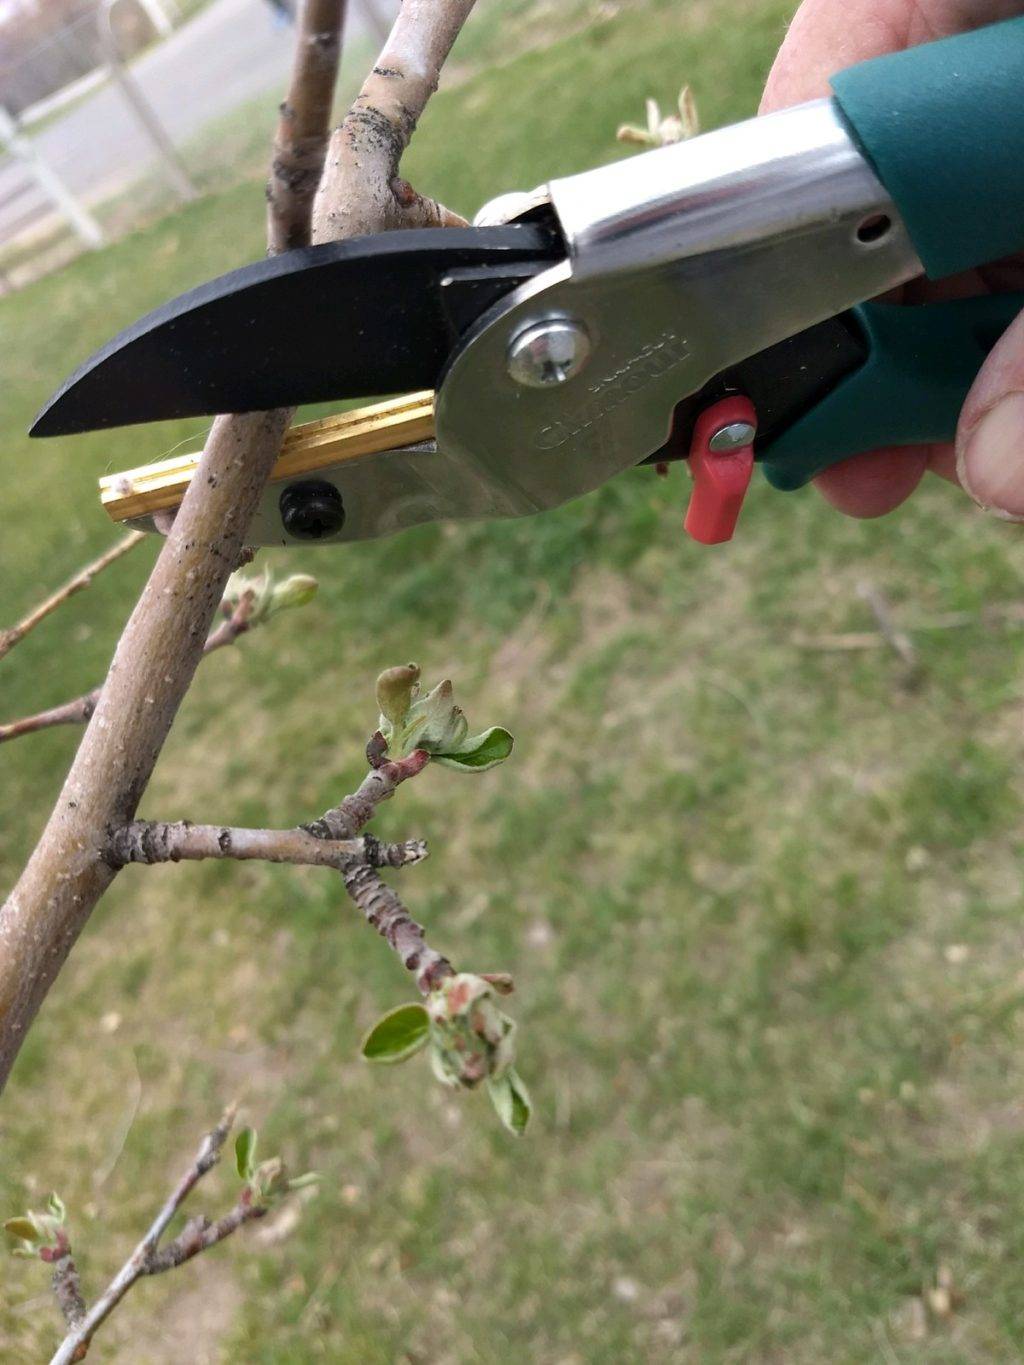
Snip the branches cleanly with a sharp cutter. Take a knife and split the branch about two inches deep into two equal sections. Take a cutting, cut the end of each side with a sharp knife to make a knife-blade-shaped cutting. The graft should slide into the split branch on the tree easily and enclose all the exposed interior portions of both the tree limb and the cutting.
Waxed Tape Will Secure The Branch
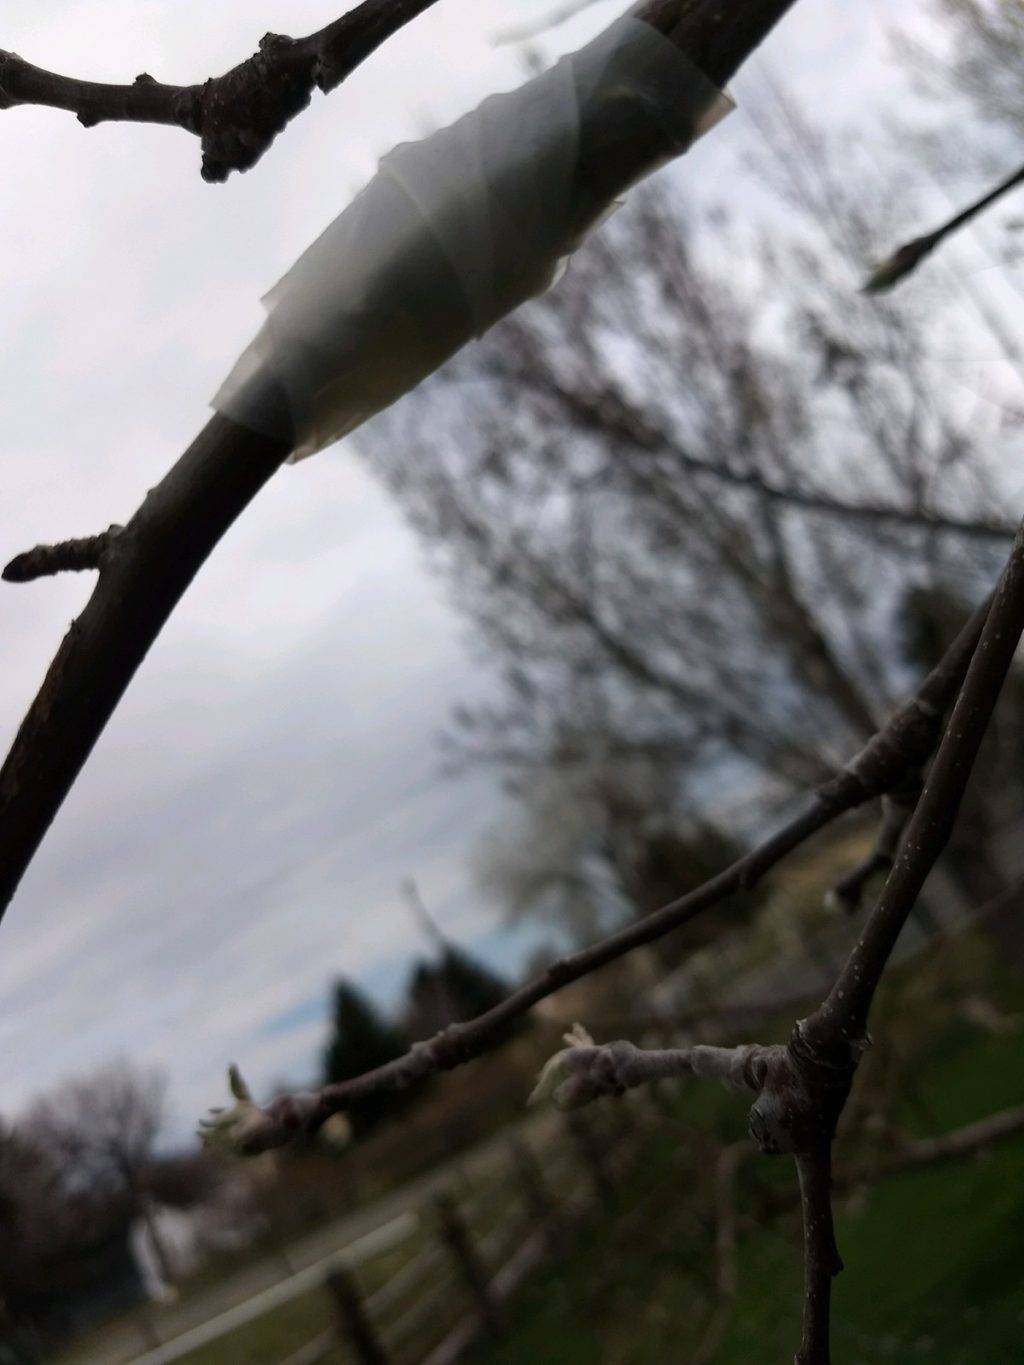
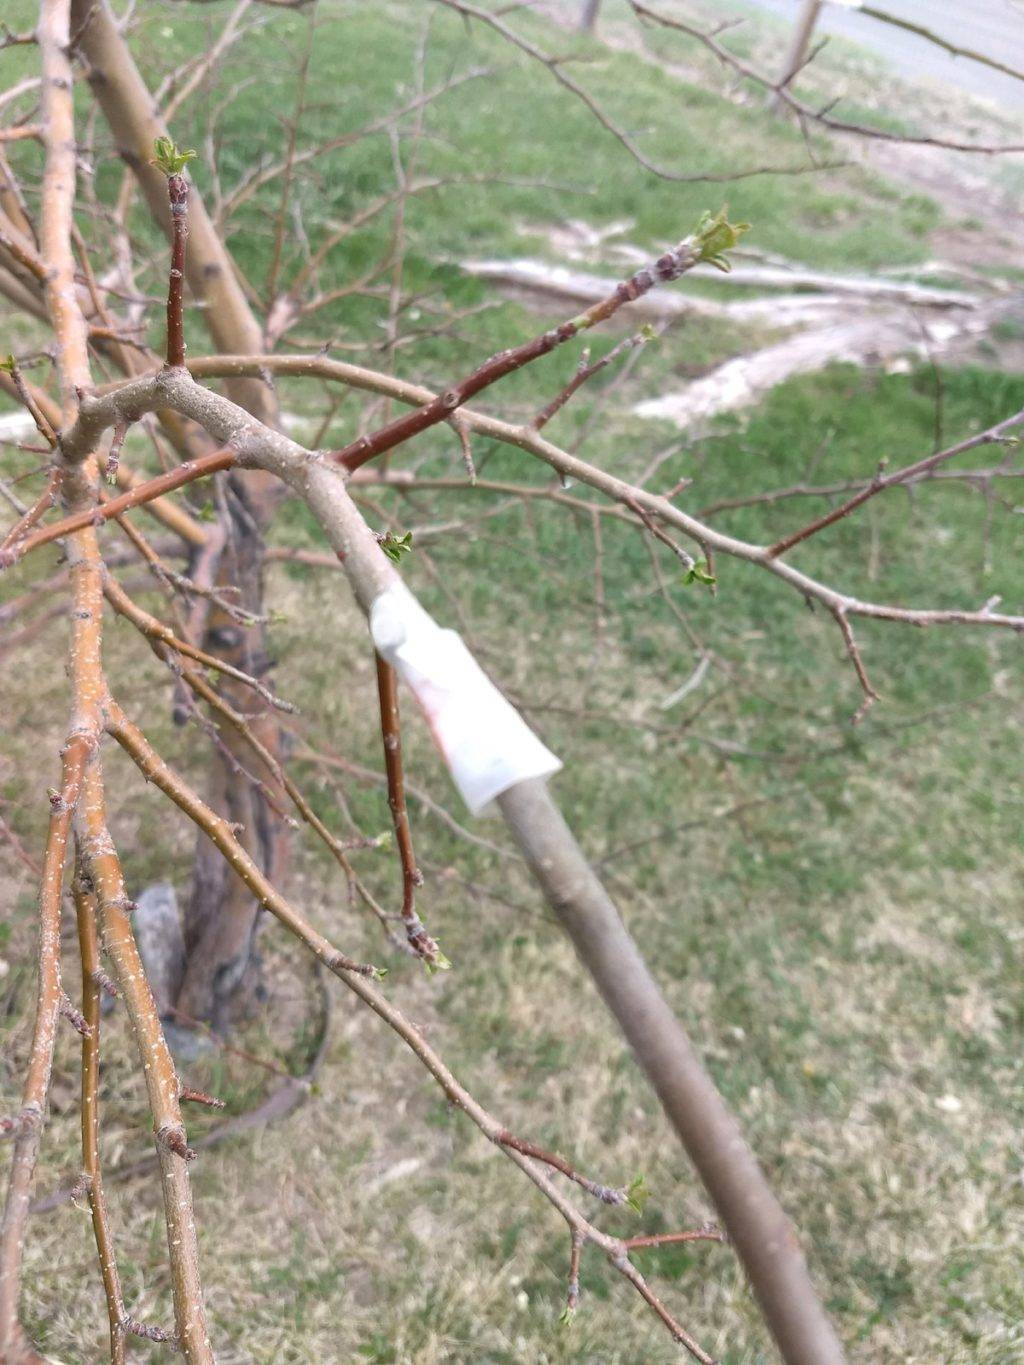
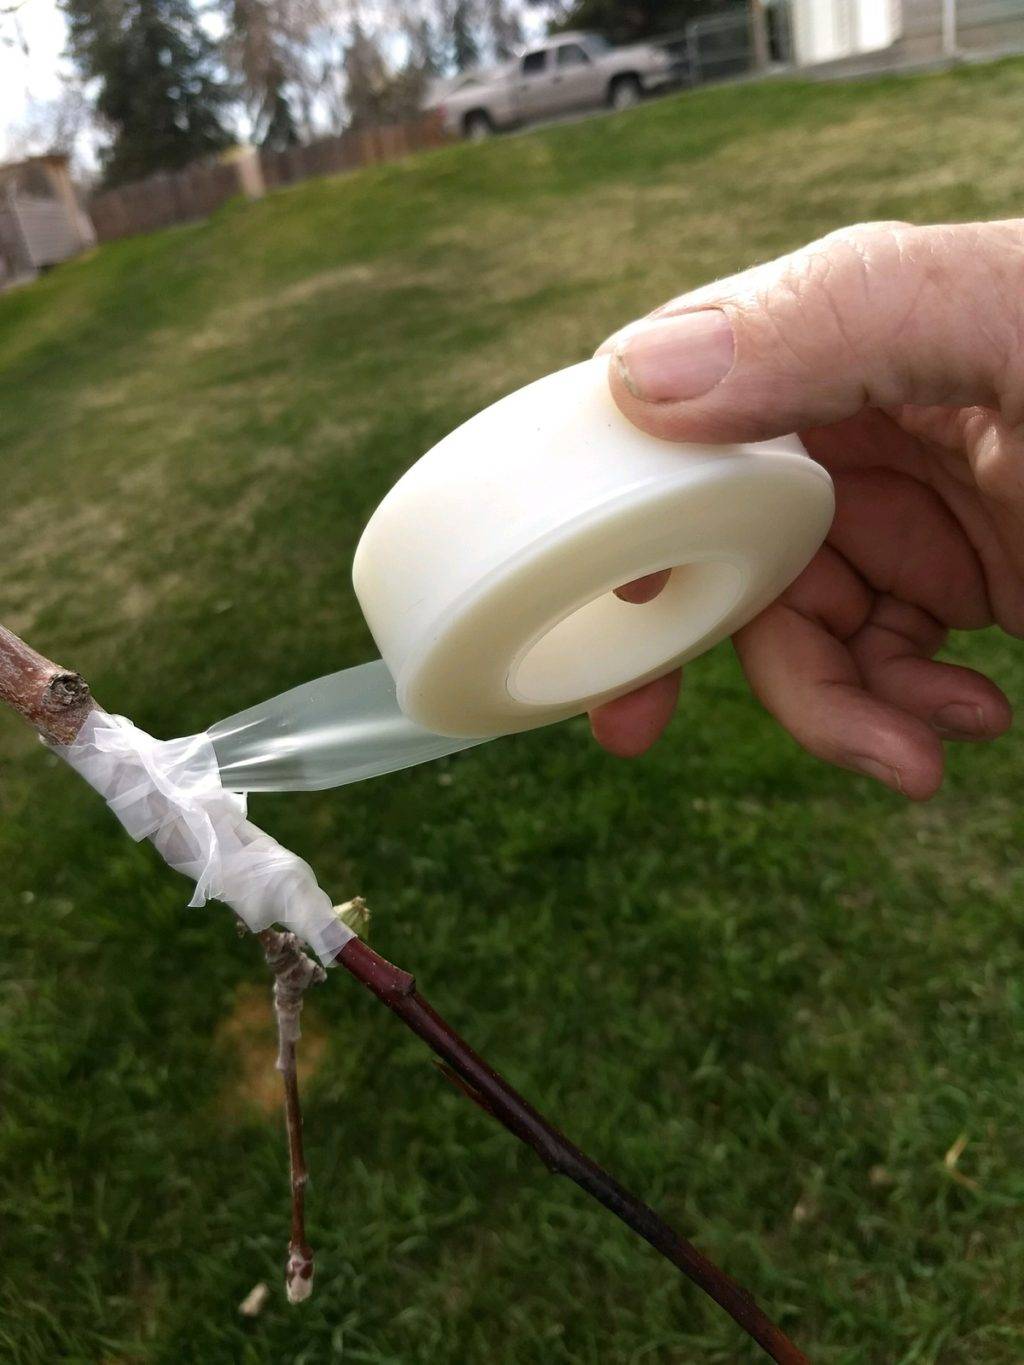
Wrap the cutting with waxed tape, ensuring that no air can reach inside the newly grafted branch. As they say in the shampoo commercials, “lather, rinse, repeat” until all the cuttings have been grafted.
Be Patient
Now is the patient part. Sometimes the grafts will look dead for up to a year, but if you’ve done a good job, they’ll spring into growth either this summer or the next. Patience is key, so is keeping that wax tape tight on the graft until the two branches have become one.
