How To Grout Tile Without All The Mess
The grout on your tile is like the icing on the cake. It’s the finishing touch that can bring together the whole project. If it’s done well, it’s a beautiful work of art. If done poorly, every tiny little flaw tends to stand out and it’s the only thing you can see.
Grouting tile the right way is an easy task that anyone can do. If you’ve installed the tile on your own, this is a small task compared to what you’ve already accomplished. It’s a task that takes precision and patience, but even with a low skill level, you can get it done in a day.
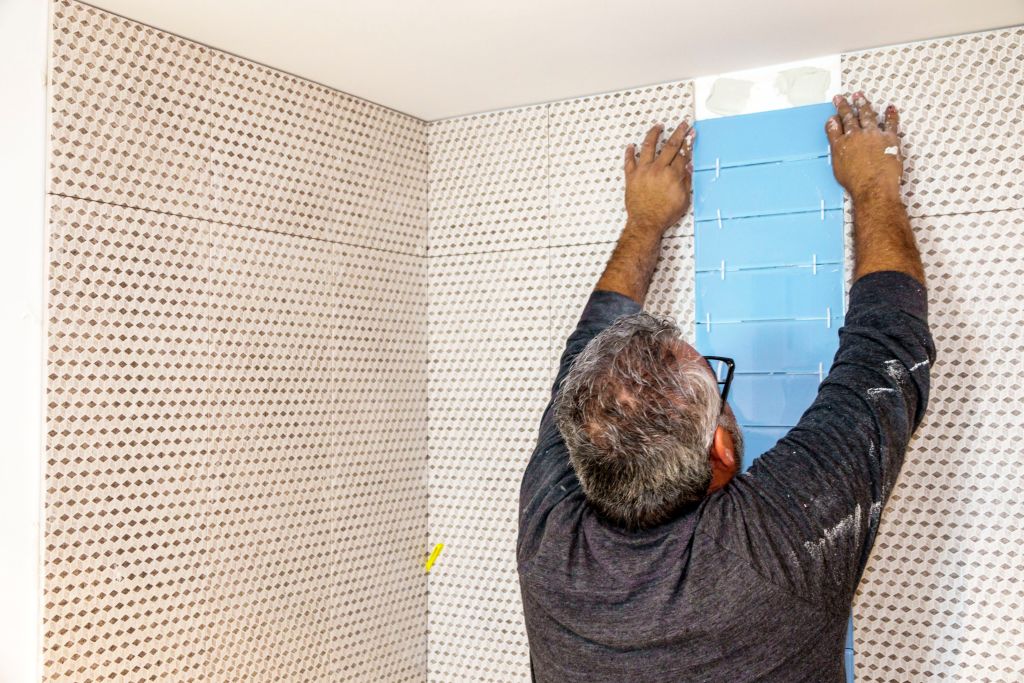
From picking the color to the actual installation, we have you covered in explaining how to grout tile in great detail. Follow these steps on how to grout tile, and follow them closely. With this, your new bathroom, kitchen backsplash, or any tiled area will be ready to show off in no time at all.
Choose the Grout Color Wisely
The first important step in grouting your tile is choosing the right grout. A lot of colors are going to clash with the tiles that you have put in, so this isn’t a step to just take lightly. Compare different colors so you can be sure that you’re happy with your end result.
Choosing the grout also means deciding between different types or grout that are available. You can buy pre-mixed buckets or just bags of dry mix. Mixing your own grout is easy, and will definitely save you some money in the long run. Putting in the time is always worth it for me, and you may as well go all the way with DIY.
Mixing the Grout
Since you’ve chosen to mix your own grout, that’s going to be your next step. After you’ve chosen the right type, you come home and are ready to apply it. You can easily mix grout by hand in a small bucket, but you can also use a power drill attachment to make it faster and more consistent.
You can also use a margin trowel to mix the grout, apply it, scrape out joints, and do just about anything.
What you’re aiming for is getting the nice consistency of peanut butter. It will be easy to work with and if your grout is too runny, it won’t stay in the tile. A thick and creamy consistency won’t dry out and set while it’s in the bucket, but be sure not to mix more than you can use quickly.
Applying the Grout
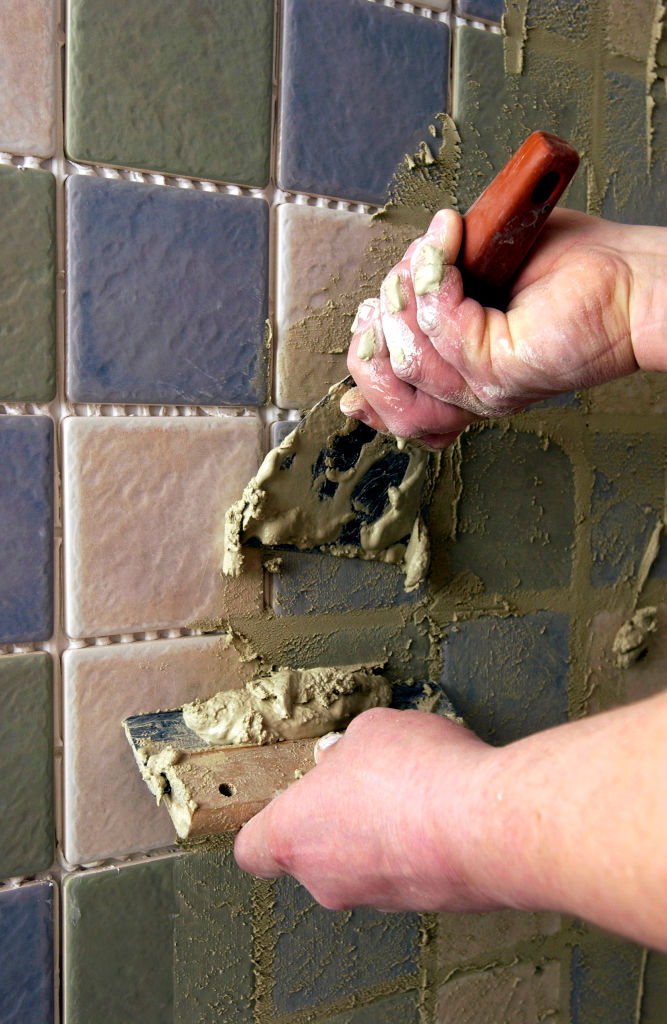
Applying grout is an easy thing to do if you know the right ways to do it. It’s as simple as filling joints with grout, but there are definitely tricks to making it easier.
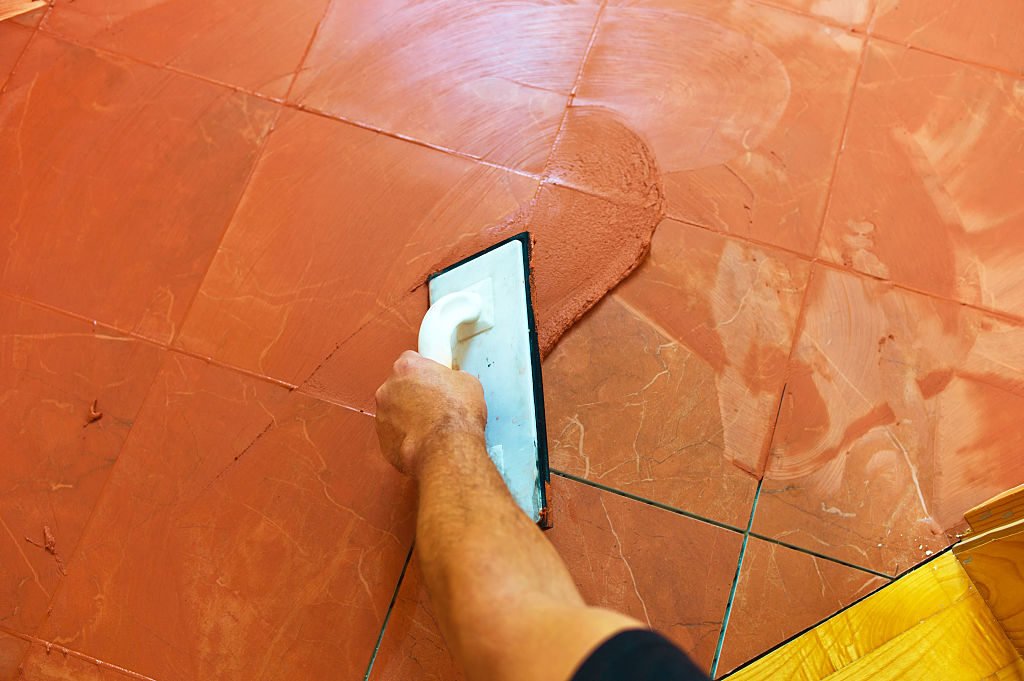
The first thing you need is a grout float. You load this up from the bucket just by scooping it up. Then you fill the joints. This can be done in a sloppy manner at first, but then it’s important to use the correct method afterward.
Use a diagonal angle to each joint to properly fill the grout. Smearing it in this manner makes sure that you don’t leave any big chunks of open-air in the joints. If you leave big open pockets of air, you will quickly end up with crumbling and breaking grout.
For vertical surfaces, you want to smear upwards. This is an easy way to prevent a huge amount of grout from falling onto the floor over and over.
Clear Excess
Clearing the excess is the start of cleaning up the mess you just made. It’s easy to do, but you want to get at it before the grout starts to set on top of the tile. The faster you go, the easier your job will be.
The first clean-up passes can be done with the same float that you used to apply the grout. It’s already filled with grout and you should get up whatever you can with it.
To get a cleaner surface, your second step includes using a different tool. Using a squeegee, swipe up the extra grout in an S-motion along the tile surface. This helps to get rid of those excess random lines of grout that didn’t come up when you were cleaning it.
This won’t get everything off, but it will get you a lot closer to a finished surface.

Finishing Touch
No matter how much squeegee-ing you do, you will have a dirty surface at the end. It will look like a dust storm passed through your kitchen or bathroom and only hit the tiles. That’s unavoidable, and you’ll need to do something about it.
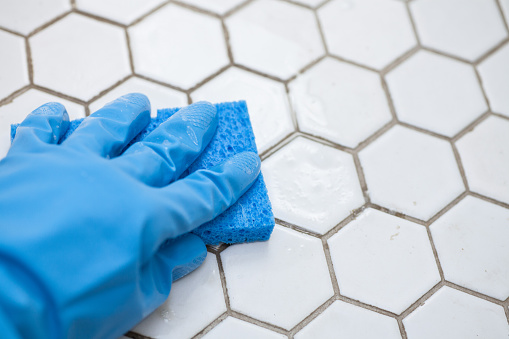
Using a sponge, you can get the majority of the remaining grout off of the tiles. This will get any larger chunks off easily, but you will still need to do more for the finer dust. With the sponge, go over all of the grout lines with your finger pressing into the joint. This will help make a slight indent in the grout and give you a consistent shape and depth.
A damp rag is the best way to get all of this dust off. Go over the surface repeatedly, rinsing the rag in a bucket of water. The more times you clean the surface off, the closer to clean you’ll get. It may take a while, but it’s worth it to not trek old grout around with you everywhere.
Caulk the Corners
Finally, you just need to add caulk to the corners. Grout isn’t easy to apply to all the corners, and it isn’t the best choice for that area anyway. You want to apply the caulk in order to keep any water from creeping into your tilework. This is the best way to protect your work for the long haul.
How did we do? Let us know if you followed our steps and show us your nice, new tile grout on Facebook or Pinterest.


