How to Install a Water Softener for Cleaner, Softer Water
Water softeners are essential for households dealing with hard water, which contains high levels of minerals like calcium and magnesium. These minerals can cause a variety of issues, including scaling on appliances, dry skin, and inefficiency in cleaning tasks.
Ready to take on life with unshakable confidence? Whether you’re aiming to excel in your career, improve your relationships, or conquer DIY projects, NLP Hero’s Confidence Course is your key to success. Click here to start transforming your confidence and be better at everything you do!
If you’ve decided to take the plunge and install a water softener, you’re making a smart choice for the longevity of your home’s plumbing and the quality of your daily living. This guide will walk you through the process of how to install a water softener, ensuring you can tackle this project with confidence and precision.
How to Know a Water Softener Install is Required
Hard water requires softening when it starts to cause noticeable problems in household tasks and appliances. Hard water contains high levels of minerals like calcium and magnesium, which can lead to the buildup of scale in pipes, water heaters, and other fixtures, reducing their efficiency and lifespan.
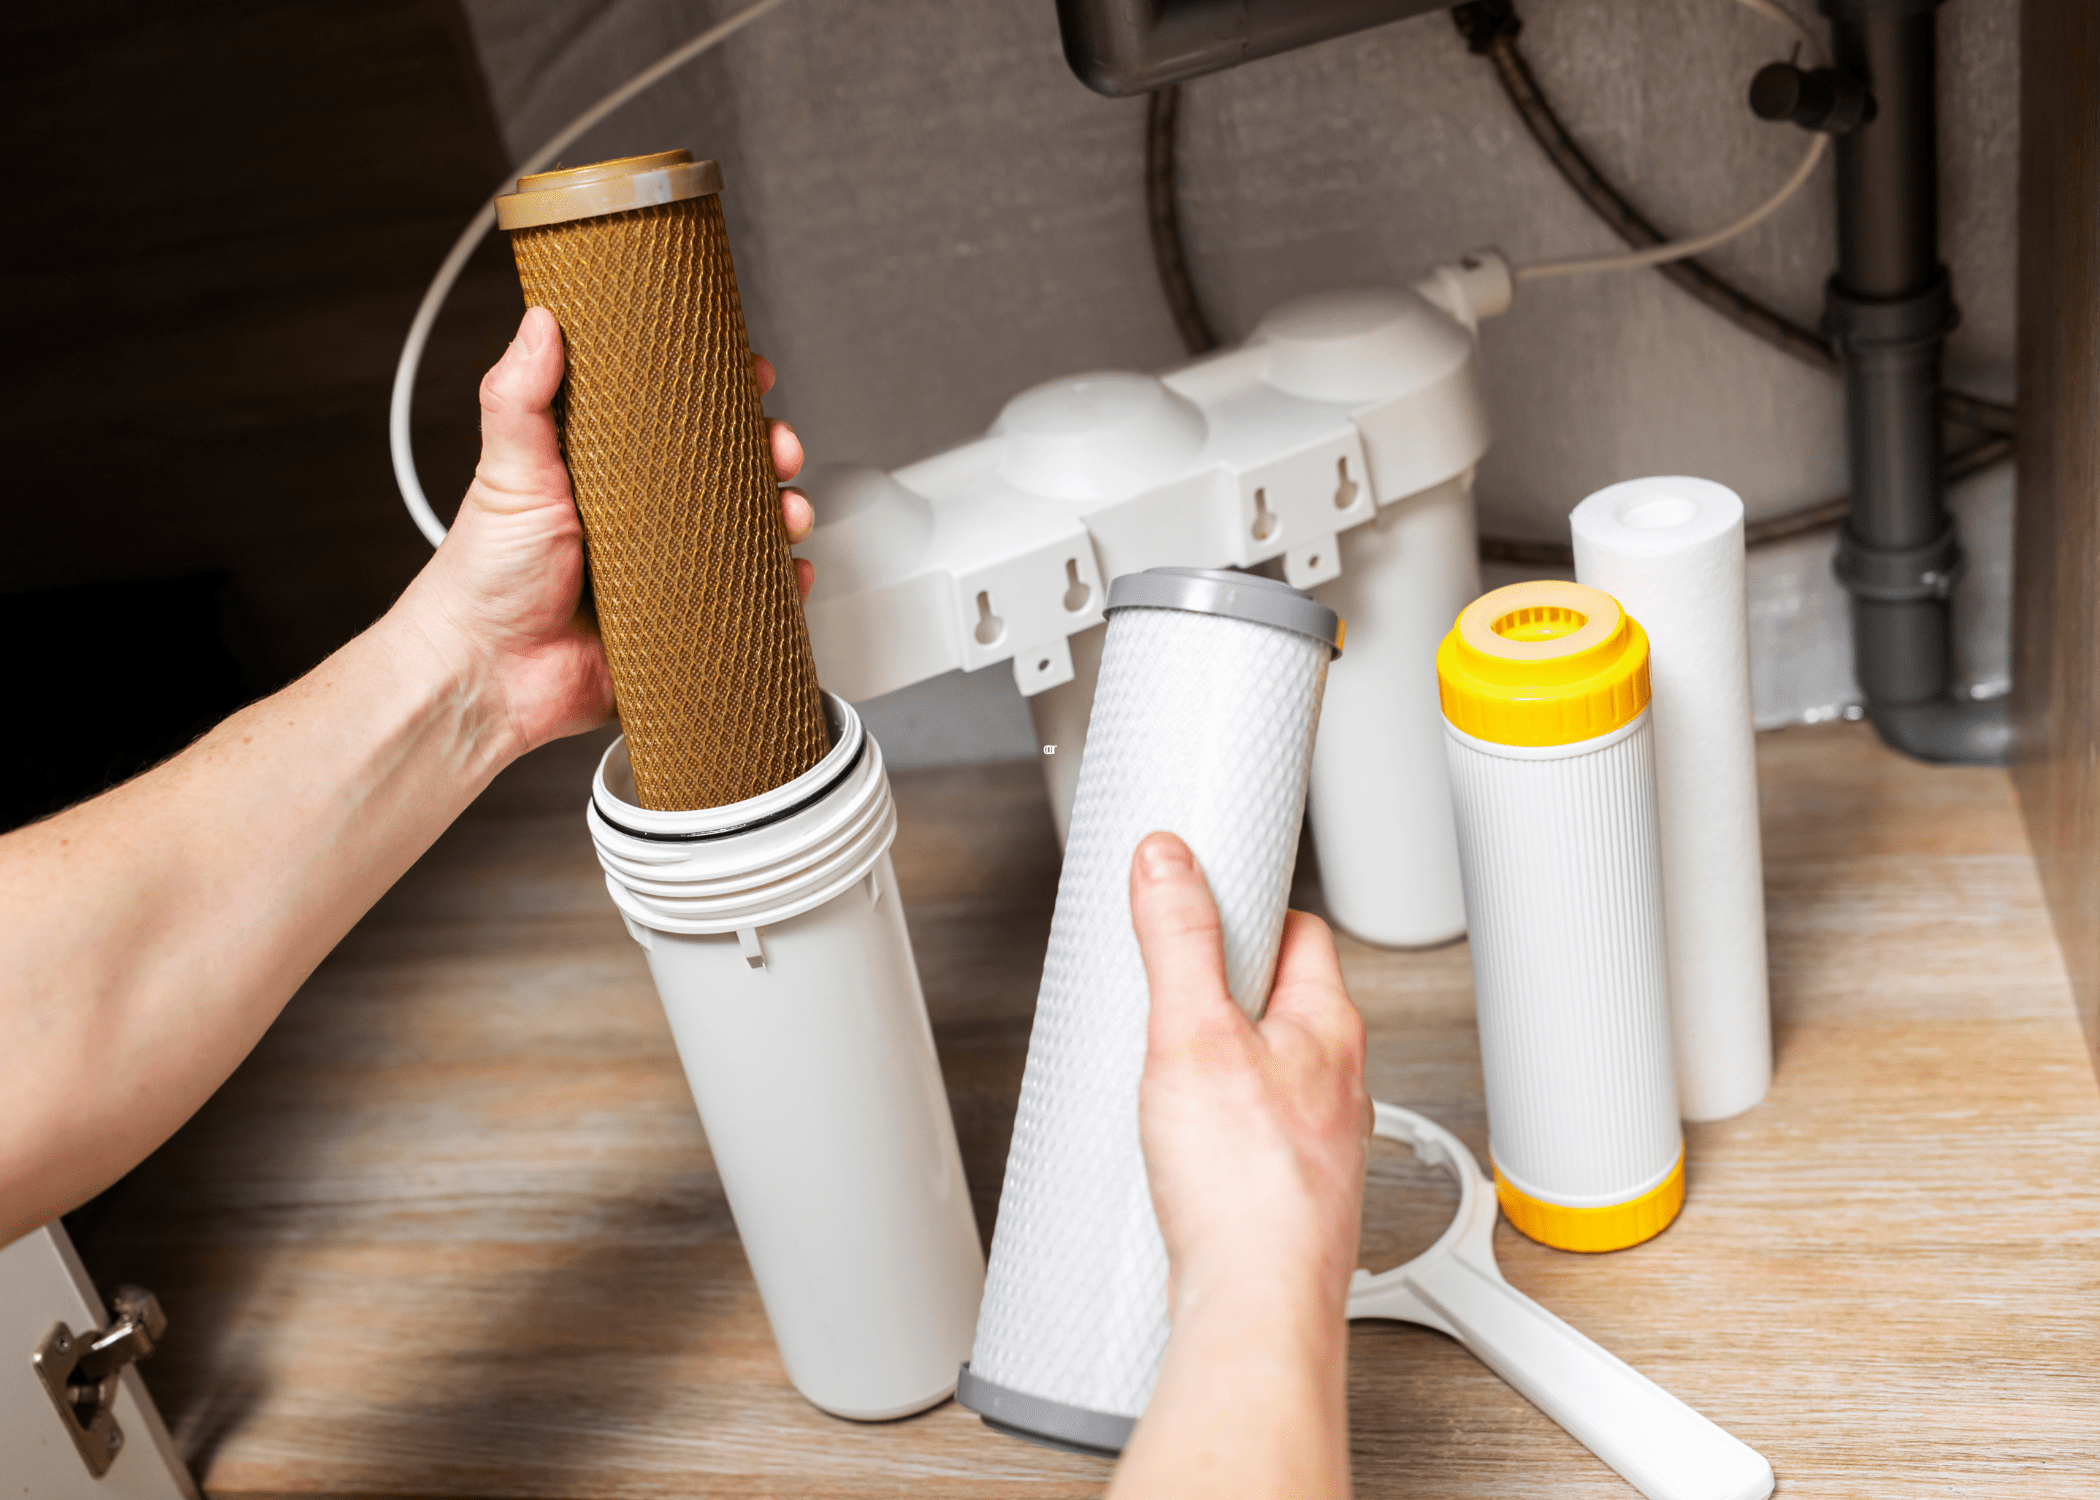
It can leave unsightly spots on dishes and glasses, make laundry feel stiff, and decrease the effectiveness of soaps and detergents. When these issues become prevalent, investing in a water softening system can be beneficial to improve water quality, enhance the longevity of plumbing systems, and ensure better overall household maintenance.
Assess the Water Quality
Prior to setting up a water softener, it’s crucial to evaluate the hardness of your drinking water. Understanding the hardness level in advance will assist you in configuring the appropriate settings for the softener and guide you in selecting the most suitable water softener system.
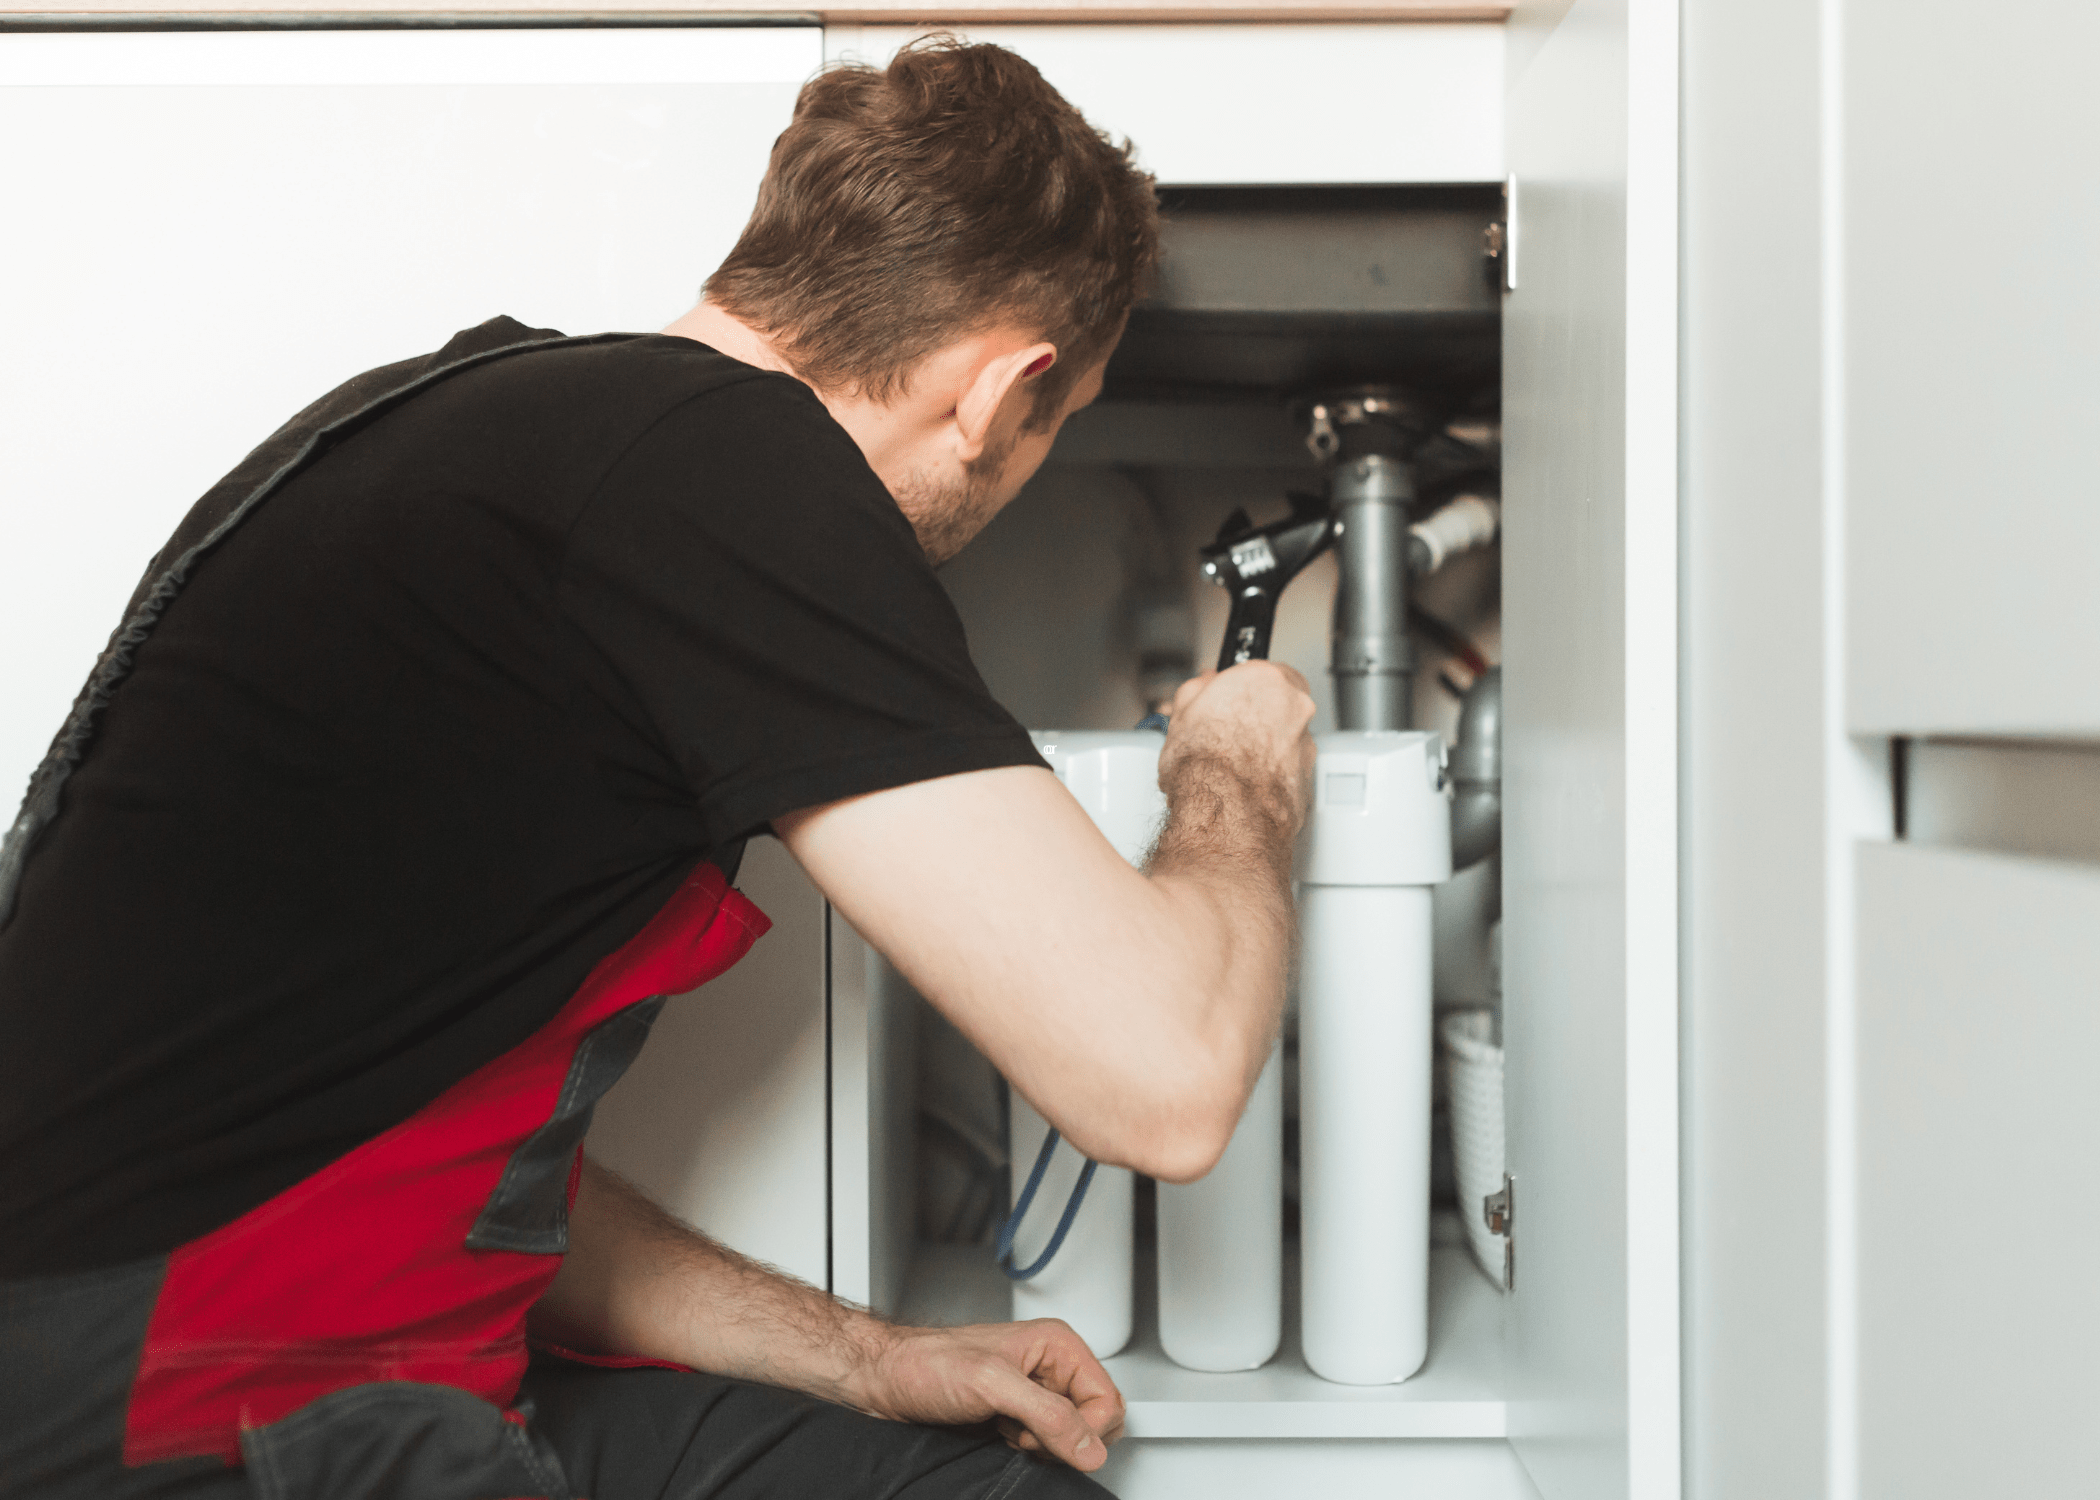
You can also find do-it-yourself test kits similar to those used to check swimming pool water quality. These kits are available for purchase at home improvement centers, hardware stores, or online sellers.
Choosing the Right Location
Before starting the installation, it’s crucial to select an appropriate spot for the water softener. The unit should be placed where it can treat the indoor potable water supply but not the pipes leading to outdoor water connections. Since softened water can harm or kill plants, ensure that unconditioned water is still available for outdoor spigots and lawn irrigation systems. Always refer to the manufacturer’s instructions for the recommended uses of the softened water.
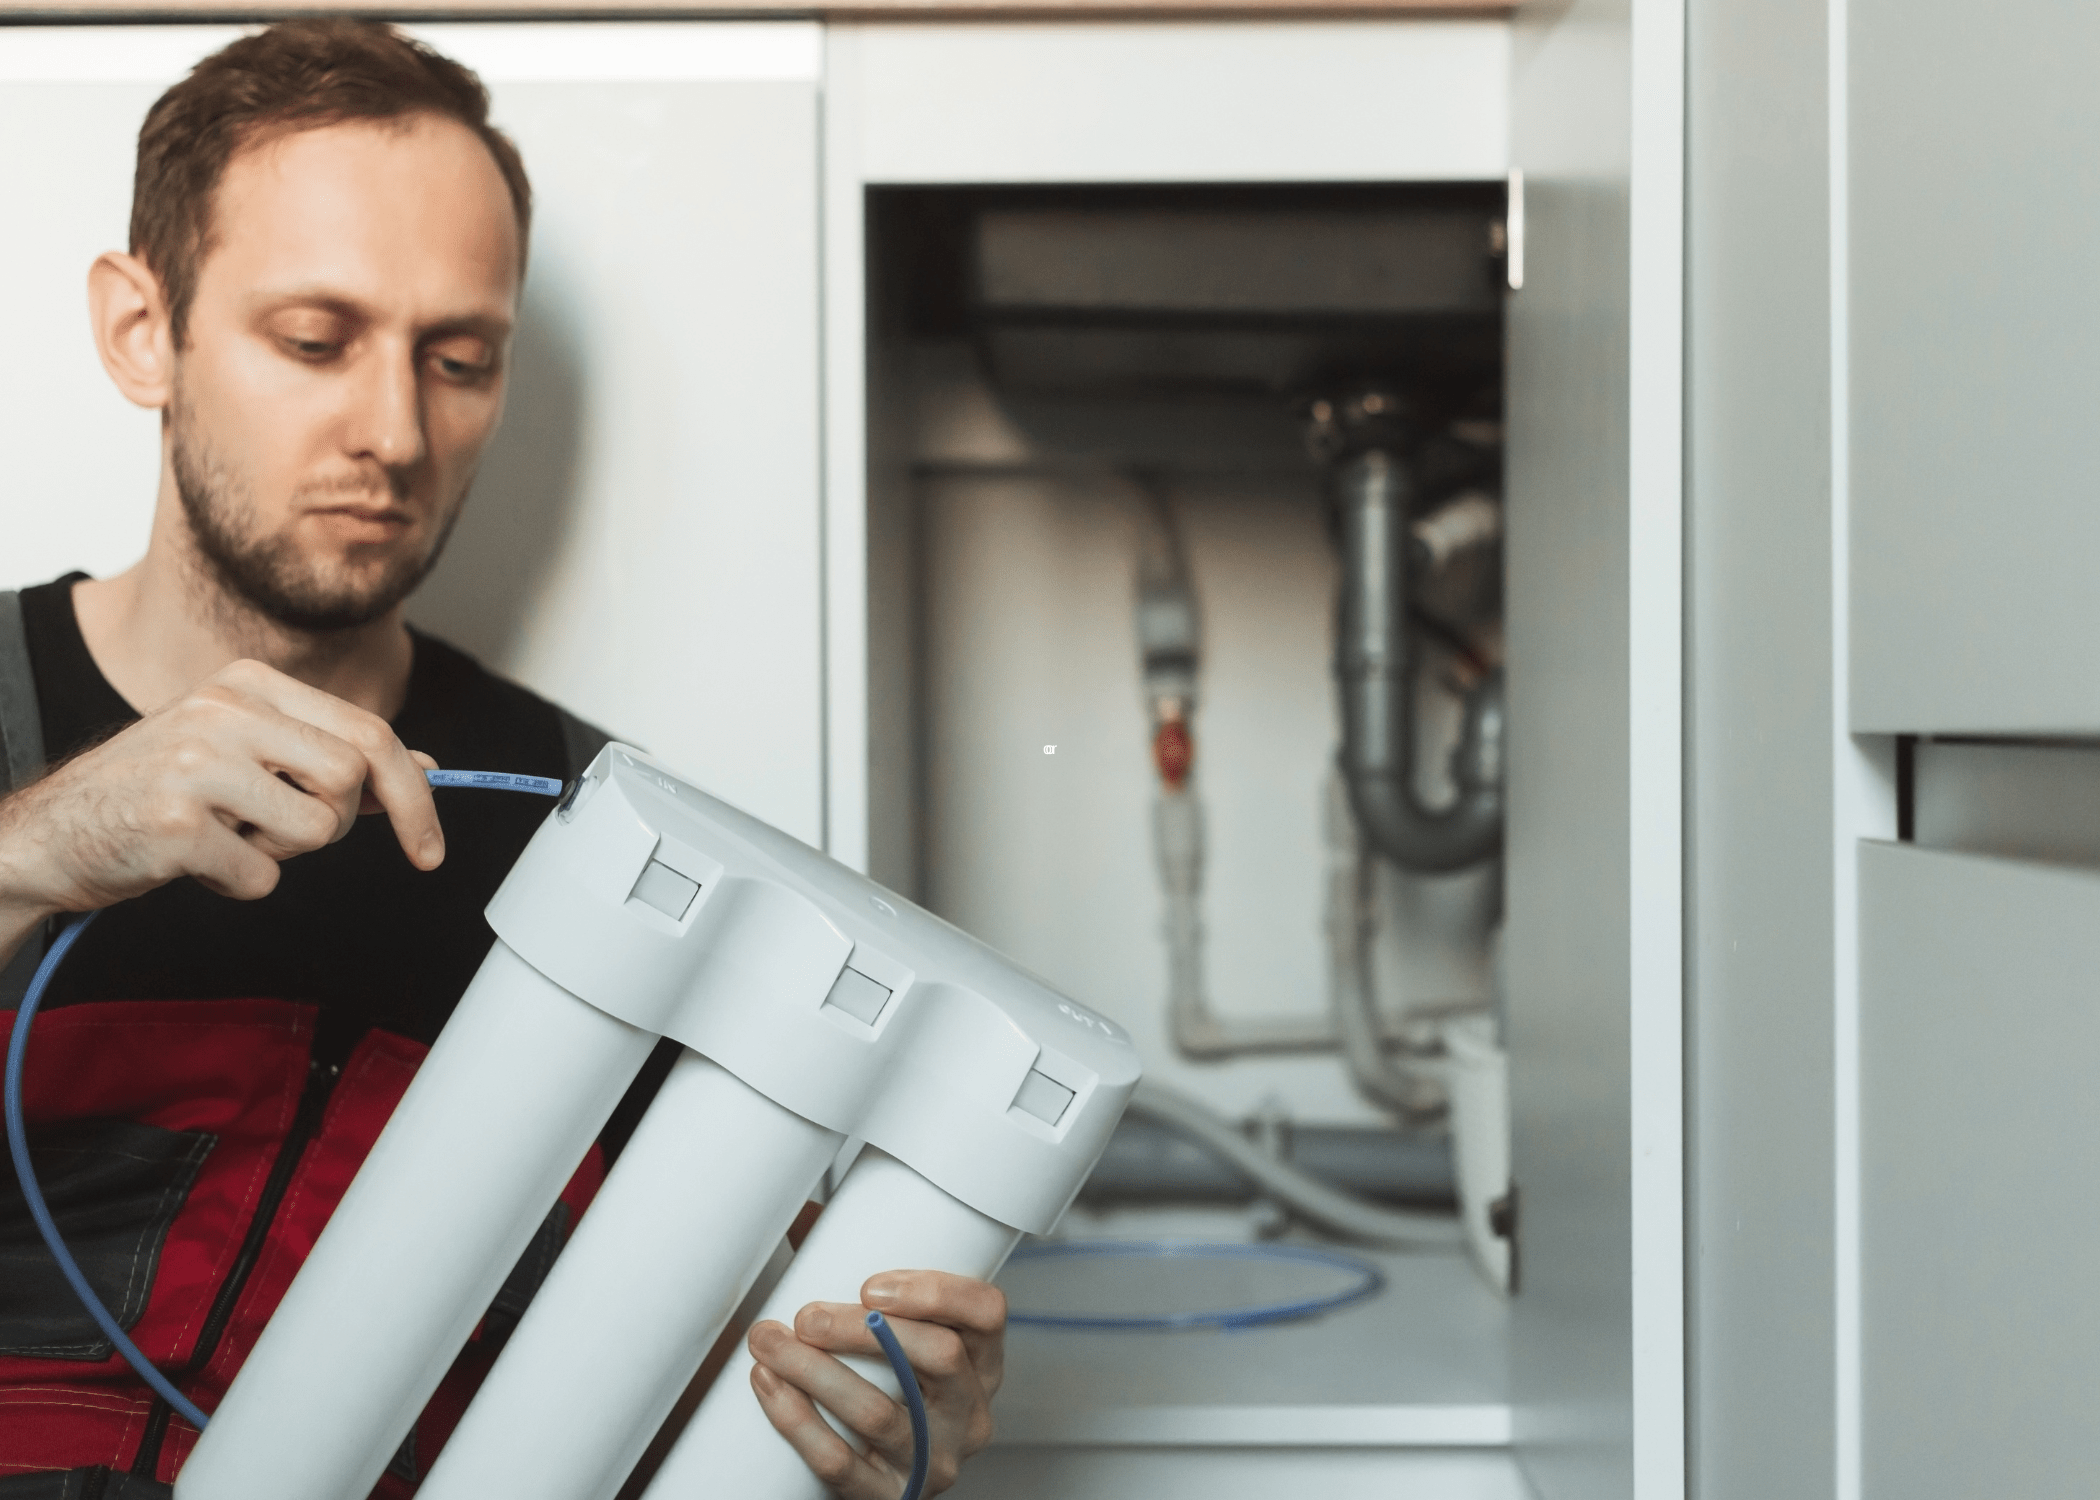
Find a flat, accessible location for the water softener. These units typically consist of two tanks: a mineral tank, also known as a resin tank, which contains plastic resin beads that capture hard minerals through ion exchange, and a brine tank that holds a salt or potassium chloride solution used to regenerate the resin beads. Some models combine both tanks into a single unit. Ensure the chosen location has access to an electrical outlet for power and a drain for water discharge.
Can I Install a Water Softener Myself?
Installing a water softener can be a manageable task if you possess the necessary plumbing skills to handle various water supply connections. This project is considered advanced-level because it often involves cutting into plumbing pipes to integrate the water softener into your water supply system. You may need to use a propane torch to solder copper pipes and fittings, a skill that requires some experience.
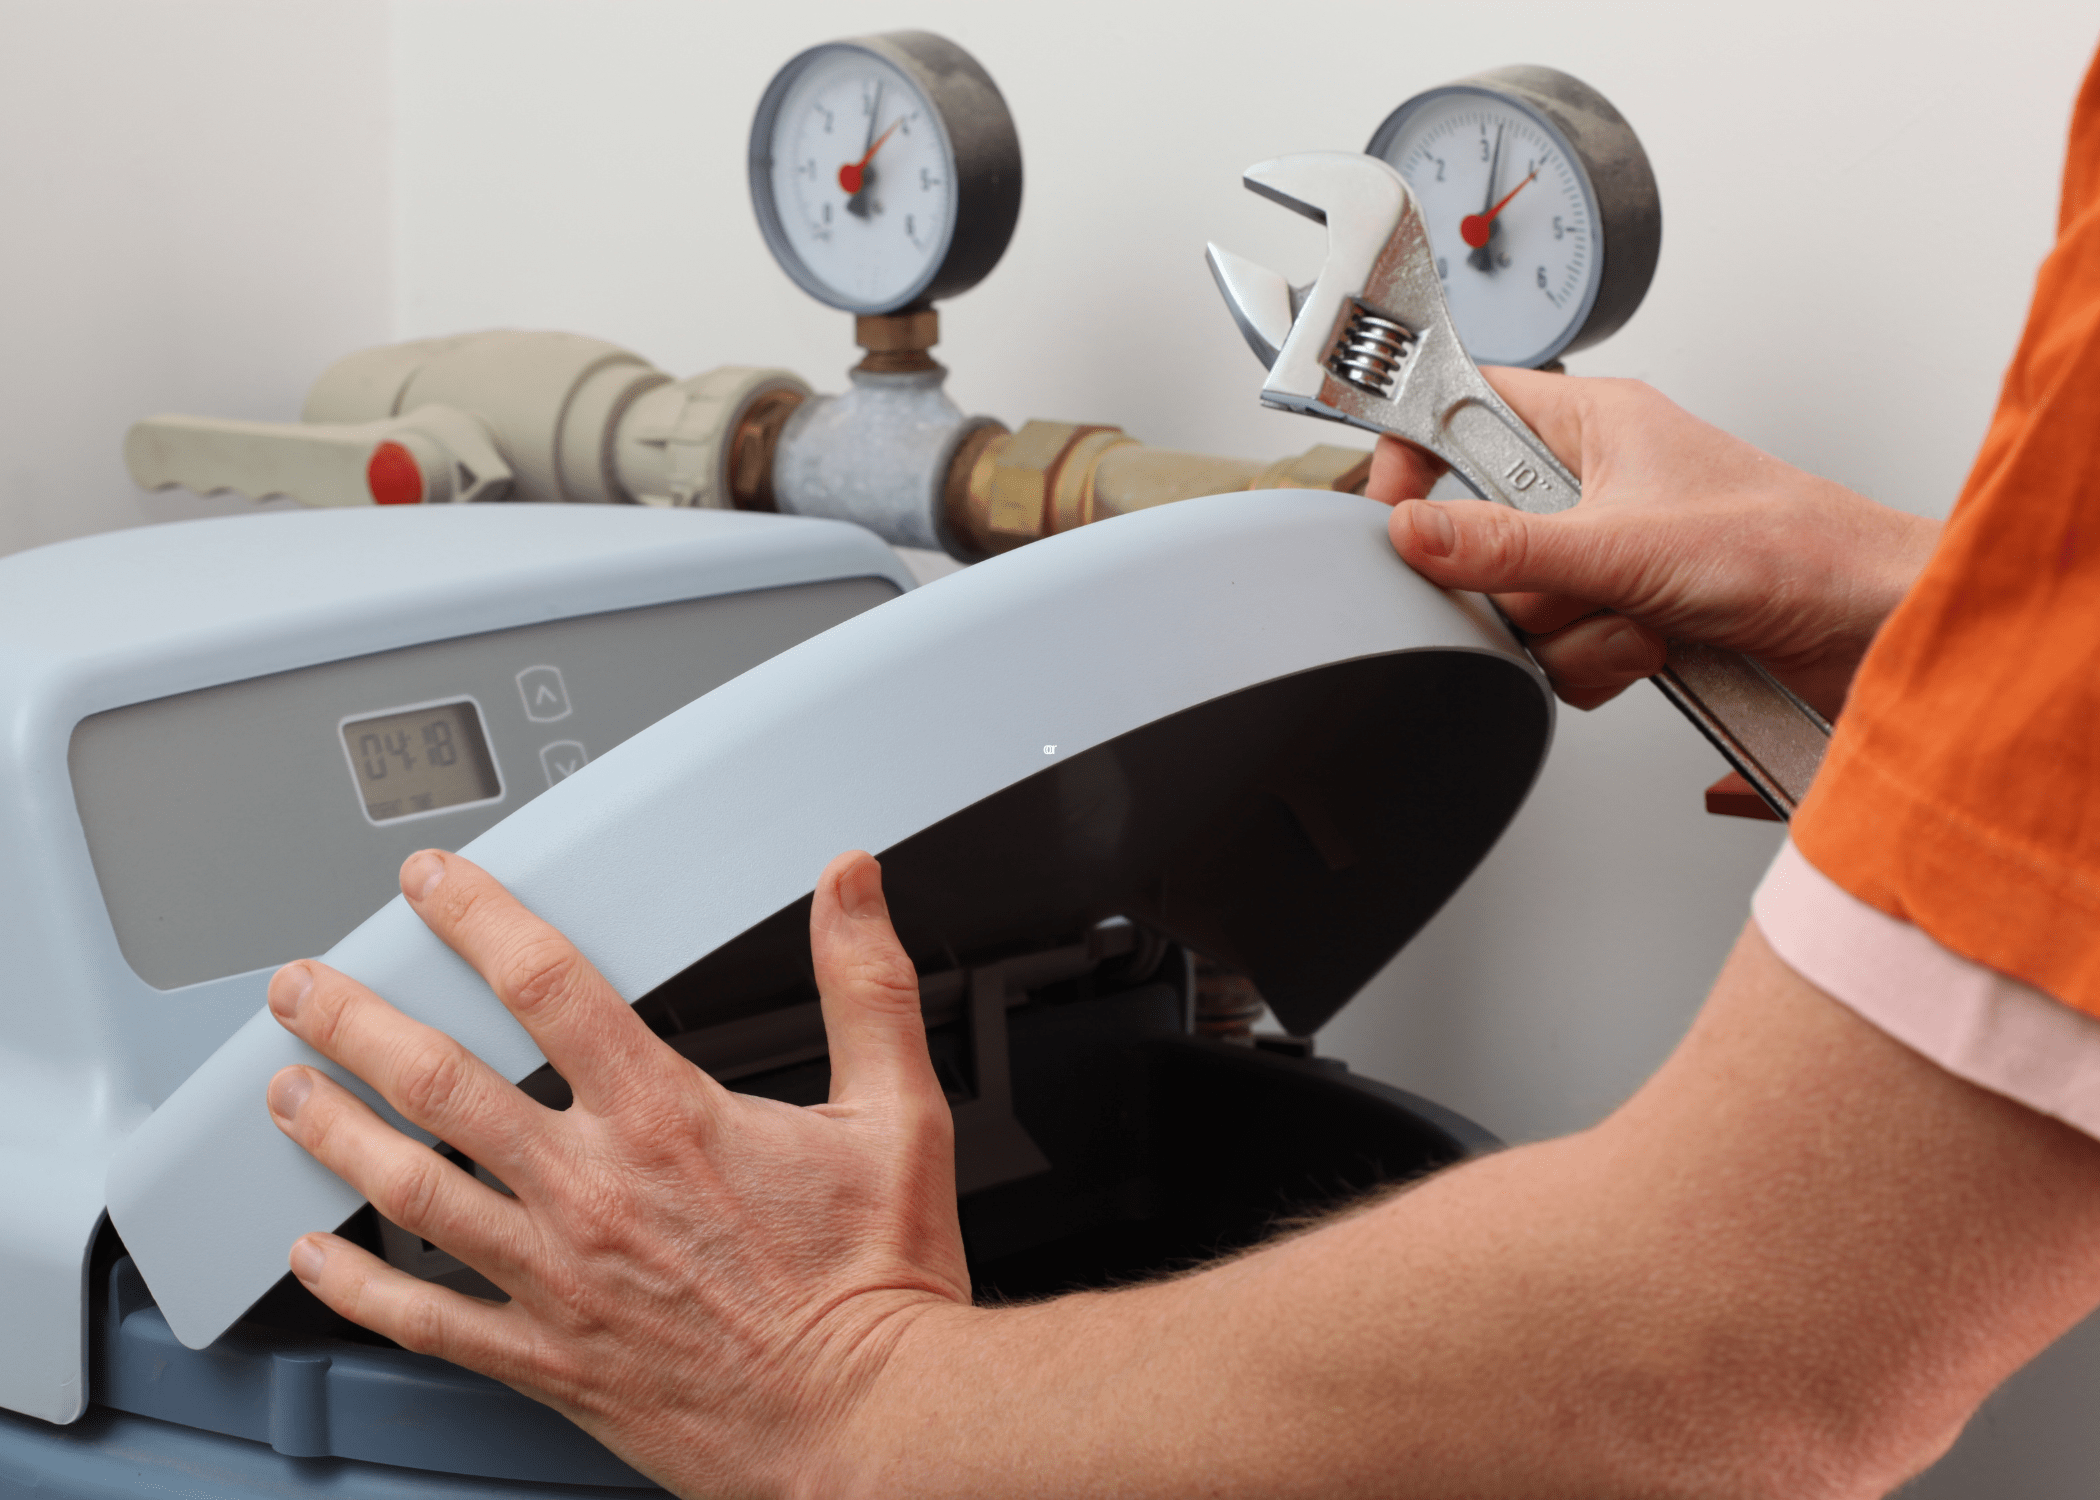
Understanding how a water softener functions can significantly simplify the installation process. It is highly recommended that you conduct research on the different types of water softeners and their operations.
Step-by-Step for How to Install a Water Softener
Although it might require some new skills and a few tools, you shouldn’t be discouraged from trying this install yourself. Make sure to also read the specific installation instructions for the system that you have purchased, but here are the general steps for how to install a water softener yourself:
Choose the Installation Location
Select a location close to your main water supply line and a power outlet. Ensure there’s enough space for the brine tank and the resin tank. Most installations occur in basements, garages, or utility rooms.
Shut Off the Water Supply
Turn off the main water supply and drain the system by opening all faucets. This step prevents water from spilling during installation.
Cut the Main Water Supply Line
Using a pipe cutter, cut into the main water supply line where you intend to install the water softener. Make sure to measure and mark the pipe accurately before cutting.
Install the Bypass Valve
Attach the bypass valve to the water softener unit. The bypass valve allows you to bypass the water softener during maintenance without shutting off the entire water supply.
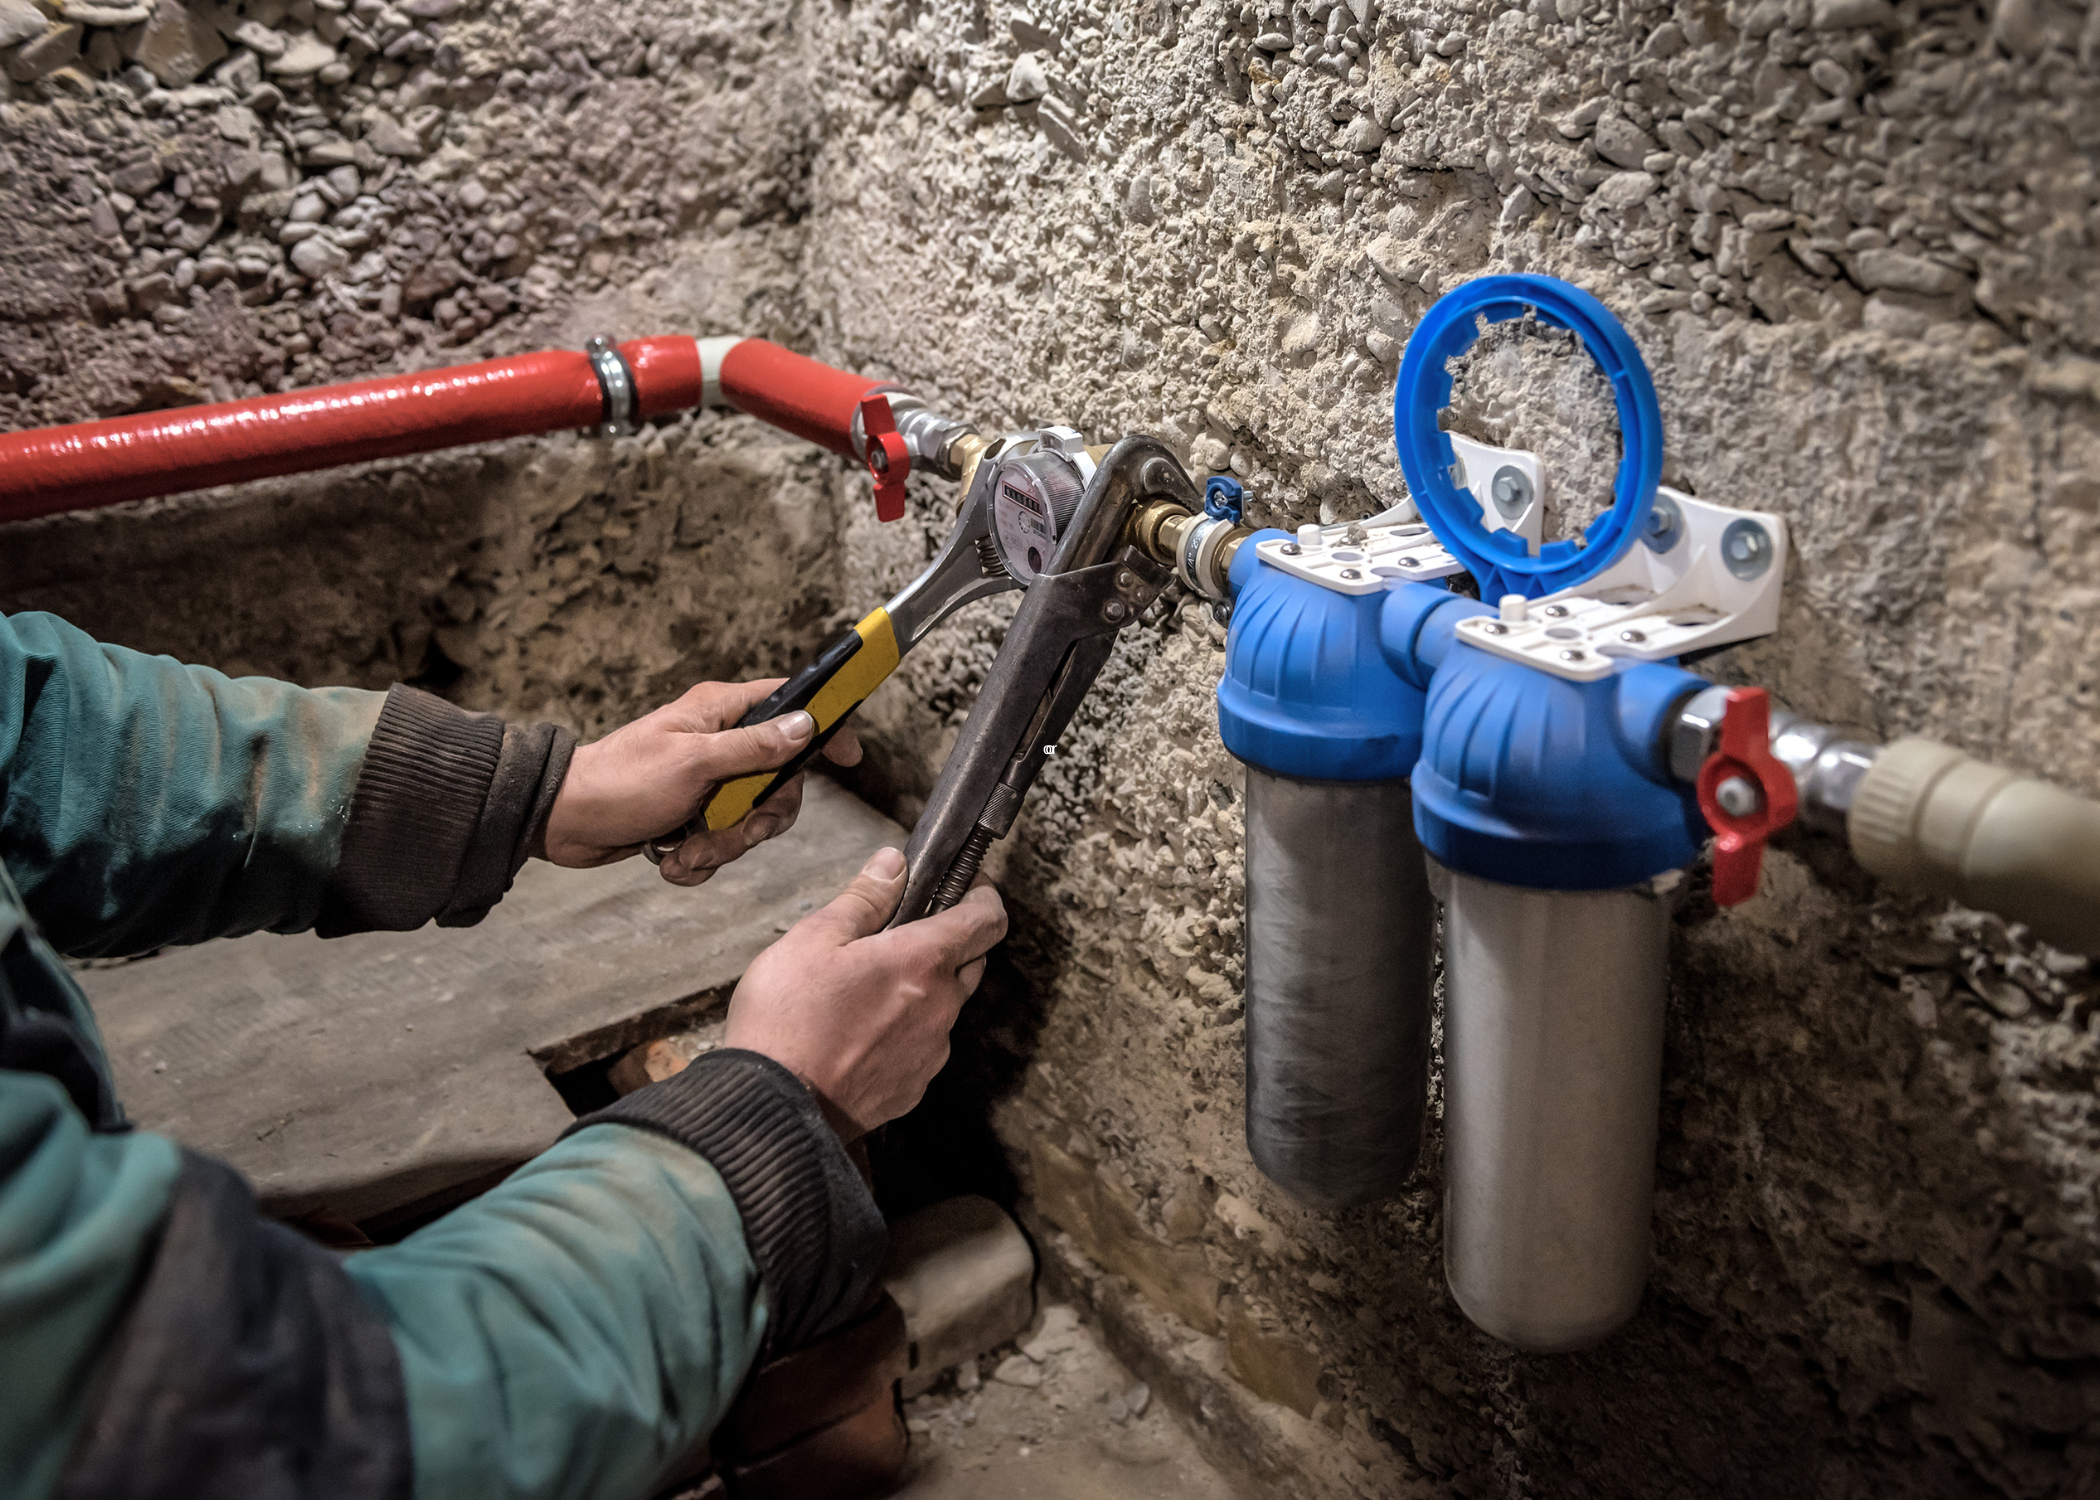
Connect the Unit to the Plumbing
Attach the water softener to the main water line using appropriate fittings and plumbing tape to prevent leaks. Ensure the inlet and outlet connections are correctly placed to match the water flow direction.
Connect the Drain Hose
Attach the drain hose to the unit and secure it to a nearby drain or utility sink. This hose will carry away the mineral-laden water from the regeneration process.
Install the Overflow Tube
Connect the overflow tube to the brine tank and ensure it leads to a floor drain. This is a safety feature to prevent flooding in case of a malfunction.
Turn on the Water Supply
Gradually turn on the main water supply and check for any leaks. Open a faucet to let any trapped air escape from the system.
Plug in the Unit and Program Settings
Connect the water softener to a power source and follow the manufacturer’s instructions to set the hardness level, regeneration cycle, and other settings.
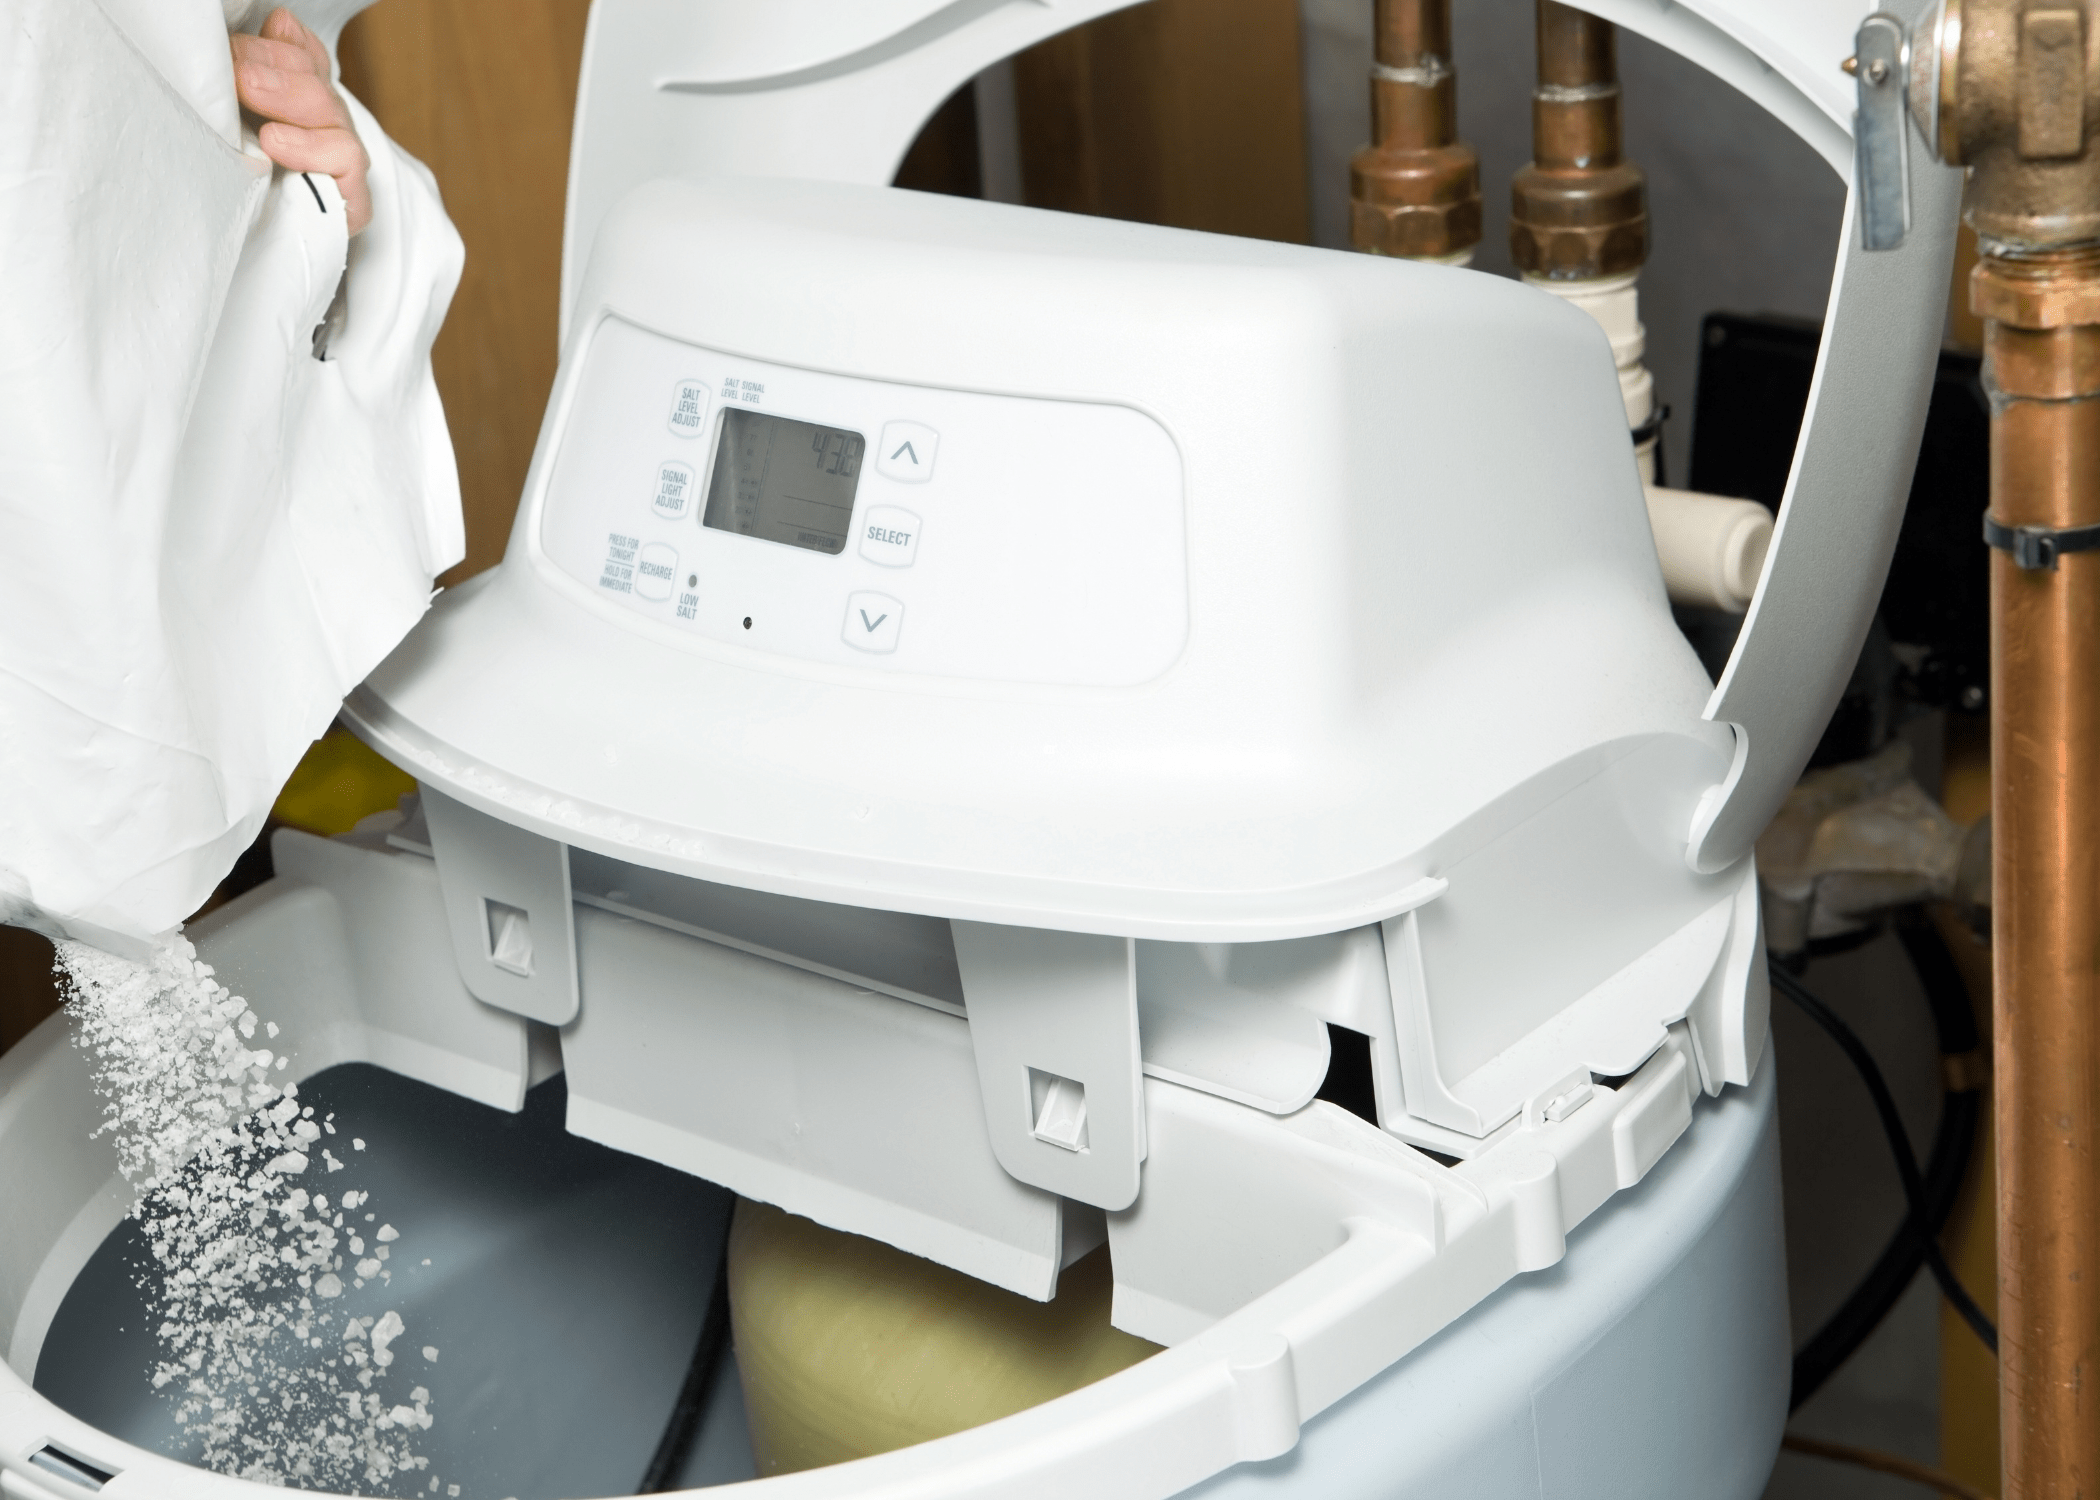
Add Salt to the Brine Tank
Fill the brine tank with water softener salt, which is essential for the ion exchange process that softens the water.
Related Articles
- How to Improve Water Pressure in Your Home
- How to Ignite a Pilot Light for Water Heater
- From Drip to Dry: How to Quickly Fix a Leaky Shower Faucet
Your water softener is now installed and ready to provide your home with soft water. Regular maintenance, such as checking salt levels and cleaning the brine tank, will ensure it operates efficiently for years to come.
Ready to start your next project? Join our DIY community to receive tool tips, how-to guides, and exclusive creative insights. Subscribe to the ManMadeDIY newsletter now! Click here to unlock a world of hands-on inspiration.
Frequently Asked Questions (FAQs)
What is hard water, and how do I know if I have it?
Hard water contains high levels of minerals like calcium and magnesium. Common signs include limescale buildup on faucets, soap scum in sinks and bathtubs, and dry skin after bathing.
How often should I check the salt levels in my water softener?
Check the salt levels every month. The brine tank should always have enough salt to ensure the water softener functions correctly.
Can I install a water softener myself, or should I hire a professional?
While many homeowners successfully install water softeners themselves, it requires a certain level of plumbing knowledge. If you’re not confident in your skills, hiring a professional can ensure a proper installation.
How long does the installation process take?
The installation process typically takes 2-4 hours, depending on your plumbing configuration and your familiarity with the process.
What type of salt should I use in my water softener?
Use high-purity salts, such as evaporated salt, solar salt, or rock salt. Check your water softener’s manual for specific recommendations.
How do I maintain my water softener?
Regular maintenance includes checking salt levels, cleaning the brine tank annually, and inspecting the system for any signs of wear or leaks. Following the manufacturer’s maintenance schedule will keep your water softener in top condition.


