How to Install Door Weather Stripping to Seal Your Home
For those who seek DIY home improvement, there’s a simple yet profoundly effective project that often goes overlooked: installing door weather stripping. This task, seemingly mundane, holds the key to enhancing your home’s energy efficiency, comfort, and even its overall value. Whether you’re a seasoned DIY enthusiast or a novice looking to dip your toes into home maintenance, understanding how to install door weather stripping is an essential skill. Let’s get into the ins and outs of this project, ensuring you’re well-equipped to tackle it head-on.
Step-by-Step Guide For Installing Door Weather Stripping
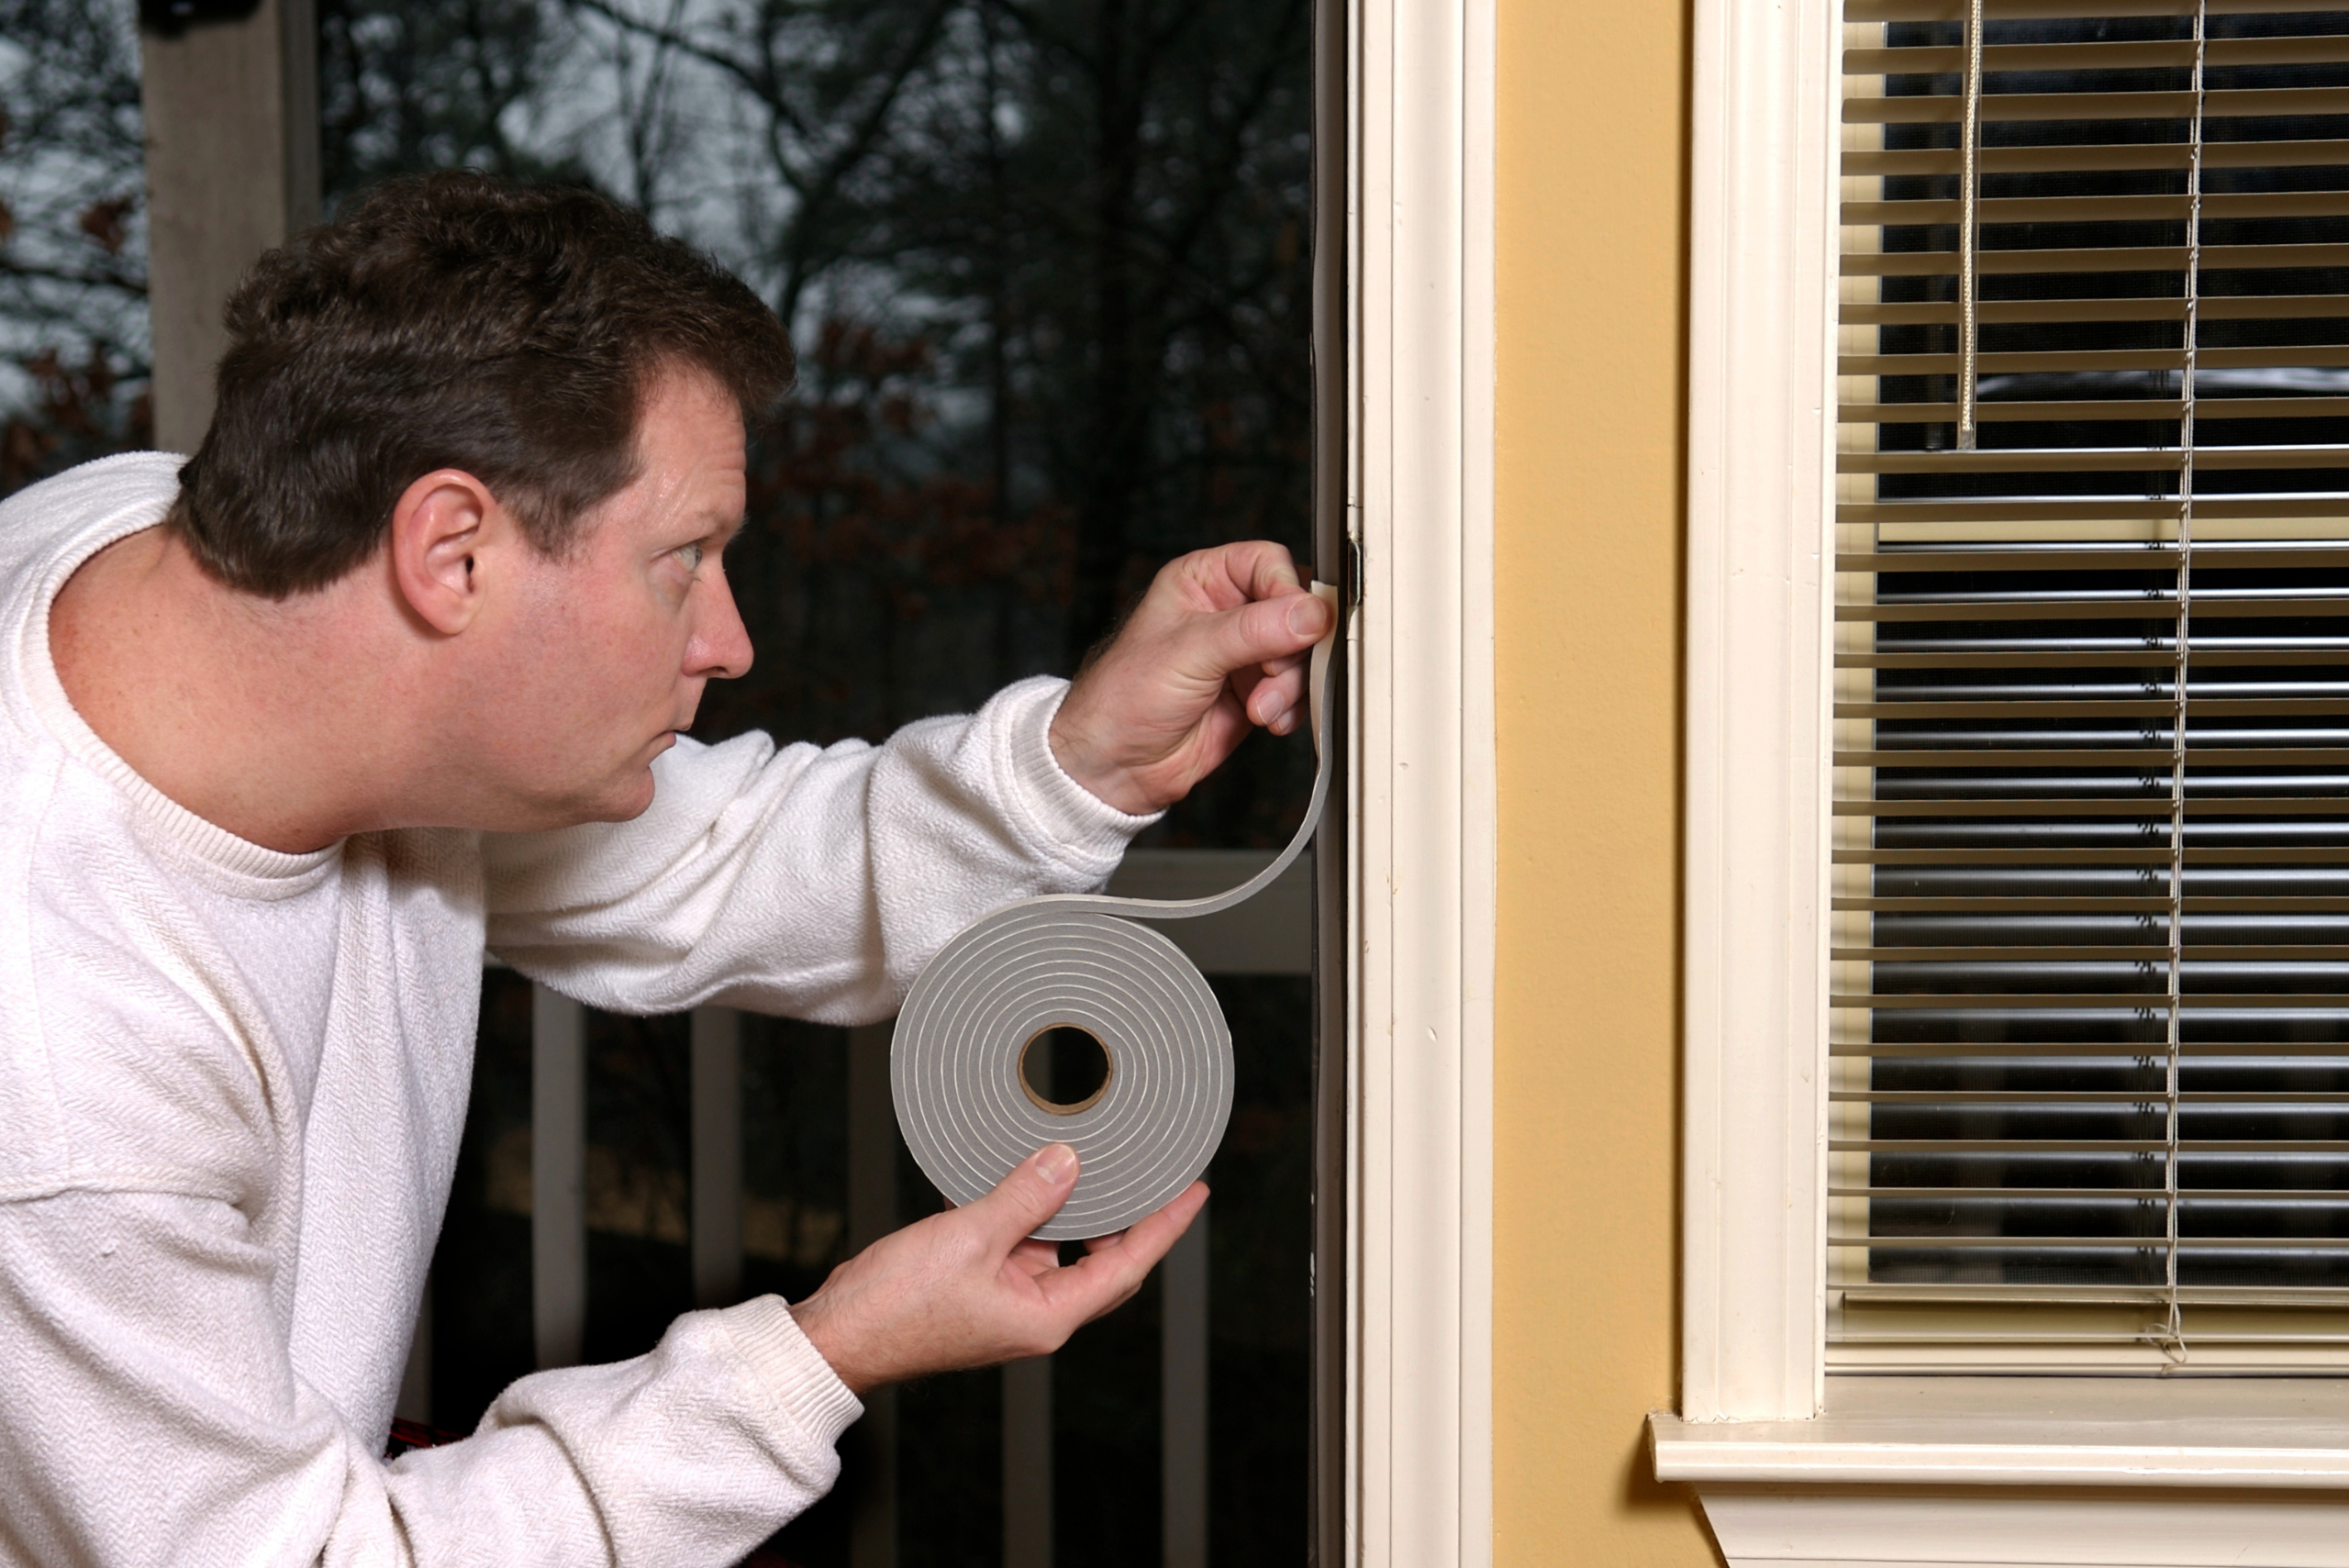
With the right materials in hand, you’re ready to embark on the installation process. Begin by thoroughly cleaning the door frame to ensure the weather stripping adheres properly. Measure the top and sides of your door frame, then cut the weather stripping to size, leaving a little extra to ensure a snug fit.

Peel off the adhesive backing (if applicable) and press the weather stripping firmly into place along the top and sides of the frame. For doors that swing out, you’ll want to apply the stripping to the door itself, ensuring a tight seal when the door is closed. Be meticulous in your application, as gaps or unevenness can compromise the effectiveness of the seal.
The Role of Thresholds in Enhancing Door Sealing
While weather stripping seals the sides and top of your door, the threshold is responsible for sealing the bottom. If your threshold is adjustable, raise it until you can feel slight resistance when closing the door. This ensures a good seal without making the door difficult to use. If your threshold isn’t adjustable, consider adding a door sweep to bridge the gap. Door sweeps attach to the bottom of the door and move with it, providing a flexible seal against the threshold.

Regularly inspect your thresholds and weather stripping for wear and tear. Over time, these materials can degrade, compromising the seal and necessitating replacement. This is a normal part of home maintenance and ensures your efforts continue to pay off in energy efficiency and comfort.
Understanding the Basics of Door Weather Stripping
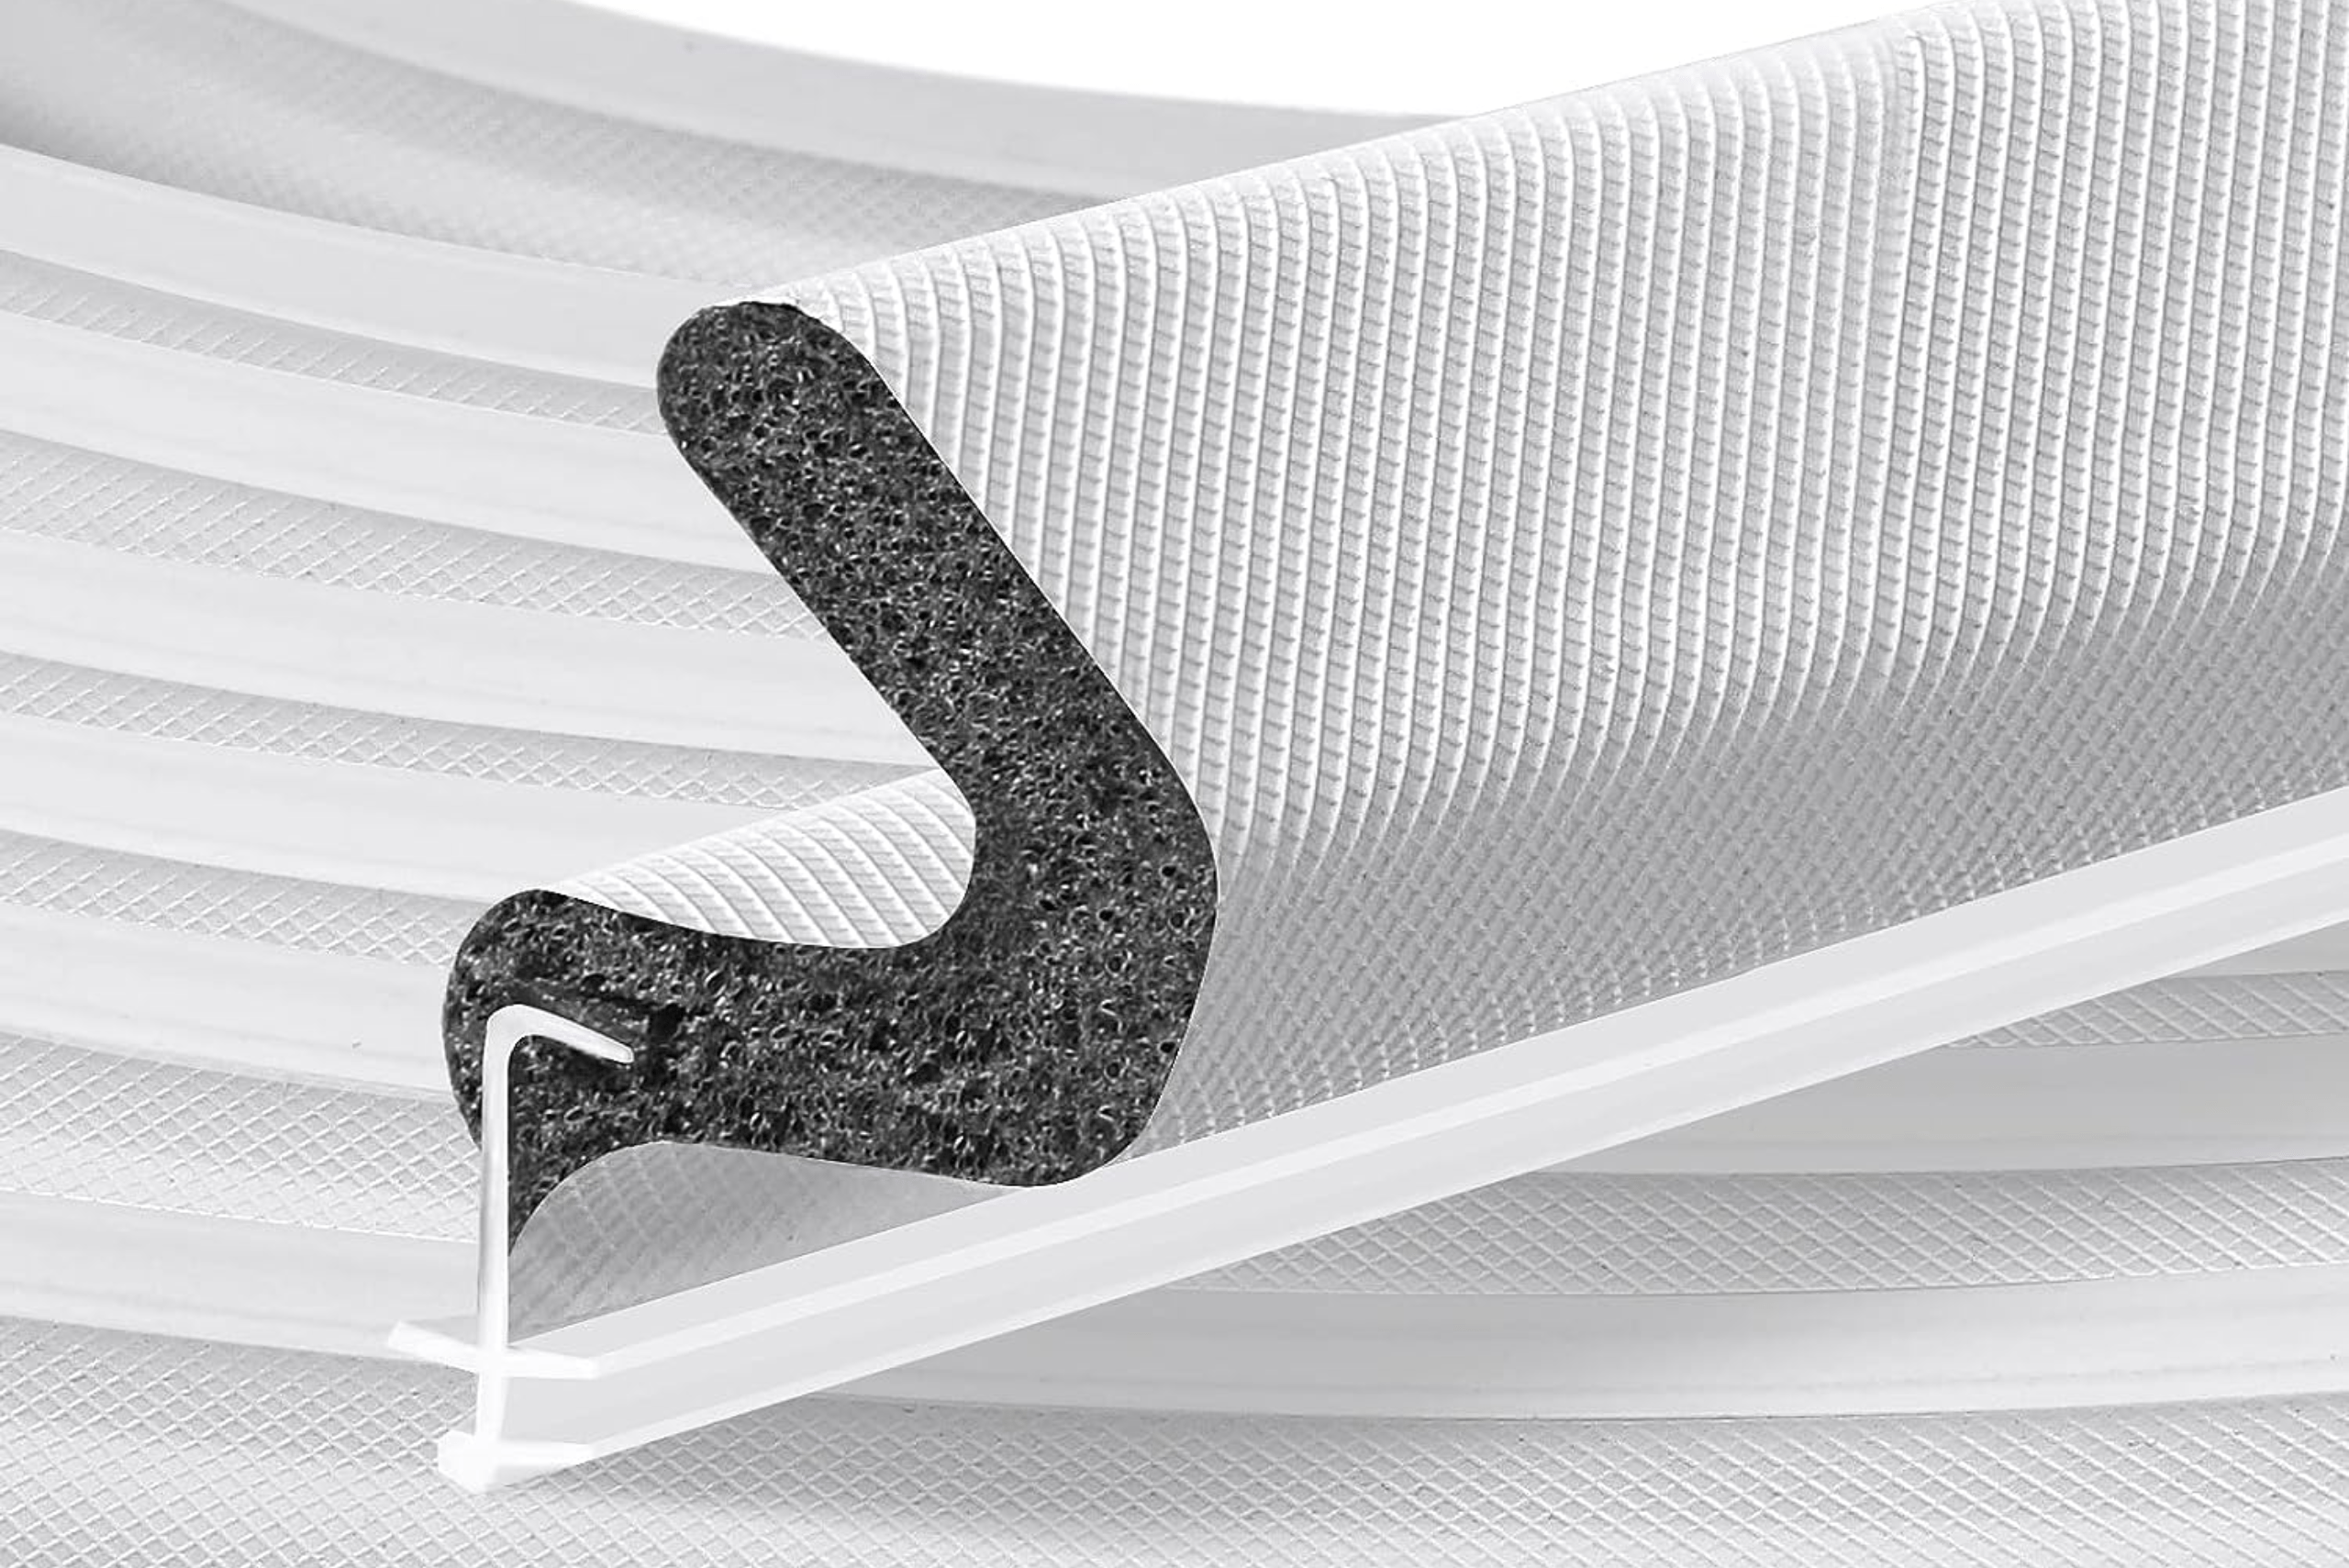
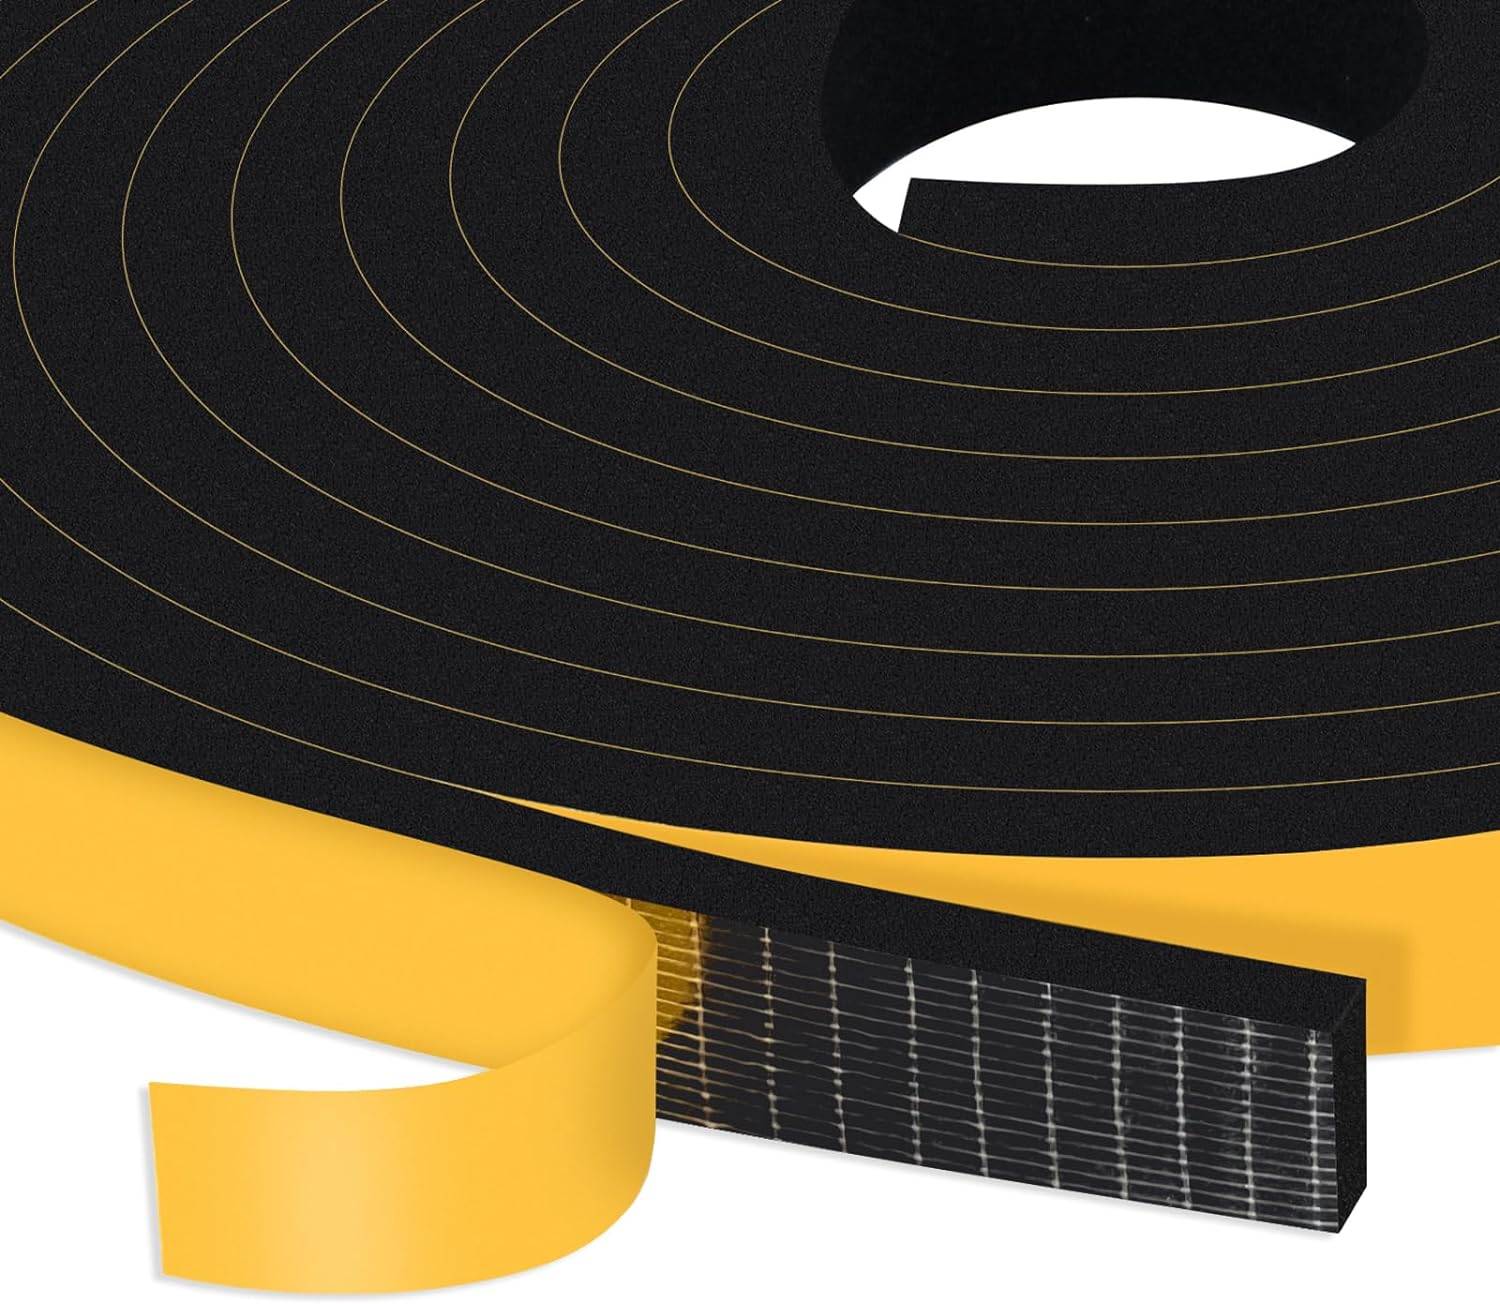
Before you dive into the nitty-gritty of installation, it’s crucial to grasp what door weather stripping is and why it’s so important. Essentially, weather stripping is a type of insulation—typically made from rubber, foam, or vinyl—that seals the gaps around doors (and windows), preventing drafts, moisture, and outdoor elements from entering your home. This not only helps in maintaining a comfortable indoor temperature but also significantly reduces energy bills by minimizing the workload on your heating and cooling systems.

Choosing the right type of weather stripping for your door is the first step toward a successful installation. Factors such as the material of your door, the size of the gaps, and the level of exposure to the elements will guide your selection. Remember, the goal is to create a tight seal without making it difficult to open or close the door.
Troubleshooting Common Issues in Weather Stripping Installation
Even with careful installation, you might encounter issues such as the door sticking or gaps remaining. If your door sticks, check if the weather stripping is too thick or if it’s been applied unevenly. Adjust as necessary, trimming the material or reapplying sections of the stripping. For persistent gaps, additional strips of weather stripping can be layered to build up the area until a tight seal is achieved.

However, don’t forget that patience is key. It might take a few attempts to get everything just right, but the payoff in terms of energy savings and improved comfort is well worth the effort. Don’t hesitate to remove and reapply sections of the weather stripping if you’re not satisfied with the seal.
Related Articles:
- How to Fix a Door That Won’t Latch – DIY Solutions
- Improve Your Home’s Ventilation and Air Quality by Installing a Screen Door
- How to Waterproof Plywood With Epoxy Sealer, Drying Oil, Varnish or Paint
As you reflect on this guide, remember that the success of your weather stripping installation lies in the details. Choose the right materials, apply them with care, and don’t shy away from troubleshooting as needed. With these insights and a bit of elbow grease, you’re well on your way to making your home more welcoming and weatherproof, one door at a time.


