How to Level Ground and Avoid Common Mistakes
Whether you’re installing a patio, planting a garden, or preparing a lawn, knowing how to level ground is essential for success. Uneven surfaces can cause instability, drainage problems, and even safety hazards. In this guide, we’ll walk you through everything you need to create a smooth, level surface for your next project.
Why Leveling Ground is Important
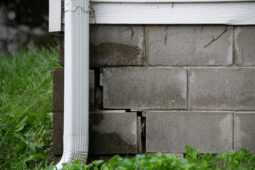
Leveling ground ensures your project is built on a solid foundation. An uneven base can cause structures to tilt, leading to costly repairs or replacements down the line. For lawns and gardens, a level surface improves water distribution, preventing pooling and erosion.
Additionally, leveling ground enhances the aesthetics of outdoor spaces. Whether you’re laying pavers or planting grass, starting with a flat surface ensures a polished, professional look.
Tools and Materials Needed to Level Ground
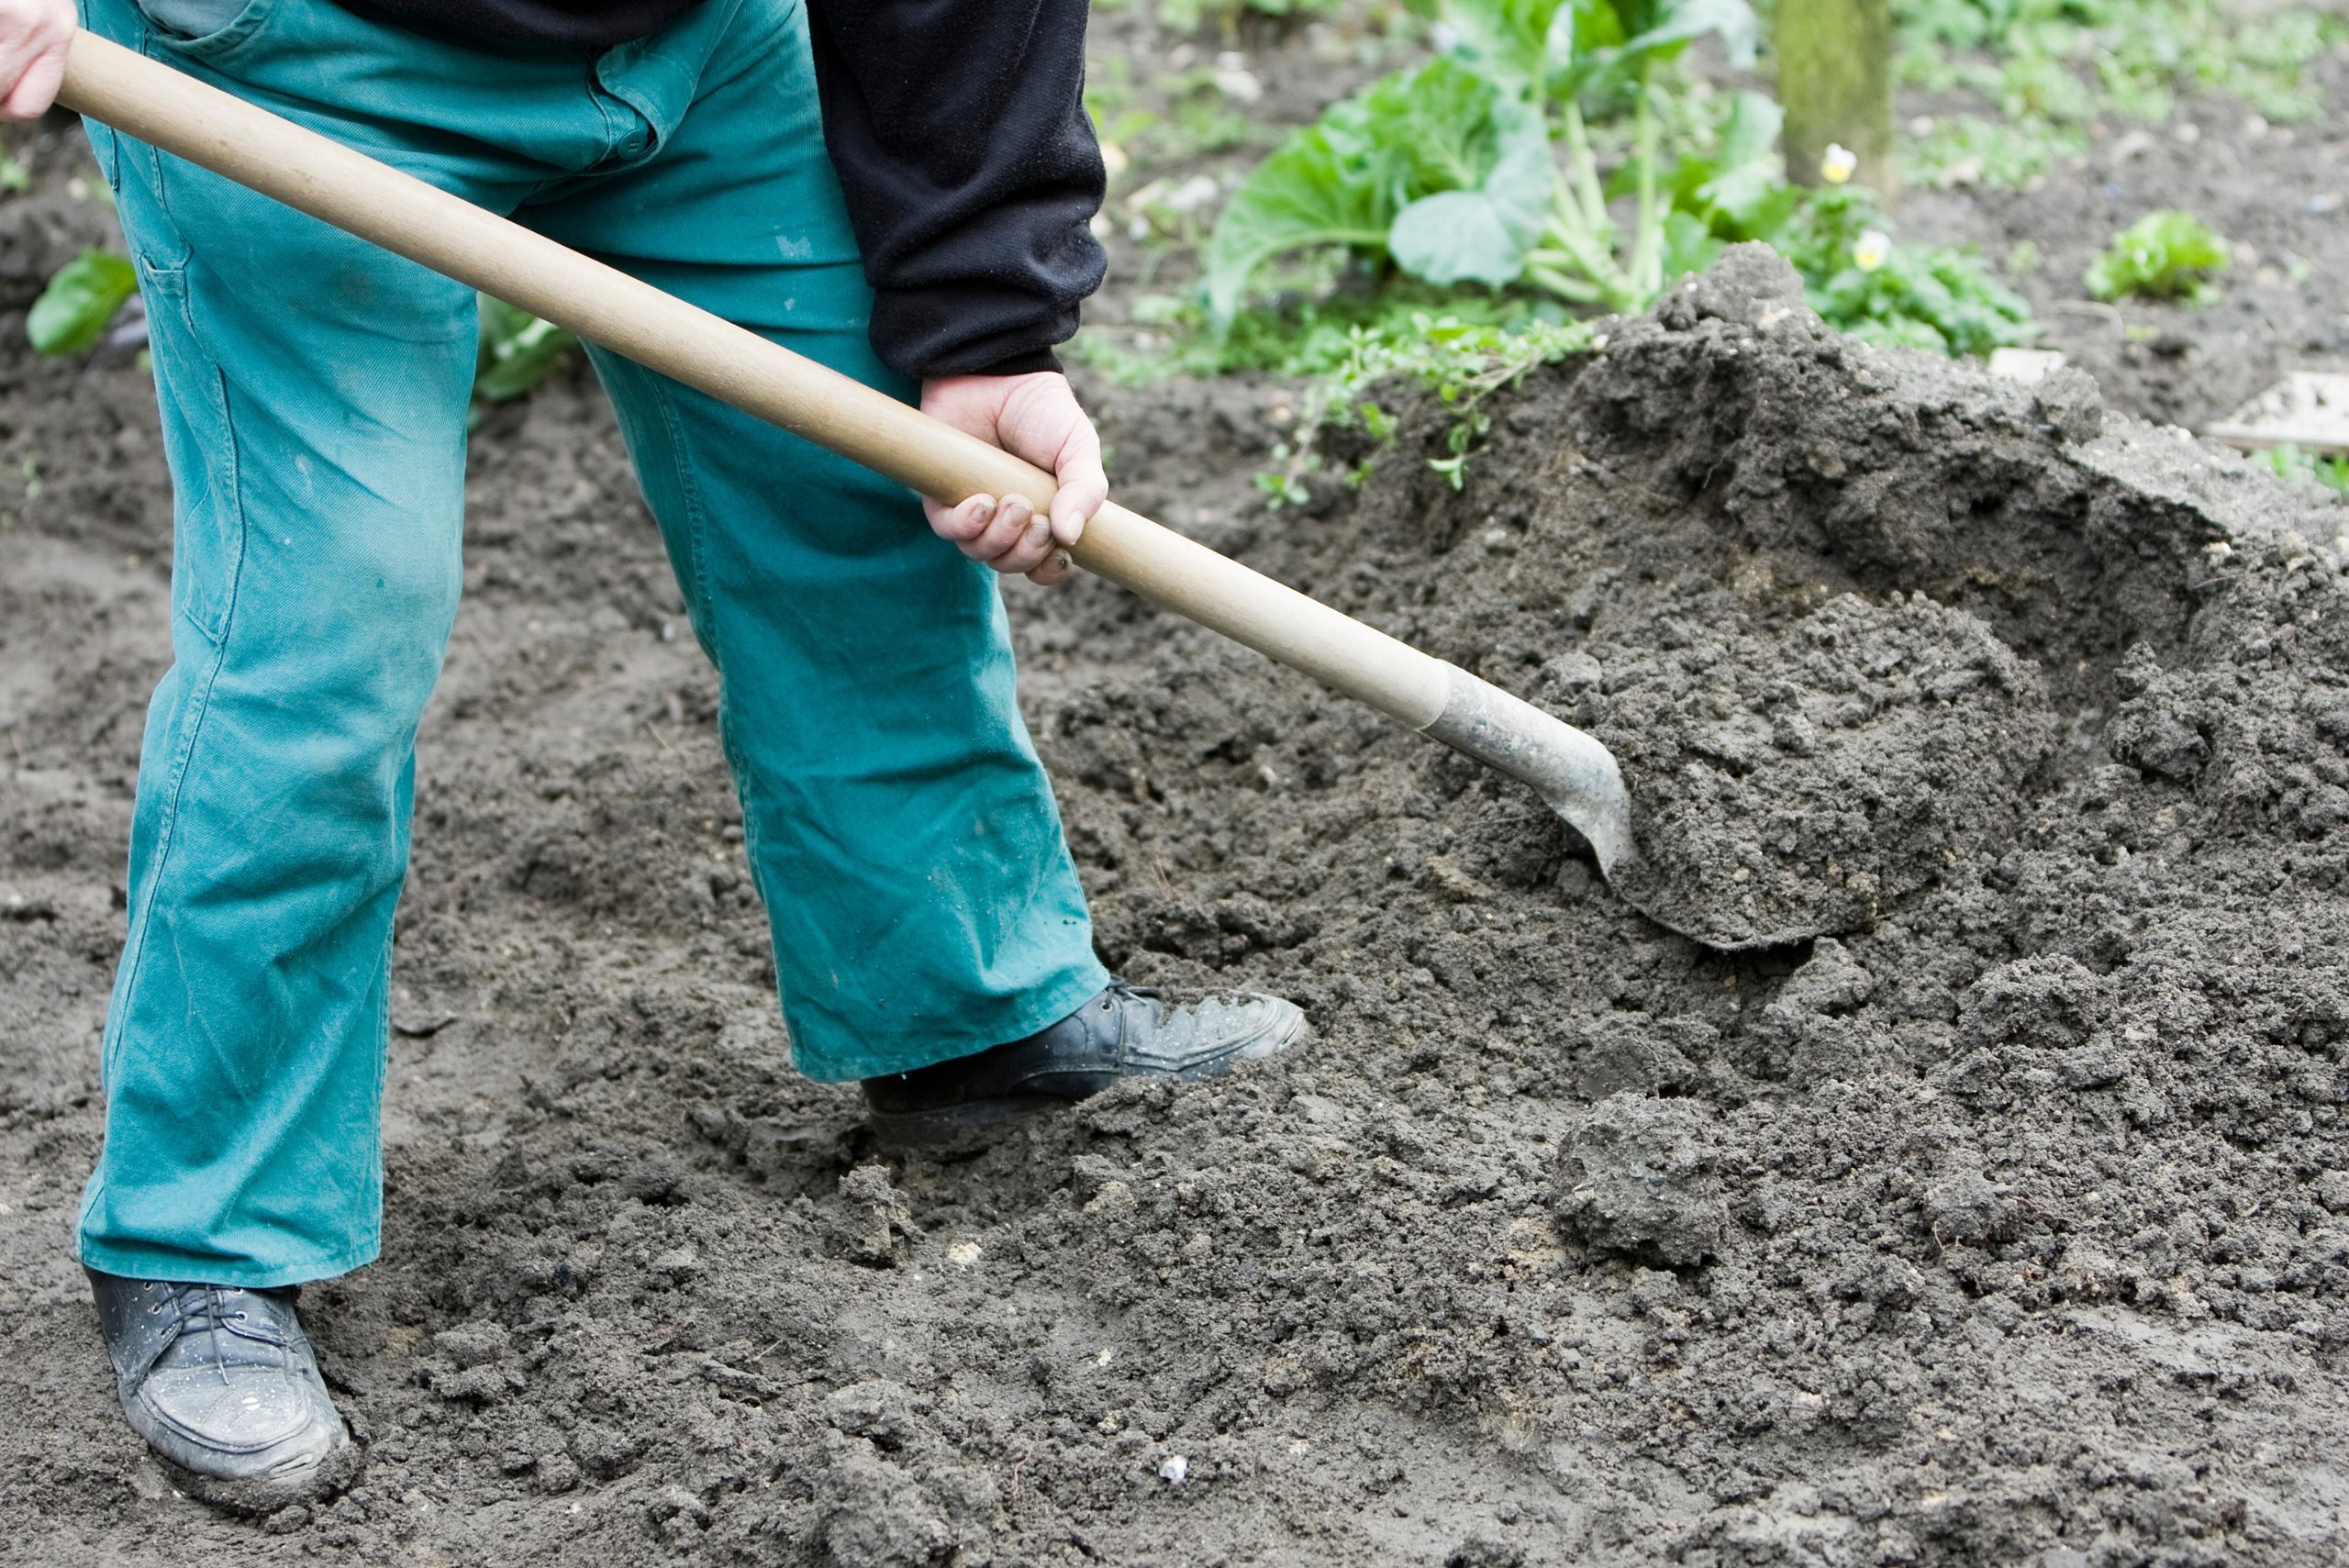
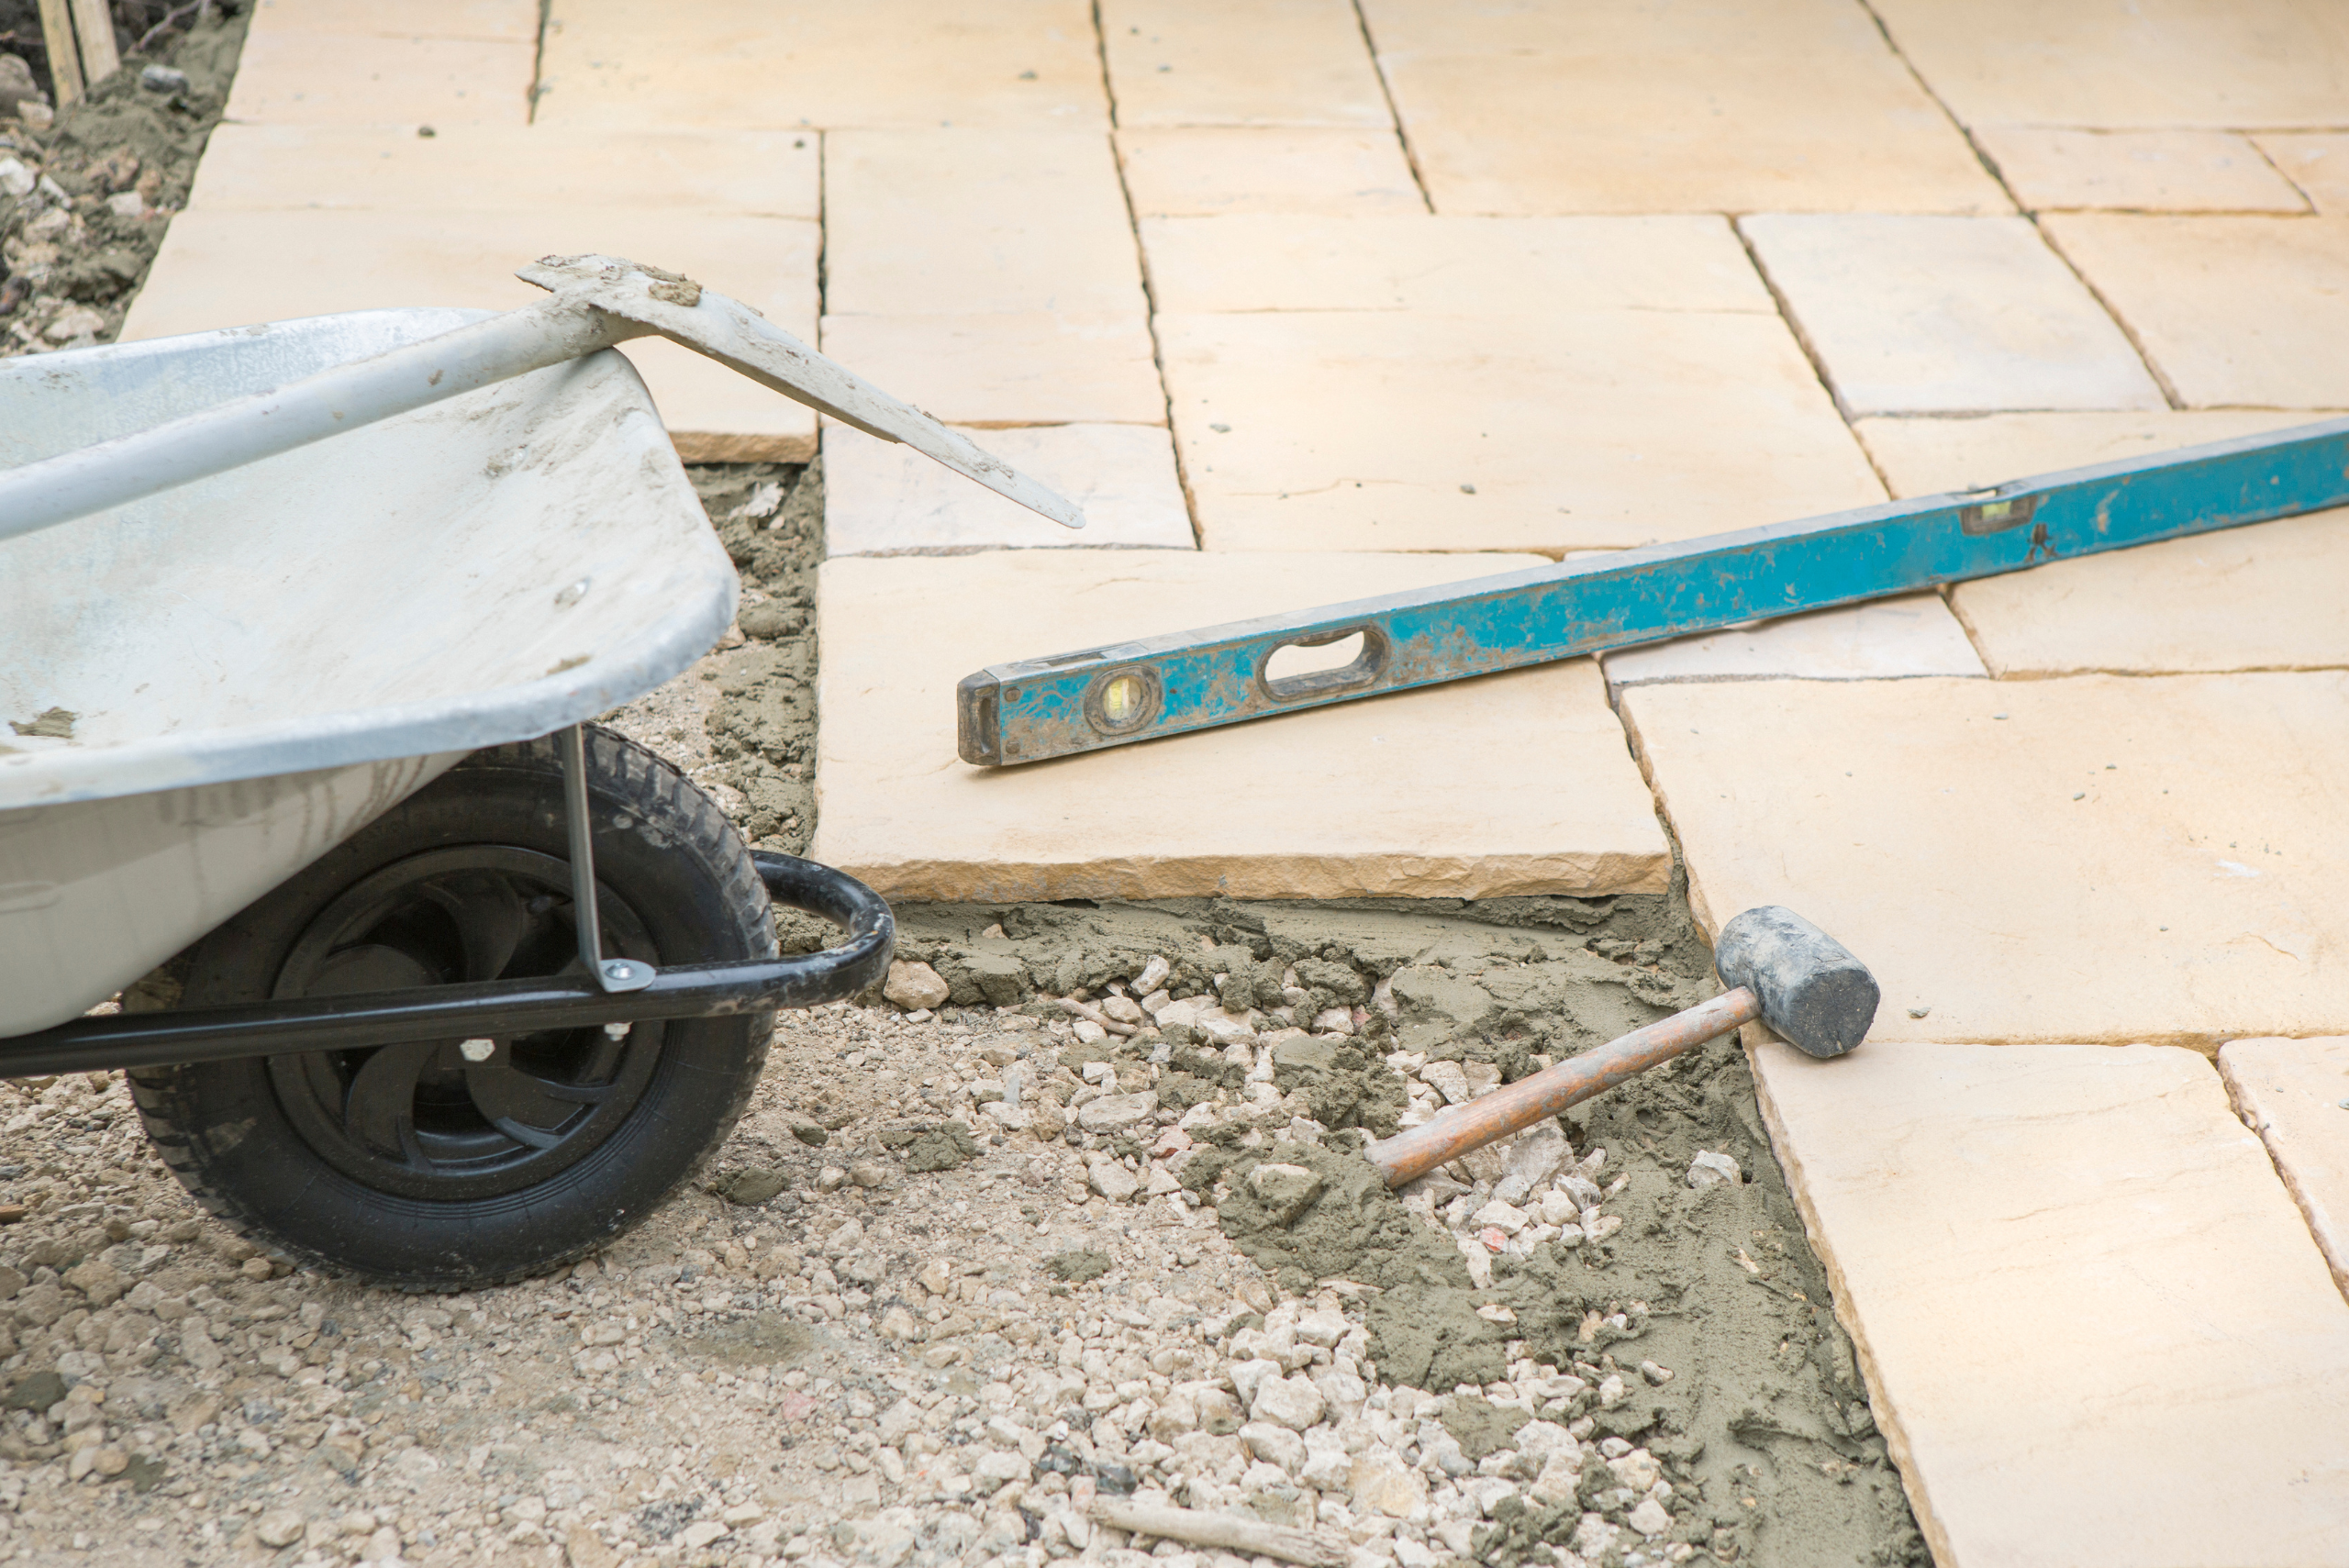
Before starting, gather all the necessary tools and materials. Common items include shovels, rakes, a wheelbarrow, and a long wooden board or level. For larger projects, renting equipment like a tiller or compactor may save time and effort.
You’ll also need materials like sand or topsoil for filling low spots. Marking tools, such as stakes and string, help outline the area you’re working on, ensuring precision as you level the ground.
Preparing the Ground for Leveling
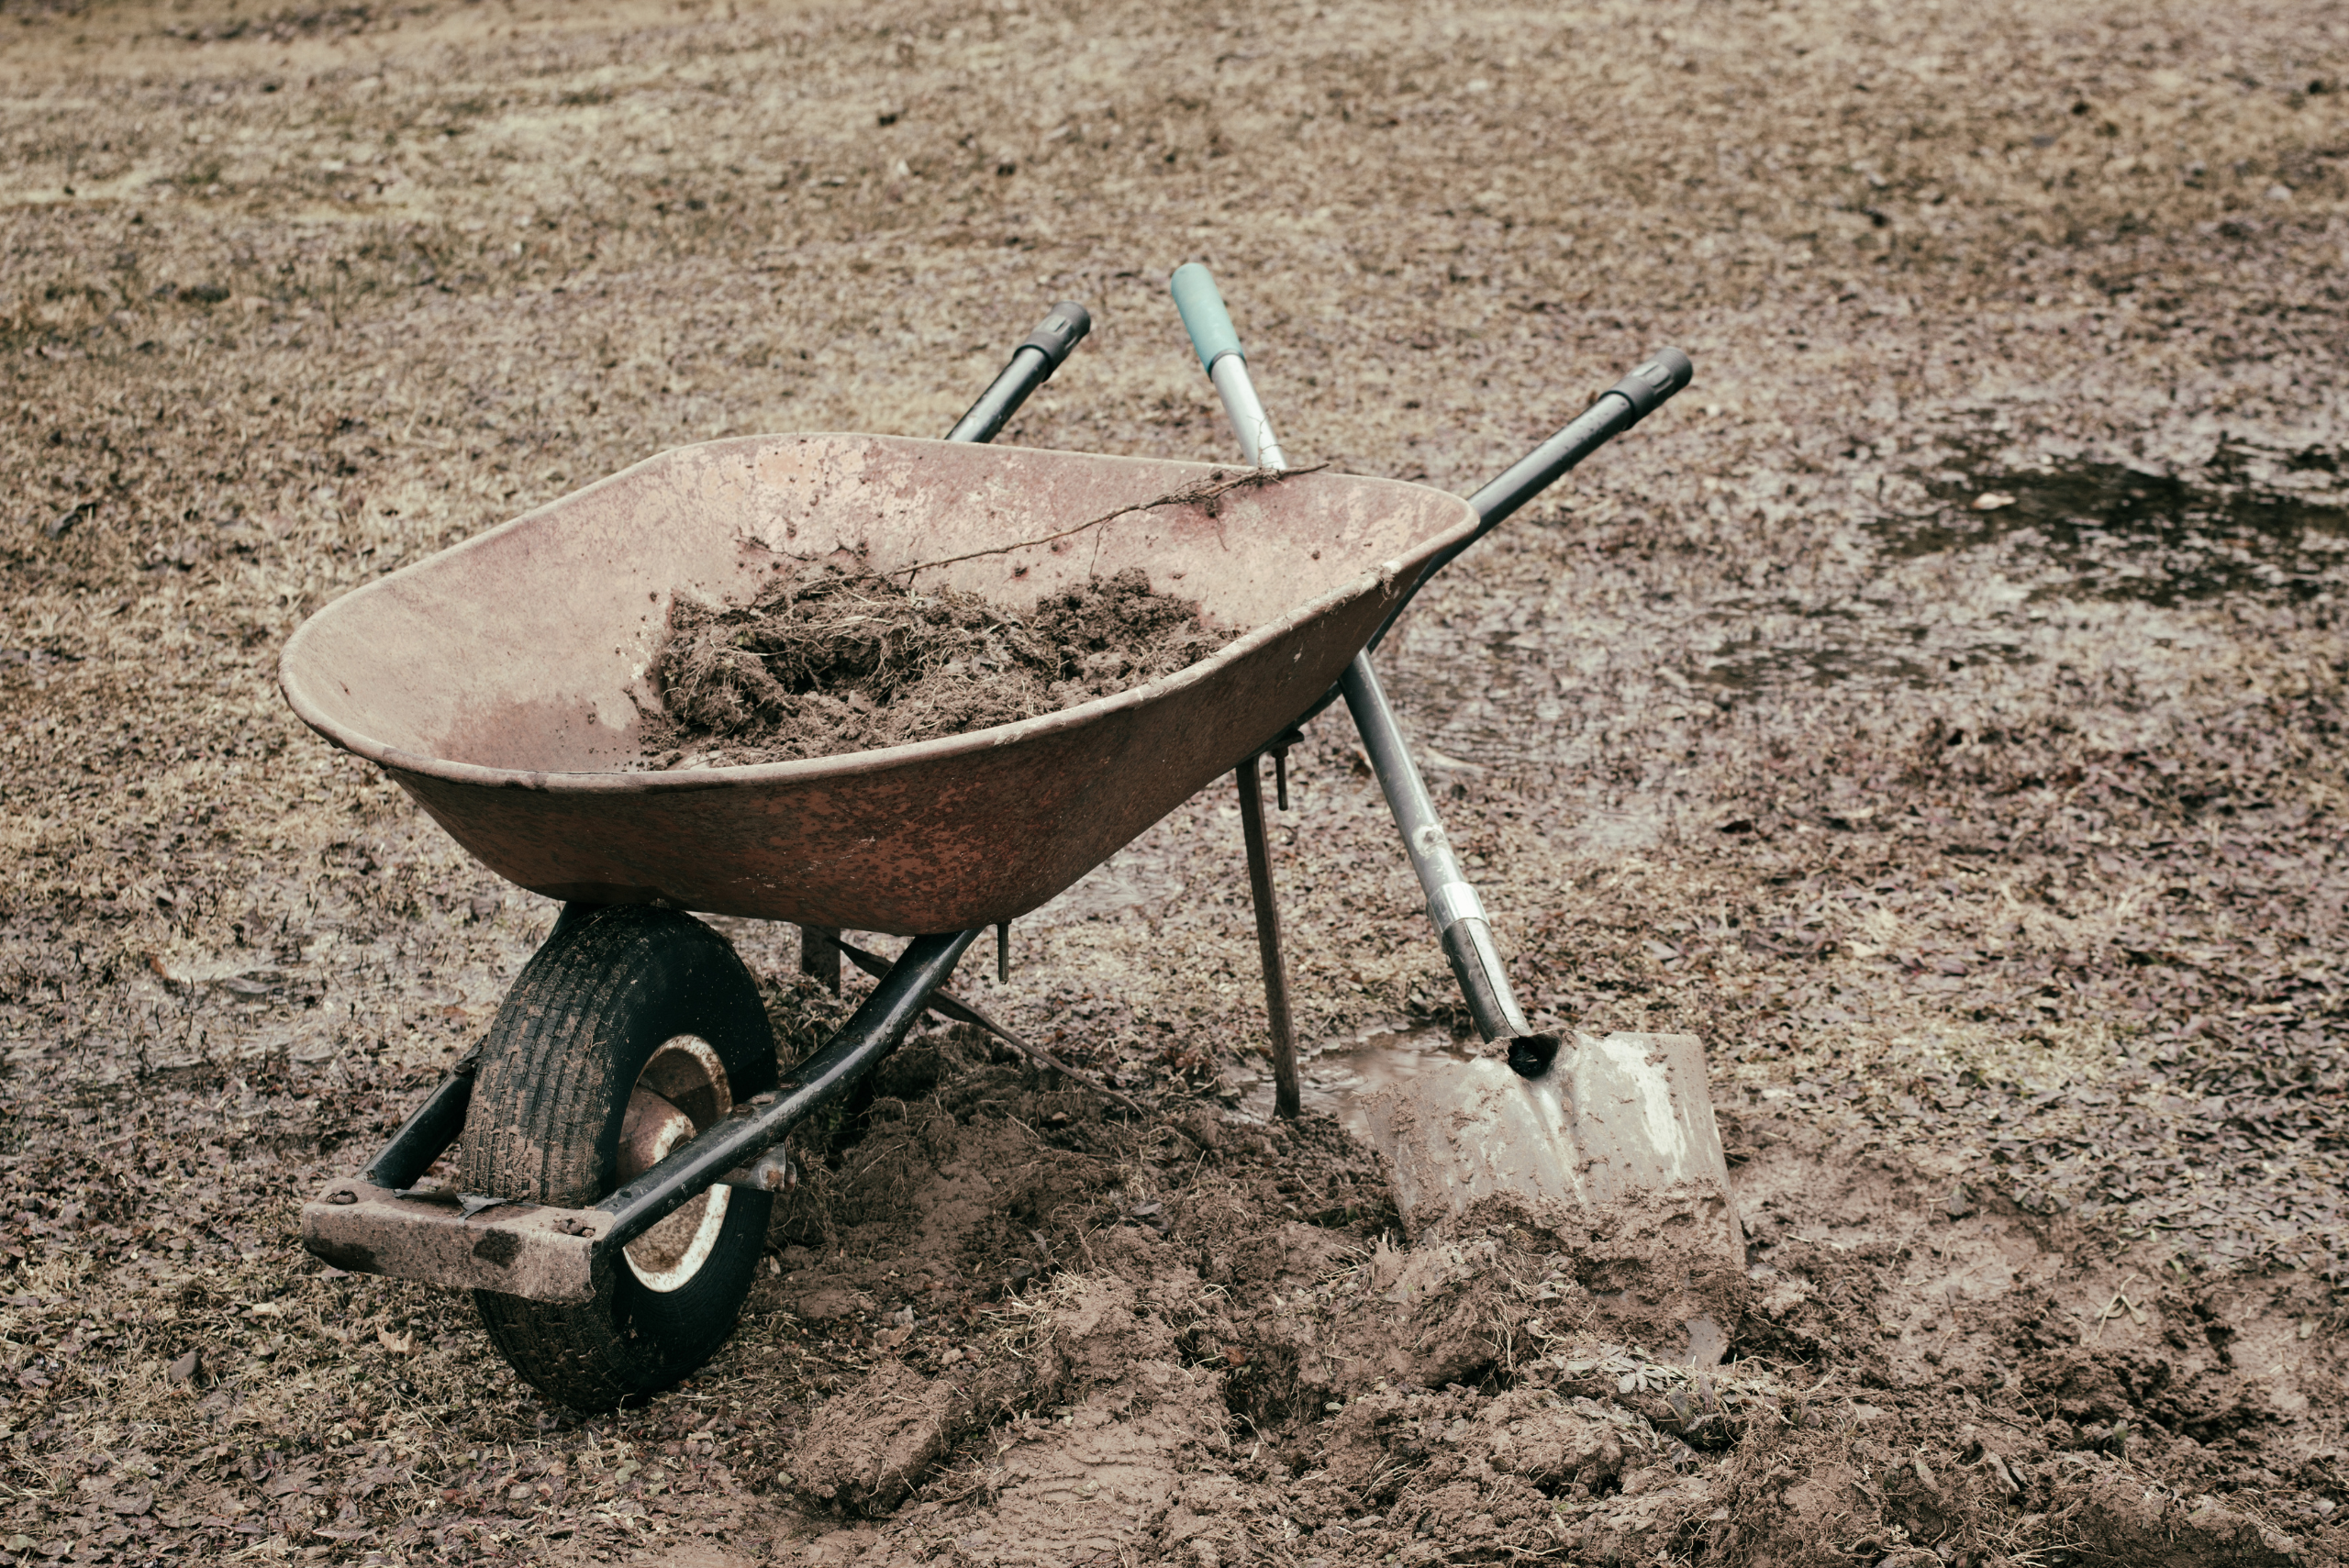
Start by clearing the area of debris, such as rocks, roots, and vegetation. This step ensures you won’t encounter obstacles during the leveling process. Use a shovel to remove weeds and a rake to smooth out loose dirt.
Next, mark the boundaries of the area you want to level. Drive stakes into the ground and connect them with string at your desired height. This visual guide will help you identify high and low points as you work.
How to Level Ground by Hand
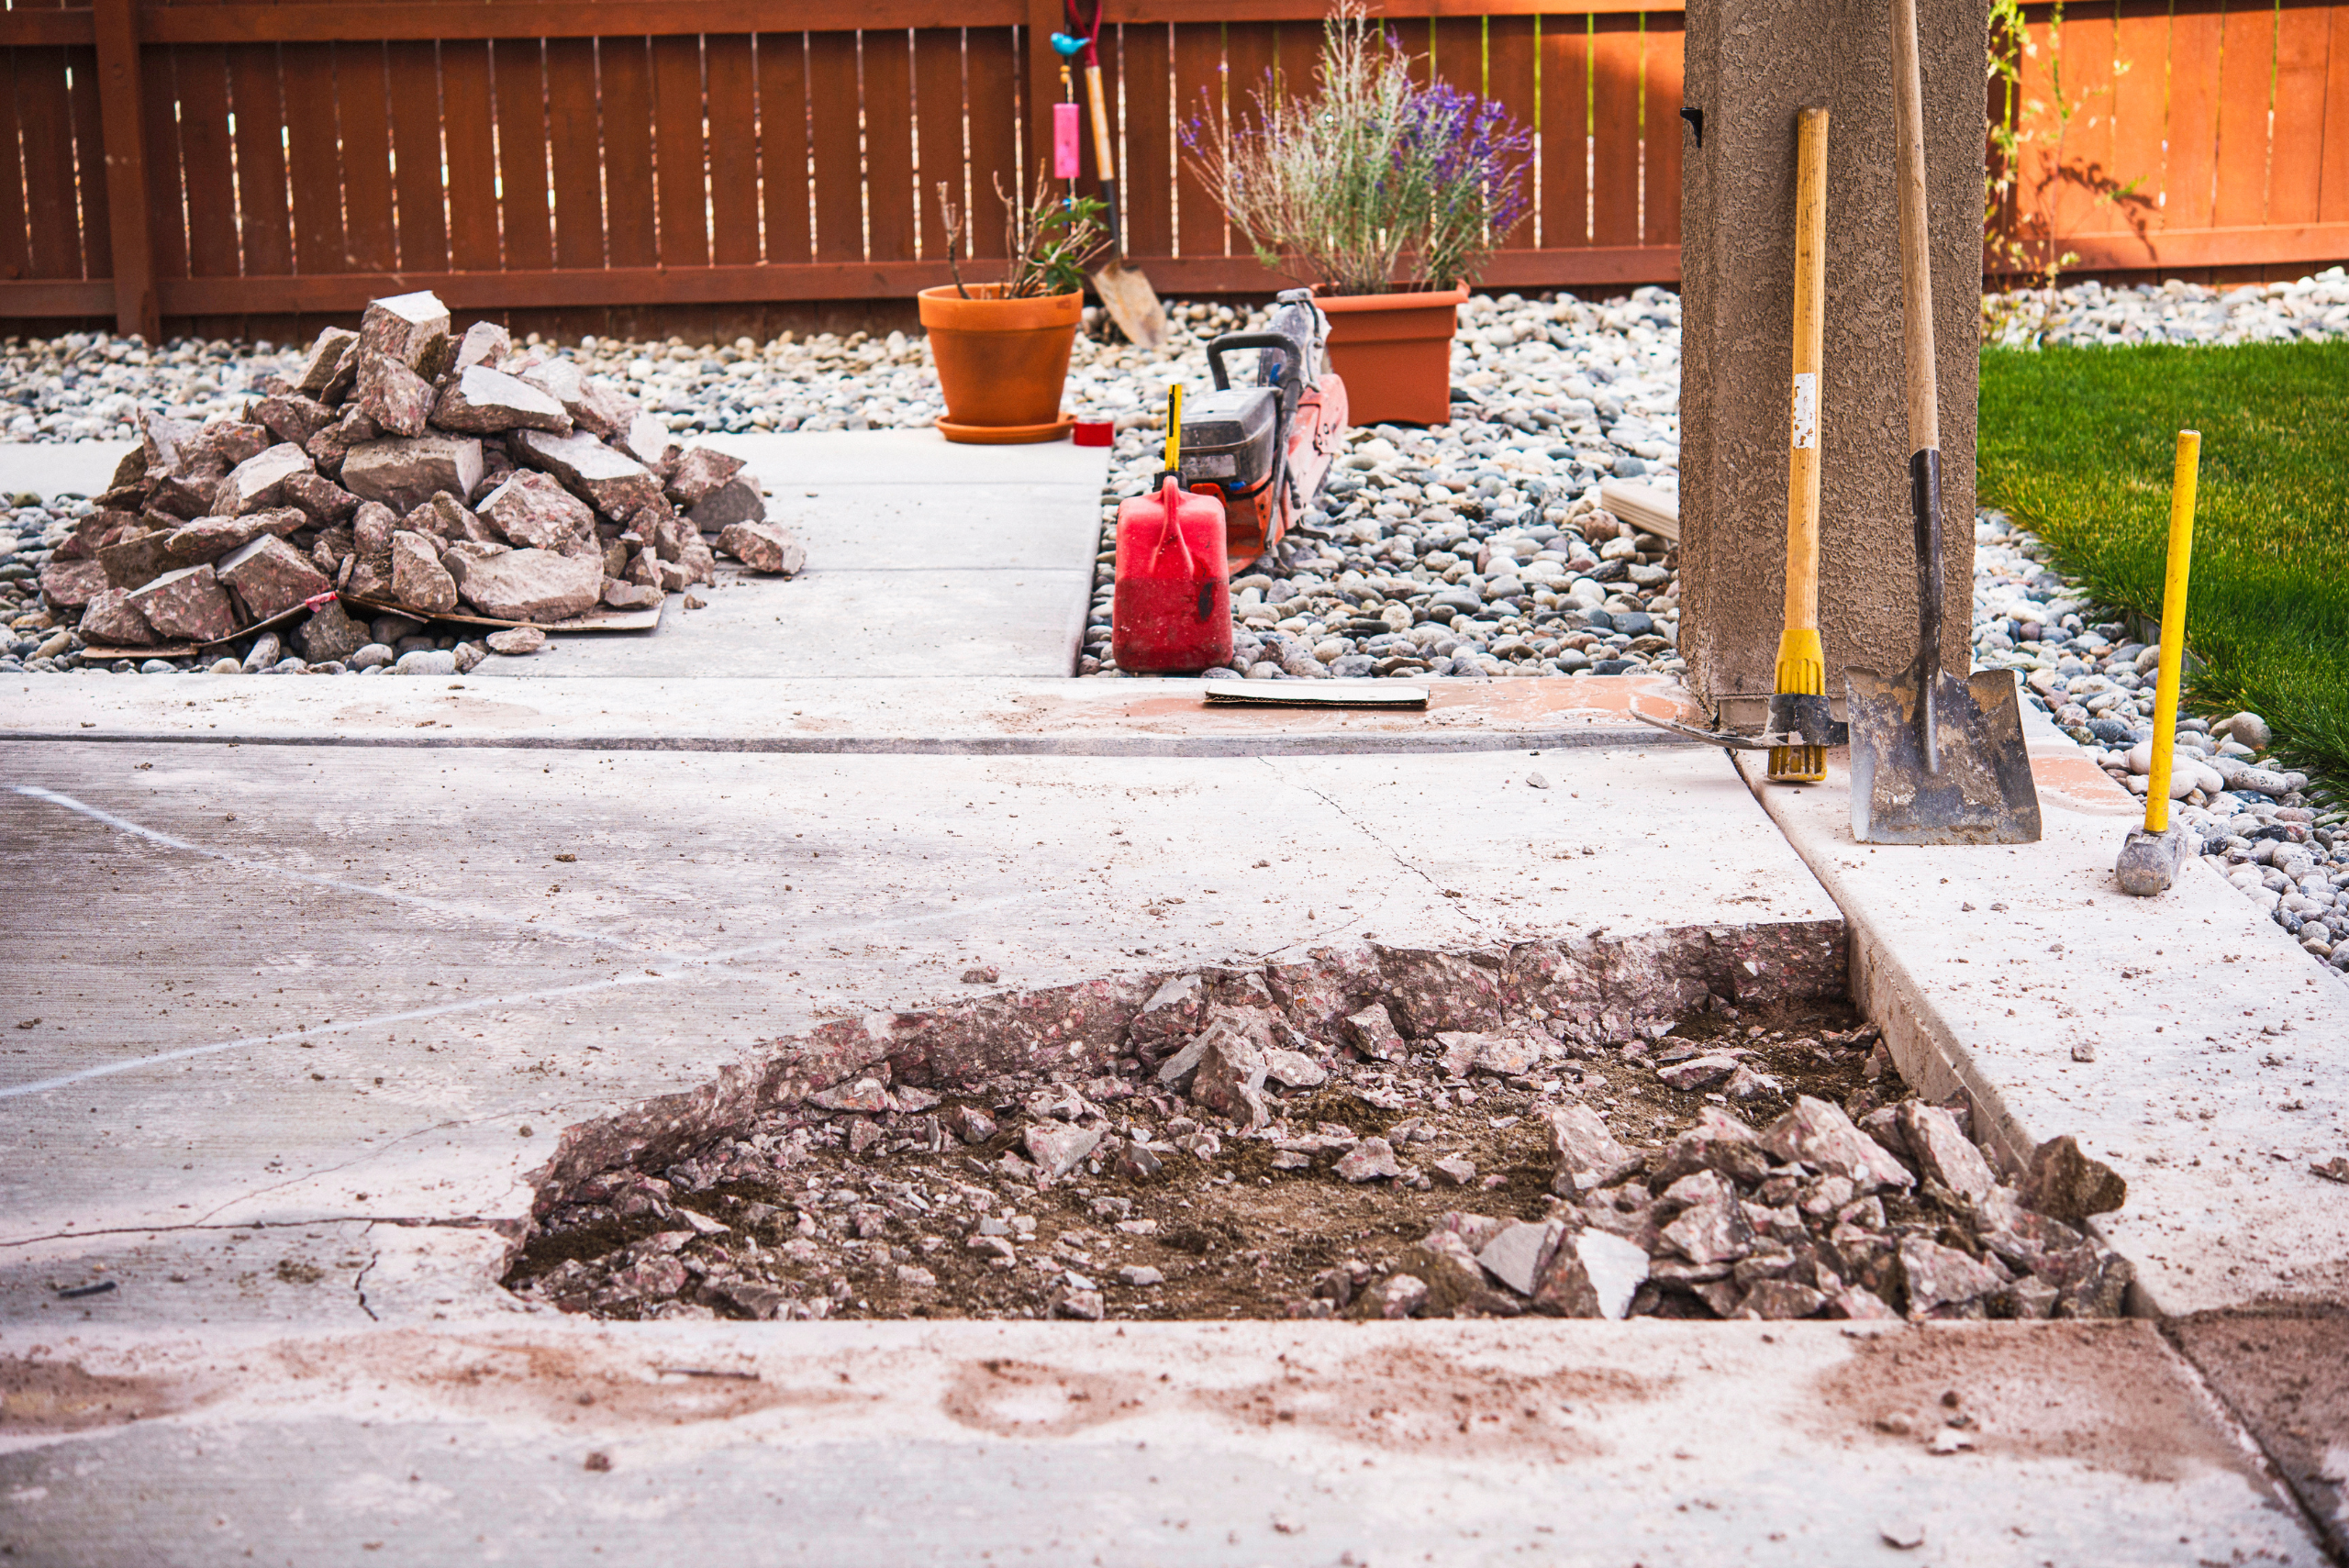
For smaller projects, leveling ground by hand is straightforward. Begin by digging out high areas and spreading the soil into lower sections. Use a rake to evenly distribute the dirt, breaking up clumps for a finer texture.
Once the surface is roughly even, lay a wooden board across the ground. Use a spirit level to check for accuracy, adjusting the soil as needed. Compact the ground with a tamper or by walking over it to ensure stability.
Tips for Leveling Large Areas
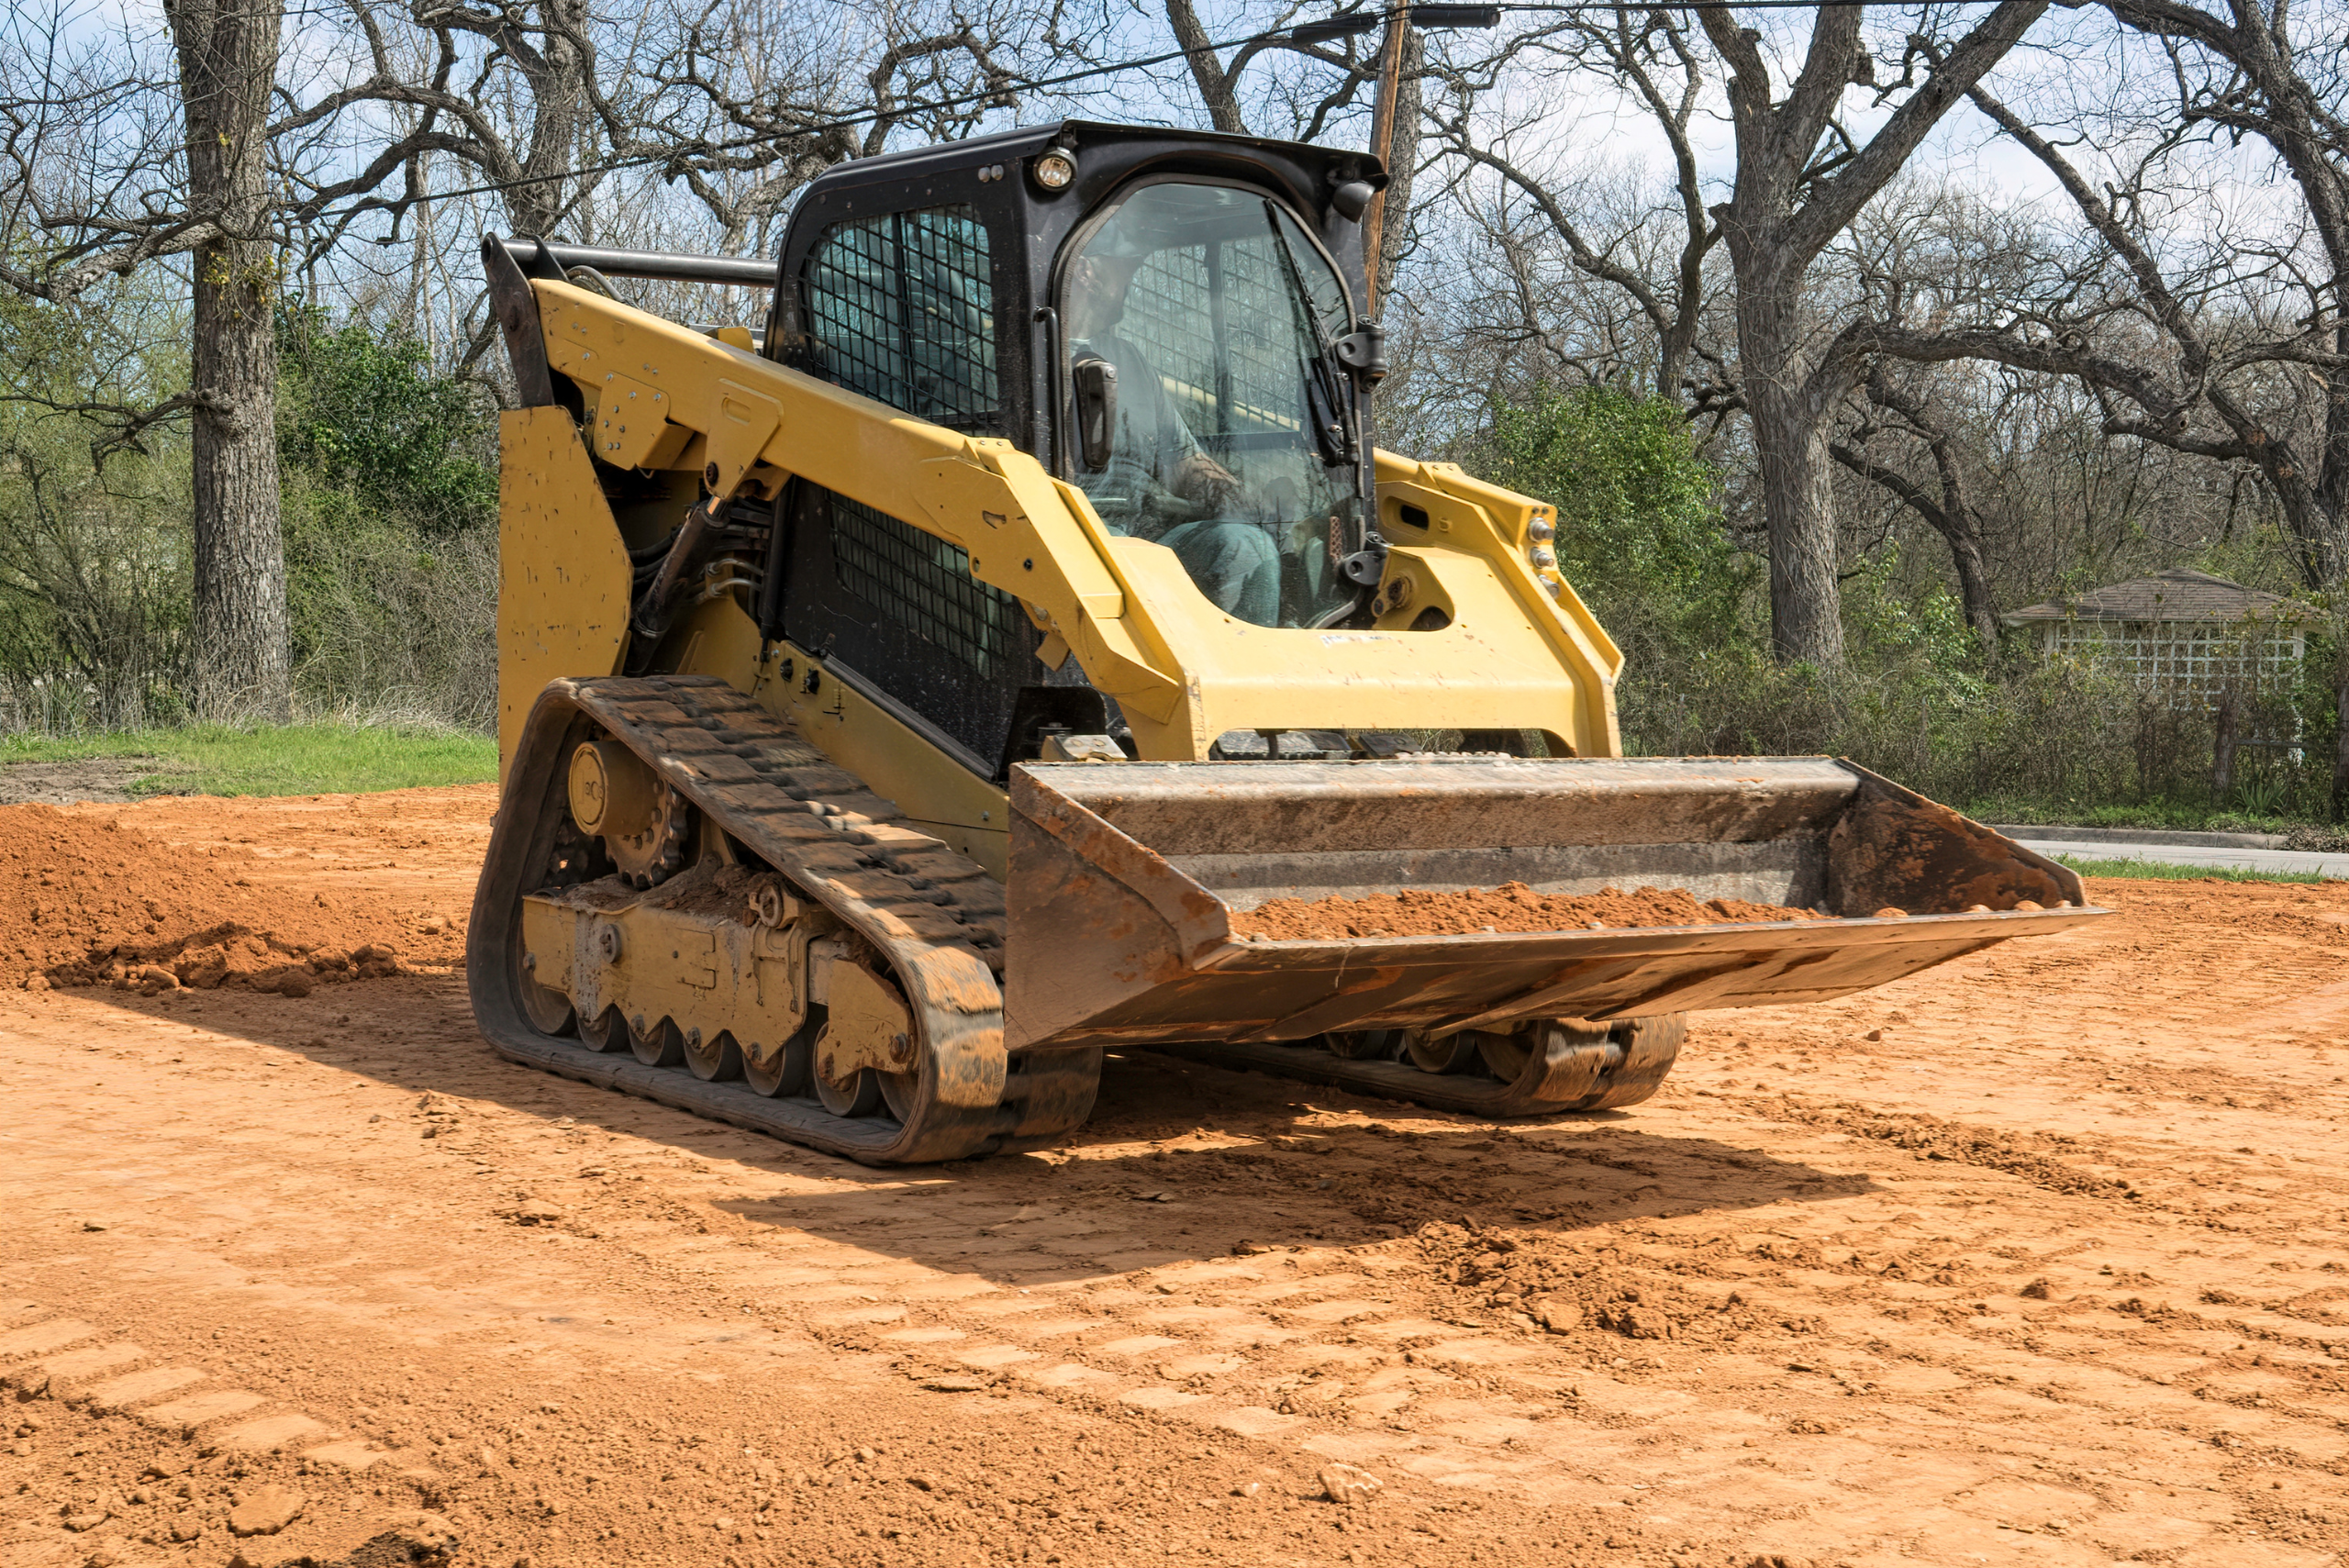
For larger spaces, such as backyards or construction sites, machinery can make the process more efficient. A rototiller loosens compacted soil, making it easier to move and redistribute. Use a skid steer or grading blade for extensive leveling.
Regularly check your progress with a level and adjust as necessary. Once the ground is even, compact it thoroughly to create a stable foundation for your project. Spread a layer of topsoil or sand for additional smoothness if required.
Related Articles
- How to Level Uneven Concrete Pavers for a Smoother Walkway
- How To Clean Patio Pavers [Without a Pressure Washer!]
- How to Pour Self-Leveling Concrete For Flawless Results
Learning how to level ground is a valuable skill for homeowners and DIY enthusiasts alike. Whether you’re preparing a garden bed or installing a patio, following these steps ensures a smooth, stable surface that will last. By investing time in proper ground preparation, you set the stage for a successful project. Tackle your next outdoor project with confidence, knowing that a level foundation is the key to long-term durability and beauty.
Ready to start your next project? Join our DIY community to receive tool tips, how-to guides, and exclusive creative insights. Subscribe to the ManMadeDIY newsletter now! Click here to unlock a world of hands-on inspiration.


