How to Make Pemmican—The Survival Superfood
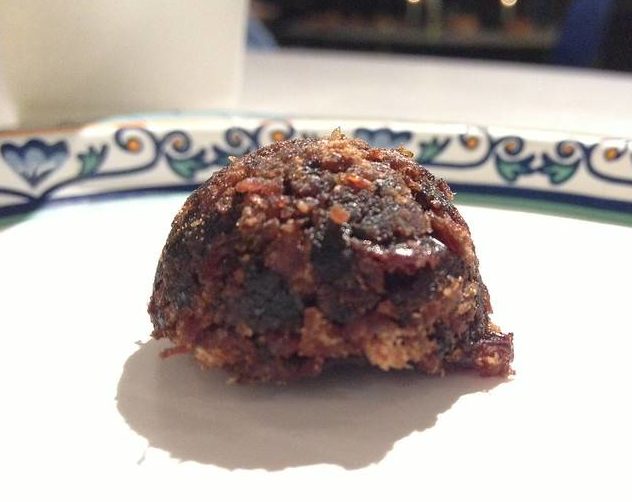
Making your own pemmican is experiencing a resurgence in America. The ingredients are easy to find, the preparation is easy, and the result is a healthy, long-lasting snack. Pemmican was the original snack food of the Native Americans. Pemmican is a rich source of protein that is easy to store, and in recent years has been revered as a bit of a survival superfood. Before you take that upcoming camping trip, we’re going to show you how to make pemmican so you can take the tasty snack along with you!
What You’ll Need:
- A lean cut of meat
- Commercial jerky mix (or you can make your own)
- Berries (chokeberries or sand berries are popular)
- Dehydrator (depending on your chosen smoking method)
- Beef or bison fat
- Suet is a popular option, which is the hard fat that comes from cows.
- Strainer or cheesecloth
- Salt (1tsp per pound of meat)
- A few tablespoons of honey (optional)
Note: When making pemmican, follow a 1:1 ratio of meat to rendered fat by weight. Adjust the recipe accordingly, depending on how big your batch is.
Step One: Prep your Meat
The first thing to do is take your lean cut of meat and remove any viscera (fat) from the cut. Beef is the most popular choice for jerky nowadays, but bison, elk, or deer were all common as well for pemmican.
Step Two: Treat the Meat
Treat the cut of meat with the jerky mix (commercial or your own), cut it into strips, then dry it.
How to Dry Meat:
When drying meat at home, you have a few options. The most straightforward option would be to use a dehydrator if you have one. Place the meat inside the dehydrator (using the meat setting if it has one) and allow it to dry for a few hours. If you don’t have a dehydrator, the next option is an oven. Lay the meat out in your oven either on a baking tray or directly on the rack. Set the oven to the lowest temperature possible and allow the meat to bake for several hours.
The final option—and the most time-consuming one—is to allow the sun to do the work for you! Lay the strips on a tray and set it in the sun for a minimum of 15 hours, but you can leave it up to several days.
Step Three: Select your Berries
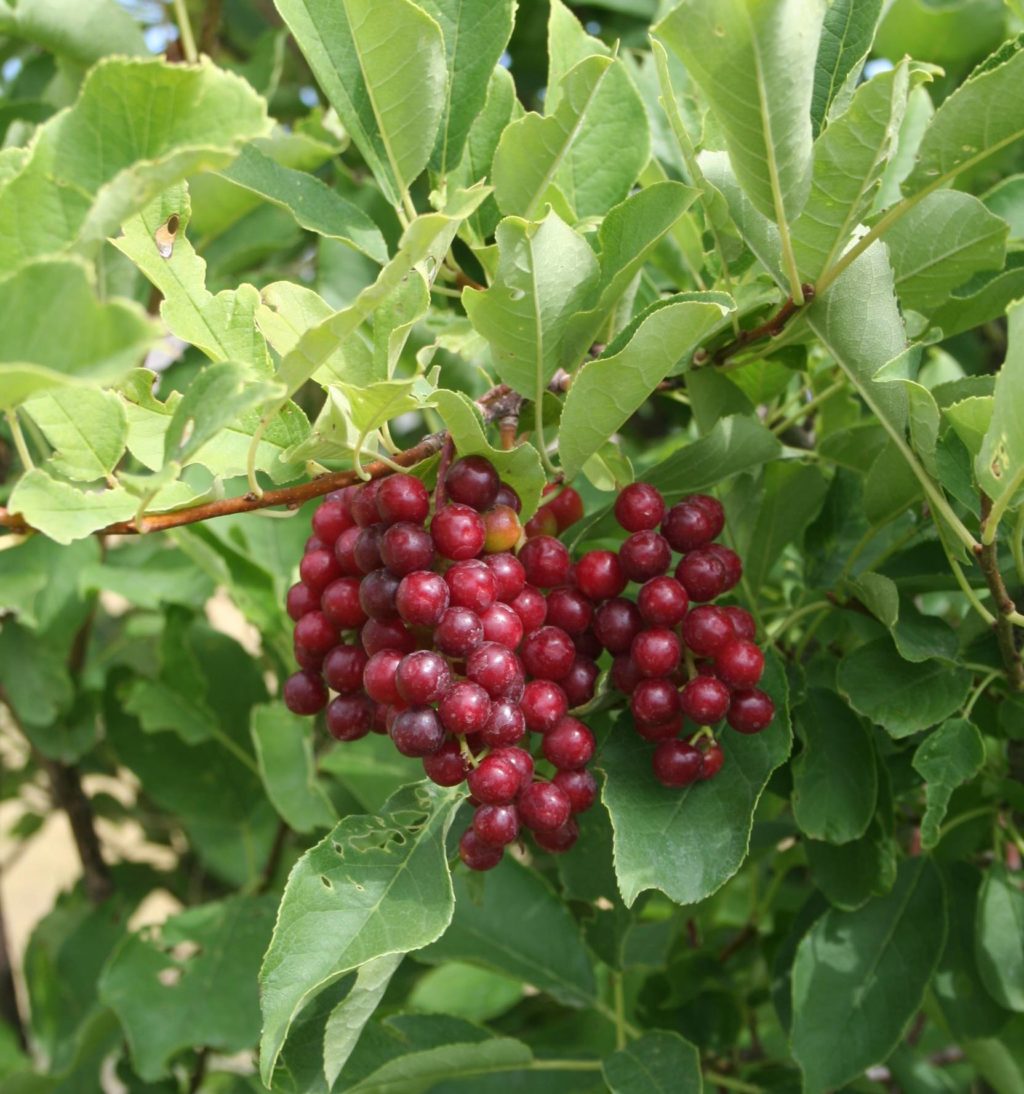
Once you’ve got your jerky, you need to choose the berries you want in your pemmican. Plains Native American tribes preferred chokecherries, which is a berry that’s rich in flavor. It has a large center seed and is found on trees and bushes throughout Colorado, Wyoming, Montana, the Dakotas, and Idaho.
Another common berry option was sand cherries, a seasonal fruit of the Great Plains. Both berries have a lot of flavor, but not a lot of moisture.
Step Four: Render the Fat
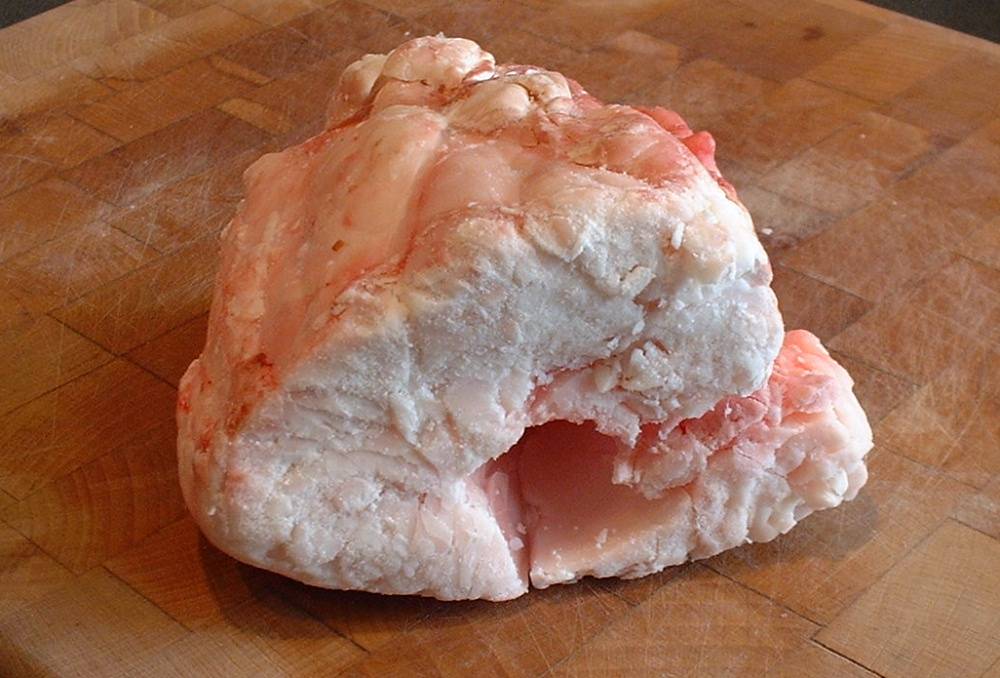
The rendered fat, or suet, is going to be the solution for combatting the dryness of the berries and the jerky. Take the beef or bison fat, put it in a frying pan or pot, and heat over low heat. Stir it every so often, cooking the fat for 1 to 2 hours, until it’s broken down into liquid.
Step Five: Strain the Rendered Fat
Strain the rendered fat through your cheesecloth or strainer, to separate the liquid from any smaller pieces of fat that hadn’t broken down.
Step Six: Pulverize the Jerky
Now it’s time to break down the meat you’ve previously dehydrated. You want to shred the jerky, using a blender or food processor to pulverize it. It should be in a powdered state when you’re finished. If you don’t have a blender or processor, you could use the old school route of stone mortars and pestles—though you’re probably more likely to have a blender than a mortar and pestle.
Step Seven: Break Down the Berries
Just as you did with the jerky, you now want to crush the berries in the same way. Make sure you remove the pits of the cherries before they’re pulverized.
Step Eight: Mix the Ingredients
Once both the jerky and berries are in a powdered state, you can mix them along with the rendered fat. Mix the meat, fat, and berries by hand, adding the salt to this mixture as well. The pemmican mixture should resemble a heavy bread dough. Keep kneading the mixture. the more you work the pemmican, the longer it will last, and the better it will taste.
Step Nine: Storing the Pemmican
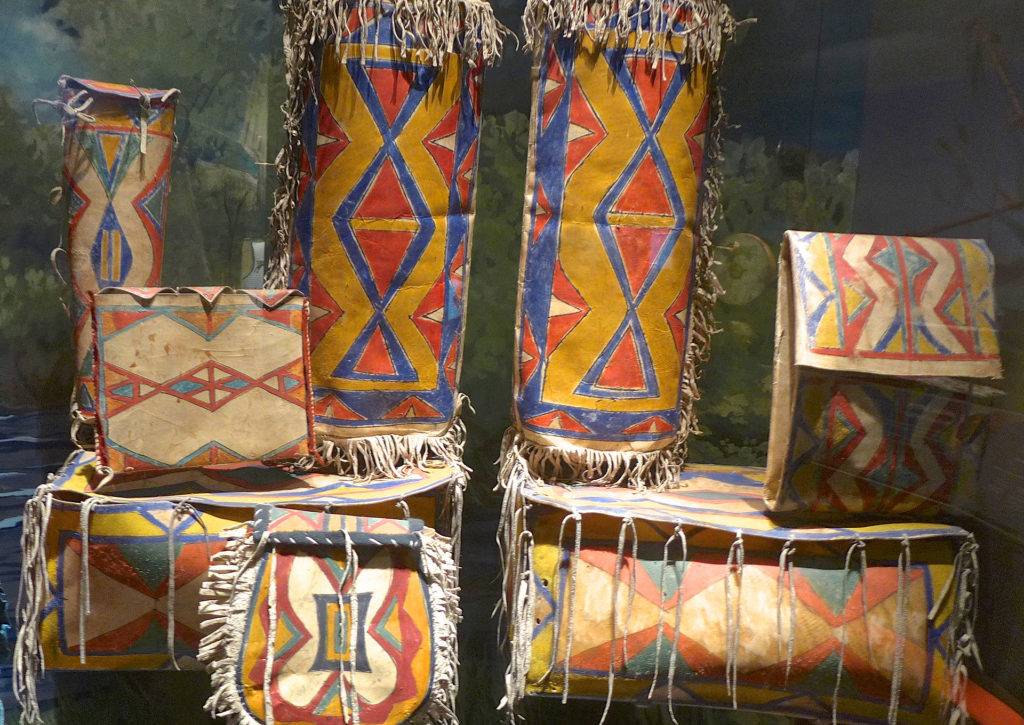
To store the pemmican, a parfleche is going to be your best and most traditional option. If you don’t have any buffalo hide lying around, wax paper works just fine. Pack the pemmican tightly and store it in a cool location. You don’t need to refrigerate it.
Note: A parfleche is a hide, most commonly buffalo’s hide with the hair removed that has been dried and stretch. It’s traditional of North American Indian peoples.
Step Ten: Allow the Pemmican to Rest
Let the pemmican sit for a few weeks. The flavor will be at its peak as the three ingredients get a chance to quietly mix together.
Pemmican is something that you don’t need to follow a strict recipe for, so as long as you’ve got the basic rations. You can play around with the recipe, adding nuts or different fruits, or a few teaspoons of honey.
After you’ve allowed the pemmican to sit, take it out, and enjoy America’s first road time snack!

