How To: Make Your Own Liquor Bottle Lamp
Are you searching for a new desk lamp for your at-home office space? Why not make a customized lamp yourself? Sure, you could order a little lamp online, but nothing beats the feeling of self-satisfaction after getting your hands dirty and completing a good DIY project!
A bottle lamp is an impressive piece of artwork. It’s a fun showpiece that you can show off and brag about to all your friends and family. Just be warned, they might be calling you up to help with their next home electrical renovation.
It may sound intimidating, cutting into glass and hooking up wires. But to be completely honest, it’s really not that hard. As long as you have the right safety equipment and instructions on hand, you’re good to go!
It Won’t Break The Bank (But It’s Fragile, So Don’t Drop It!)
This DIY might not even cost you a single cent. Save your next empty liquor bottle, and there is your base. Dig through your home electrical stash or disassemble an old lamp and re-use the parts. There is your no cost electrical and the lampshade. If you don’t have any of this stuff around the house, you can purchase a DIY bottle Lamp Kit online with everything you need to complete this project for under $15.00.
The Supplies:
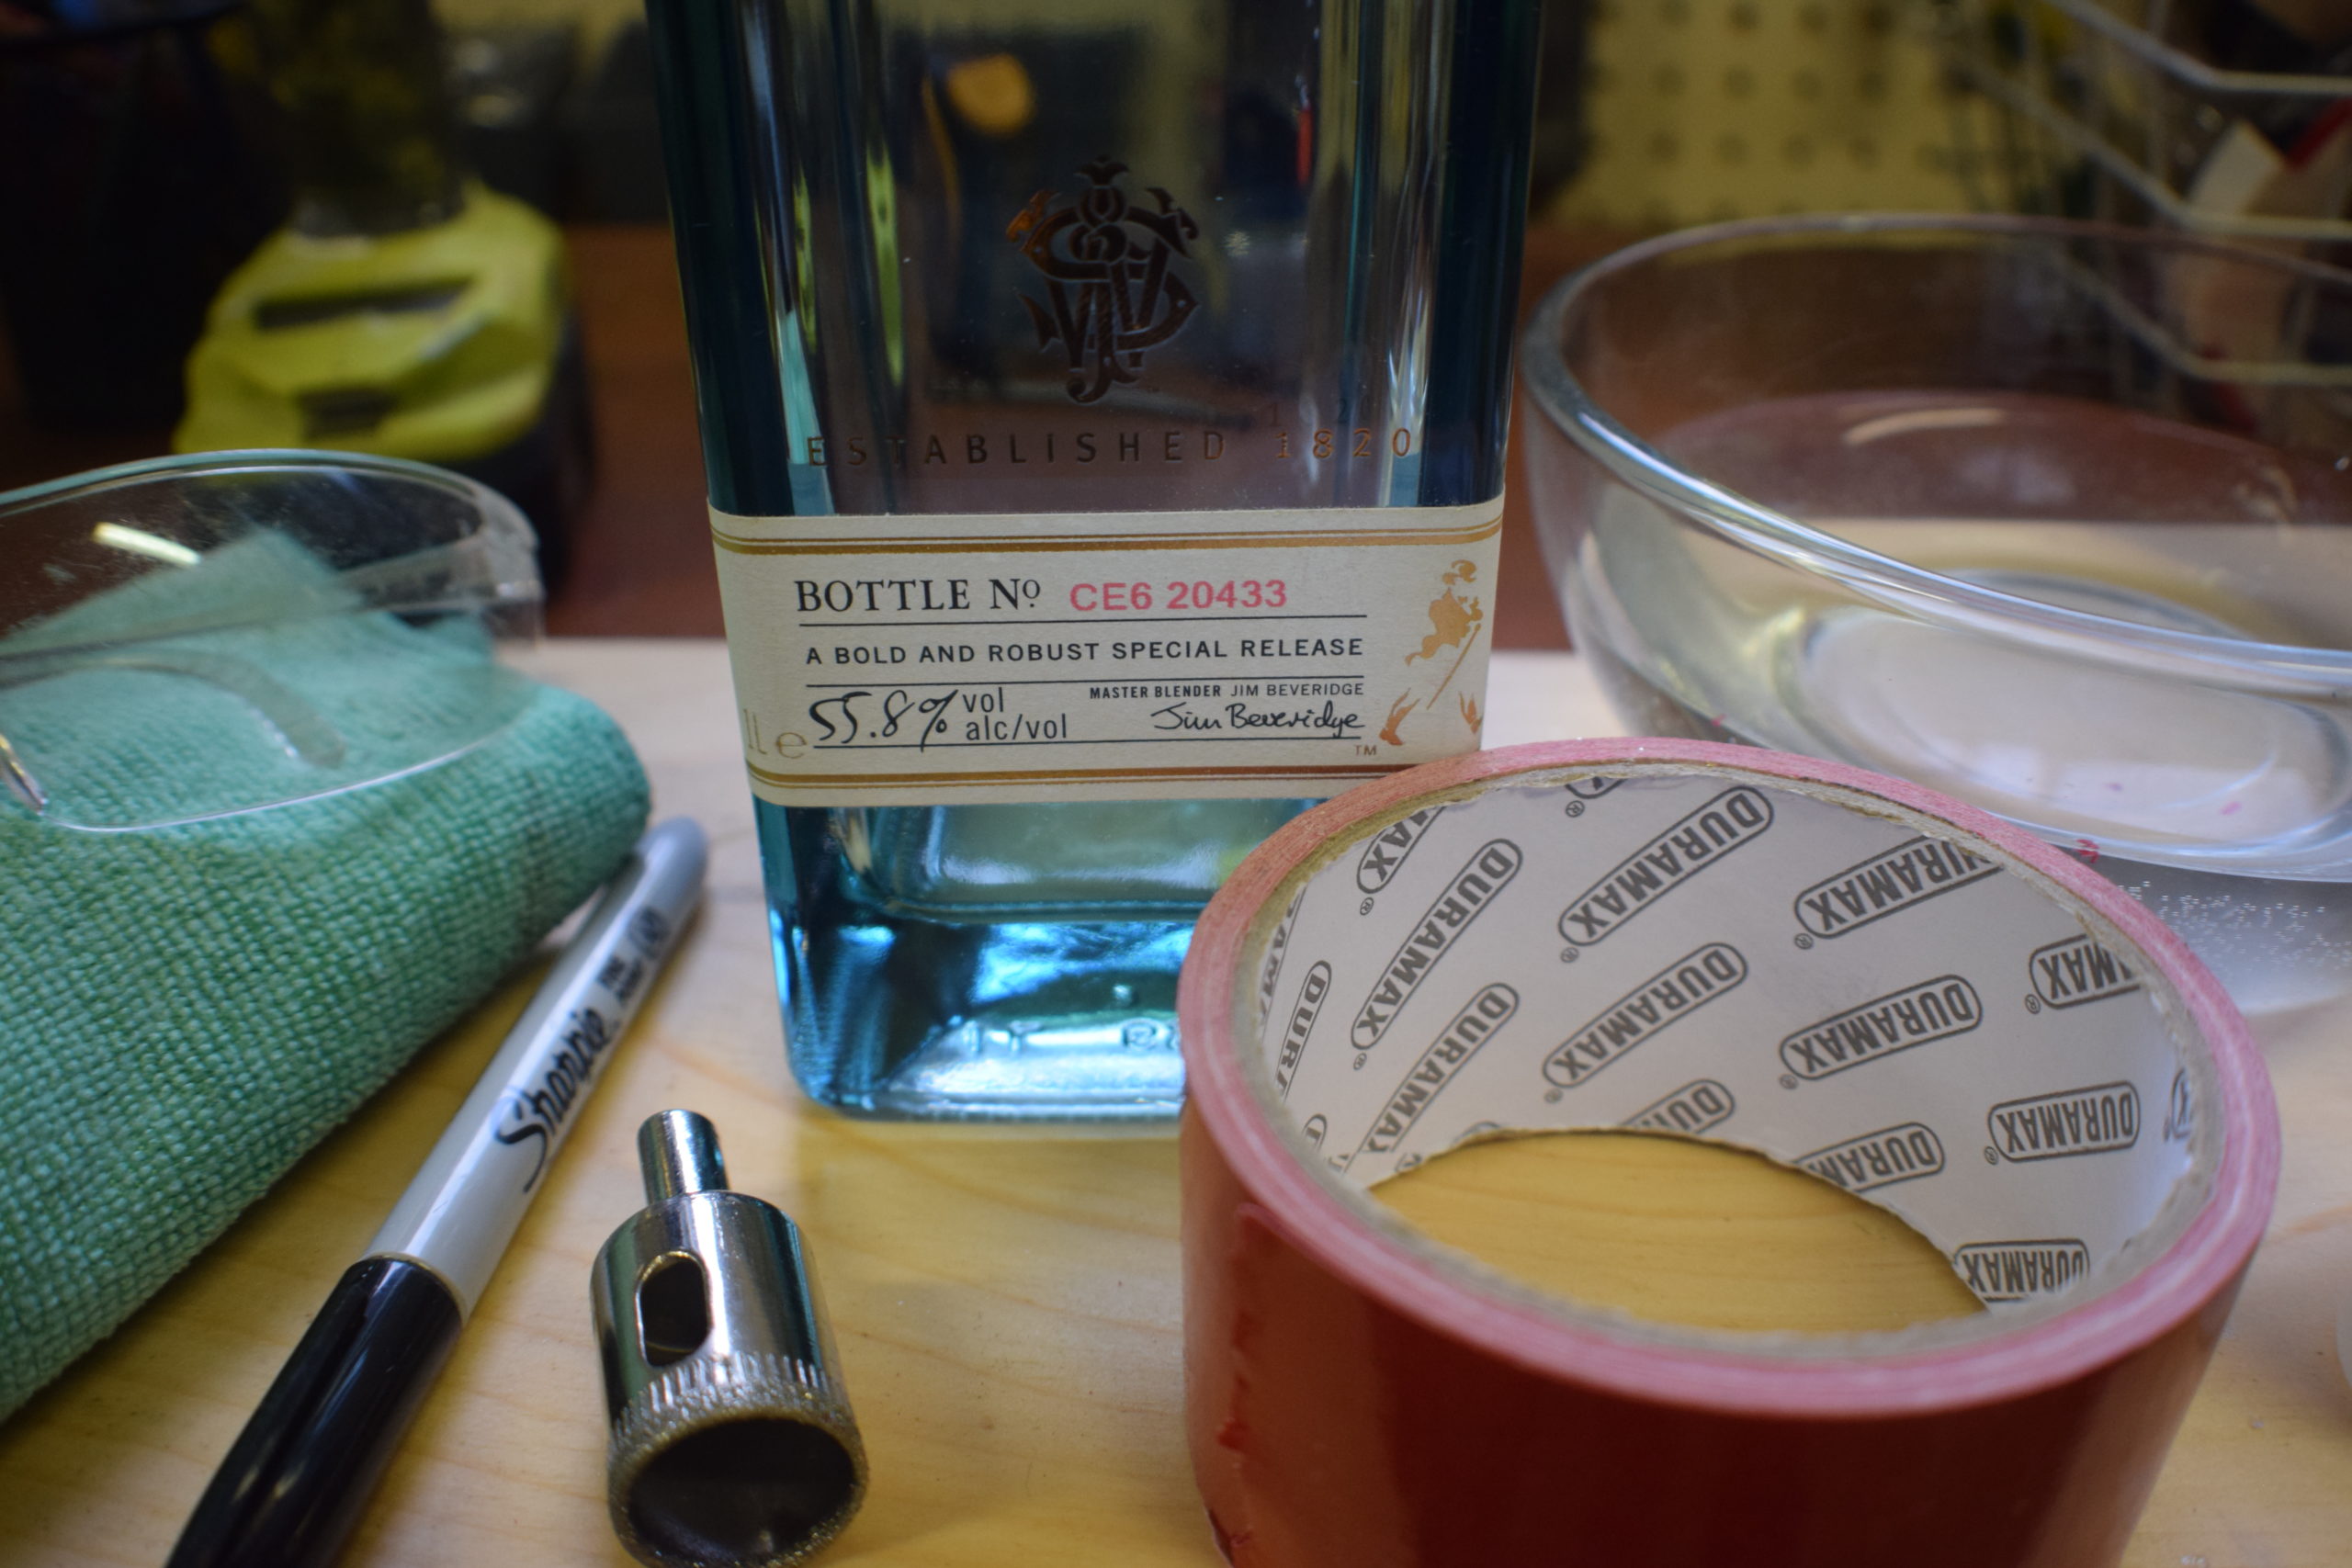
To make this project, you are going to need:
- Liquor Bottle (of your choice)
- Vice grip – these pliers are only $11.99 and have a wire cutting feature
- Duct tape
- Water
- Squirt bottle
- Rag
- Towel
- Wood piece
- Safety glasses and Glass handling gloves
- Drill
- Dremel or sanding file
- Hole saw diamond bits
- Electrical cord and socket from an old lamp.
- Light Bulb
The Instructions
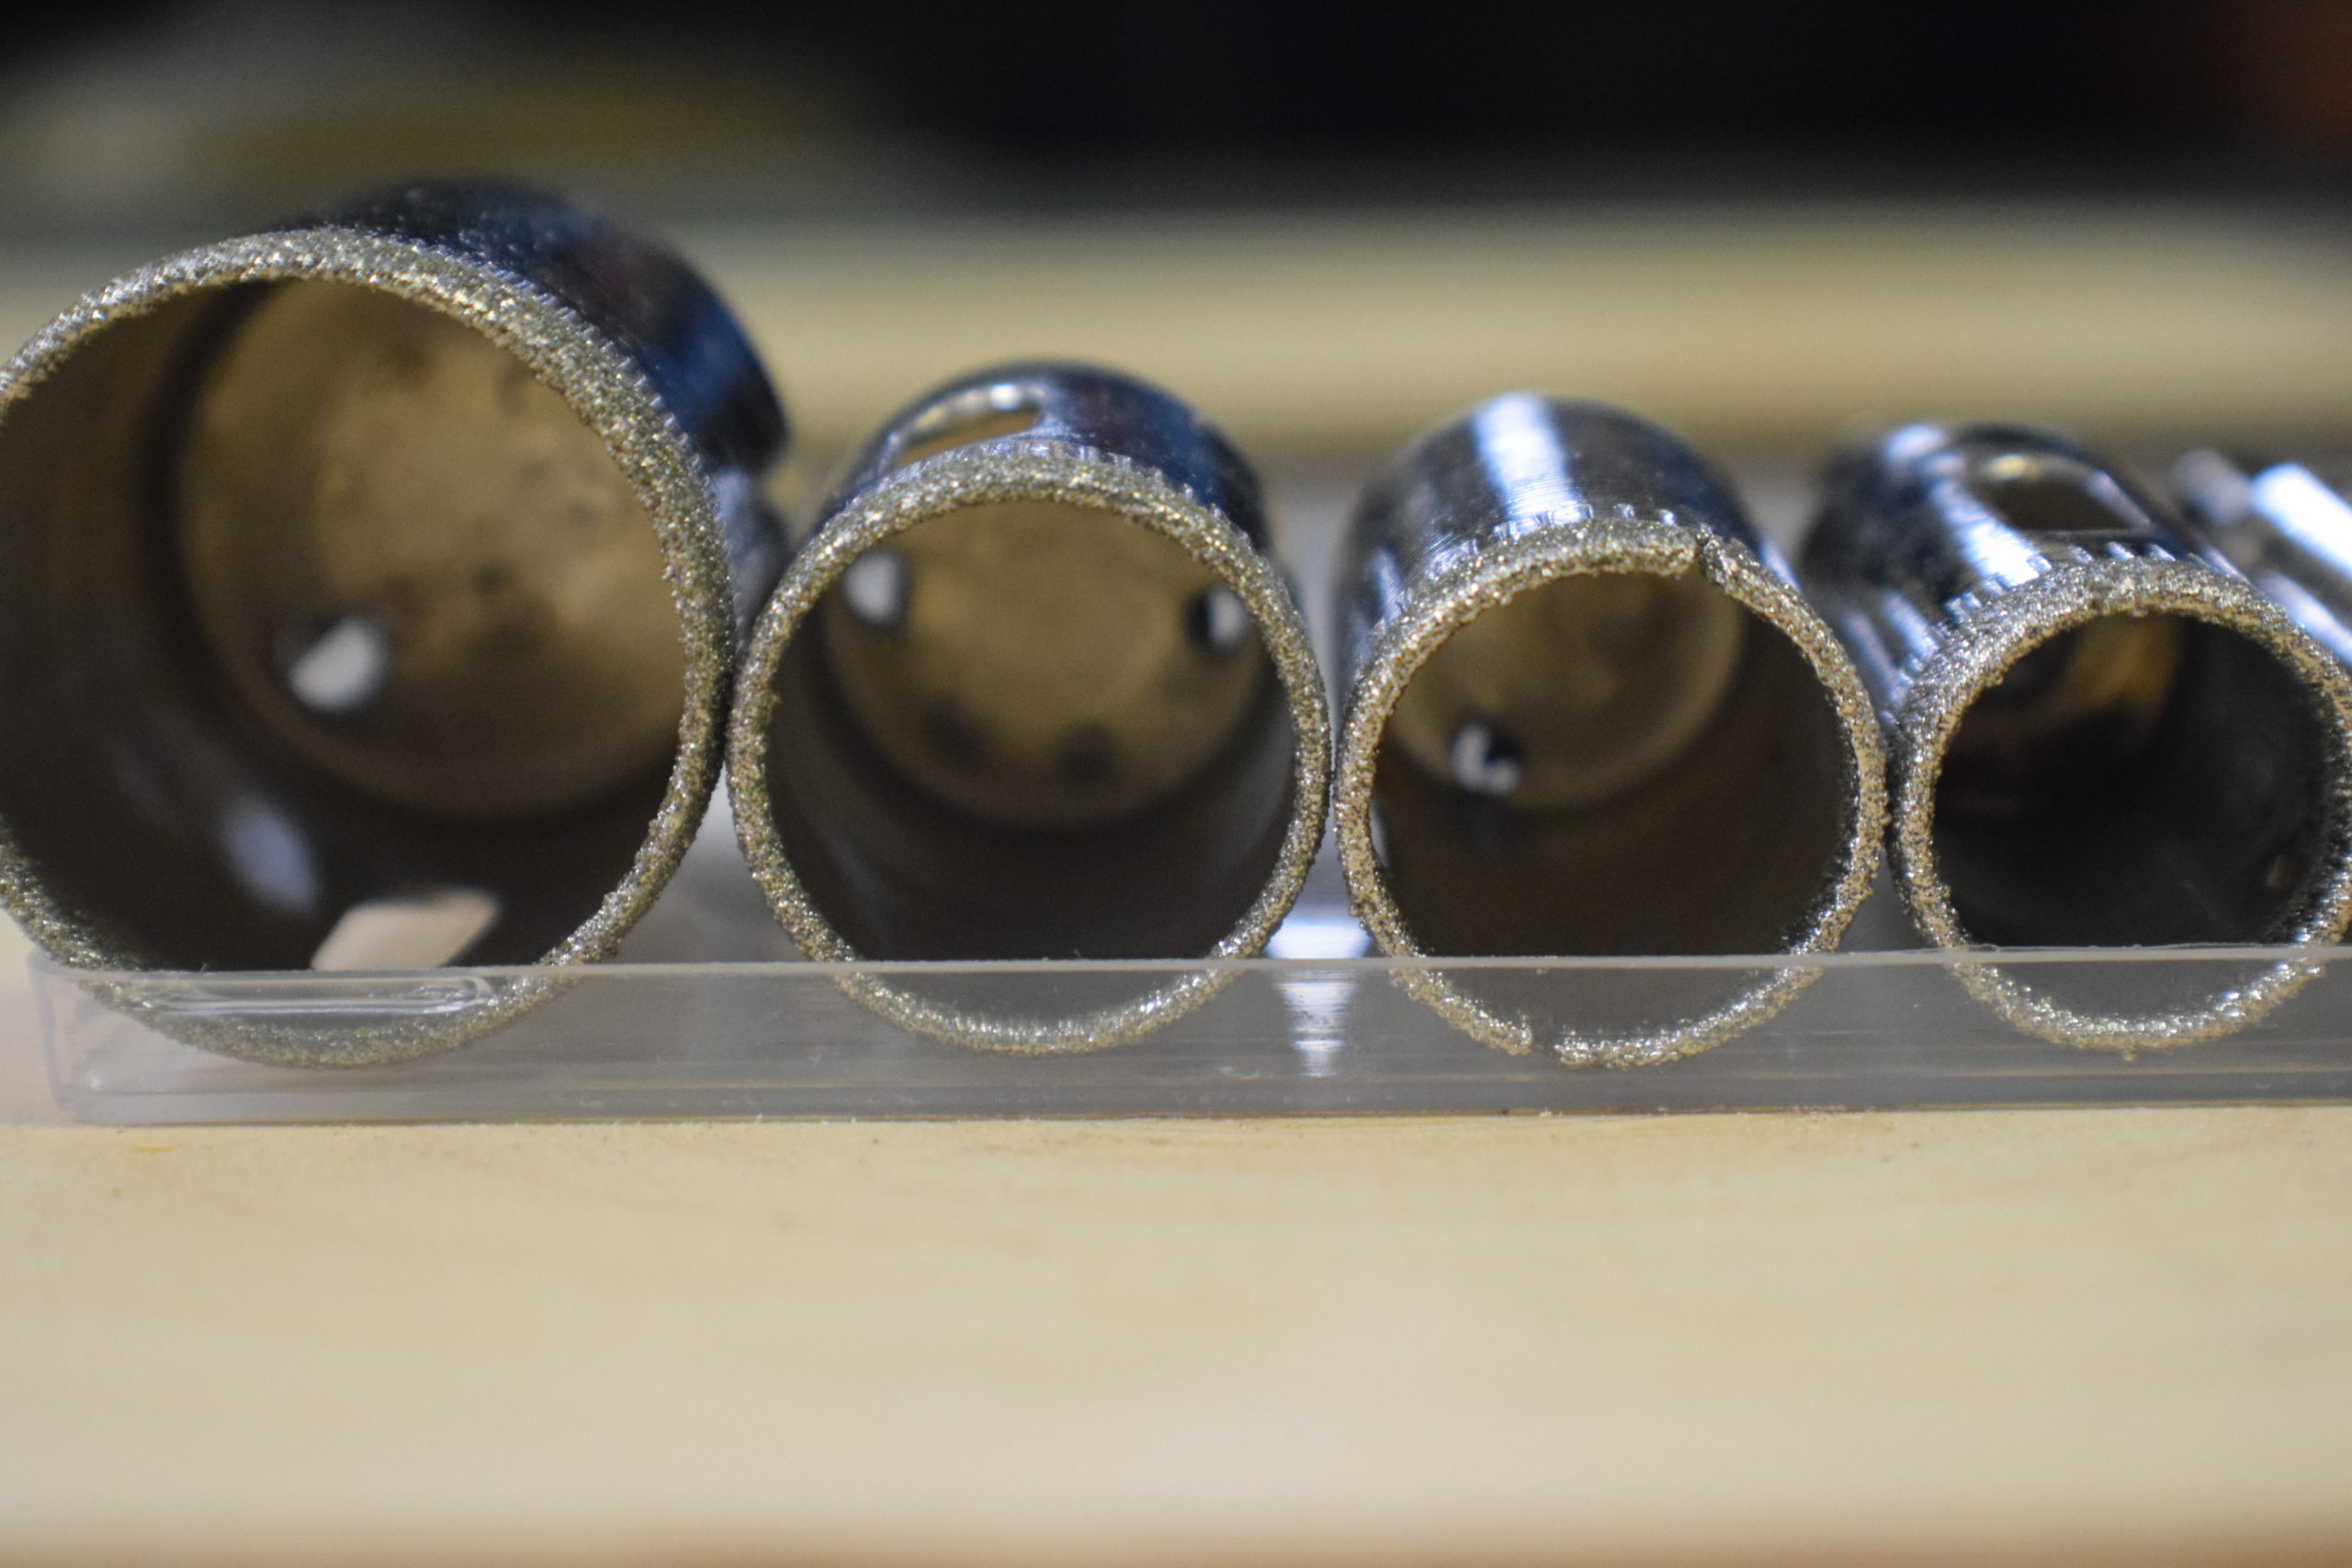
You’re going to need to drill a hole in the side of the bottle big enough for the electrical cord to fit. I used the 18MM hole saw bit to make my hole. The diamond-coated drill bit is strong enough to drill through glass, ceramics, tile, and even marble.
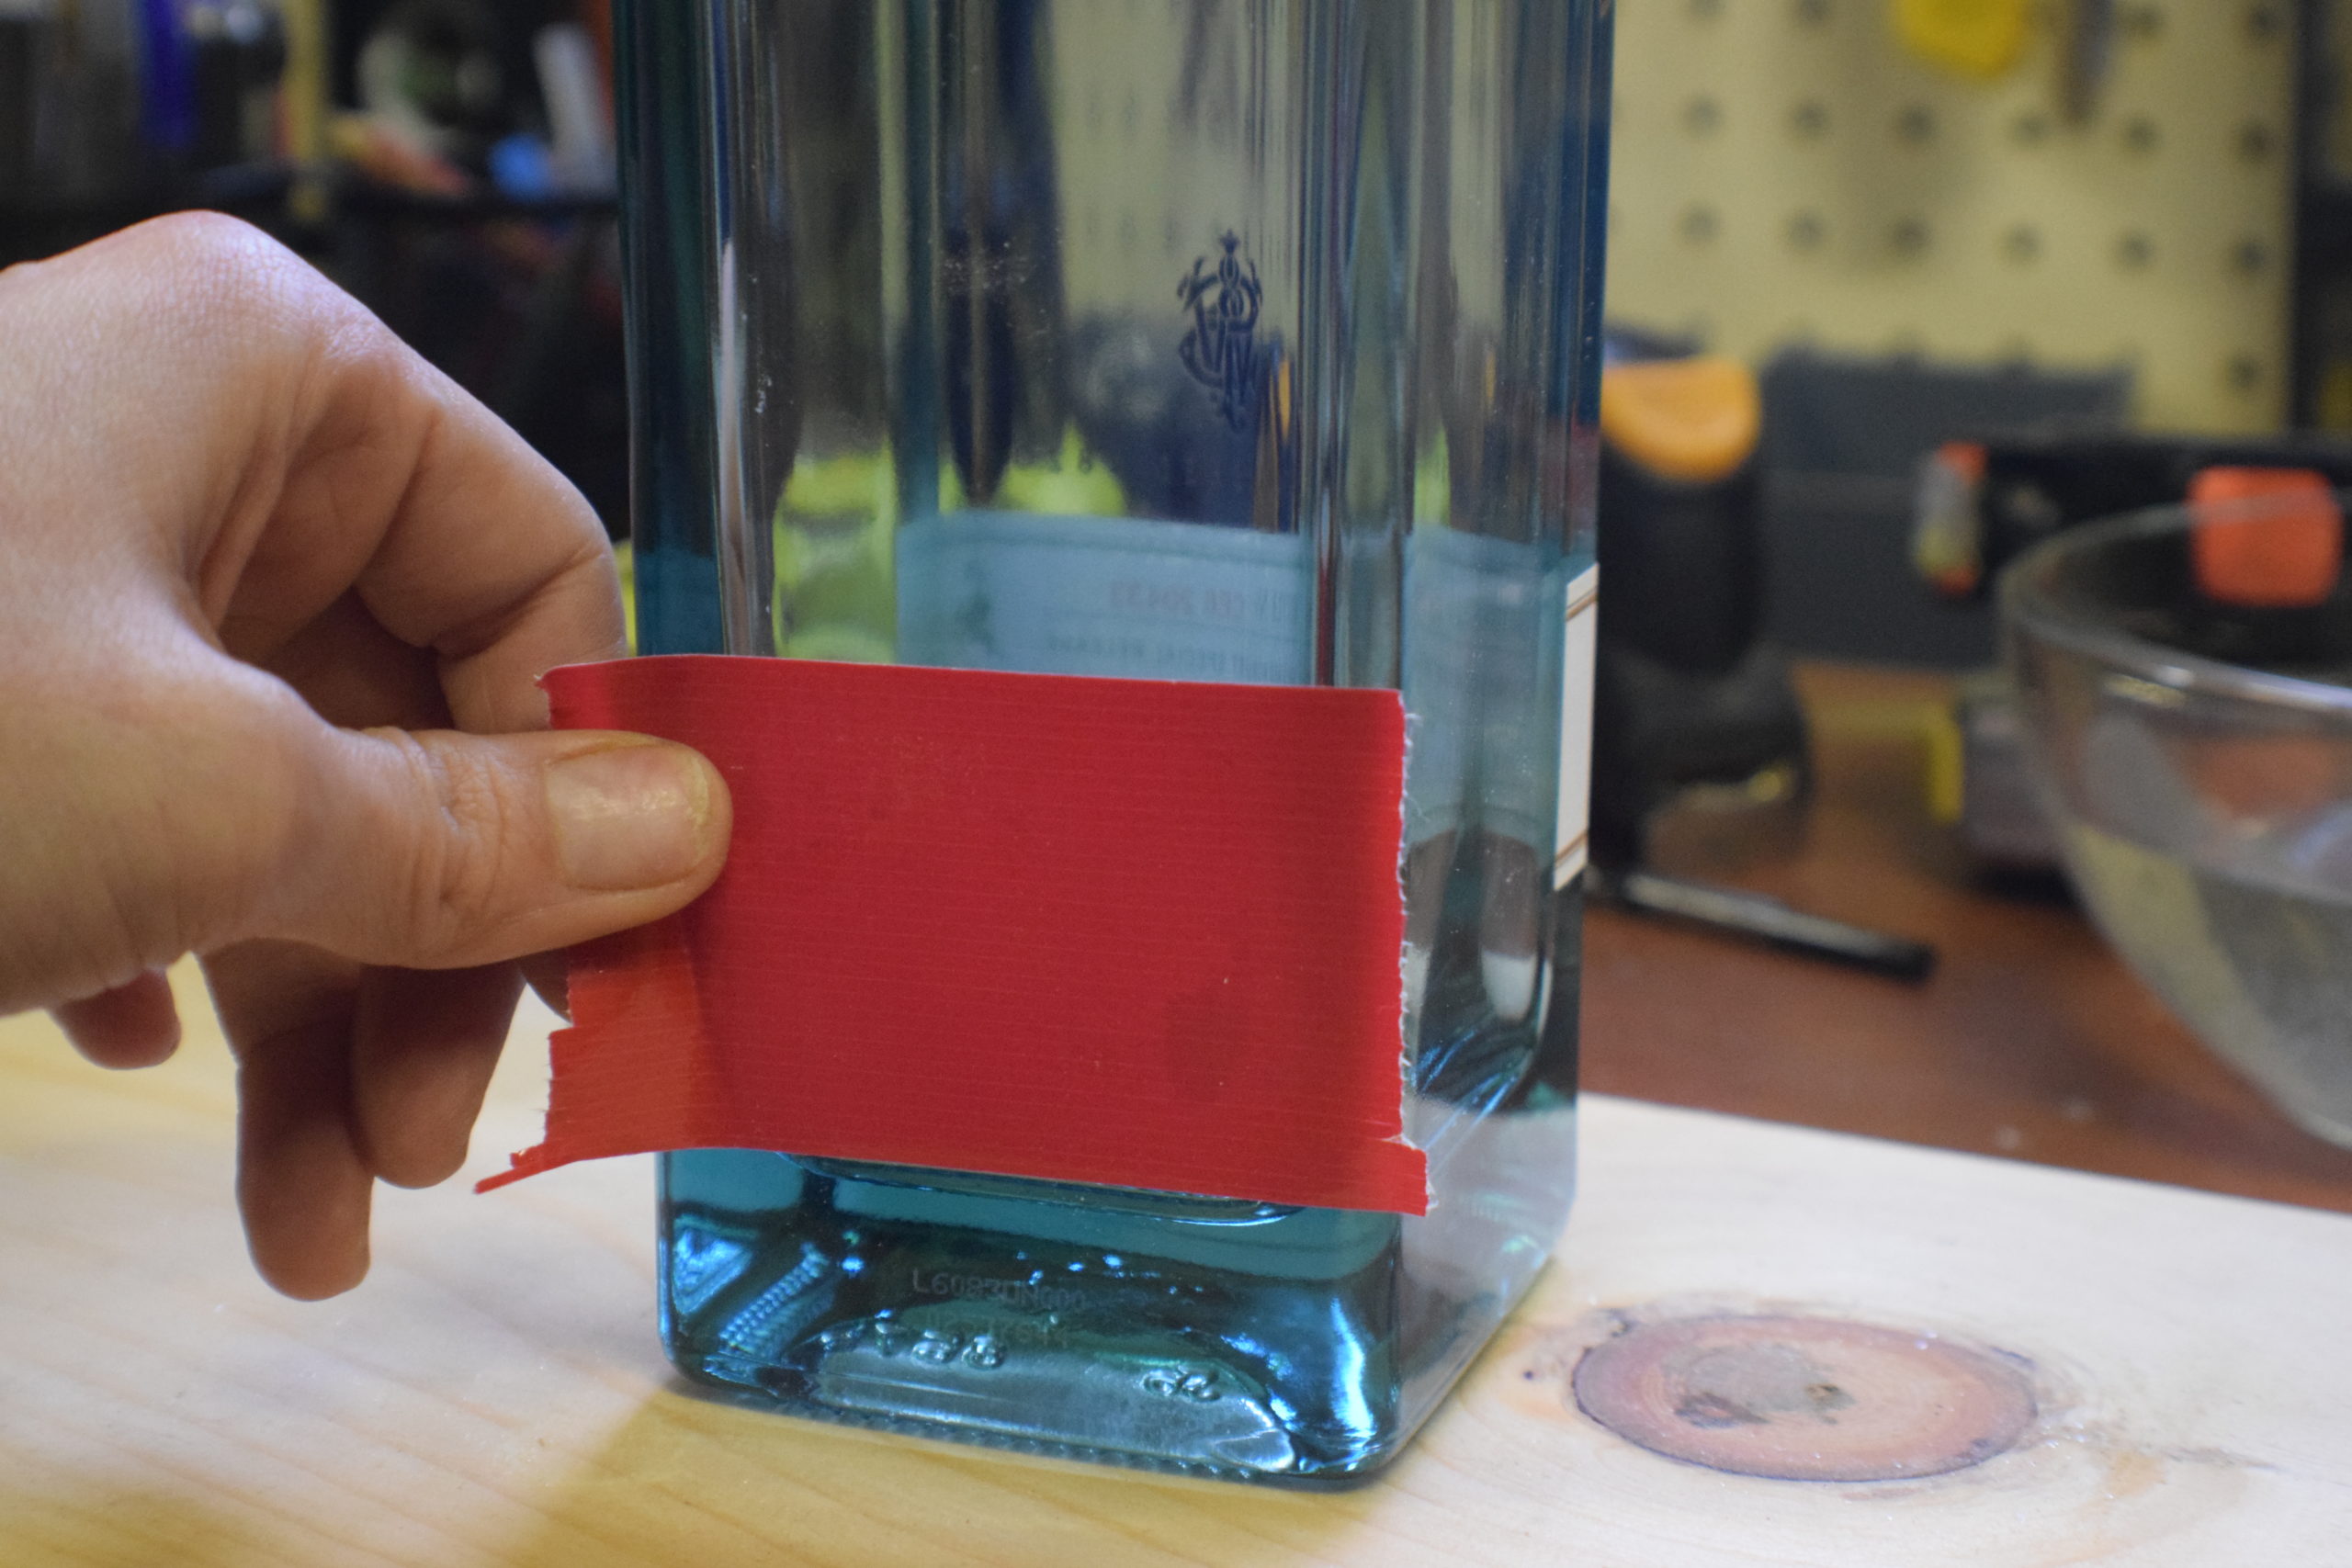
Use a duct tape piece (masking tape also works) and lay it over the spot you want to drill your hole. Mark the center where you will drill the hole. Doing this will help keep the drill from jumping/slipping on the glass surface.
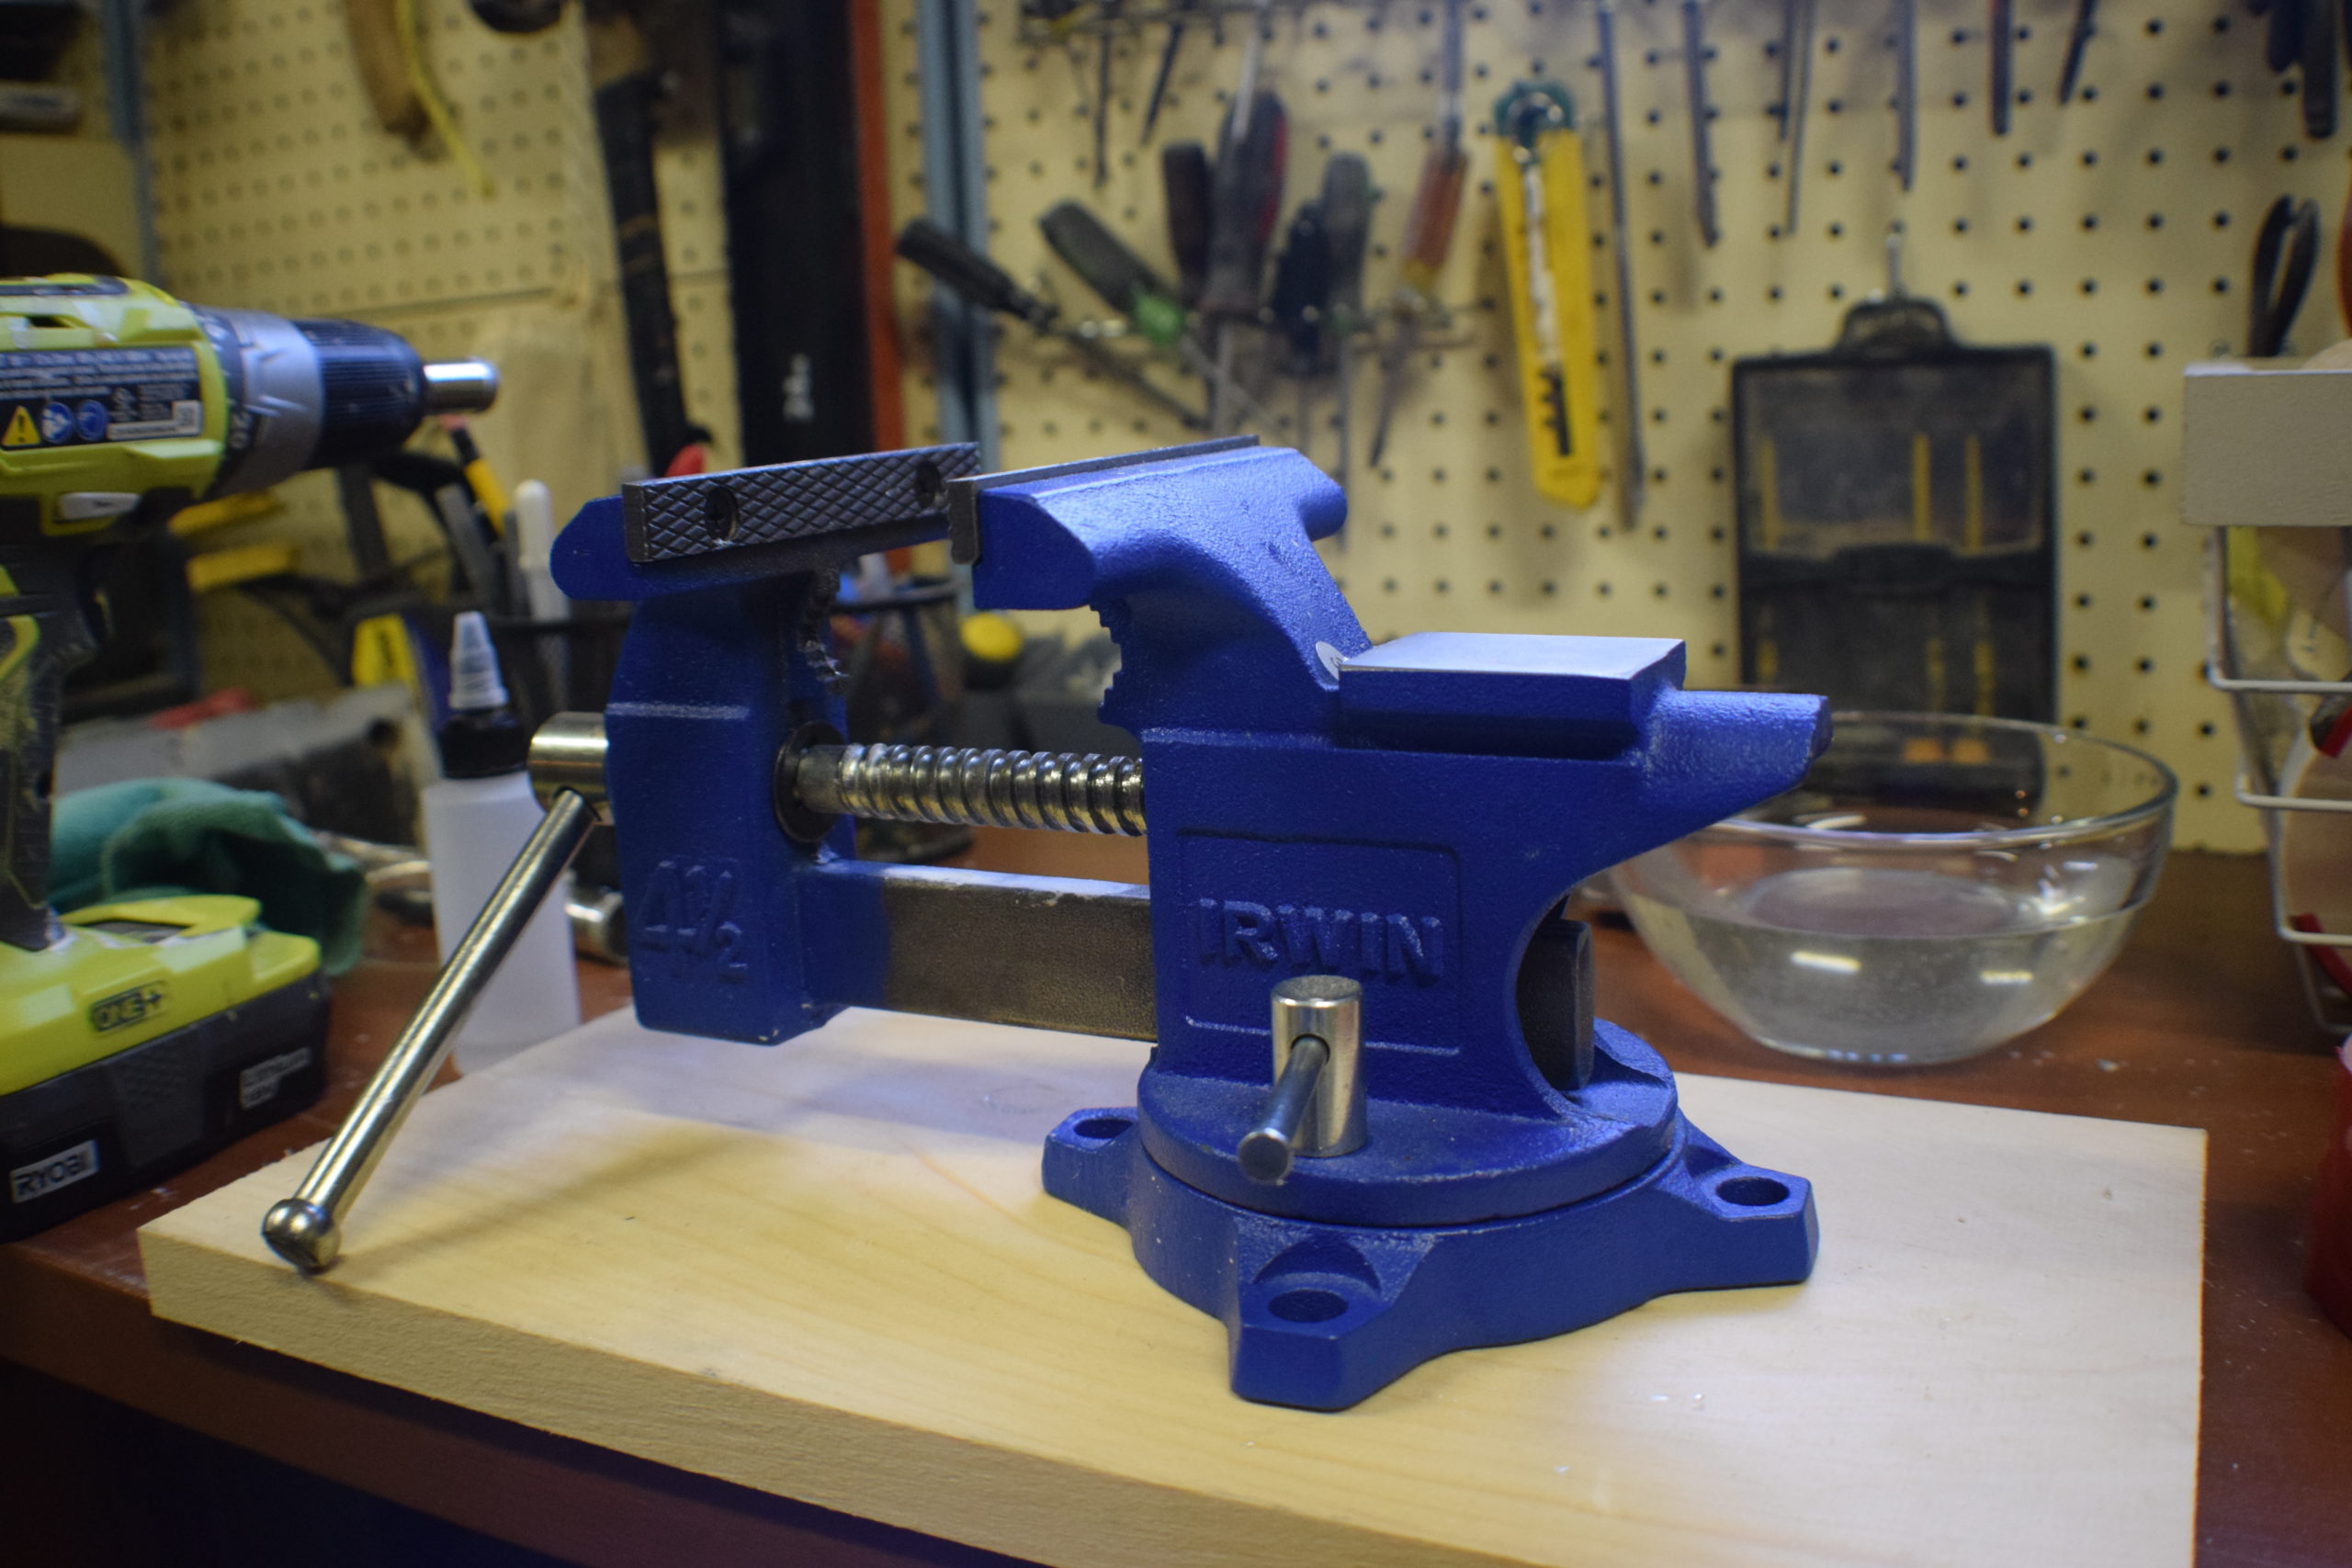
Secure the bottle with your vice grip. You can buy special grips for this, but this hack worked for me. When working with thin glass, you can put a towel around the sides of the bottle to protect it from pressure. Regardless, keep a towel close by for water droppings and a rag on hand to wipe down the bottle.
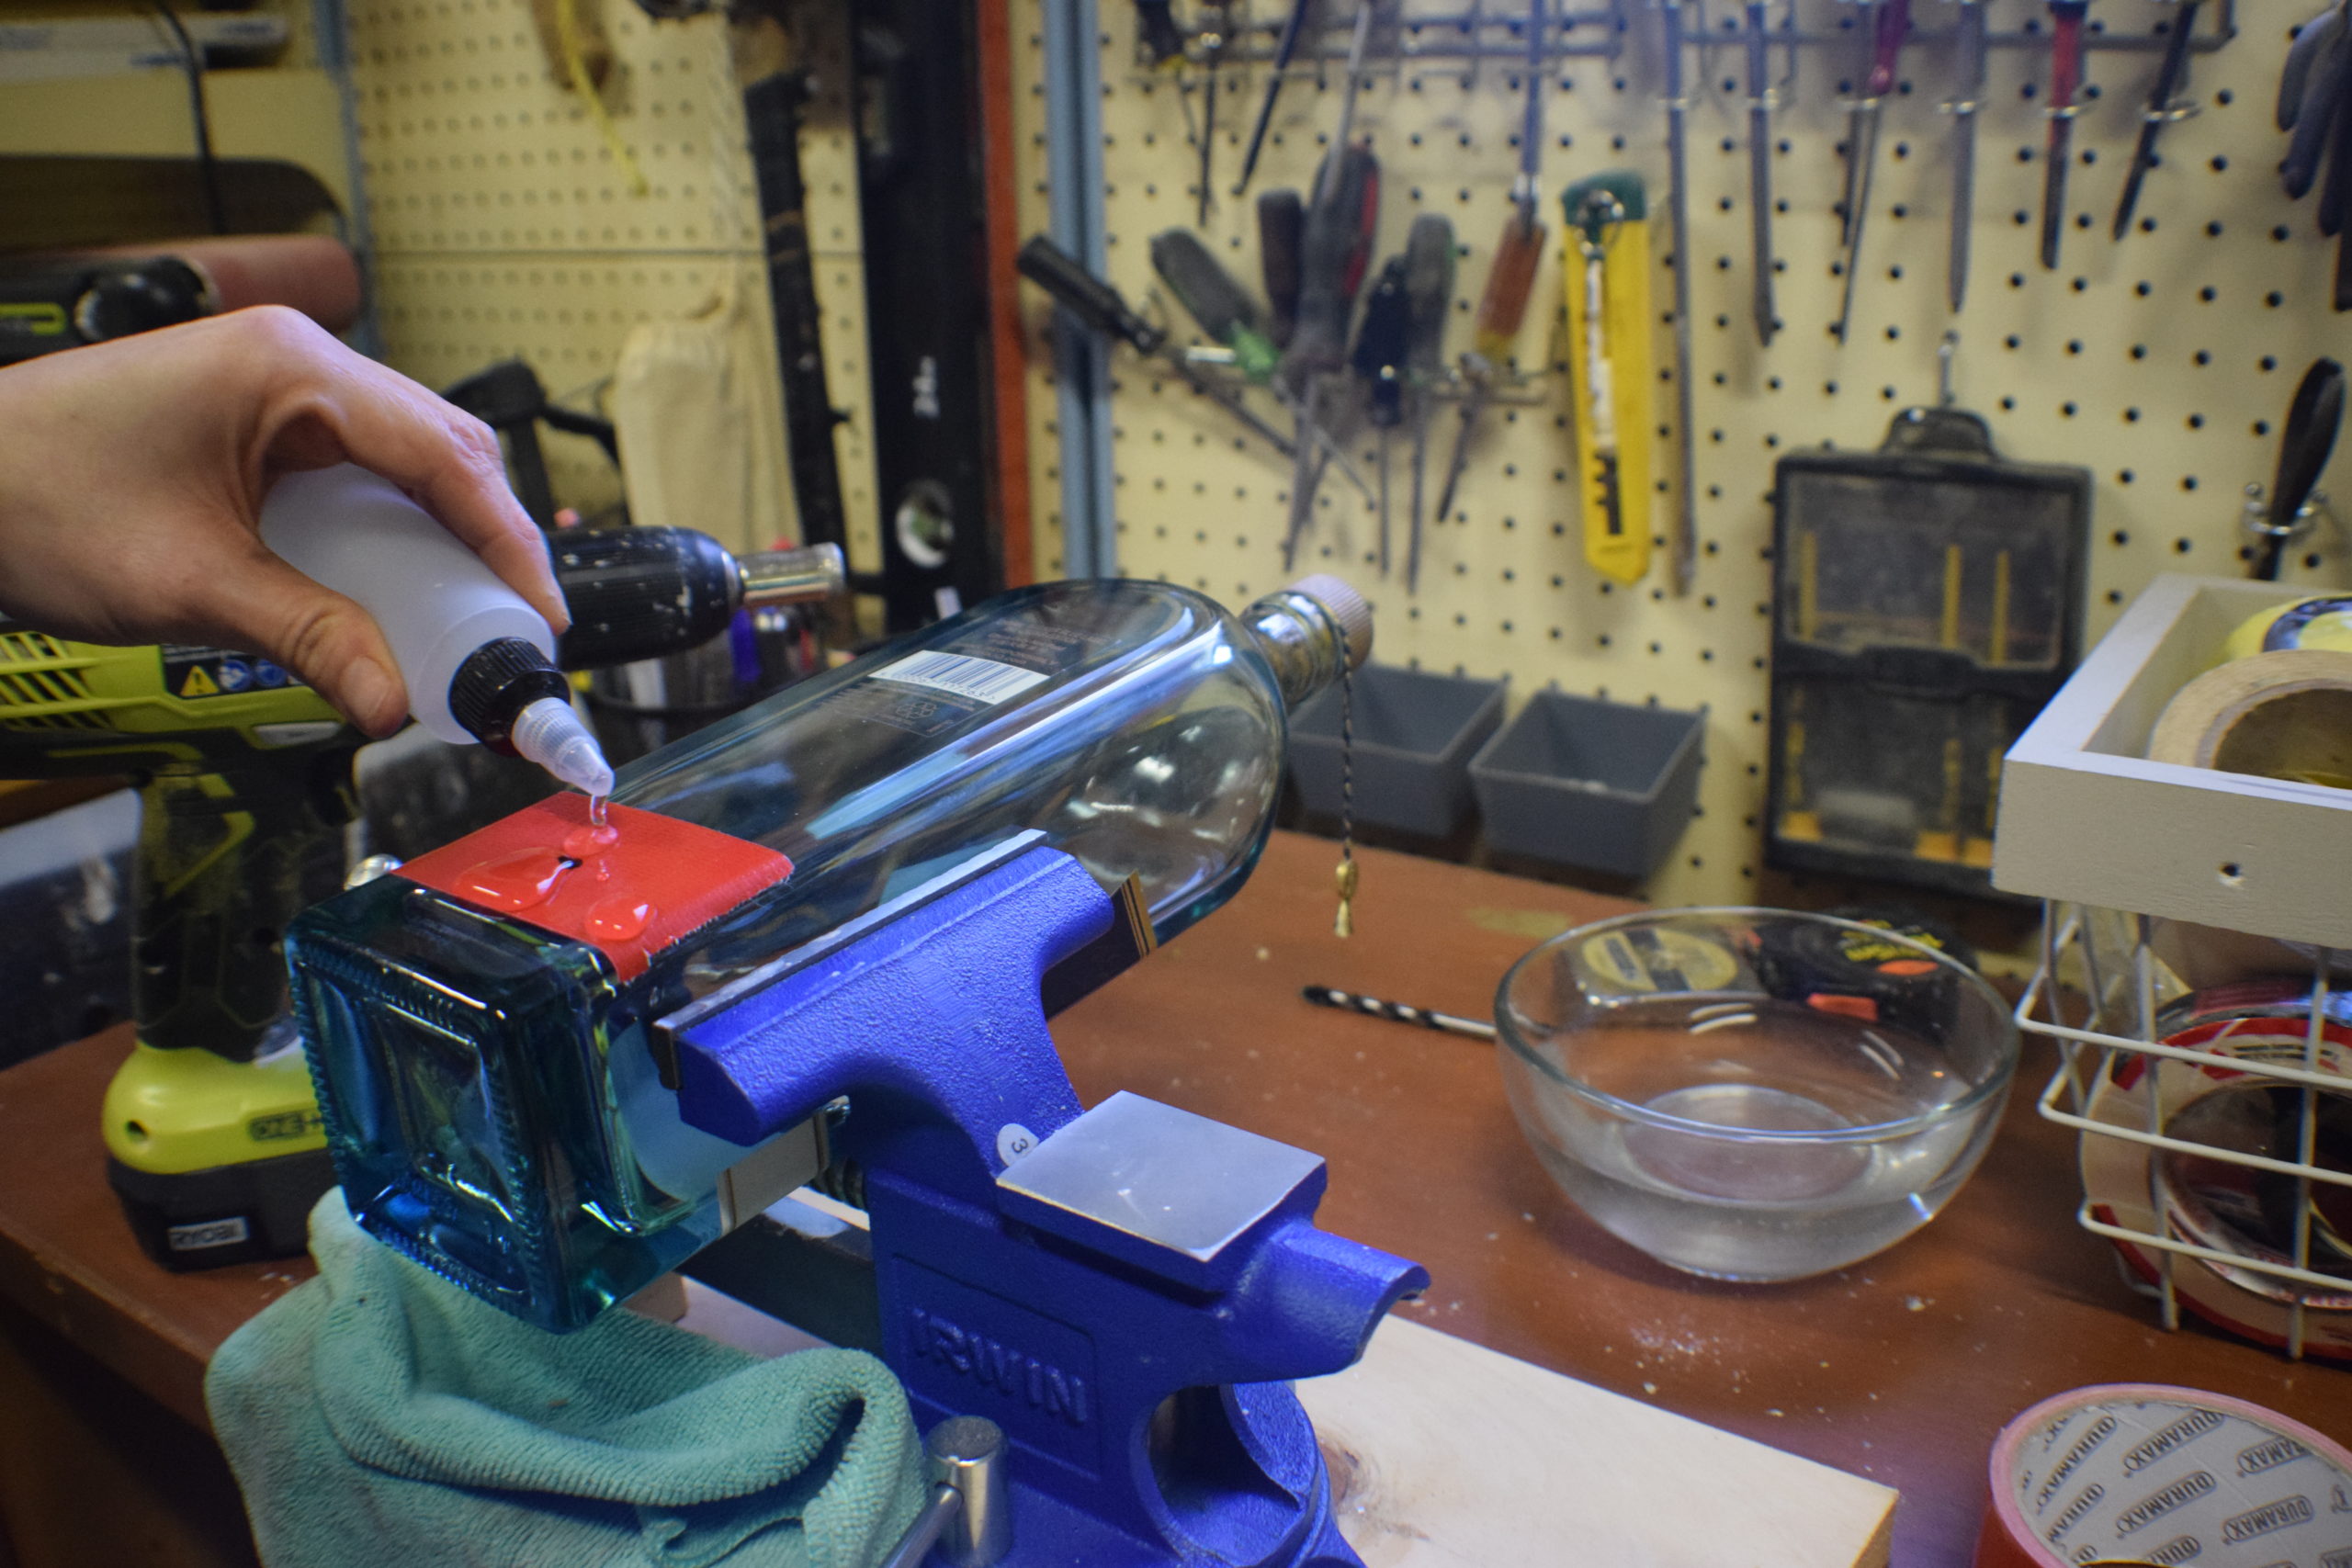
Wet down the surface with the squirt bottle. You’re going to use a lot of water for this process. Some people fully submerge their bottles in a tub of water, but I like to keep a dish of water close by and refill my squirt bottle as I go. The glass and drill bit overheat when they rub together, and it can cause the glass to crack. Squirting the bottle and drill-bit down with water is going to allow for a nice smooth insert.
Using the hole saw diamond bit, hold your drill on an angle and drill over the duct-taped area. You might want to use both hands on the drill for support while you start the initial grove. The drill will want to bounce around, especially if the surface is curved.
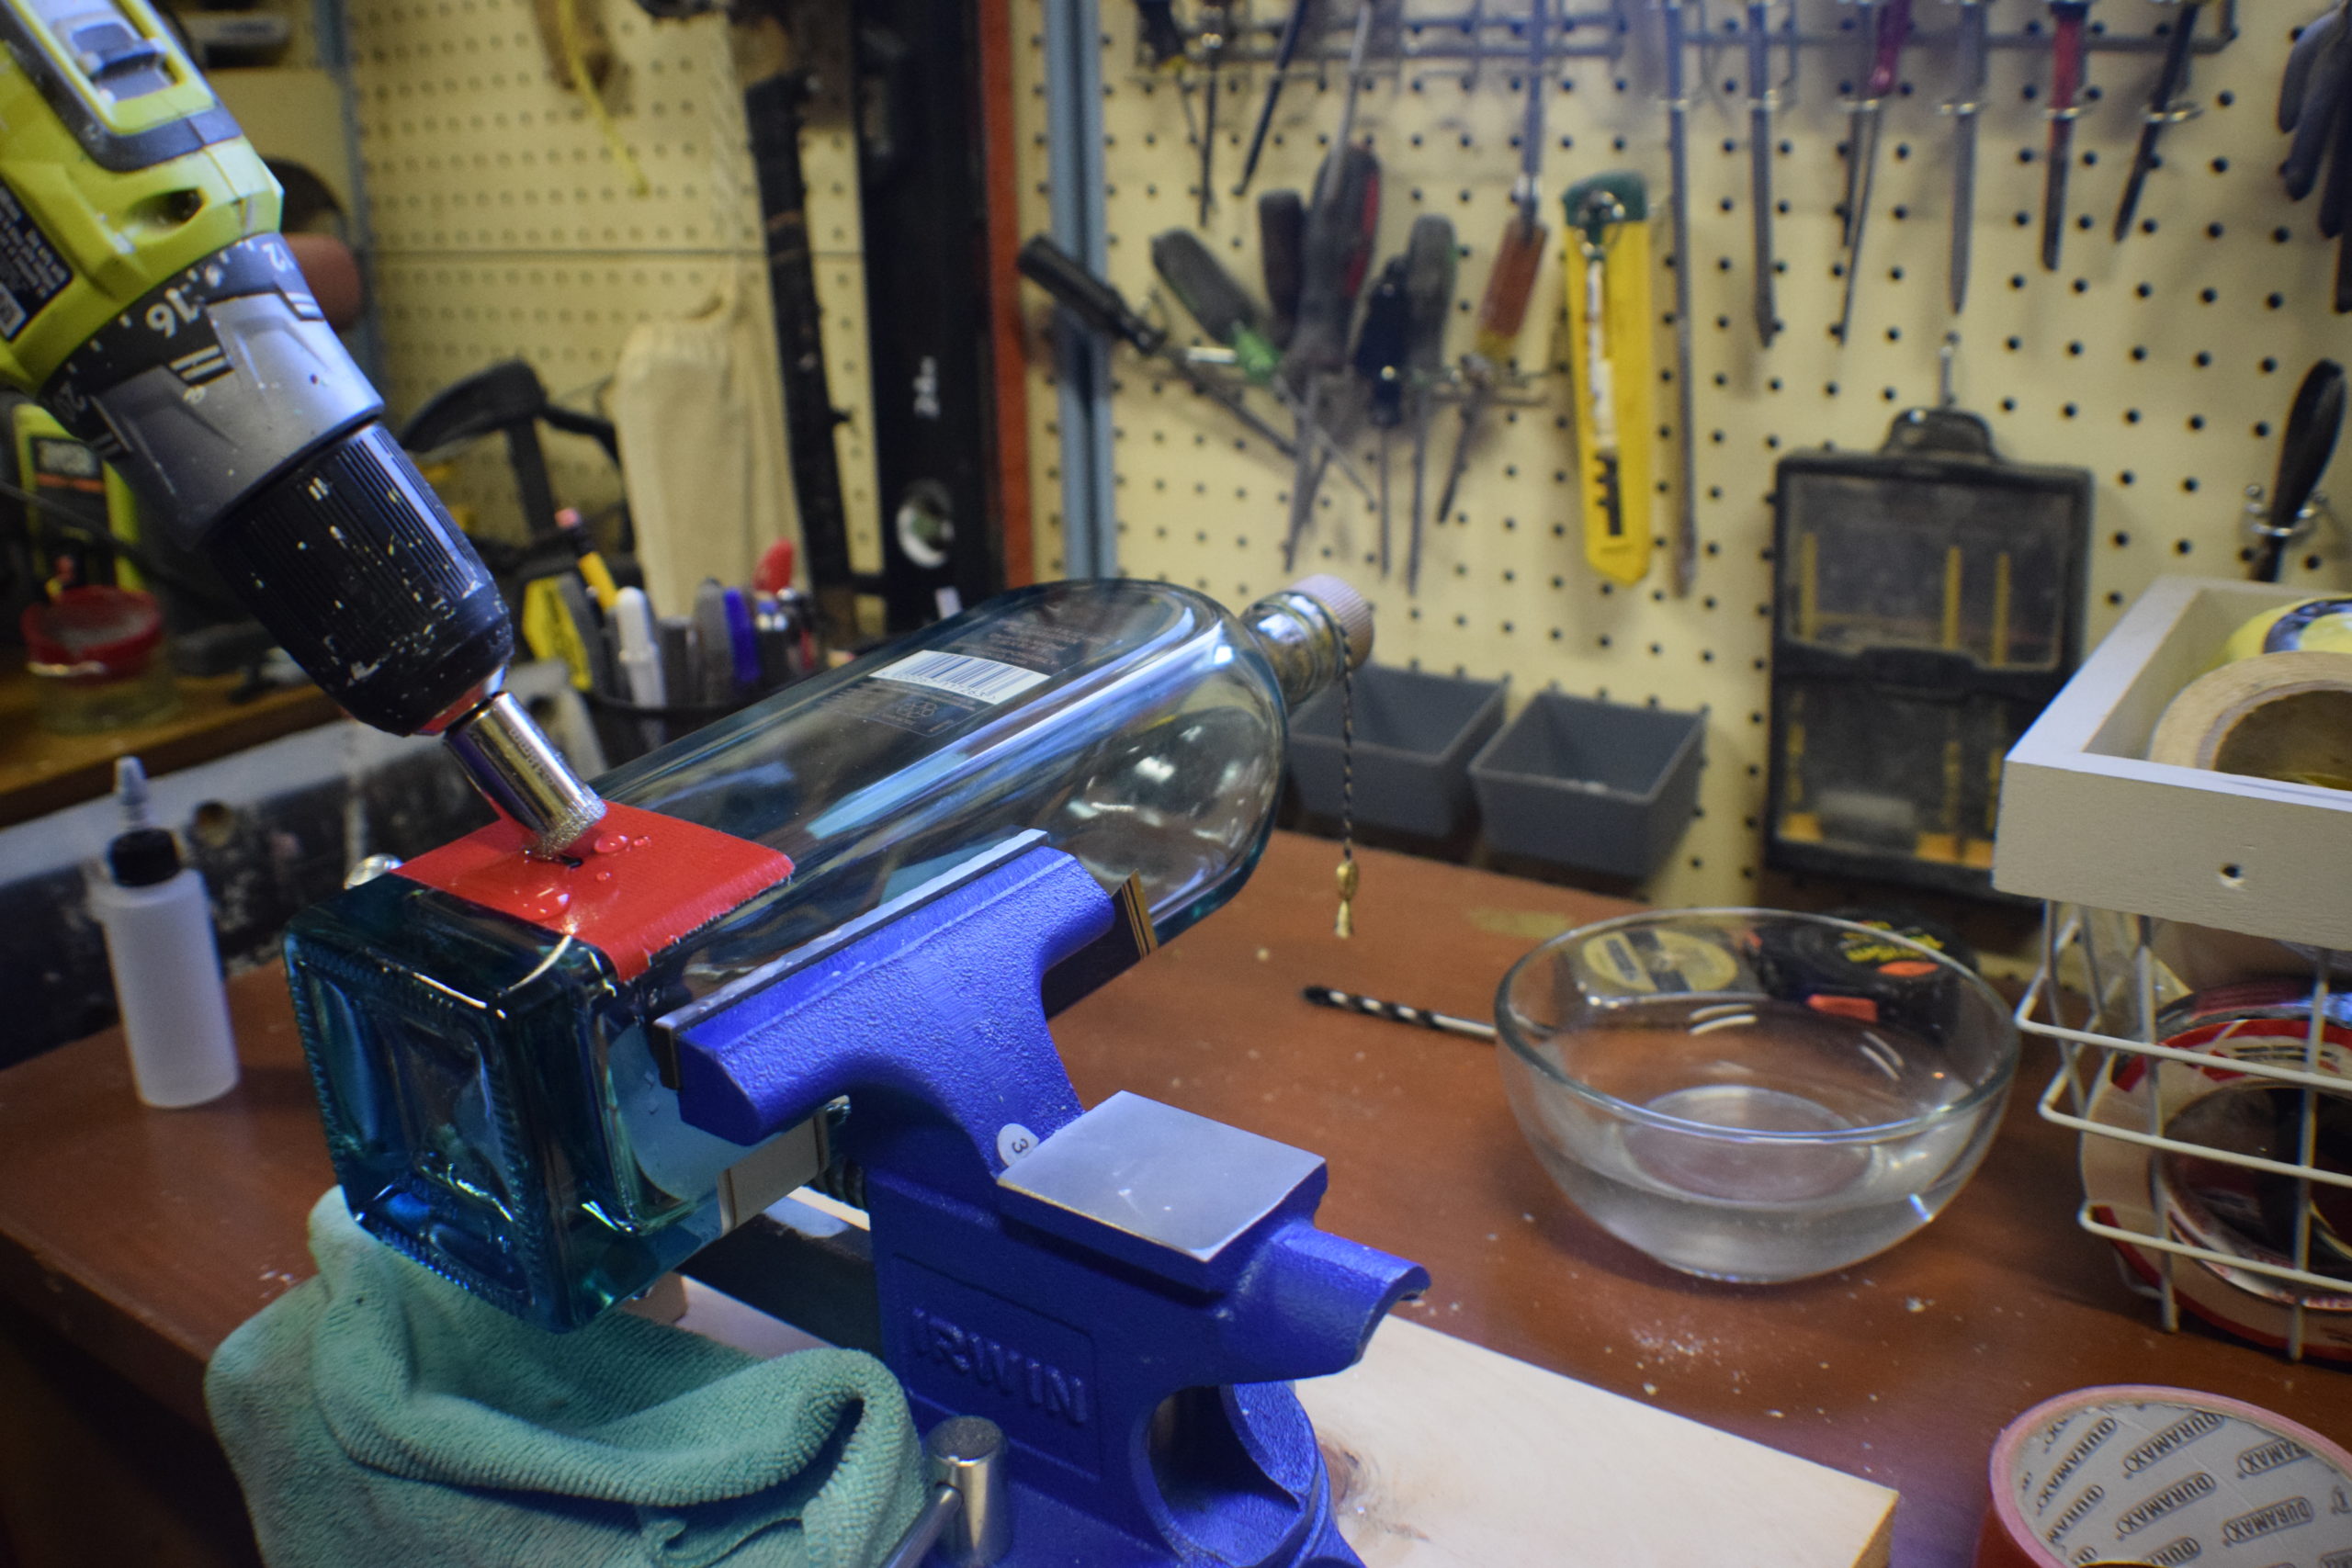
Whatever you do, DO NOT put pressure on the drill. The weight of the drill is enough to get you through the glass. Adding pressure will break the glass.
Once you have a groove started, move the drill side to side and then tilt forward. Once you into the glass on all sides, the tape will start to slide. Remove it and continue drilling.
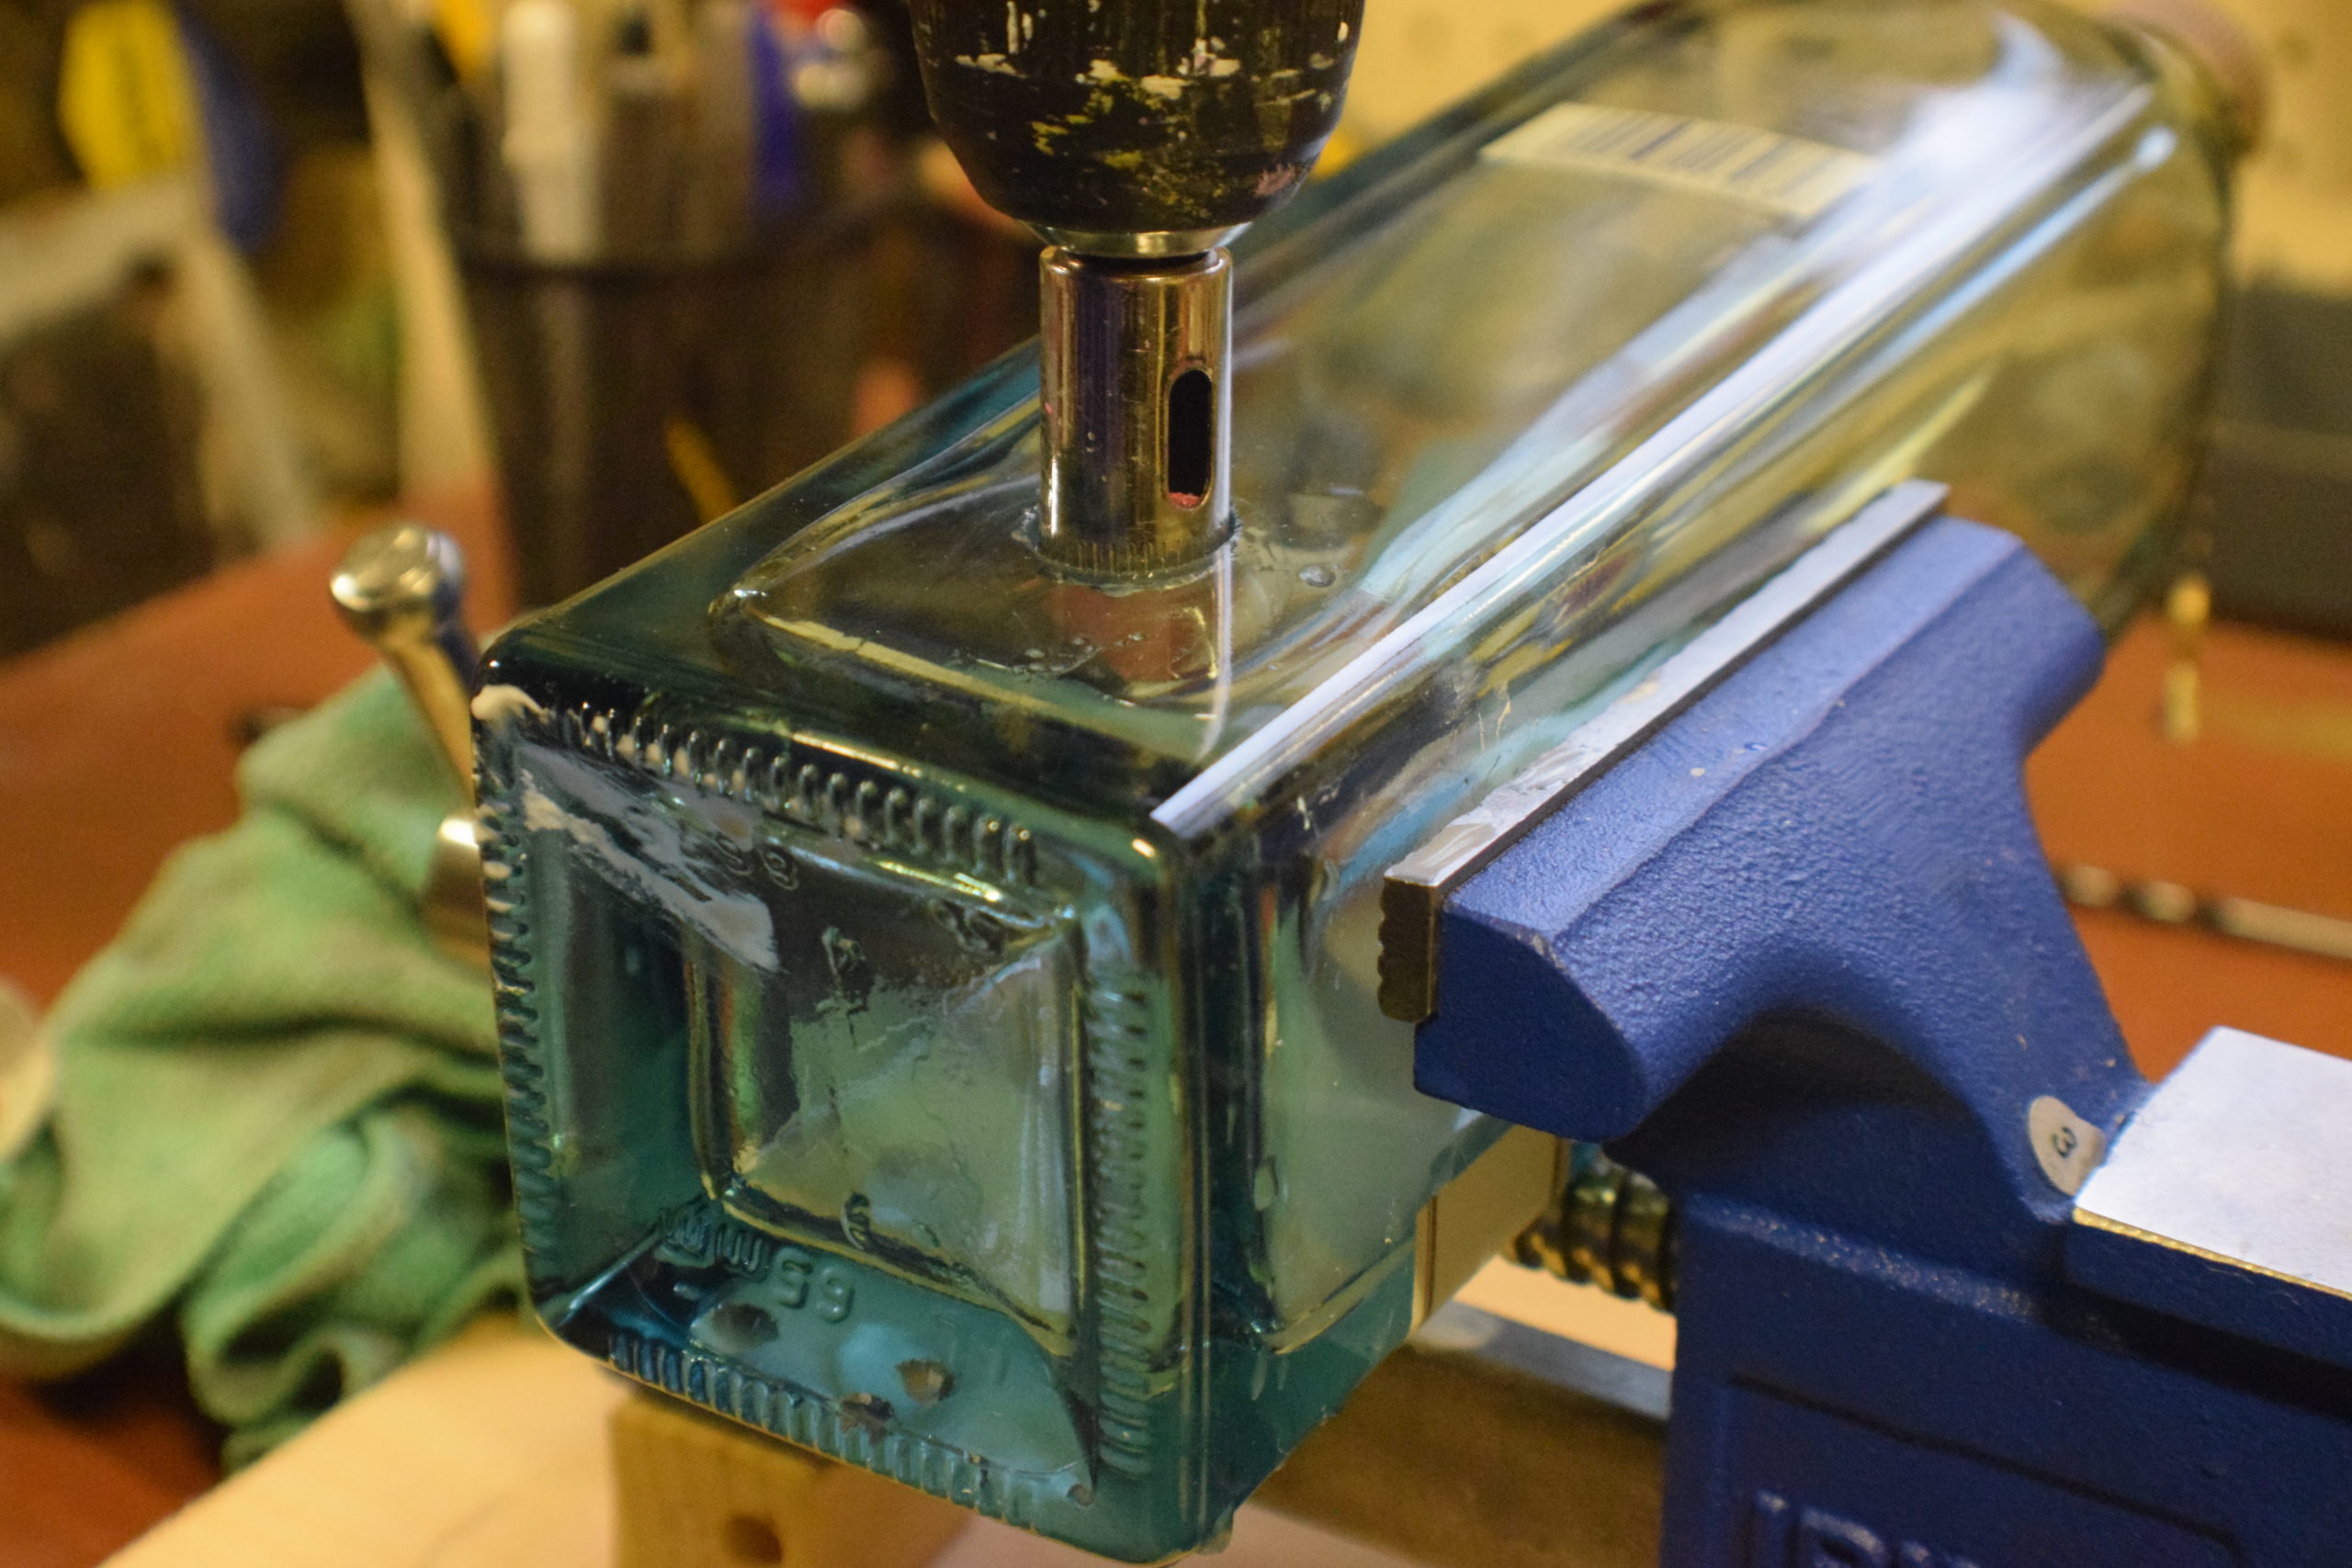
Remember, keep watering down the glass and drill-bit. I dip my bit in the dish of water when it gets gunked up. Only dip the bit; it is a power tool after all (safety first).
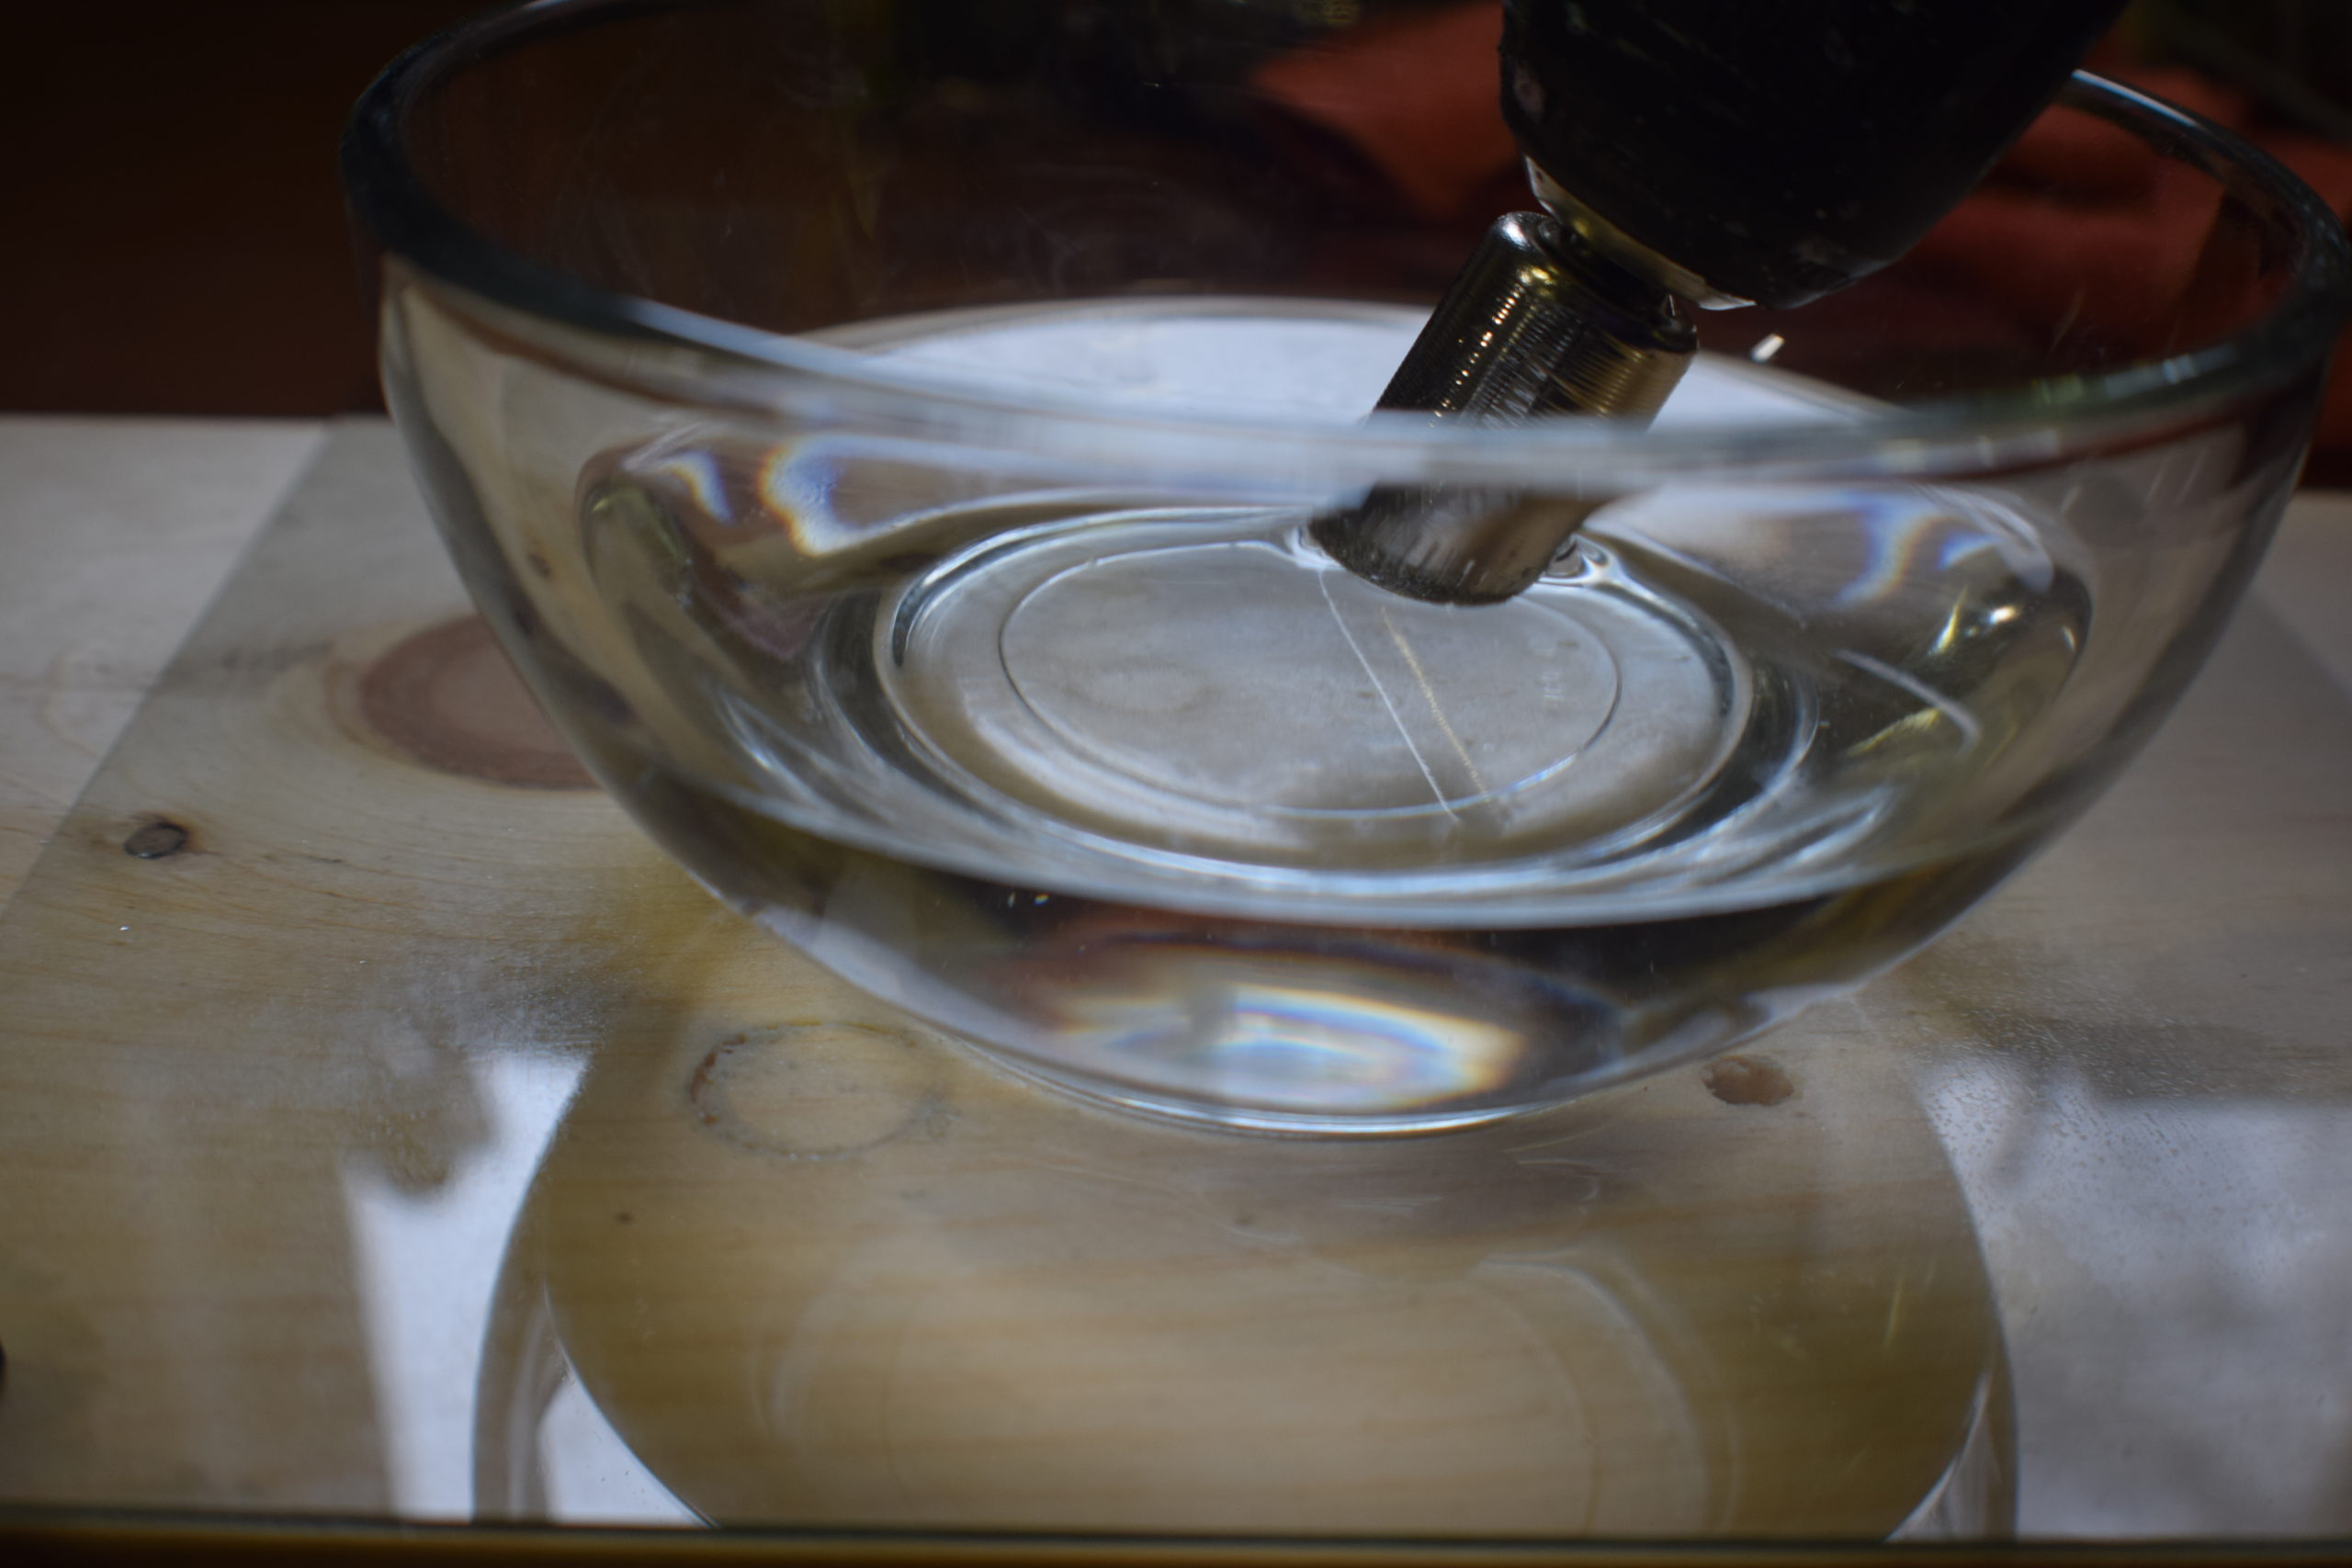
When you’re almost through the glass, the bottle will start to vibrate a bit. Take your time and support the bottle with one other hand while you continue drilling with your other hand.
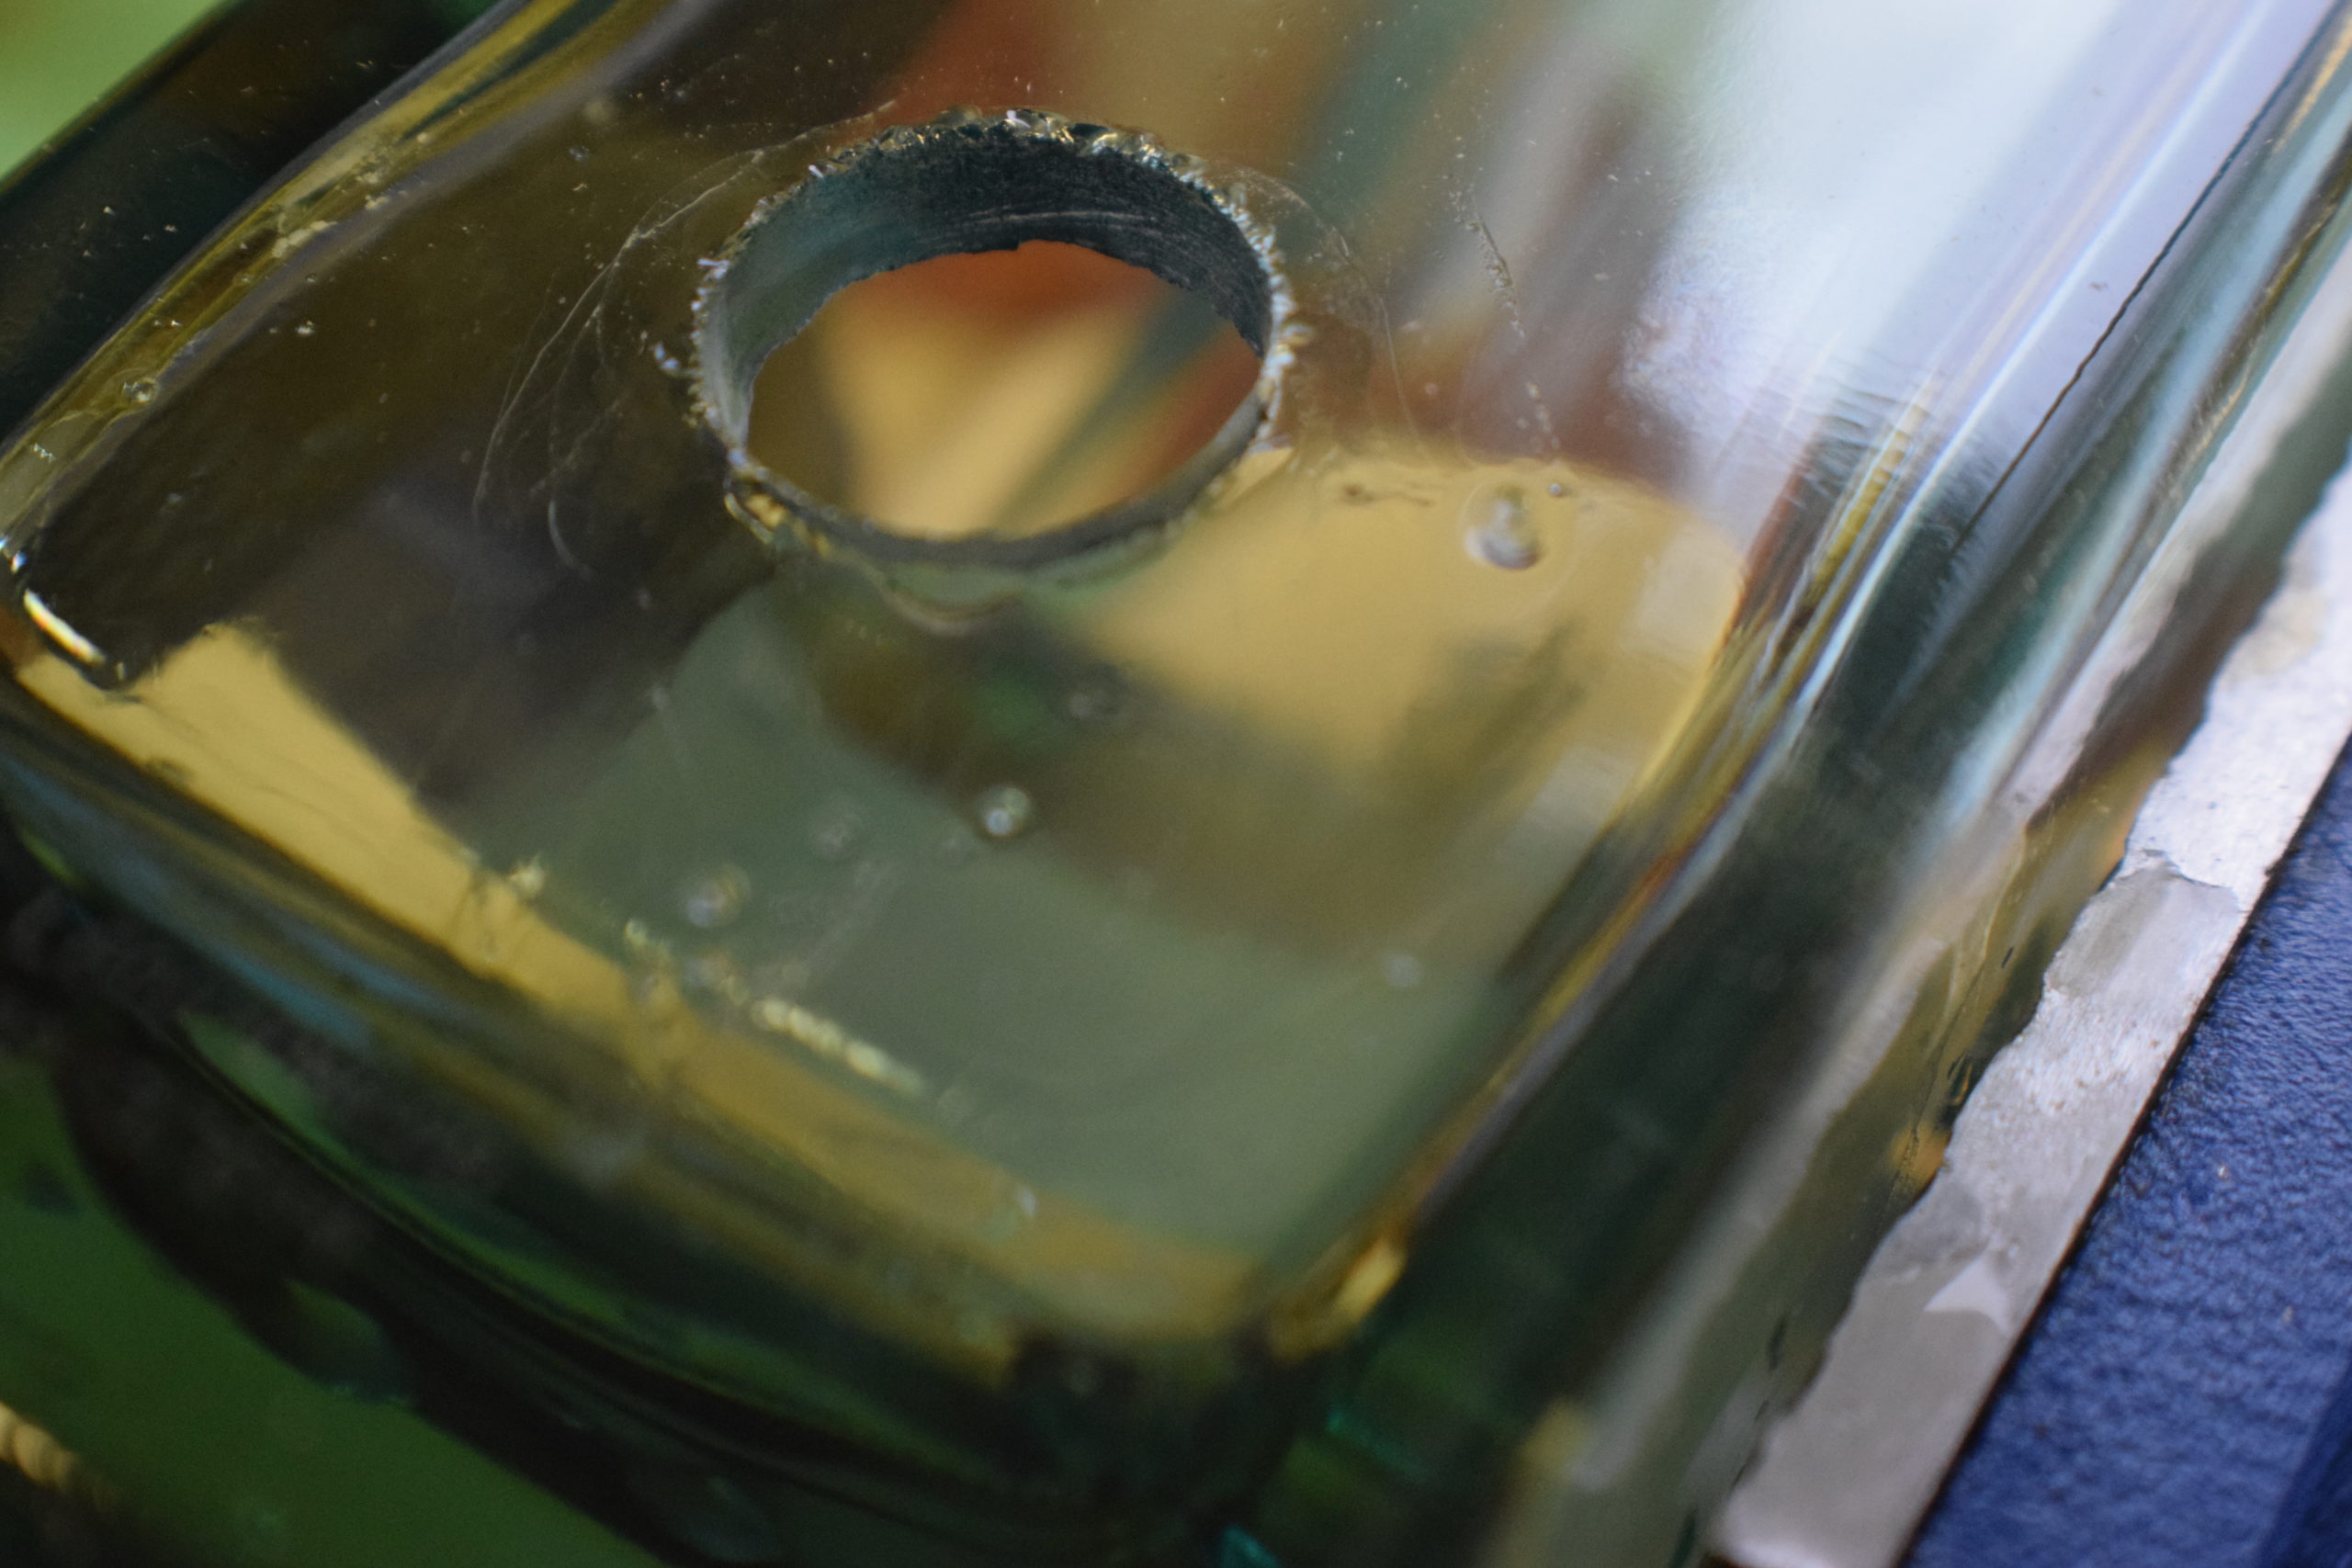
Once you’ve made it through the bottle, you can smooth the inside of the glass using a Dremel or sanding file.
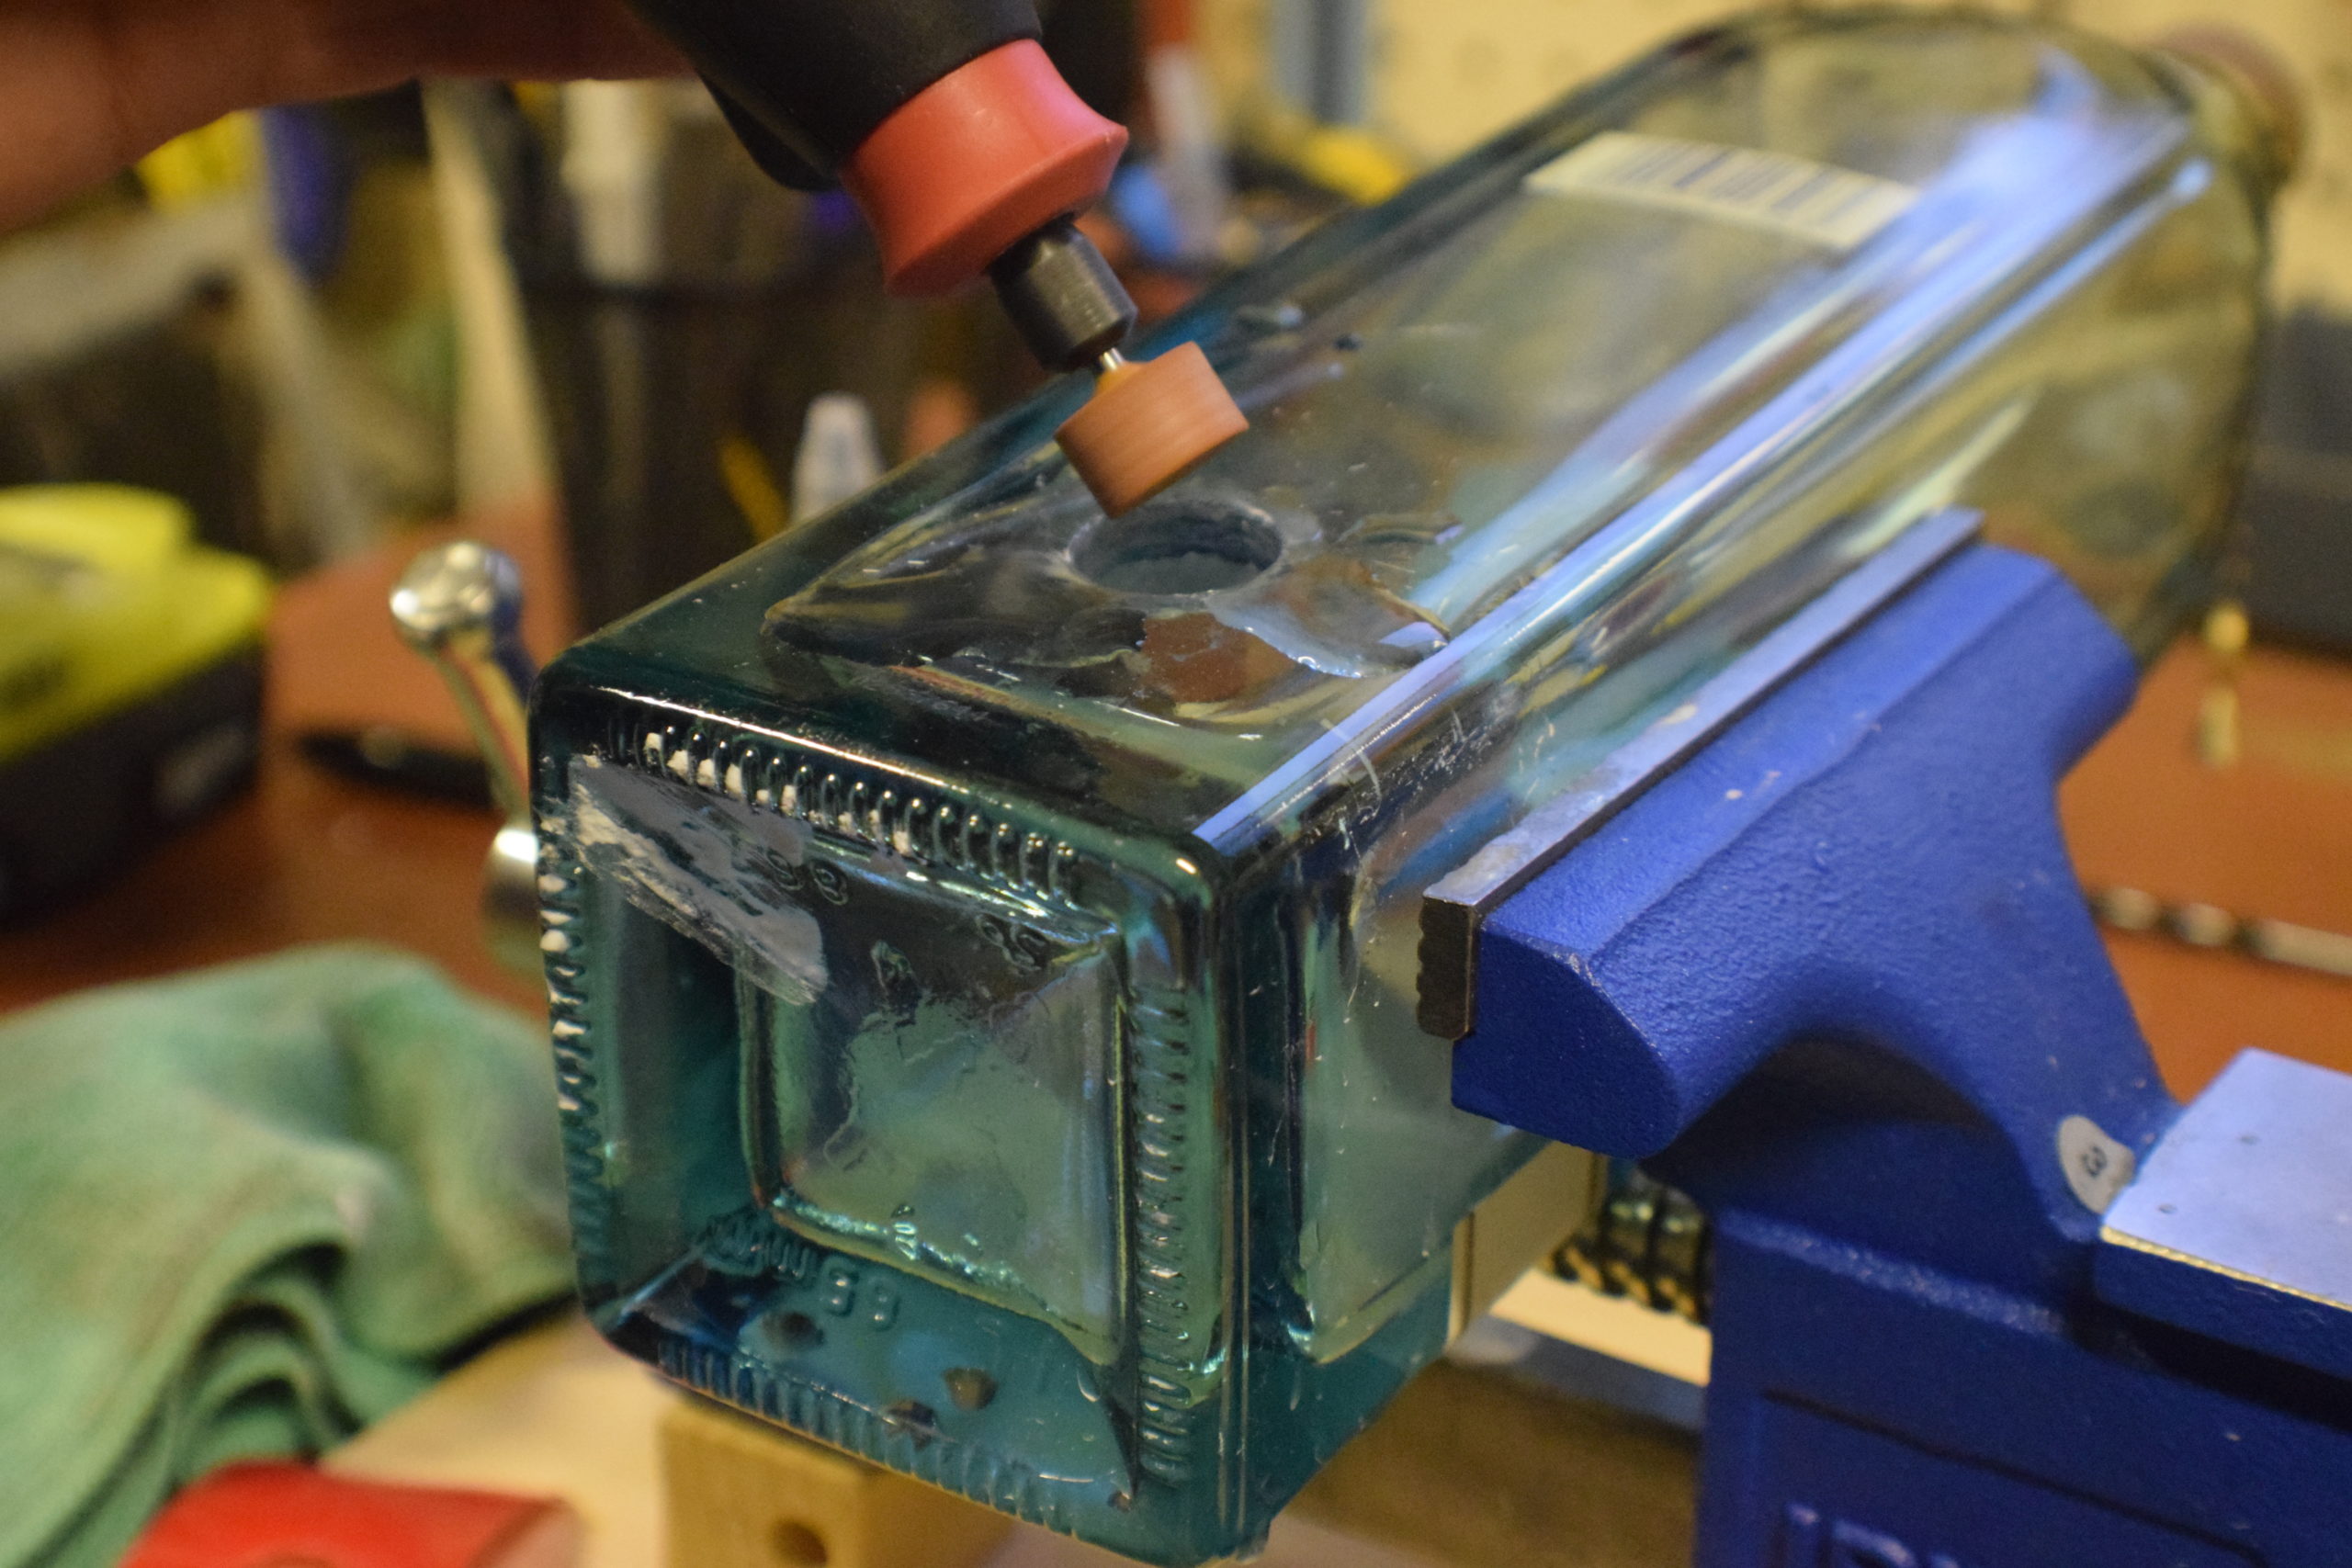
Clean the bottle well and make sure that all glass shards are removed and disposed of. Once the bottle is dry, use a piece of electrical tape and wrap the wire ends together. Then insert it into the hole.
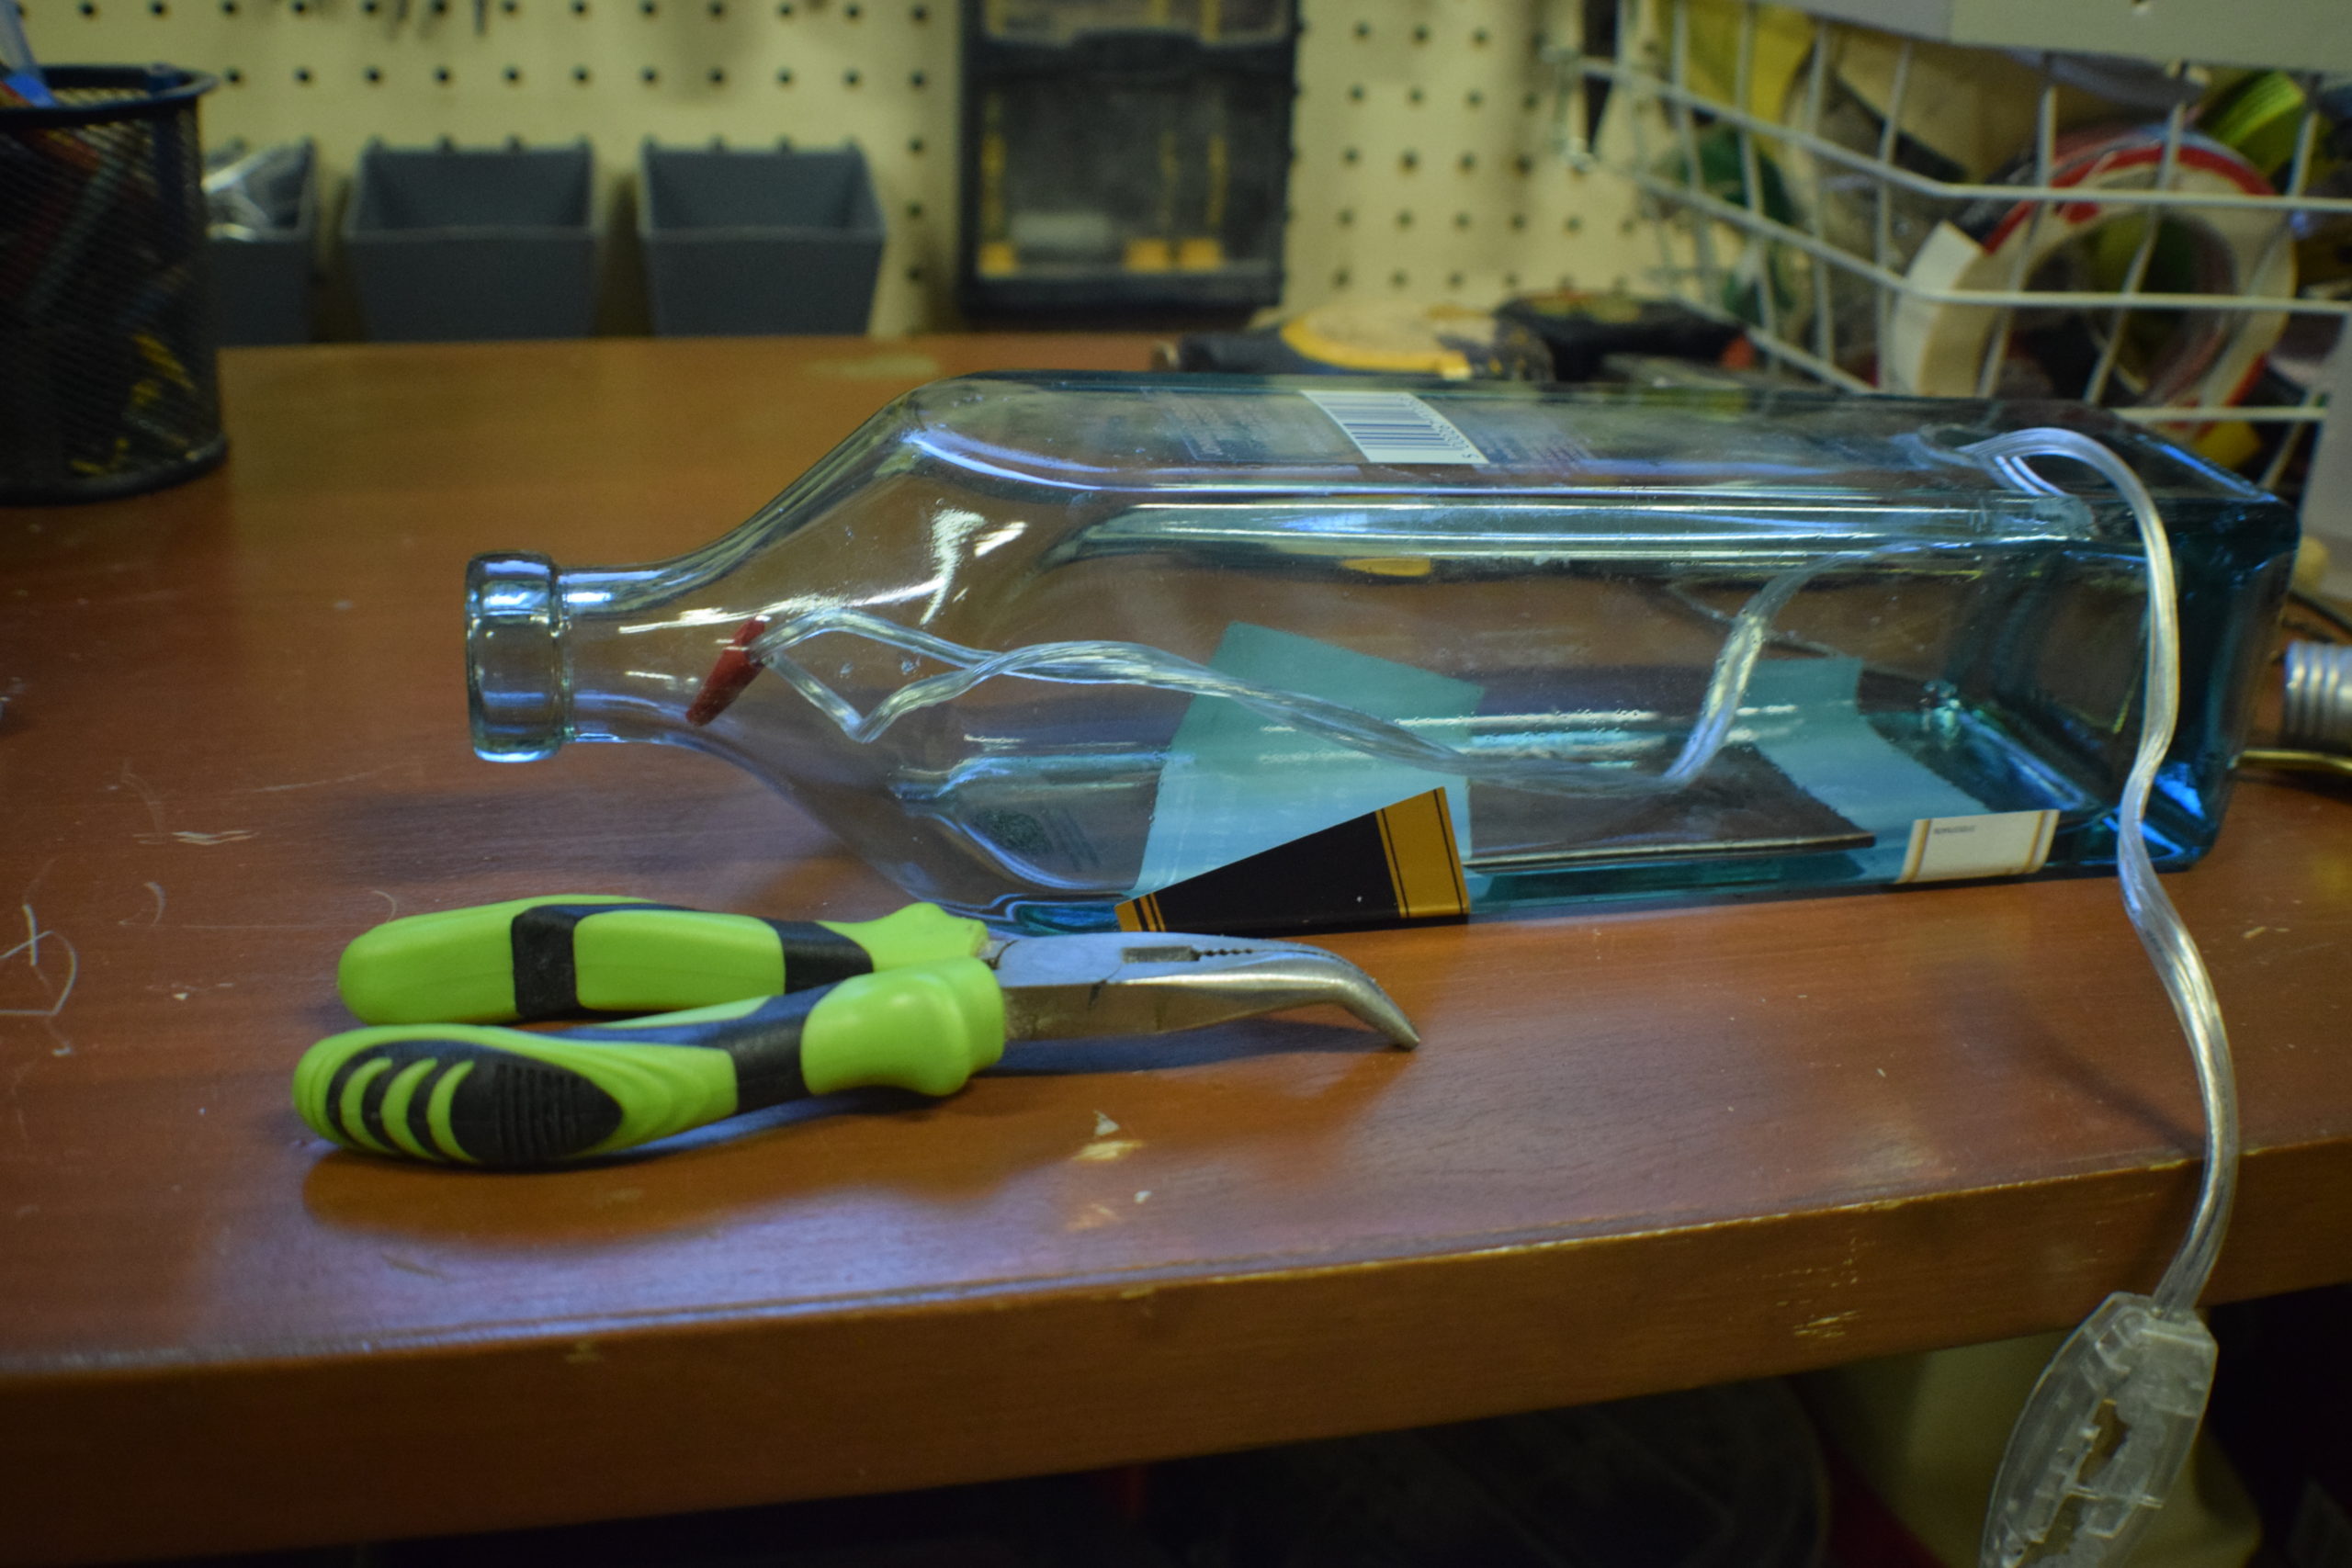
Use your needle nose pliers to grab the wires from the bottle’s neck and pull them out.
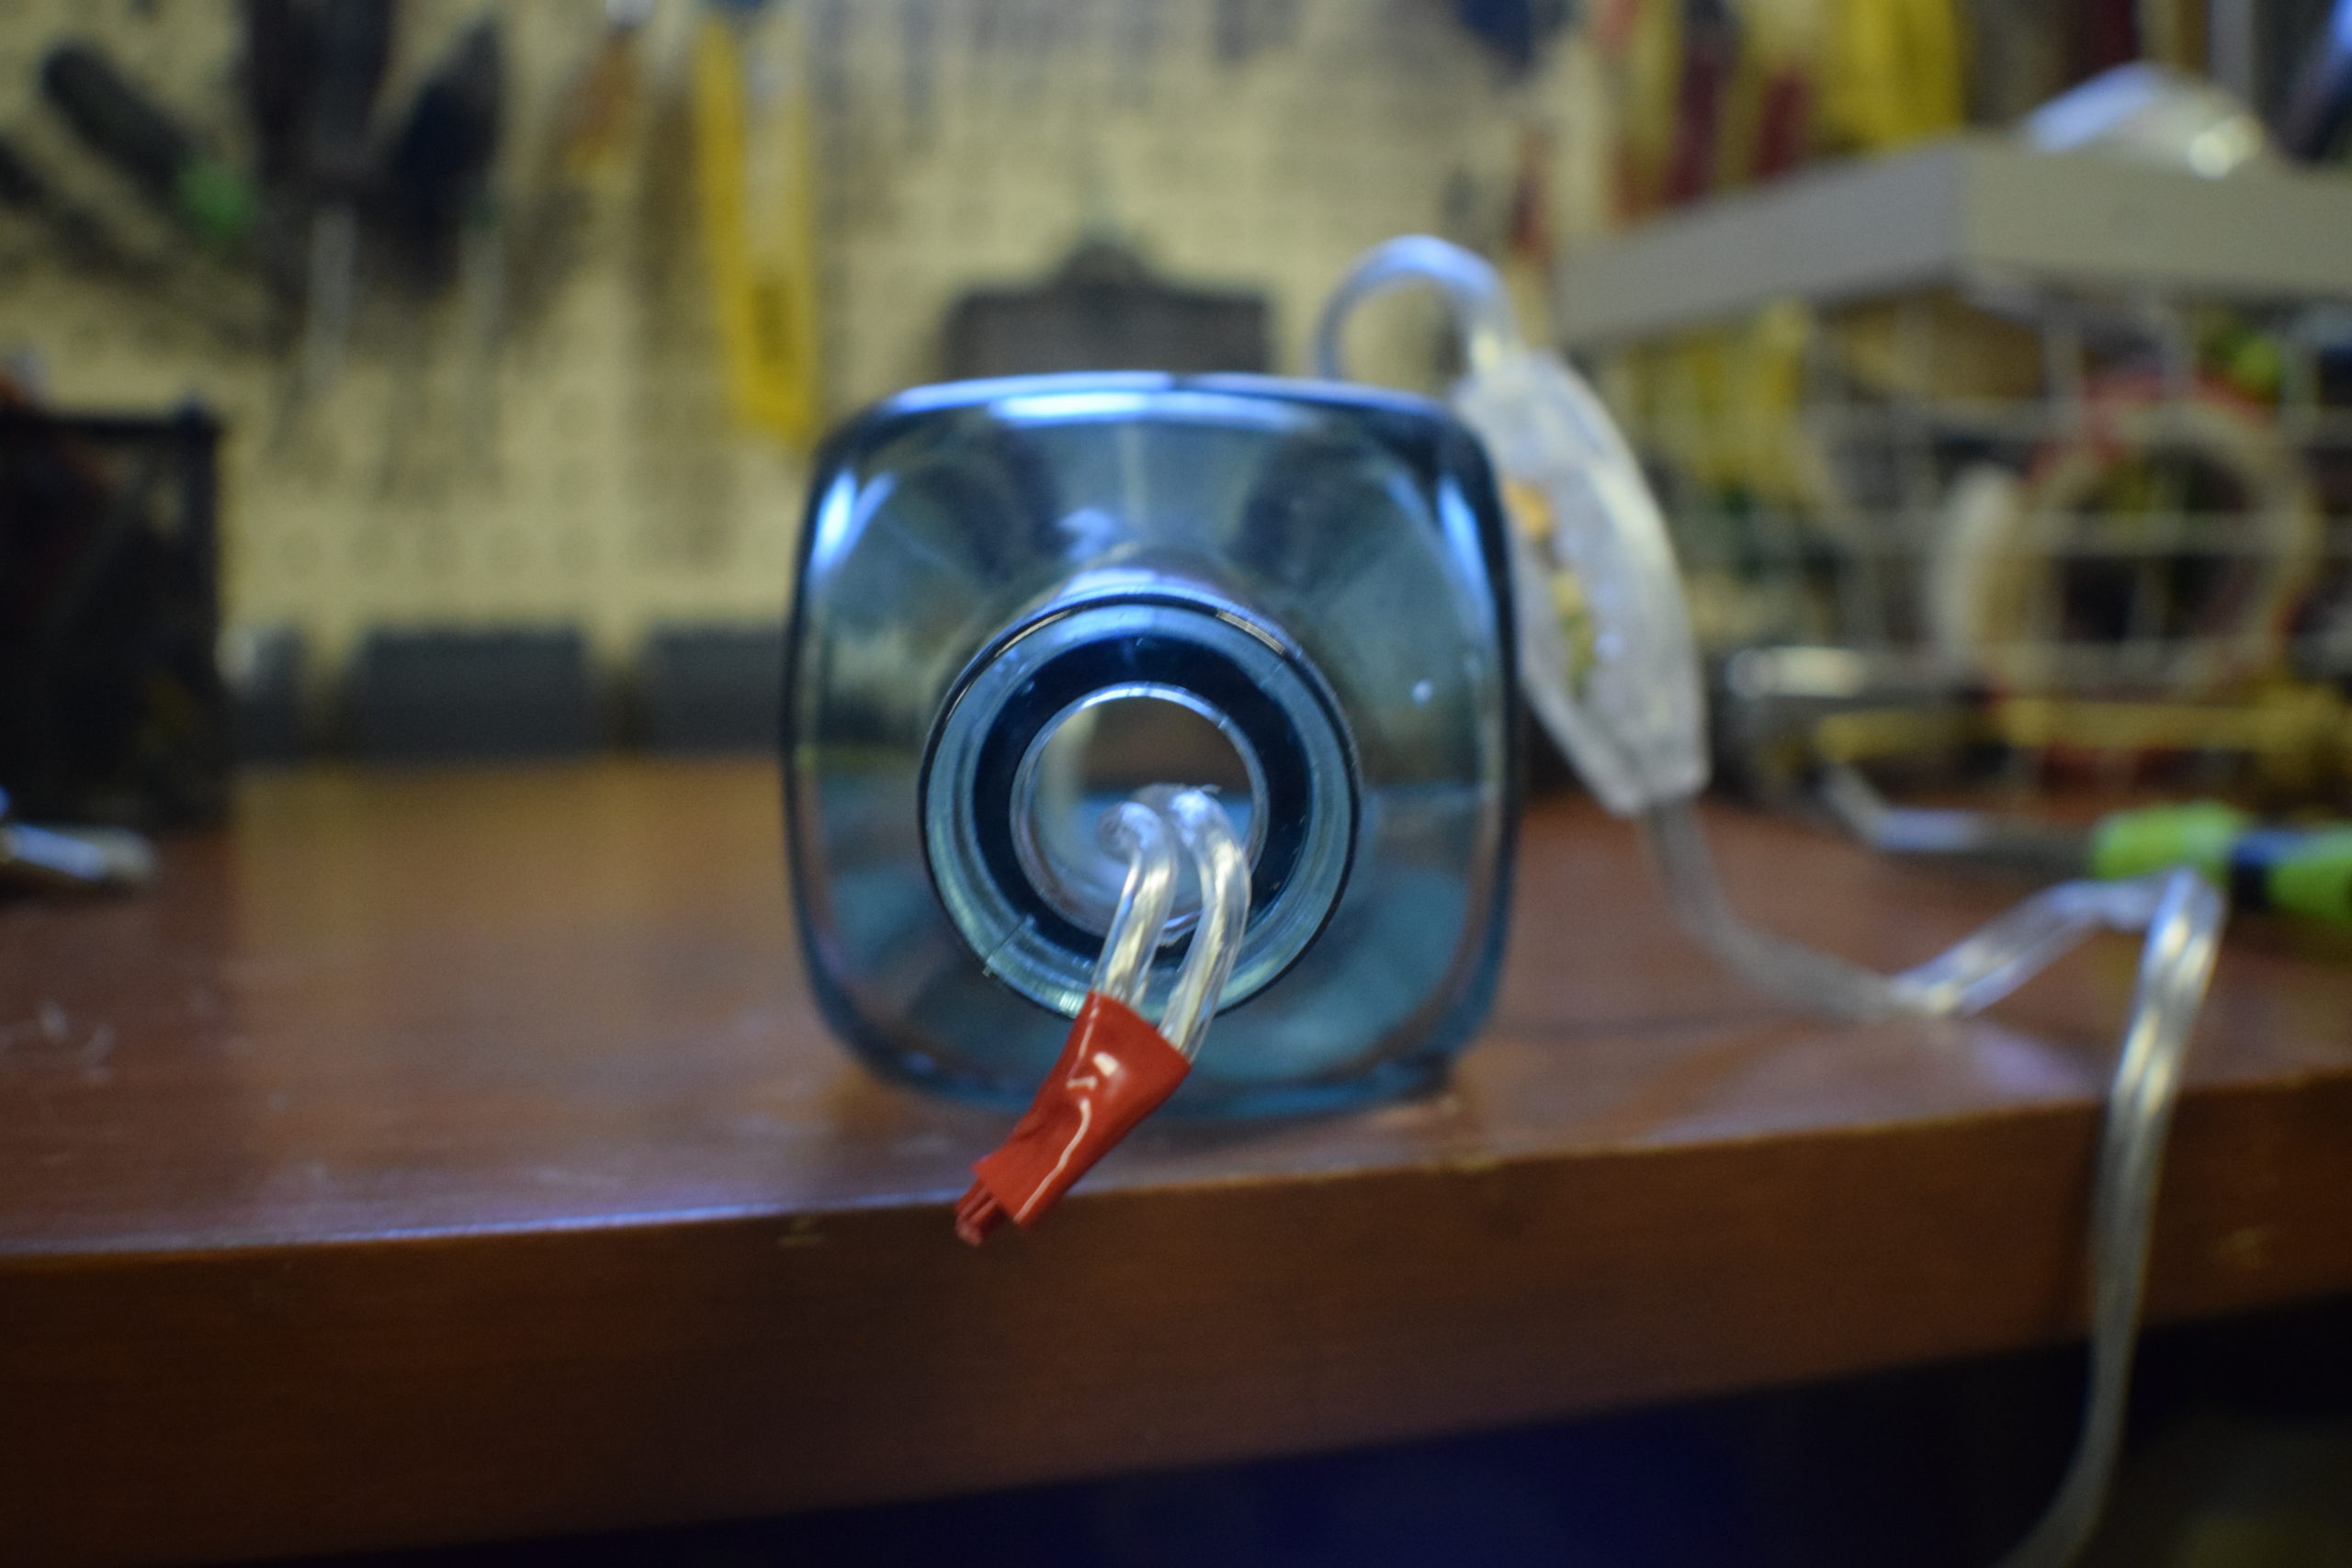
Connect the wires to the socket and secure them to the top of the bottle. Sockets are produced and wired differently around the world. Research your light socket before connecting your wires to avoid electrical shock.
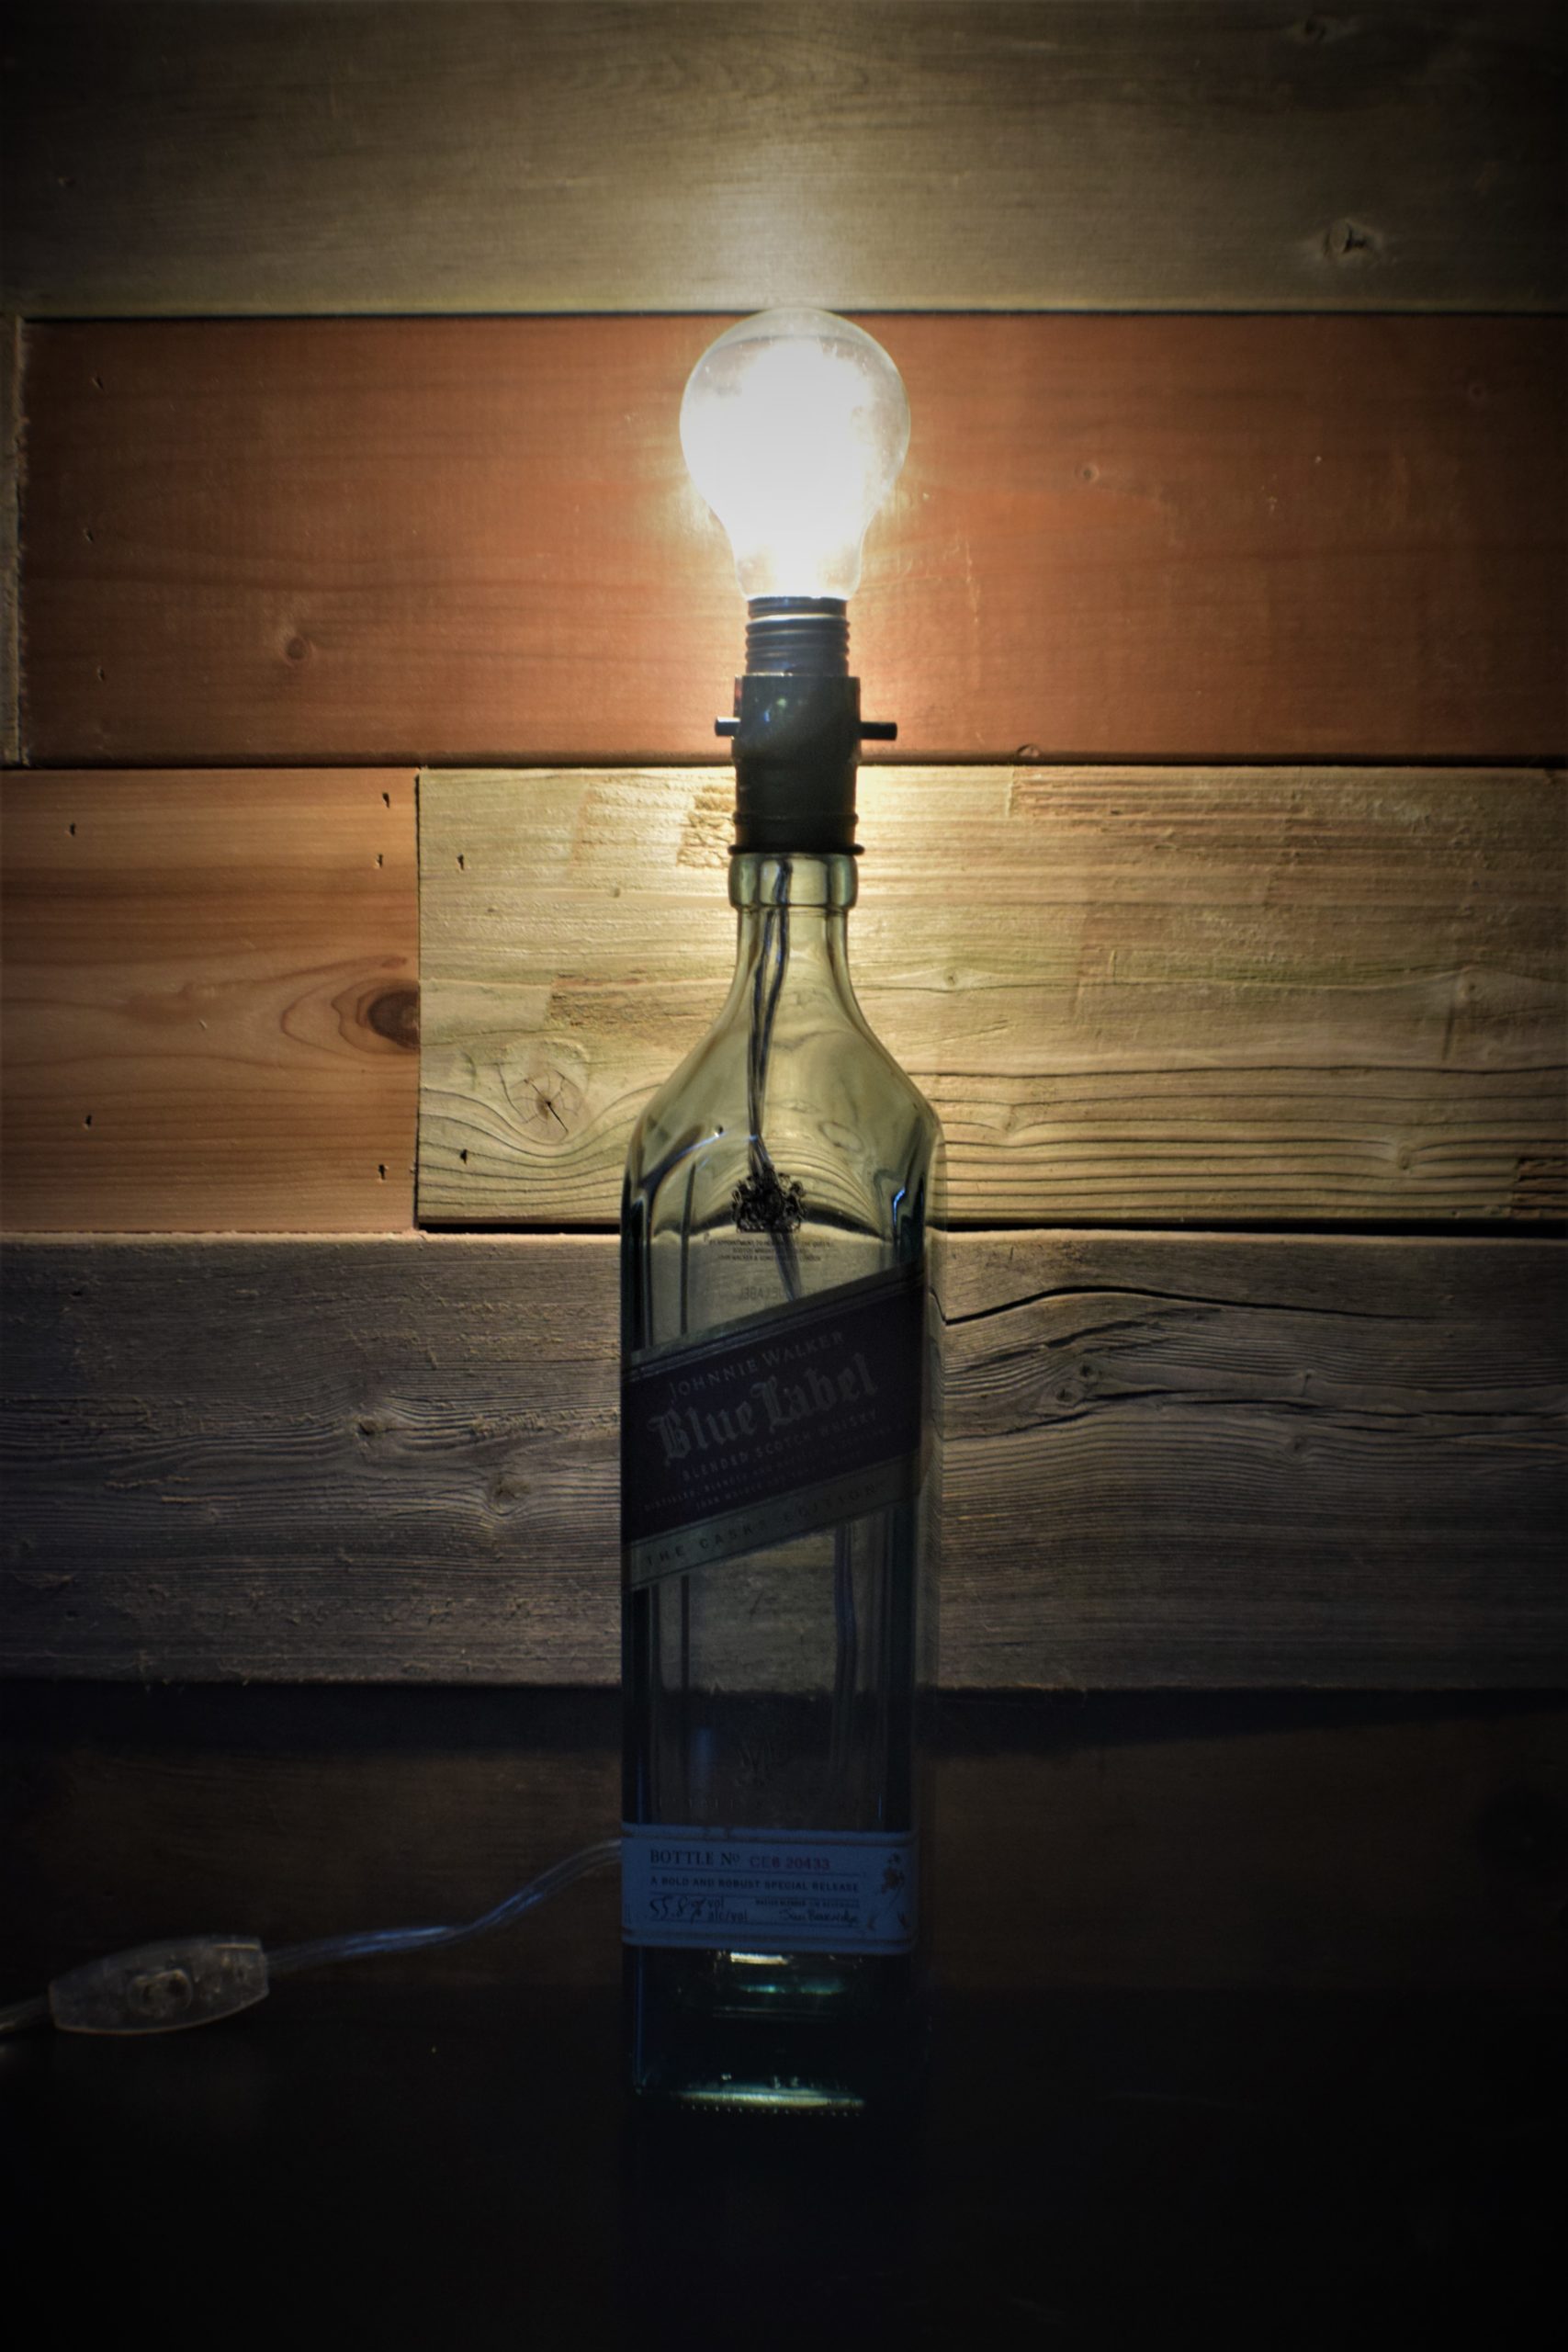
I chose not to use a shade on my lamp. I thought it looked vintage and industrial the way it was, which fit with my area well.
