How to Notch A Tree
It’s a skill perfected in the primordial forests of New England beginning four centuries ago. Knowing how to notch a tree is the key to preventing damage to lumber, to neighboring buildings, and to the logger dropping the tree.
Why notch a tree? So it will fall in a specific direction. You also notch a tree so your handsaw or chainsaw doesn’t get pinched by the falling tree and damaged in the process. Cutting from the backside of an established notch allows you to safely control the entire felling process.
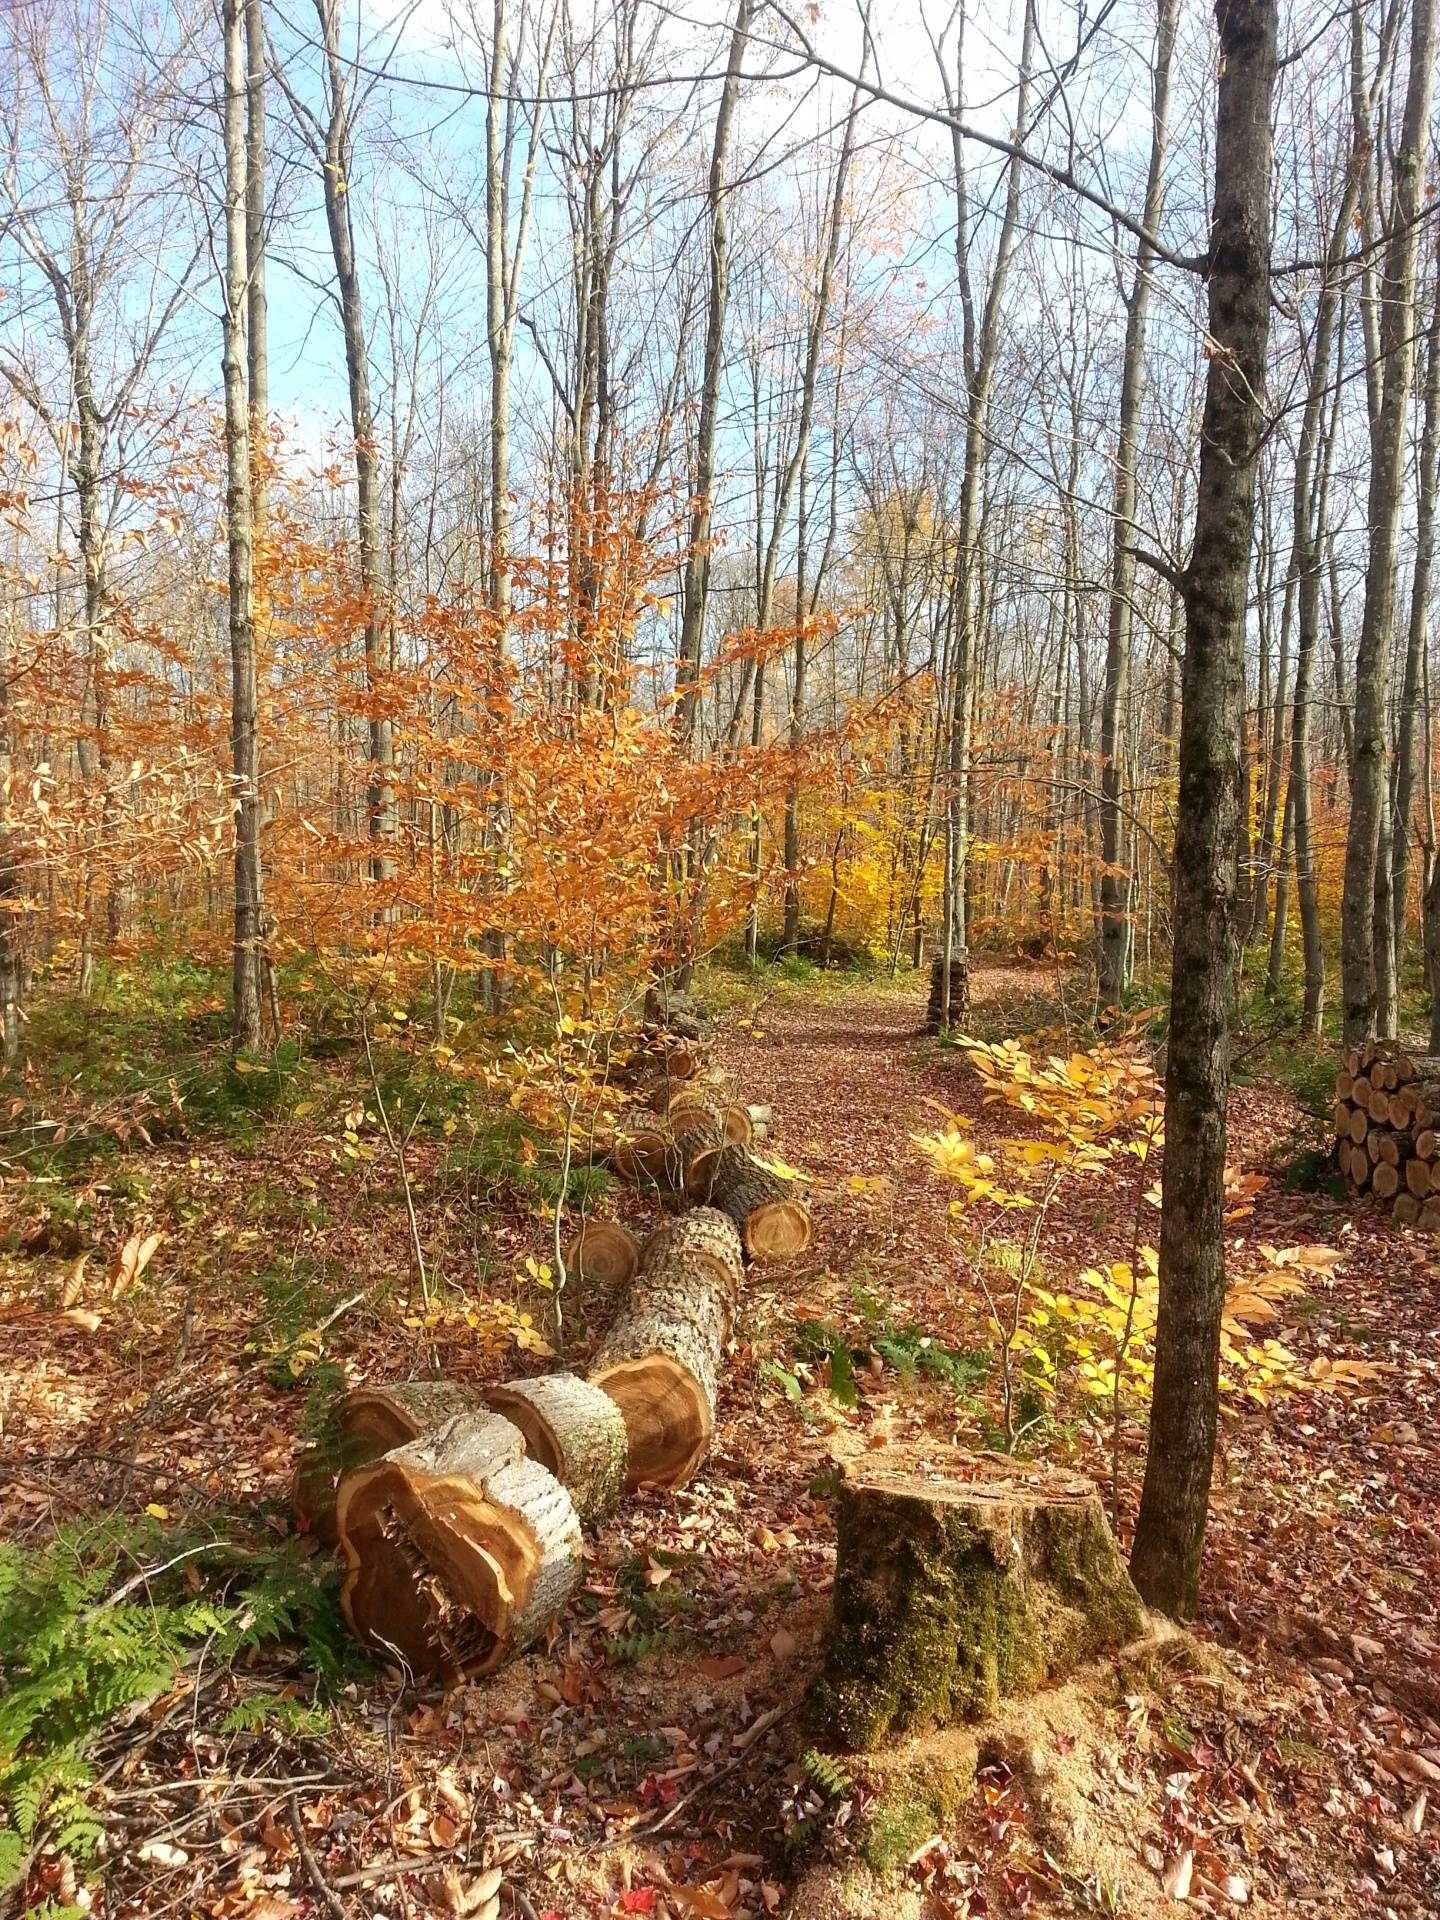
There are multiple ways to notch a tree, but that’s just a small part of the process. Where to place the notch, how deep to cut it, and most importantly where to have the notch directed are the most important elements of the process.
Safety First
The first step is to survey the area prior to making any cut.
If you’re in a forest, look for “leaners.” These are dead or blown over trees that are leaning on neighboring trees. Many loggers have been injured or killed when a tree they dropped hits a leaner, which then hits another and in a domino effect, drops a tree on top of the unsuspecting tree cutter.
If the path is clear you can make a notch.
If you’re near buildings, power lines, or fence lines, you need to calculate how far that tree will reach when it falls, along with the direction it falls in.
An easy method of determining tree height is to measure your shadow, and then measure the shadow of the tree you’re about to cut. If you’re 6-feet tall and have a 9-foot shadow you have a ratio to use with the tree shadow. To make this example easy, if the shadow of the tree is 90 feet, the tree is 60-feet tall. It’s just a ratio/proportion problem
Six over nine = X over 90 – multiply six x 90 then divide by nine = 540/9 = 60
If it’s a tight measurement with less than 10 feet of clearance don’t do it. Trees can jump when they fall, and then bounce further. If a big tree falls forward, then bounces you can damage a car, a home, or anything else it might hit.
Cutting the Notch
Once you have the site surveyed, it’s time to cut the notch.
Check the wind. Even a light breeze can alter the course of a fully leafed tree when it falls.
On small diameter, short, lightweight trees you don’t need to cut a notch, just saw them in half.
On trees with four-inch or larger diameters, a notch is the way to go.
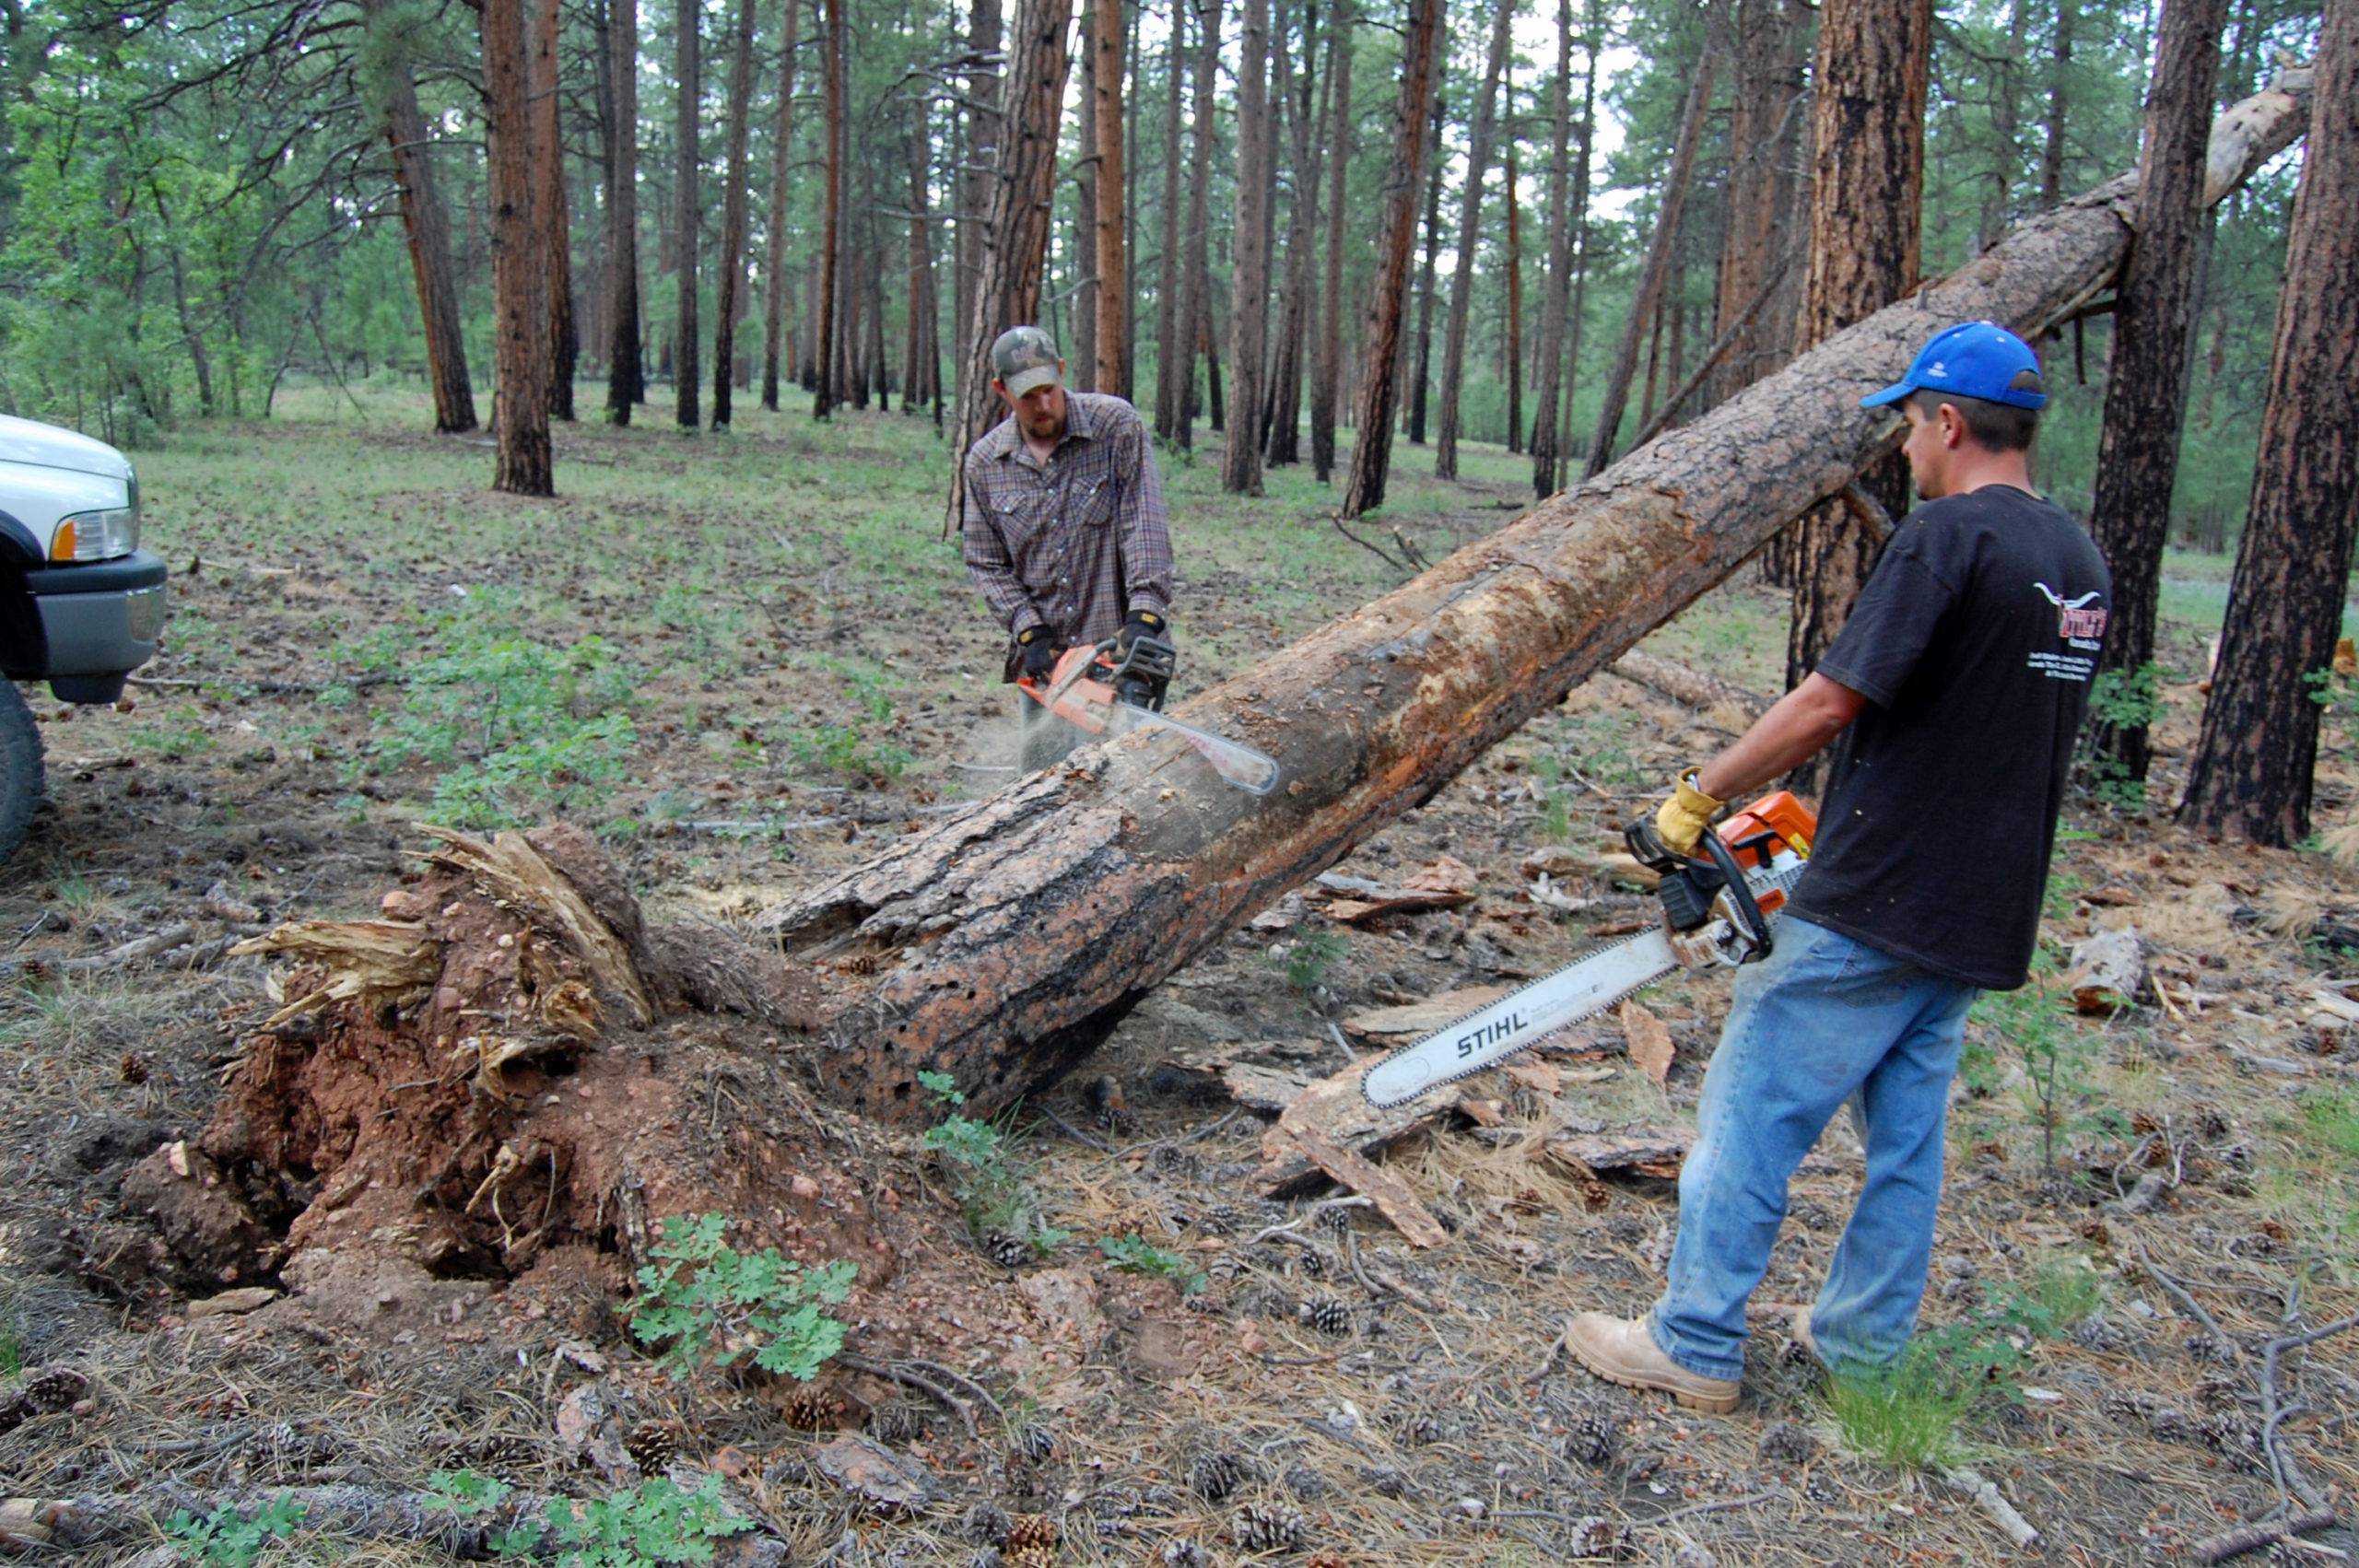
If you’re planning to cut the tree into lumber, you need to notch it as close to the ground as your survey, equipment, and skills allow. The best lumber is in the lower section of the tree and you’ll want to preserve as much of that as you can.
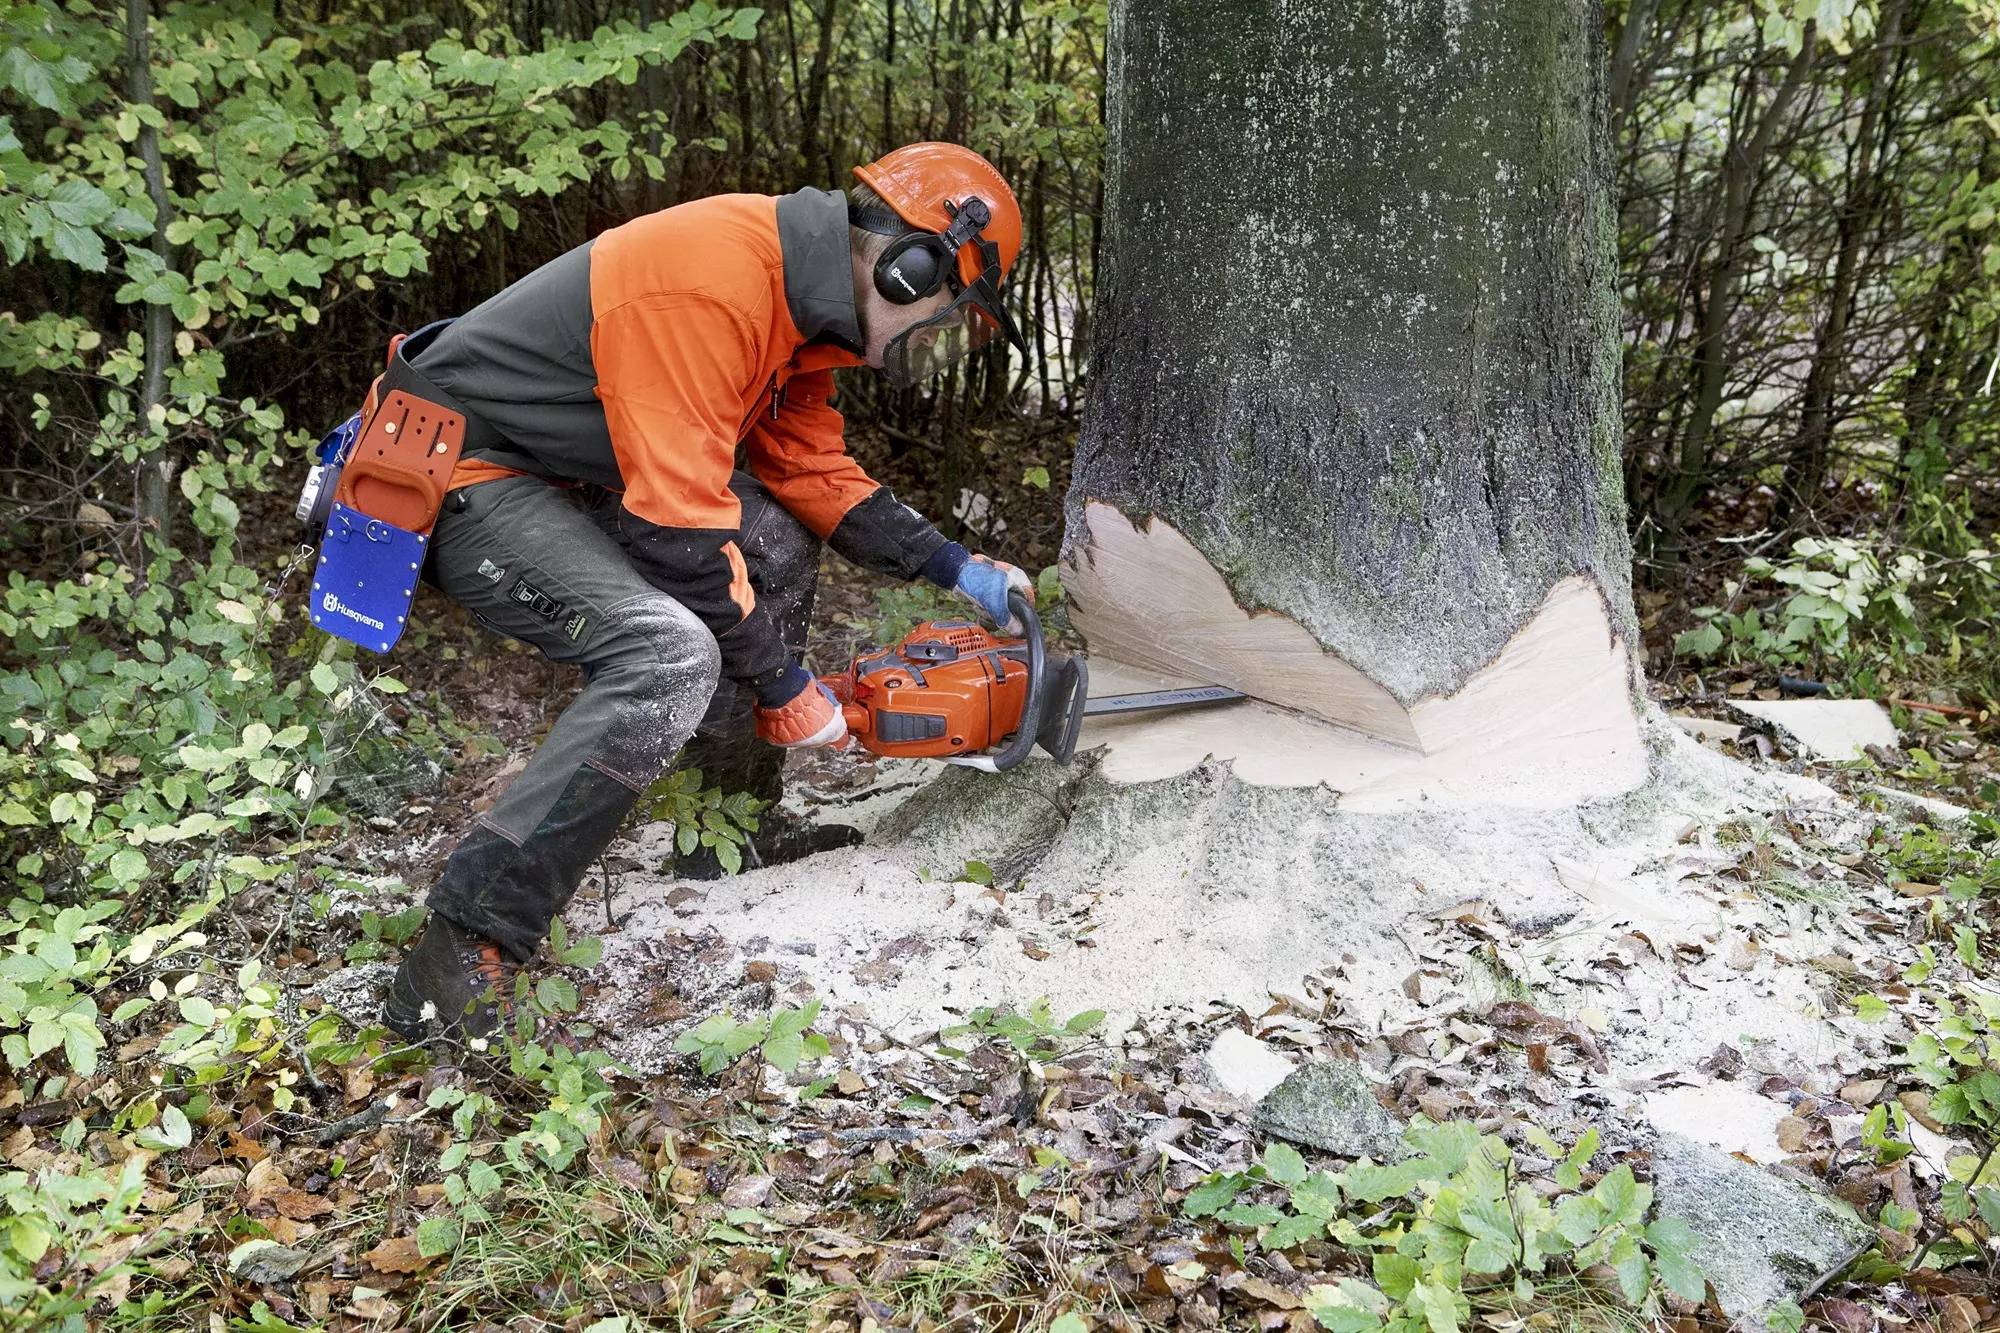
If you just need to remove the tree, cut the notch at a workable level, somewhere between three and five feet above the ground.
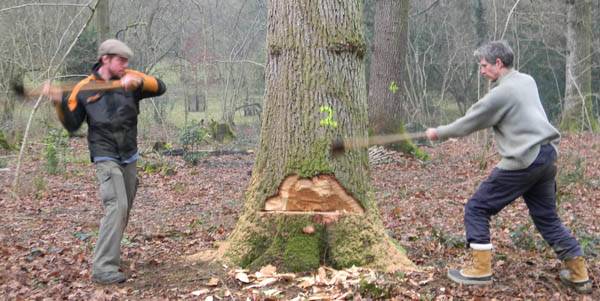
The base of the notch should be parallel to the ground with the upper cut at a 45-degree angle. The notch should extend just past the middle of the tree.
Cutting the notch can be done with an ax, a handsaw, or most often with a chainsaw.
Once the notch is cut, check the wind again.
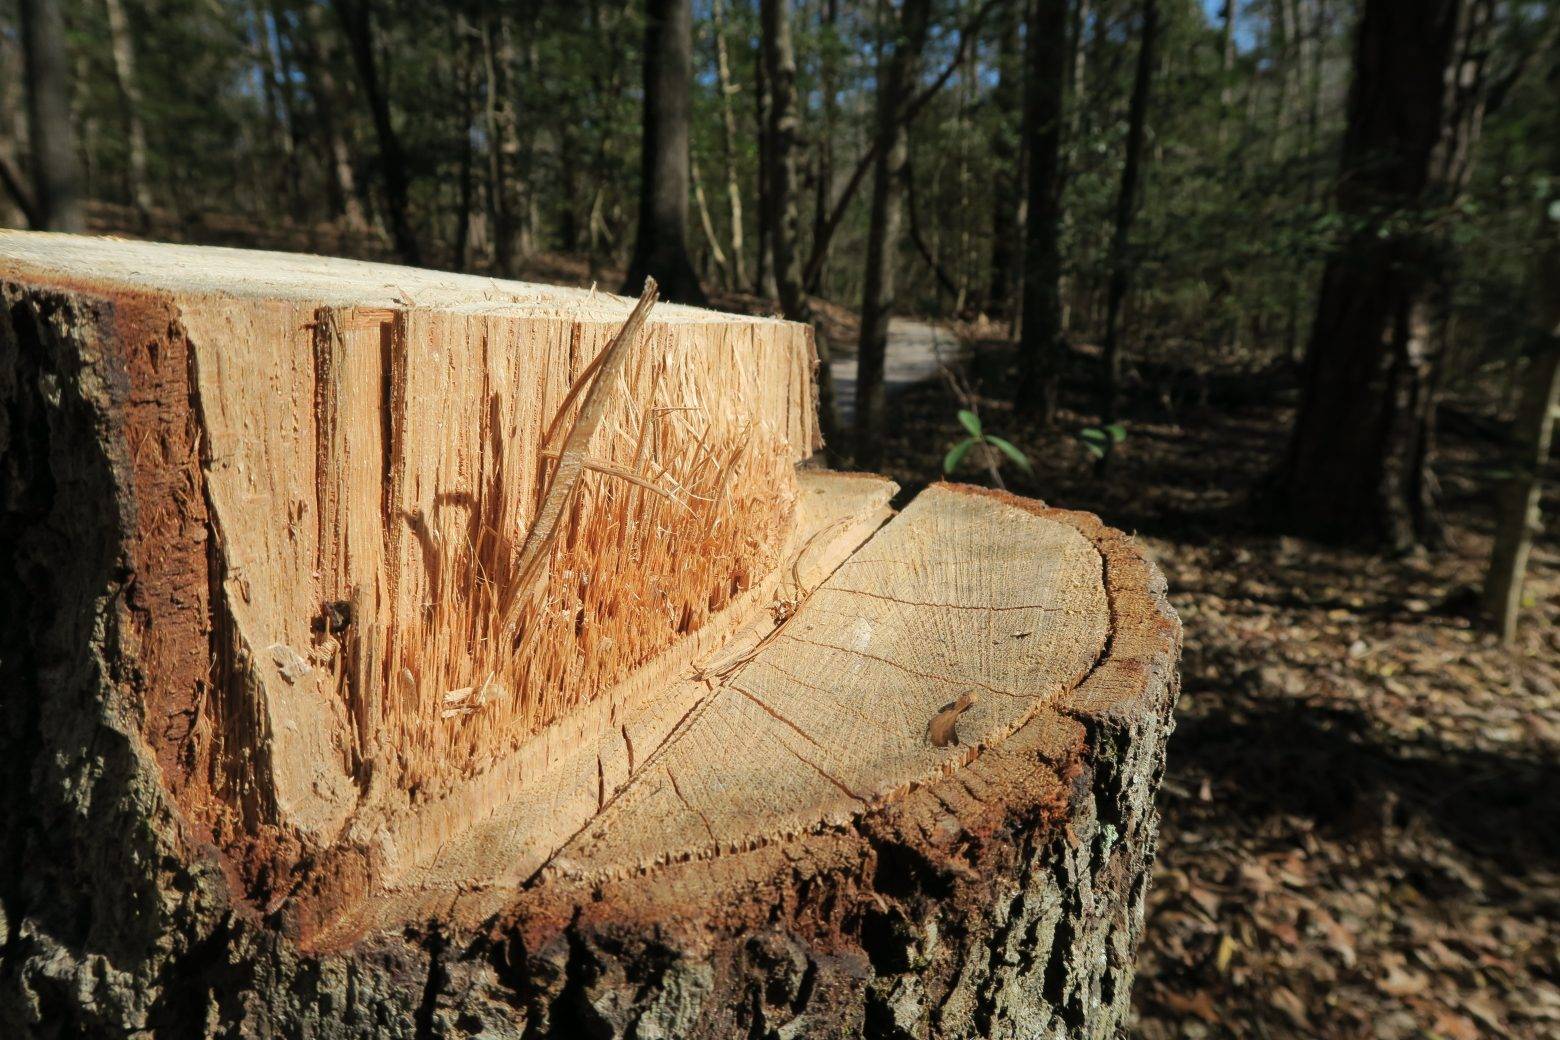
If conditions are calm, cut the backside of the notch at the point where the 45 degree and parallel angles meet.
As the tree begins to lean, keep cutting. Leaving the last few fibers in place can twist the trunk as the tree falls. Cutting through the entire process allows that tree to fall in the direction you planned.
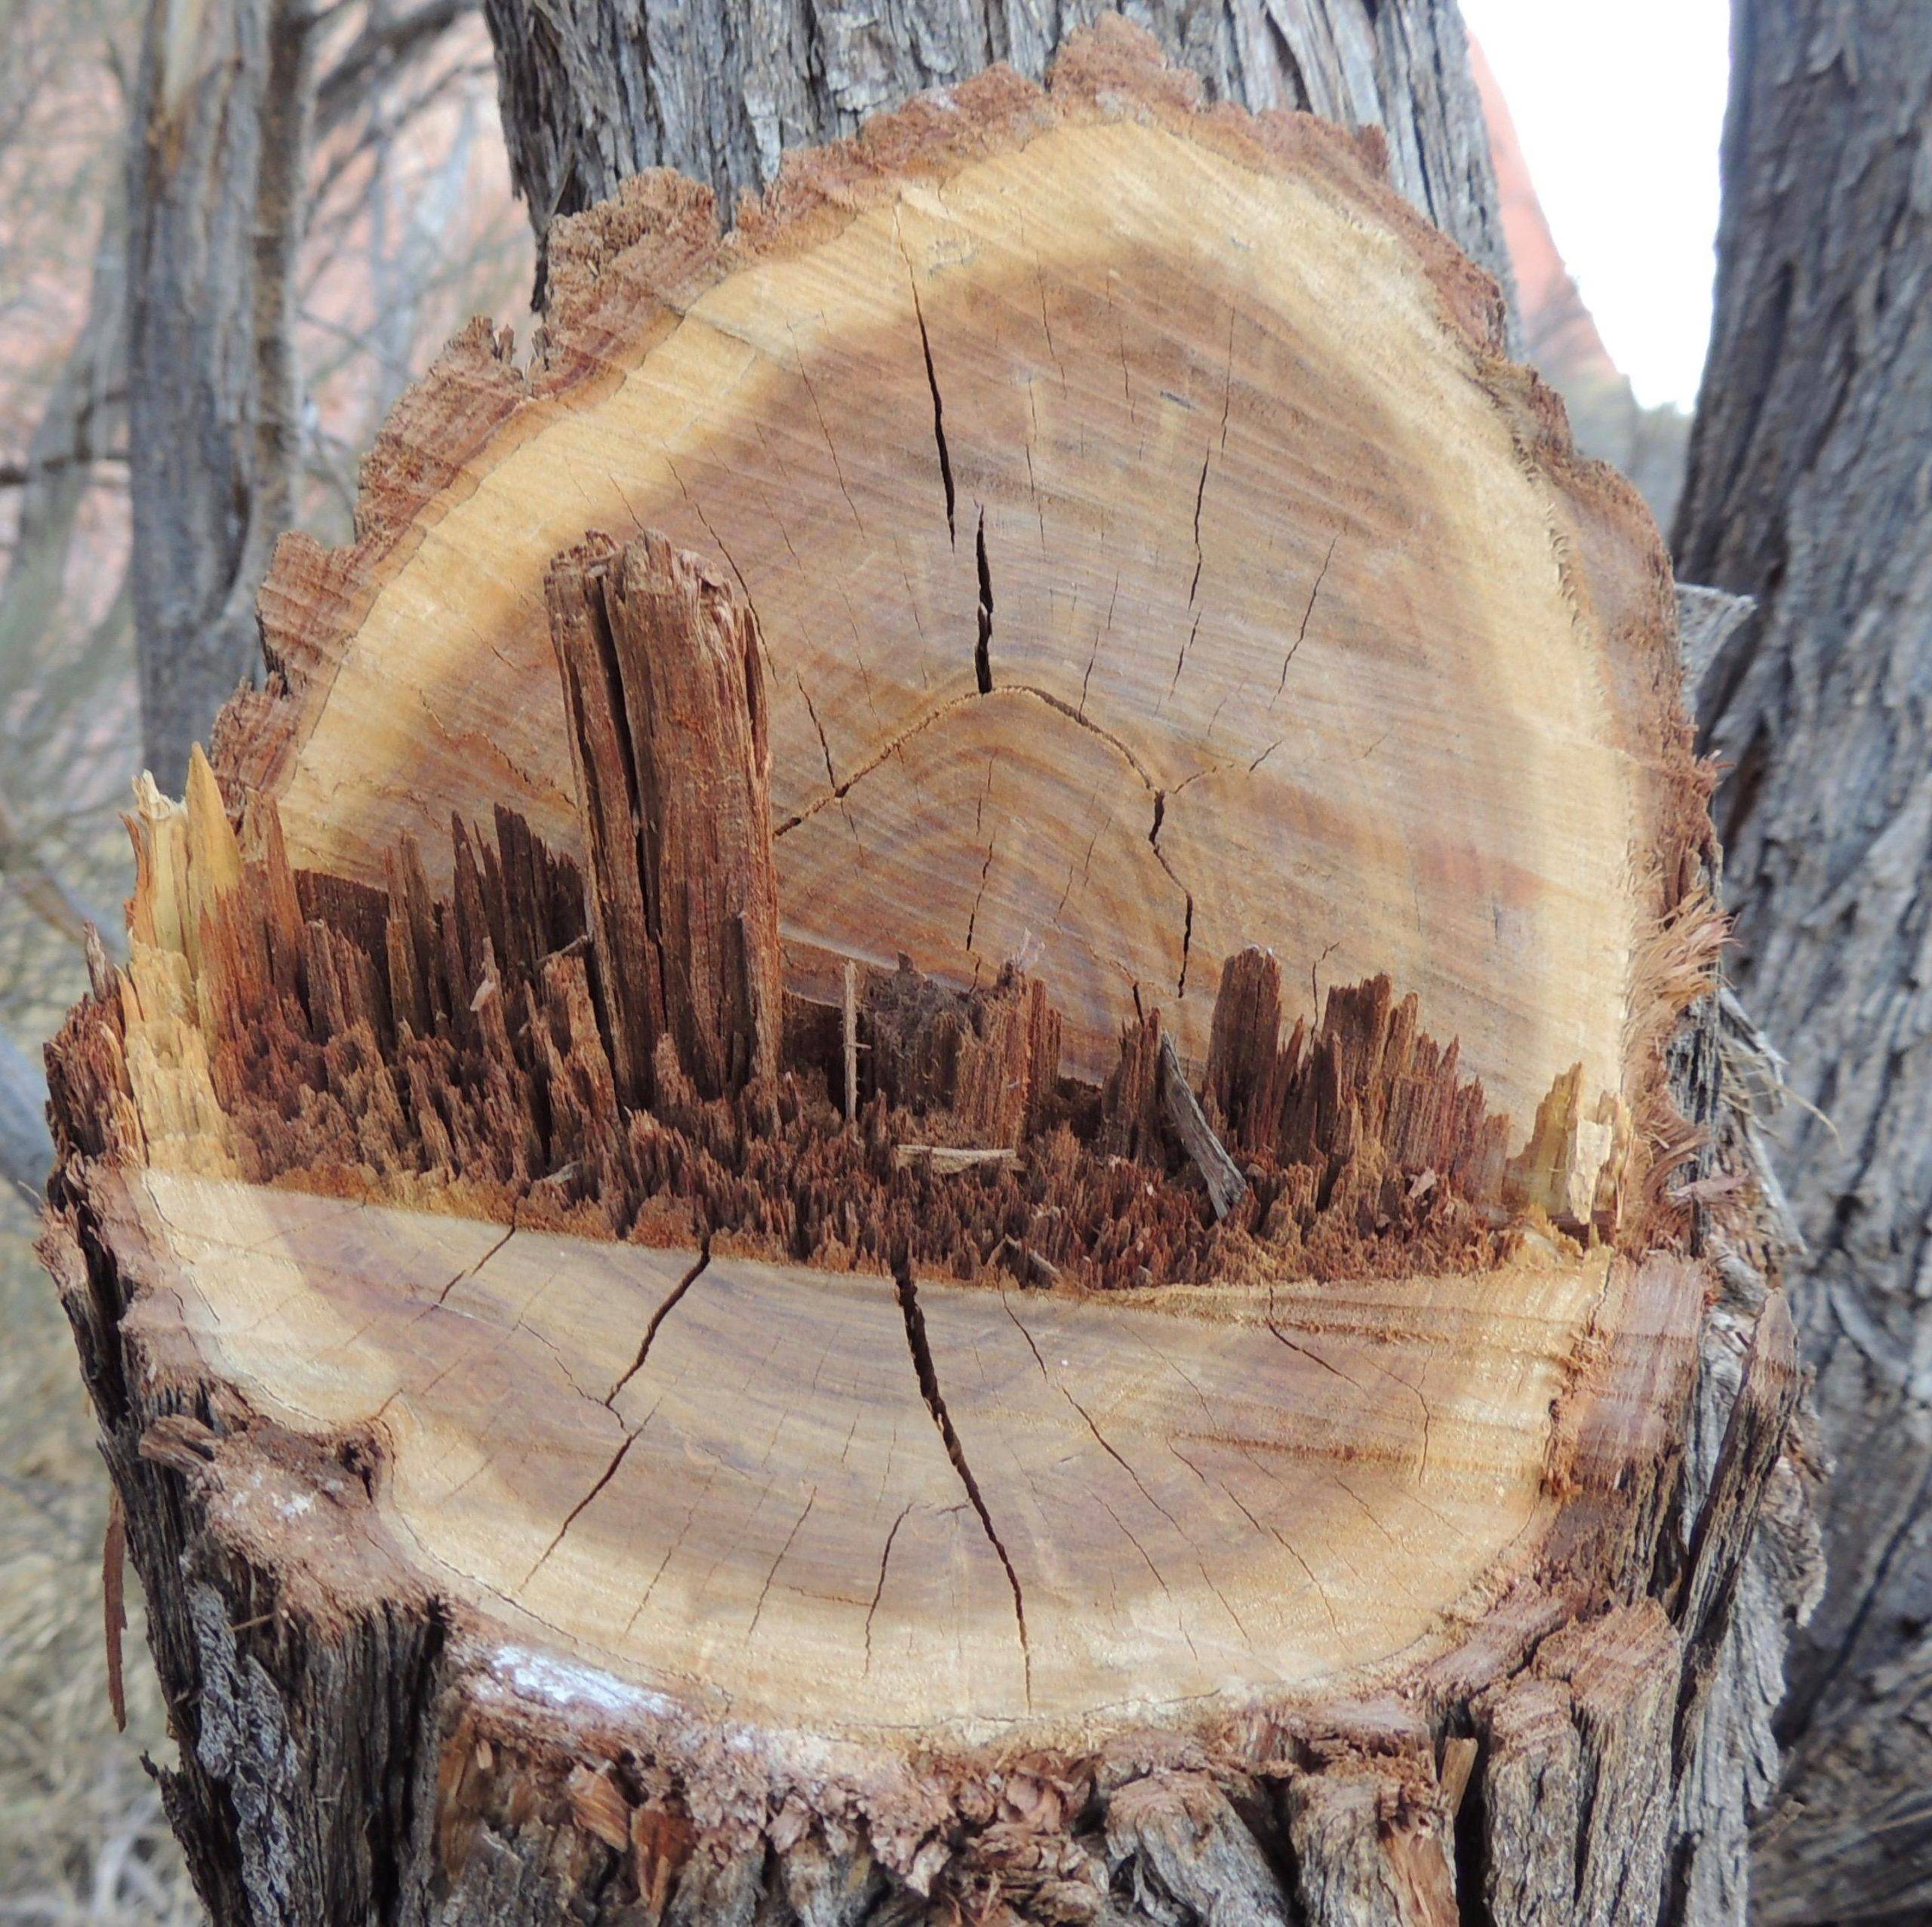
If it’s a low cut, you’re finished. If you notched it a few feet off the ground, you’ll need to cut the remaining trunk at ground level. Unless it’s a monstrous trunk, it should be easy to cut completely through the remaining tree.
If you want it at ground level, dig a trench around the tree before you cut. This allows a path at ground level for your chainsaw while keeping your saw free of rocks and dirt that can dull the blade and plug up the gears.


