How to Paint Concrete [From Preparation to Sealing]
Concrete can make for a durable flooring material whether you are talking outdoors (like a patio) or in a basement space. It can be poured in a way that there are no seams, making for a smooth appearance. Even better, you don’t have to worry about dirt and debris getting into the crevices.
But how do you paint concrete? With the right tools and know-how, you can make your concrete flooring look as you had always pictured. Just make sure that you sand, fill in cracks, and apply a primer. When you are done, you should have a concrete floor that looks precisely as you hoped it would.
How to Paint Concrete
Preparation is key no matter what the task is. As long as you have the right tools for the job, you can get anything done. Painting your concrete flooring is no different. This guide will walk you through what is needed to perform the job correctly and safely.
Tools and Equipment
- Bucket
- Tack cloth
- Power sander
- Degreasing solution
- Concrete patch compound (if necessary)
- Paint roller
- Eye protection or safety goggles
- Acrylic-based masonry/concrete sealer
- Concrete bonding primer and stain blocker
Step 1: Wash the Floor
Before you can begin, you have to properly clean and dry the concrete floors. It is also important to note that, should you see any signs of water seepage, you will have to close off the source of the leak before you can proceed. Covering the point of the leak won’t actually solve your issue and you will have to come back around to repair the issue later.
Make sure that you use a degreasing solution to thoroughly clean the flooring first. This will free any dirt and debris that may be sitting on the surface of the floor. After all, you don’t want the finish of the pain to be interfered with.
When you have finished washing the floor with your degreasing solution, it is imperative that it be totally dry. The next steps will be all the more difficult if you do not thoroughly dry the concrete flooring.
Step 2: Sanding and Vacuuming
This step depends entirely on the condition of the flooring when you begin. If the floor is in top shape, it should be smooth and without cracks. Depending on the age of the concrete, you may have imperfections and cracks that need repairing.

If there is paint or other unevenness across the floor, it should be sanded away. What grit depends on the imperfections and the amount of paint. When you have finished sanding, vacuum up the dust and wipe once more with a wet cloth. This should ensure that all of the dust from sanding has been removed.
Step 3: Filling in the Holes and Cracks
Again, depending on the age of the concrete slab in question, there may be imperfections to contend with. You could just paint over them but it won’t fix the issue and you will still have cracks or holes, just with a different finish.
You can generally find a concrete patch compound for relatively cheap. Make sure that you follow the directions on the package as each manufacturer may have different mixing and drying directions for their product.
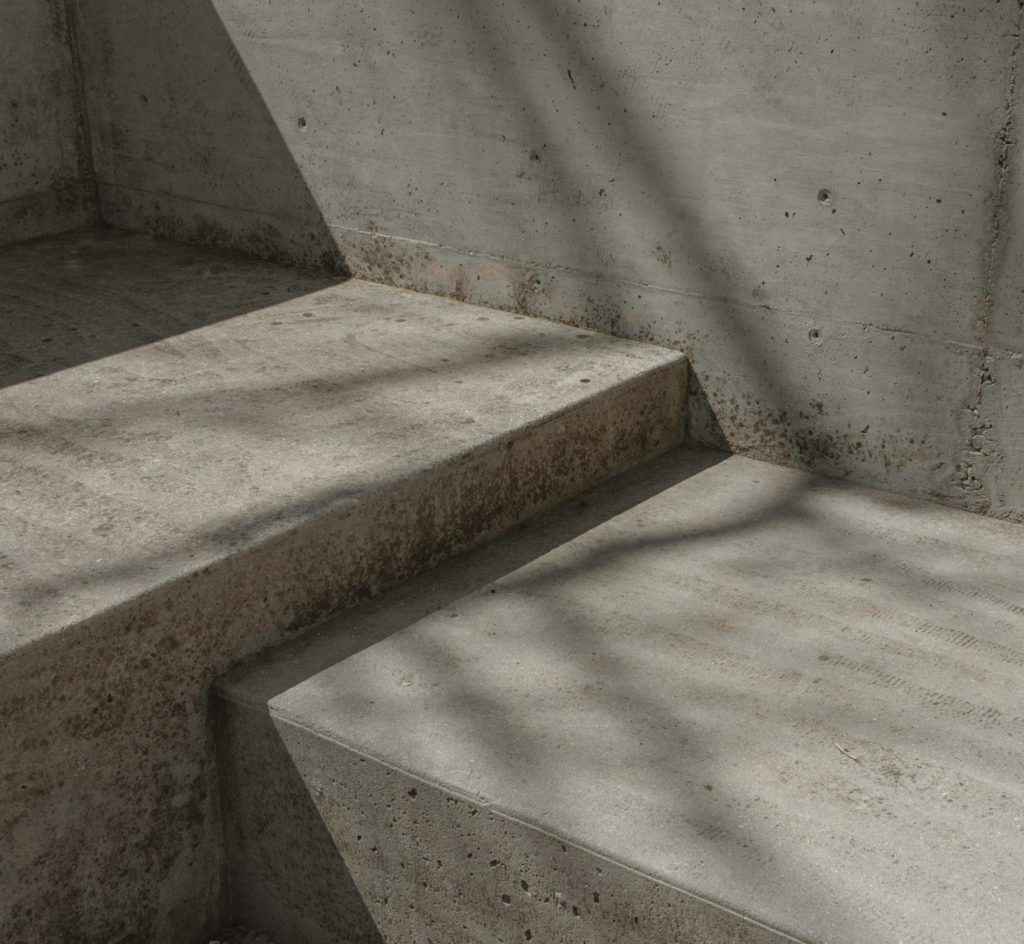
Smooth over the problem areas until covered. Use a trowel to push out any of the depressions that can occur from spreading concrete mix. Finally, make sure that you give it ample time to dry before moving onto the next step.
Should you find that there are imperfections or uneven areas after applying the concrete mix, you will have to go back and repeat the process. Sand the areas until they are smooth and level, then reapply the concrete mix if necessary.
Step 4: Apply Primer and Paint
Only when you are certain that the cracks, holes, and other imperfections have been dealt with should you move on to this step. Painting over those imperfections can impact the quality of your finished product.
Use a paint roller as you can cover a much wider area than you would with a brush. Apply a coat of primer, allowing it to dry according to label specifications. Only after the first coat has completely dried should you apply a secondary coat. Again, allow that to dry.
Finish this step by using epoxy paint to cover. You can use a clean paint roller (don’t use it if it still has primer on it) or a paint compressor. Like the primer, make sure that you apply two coats of paint, allowing for time to dry between.
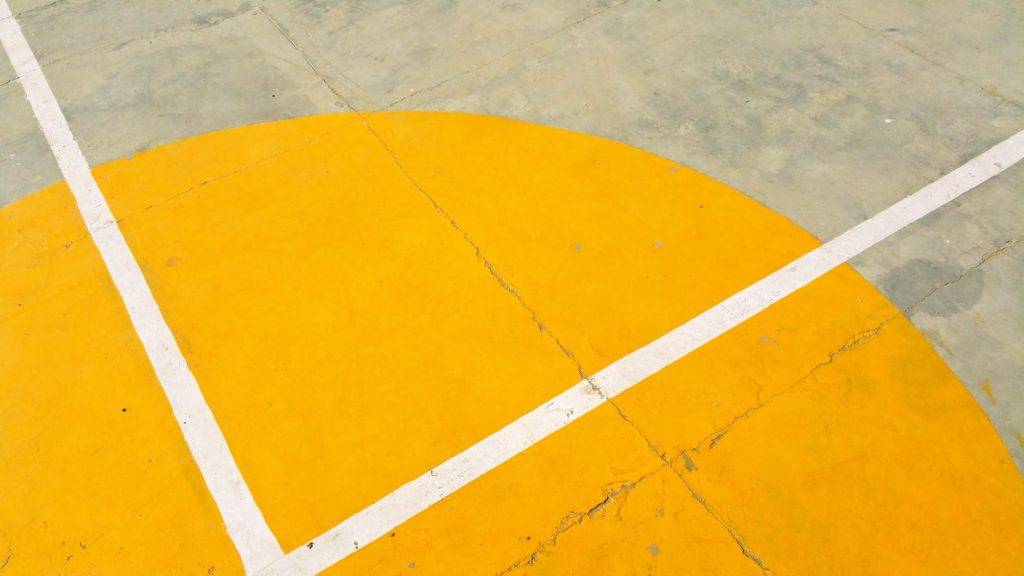
It is imperative that you allow the paint to dry according to manufacturer directions. Failing to do so can result in an uneven finish that will need to be touched up again at the end of the day.
Step 5: Reassess
In most cases, your paint job will be anything but perfect and that is okay. There will likely be spots where bumps were left from the paint or perhaps you missed imperfections in the flooring the first time around.
Go over those areas with your sandpaper, making sure that they are neat and even. It might be overkill but it is the only way to create totally even flooring. When you are finished, wipe away the drywall dust with a damp rag and then reapply the paint.
It can take more than a few passes to get your concrete flooring truly smooth and even. It all depends on how granular you want to get; not everyone cares about minor imperfections in the finish of their flooring.
Step 6: Apply a Masonry Sealer
This part is crucial and you should not, under any circumstances, skip this step. Your flooring needs an additional layer of protection, especially if it is located in a basement. Moisture that seeps into the concrete over time can eventually degrade it.
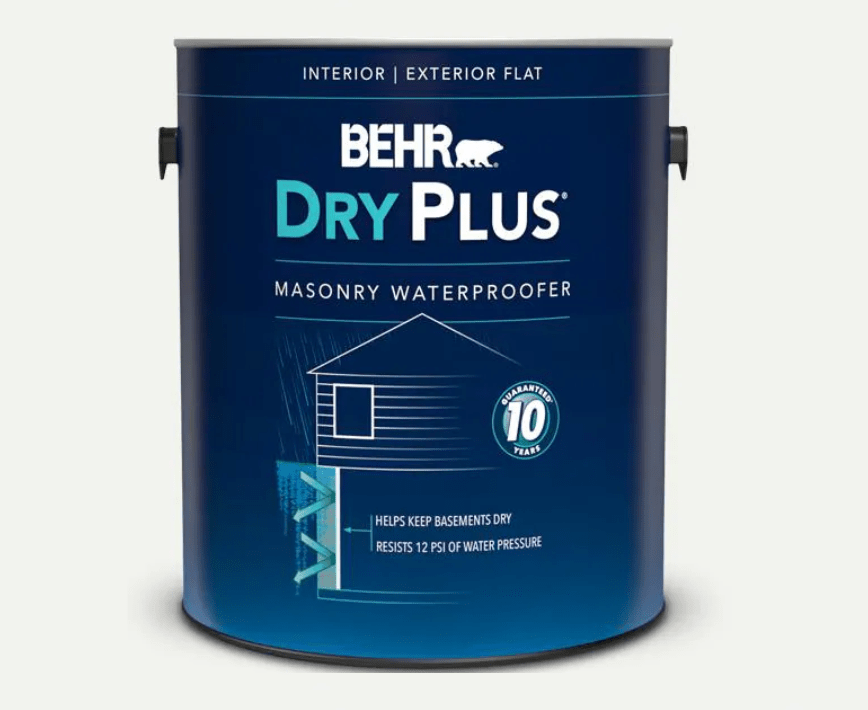
When finished, your flooring will have an extra layer of protection from moisture. In the event of flooding or any other excessive moisture, your floors will stand up to the test. That saves you from potentially having to repaint the floor or even replace it entirely.
How To Choose The Right Paint for Concrete
You may be wondering just what kind of paint to use for your concrete, whether it is walls or flooring. You can technically use any kind of paint on concrete, though there is a caveat. Some will adhere better to certain concrete surfaces than others.
If you choose any old latex paint, you run the risk of it not properly adhering to the concrete surface you are painting. That means having to apply more coats than necessary or the paint simply fading or peeling before it usually would.
Concrete Walls
When it comes to concrete walls, you can get a little more diverse. Ordinary latex paint should be best for interior concrete walls. You can use a satin or eggshell latex where those interior walls aren’t exposed to a ton of duress.
Latex paint is fine for concrete walls that are in workrooms, weight rooms, or in a kid’s playroom. Though you would probably want to go with something of a semi-gloss in situations like those as they are better at resisting stains. For painting exterior walls or concrete fences, acrylic would be a better choice. They hold up much better to harsh weather and ultraviolet light.
Concrete Floors
Stop to think about the amount of stress that concrete surfaces face. The walls will obviously not see as much duress as, say, flooring. So, whatever paint you choose, it has to have a durable finish to hold up to foot traffic.
Acrylic floor paint is the best for interior concrete flooring. You would want something like a hard, two-part epoxy for weight rooms, garage floors, or any other concrete flooring where you would want to avoid nicks, dings, scratches, and stains.
Patios and Walkways
These areas will be different from other types of concrete flooring in that they won’t see quite the level of wear and tear as the former. Still, you would want to go with acrylic paint for any exterior flooring like porches, walkways or patios.
The difference here is that the coating from this specific paint has both strong resistance to UV and extreme weather conditions. Moreover, it offers good durability, perfect for standing up to foot traffic. Using an acrylic paint that is not rated for outdoor use won’t work. It will eventually wear away due to constant exposure to the sun and the elements. Save yourself the trouble by getting an outdoor-rated acrylic.


