How To Paint Tile Correctly
New tile can be pretty costly, but many opt to switch outdated tile for something new and modern to update their home value and aesthetic appearance, but it’s not always in the budget. Painting tile backsplashes is a more cost-effective way to update your home without demoing your kitchen or bathroom. Whether you’re buying time until you can afford a renovation, want a temporary makeover, or are just sick and tired of your outdated tile, you can paint it. If you have decided to go down the DIY road and want to paint your tile, it’s not as easy as just getting out the brush and any old can of paint.
Before You Begin
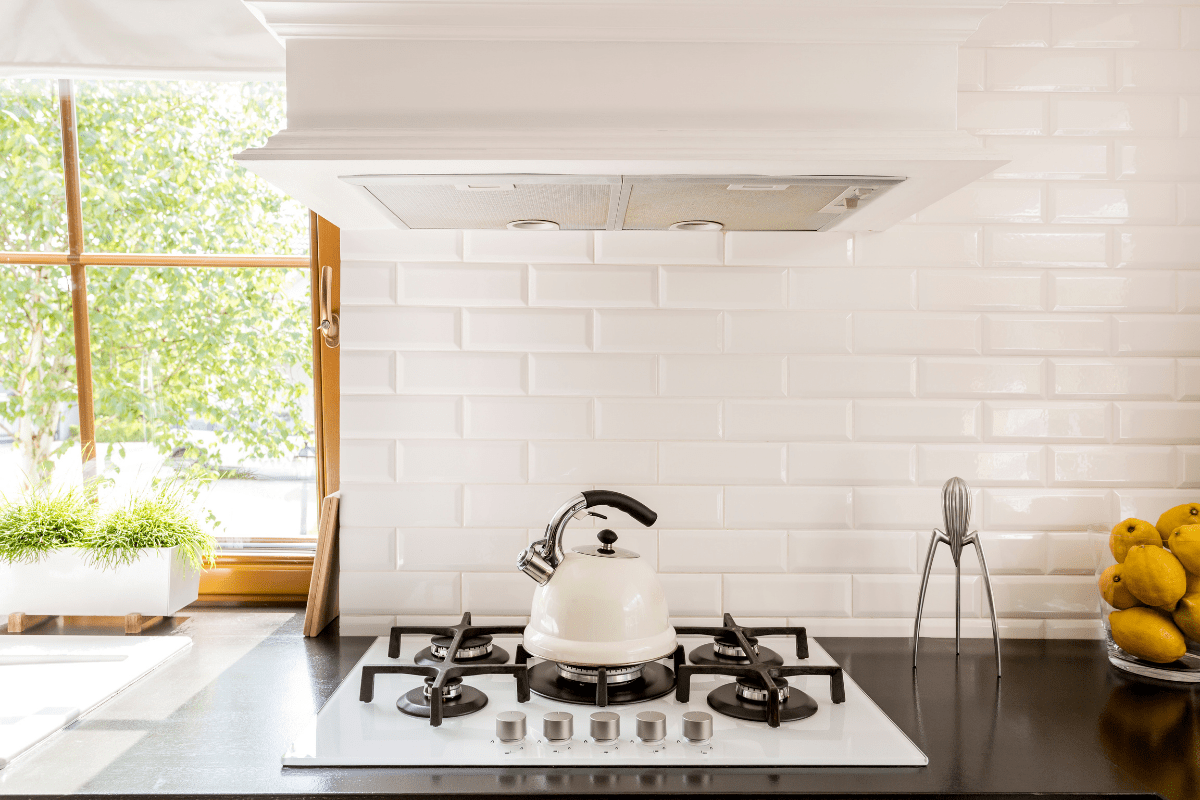
The whole purpose of tile is to protect your walls and repel everything from dirt, oil, water, and even paint. So it’s for this reason, that most tiles have a high sheen or gloss to them, which makes them very hard to paint. Very hard, yes, but not impossible. You need to make sure you take the proper steps and have the right products. If you want a stable, professional-looking paint job on your tile, here are some things you should know:
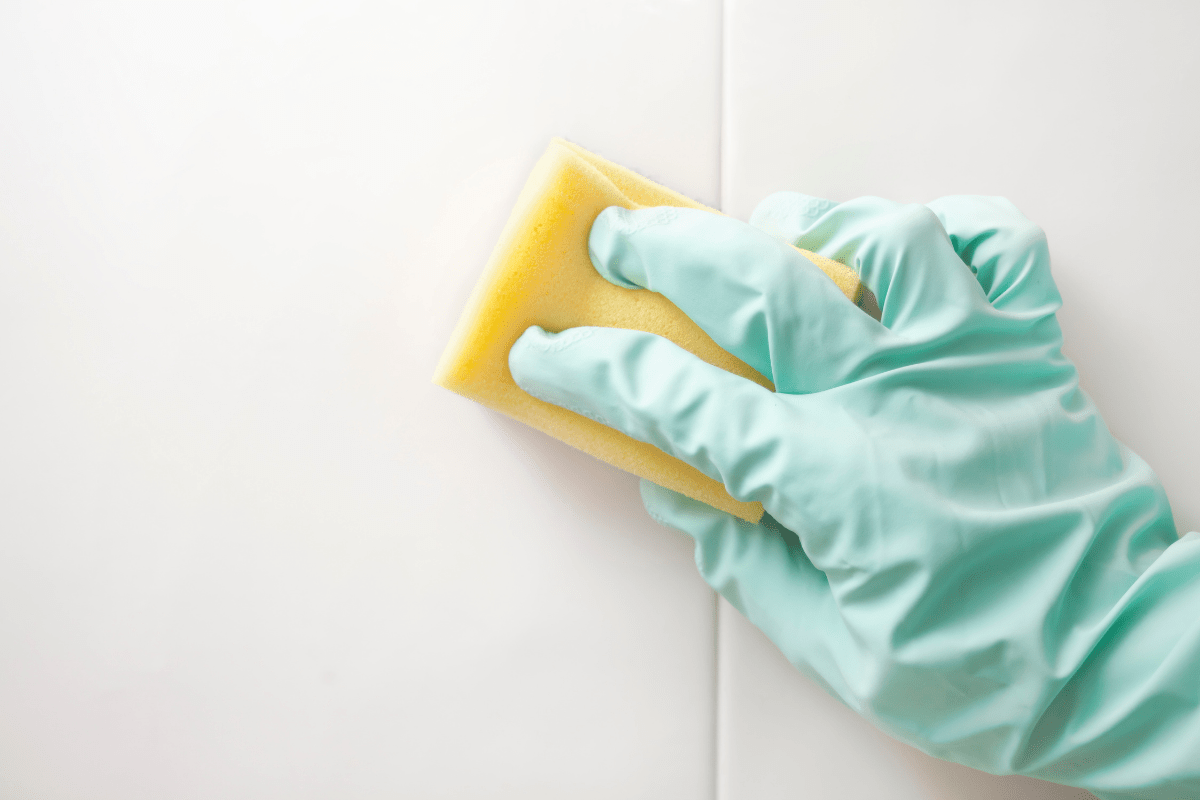
Clean your tile thoroughly: Make sure the entire surface of your tiles is clean and dry before beginning. If there are any residues or scum left on your tile, it will show through the paint. Grease and fingerprints also make painting a challenge. You also want to make sure that you clean well along where the tile meets the countertops or floor (depending on how large your backsplash is) and anything else that buts up against the tile. If there is any dirt or dust along the edges, you will drag it into your paint with your brush or roller. If you have a high-powered vacuum, you can go over the tile with that and along edges and cracks.
Sand your tile: Before painting, you want to use a minimum of 100-grit sandpaper to sand down the tile. You can use your hand or a machine to sand down the tile. You want to sand down the gloss so that the paint can stick better. Glossy surfaces shed paint easier, so this is a crucial step not to skip. After sanding, you will need to come in again and make sure you clean your tile and remove the dust.
Choosing the Right Paint
With so many different paints, it can be challenging to make sure you get the right one for your project, and product selection is key to any successful DIY project. There’s always a suitable tool for the right job, and can you get away with using other tools and products? Sure, you can, but it makes the job easier when you have the right one, and the outcome is always better and longer-lasting.
You can use epoxy paints, epoxy enamel paints, latex paint, and acrylic latex paint when painting tile.
Epoxy Paint: This is the best paint to use and is far superior to other types of paint. Its primary purpose is to stick to tiles. It is washable and highly durable. A market example is XIM Tile Doc from Rustoleum. You can get this paint in a brush or an aerosol format. This formula is listed as DL Laboratories’ “Undisputed Durability Champ.” If you opt for the brush on formula over the aerosol version, it can be tinted with up to 2 ounces of universal colorant per gallon.
Latex or enamel paint: While epoxy paint is the superior option, you can use latex or enamel paints, provided you go over the tile with a high-quality primer. A high adhesion primer such as KILZ Adhesion Interior/Exterior Primer or Zinsser Bulls Eye 1-2-3 Plus primer are most popular.
There are also latex and enamel paints on the market that already includes primer in the paint; Aura Bath and Spa Paint from Benjamin Moore has paint and primer in one. However, it is still advised to prime your tile beforehand with a high adhesion primer for best results. Benjamin Moore offers INSL-X STIX as a primer that works well with their paint line.
Supplies Required
Don’t come into your tile painting project unprepared because you can’t stop once you start. Having everything ready and easily attainable will make your tile painting job easier and faster.
| Tools | Materials |
|
|
|
|
|
|
|
|
|
|
|
|
|
|
|
|
|
|
|
|
|
Step-By-Step Instructions For Painting Tile
Clean the Tile
Using a clean bucket, fill it with warm water and add in TSP cleaner or a similar grade cleaner. Be sure to wear gloves, and then using a scouring pad sponge, wipe down the tile starting at the top and working down. Carefully inspect the tile to ensure that all grease and grim have been cleaned off.
If the tile is filthy, change out your bucket of warm water and TSP a few times and repeat. Make sure the tiles are completely dry before continuing to the next step.
Repair Any Cracks or Chips
Scrutinize the tile to ensure there are no cracks or chips. Tile is very durable and is known to hold up very well, but it can crack and chip, so it’s essential to repair these chips before painting as they will show through the paint.
Fill in any chips or cracks with a putty knife and caulk. Do not over-apply the caulk, as this will mean more sanding in the next step. Apply a small amount of caulk with your gloved finger into the crack or chip, then smooth over with your putty knife.
For larger imperfections, use an exterior-grade waterproof spackle. Same as done with the caulk, apply the spackle into the defect and then use a putty knife to scrape excess, making it level with the tile surface.
Repair Grout
When painting tile, the grout is also painted, so you want to make sure that the grout is clean and in good condition. If there are any defects in the grout, use a small amount of tile grout to repair them. Use a small amount of tile grout and apply with a gloved finger. Smooth over any cracks or defects.
If there are more significant defects, a more extensive repair will be required, which involves removing the grout and repairing. If most of the grout is in bad shape, painting the tile may not be the best option, and replacing the tile altogether may be necessary.
Sanding
As mentioned earlier, tiles have a high sheen or gloss to them, so in this step, that has to be removed for optimal adhesion for the paint. Using a minimum of 100-grit sandpaper, hand-sand or use an orbital sander for sanding down all the tiles. Be careful not to sand below the glazing; you want to remove the glaze, not scratch or mark the tile.
Once sanding is done, clean and remove all debris from the sanding with warm water and a clean cloth. Clean once more with a tack cloth.
Tip: When using a tack cloth, be careful not to wipe too hard. When used with hard pressure, tack cloths can leave a layer of beeswax behind. If this happens, another round of sanding will be required.
Area Preparation
Before painting, protect the area around the tile by tapping on the protective plastic sheet.
Apply Primer
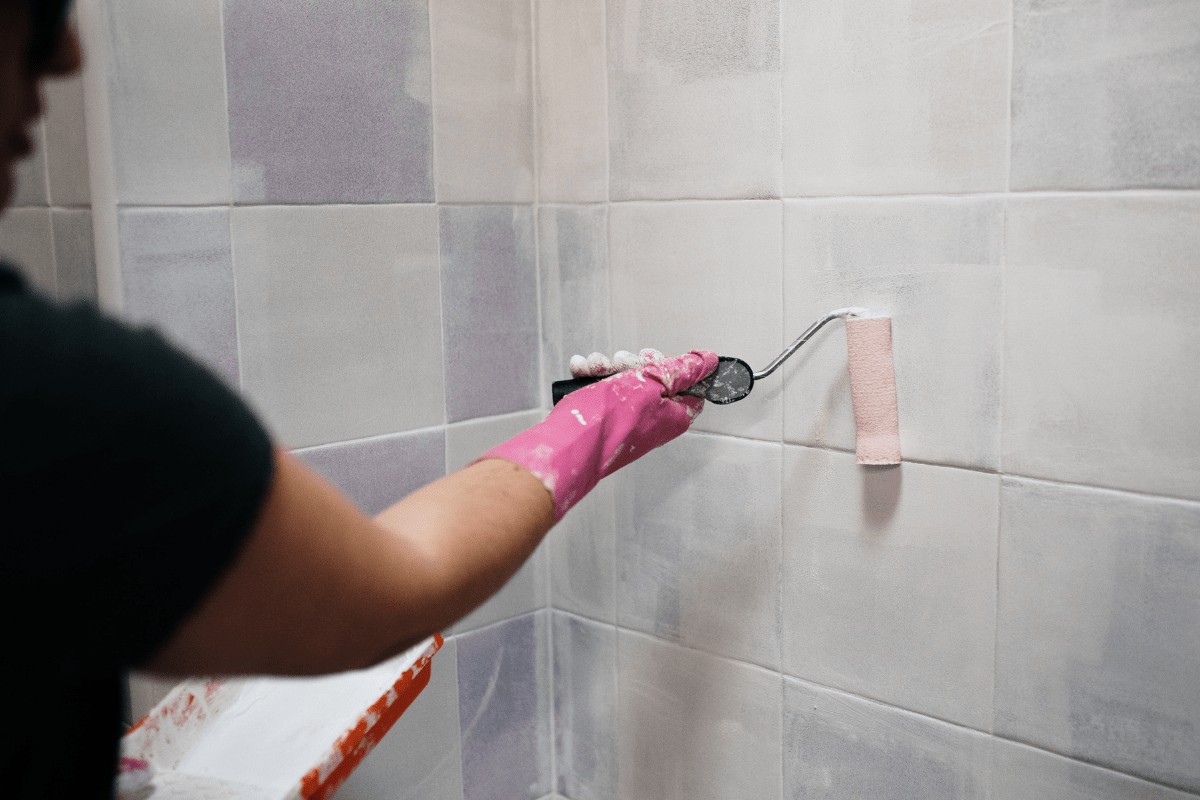
An excellent primer helps conceal any colors or designs in the tiles so that they do not show through your paint. A high-quality primer also helps the paint adhere better. Using a roller and a paint tray, apply a thin, even primer layer to the tiles. Make sure to roll off excess primer from your roller before applying. If the primer drips or runs, this will show through your layer of paint. Apply two coats of primer if covering darker colors or bold patterns. Allow the primer to sufficiently dry before applying your paint.
Painting the Tile
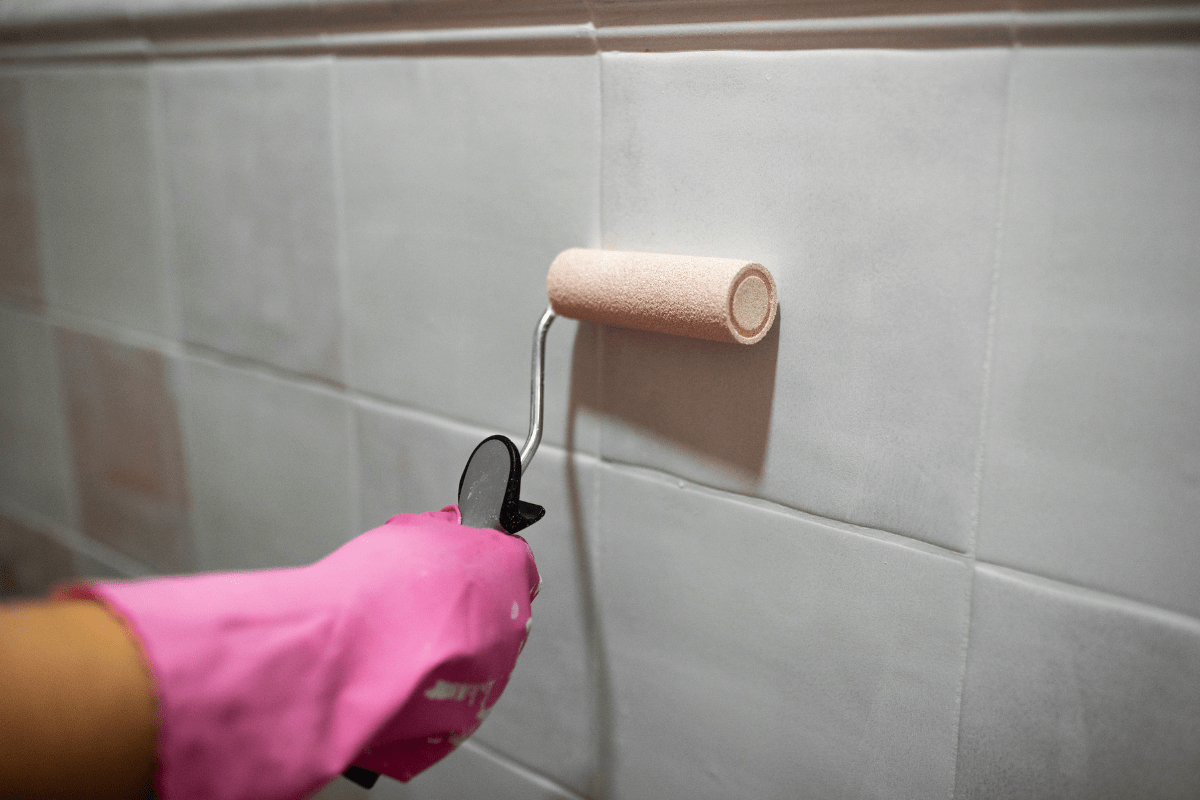
Fill the tray with tile paint using a new paint tray or a new liner. Add only a tiny amount of paint tile to the tray at a time to not overload the roller. When rolling on tile paint, make sure, same as done with the primer, to do light and even coats to avoid dripping. Use a paintbrush to fill in areas where the roller cannot reach.
Allow the first coat to dry sufficiently, and then apply a second coat as needed.
Apply the Sealer
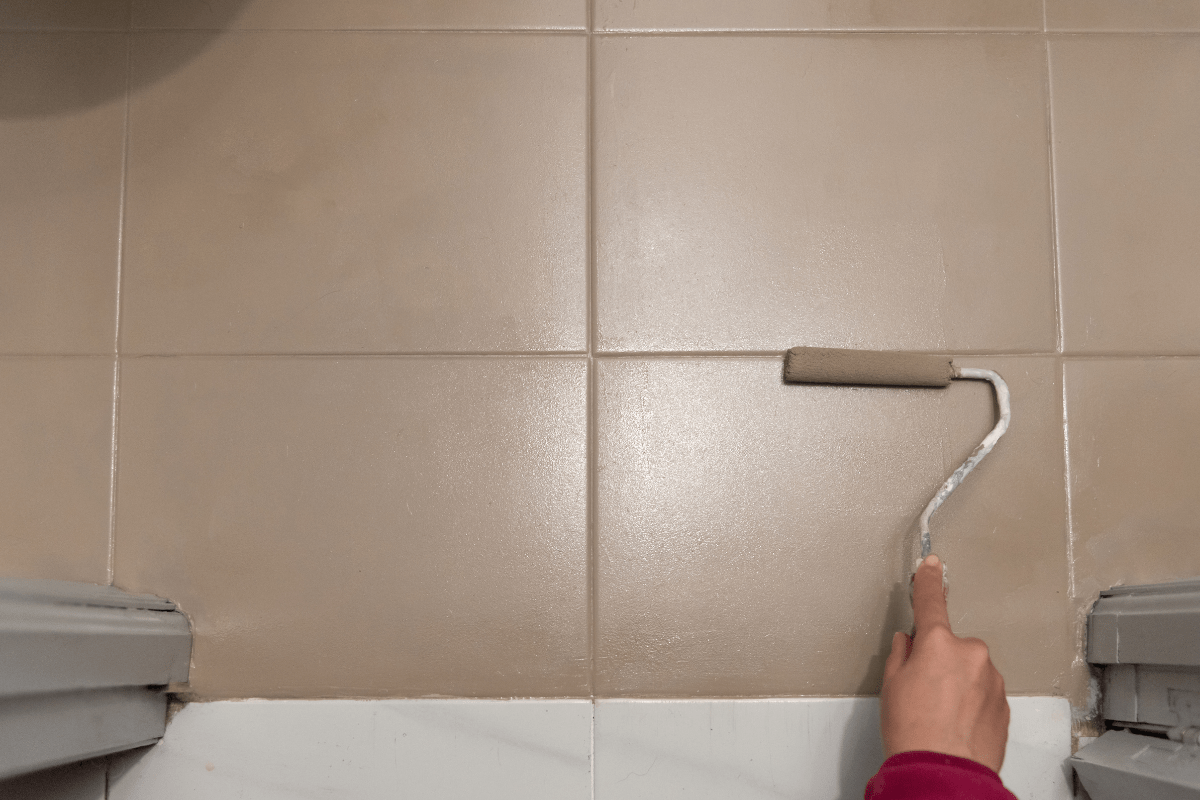
If using epoxy paint, a sealer is unnecessary but can still be used if desired. Apply a coat of clear polyurethane sealer after the tile paint has sufficiently dried. It is usually done 12 hours later. Use a clean roller and paint tray, and apply the sealer in the same fashion as done with the primer and paint. Keep the coat of sealer light and even avoid drips or runs.
Pros vs. Cons
| Pros | Cons |
|
|
|
|
|
|
Frequently Asked Questions (FAQs)
Is Painting Tiles a Good Idea?
While painting tiles can provide a temporary upgrade and a much-needed trendy look, it is not the most durable option. Replacing tile with new tile is always the better option. However, if done correctly and with patience, painting tile can be an excellent temporary option until a more permanent solution is attainable.
If painting tile in areas where the tiles do not get soaked, painted tile can hold up and withstand for many years if painted correctly and with the right materials. Areas directly behind the sink — as an example — may not hold up as well over time.
Why Consider Painting vs. Retiling?
There are many reasons why some consider painting vs. retiling, cost being the main factor. On average, you can expect to spend between $1,500-$2,000 on a tile backsplash project. In contrast, a paint job can be done for as little as $100 for the frugal DIYer. It does depend on how large your area is, though. Some want a quick and cost-effective makeover, or other reasons may be a home staging project to sell a house or a DIY project for someone that feels like adding their style and flair to their home.
Are There Any Tile Surfaces Not Suitable for Painting?
- High moisture areas – painting tile around showers and tubs is not wise. The paint will not be able to withstand the constant soaking with water and, over time, will crack and peel. Consider a budget-friendly floor replacement instead.
- Severely damaged tile – some tiles are not worth painting and are too far gone. If there are large areas of defects and cracks, painting will only enhance those errors, and fixing them before painting can take a lot of work and money.
- Tiled countertops – in the kitchen especially, tiled countertops are best avoided. With the constant heat from pots and pans and not to mention on surfaces where food is prepared, it’s not a good idea to paint.
- Tile floors – while it may be tempting to paint your tile floor instead of putting out the money for a new floor, constant foot traffic will cause the paint to wear very fast.
What is TSP Cleaner?
We mentioned earlier in the steps to clean your tile with TSP cleaner, and if you have never heard of this powerful cleaner before, TSP is Trisodium phosphate. It is an odorless dry powder that you mix with water, and then it effectively cuts through grease and grime. TSP cleaners are not available in all areas, so a close alternative is Borax.
How Long does Painted Tile Last?
If the proper steps are followed, and suitable products are utilized, painted tile can hold up for years. If a quick job is done without adequate materials, you can expect the paint to start peeling within weeks or months. As mentioned before, though, it does depend on the area where you are painting the tiles. Some places will hold up better than others.
If I Wanted a Different Color Grout, Is That Possible?
The thing about painting tile is that you will also paint the grout and some people don’t like the seamlessness of matching grout and tiles. You can paint your tiles and then change the color of the grout by using a grout colorant or a grout pen.
How Do I Maintain My Tile After It’s Painted?
If your tiles are painted and sealed correctly, you can resume your regular cleaning. Clean painted tiles with warm soapy water. To ensure optimal success, make sure you clean tiles regularly and do not let dirt and grime build-up. Magic Erasers are great for quick clean-ups and scuffing.
Best Tips for Success
- Choose the best surface – vertical surfaces work best when painting tile as well as dry and low moisture areas.
- Proper cleaning and preparation – if your surface is not adequately prepared and cleaned you will most likely be disappointed with the results of your work.
- Seal your tiles with a high gloss sealer – while this is not required when using epoxy paint it’s just that extra layer of protection. It also provides a high-end, high gloss look making your tiles look superior.
- Use stencils – this allows you to really get creative with your work. Sometimes it’s hard to find an exact tile in pattern and color that will suit your space. When painting you have the freedom to create a look that really suits your space.
- Choosing the right paint is crucial – this cannot be stressed enough. The right paint will ensure your success and as mentioned earlier, Epoxy paint is the superior paint for the job.


