A Step-by-Step Guide on How to Paint Trim Flawlessly
The act of painting trim holds paramount importance in achieving a refined and complete look for any space. Whether you’re renovating your home’s interior or simply rejuvenating the existing trim, a fresh layer of paint can have a transformative impact. Whether you’re a DIY expert or a novice, don’t worry. We’ll guide you through the entire trim painting process, providing valuable insights and techniques to achieve professional-quality results. By adhering to these steps, you can not only save money but also relish the gratification of accomplishing a DIY project.
Necessary Equipment and Supplies

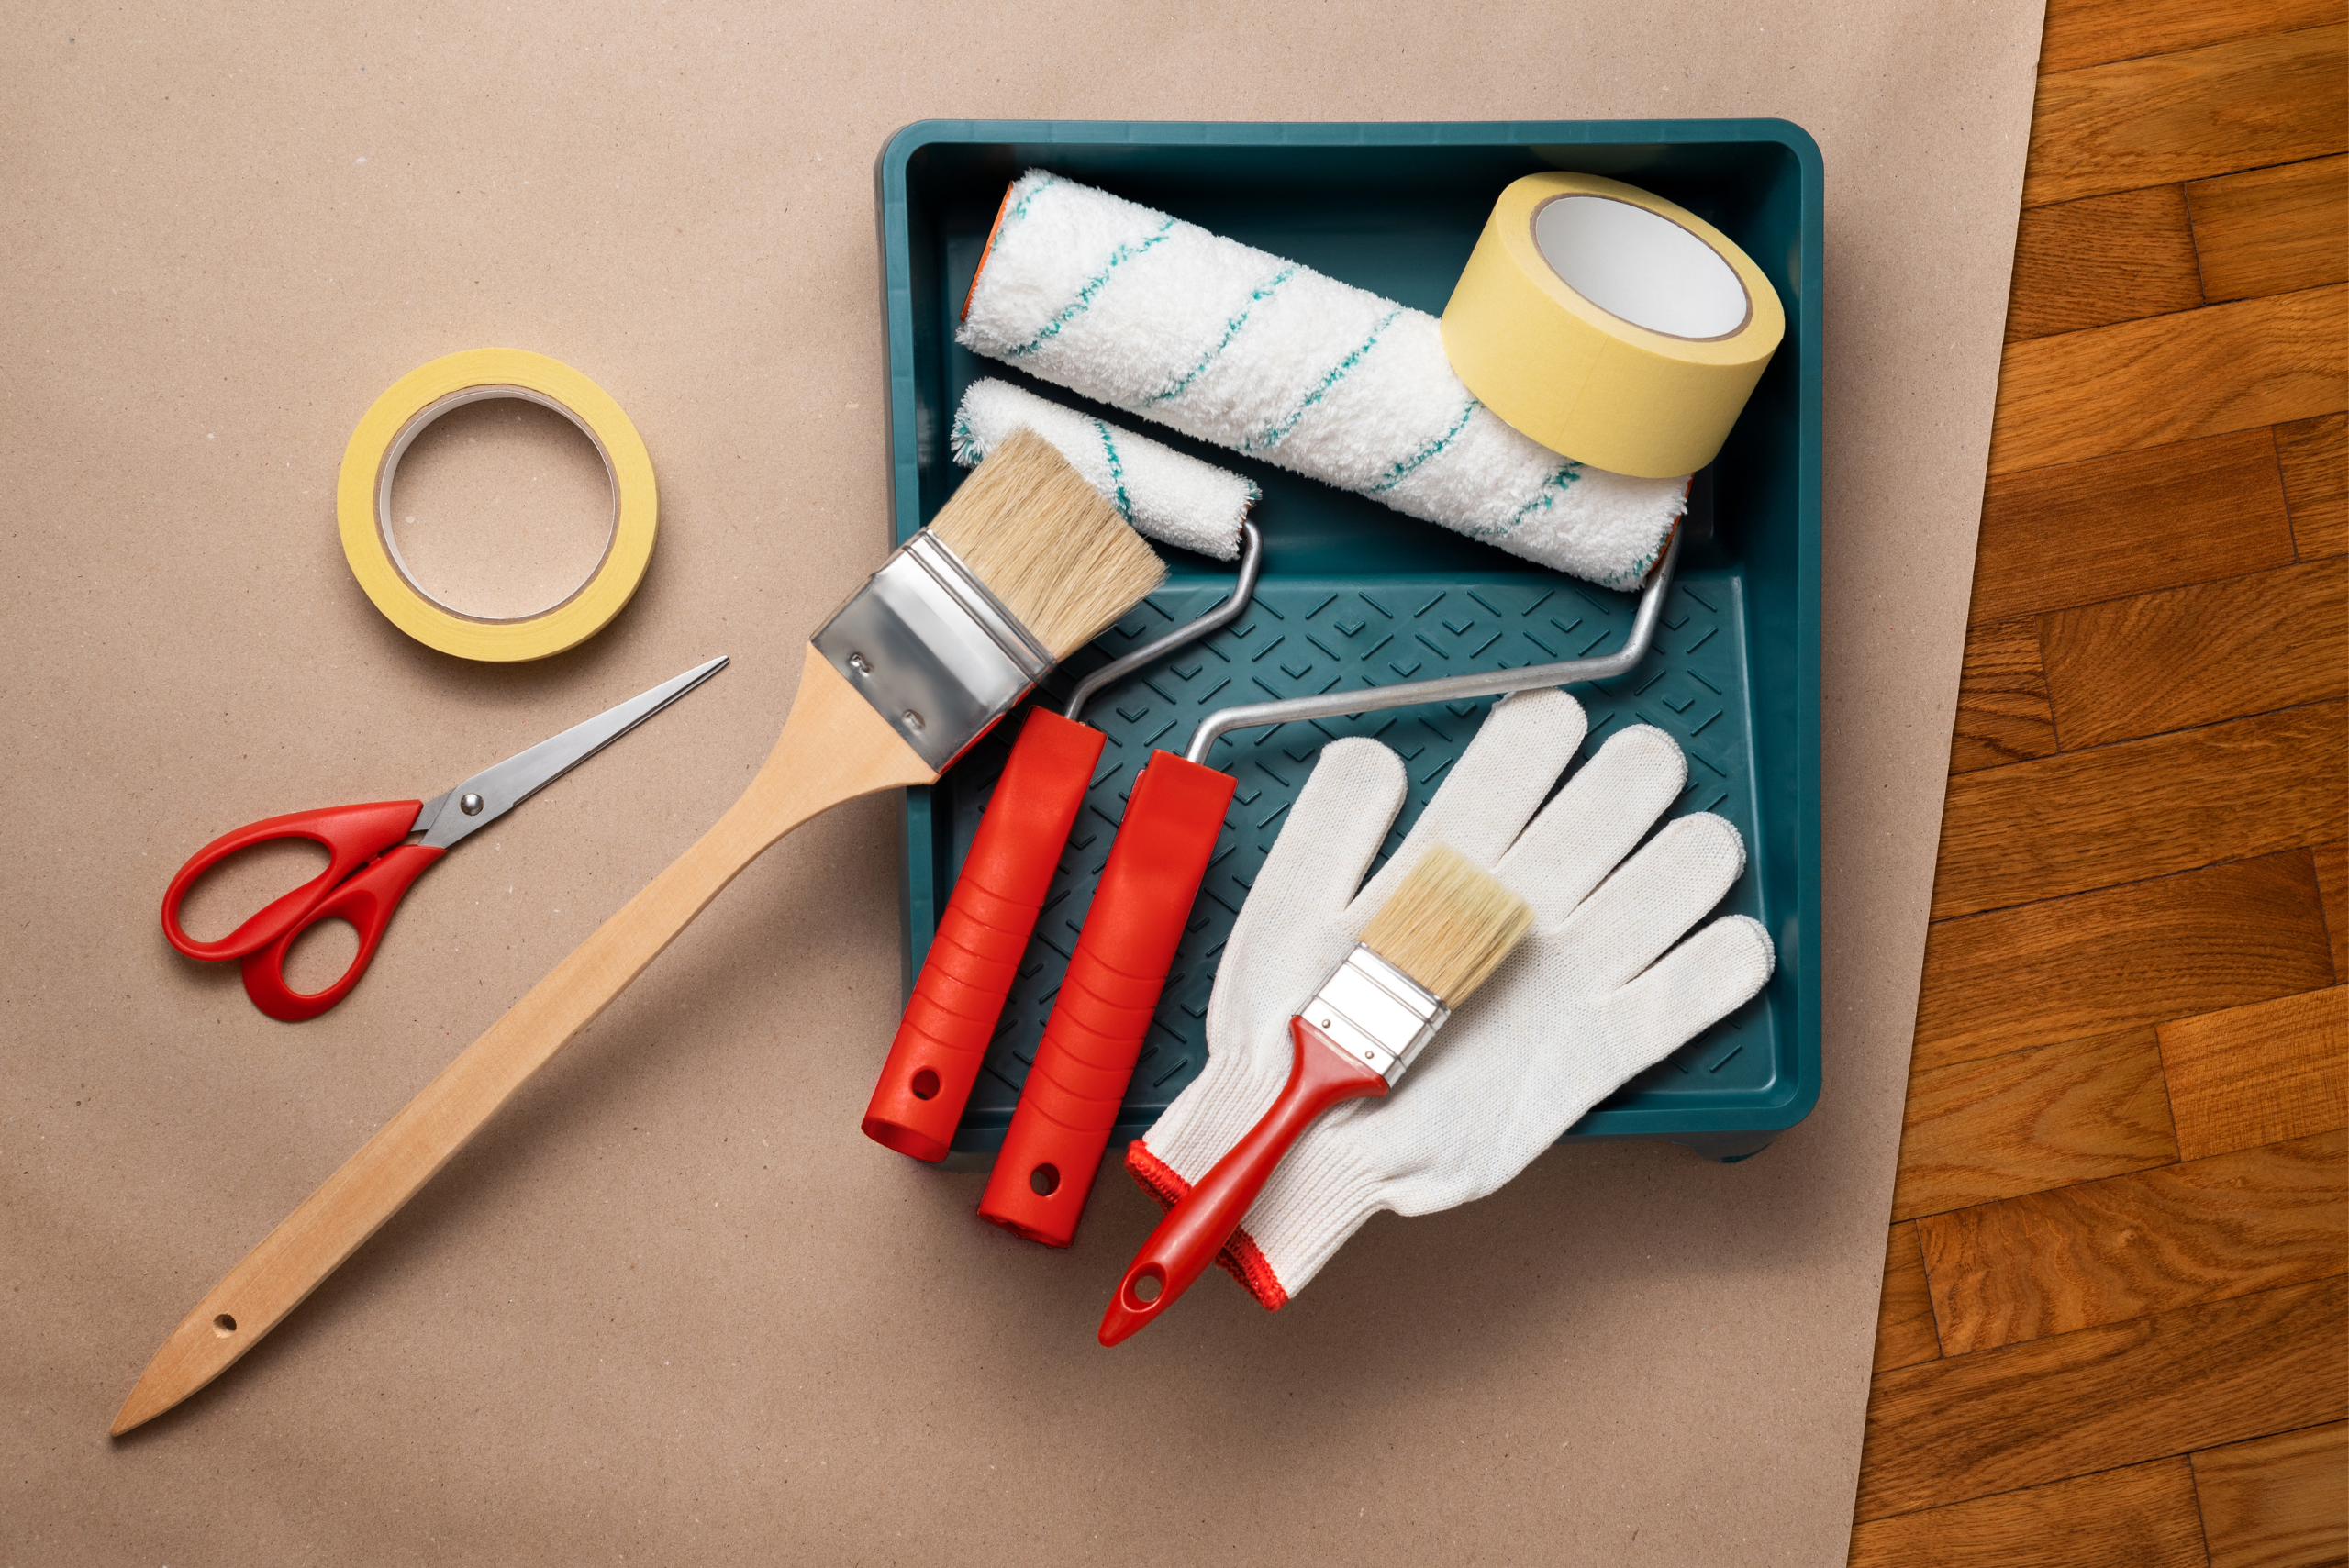
Prior to embarking on the painting journey, it’s essential to assemble the required tools and supplies. This includes a range of brushes, rollers, painter’s tape, drop cloths, sandpaper, and high-quality paint specifically formulated for trim. The choice of paint is pivotal, as it should ensure superior adhesion and longevity.
Step-by-Step Guide to Painting Trim

Trim Preparation
For a seamless and impeccable finish, proper preparation of the trim is vital. Initiate by thoroughly cleaning the surface to eliminate any traces of dust, grime, or grease. Then, lightly sand the trim to create a textured surface conducive to paint adherence. Use a suitable wood filler to rectify any flaws, such as nail holes or cracks. After the filler has dried, sand it down to achieve a smooth finish.
Placement of Painter’s Tape
To safeguard adjacent surfaces and ensure neat lines, apply painter’s tape along the trim’s edges and corners. Dedicate time to guarantee the tape is straight and securely adhered. Press firmly on the edges to avert paint from seeping under the tape. Investing additional time in this step will save you from the hassle of rectifying errors later.
Priming the Trim
The priming of the trim is a crucial step that warrants attention. Primer amplifies adhesion, enhances durability, and paves the way for a smooth surface for the paint. Apply a thin, uniform layer of primer using a brush or roller. Allow the primer to dry thoroughly before progressing to the subsequent step.
Trim Painting
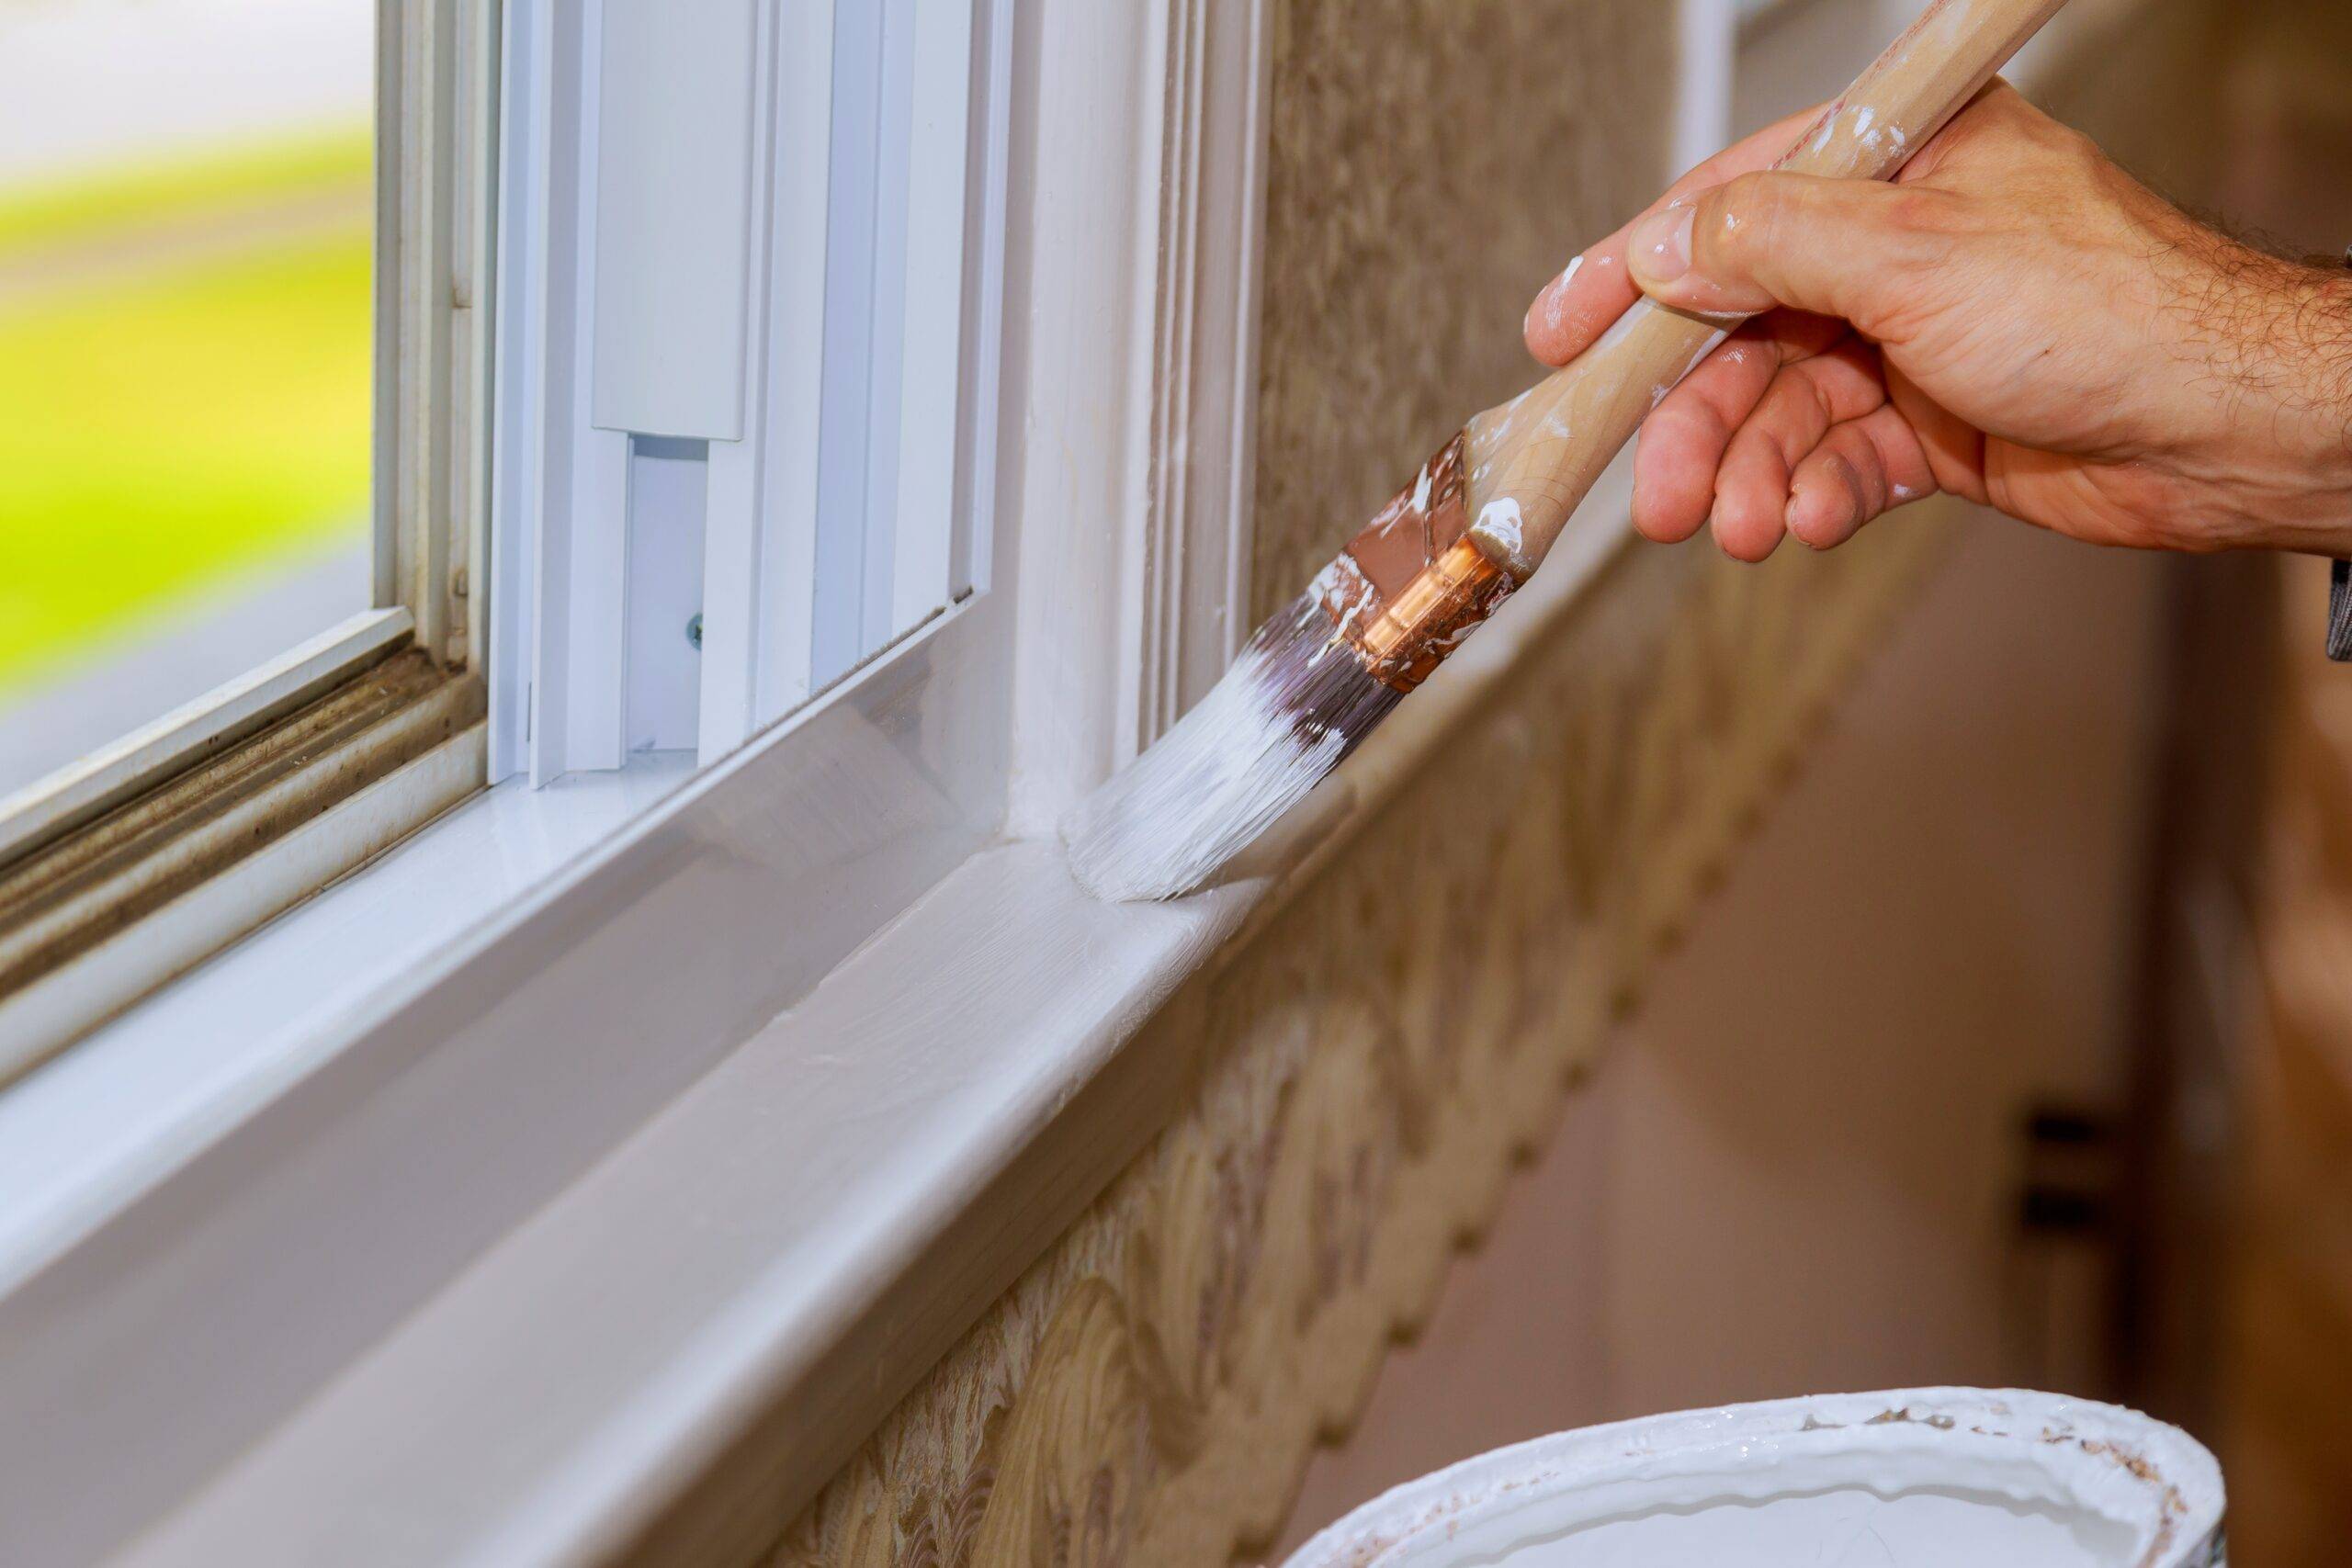
When selecting the paint finish for the trim, a semi-gloss or high-gloss paint is recommended. These finishes offer enhanced durability and are easier to maintain. Employ a brush or small roller to apply the paint in thin, even layers, working from the top to the bottom. Devote time to ensure a smooth and consistent finish. Allow each layer to dry before introducing additional layers.
Drying and Solidification Period
Post-painting, it’s crucial to allow adequate drying time between layers. Adhere to the manufacturer’s guidelines for the specific paint you’re using, as drying times can differ. Understand that drying time is not synonymous with curing time. Even though the paint may seem dry to the touch, it requires several days to fully cure and harden. Refrain from touching or placing objects on the trim until it has completely cured.
Final Adjustments

After the paint has dried, cautiously remove the painter’s tape at a 45-degree angle to prevent peeling off any paint. Inspect the trim for any errors or flaws and rectify them as necessary. Utilize a small brush for precision in these areas. Stand back and appreciate your freshly painted trim!
Cleaning and Preservation

Ensure you clean your brushes and rollers properly as per the paint manufacturer’s instructions. Discard any leftover paint and store the remaining paint in a cool, dry place for future touch-ups. To preserve the painted trim, avoid harsh chemicals or abrasive cleaners. Instead, use a mild soap and water solution to clean the surface periodically.
Undertaking a trim painting project is a gratifying DIY endeavor that can radically alter the ambiance of any room. By following the steps outlined in this article, you can attain expert-looking results and economize in the process. Remember to assemble the necessary tools and supplies, properly prepare the trim, apply painter’s tape meticulously, prime the surface, and paint using even layers. Be patient, take your time, and relish the process. Your newly painted trim will infuse a sense of elegance and sophistication into your home.


