How to Patch Your Carpet for a Flawless Finish
Accidents happen, and when they do, your carpet often bears the brunt of the damage. But before you resign yourself to living with unsightly stains or burns, or worse, replacing your entire carpet, consider the magic of carpet patching. With a little know-how and the right tools, you can restore your floor’s appearance and save a bundle in the process. Let’s dive into the world of DIY carpet patching and learn how to make those blemishes disappear.
Is Patching the Right Solution?
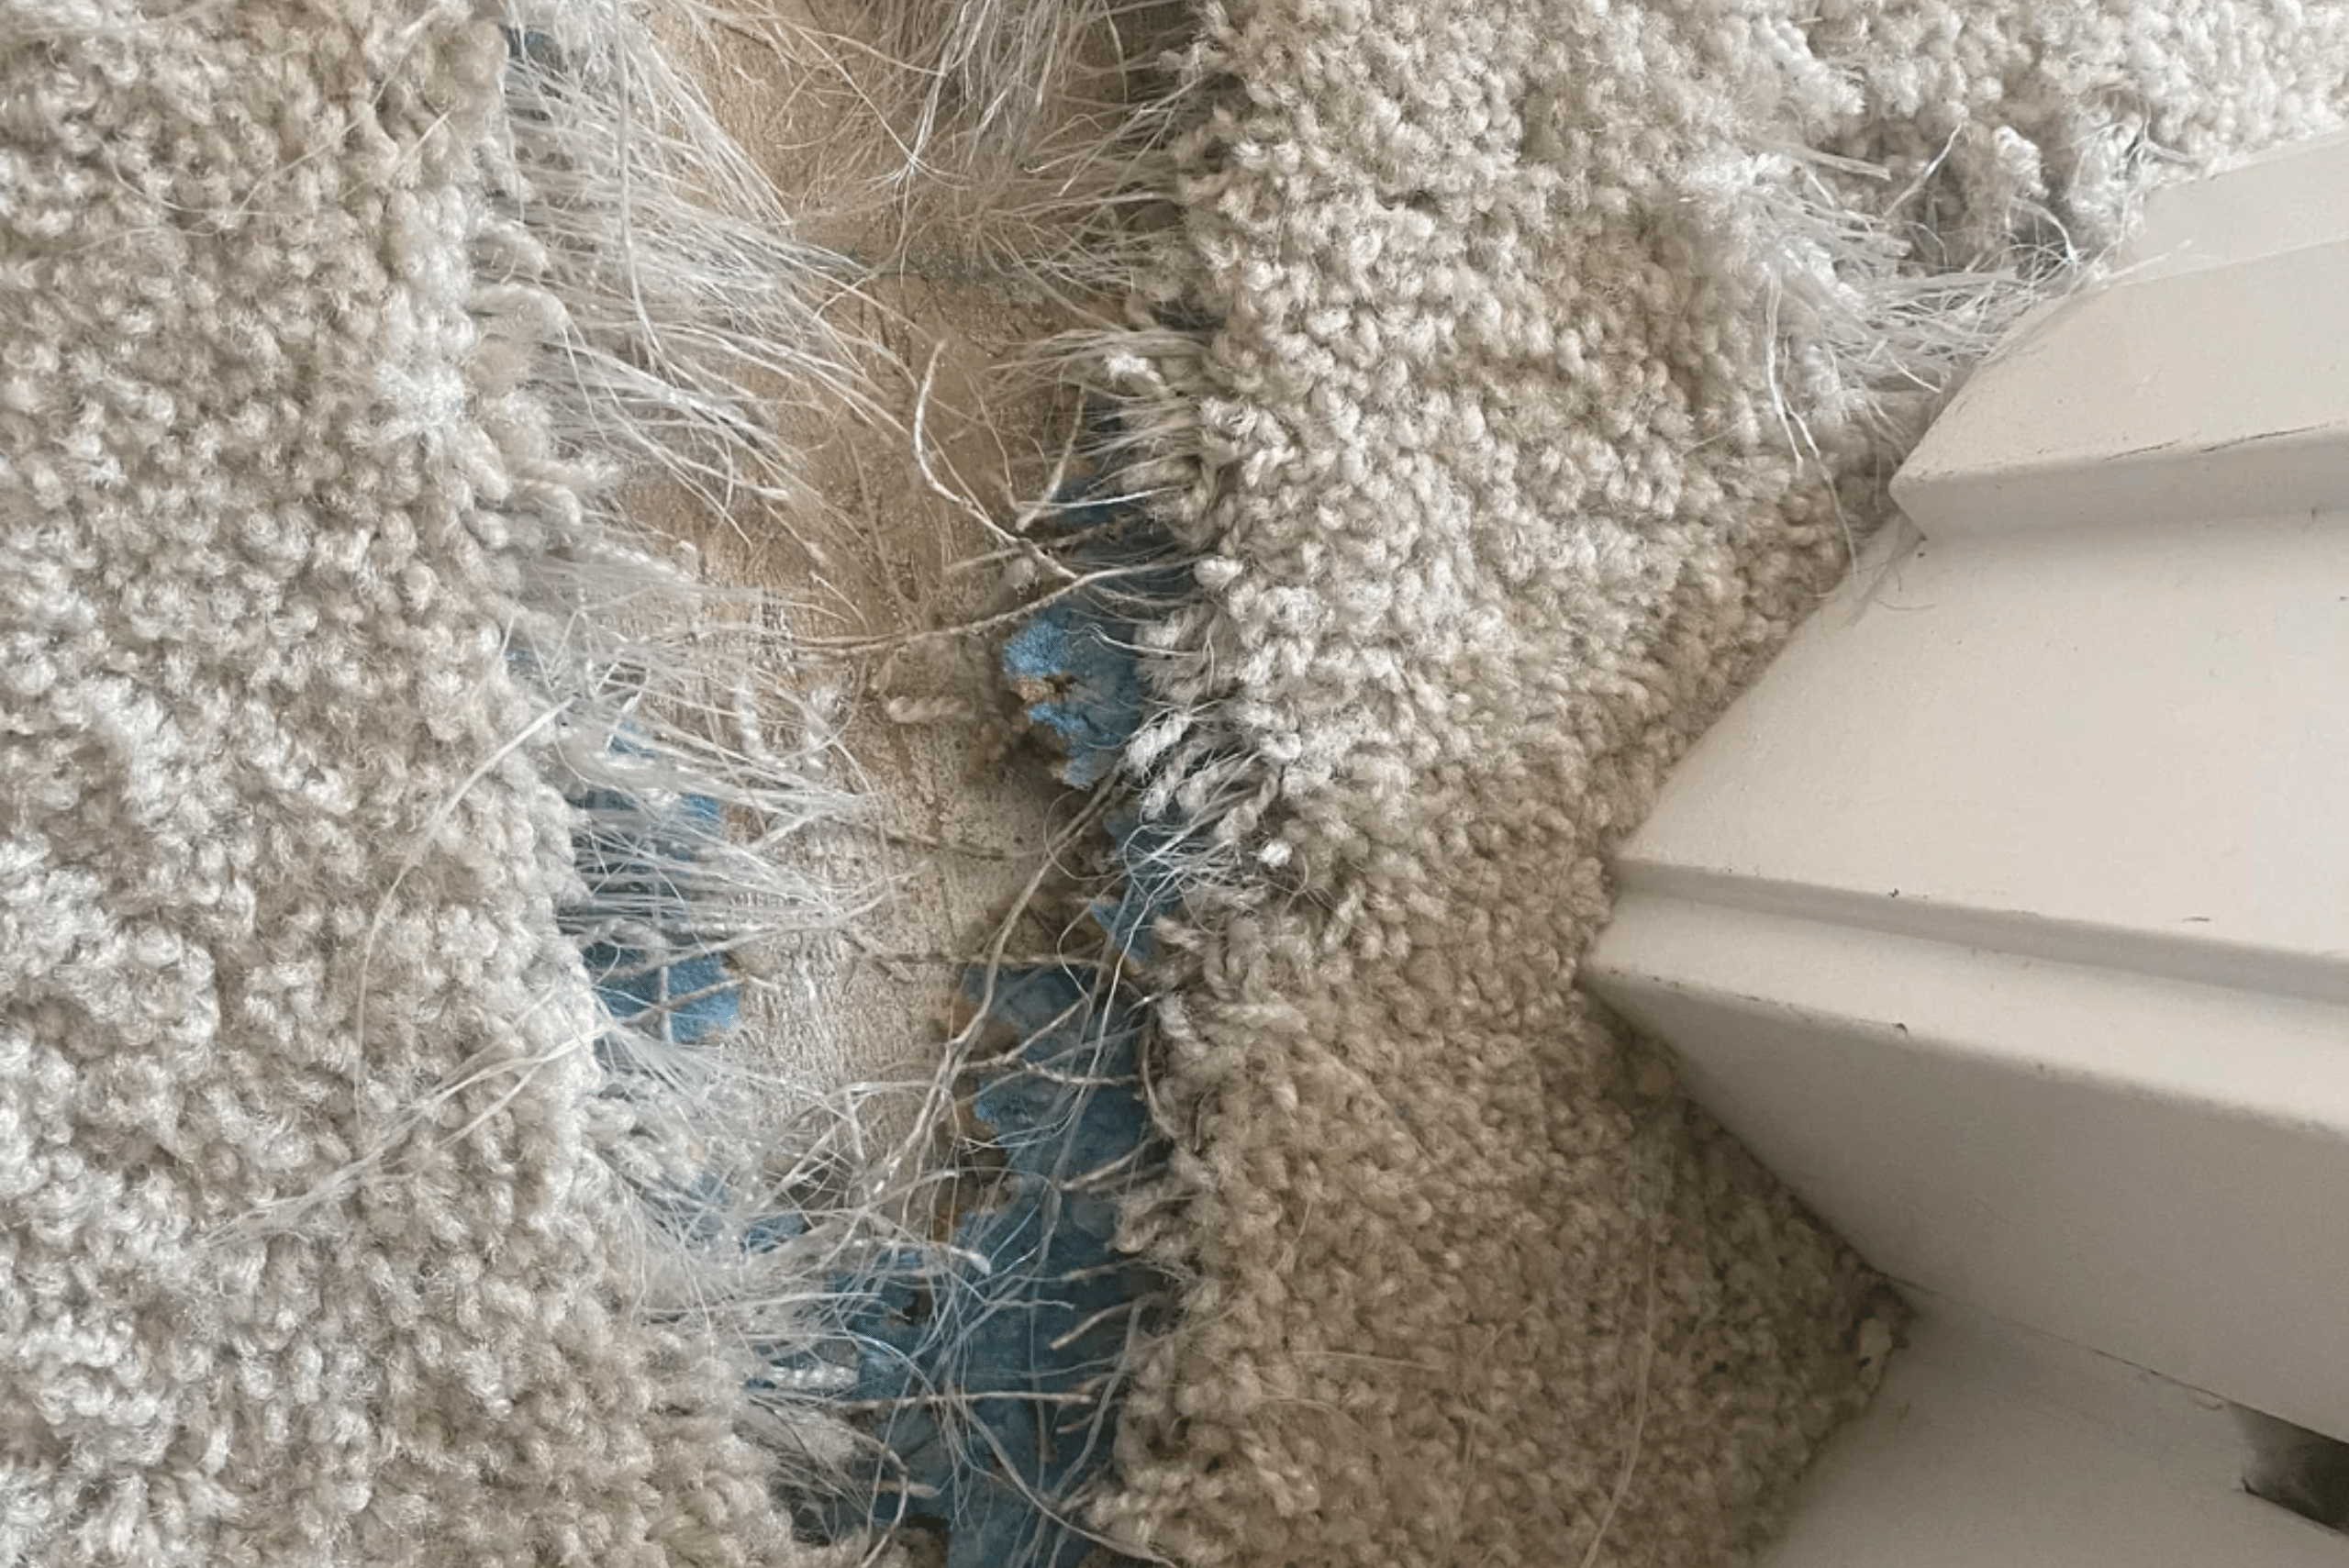
Before you jump into repair mode, it’s crucial to evaluate the extent of the damage. Patching works wonders for localized issues, but extensive damage might call for professional intervention or complete replacement.
When examining your carpet, consider its age, overall condition, and the visibility of the damaged area. Small burns, stains, or tears in inconspicuous spots are perfect candidates for patching. However, if the damage has affected the padding or subfloor, or if you’re dealing with widespread wear and tear, you might need to explore other options.
Gathering Your Carpet Patching Arsenal
To embark on your carpet patching journey, you’ll need to assemble the right tools and materials. Most of these items can be found in a basic carpet repair kit, available at hardware stores or online retailers for around $40.
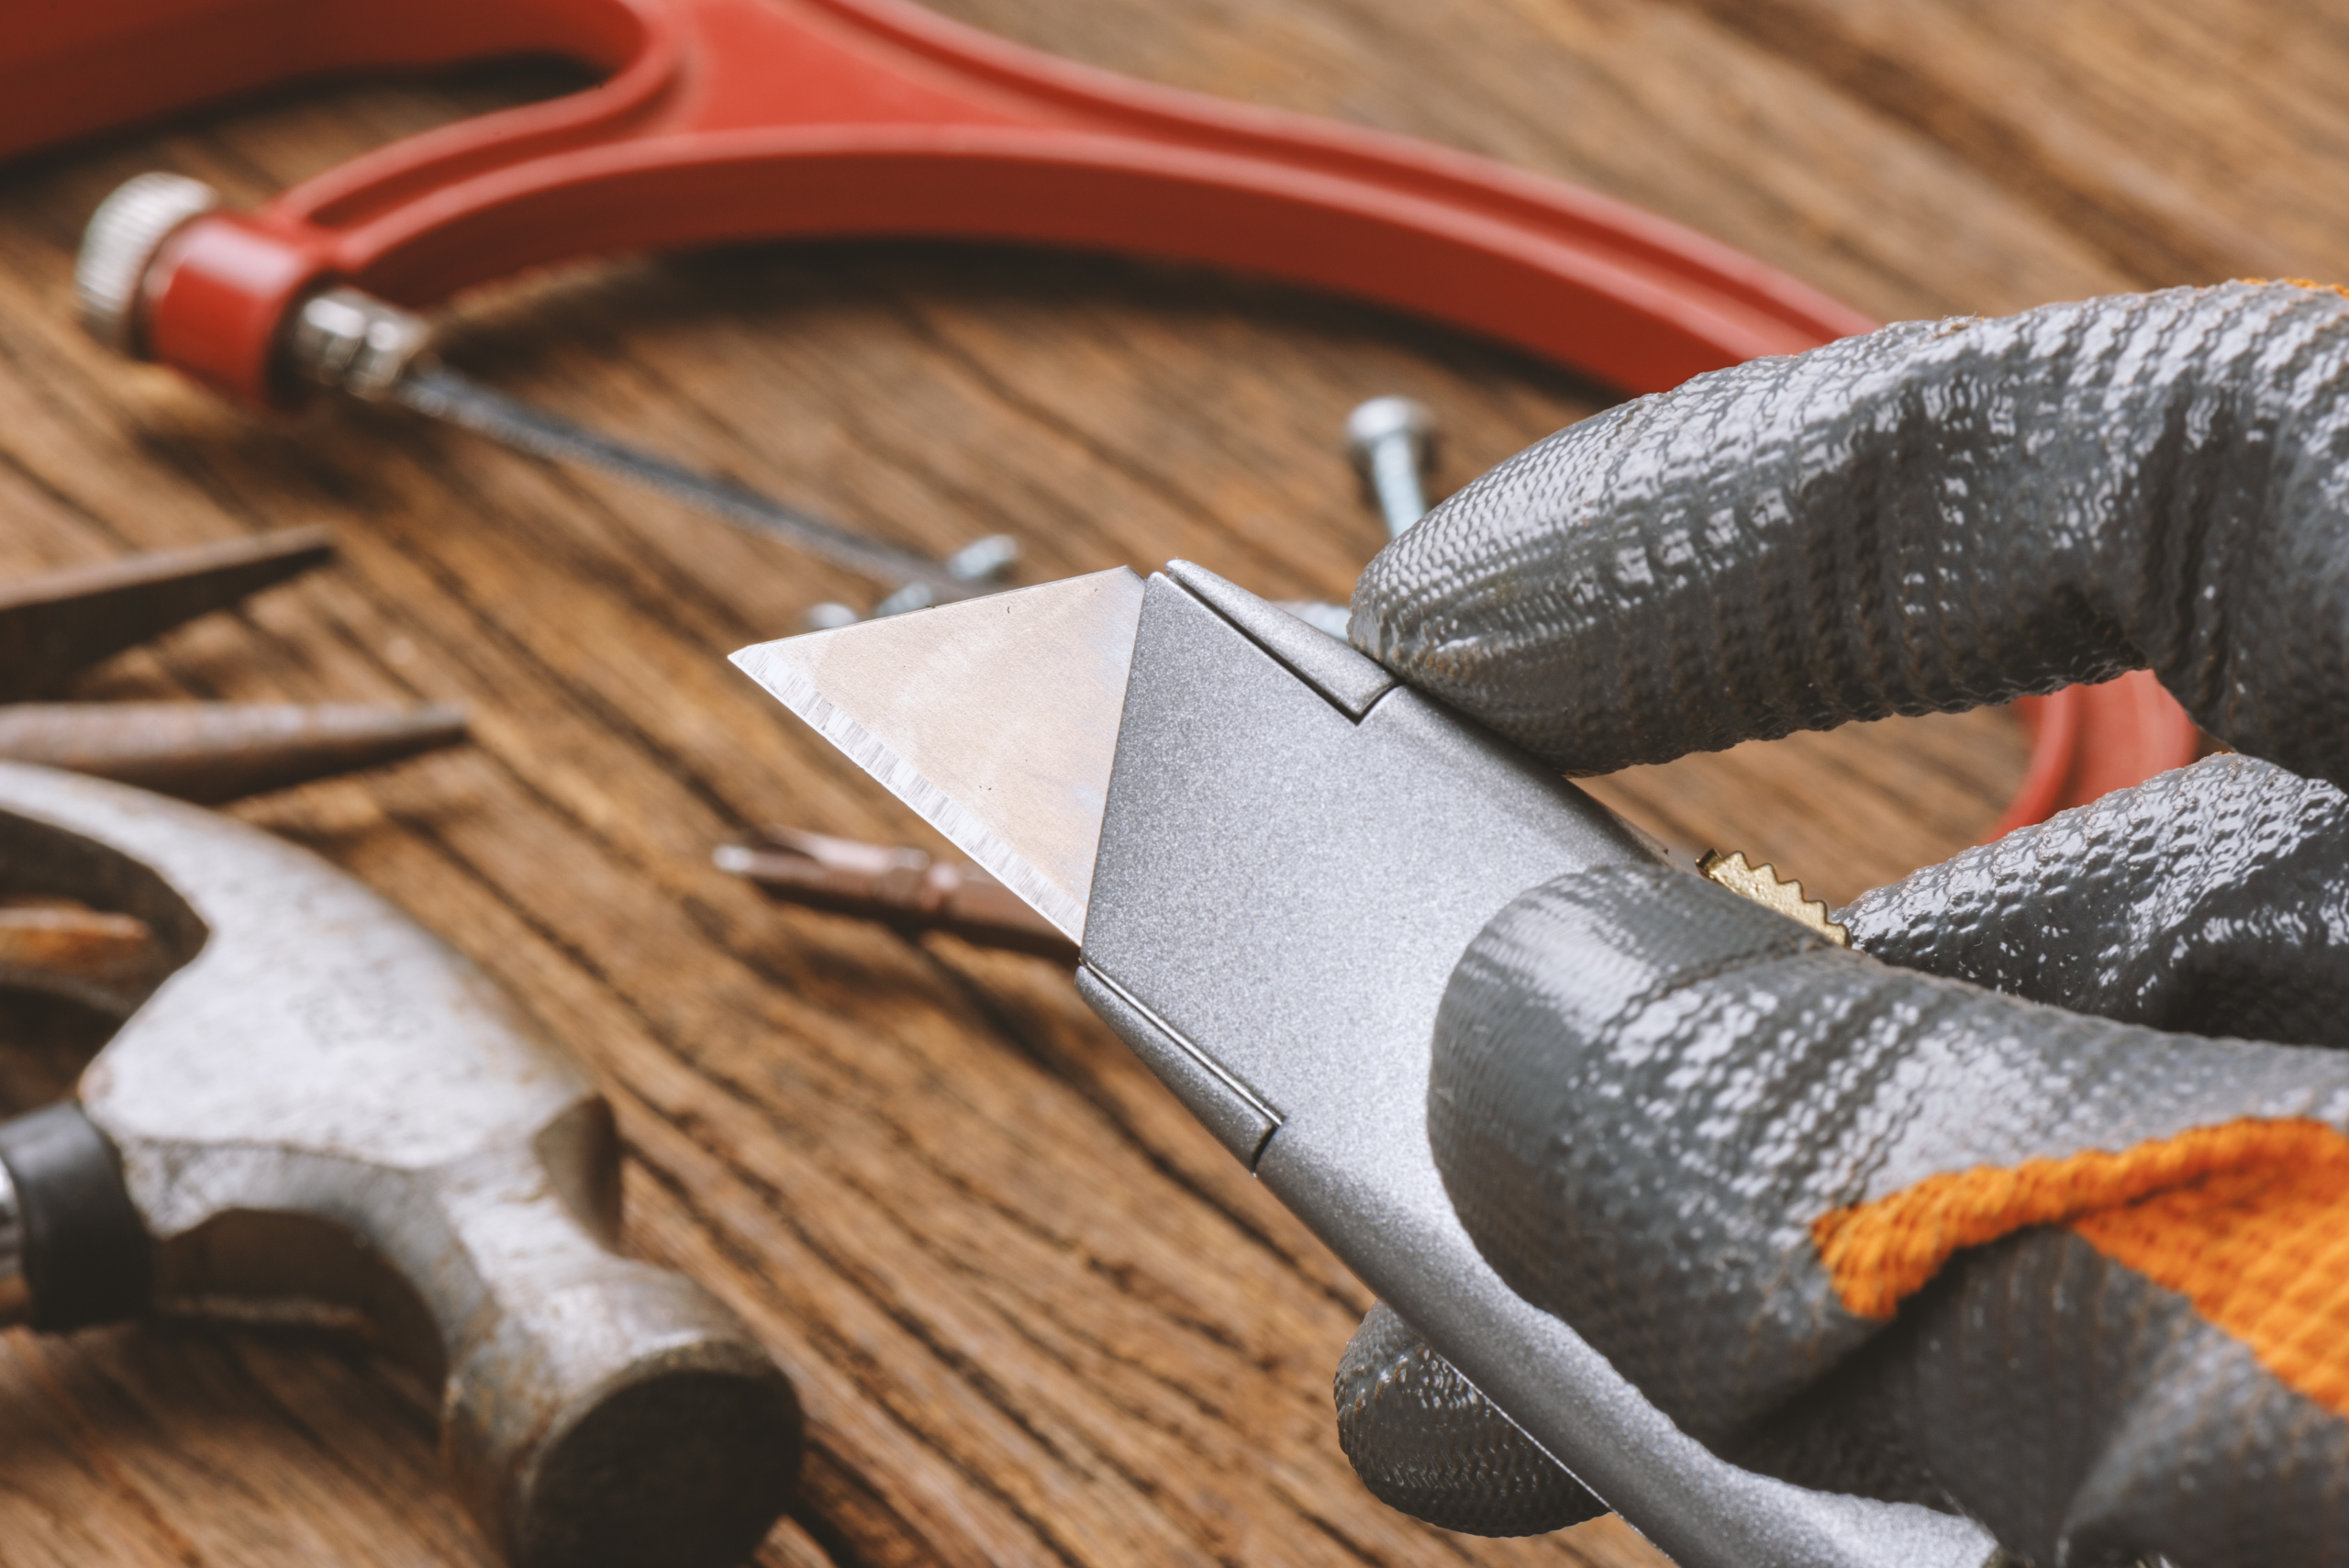
Your patching toolkit should include adhesive disks, a carpet cutter or utility knife, a clean cloth, a marker or chalk, measuring tape, and a star roller. For adhesives, consider carpet seam sealer, heat-activated tape, or pressure-sensitive adhesive, depending on your carpet type. Don’t forget to check the manufacturer’s instructions to ensure compatibility with your specific carpet.
Preparing the Carpet For Patching
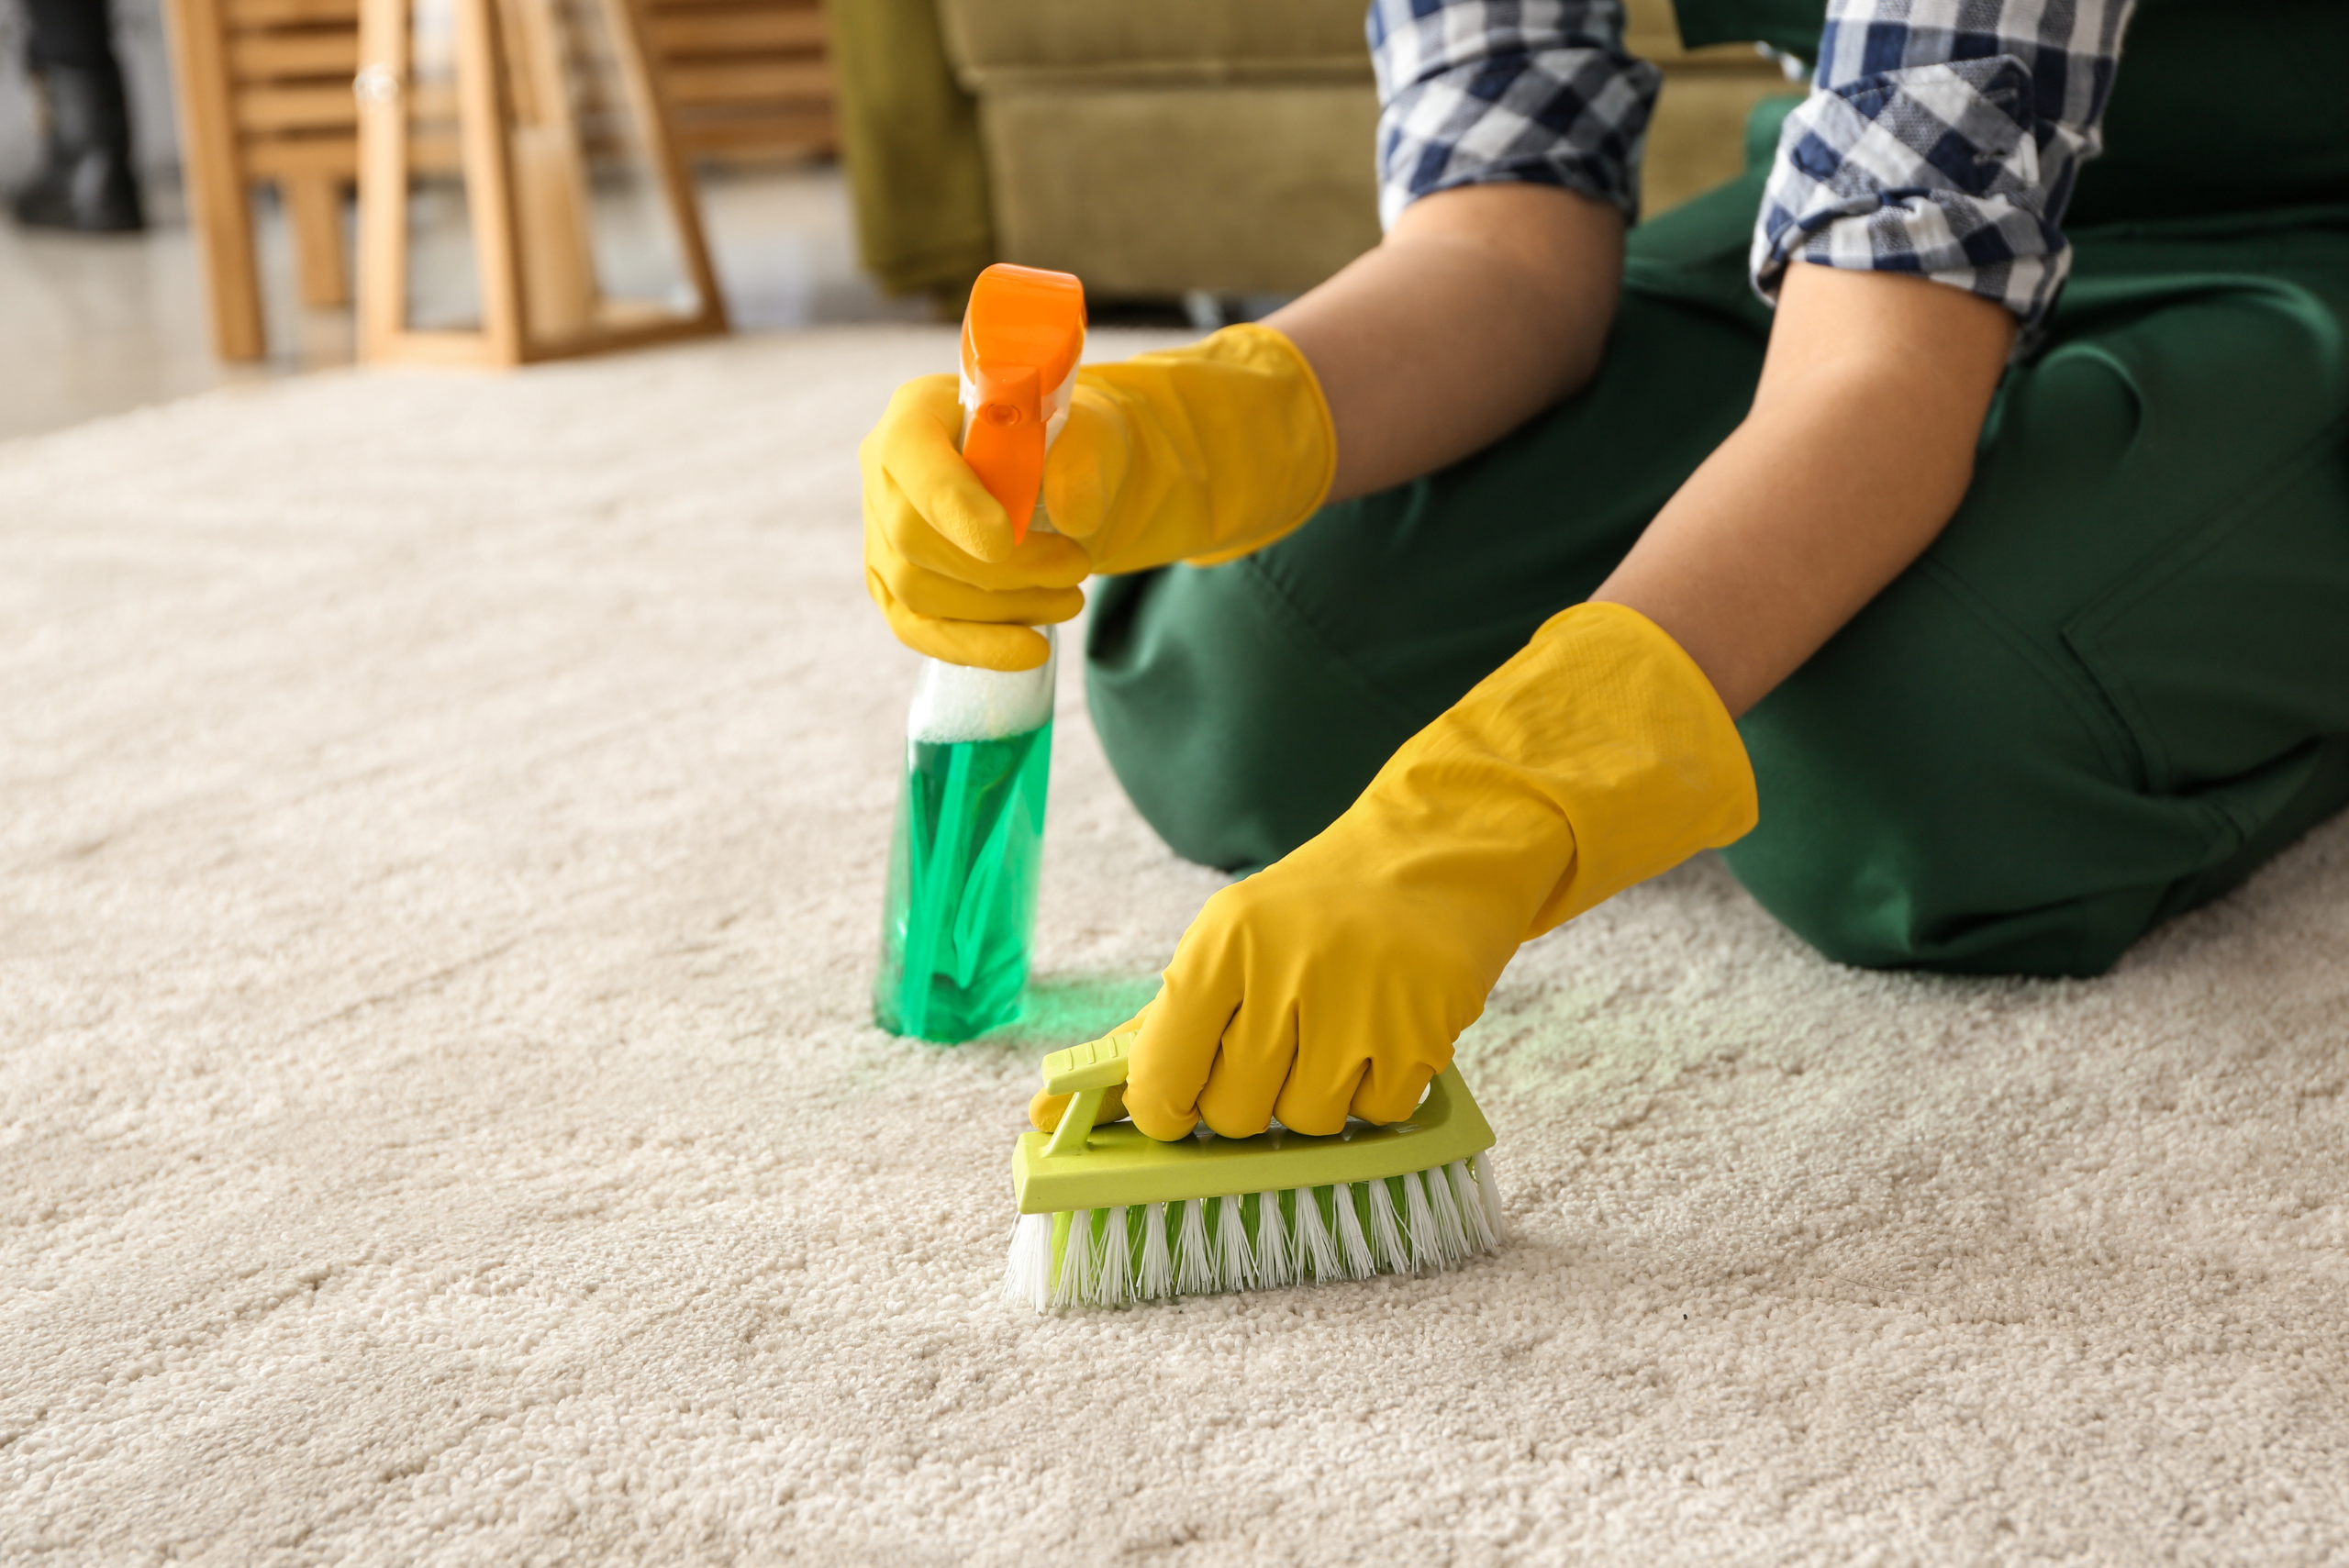
Before you start patching, it’s essential to prepare the damaged area properly. Begin by thoroughly cleaning the spot and surrounding carpet. Remove any debris, loose fibers, or residue that could interfere with the adhesive.
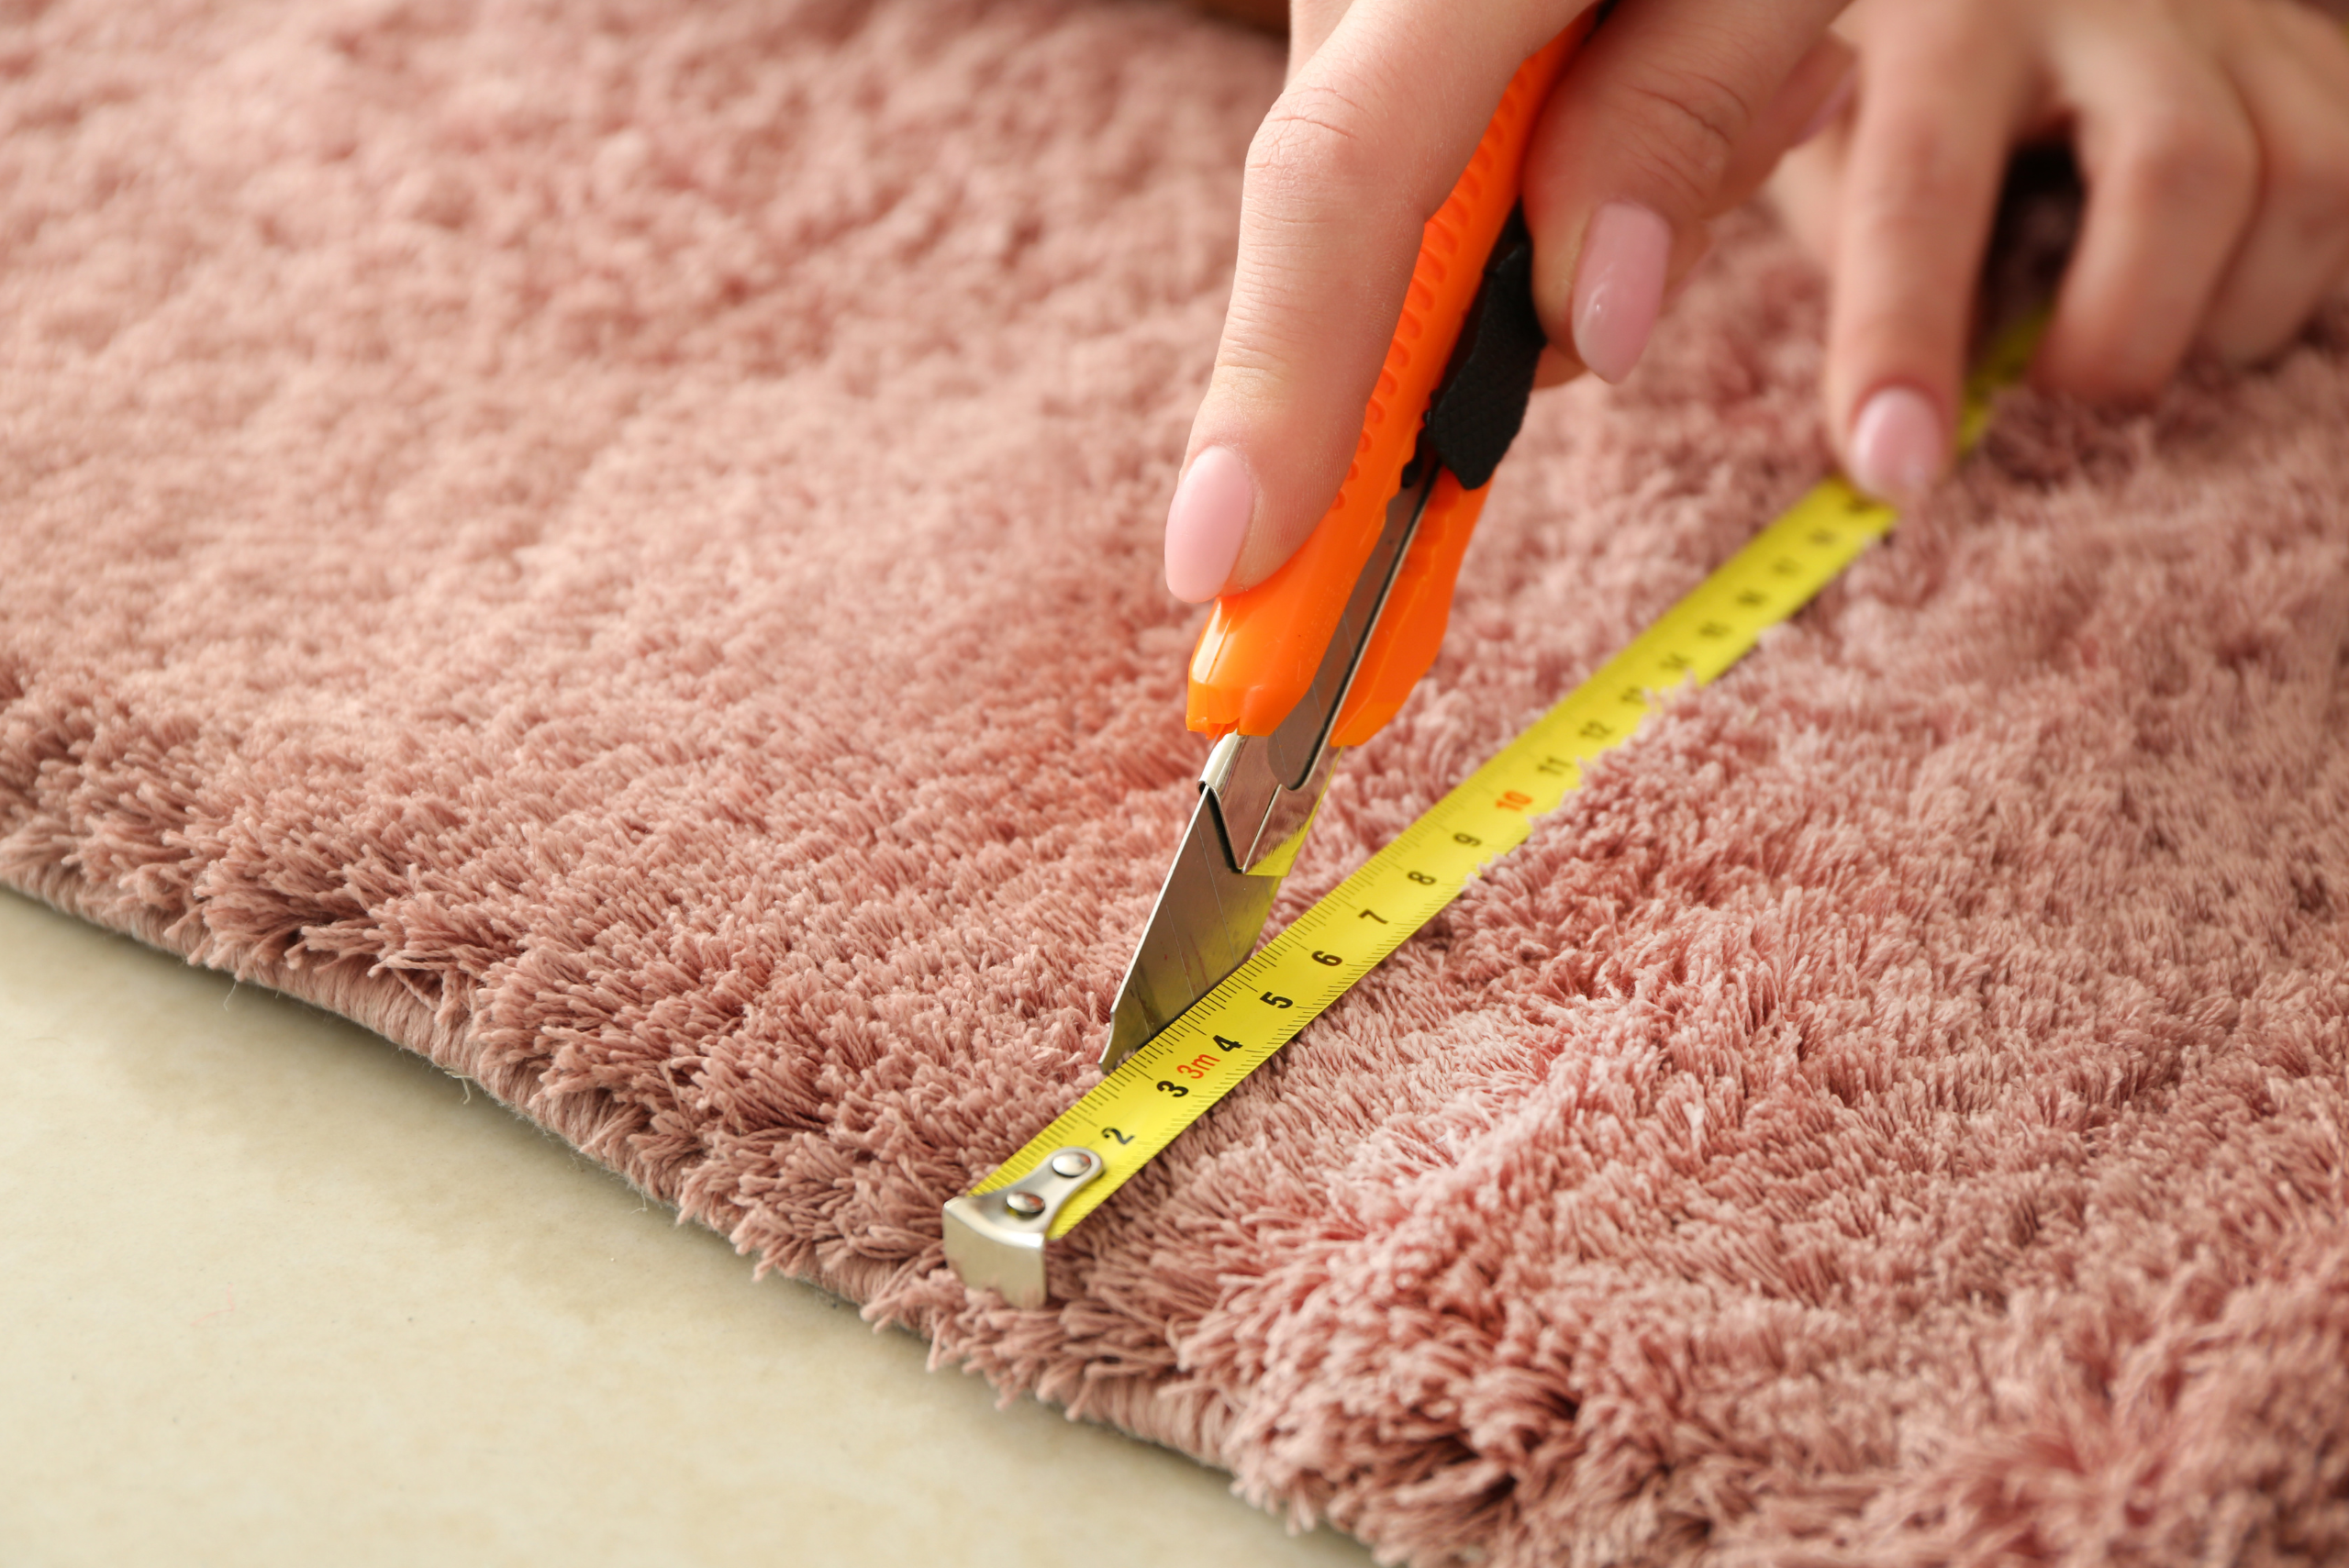
For stubborn stains or pet-related damage, use specialized cleaners to ensure the area is spotless. Once clean, it’s time to remove the damaged section. If you’re using a carpet cutter, place it over the affected area and rotate it with firm, even pressure. Alternatively, use a sharp utility knife to carefully cut along a marked outline, taking care not to slice through the padding beneath.
Selecting and Shaping the Perfect Patch
The key to an invisible repair lies in selecting the right replacement patch. Ideally, use a piece of leftover carpet from the original installation. If that’s not an option, harvest a patch from an inconspicuous area, like a closet or under furniture.
Cut the replacement patch to match the size and shape of the hole you created. Use the same cutting method to ensure a perfect fit. Remember to consider the carpet’s pile direction when selecting and cutting your patch – this will help achieve a seamless blend with the surrounding carpet.
Applying Adhesive and Installing the Patch
With your replacement patch ready, it’s time for the actual repair. Apply adhesive evenly around the perimeter of the cutout area. If using an adhesive disk, dampen it with cool water to temporarily neutralize the glue, then slide it under the carpet between the backing and padding.
After waiting a few minutes for the adhesive to become tacky, align your replacement patch with the surrounding carpet, ensuring the pile direction matches. Press the patch firmly onto the adhesive, working from the center outward to eliminate air bubbles. Use a rolling tool or apply manual pressure to ensure the patch adheres securely.
Blending and Finishing For a Seamless Finish
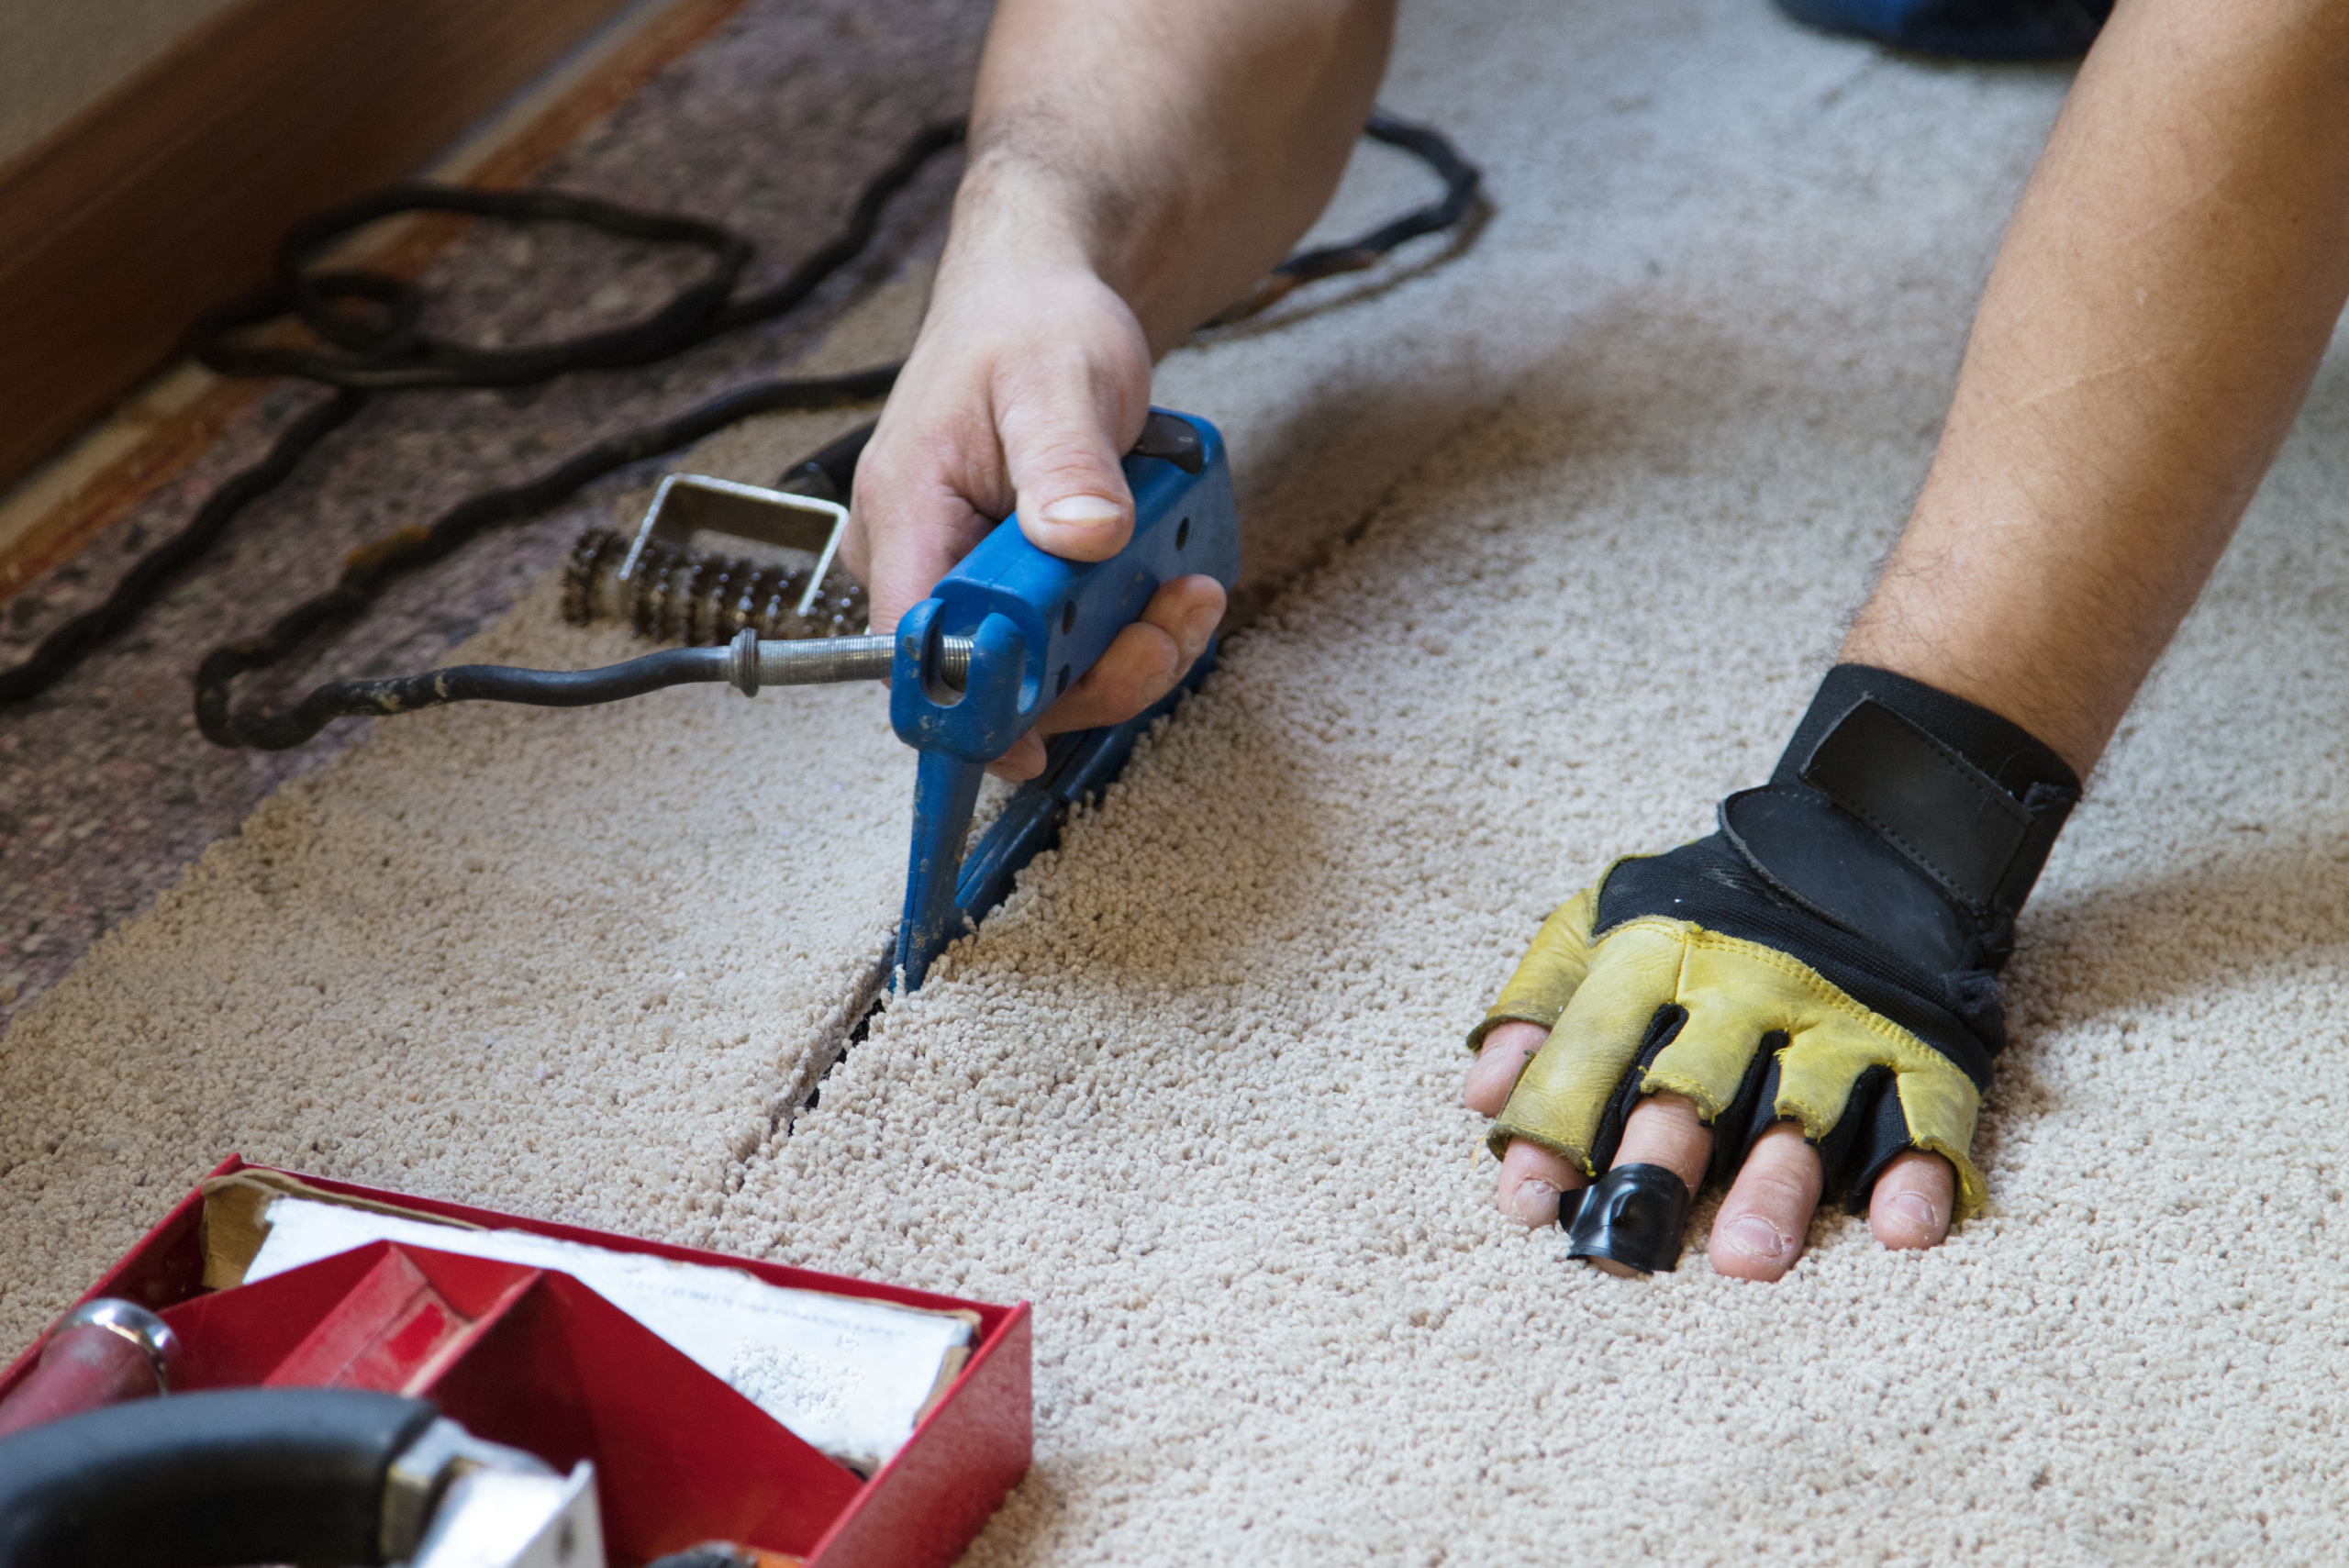
To achieve a truly seamless repair, use a star roller to blend the edges of your patch. Straddle the edge of the patch with the roller and press down firmly as you guide it around the perimeter twice. Roll over the patch from different directions until the seam disappears.
After rolling, you may need to trim any excess fibers that stick up around the patch edges. Use sharp scissors to carefully snip these fibers level with the surrounding carpet. Remember to let the adhesive cure for 24 hours before vacuuming or walking on the patch.
Related Articles
- How to Dry Your Wet Carpet
- Ultimate Guide: How to Fix Carpet Wrinkles Like a Pro
- How to Get Paint Out of Carpet
Congratulations! With this guide, you’ll be able to repair carpet damage quickly and easily. So, grab your tools and start patching that hole you’ve been hiding! Regular maintenance can help prevent future damage, and for more extensive issues, don’t hesitate to call in a professional. Your newly patched carpet—and your wallet—will thank you!
Ready to start your next project? Join our DIY community to receive tool tips, how-to guides, and exclusive creative insights. Subscribe to the ManMadeDIY newsletter now! Click here to unlock a world of hands-on inspiration.


