How to Plug a Hole in a Tire Without Calling for Help
A flat tire can derail your day, but knowing how to plug a hole yourself can save you time and money. Whether you’re dealing with a nail, screw, or sharp debris, repairing a punctured tire on the spot is often quicker and easier than waiting for roadside assistance. With the right tools and a little know-how, you can plug the hole and get back on the road in no time.
In this guide, we’ll walk you through the steps to safely and effectively plug a tire, from locating the leak to making sure the repair holds. Follow these simple steps, and you’ll be prepared for whatever the road throws your way.
Be Prepared and Pack a Tire Kit
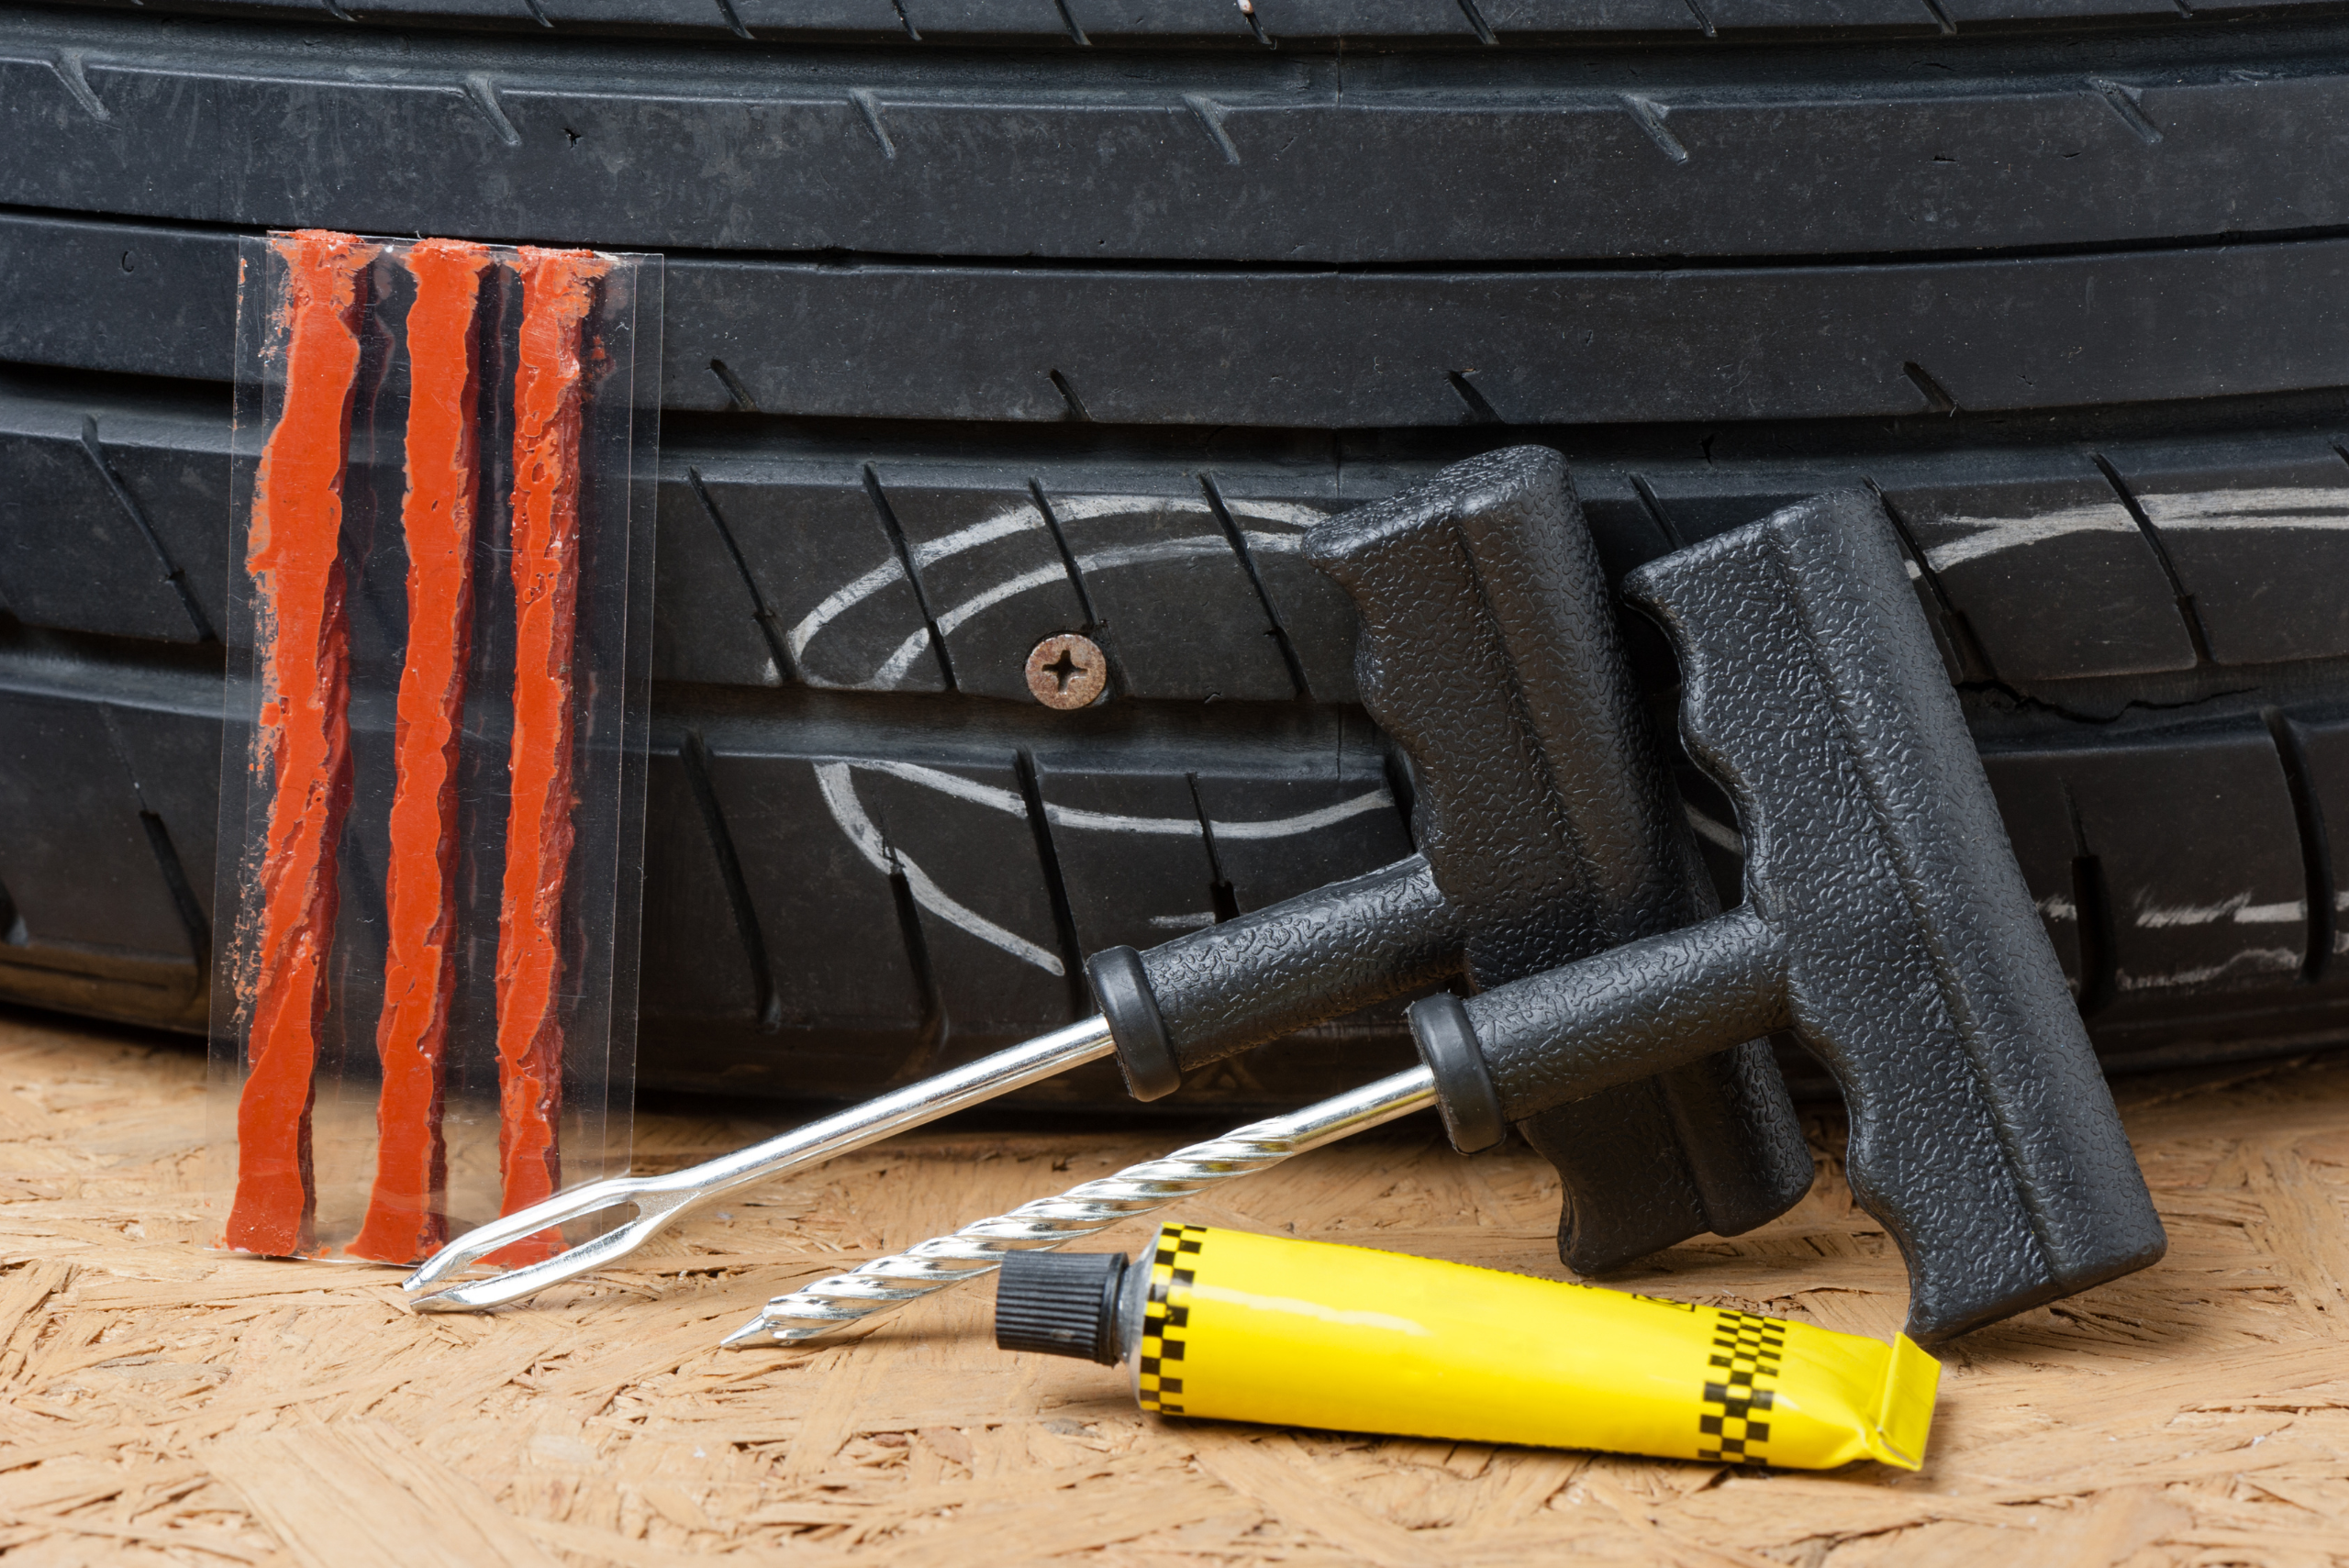
A tire puncture repair kit is a must-have in any road emergency kit, giving you the tools to get back on the road quickly. If you don’t have one on hand, you may need to rely on your spare tire and head to the nearest gas station or hardware store for a replacement kit.
When purchasing, invest in a high-quality tire plug kit to avoid common issues like tools breaking mid-repair, which often happens with cheaper versions. A reliable kit ensures you’re prepared for whatever the road throws your way, offering peace of mind in any situation.
1. Find the Leak Source
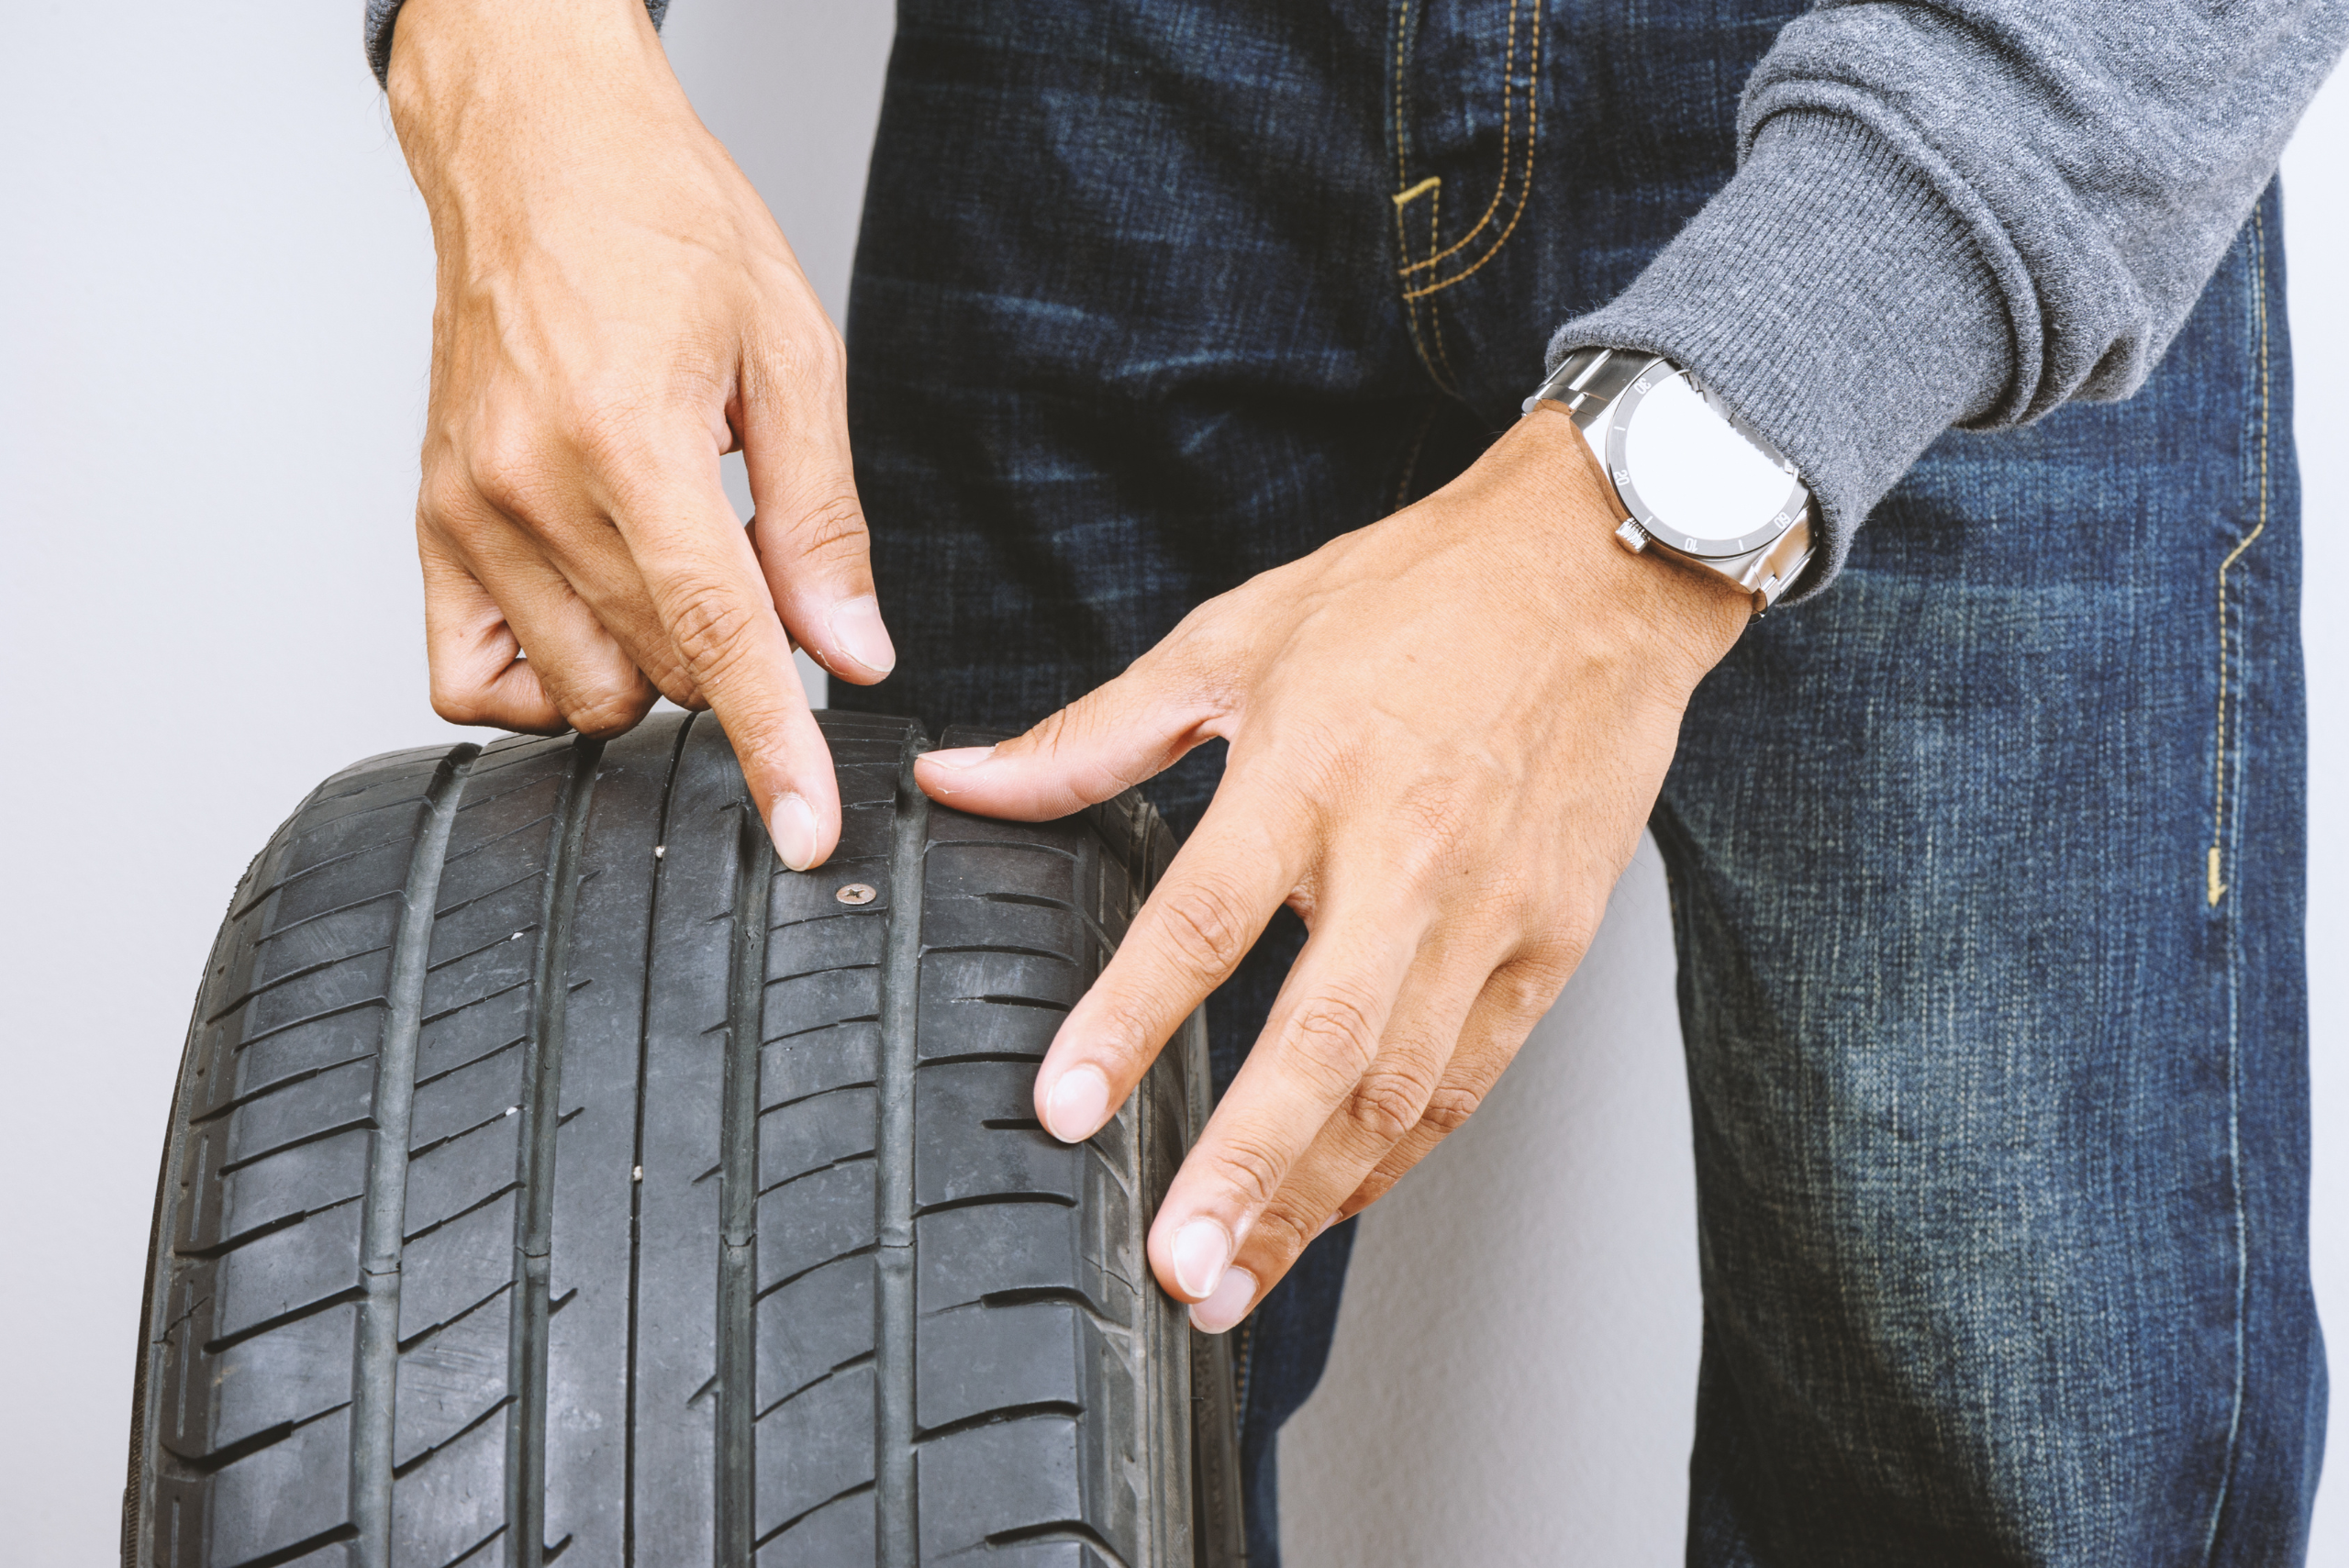
To locate the puncture, first, visually inspect the tire for any obvious signs of damage, such as nails, screws, or sharp debris lodged in the rubber. If nothing is immediately visible, run your hands slowly over the tire’s surface, feeling for irregularities. Then, listen closely for a faint hissing sound, which could indicate escaping air.
Start your next woodworking adventure with TedsWoodworking! Dive into 16,000+ projects and bring your ideas to life. Build unique furniture and master new skills with Ted’s detailed, step-by-step plans guiding you every step of the way.
2. Remove the Culprit
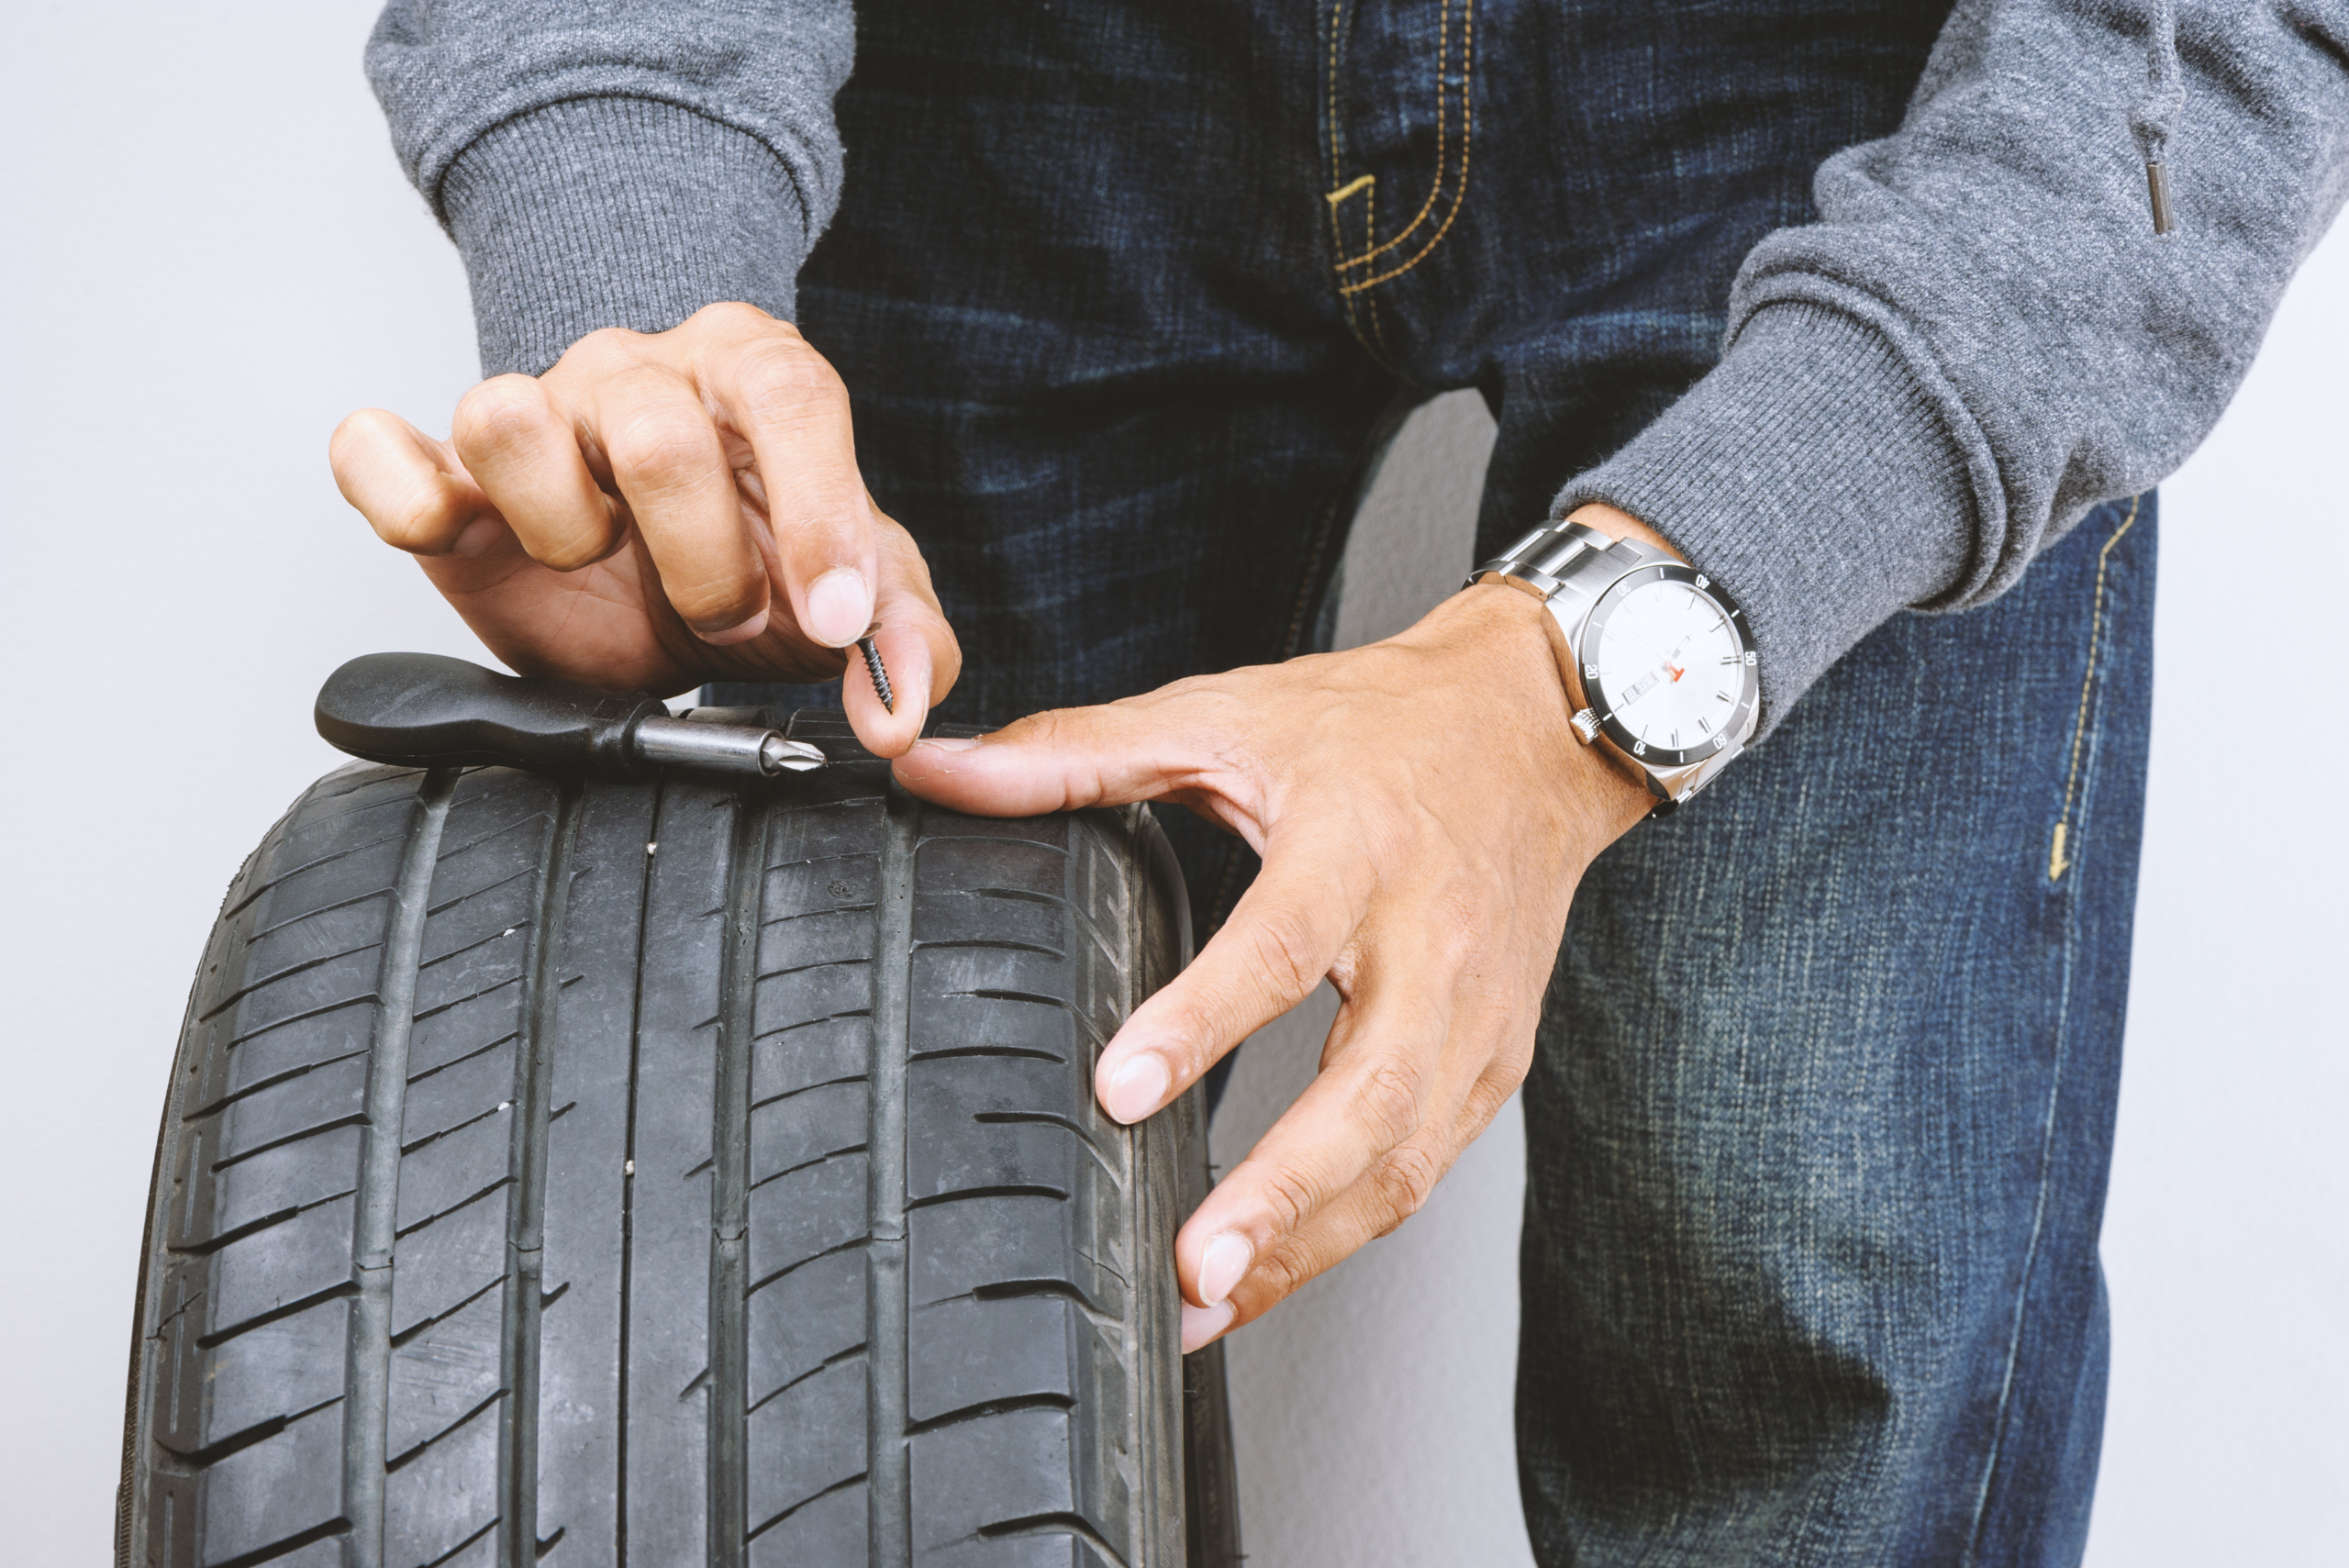
Once you’ve located the puncture and confirmed it’s the culprit, it’s time to remove the object carefully. If the object is a nail, screw, or sharp piece of debris, use a pair of pliers or a sturdy screwdriver to grip it firmly. Slowly pull the object straight out of the tire to avoid further tearing or enlarging the hole. Be cautious during this step, as the object might be tightly lodged, and forcing it out too quickly could worsen the damage.
3. Lubricate the Insertion Tool
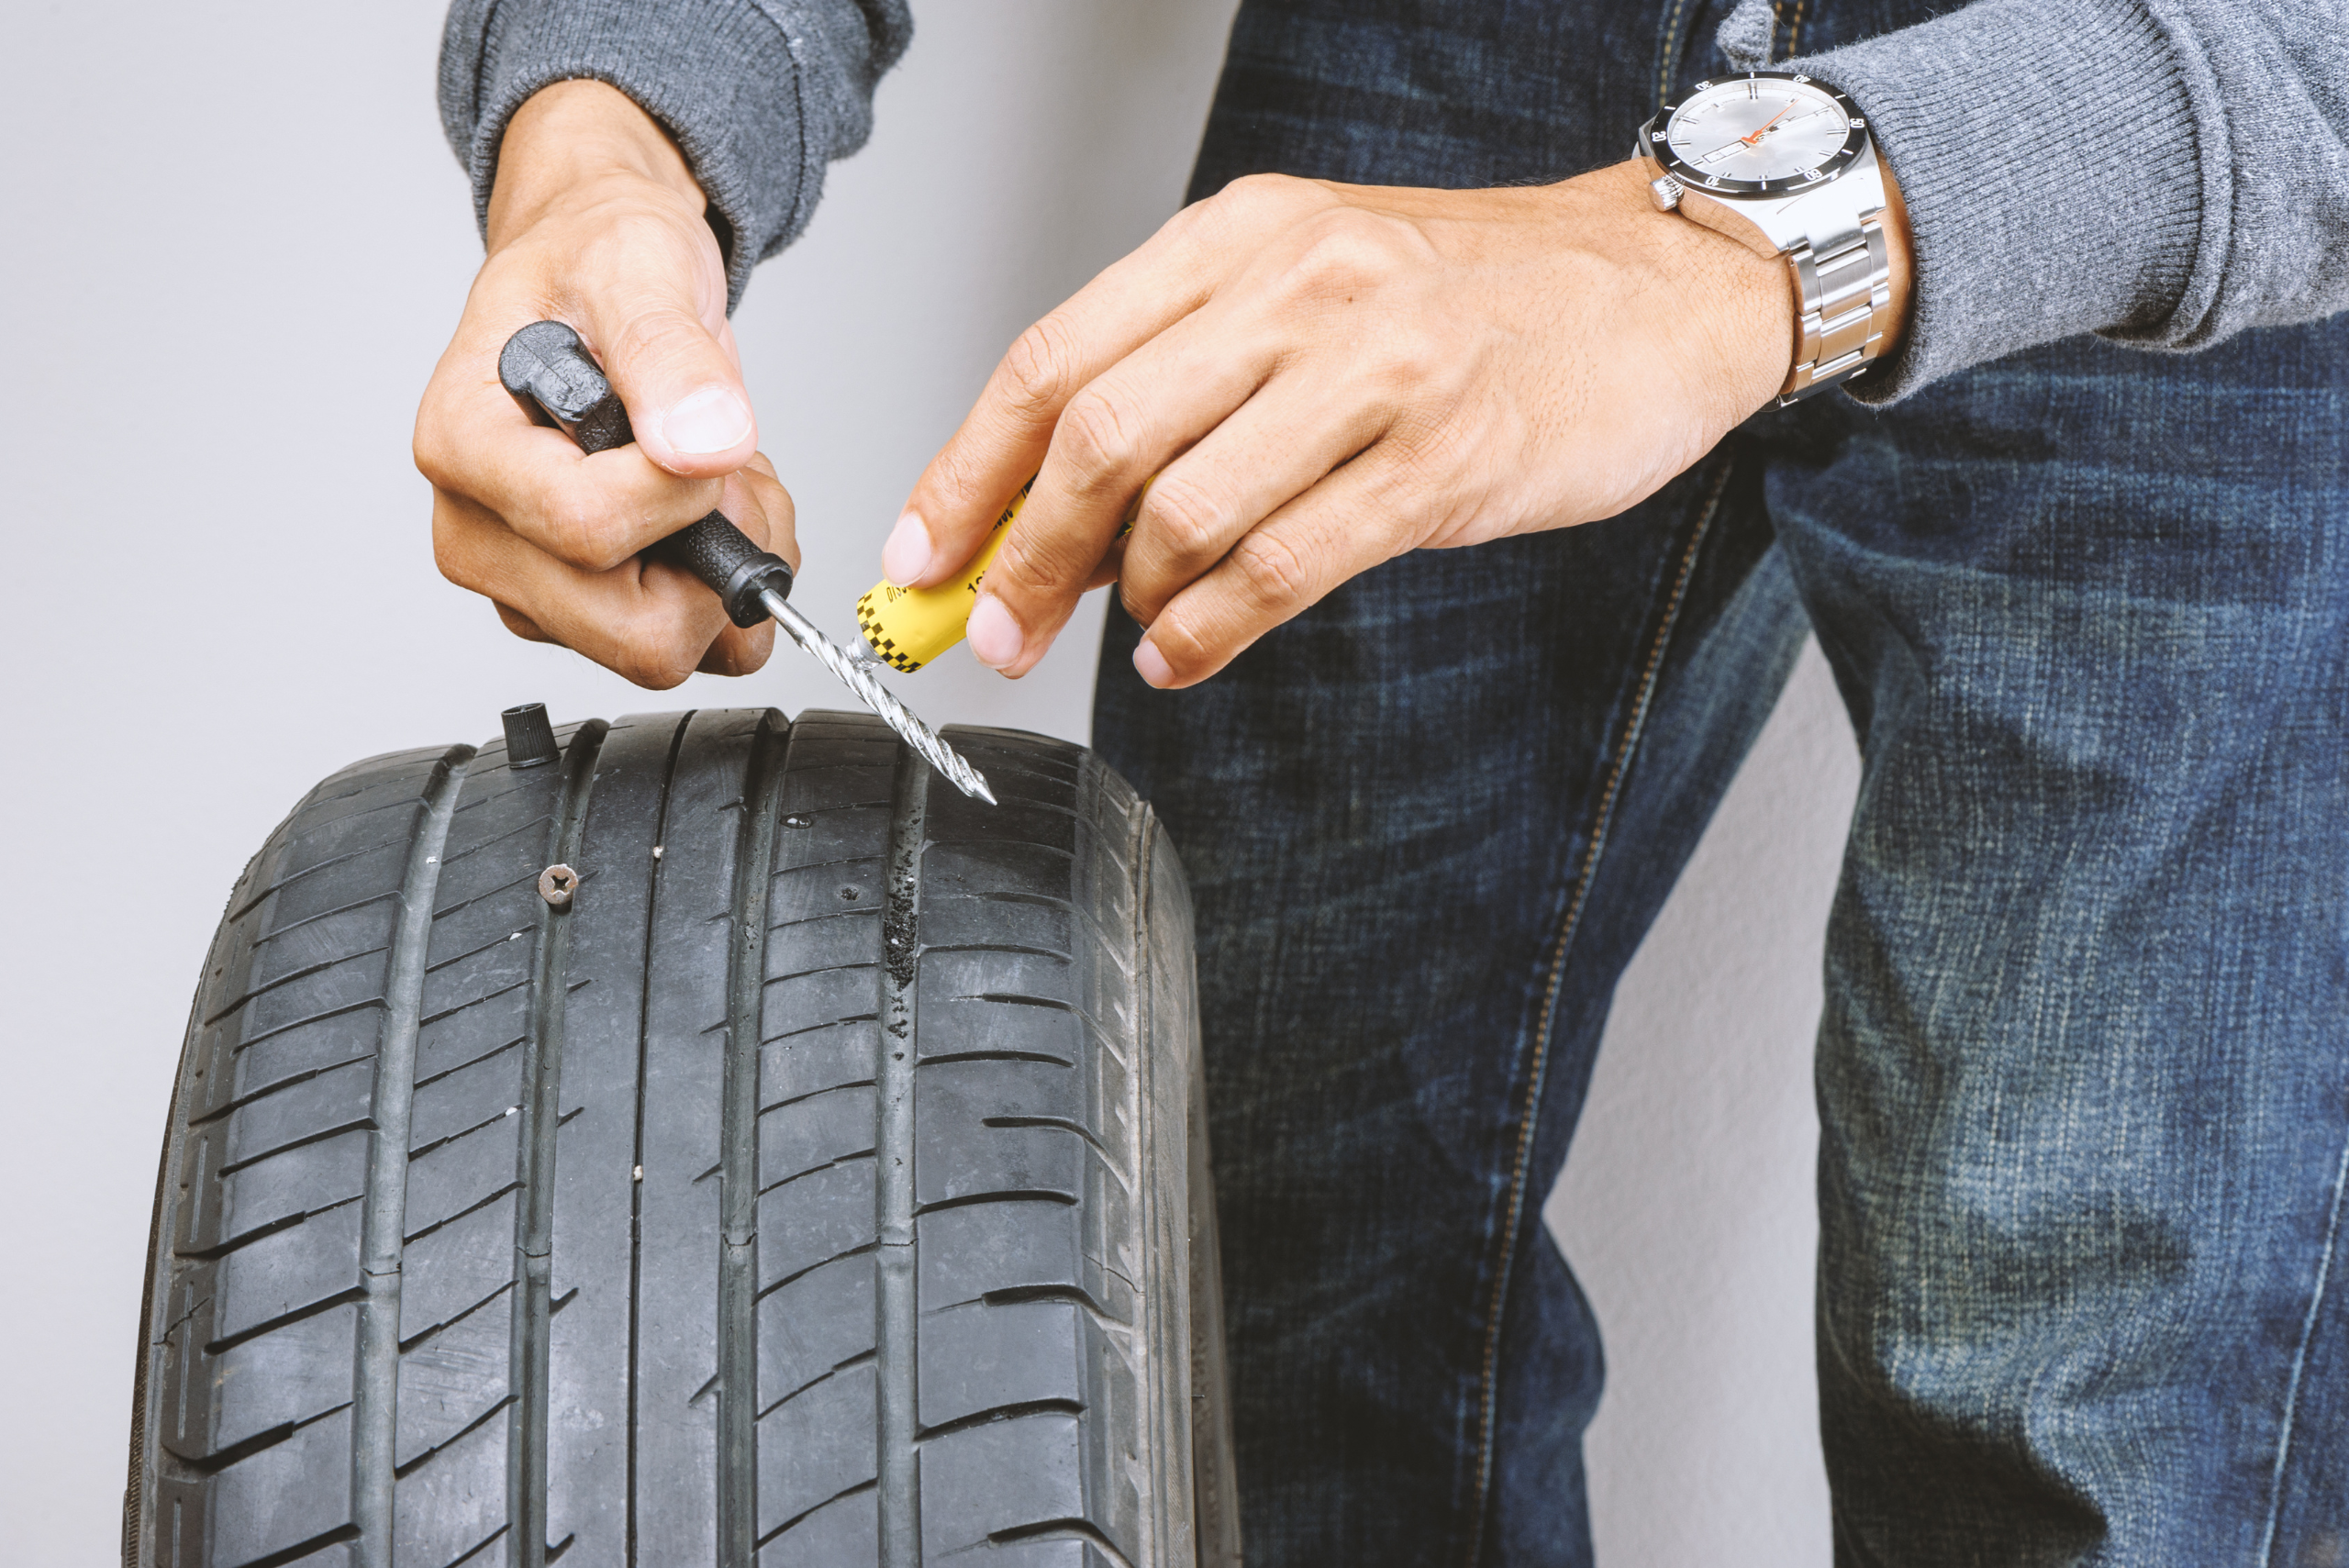
Before you can insert the plug, lubricate the insertion tool to make the process smoother and reduce the risk of damaging the tire further. Most tire plug kits come with a tube of rubber cement or lubricant, which you can apply directly to the tool or the hole. This will help the tool slide in easily and ensure a proper seal when the plug is inserted, making the repair more effective.
4. Prepare and Clean the Puncture
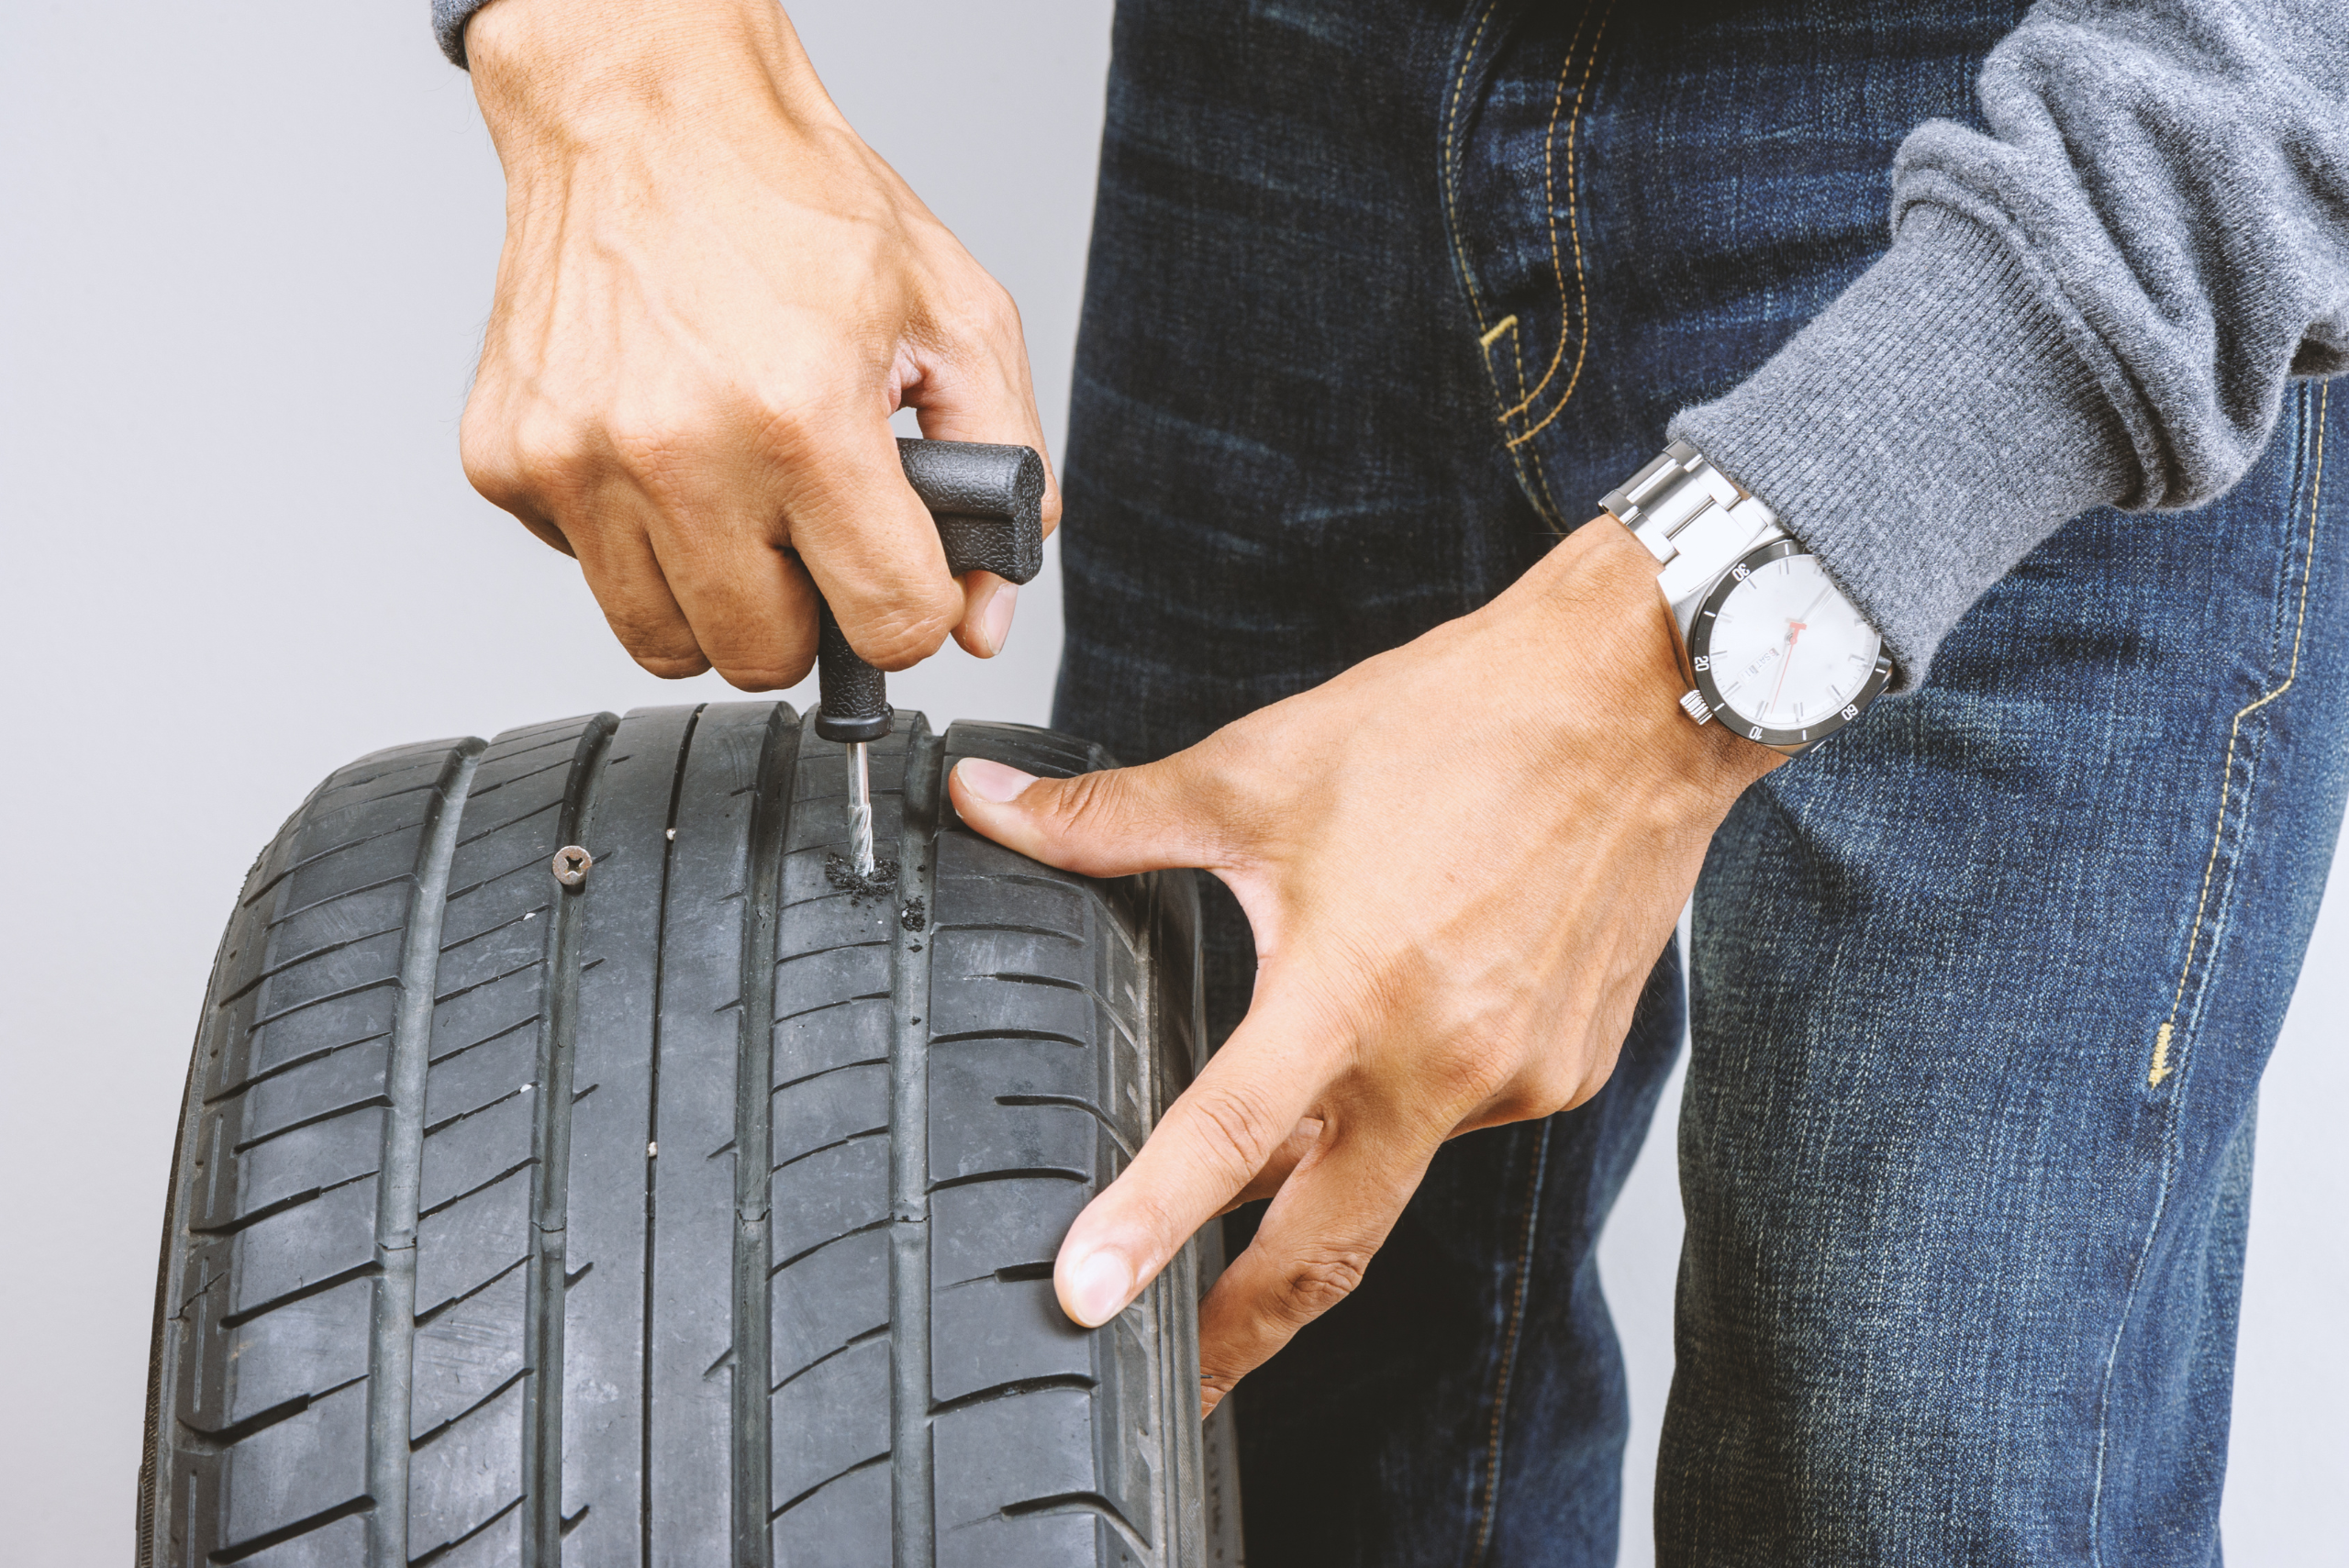
After removing the object, the hole may still have small fragments of debris or jagged edges. Use the reaming tool from your kit to clean and widen the puncture slightly, creating a smoother surface for the plug to bond to. Insert the tool into the hole and twist it a few times to ensure the puncture is prepped for the plug, allowing it to fit securely.
5. Load the Plug into the Tool
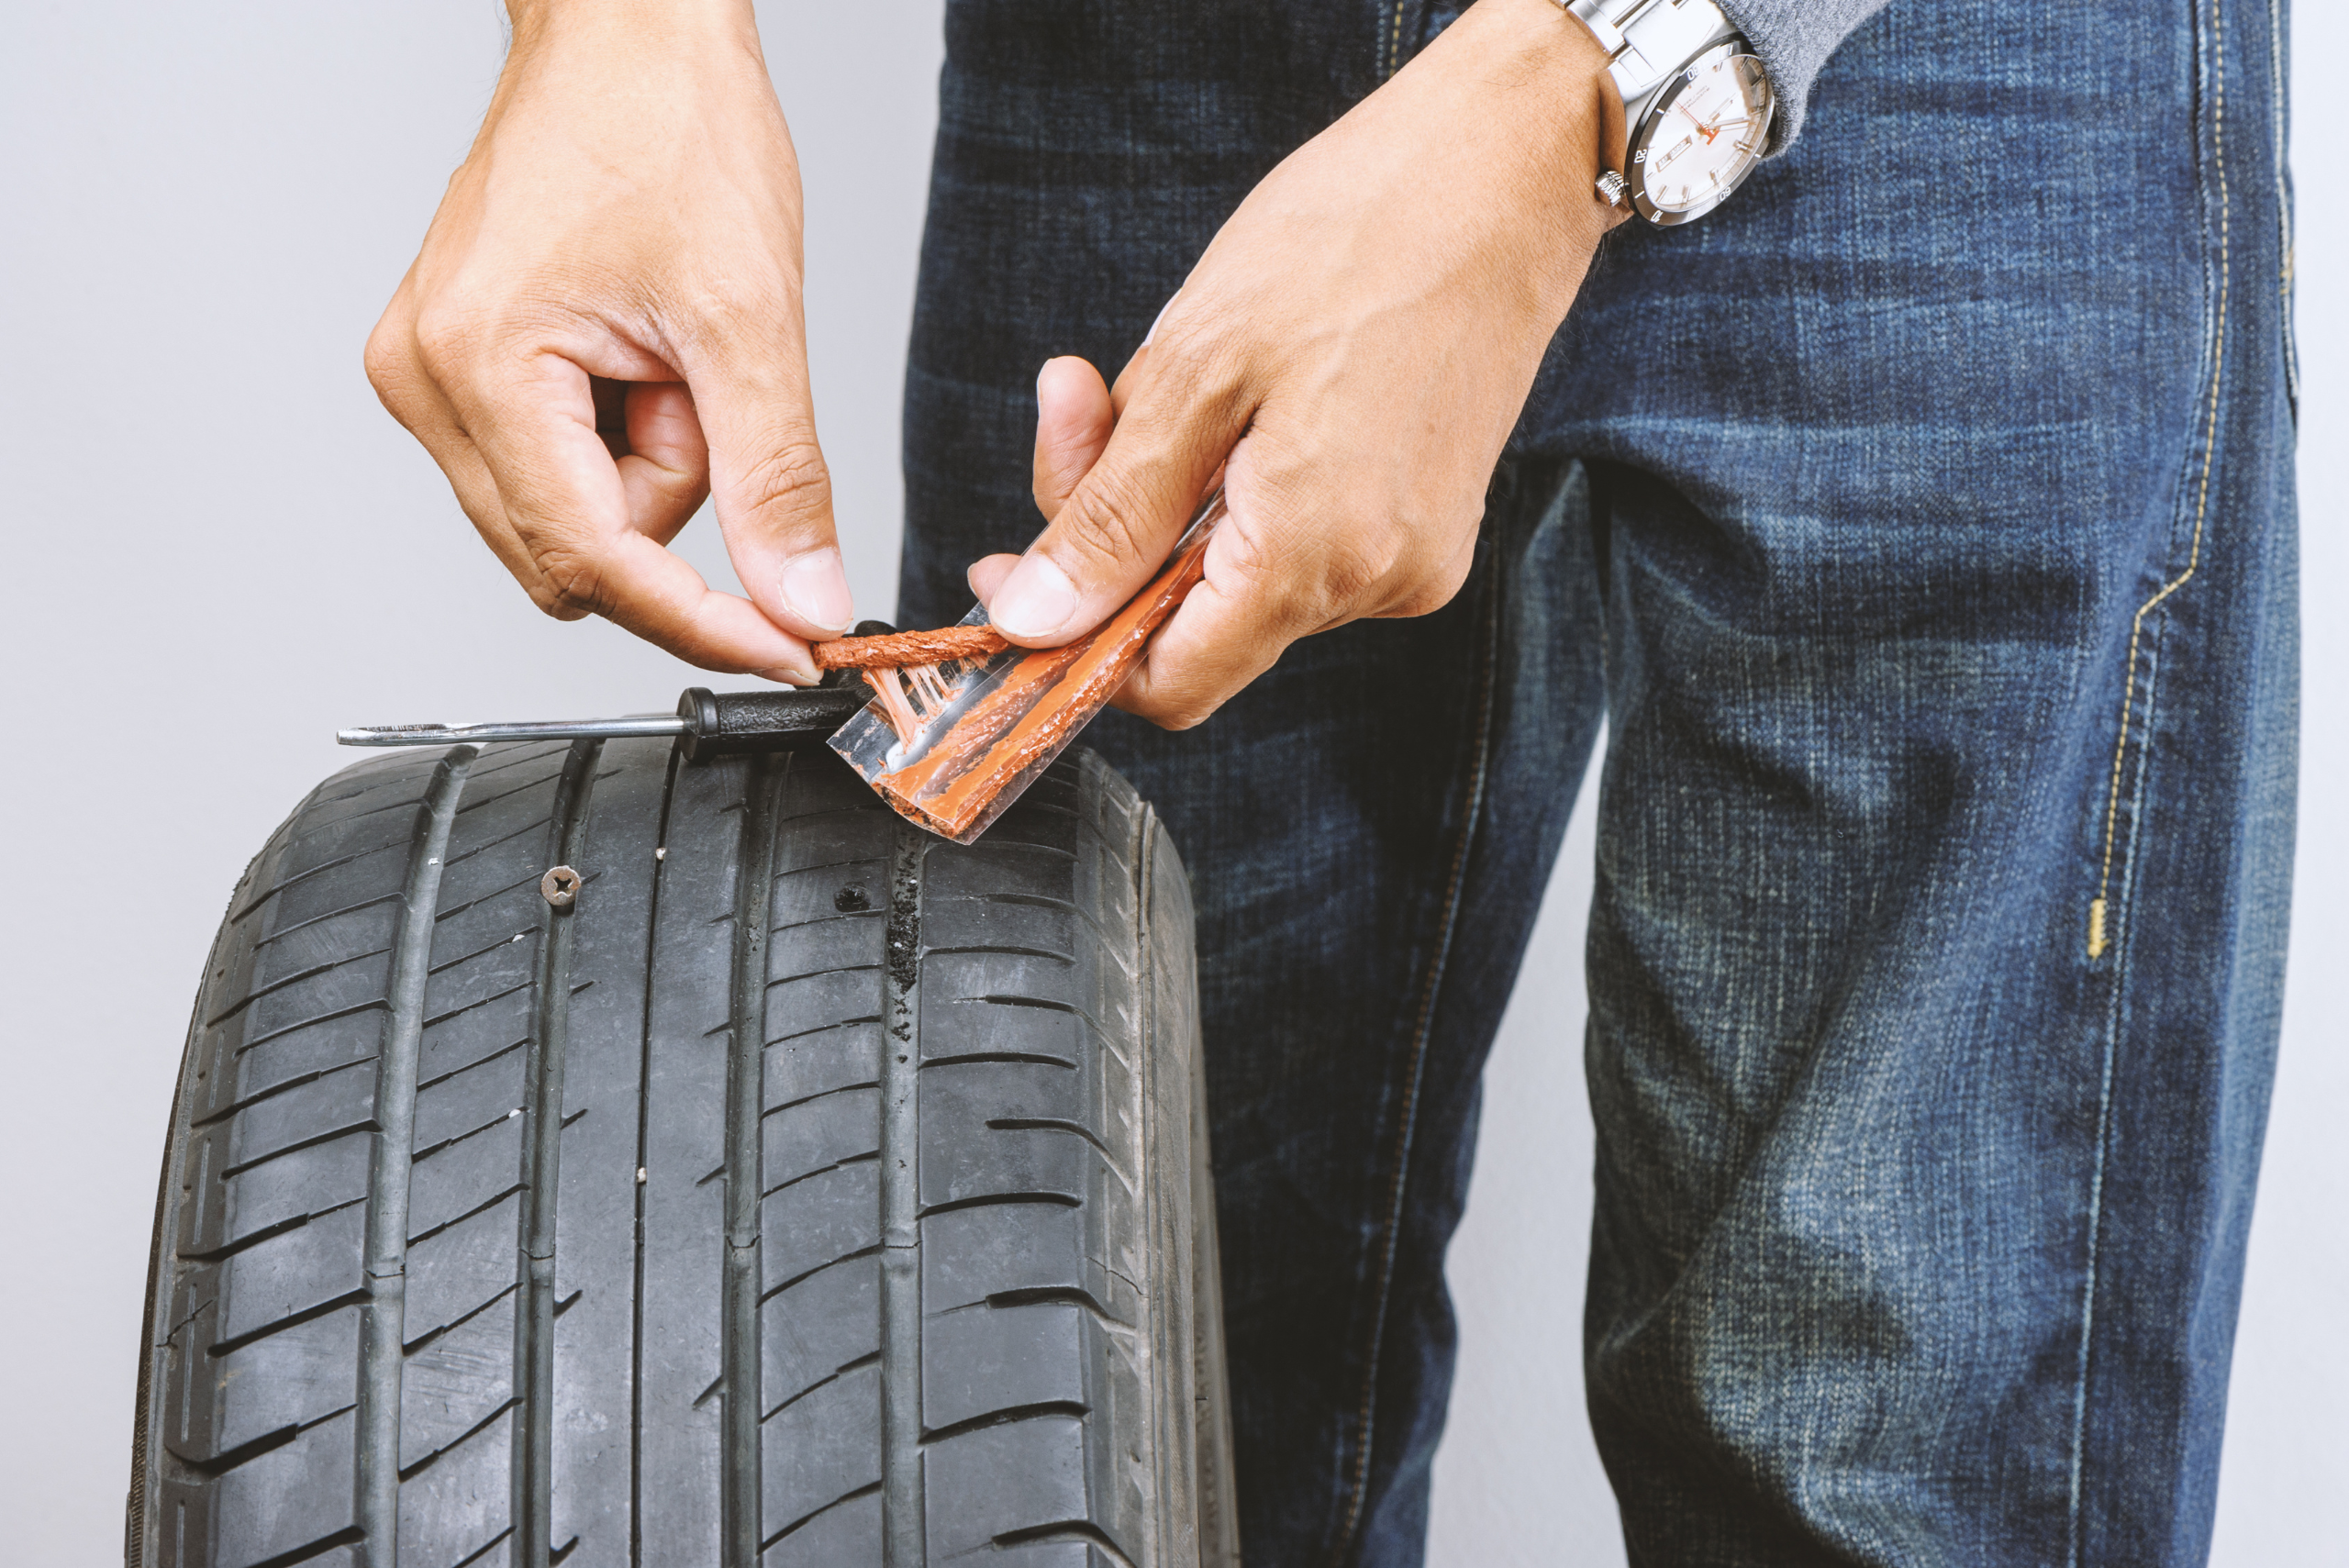
Next, take one of the rubber plug strips from your kit and load it into the eyelet or slot of the insertion tool. Fold the plug in half so both ends are even, leaving a loop in the middle. Ensure the plug is centered and secure, as it needs to be inserted into the tire evenly to create a proper seal once inside the hole.
6. Insert the Plug into the Tire
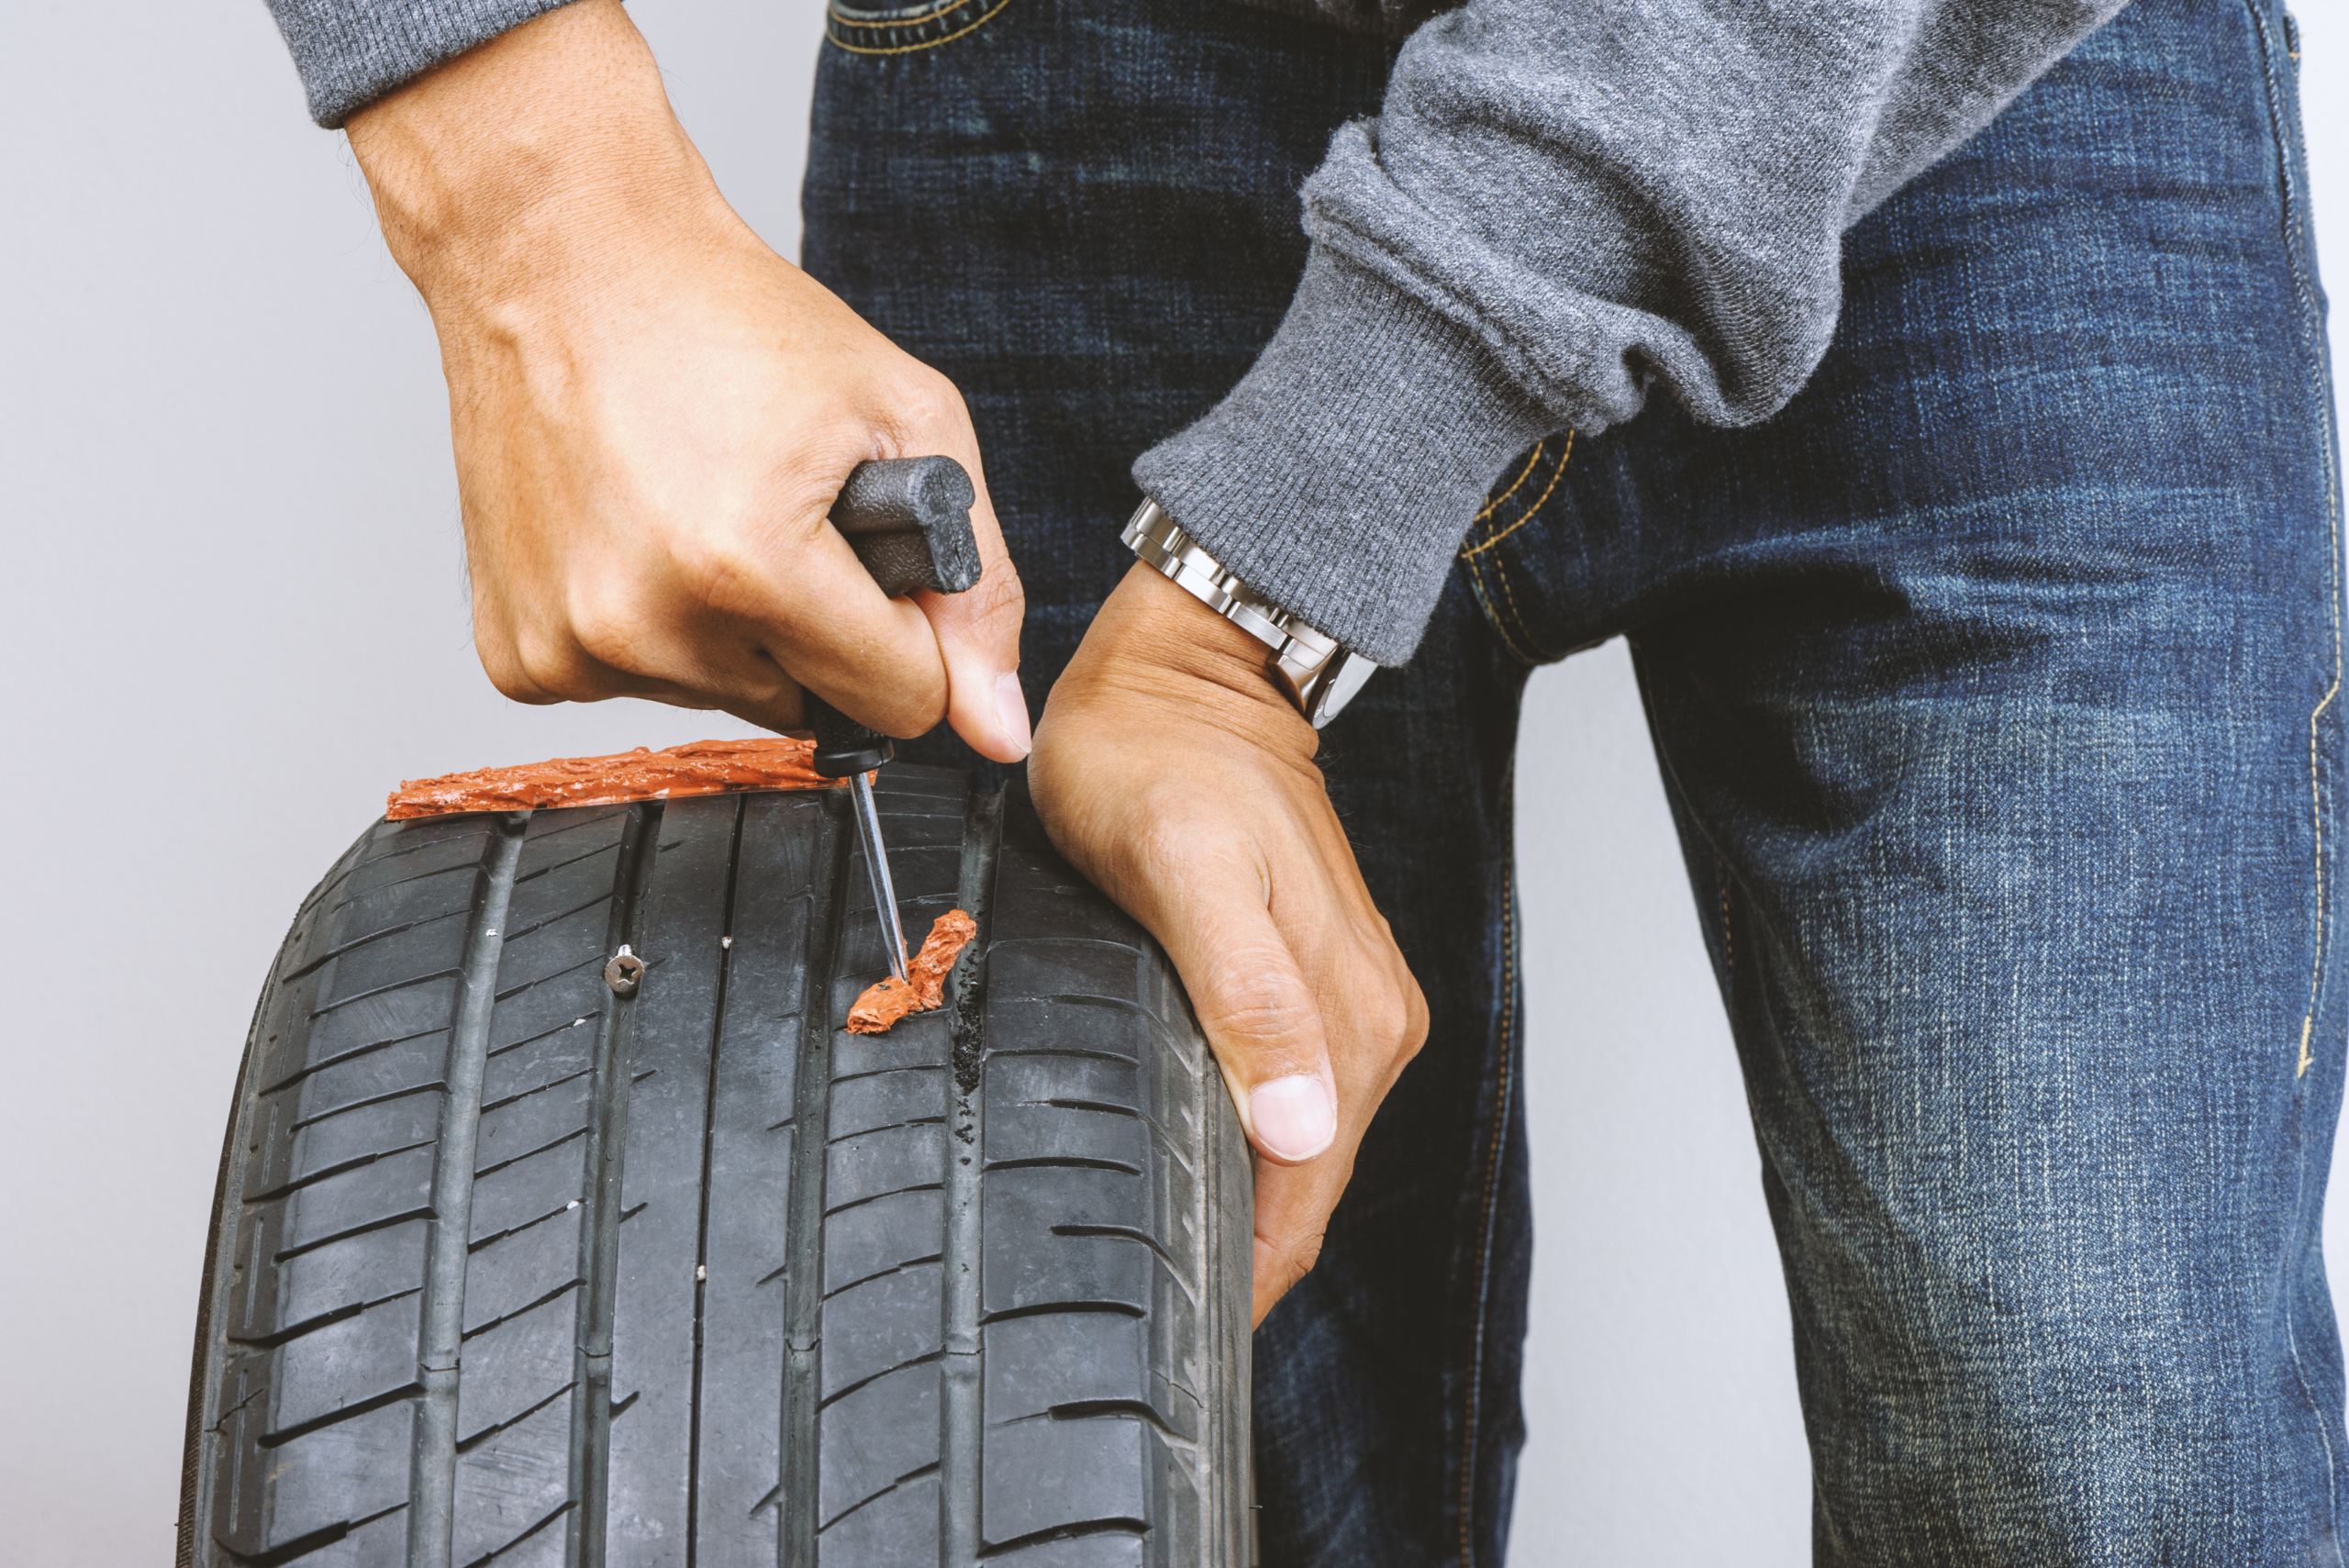
With the plug loaded, push the insertion tool firmly into the cleaned puncture hole. It may require a bit of force, but be careful not to overdo it. You want the plug to be inserted deep enough so that the majority of the plug is inside the tire, but a small portion of the ends should remain visible. This ensures a tight fit, allowing the plug to seal the hole from both sides.
7. Trim the Excess Plug
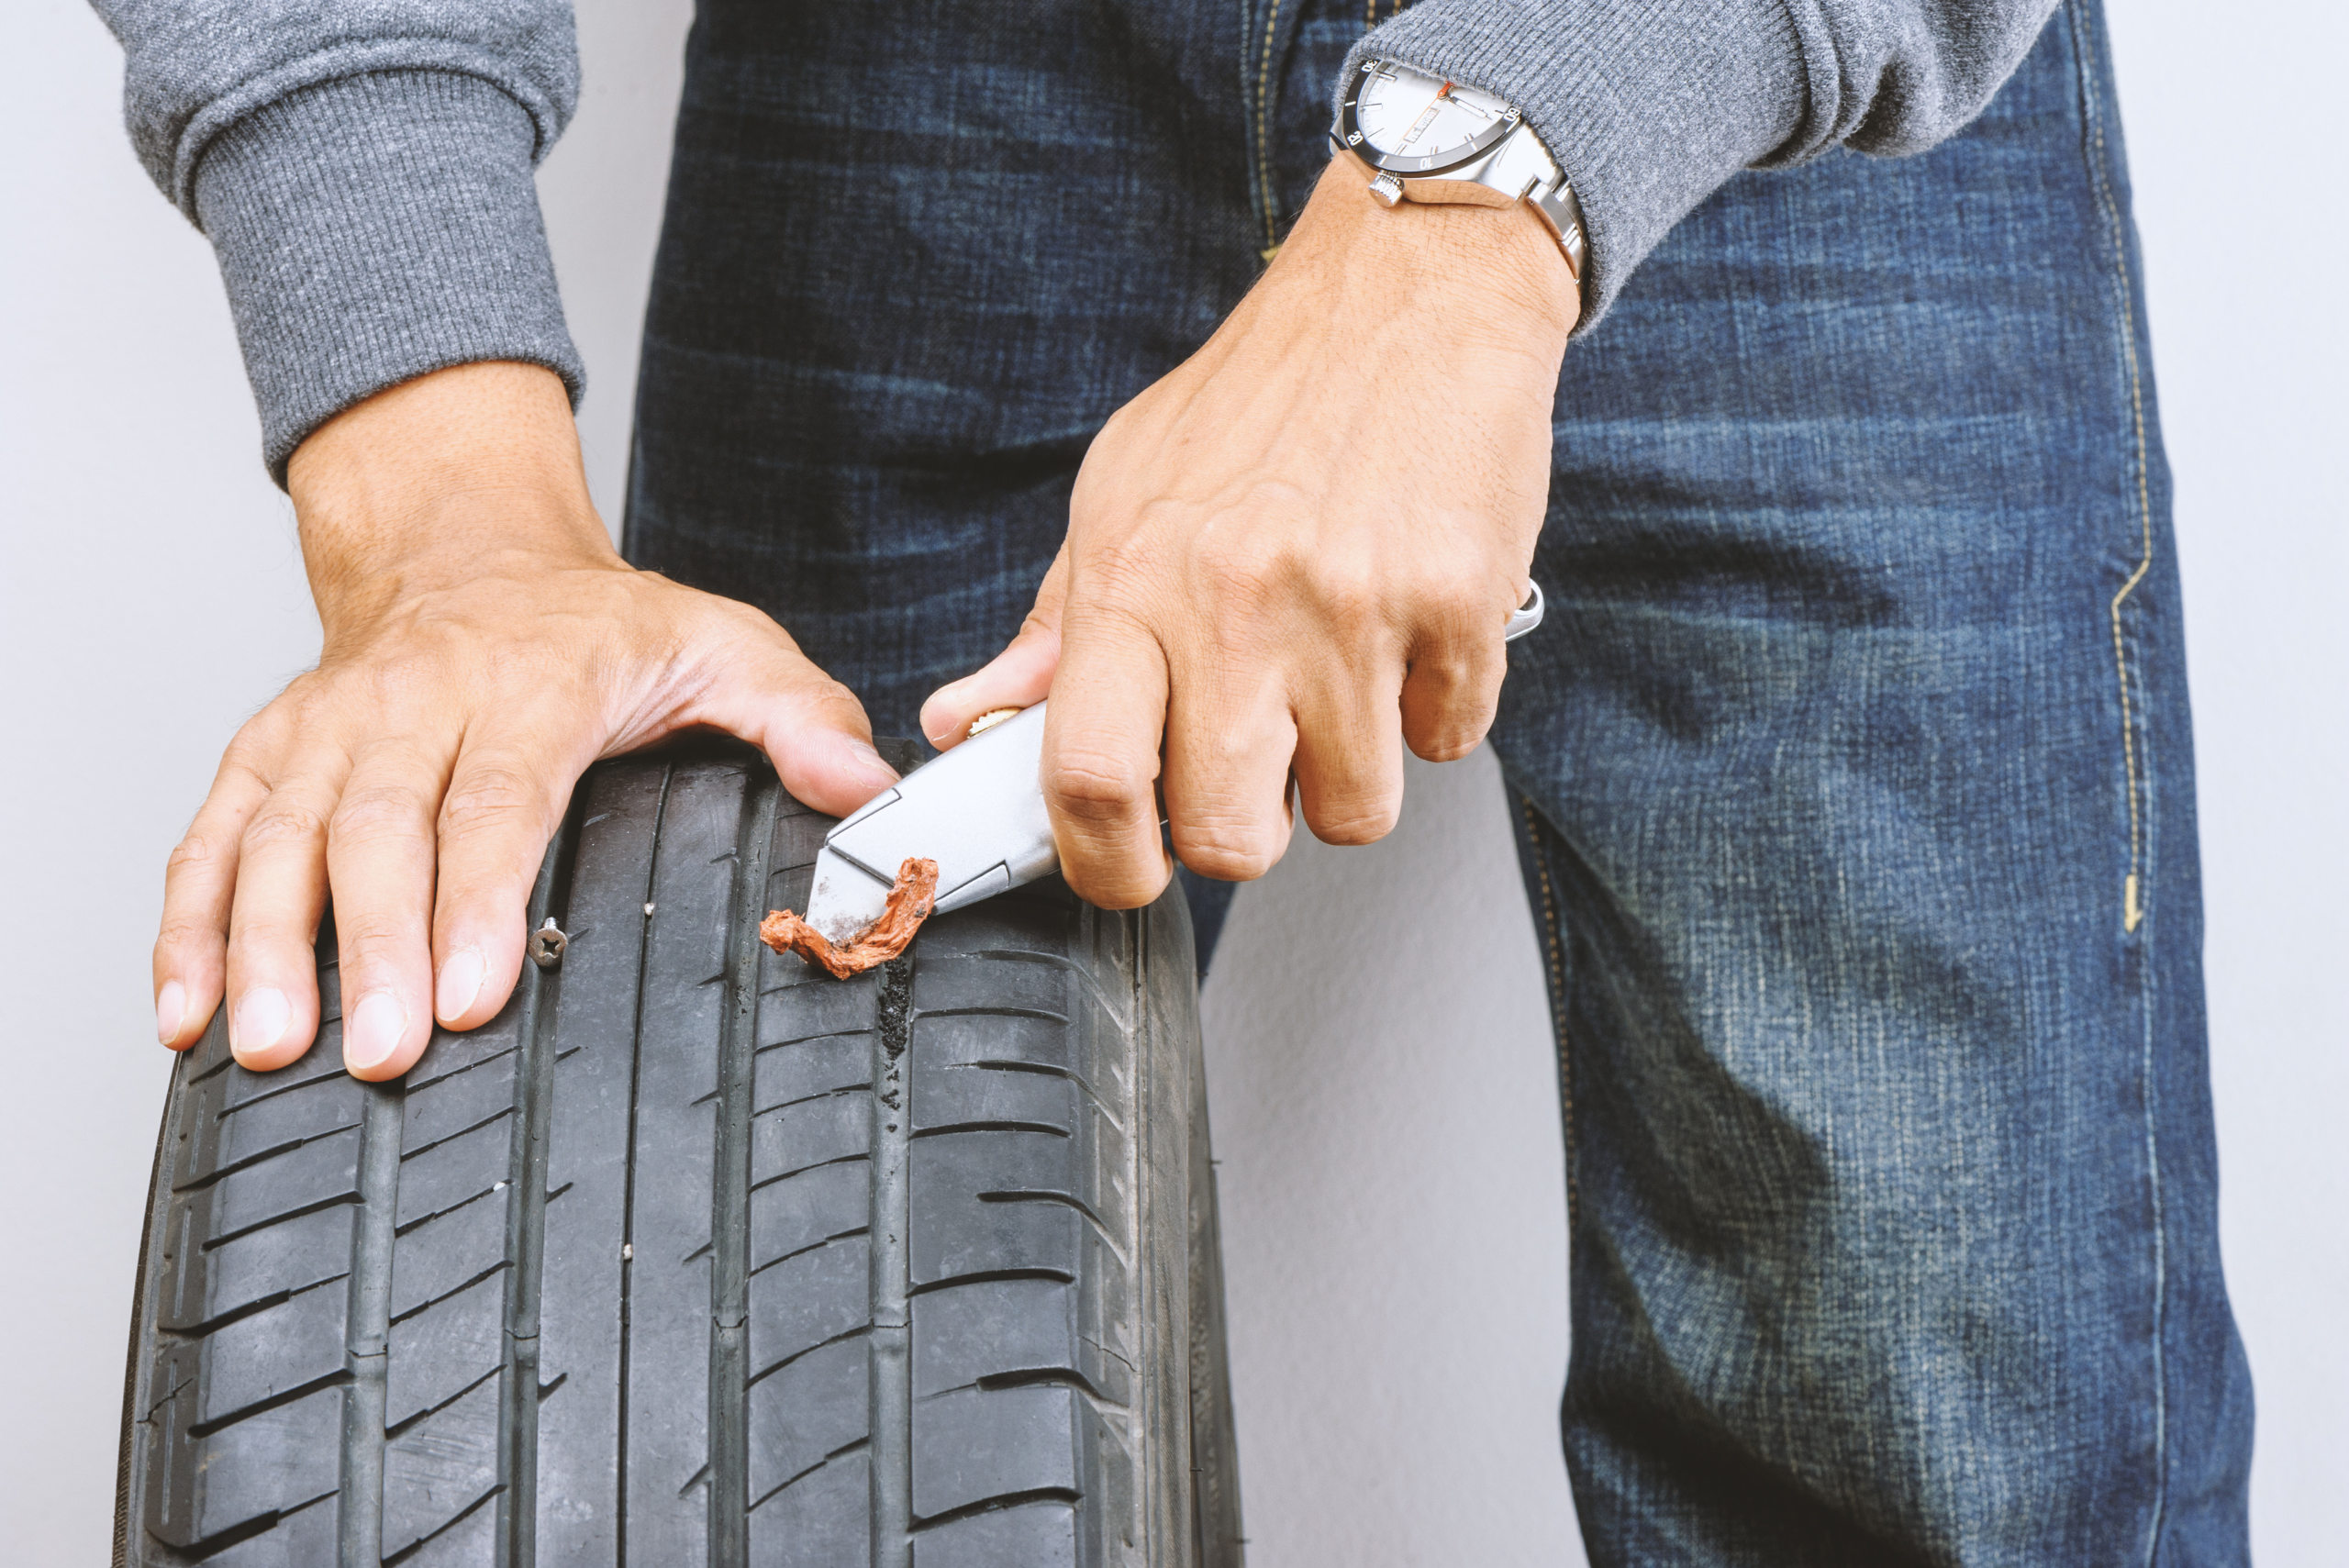
Once the plug is inserted, use a sharp knife or the cutter tool provided in your kit to trim off any excess rubber that’s sticking out of the tire. Leave about a quarter-inch of the plug exposed above the tire’s surface. This helps the plug stay secure and allows it to wear down naturally over time while ensuring it doesn’t interfere with the tire’s contact with the road.
8. Check for Leaks Again
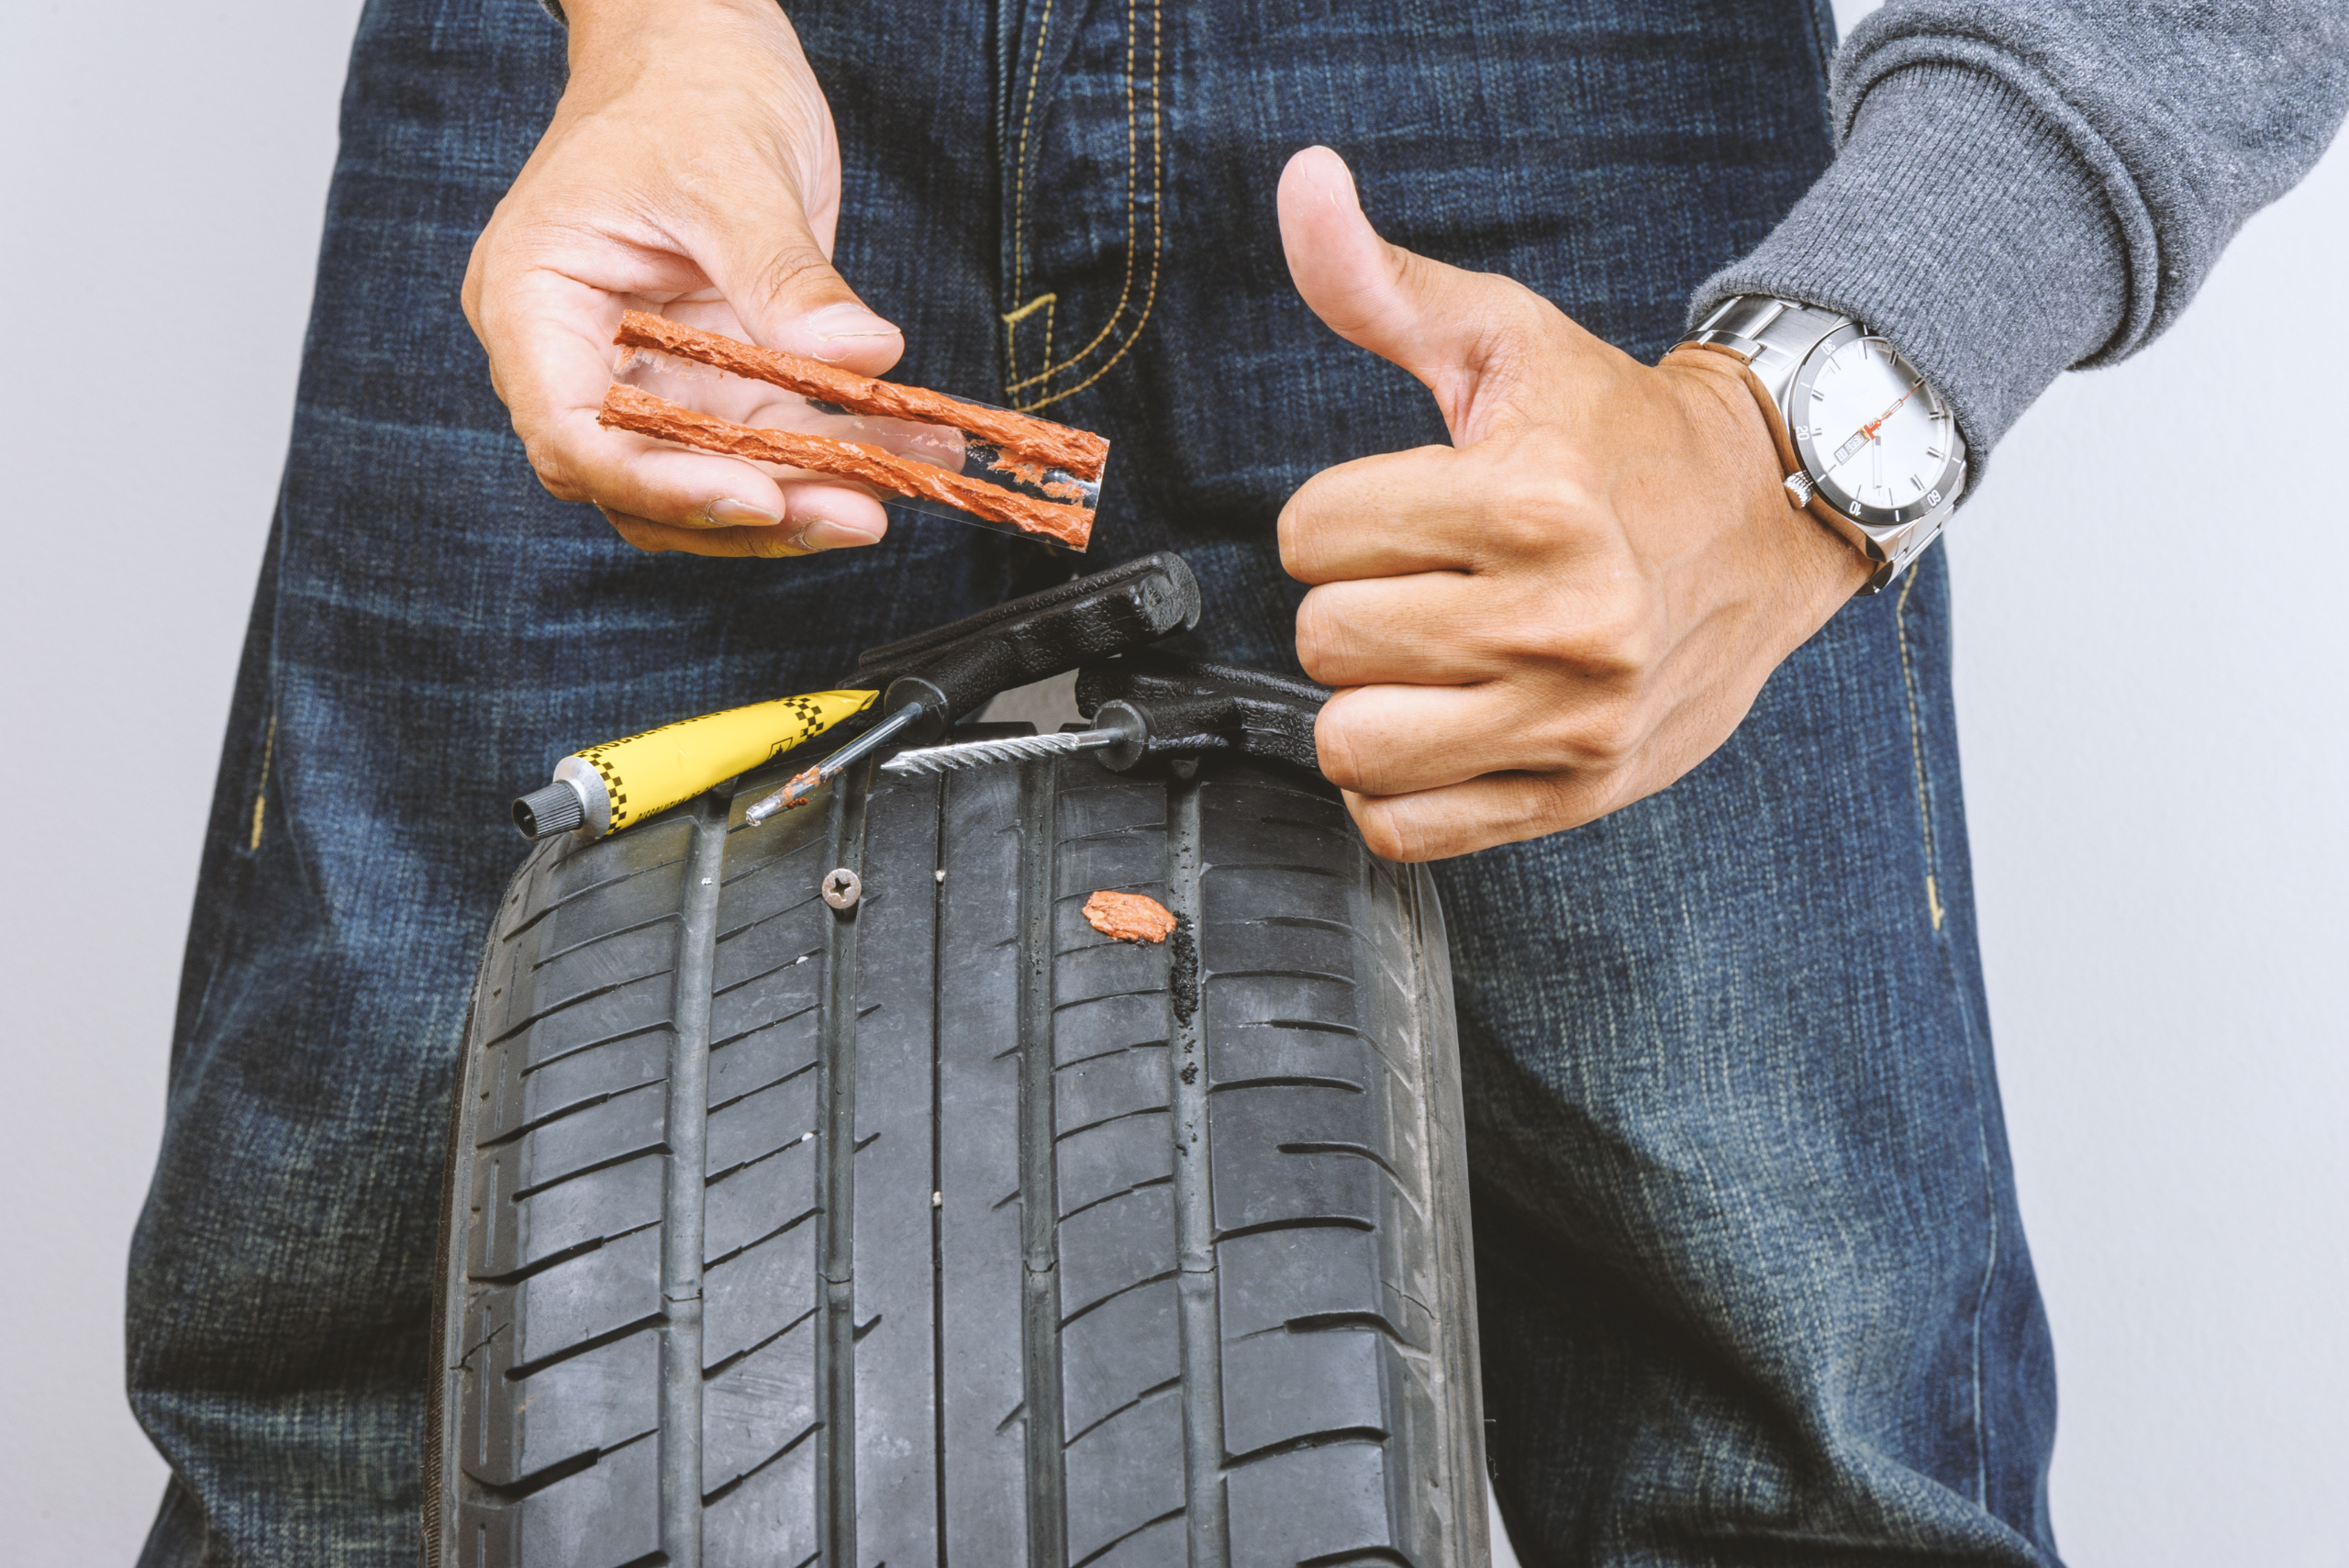
After the plug is in place, it’s time to double-check your work. Inflate the tire to the proper pressure and spray the soapy water mixture over the repaired area. Watch carefully for any bubbles that might form, indicating air is still escaping. If there are no bubbles, your repair is successful. For added peace of mind, keep an eye on the tire pressure over the next few days to ensure the plug is holding.
Related Articles
- How to Recharge Car AC to Enjoy Comfortable Drives on Hot Days
- Must-Have Tools in Your Car Toolkit: Be Ready for Any Roadside Emergency
- Car Battery Replacement – Step-by-Step Guide for DIY Enthusiasts
By following these steps, you’ll be able to quickly and confidently repair a punctured tire, saving yourself the hassle of waiting for help or spending extra on a professional fix. With a reliable tire plug kit in your car, you’re ready for the unexpected and can handle most minor punctures on the go. Keep an eye on your tire pressure afterward to ensure the plug holds, and you’ll be back on the road with peace of mind.


