How to Reattach Loose Baseboards
Loose baseboards can make any room look unfinished and unkempt. Over time, baseboards can detach from walls due to humidity, house settling, or general wear and tear. Fixing them might seem intimidating, but with the right tools and a bit of guidance, it’s an easy DIY task. In this guide, we’ll walk you through the steps to reattach loose baseboards securely and seamlessly, enhancing the look and feel of your space without the need for professional help.
Gather Your Tools and Materials
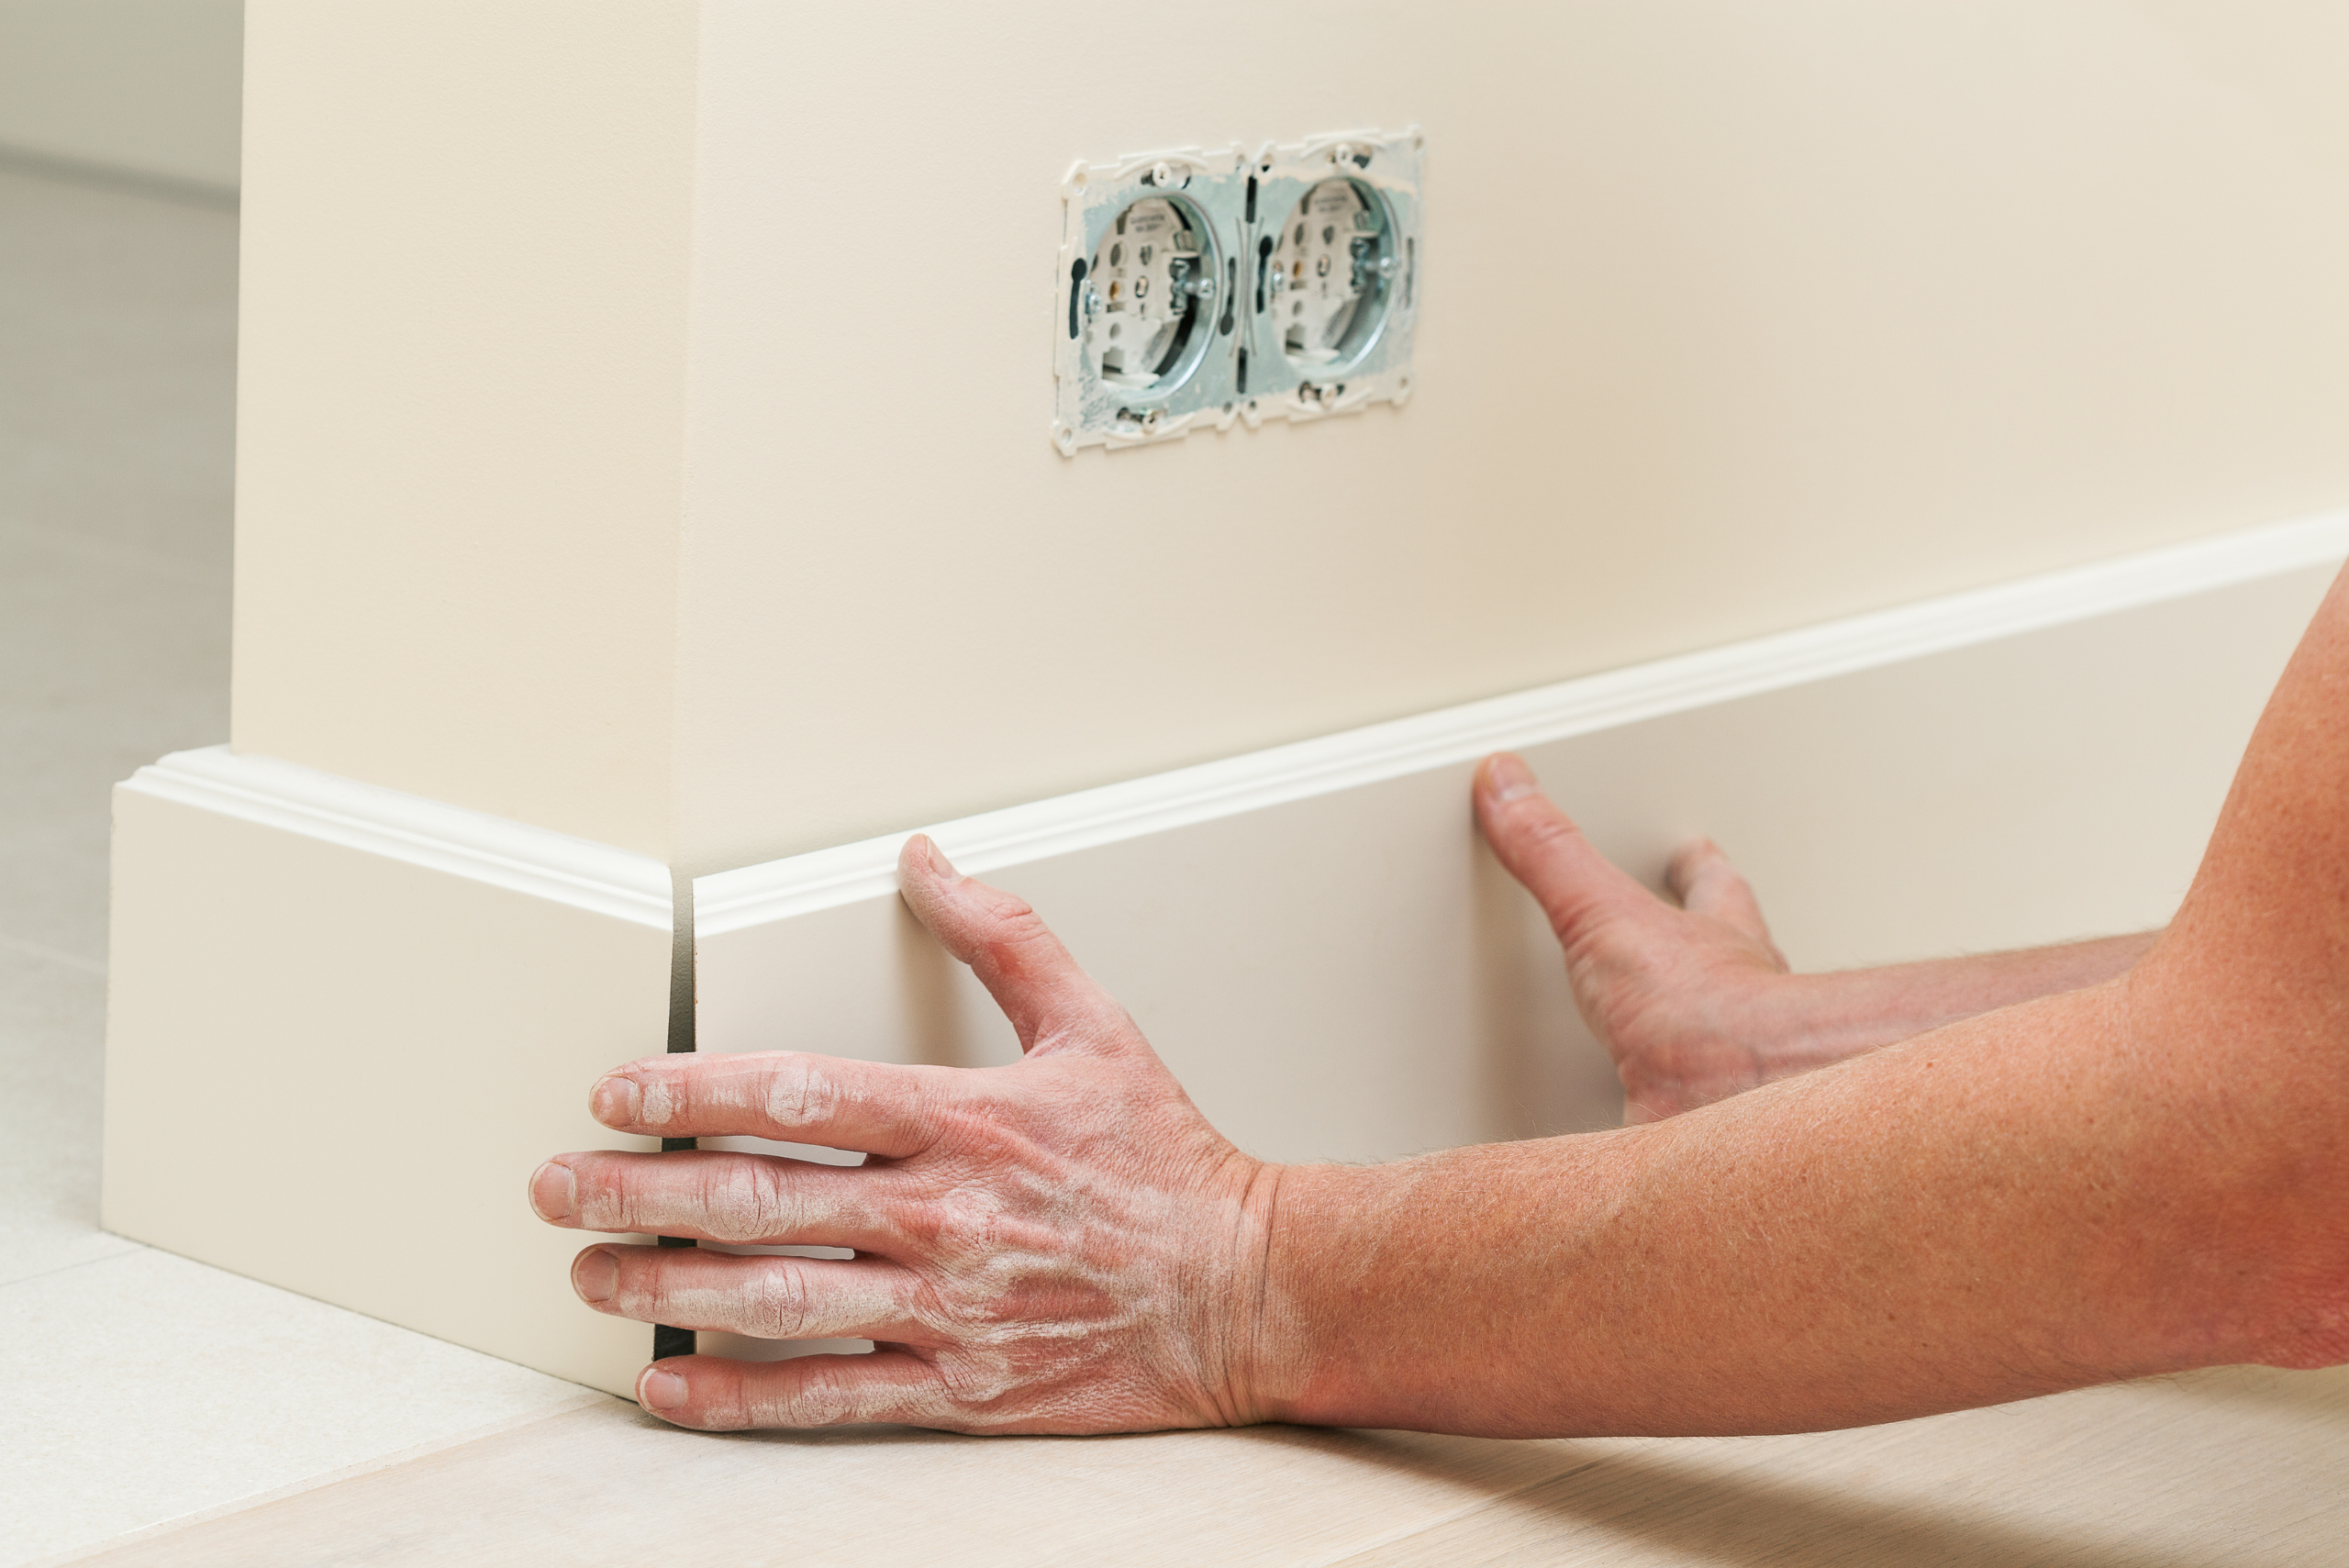
Before you begin, gather the essential tools and materials to make the job easier. You’ll need items like a putty knife, wood glue, finishing nails, a hammer, a pry bar, and a caulking gun. A tape measure and level can also help ensure precision in aligning the baseboards correctly.
In addition to these basics, consider some optional materials like painter’s tape to protect walls and floors, or a stud finder to locate where your nails will hold best. Having everything ready will save time and help the repair go smoothly, letting you focus on achieving a secure, polished finish.
Prepare the Wall and Baseboard for Reattachment
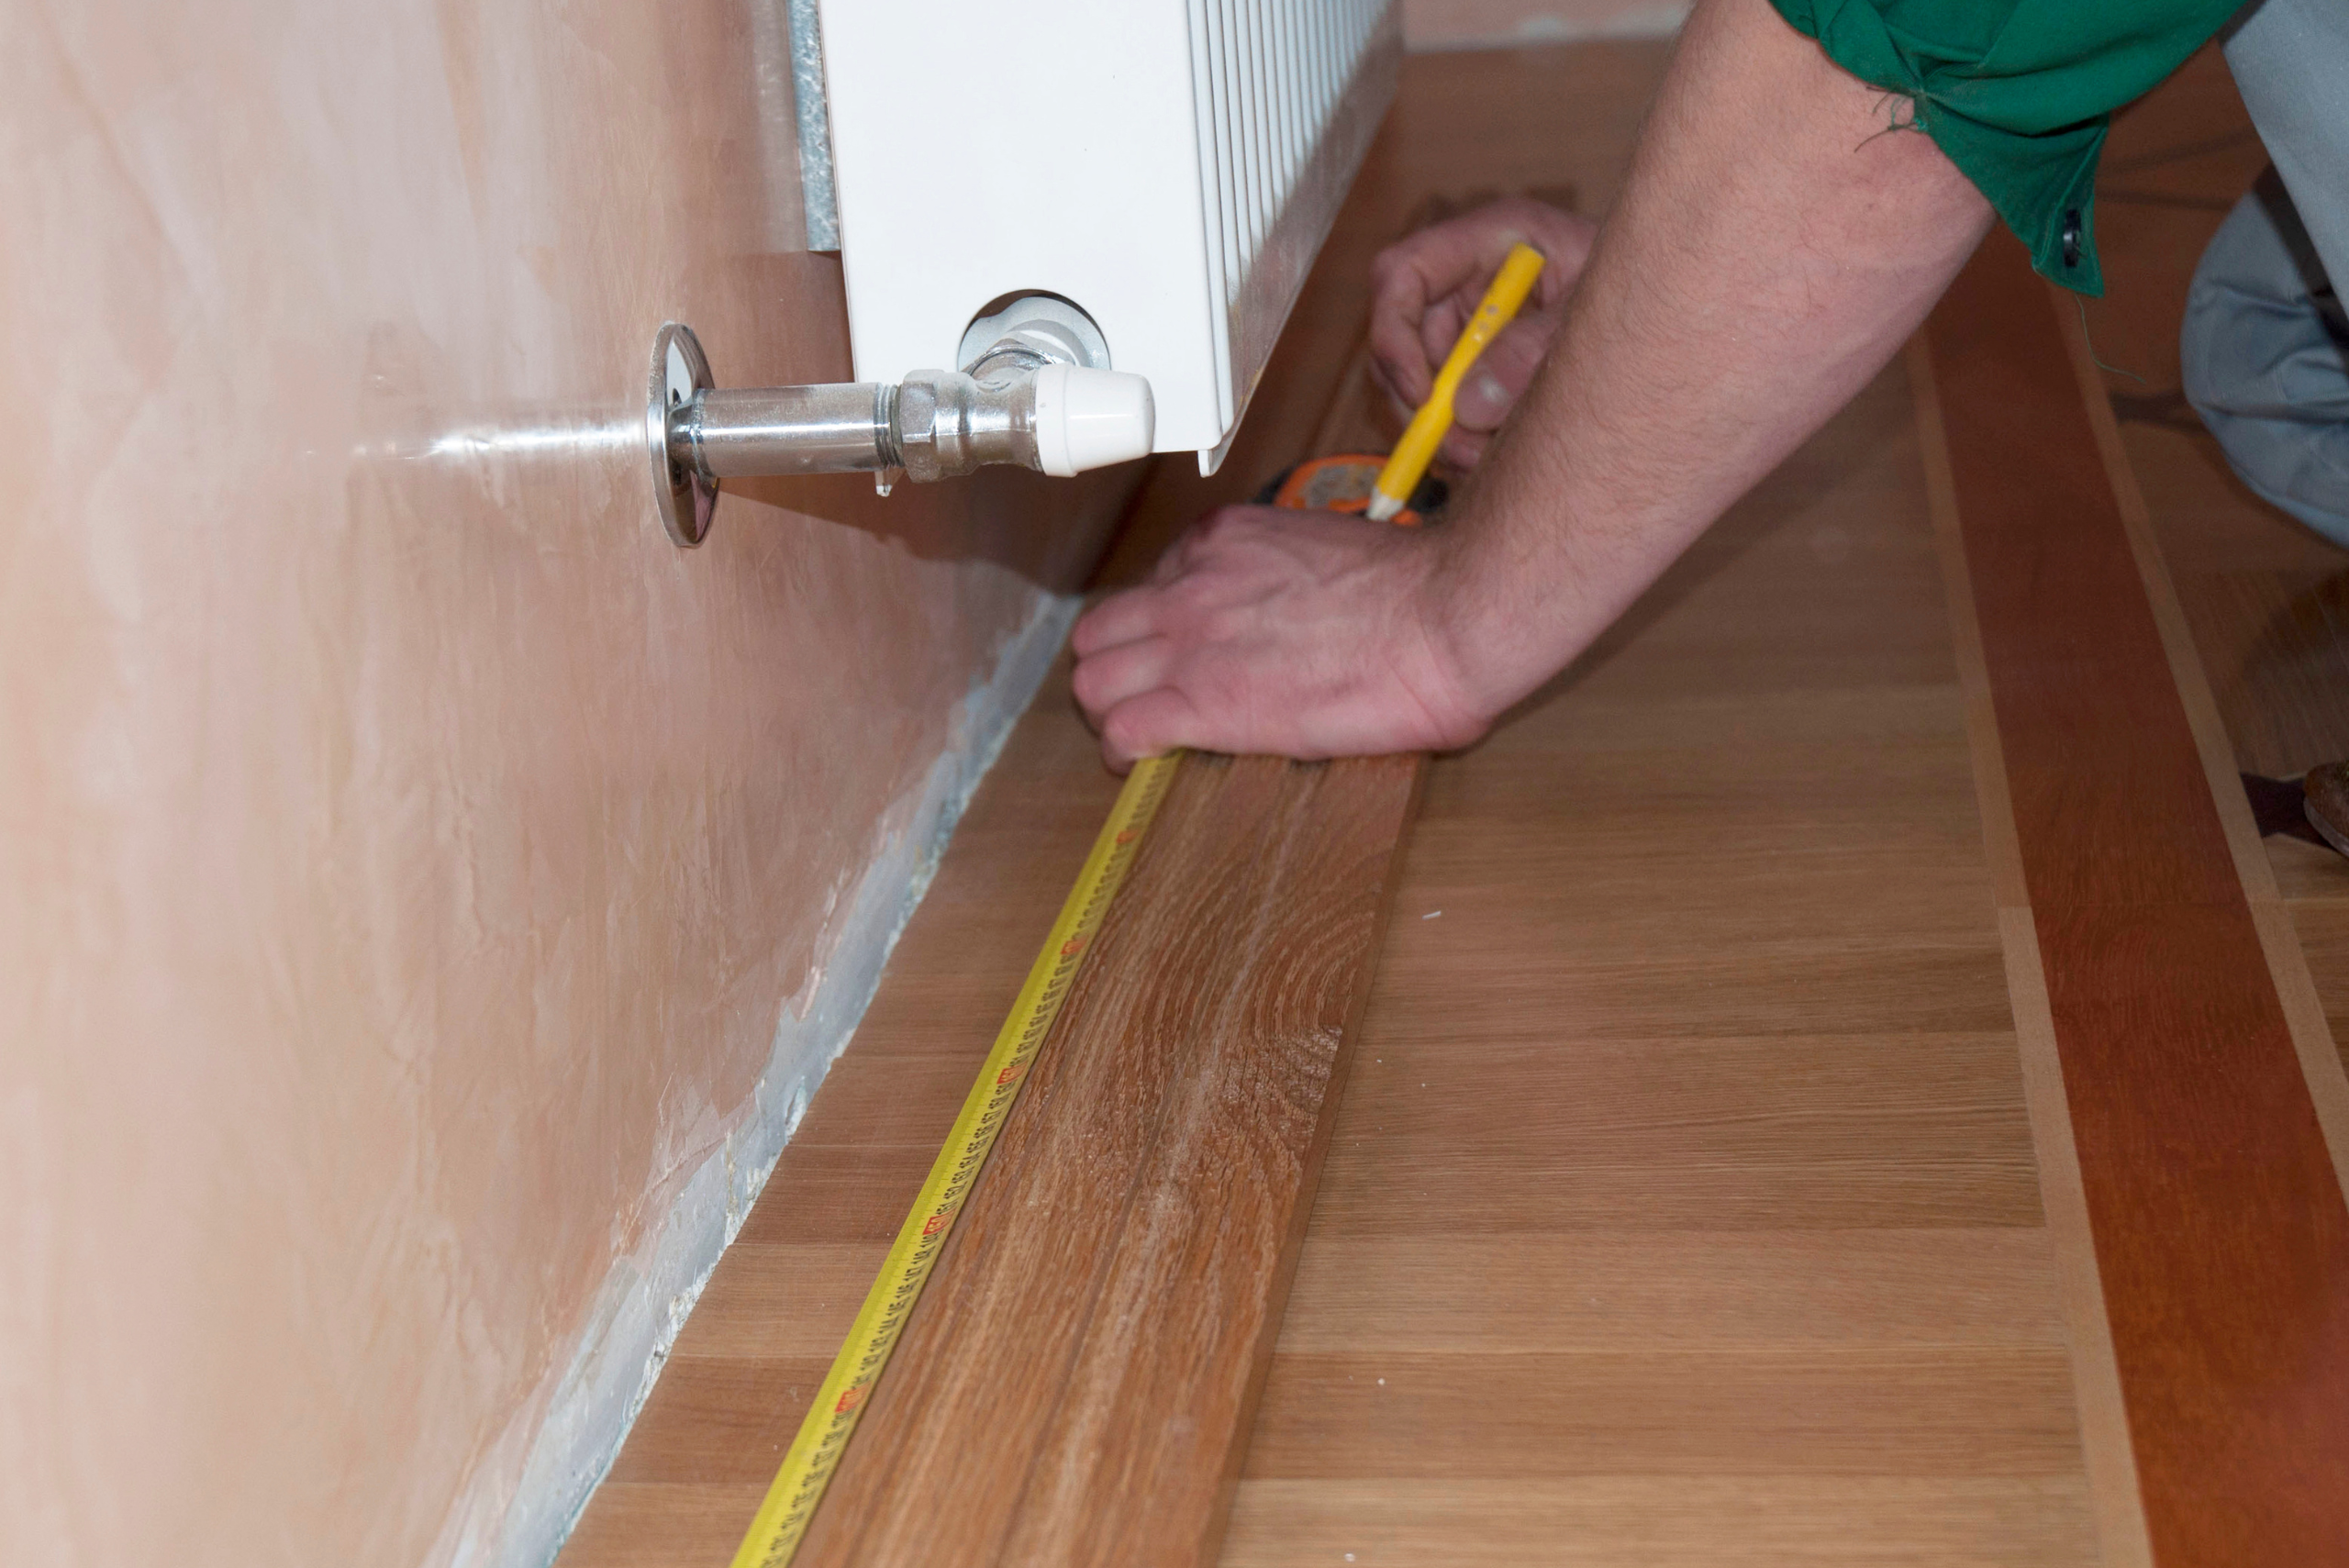
Start by inspecting both the wall and the back of the loose baseboard to remove old adhesives or nails. Use a putty knife or small pry bar to carefully scrape away old glue or any remnants that might prevent a smooth reattachment.
Next, if the wall has imperfections or old caulk, smooth it out with sandpaper. This preparation helps the baseboard bond better when it’s reattached. If there are visible holes or damage, fill them with spackling compound and let it dry before moving forward. Clean, prepped surfaces are crucial for a long-lasting repair.
Apply Adhesive for a Strong Bond
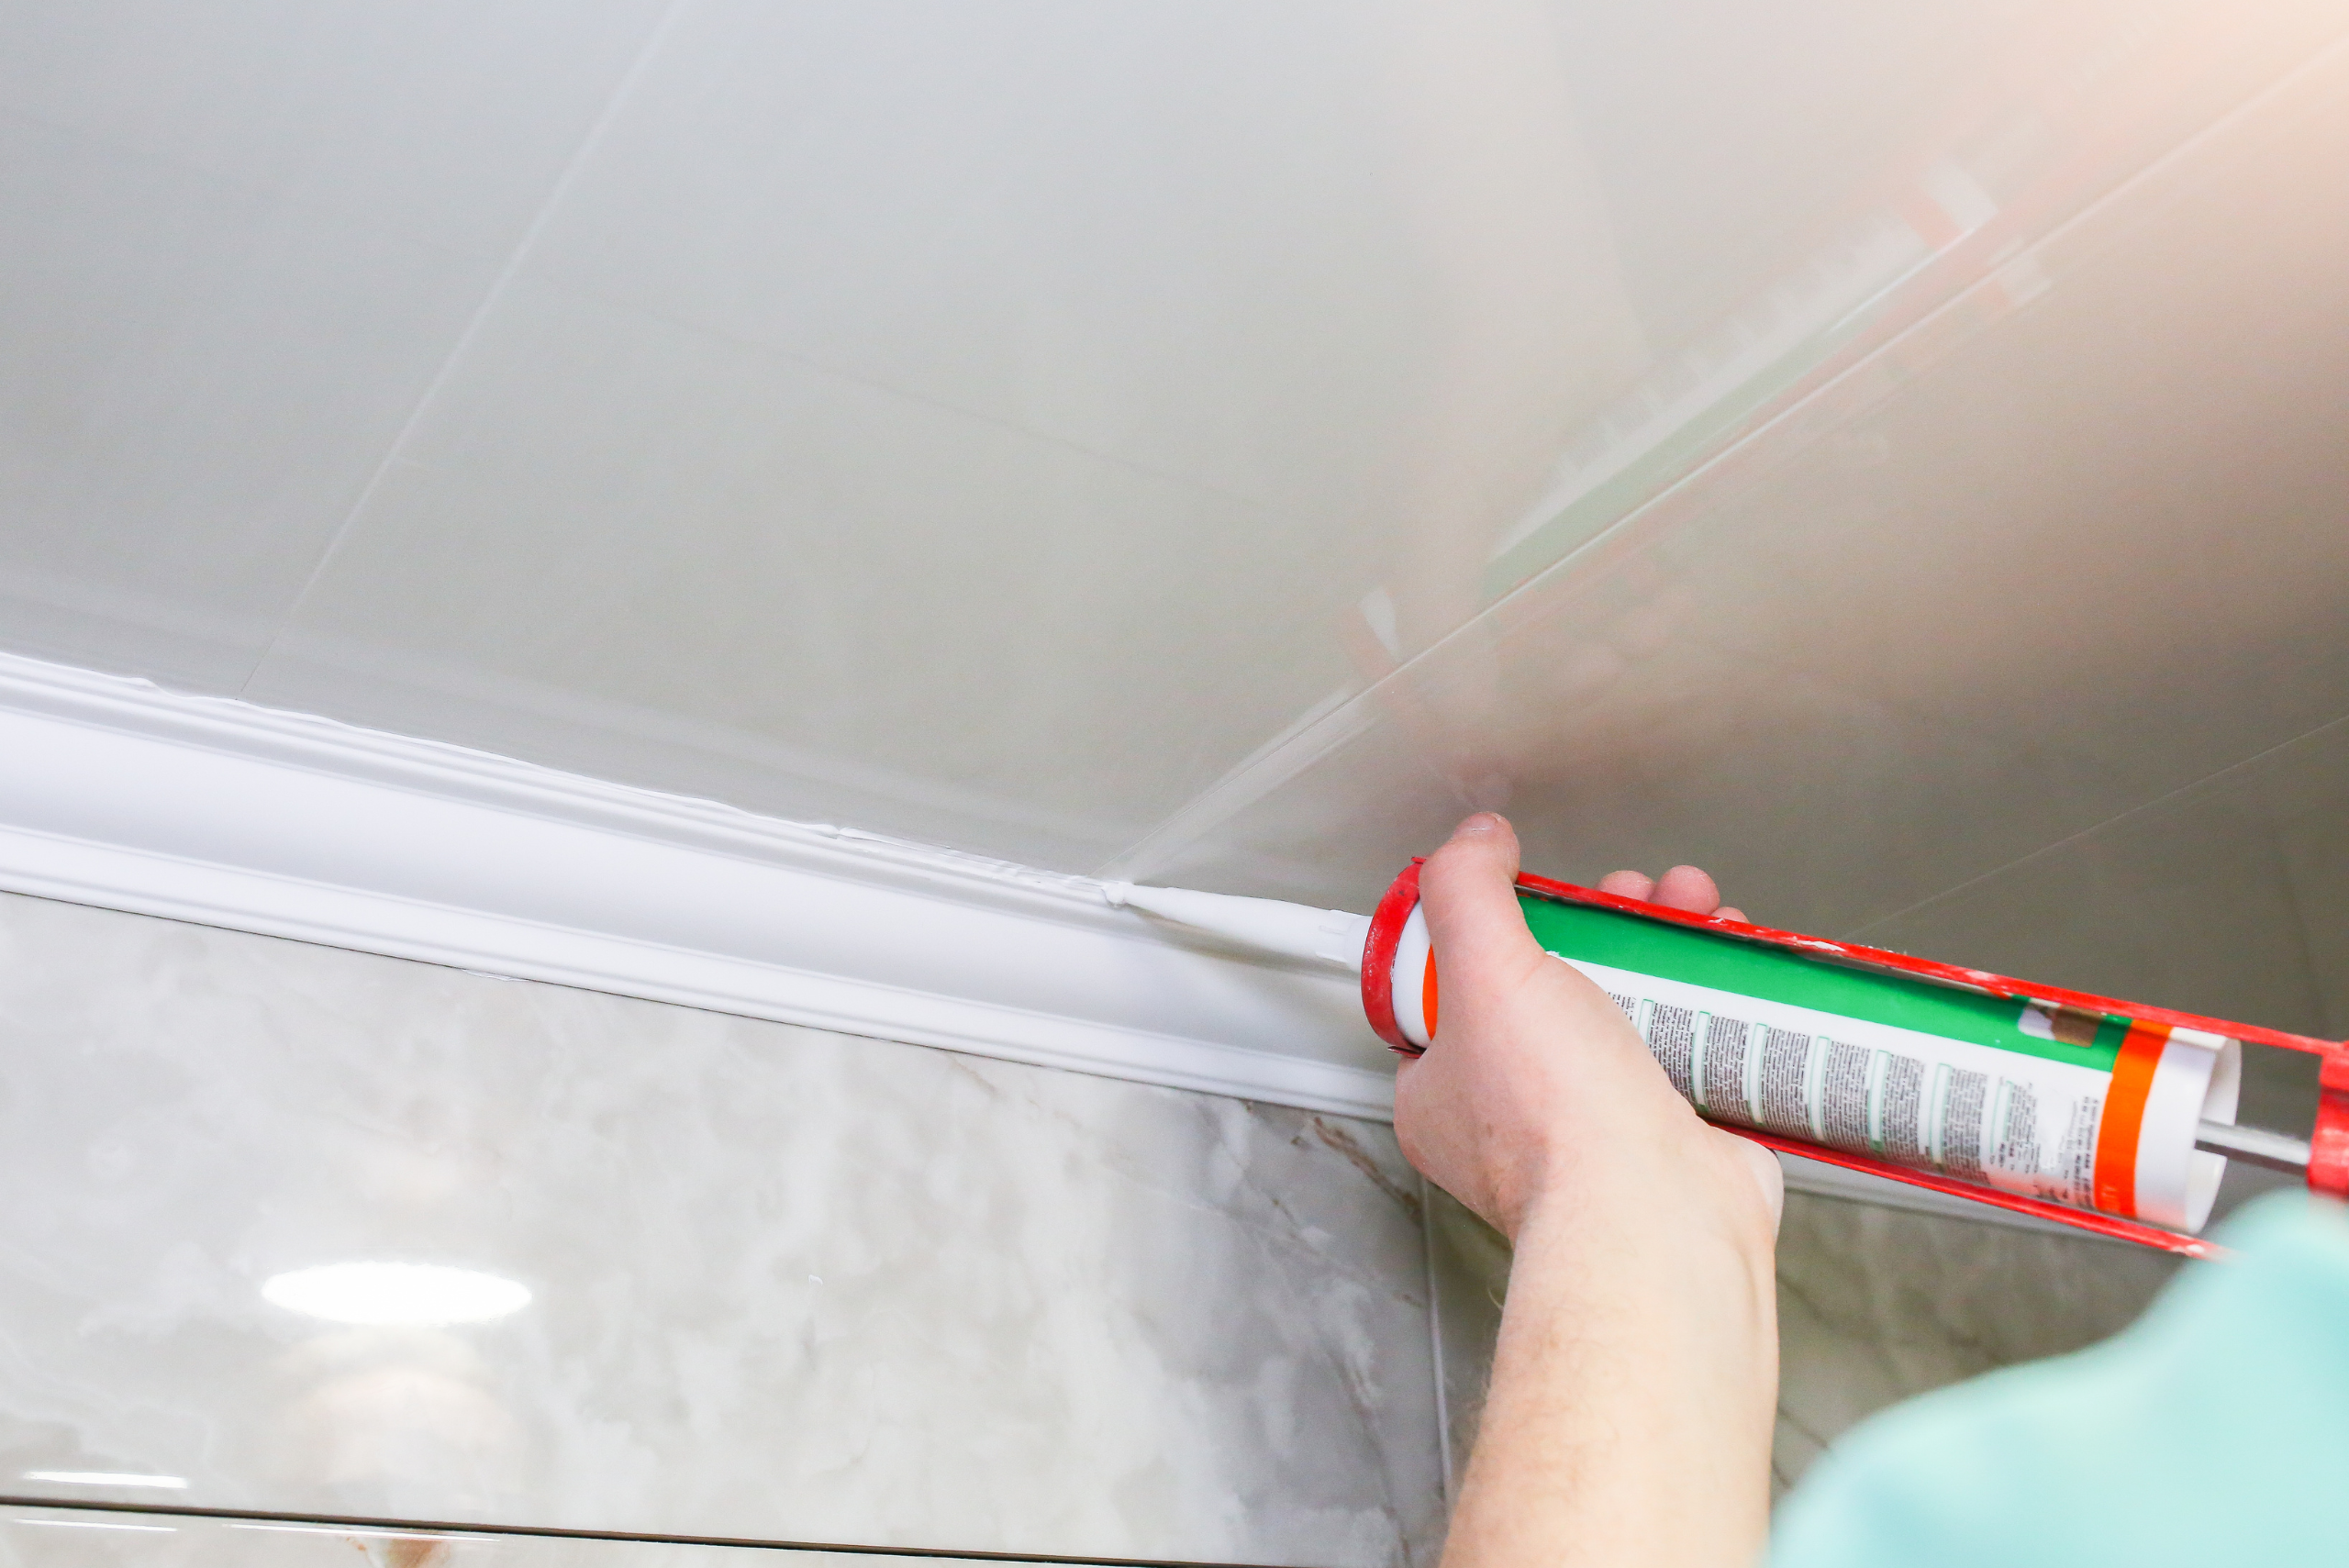
Using wood glue or construction adhesive can provide an extra layer of hold, especially if the wall surface is uneven or the baseboard has warped slightly. Apply a thin, even layer of adhesive to the back of the baseboard, focusing on the center where it will touch the wall.
Be careful not to use too much adhesive, as it may squeeze out onto the wall. If that happens, wipe it away immediately with a damp cloth. This layer of adhesive can reinforce the bond, ensuring that the baseboard stays secure for years to come without shifting.
Nail the Baseboard Back in Place
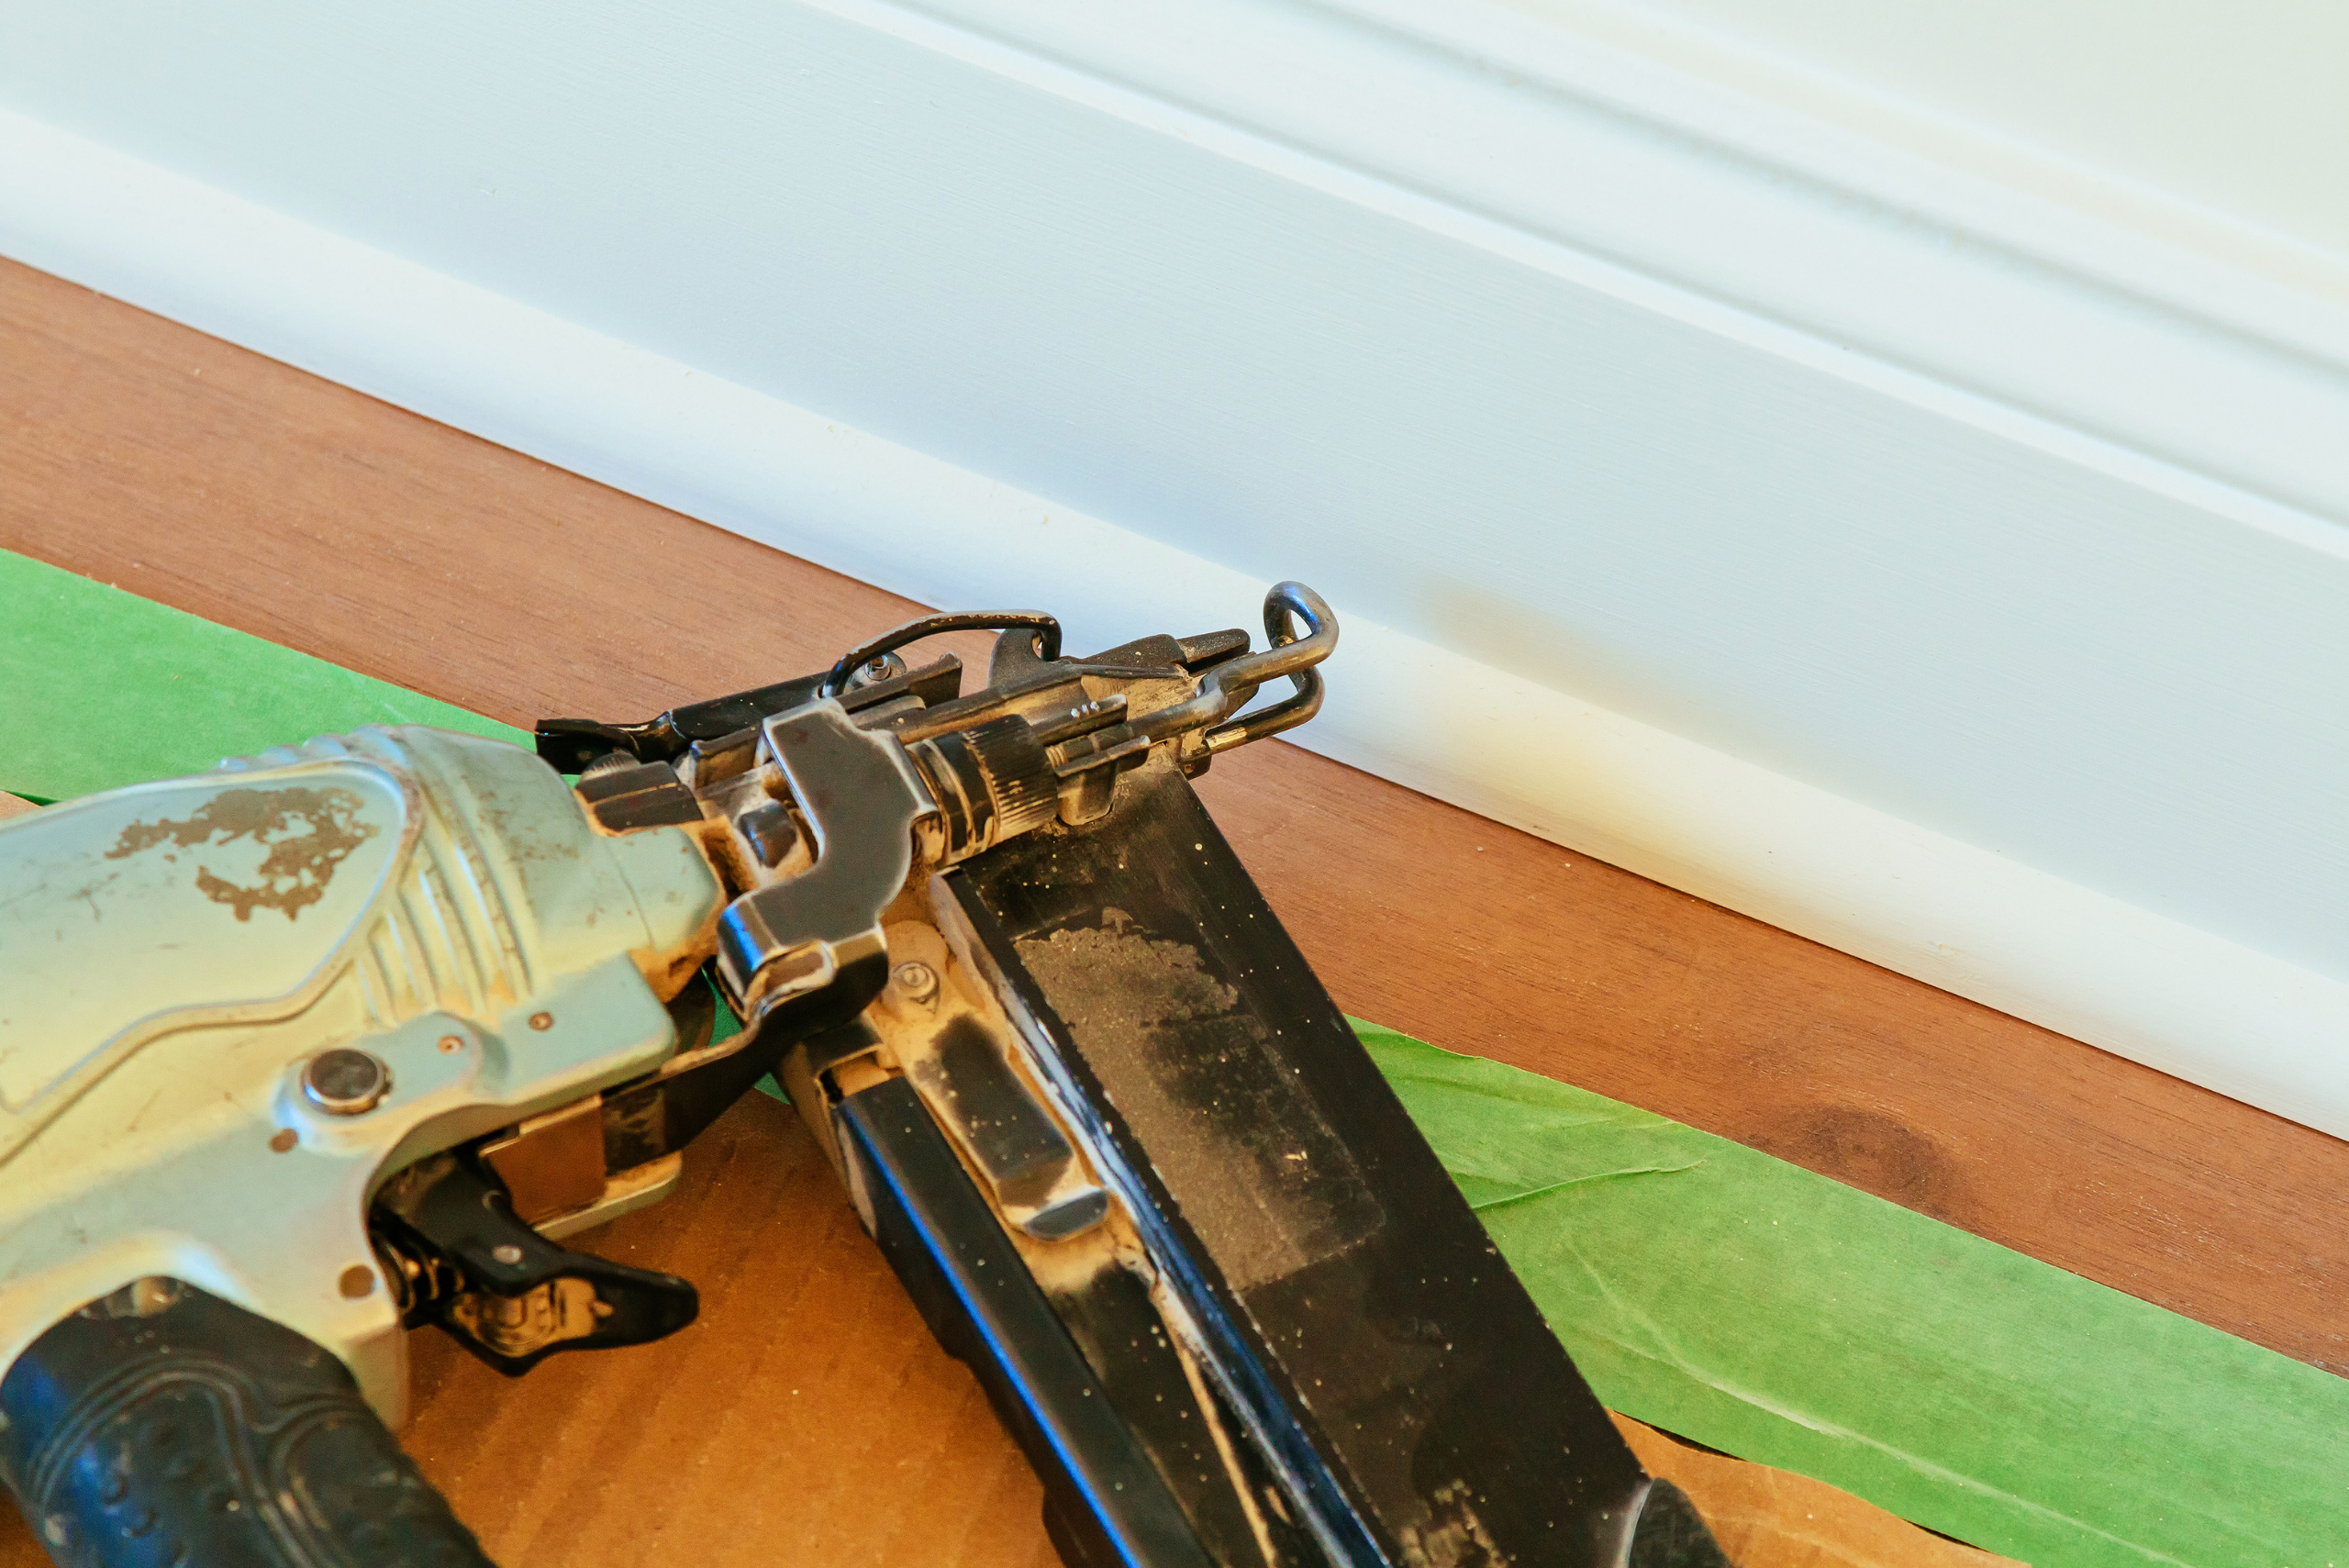
Once the adhesive is applied, press the baseboard against the wall and secure it using finishing nails. Hammer the nails into the wall studs whenever possible for better support. If you’re unsure where the studs are, use a stud finder to locate them.
For a seamless look, use a nail set to countersink the nails slightly below the surface. This small detail helps hide the nails and ensures a cleaner, more professional look. If done properly, nailing will reinforce the adhesive, keeping the baseboard firmly in place.
Fill and Touch Up for a Polished Look
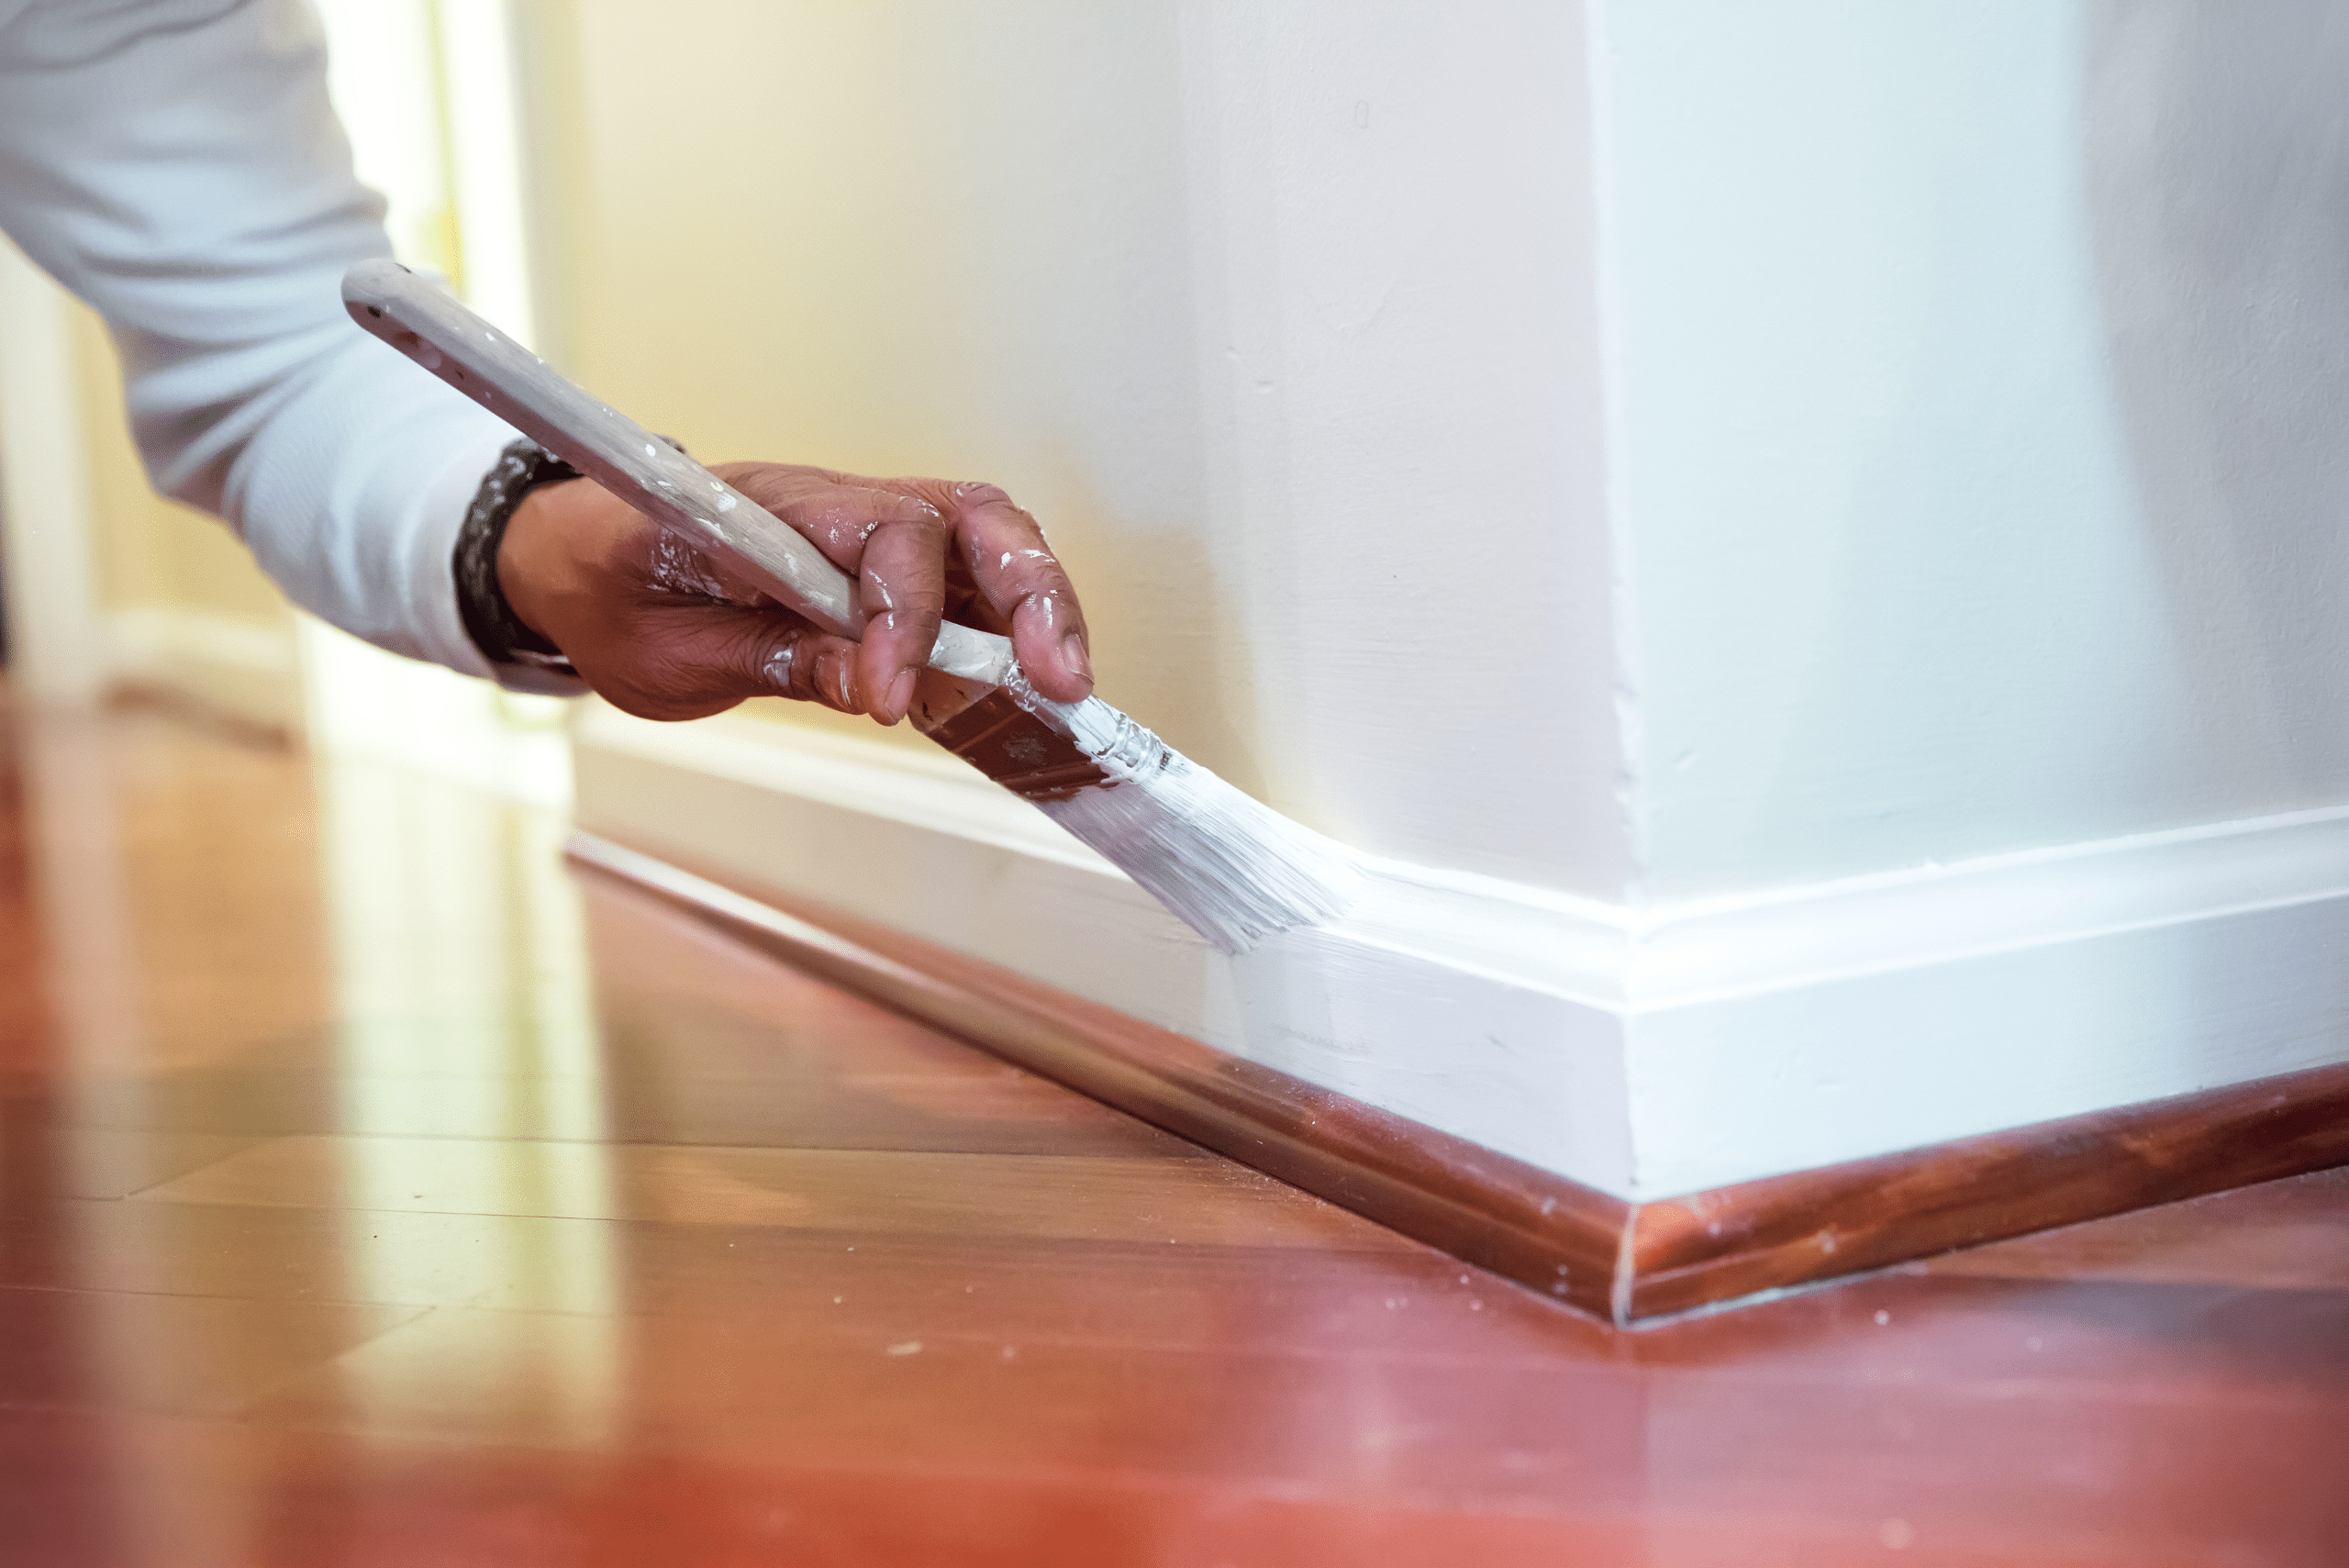
After securing the baseboard, inspect any visible nail holes or gaps for a flawless finish. Fill the nail holes with wood filler, then lightly sand them once dry for a smooth surface. If there’s a noticeable gap between the baseboard and the wall, apply a thin line of caulk along the top edge.
Let the filler and caulk dry completely, then touch up with paint to match your baseboard color. This final step will hide any imperfections, leaving your baseboard looking as good as new. The extra attention to detail will give your baseboard repair a professional touch.
Related Articles
- How to Install Vinyl Plank Flooring: Ultimate Guide
- Brad Nailer vs Pin Nailer – Choosing the Right Tool for Your Wood DIY Projects
- How to Find Studs Without a Stud Finder: Expert Tips
Reattaching loose baseboards is a straightforward project that brings immediate improvements to any room. With the right preparation, careful use of adhesive and nails, and a few finishing touches, your baseboards will be securely back in place and looking brand new. Not only does this DIY project restore your home’s aesthetic, but it also protects your walls from dust and dirt buildup. So grab your tools and give your baseboards the lasting fix they deserve!
Ready to start your next project? Join our DIY community to receive tool tips, how-to guides, and exclusive creative insights. Subscribe to the ManMadeDIY newsletter now! Click here to unlock a world of hands-on inspiration.

