How to Refill A Grease Gun [Without Making A Mess]
It can be the nastiest job a do-it-yourselfer can try if it’s not done correctly, but refilling a grease gun doesn’t have to be a dirty process if you follow a few simple steps.
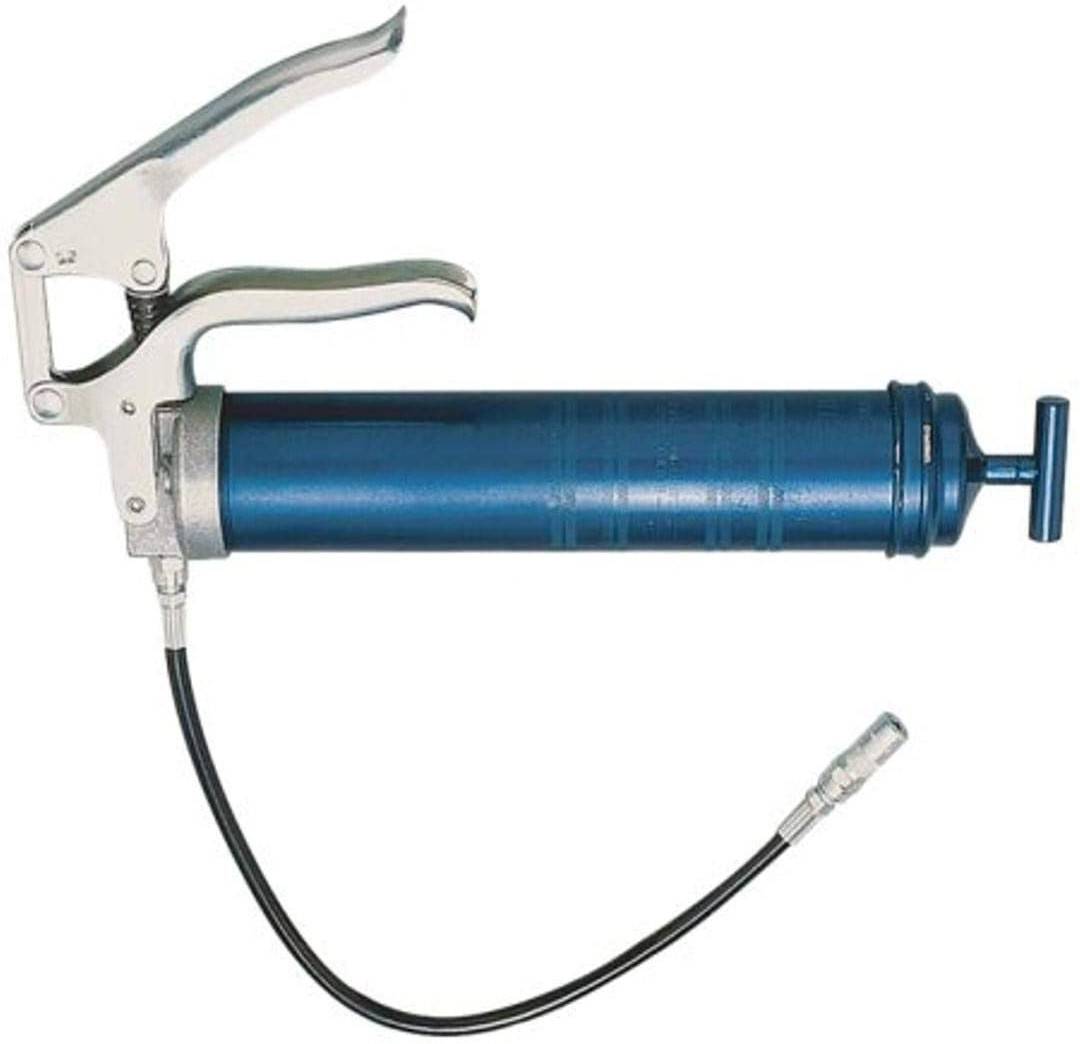
A grease gun is a vital tool for the longevity of all types of equipment. Farmers and truckers routinely grease their equipment following a set routine of locating zerks and then filling each one with a proper amount of grease.
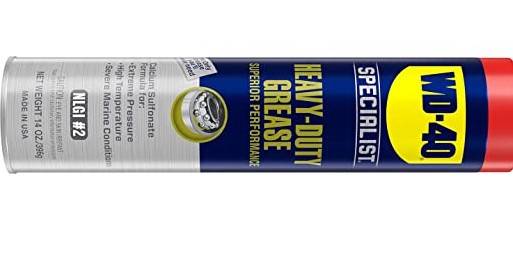
This grease, often lithium-based for the home consumer, ensures longer part life since it lubricates the articulation points or joints of metal where two components move against each other.
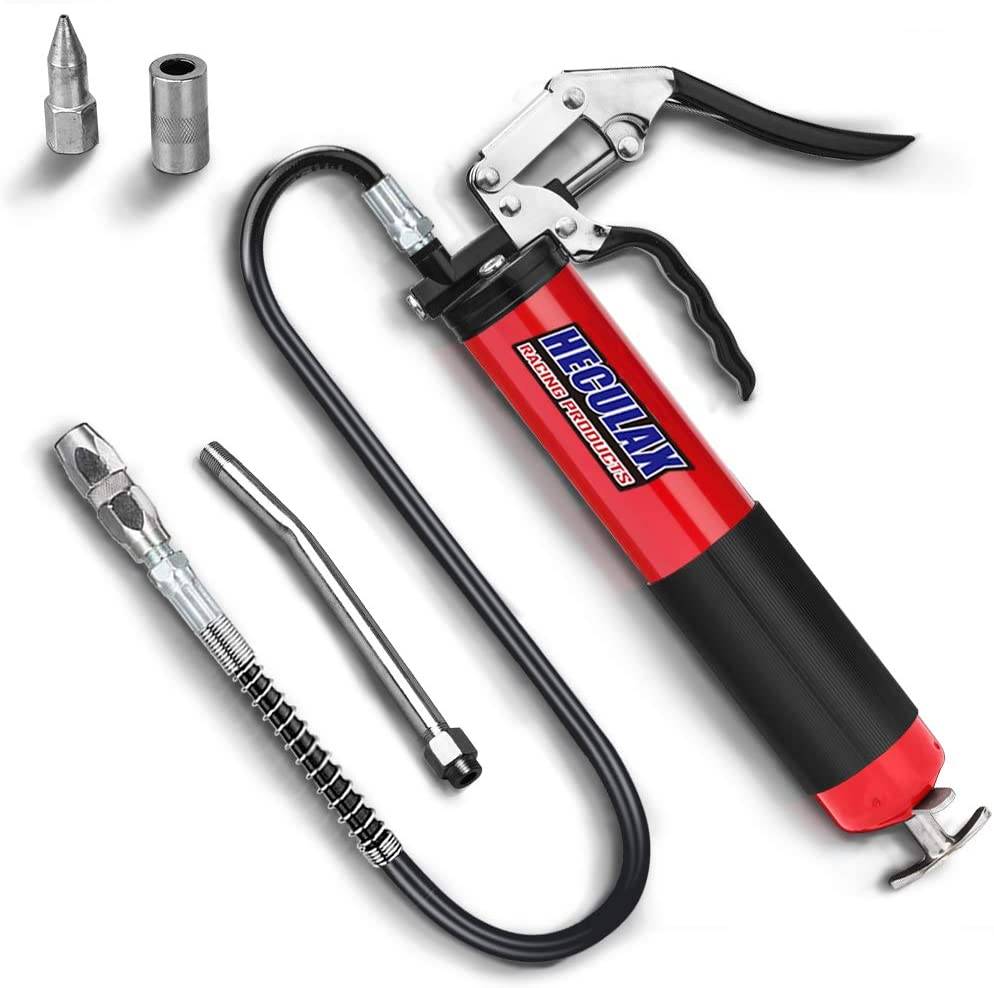
Grease guns come in a couple of varieties for the home consumer. They are either a rigid steel tube or a flexible rubber tube interface. Both work well, with one a little better than the other in specific applications.
The Parts of A Grease Gun
To the rear of the application tube is the main body or container tube of the grease gun. It will be a large cylinder with a handle attached to it.
To the rear of the cylinder is a twist-style handle that screws onto the main containing tube.
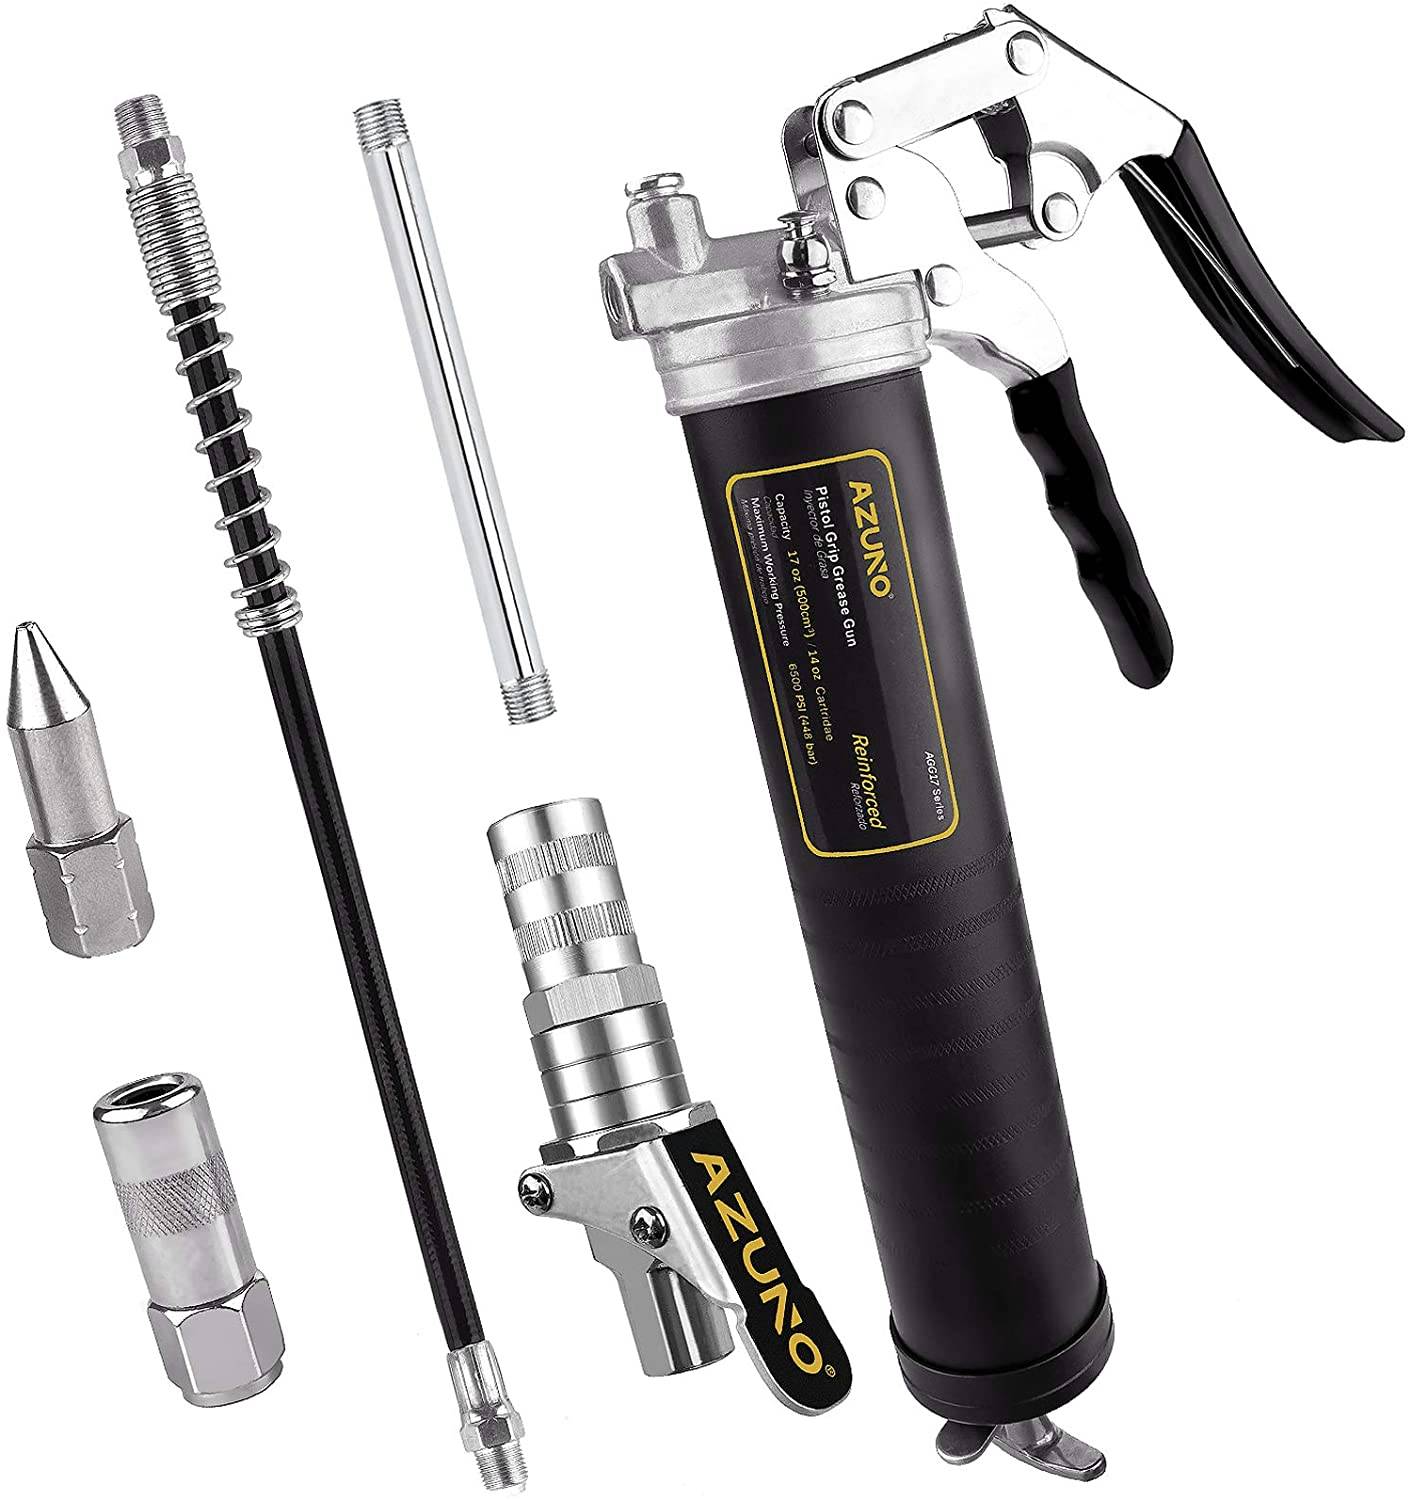
The front application device and the rear pressure attachment both screw onto the main container tube.
Refilling or Replacing The Tube of Grease
To replace a tube of grease you must first remove the old tube.

Open up the bottom of the grease gun and you’ll notice a steel ring with the cardboard cylinder of the old grease tube attached. Pull on the steel ring with your fingers to remove the old tube. If it doesn’t come loose easily, take a pocket knife and work the edges of the ring until it loosens. You’ll then be able to pull the tube out.
The new tube will have either two plastic caps on it, or perhaps a pair of metal pull tabs. Some have a plastic cap on one end, and a pull tab on the other.
Locate the steel ring end of the tube. The other end may have a steel ring too, but it will be smaller. One end of the tube will slide inside the grease gun cylinder and the other won’t.
Determine the smaller end and slide it into the grease gun.
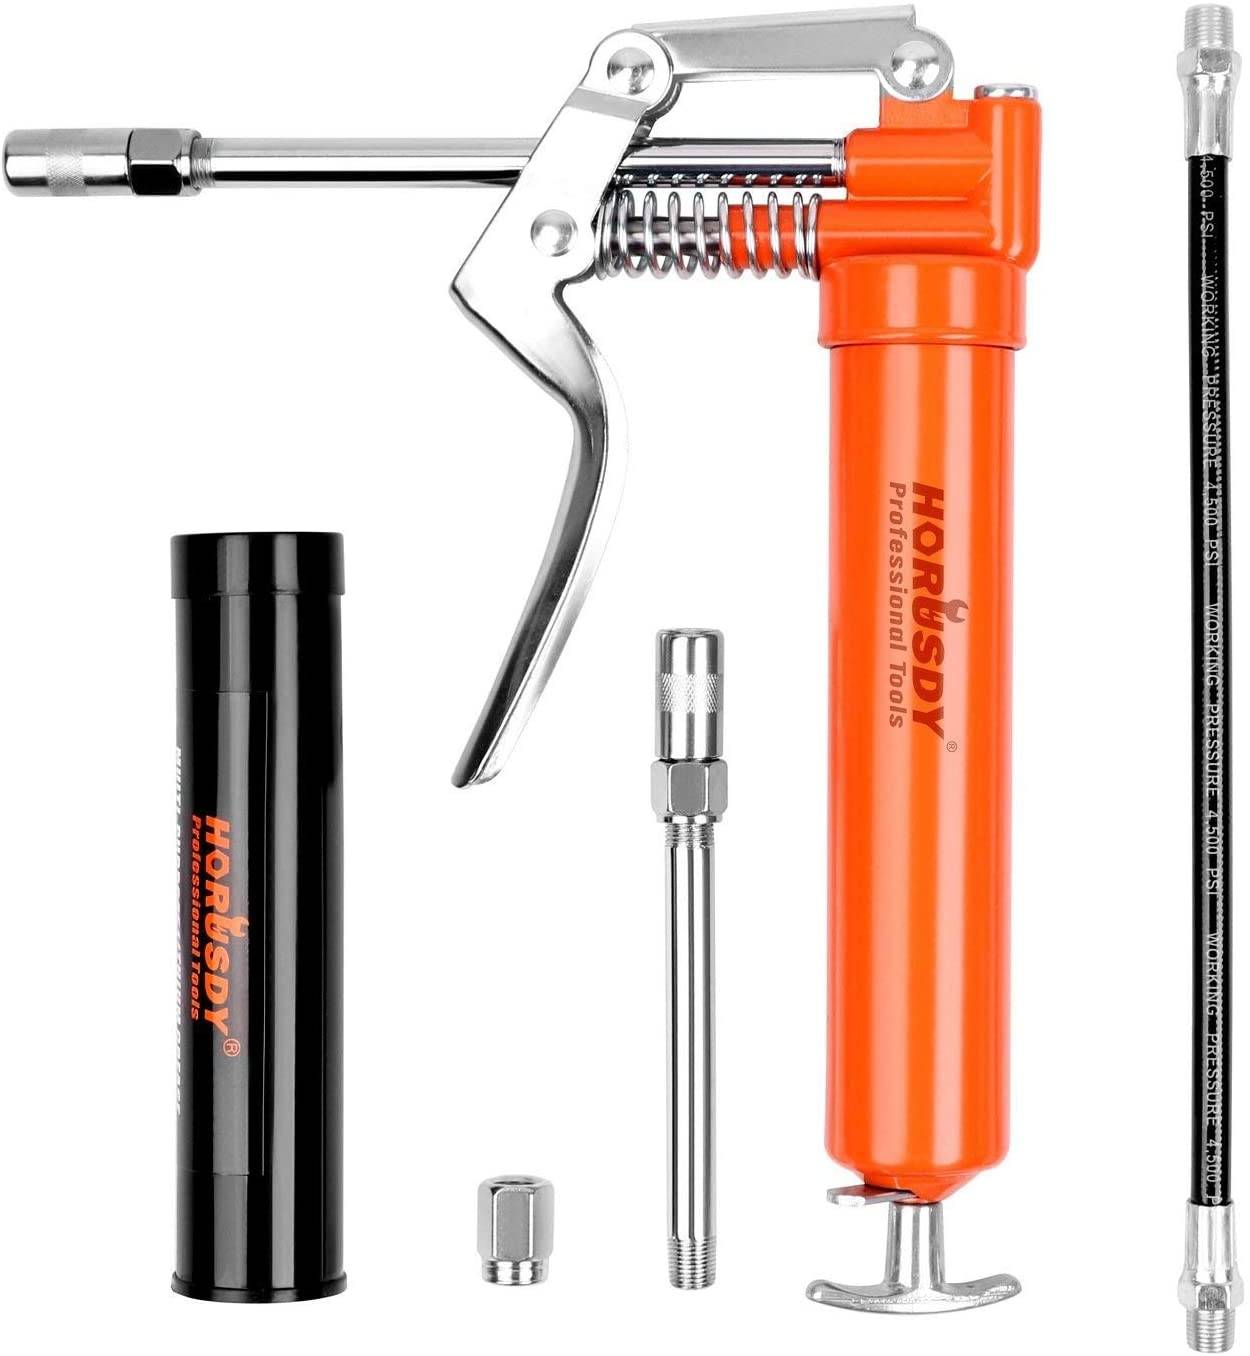
Once the tube is slid into place, test the upper end of the cylinder to make sure the application assembly is tightly twisted into place.
With the grease gun, and new tube in one hand, take the lower screw-on assembly in the other and push it into place. There will be a spring on the lower screw-on assembly that you’ll have to compress as you push the two pieces together.
With the spring compressed, twist the lower assembly onto the main cylinder of the grease gun. It may take a few twists to get it started. Once it’s started, twist it until it is firmly attached, but don’t overtighten it or you’ll have problems when you remove the exhausted tube of grease for the next refill.
Pump the handle a few times to charge the system. Pump it until you see a small portion of grease exit the fill adapter on the other end.
Wipe the gun clean with a shop rag or paper towel and you’re all set to go.

