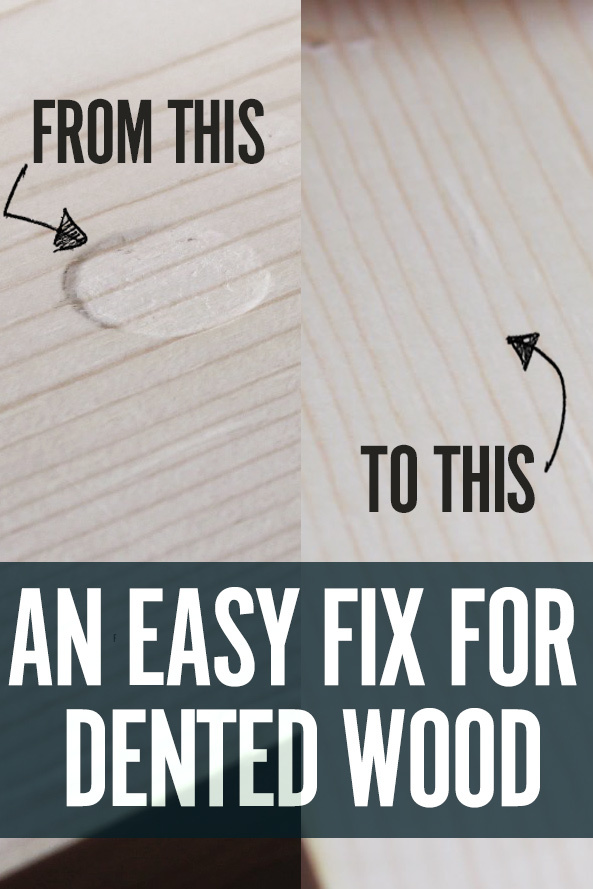
How to: Remove a Dent from Wood

Have you ever been substantially complete with a wood project and then accidently dropped it or knocked it off your workbench? Without a doubt, your box, picture frame, cutting board or whatever you’re working on will get dinged or dented. Despite the fact that those mishaps can often be fixed, it can be incredibly frustrating and require a significant amount of time to remove or hide the blemish. Instead of sanding, planing or recreating that piece of the project, there is another simple and often less time-consuming option you likely have in your closet.
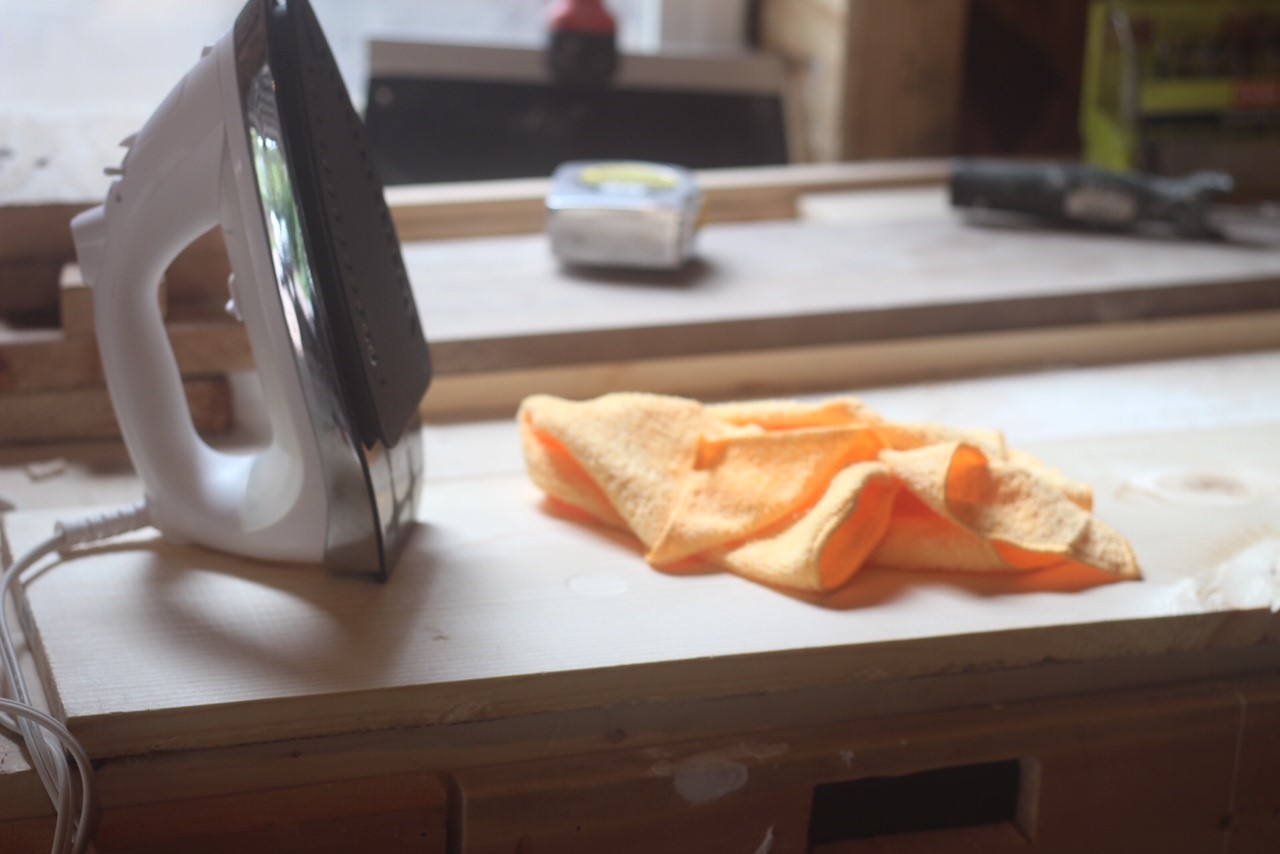 Step 1: Heat the iron as high as possible
Put your iron on the hottest setting and give it the appropriate amount of time to warm up.
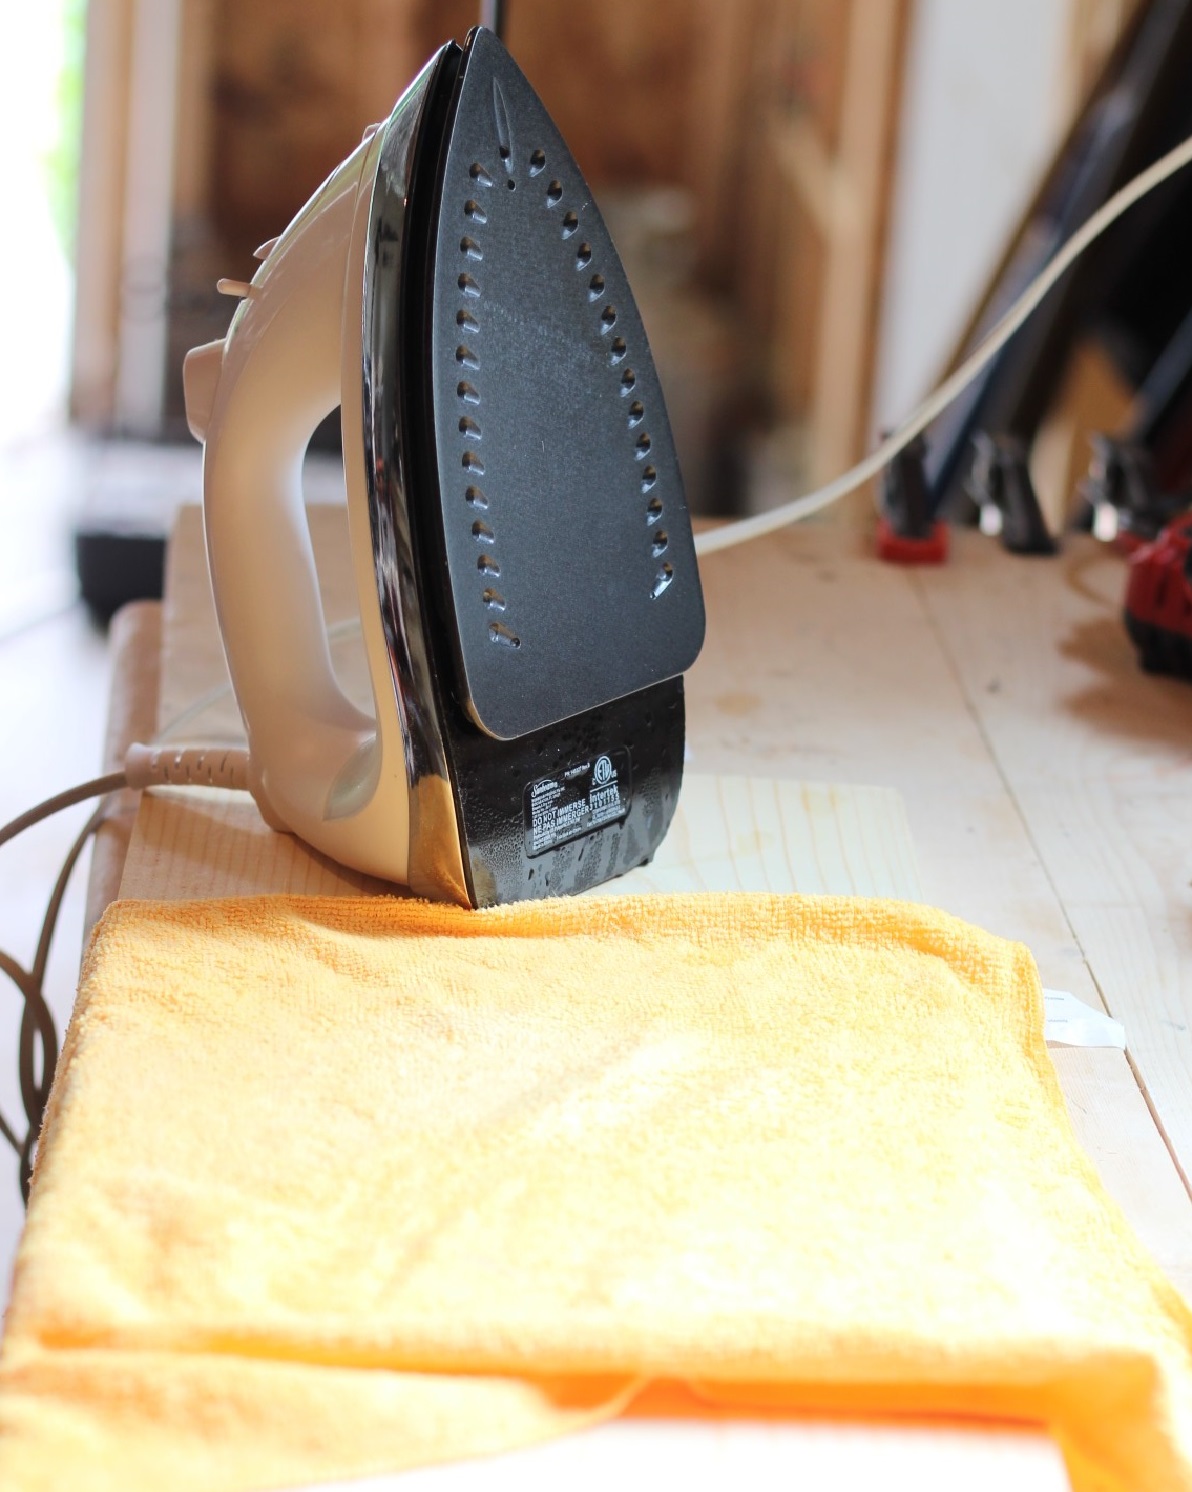
Step 2: Add Water
You can either put a small amount of water on the dented area or get your entire towel wet. I used a cotton shop rag and made sure it was completely wet and then covered the dent with the towel. Having a little water in the steam section of the iron can’t hurt either.

” />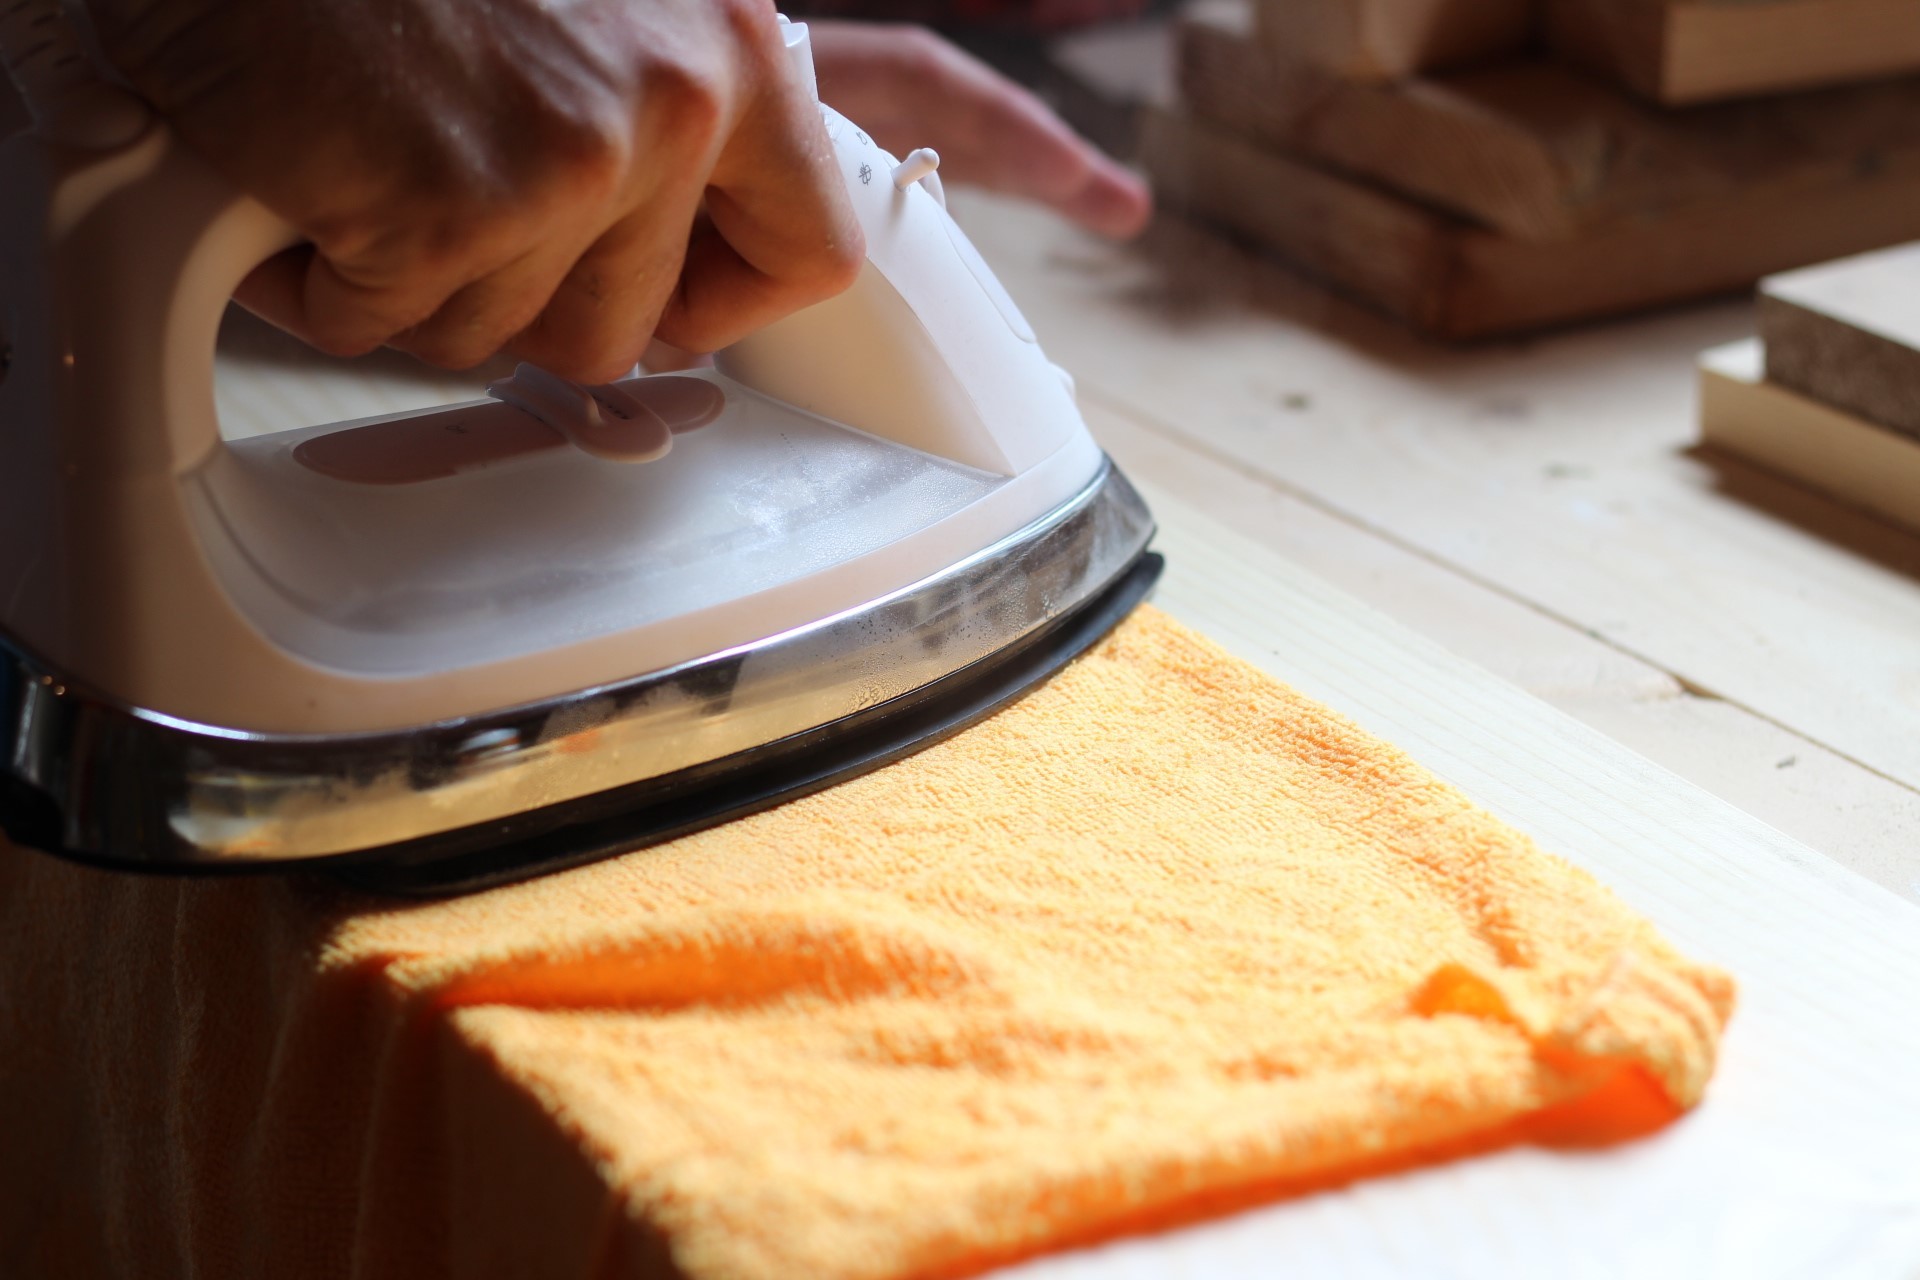
Step 3: Steam the Dented Area
With the towel laid flat on the dented area, hold the hot iron over the dent while making small movements with the hot iron in a circular motion. Press down firmly and apply pressure evenly. Repeat this process until the dent is flush with the rest of the material, adding more water as needed. Softwoods will require less work and may only take one time to complete. Hardwoods will likely take several passes, depending on the dent.
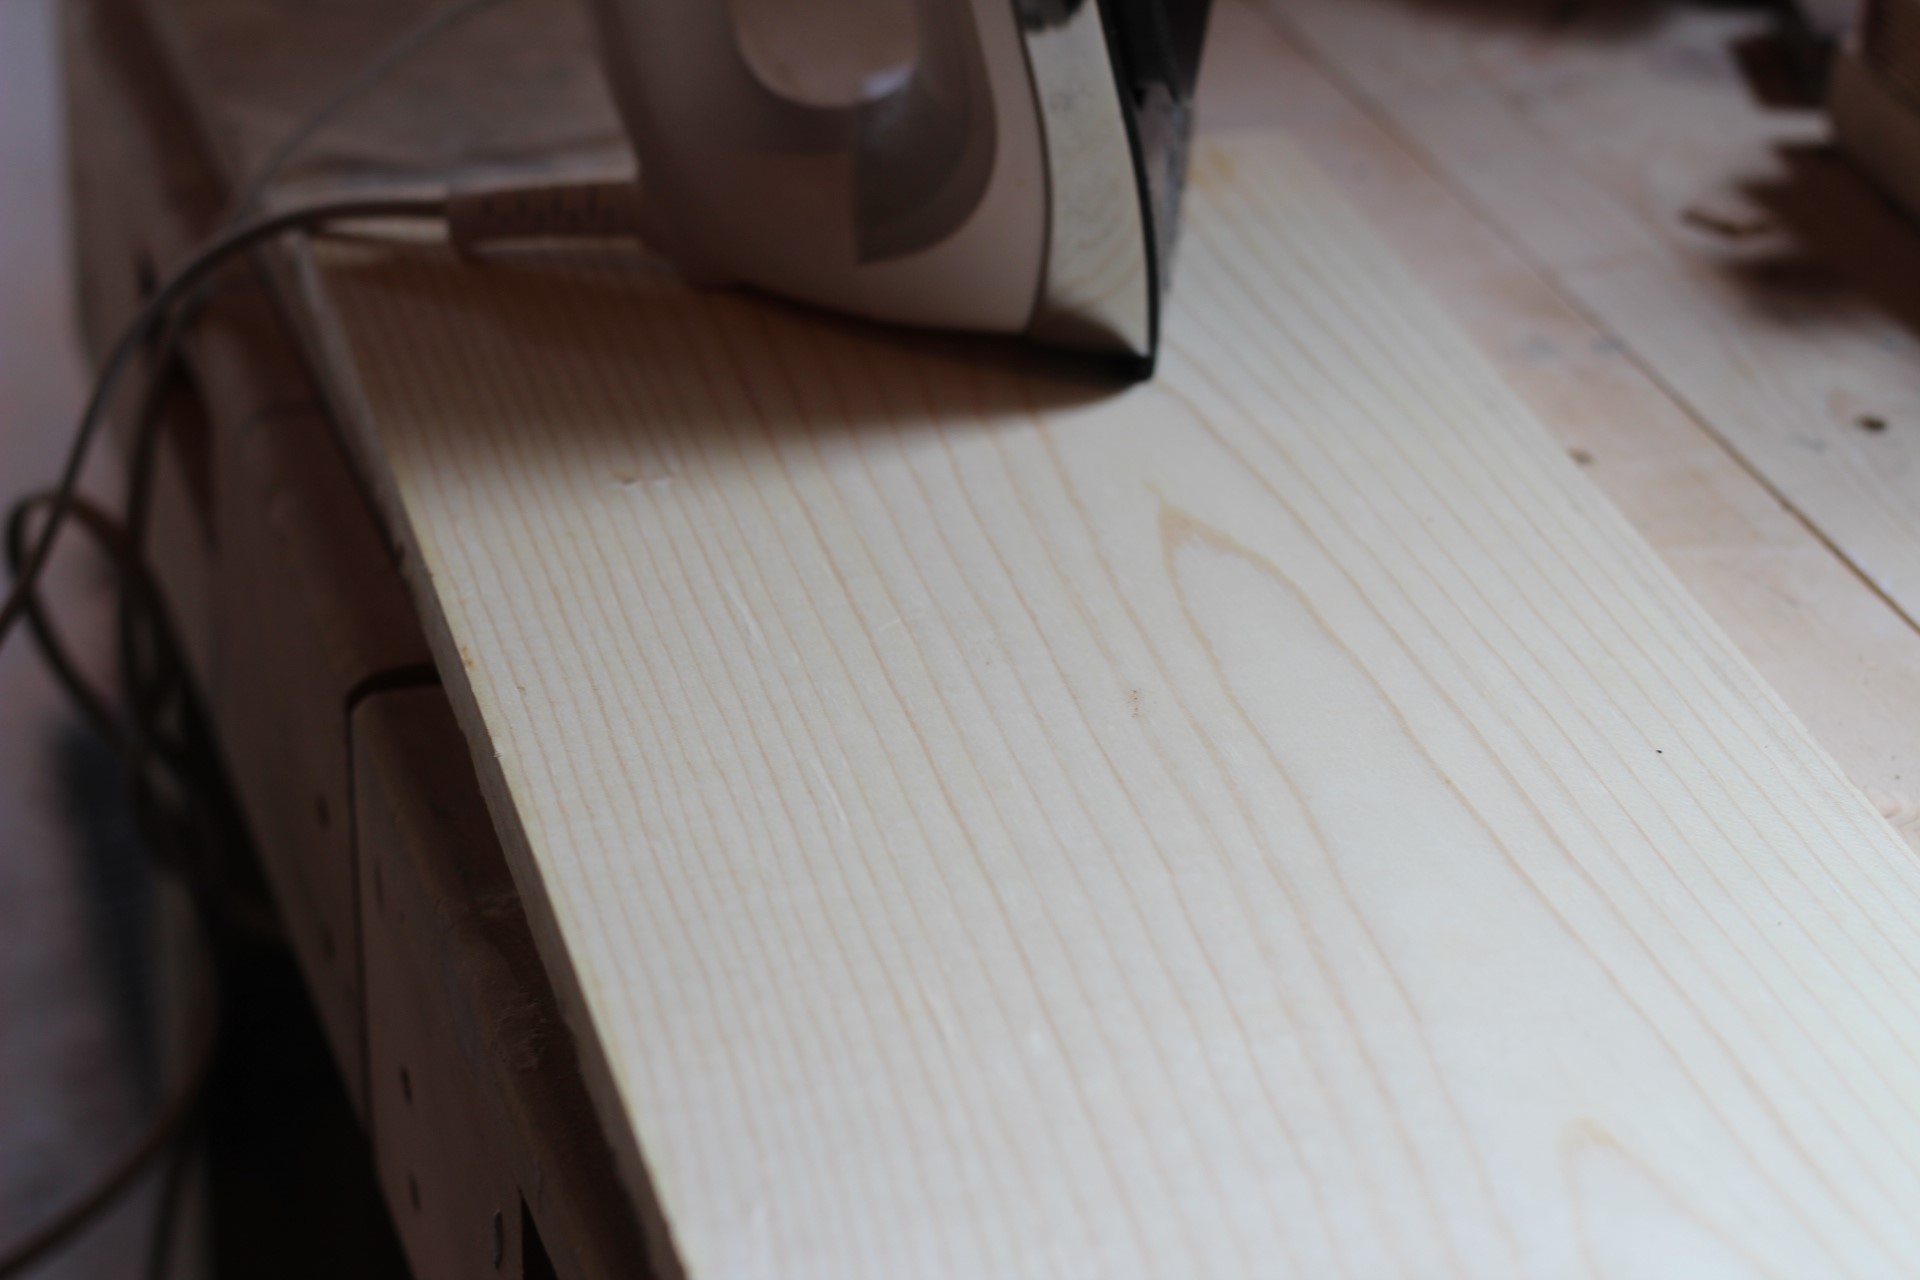
Step 4: Sand Smooth
After your final pass with the hot iron, your dent should be almost unnoticeable; however, you might still be able to see the outline of the dent if it was deep enough. Lightly sand that area until you are satisfied with the outcome.
This process works because the wood fibers that were knocked down to create the dent are absorbing the moisture, causing the compressed wood to swell as it is steamed from the hot iron. If your project is dented after you apply polyurethane or another protective coat, you will likely need to sand that protective coat away in order for this process to work.
I hope this handy little trick can save you time (and wood!) in the future.
