How To Renew Your Wooden Fence
If the wonderful glow of your new fence disappeared a few years ago, replaced by a dingy gray exterior. We’re here to tell you that you don’t have to replace the fence! For a more cost-effective solution, you can renew it. All you need is a few tools and some elbow grease.
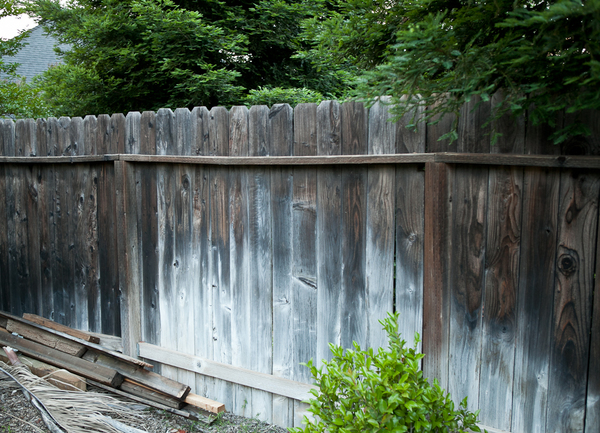
There is a good chance that your fence was made from Western Red Cedar. It’s durable, strong, resilient, relatively inexpensive, and the best choice for many homeowners in fencing material. Unfortunately, it also loses its radiance much faster than redwood, cypress, or pressure-treated dimensional lumber.
The good news is that it’s relatively easy to bring the fence back to its original pristine condition. You’ll need to make a close inspection of your fence before you begin restoration. Any support members that are broken or in need of replacement should be taken care of first. Supporting members include posts, cross members, angled supports adjacent to gates, and the gates themselves.
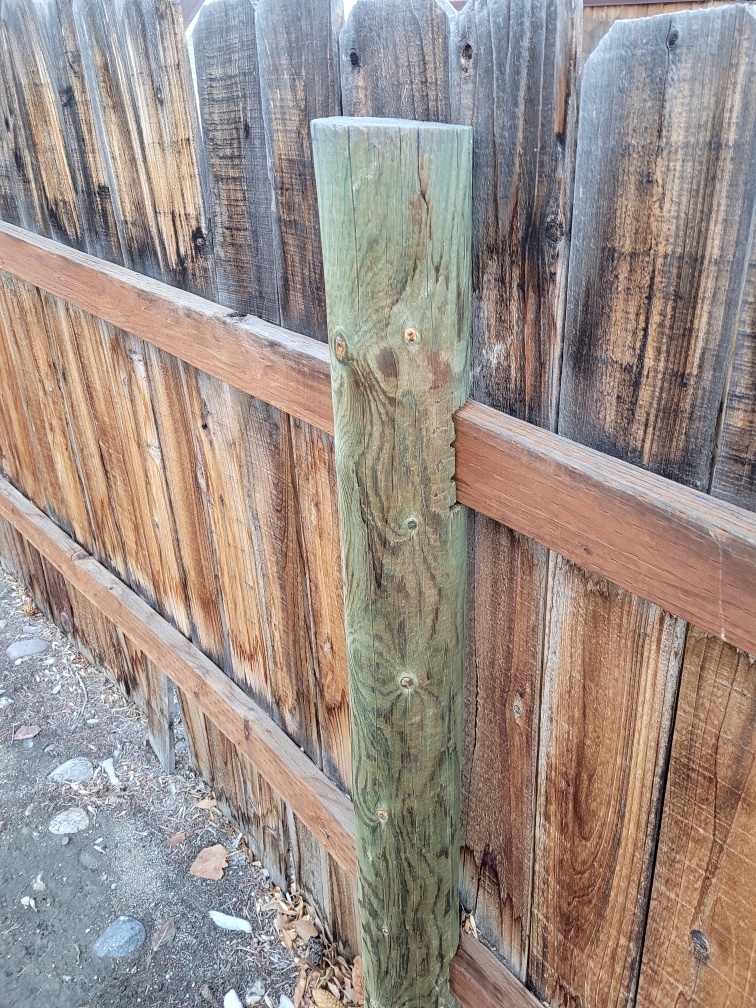
If the cross members are damaged the pickets must be removed, the cross members replaced and the pickets reattached. Once this process is complete, you can start the restoration.
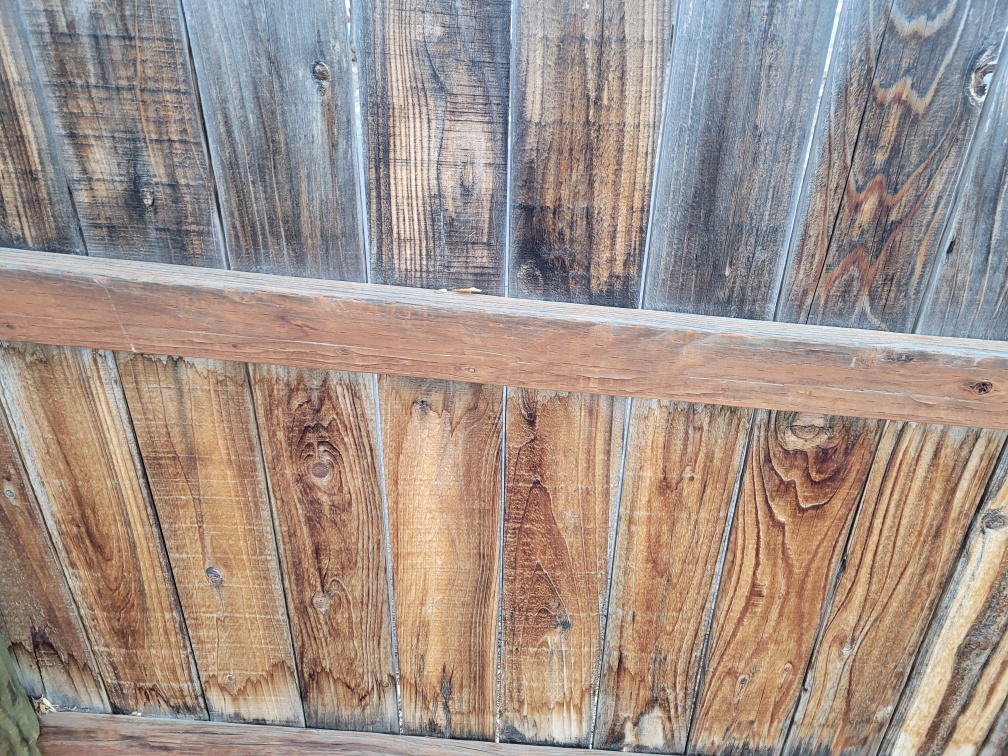
Why Has Your Fence Faded
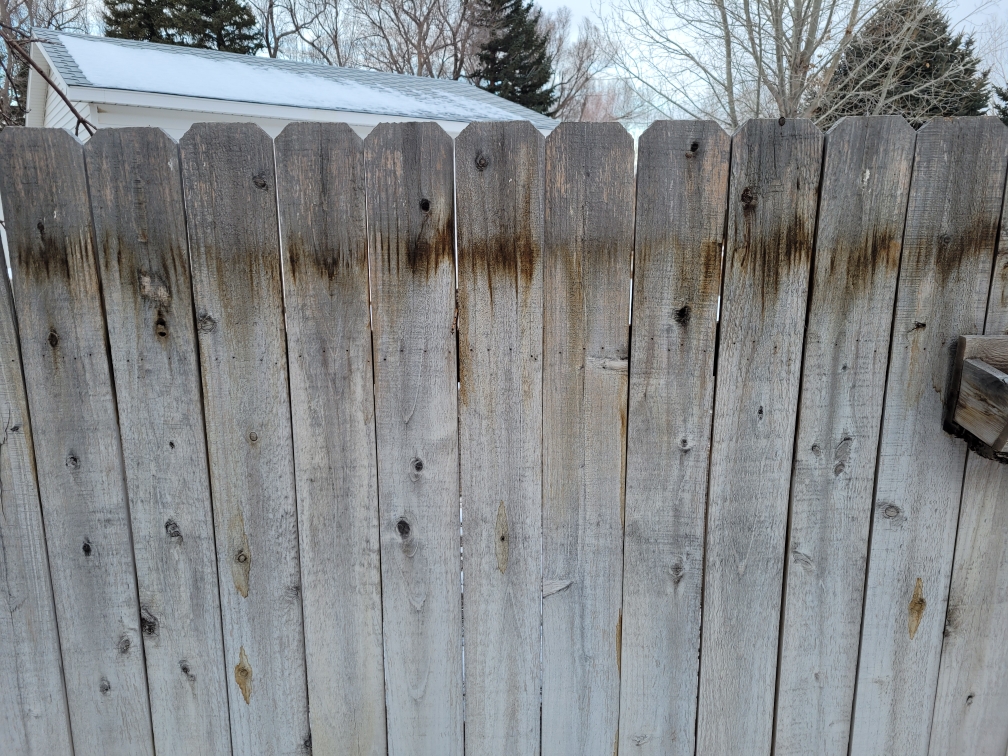
The faded gray on your once bright Western Red Cedar or redwood fence is only a thin membrane of color, color that was created by exposure to sunlight, winter slush, summer rain, and even lawn sprinklers creating water stains. If your fence is close to your driveway, the exhaust from your gasoline or diesel vehicle can stain the fence as well. If you spot a color line about two feet above the ground on your fence, odds are that is vehicle exhaust.
It doesn’t matter which material you choose for an attractive fence on your property, no matter the wood you select, it’s going to pick up dirt, grime, bird droppings, fly specs, and all those other annoying blemishes that detract from your property.
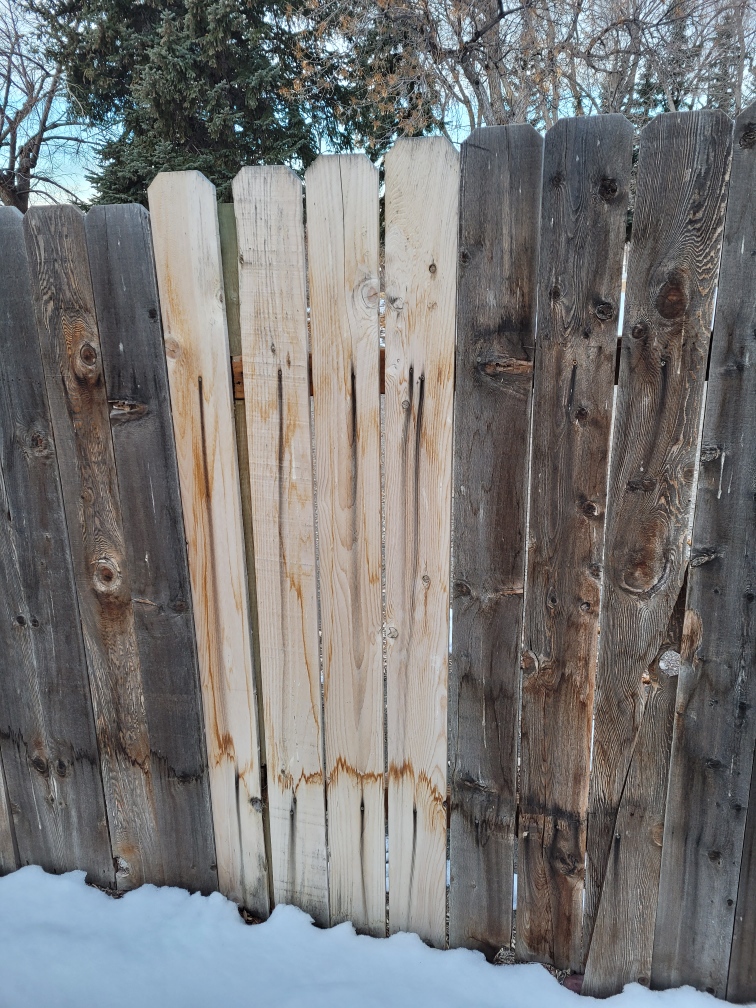
Bring It Back To Life
There are several ways to bring back the original luster of the fence since the stains are only microns thick.
Sanding: it’s one of the original techniques, but it is arduous, time-consuming, and can create variances in fence color when you’re finished. Sand or bead blasting is another technique. Blasting works well, but you’ve got a huge mess in the blasting material to clean up when you’re finished. Some people simply stain the fence or paint it, but that just covers up your once attractive structure.
Pressure Wash: The pressure washer is the tool to use. For a fence, you’ll want to get a high-powered version, 2500 PSI at least. Attach a fan-shaped tip to the pressure washer that can cover 4 to 6 inches at a time depending on how close it is to the work. You can add a little Dawn liquid detergent to the chemical tank on the sprayer if you have an oily residue on your fence.
Start at one end of the fence, preferably the uphill end so water drains as you progress. Work the wand along the grain of the pickets vertically. (Think tool brushing as explained by the dentist when you were in elementary school) Make several passes on each picket, then move to the next one, repeat the process until it’s complete.
If you have access to the backside of your fence, do the reverse pickets, posts, and structural members too.
Wait for the wood to dry. If the color is uniform, the job is done. If a few pickets remain stained or slightly discolored, hit them with the pressure washer once more.

Protective Coatings
With cedar, redwood, and cypress, you don’t need to spray on an oil preservative. You can add a little color to your fence with a shake and shingle stain, but that’s a personal choice, the integrity of these three types of wood stand alone without any additional chemicals.

