How To Replace A Plexiglass UTV Windshield
Replacing a windshield is an expensive process no matter the vehicle. When it’s of the off-road, side-by-side, all-terrain variety, the price can be ridiculous.
If you have a standard UTV manufactured by Polaris, Kawasaki, Honda, or even John Deere you’ll have a lot of options in purchasing a replacement windshield. There are even after-market varieties that cost a little less than replacing the original with a name-brand part. But if you’ve picked up a not-so-common UTV, perhaps one of the hundreds of thousands that flooded the market from 2007 to 2009, parts aren’t so easy to find.
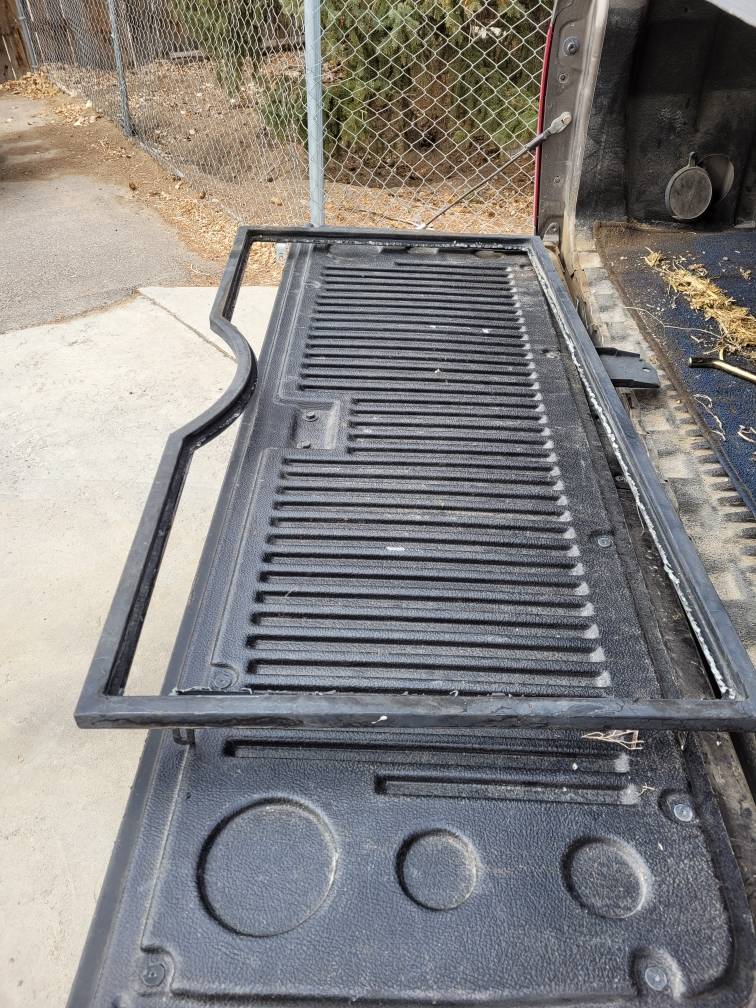
You’ll quickly discover that replacement windshields start around $350 can double that price depending on the model. You have another option if you’re handy with tools. You can fabricate a replacement windshield using plexiglass.
Plexiglass is readily available at your local lumberyard. It is expensive material by lumber yard standards with a full 4×8 foot sheet selling for more than $250. The good news is, you can buy it in smaller dimensions at a much reduced cost.
Supplies
- Plexiglass: Most UTV windshields are smaller than 24 x 48 inches, and a quarter sheet of ¼” plexiglass will cost you around $70.
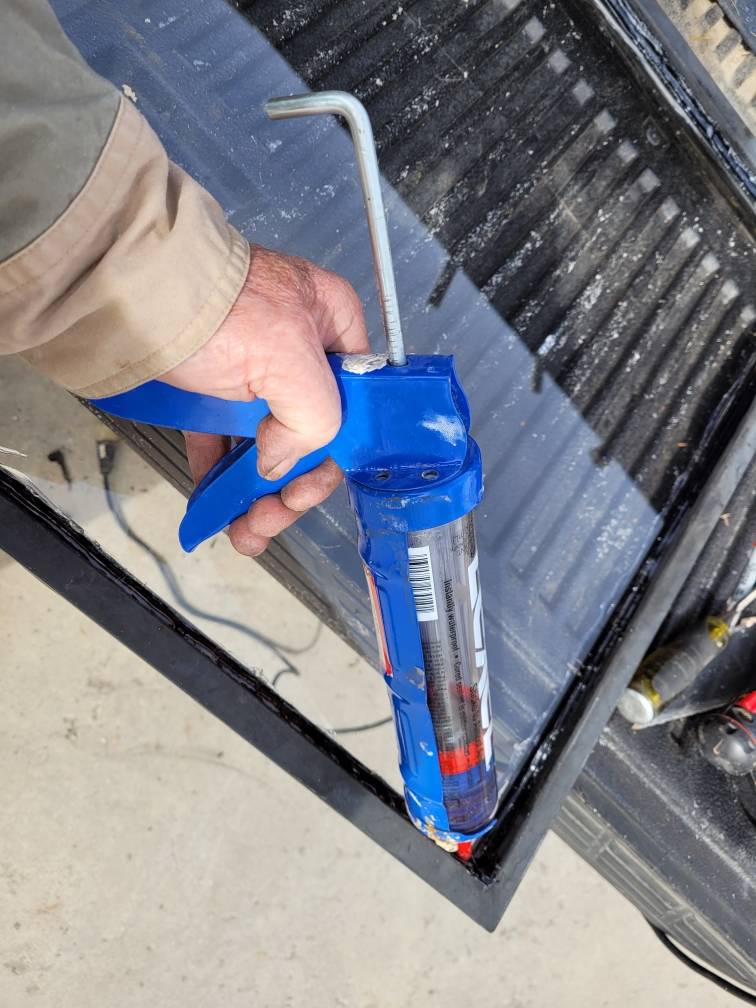
- Silicone Sealant: You’ll need a high-grade silicone sealant
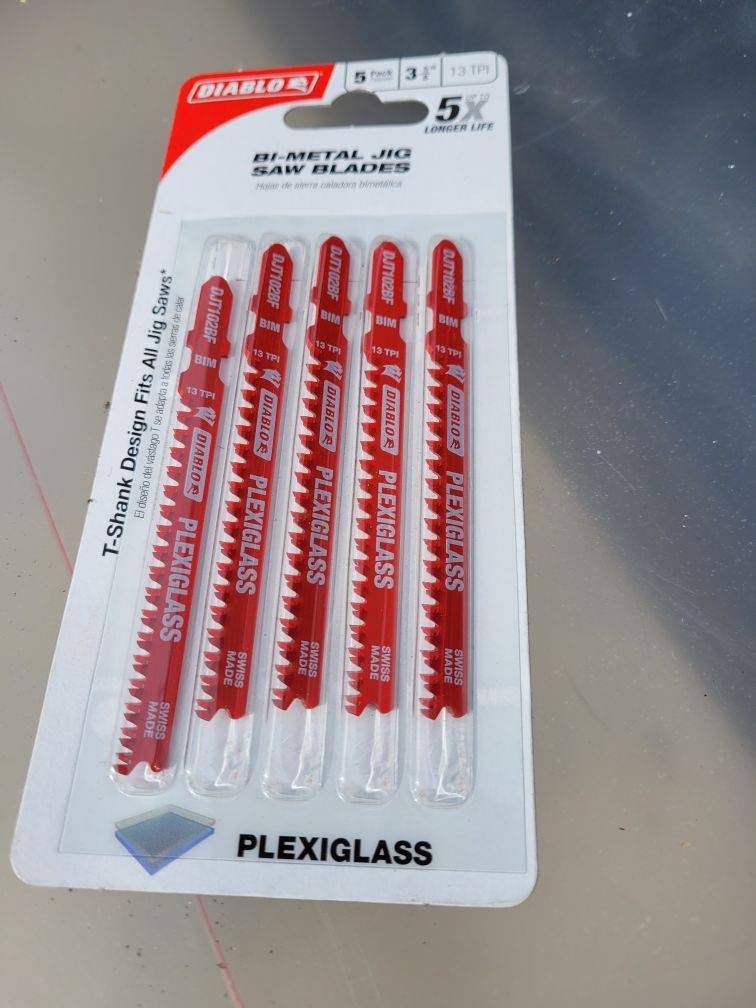
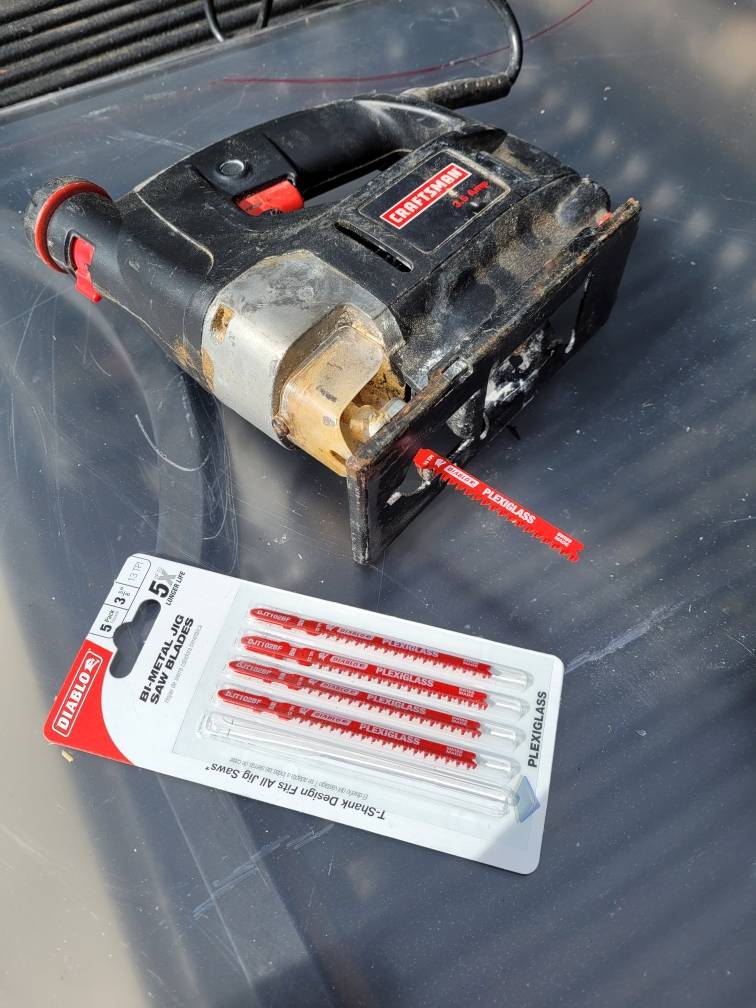
- Jigsaw blade: You’ll need special jigsaw blades that cuts plexiglass if there are any curves or other odd shapes.
Step By Step:
Remove The Windshield Frame
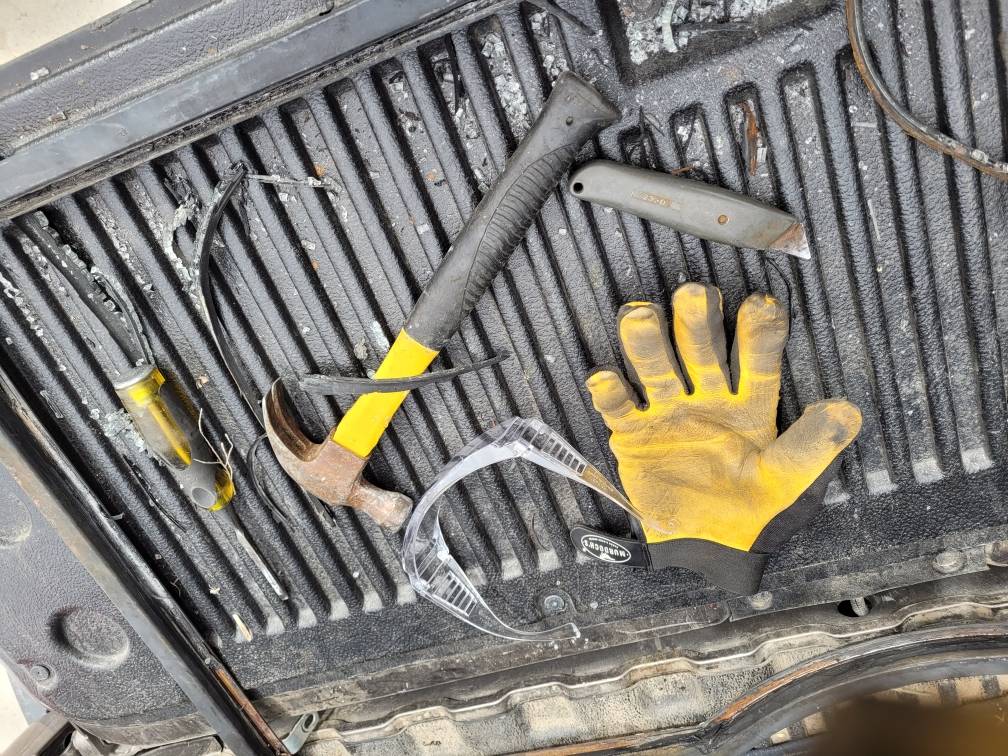
The first step is to remove the windshield frame from your UTV. Carefully remove all the glass remaining on the frame. That usually means you’ll have to use a utility knife to cut away the rubber holding the original glass in place.
Cars and trucks have a rubber liner that can be removed, then replaced with new glass. Most UTVs don’t have this option, the rubber is usually glued in place.
Cut the rubber from above and from the side. You’ll have a few residual pieces of glass to remove so wear gloves while you do this.
Mark The Plexiglass Shape
After all the rubber and glass have been removed use the frame as a template to mark the plexiglass. Marking a 1/16 of an inch inside the frame provides a little wiggle room in setting it later in the sealant.
Cut The Shape
With the outlines marked, use a table saw with a high-grade carbide-tipped blade to do all the right angles.
When that’s finished, use your jigsaw to cut out the curves or odd shapes.
Special plexiglass blades are available for jigsaws, but here is a huge caveat to be aware of.
ManMade Pro Tip: If you go too slow, you’ll melt the plexiglass as you pass and you’ll have to cut it again. If you go too fast, you’ll fracture the plexiglass, ruining the entire sheet if you’re not careful.
Dry Fit It To Your Frame
Once the plexiglass is cut, dry fit it in the frame. It should fit loosely. At this point, you still have the protective plastic sheet over both sides of the plexiglass. Remove the plastic sheet from the side you’re placing it against the frame, and set it aside.
Caulk and Seal
Take a calking gun and layout a ¼ inch bead of silicone sealant around the entire inside of the metal frame. Once the sealant is in place, carefully set the plexiglass into the frame.
Push the plexiglass into the sealant to ensure a good bond. Once the plexiglass is in place, remove the plastic covering from the other side. Lay another bead of ¼” sealant on the opposite side of the plexiglass. Set the entire project aside for 24 hours, allowing the sealant to set.
Mount The Frame Back Into The Vehicle
Once the windshield is set in place, you can take it back to your UTV and mount it back with the same brackets, bolts, and fasteners you removed previously.
That’s it, for less than $80 you can have a full functioning UTV windshield that is as durable as the original.
Plexiglass scratches easier than glass and attracts dust more heavily, but it is as clear as glass and should last you many years on the trail.


