How To Replace Your Sink Faucet Like a Pro
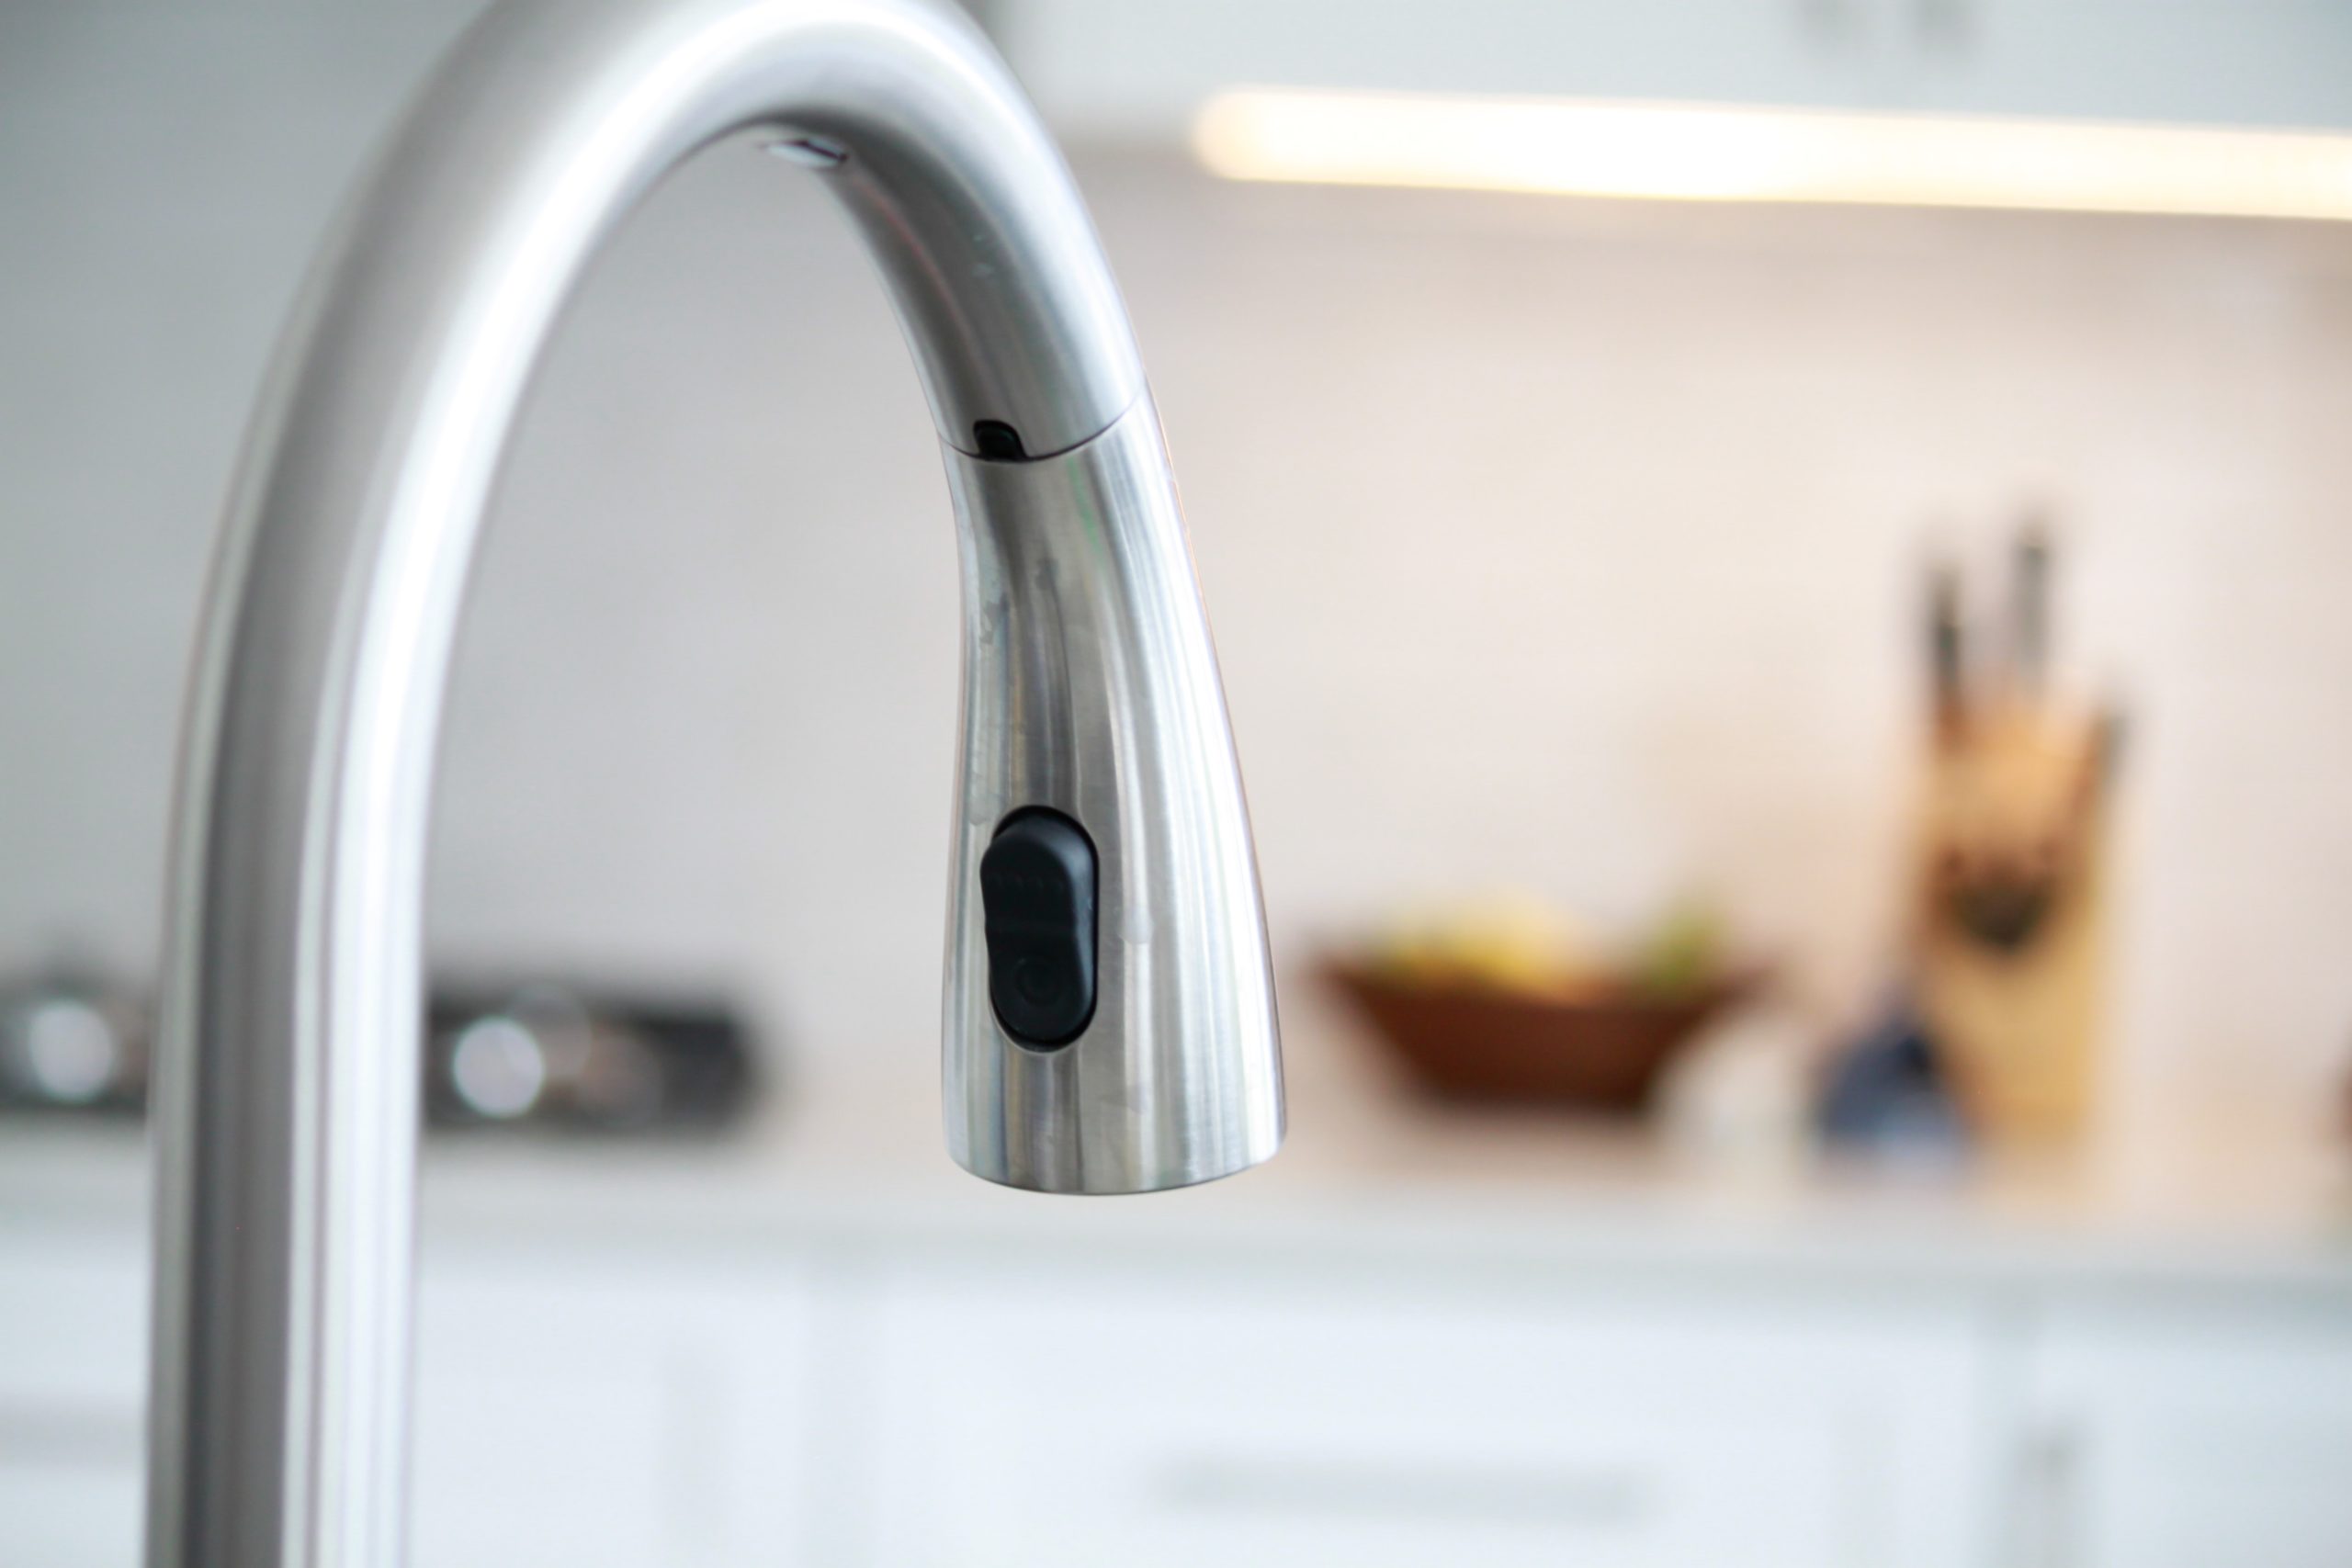
Plumbing is usually something that we task to professionals, but installing a sink faucet is an exception. Faucets are manufactured for easy replacement, and any DIYer can safely install one at home.
Did you know that your faucets should get replaced every 15-20 years? Maybe you’re due for a replacement or just updating to something more stylish. Whatever it is, manufacturers have made this process nice and easy for you. Your faucet comes with detailed instructions for the installation, guiding you through every step of the way.
Purchasing a new faucet is exciting. It’s a minor kitchen upgrade, but it makes a big difference in function and aesthetics. We’ll easily walk you through how to replace a faucet but the first step is identifying which type of faucet you need.
Which Faucet Do You Have?
Ball faucets are easily recognized by their single handle that moves around over a ball-shaped cap at the faucet’s top. These taps tend to leak often.
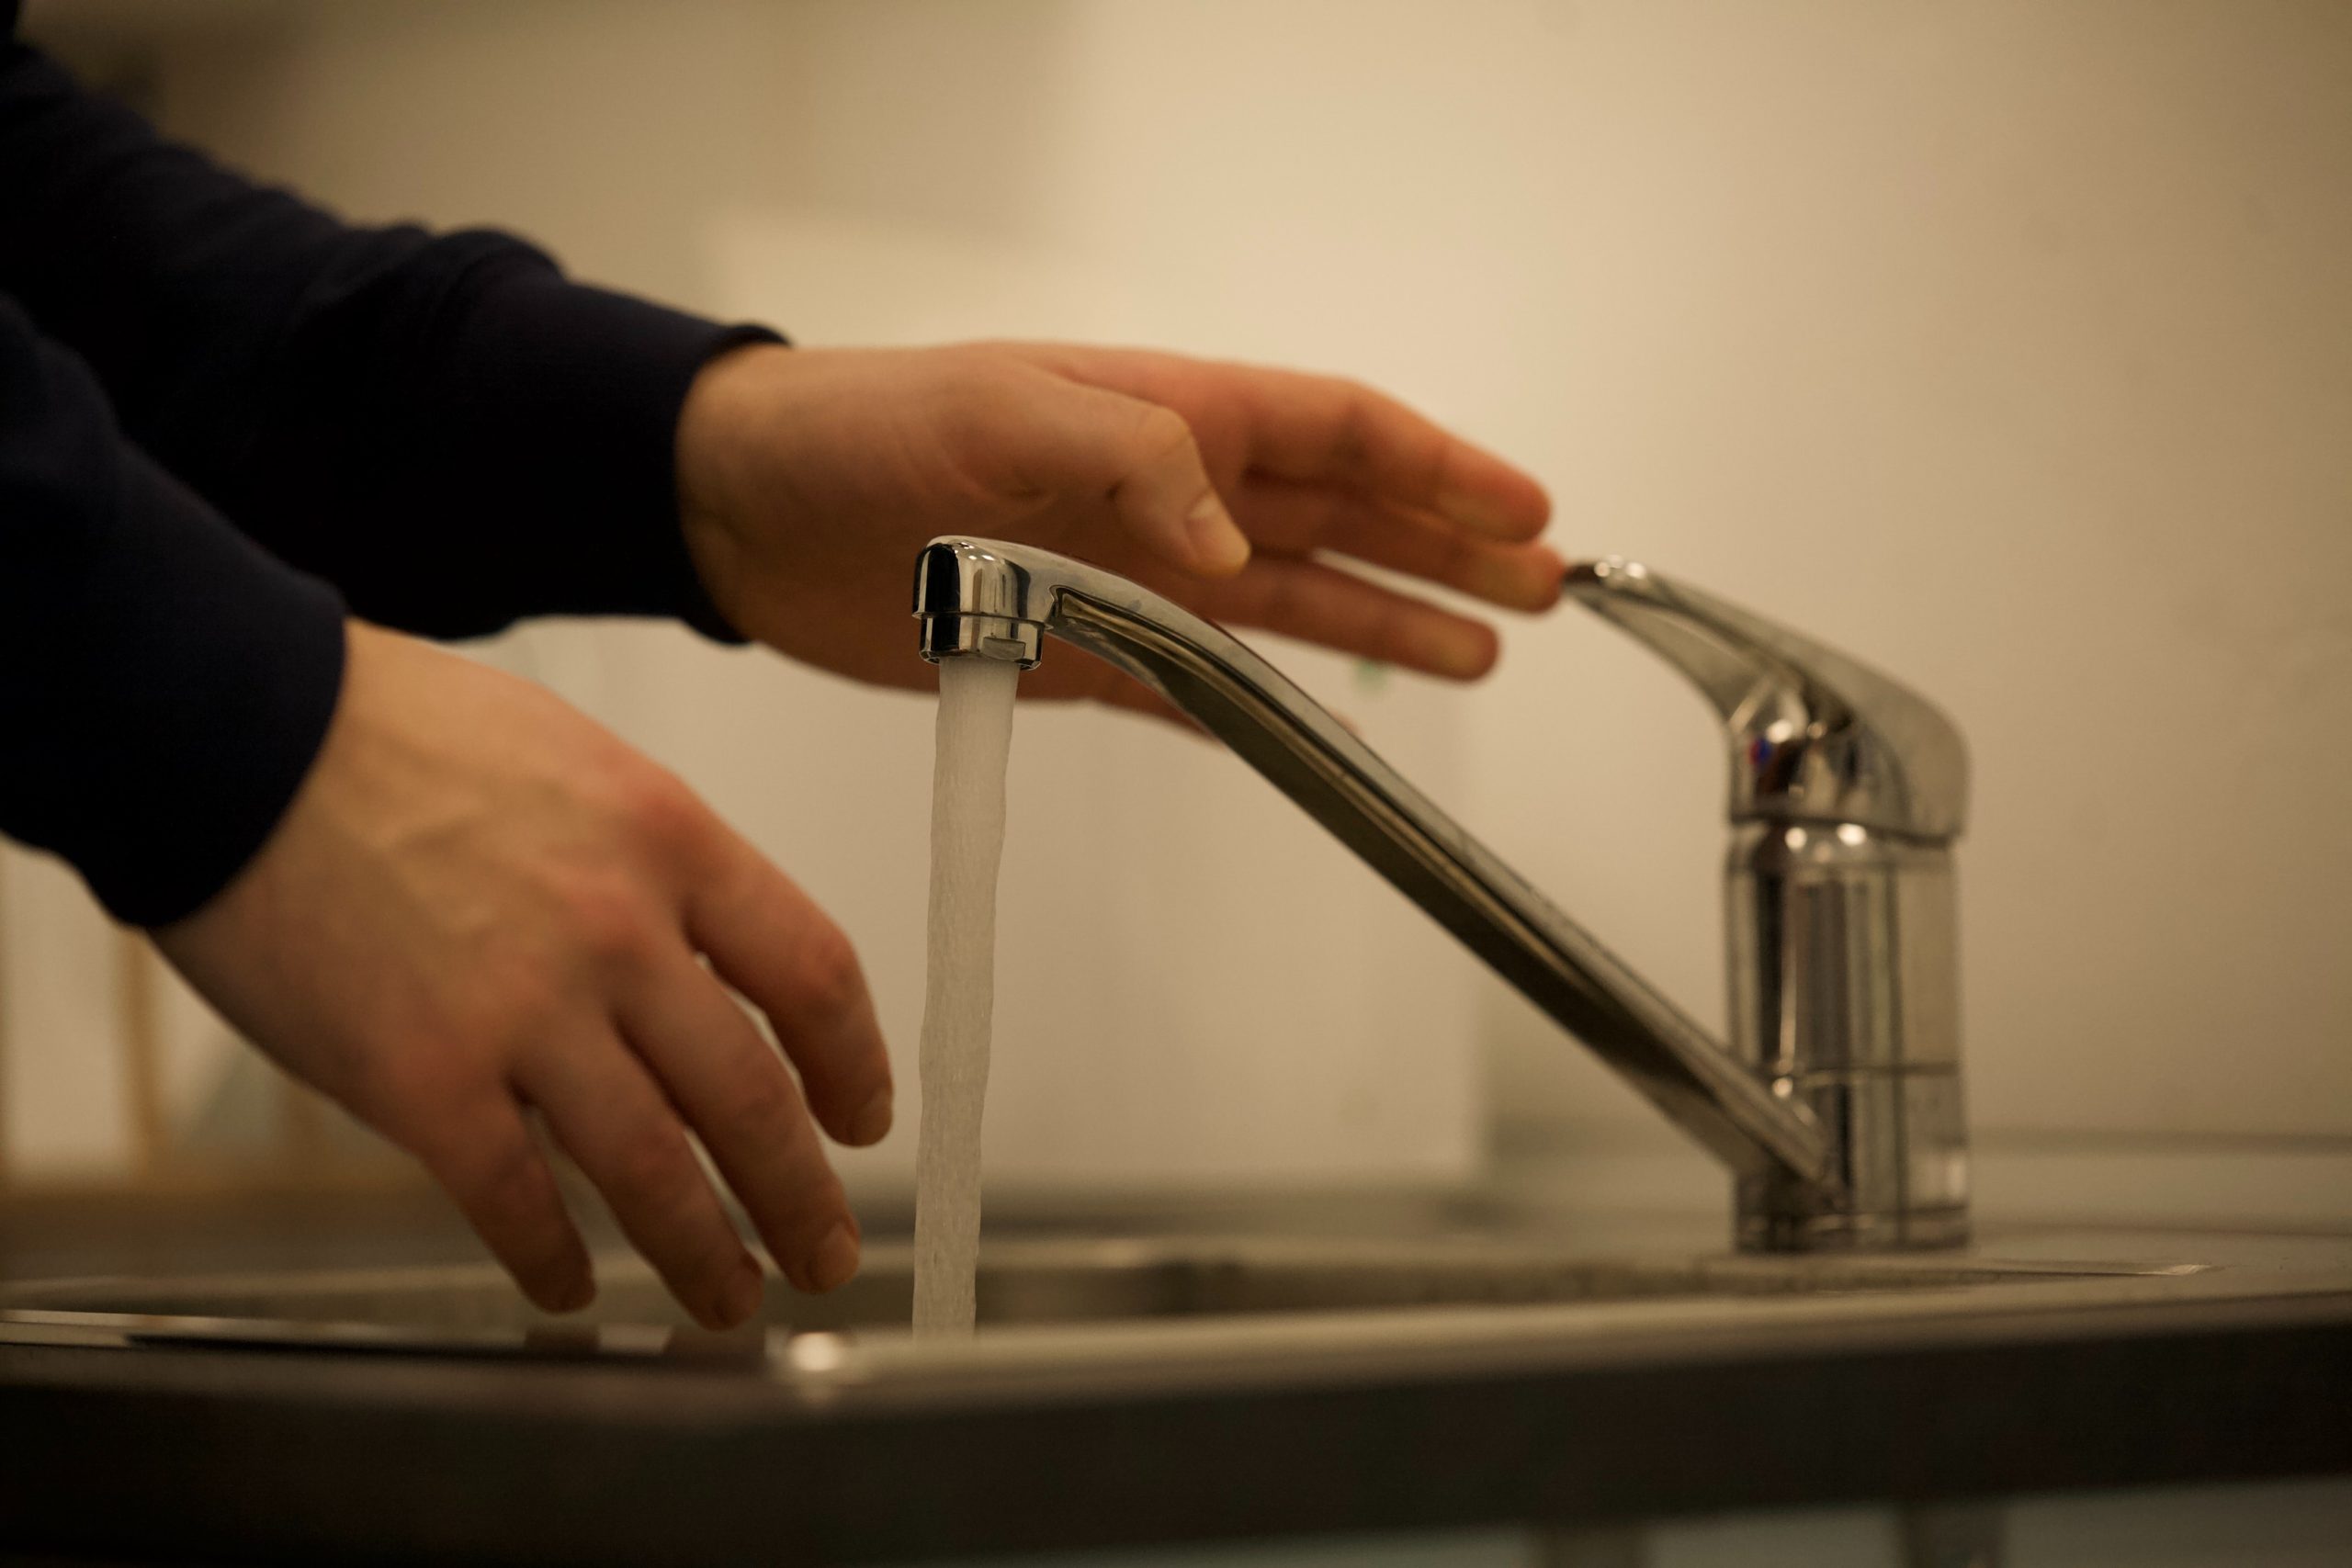
Disc faucets are most commonly found in kitchen sinks and identified by a single handle over a wide cylinder body. These are the most reliable faucets due to their high-quality development with modern technology.
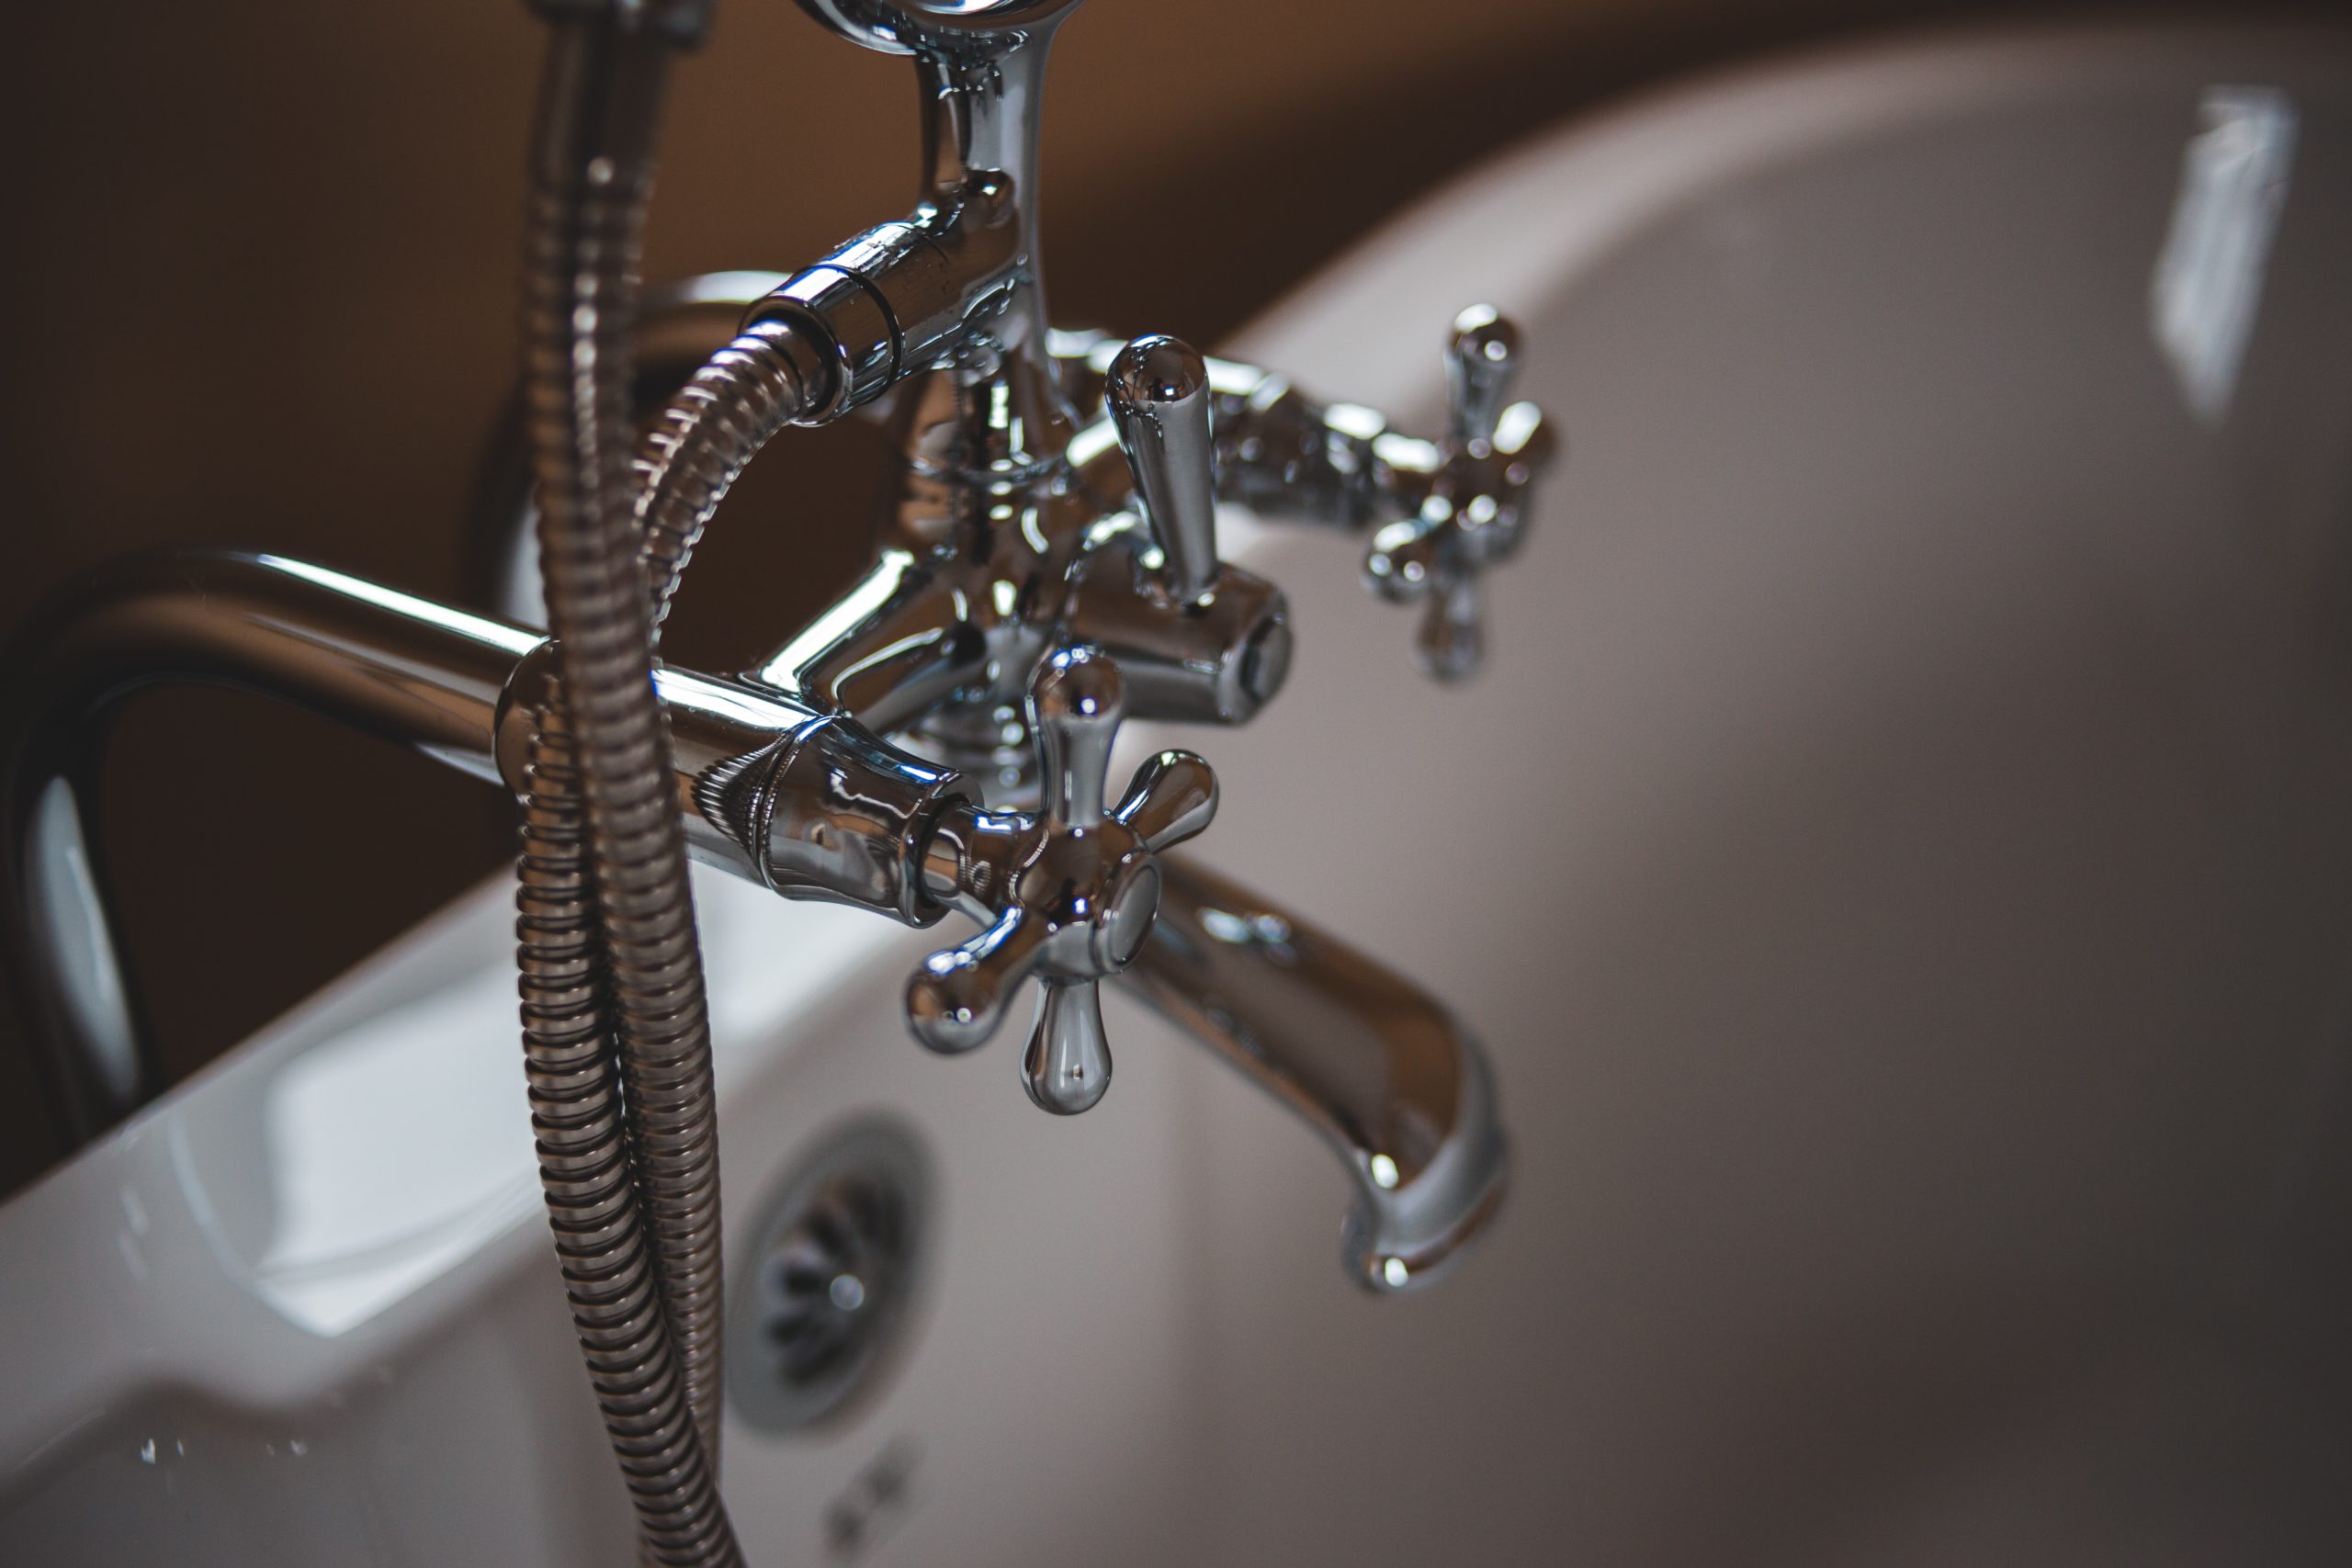
Compression Water Faucets are the most common sink tap and have been around for years. Most commonly, you find these in old houses or utility rooms. These two handled fixtures have separate hot and cold controls. Compression faucets use a compression stem to seal the valve, requiring you to close the tap tightly to avoid leaking or drips. They are the least expensive faucet on the market.

Double handle cartridge faucets are much like a compression washer faucet. The only way of telling the difference between the two is in the way that you close off the water. On double handle cartridge faucets, the two handles control different temperatures and turn off without any added pressure. All it takes is a half-turn of the handle, and the water goes from the off to the on position. This feature helps to restrict leaks and drips.
Do You Want Any Other Upgrades?
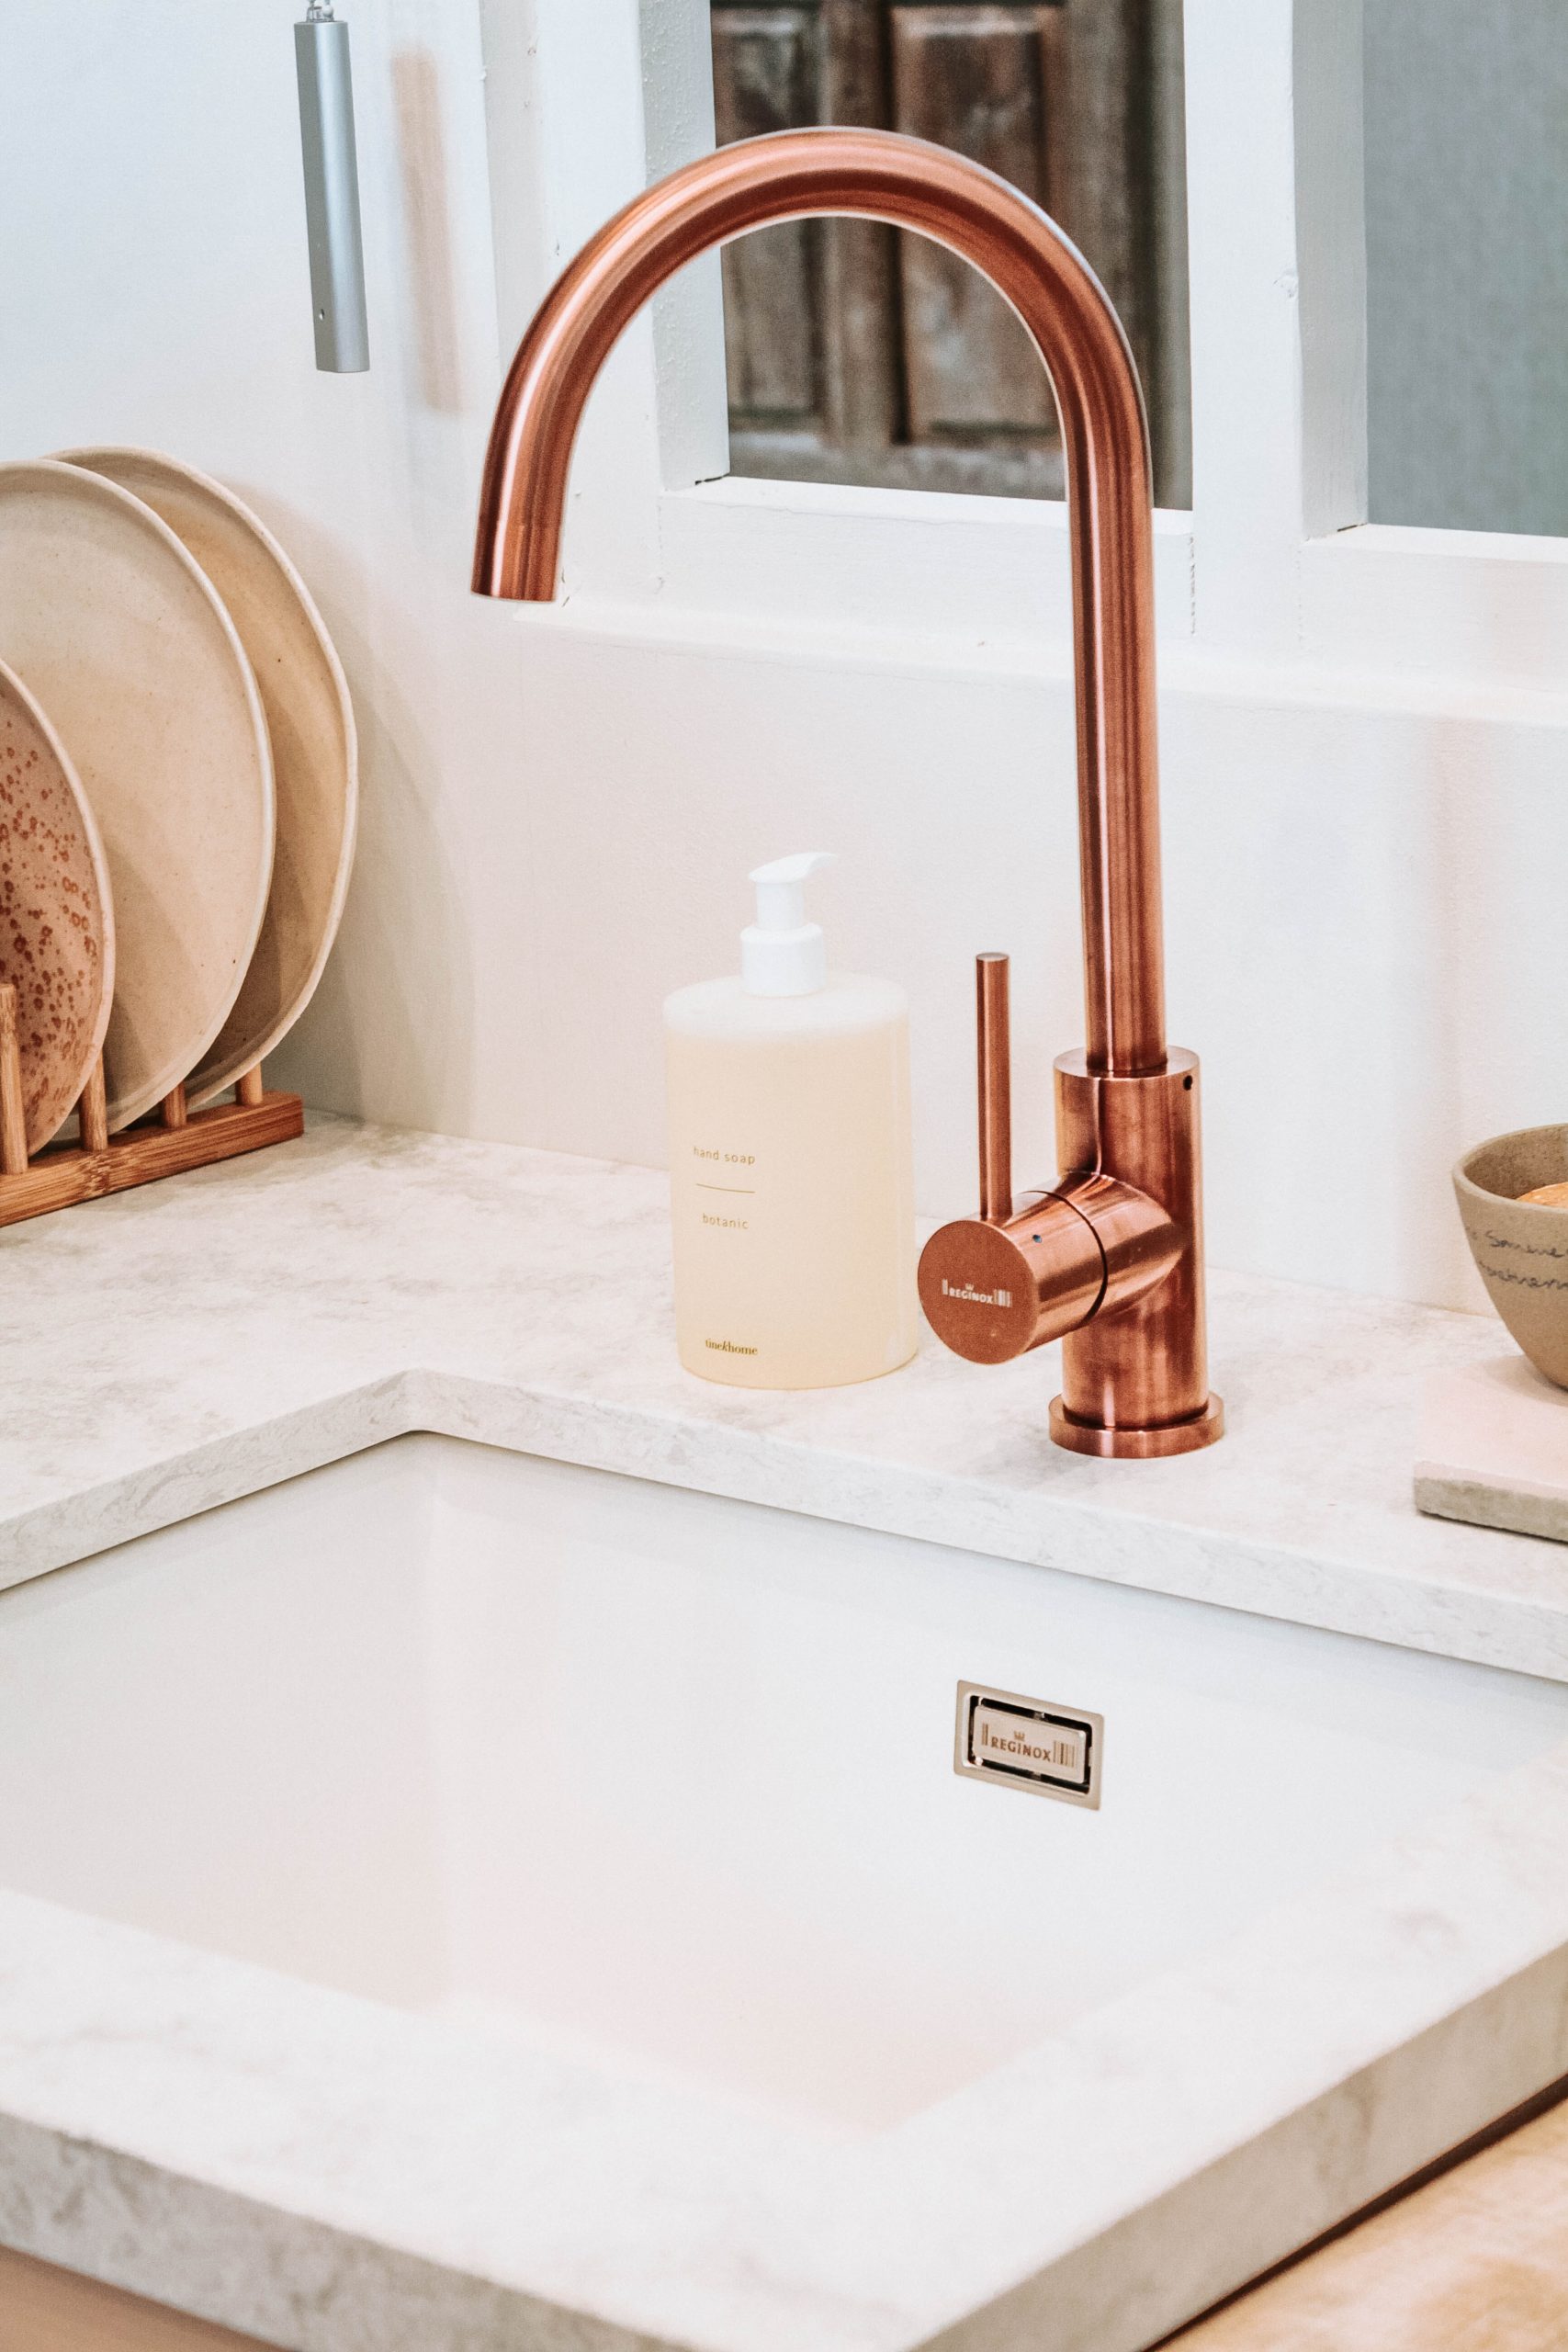
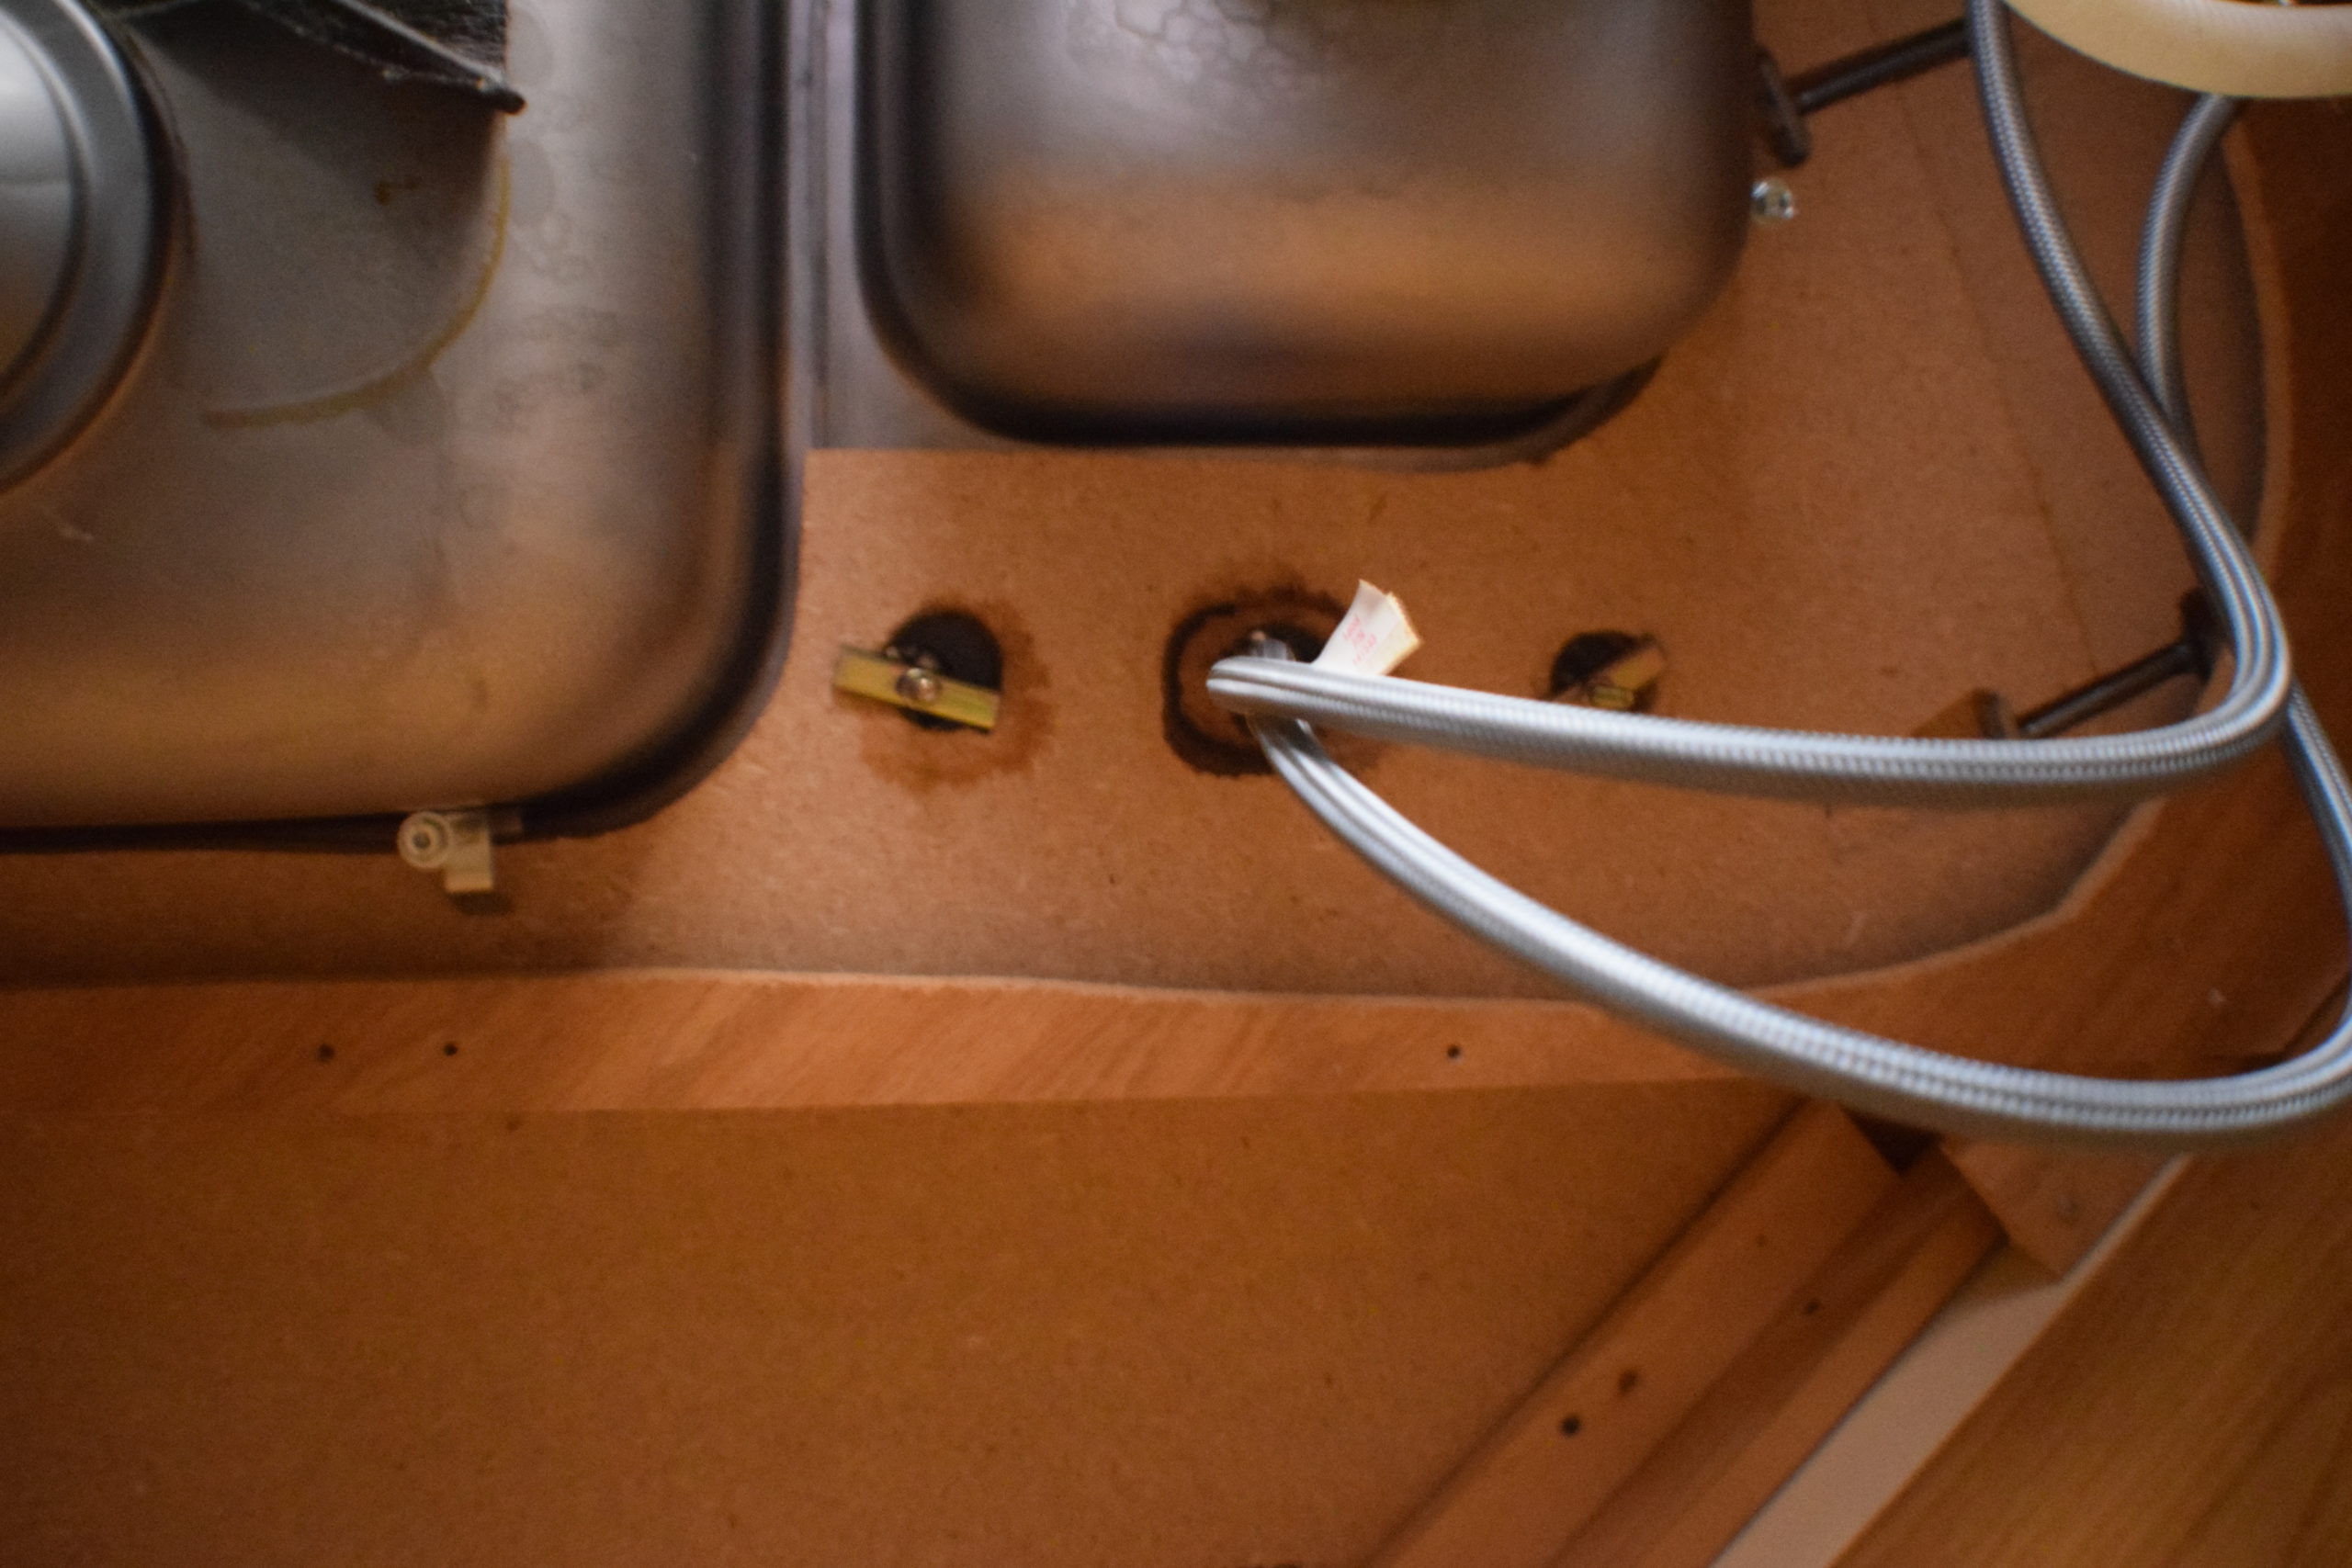
Take a peek under the counter before you go to purchase your faucet. It’s important to note how many holes your current sink has. It could have anywhere from 1 to 4. A 4 hole faucet will not fit in a one-hole sink; however, a one-hole faucet can go in 4 hole sink. All you need is some plugs to fill in the holes (if you don’t use them all up). Most people cover these with a matching or decorative cover plate, but if you have holes available, it might be worthwhile to add a soap dispenser or a retractable faucet sprayer to fill the gap.
Supplies:
Once you’ve chosen out your faucet, there are some other things you might need to add to your list:
- New supply lines (optional)
- New valves (optional)
- Faucet cover plate (optional – many new faucets will come with one to match)
- Plumbers Putty
- PVC Primer
- Basin Wrench
Remove The Faucet
The first step to replacing your existing faucet is to turn off the water supply to that tap. You can usually find this under the tap. Following that, open up the taps to let any water drain out and alleviate pressure from the supply lines. If you have a garbage disposal, turn off your panel’s power and unplug it from the wall.
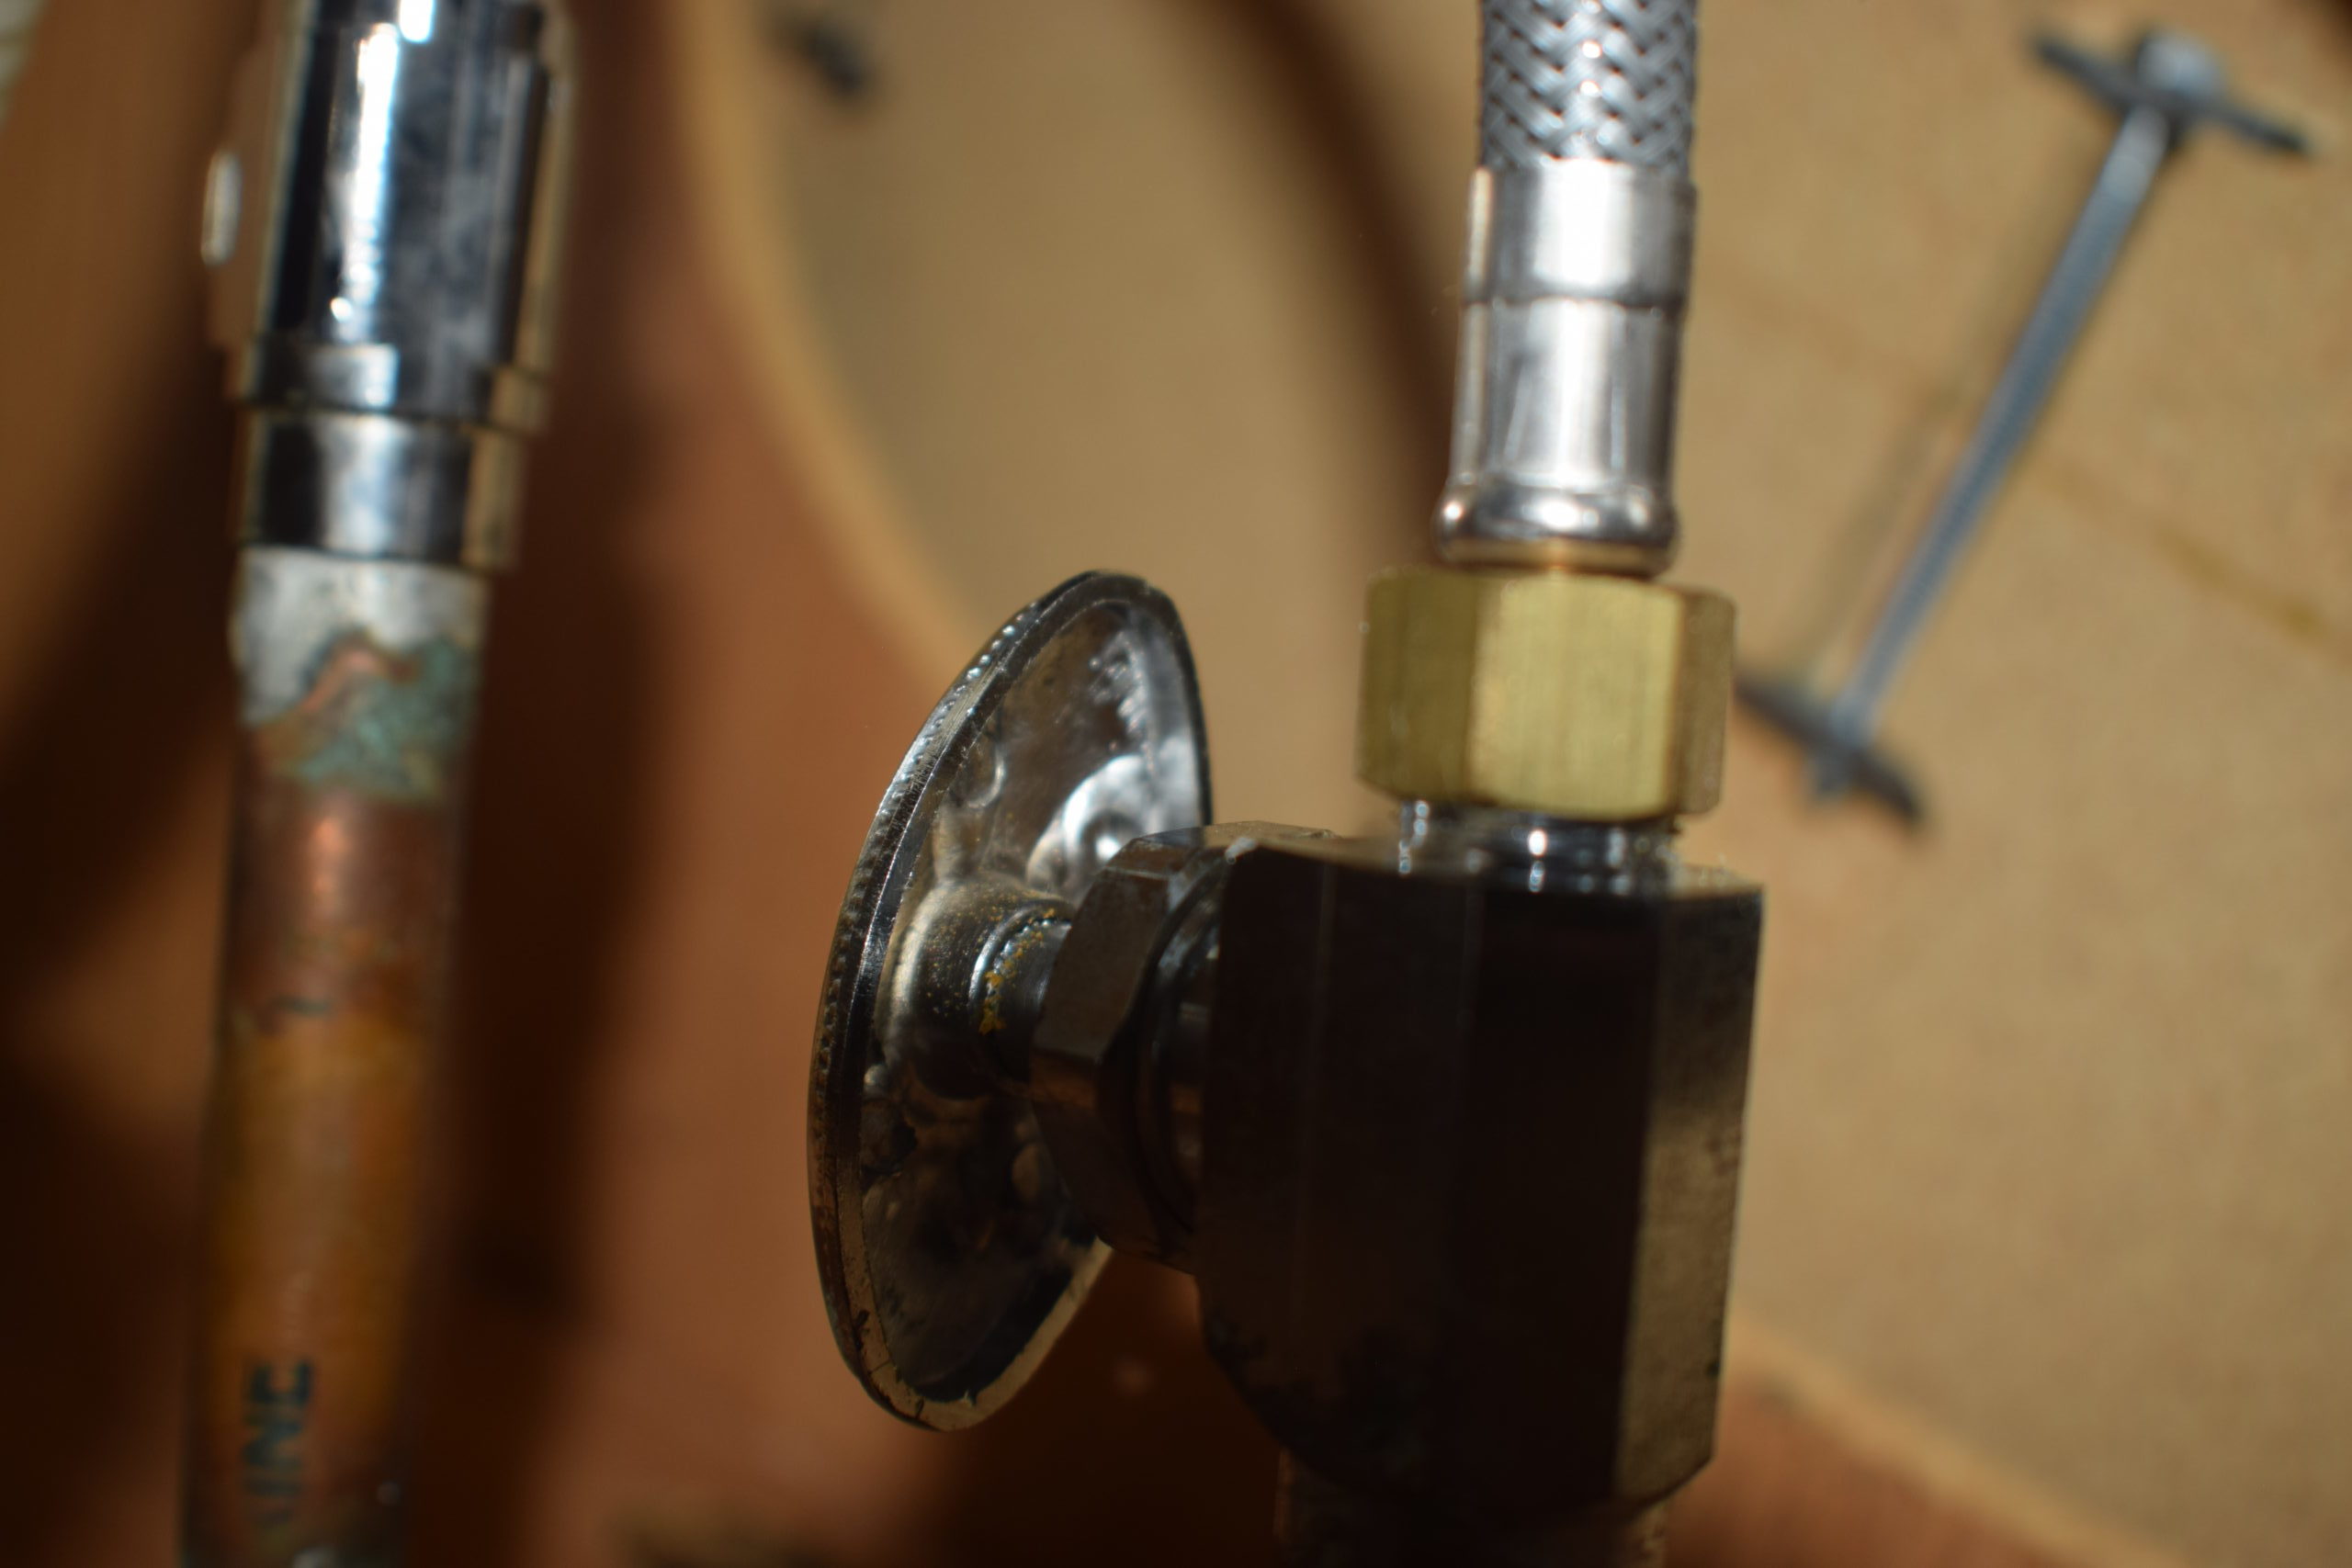
Now that we’re ready to replace the faucet, place a bucket or Tupperware container under the sink to catch any water that may spill out while changing the supply lines.
To remove the supply lines, unscrew the connection. You might need to pull out some tools to get this undone, depending on corrosion.
Have someone hold the faucet while you get under the sink and use a basin wrench to undo the nuts. The faucet will easily slide out through the top.
Installing The Faucet
As mentioned previously, each faucet is different and has its own set of installation instructions. Typically, the first step here is to piece the faucet together. Once that’s all set, place the trim ring that came included with your faucet on top of your sink’s hole. If you picked up a cover plate to hide extra holes, insert that over the trim ring.
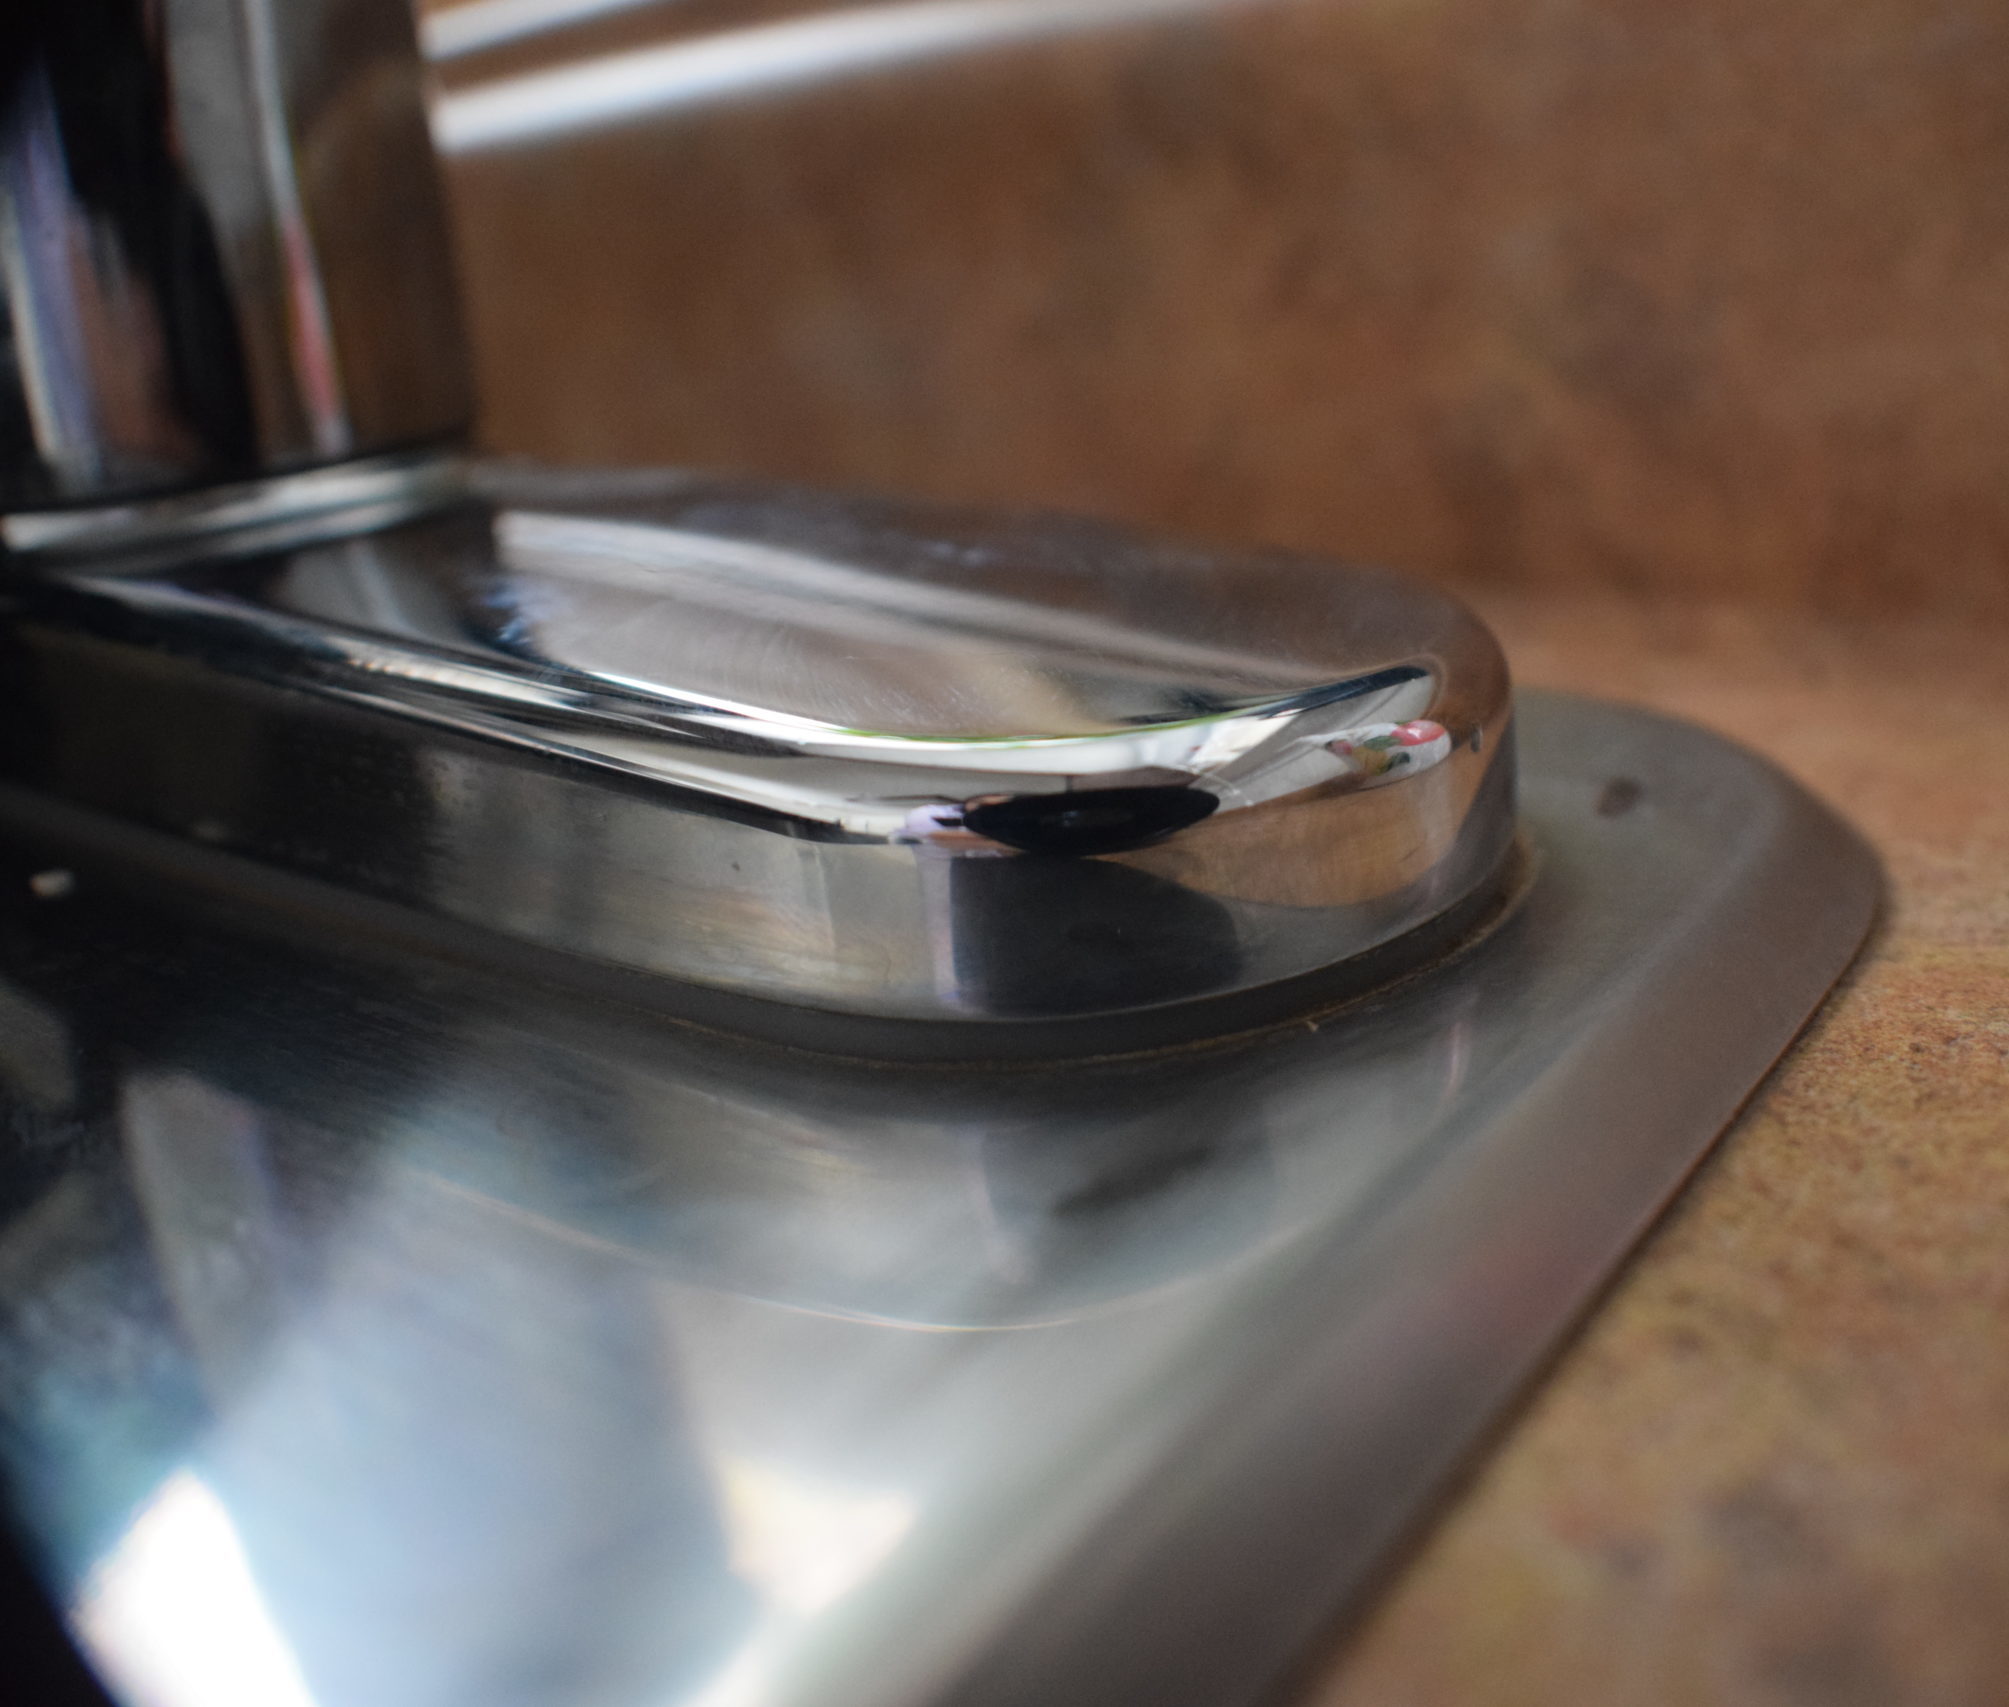
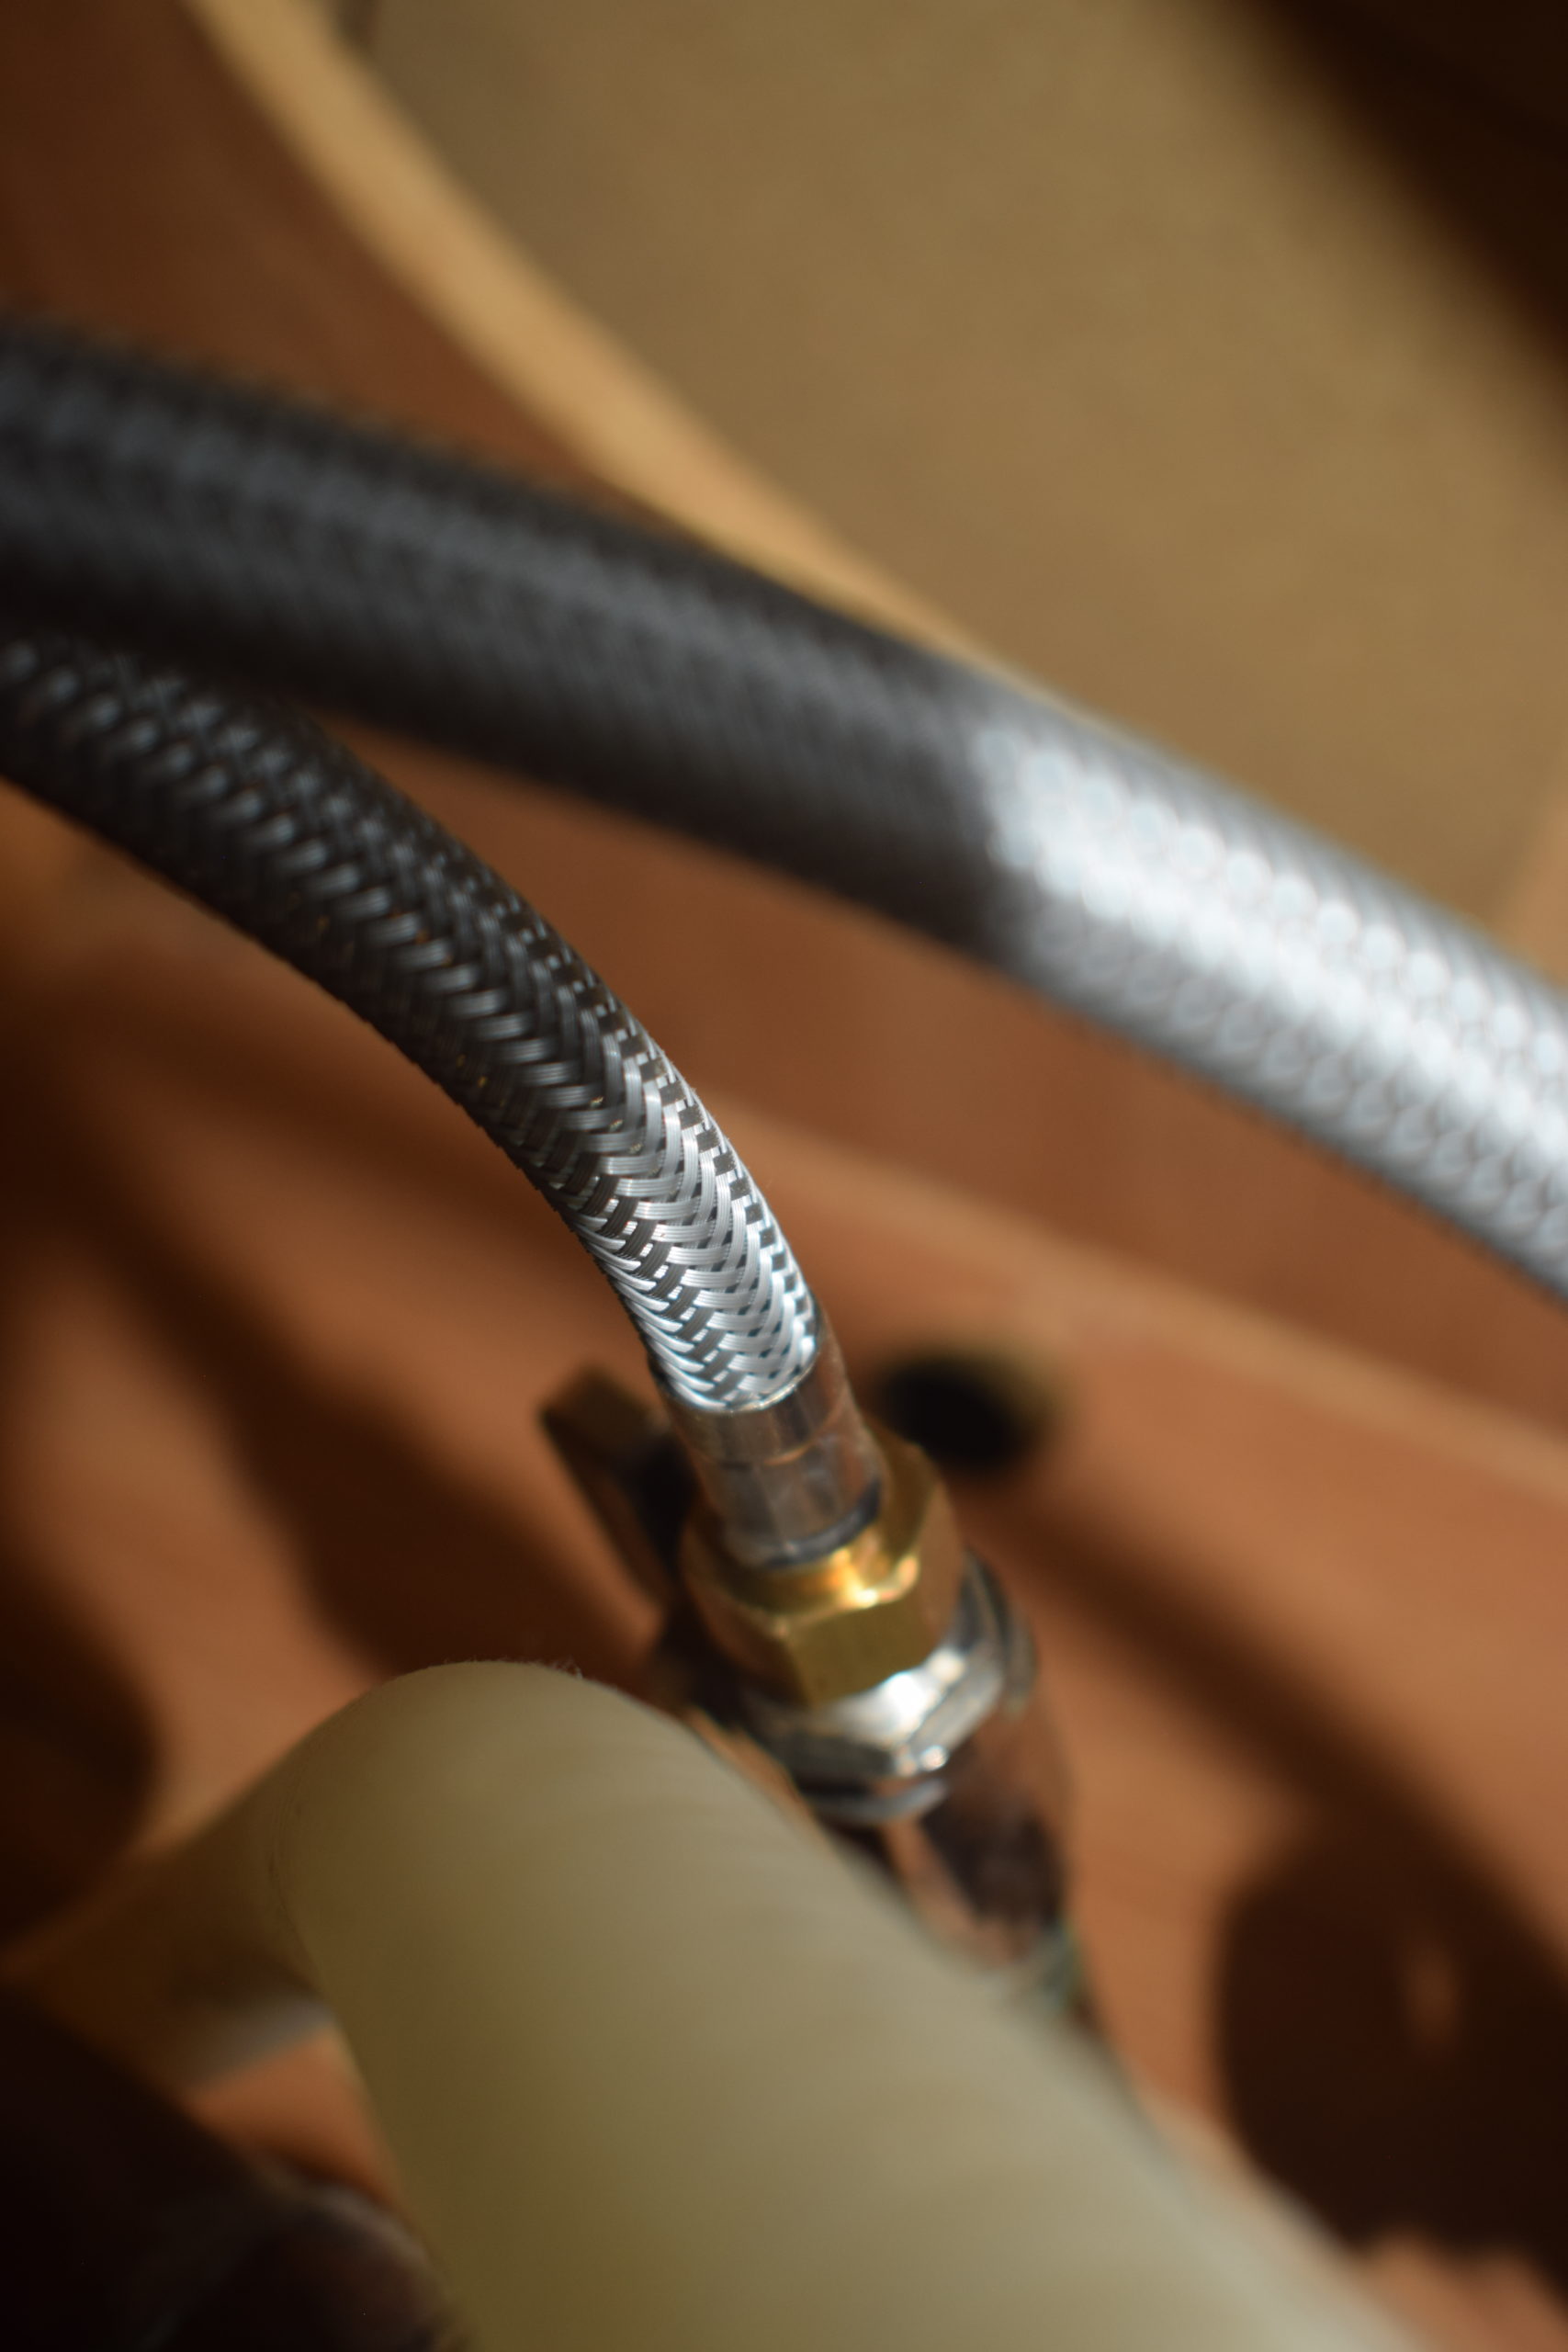
Feed the supply lines back down through the hole and position the faucet. Have someone hold the faucet again while you head back under the sink and use the basin wrench to secure the nuts on the supply line.
Re-connect the water supply line to the valve and tighten using a wrench. Be mindful not to tighten too much, or you could break the seal. The best way to do this is to turn the water valve on and check for any leaking around the valve with your thumb. If you feel water, keep tightening until it stops.
Remove the aerator from your faucet head and turn the tap on slowly to flush the lines and faucet. Let the water run for 1 minute, and then check the valve and seals to make sure the pressure hasn’t loosened your fasteners. Put the aerator back on the faucet, and you are all set! Show off your DIY plumbing job with the ManMade community on our Facebook or Pinterest!


![How To Clean Patio Pavers [Without a Pressure Washer!]](https://www.manmadediy.com/wp-content/uploads/sites/52/2024/06/broom-15377-238x170.png)
