How To Reseed Your Lawn Like a Pro In Just A Few Easy Steps
Many homeowners dream of a lush, green lawn. However, over time, lawns can become patchy, thin, and worn out due to various factors such as weather, pests, and regular wear and tear.
Reseeding your lawn is an effective way to rejuvenate it and bring back its vibrant appearance. This guide will walk you through the detailed process of reseeding your lawn, ensuring that you achieve the best results. Keep reading to learn more!
Assessing the Condition of Your Lawn
Before you begin the reseeding process, it’s crucial to assess the current condition of your lawn. Identify areas that are thin, bare, or weed-infested.

Take note of the soil quality and drainage issues, as these factors will influence the success of your reseeding efforts. Conducting a soil test can help you determine pH levels and nutrient deficiencies, allowing you to make necessary amendments before reseeding.
Choosing the Right Grass Seed
Selecting the appropriate grass seed is essential for a successful reseeding project. Consider factors such as climate, sun exposure, and the specific needs of your lawn.
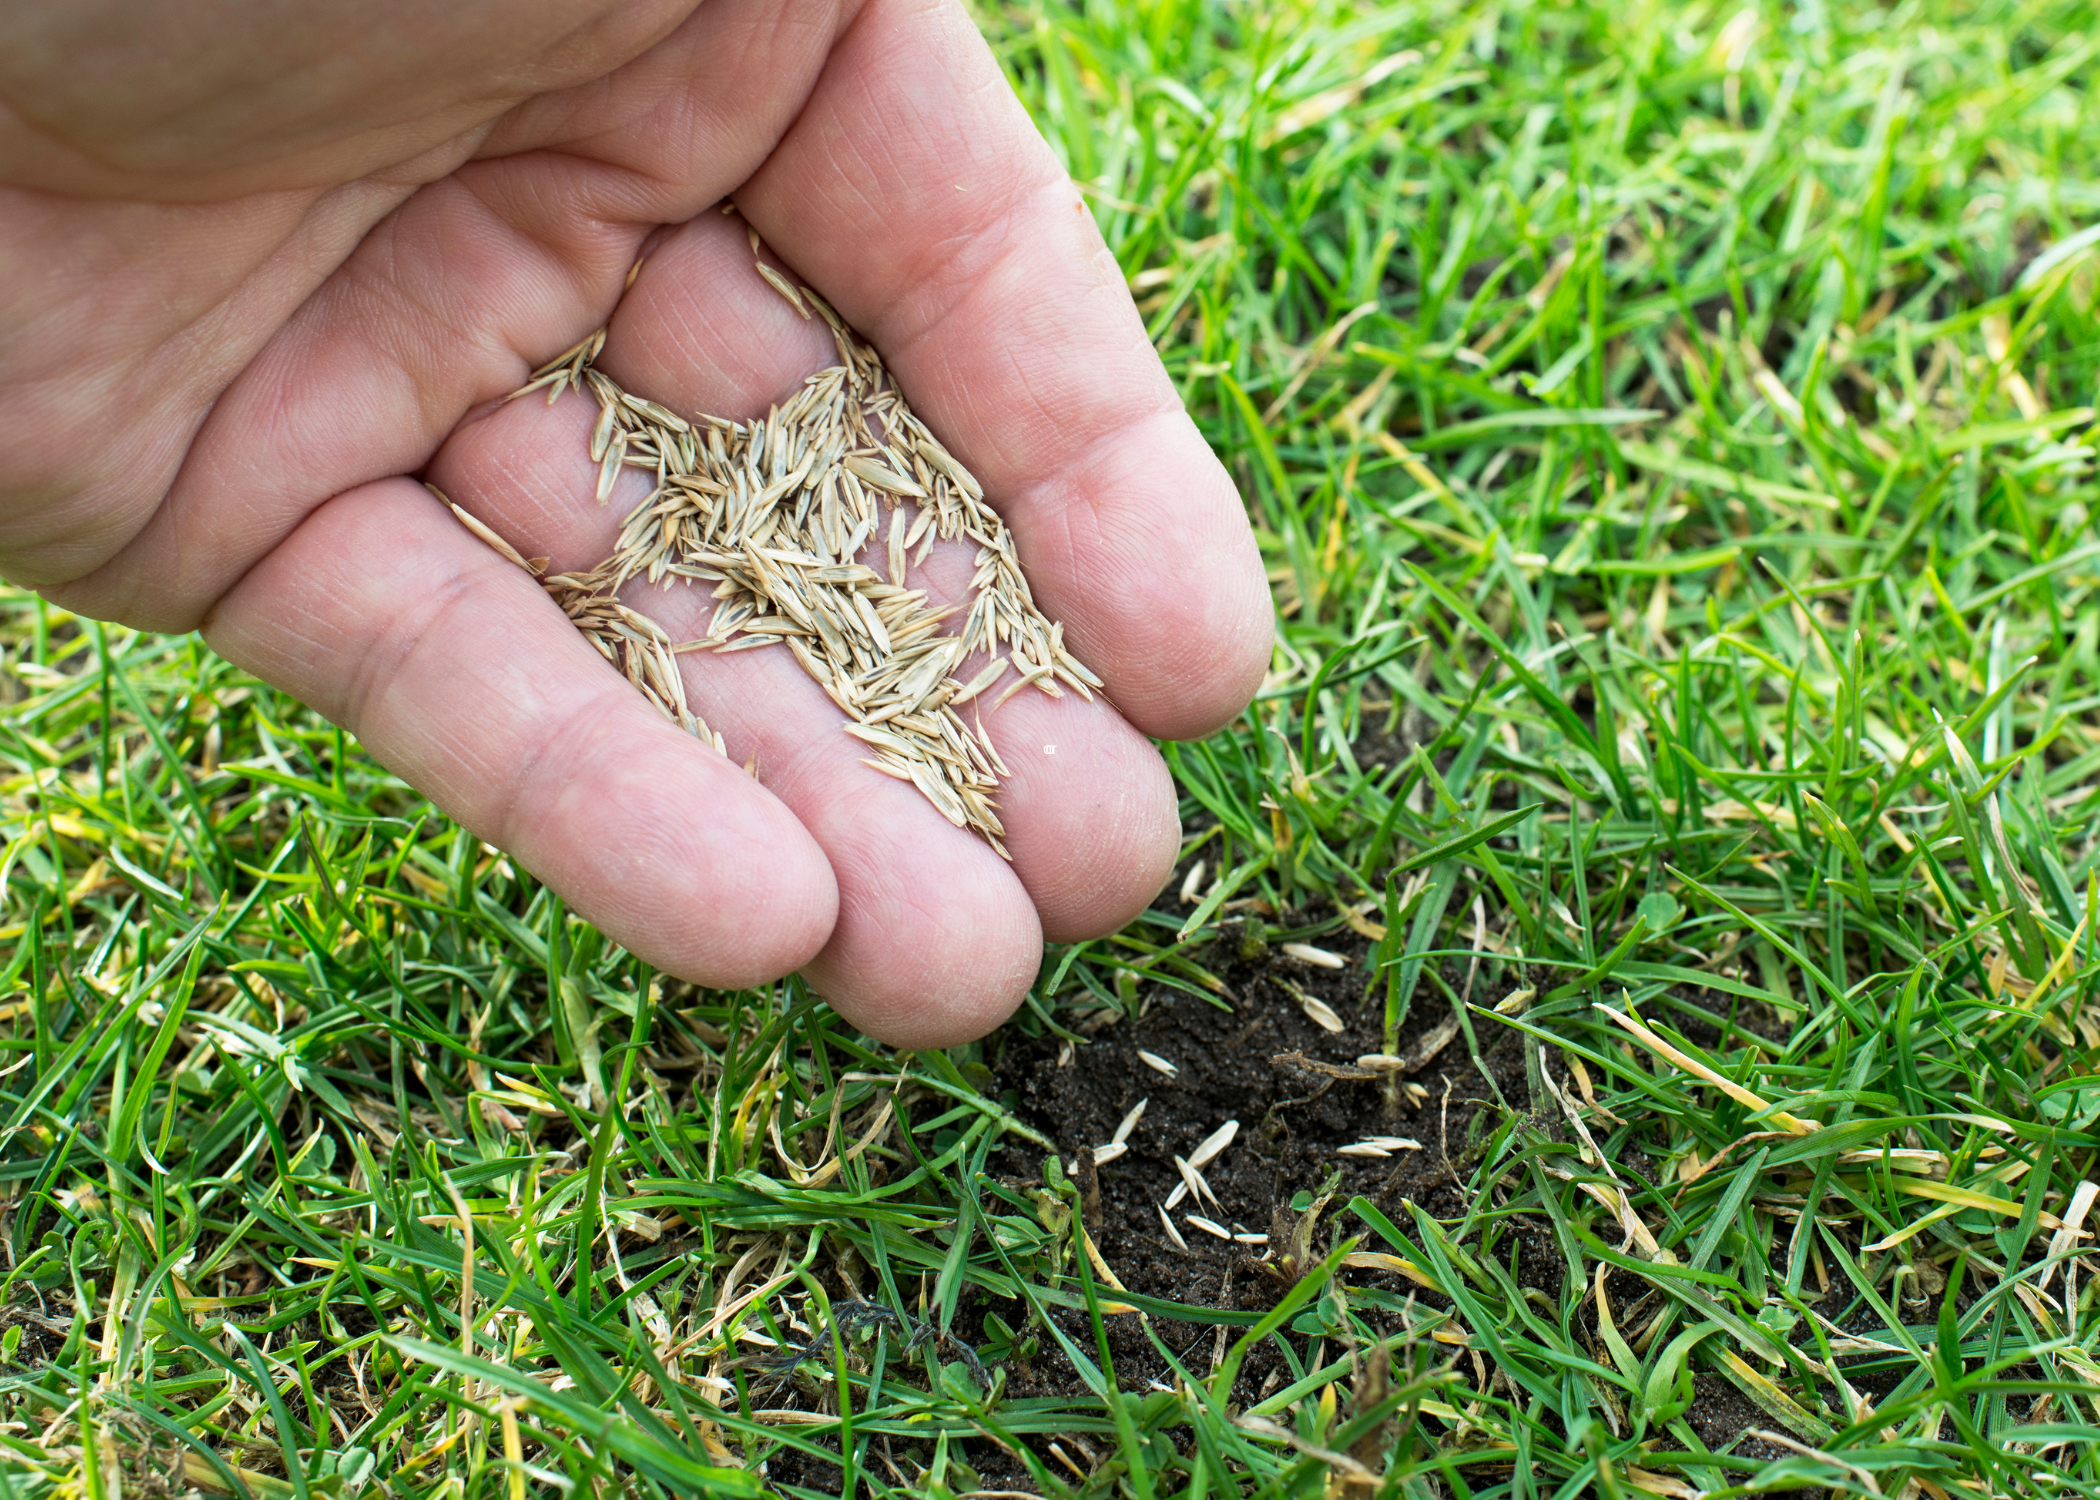
Cool-season grasses like Kentucky bluegrass, fescue, and ryegrass are ideal for regions with cold winters and hot summers, while warm-season grasses like Bermuda and Zoysia thrive in warmer climates. To ensure optimal growth, opt for high-quality seeds that are disease-resistant and certified for purity.
Preparing the Lawn for Reseeding
Proper preparation is key to successful reseeding. Start by mowing the existing grass to a short height, around 1-1.5 inches, to minimize competition for the new seeds.

Remove debris, rocks, and weeds from the lawn area. Aerate the soil using a core aerator to improve soil structure, enhance water infiltration, and create seed-to-soil contact. If the soil is compacted, consider dethatching to remove the layer of dead grass and roots that can hinder seed germination.
Amending the Soil
Improving soil quality is crucial for the healthy growth of new grass. Based on the results of your soil test, apply the necessary amendments, such as lime, to adjust pH levels and incorporate organic matter like compost to enhance soil fertility and structure.

Spread a thin layer of topsoil or compost over the lawn to provide a nutrient-rich environment for the seeds. Make sure to spread the layer evenly across the topsoil and pick a day when it’s not going to rain to avoid erosion.
Seeding the Lawn
Once the lawn is prepared, it’s time to spread the grass seed. Use a broadcast spreader to ensure even distribution of the seeds across the lawn.
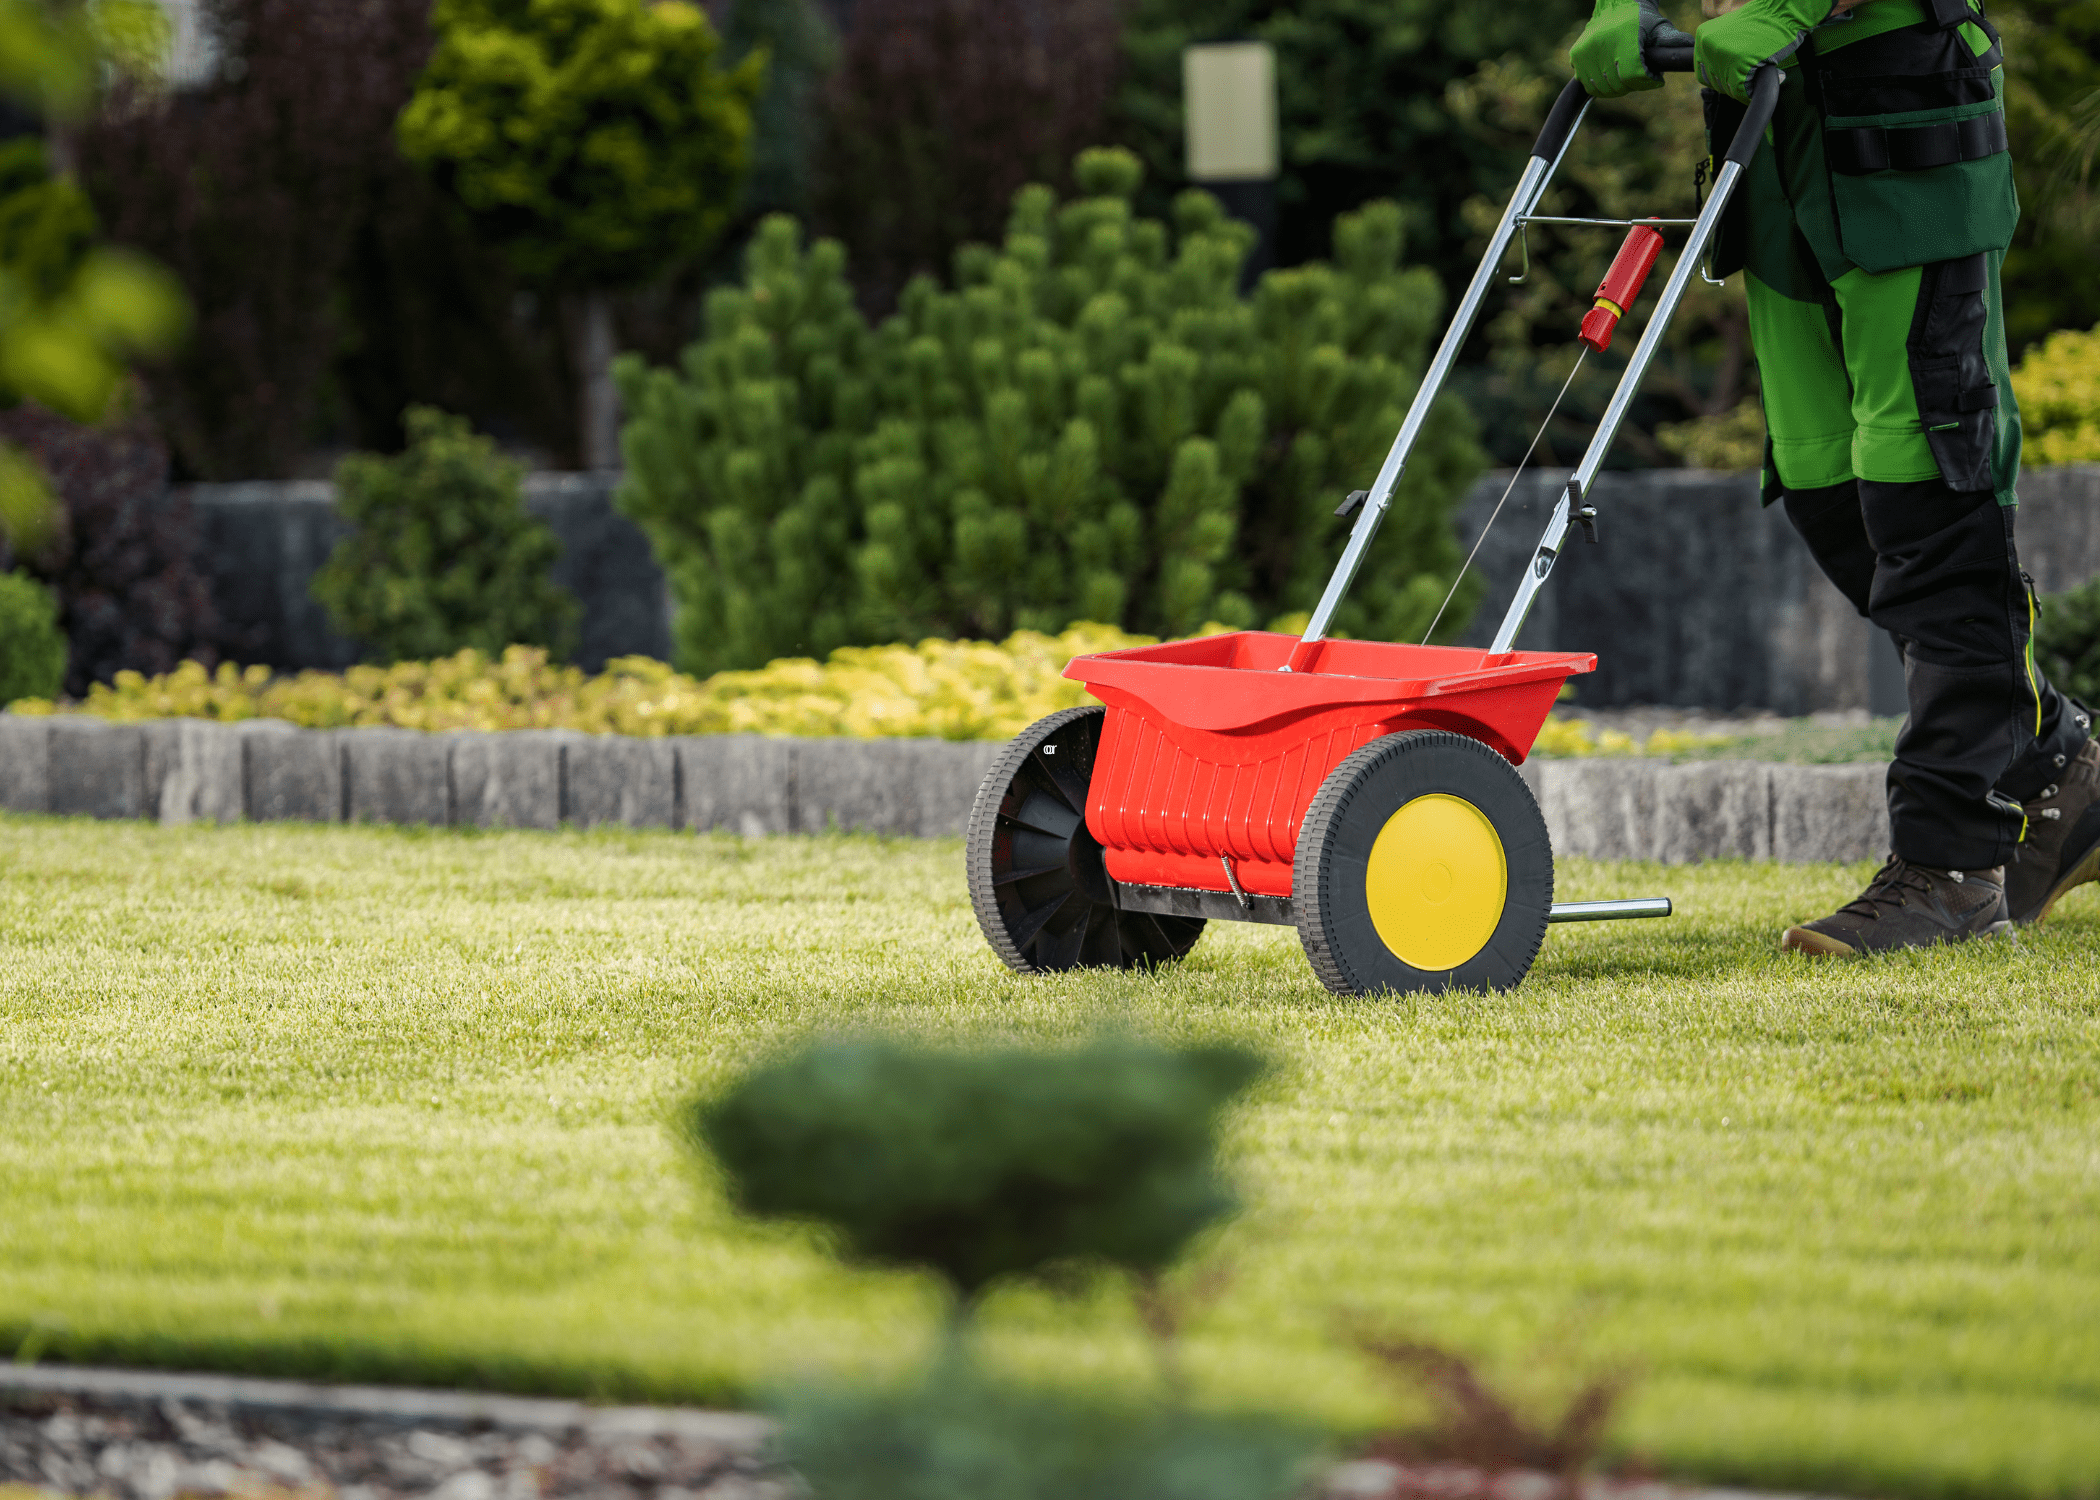
For larger areas, consider using a slice seeder, which makes small grooves in the soil and deposits seeds directly into them, improving seed-to-soil contact. After spreading the seeds, gently rake the area to cover the seeds with a thin layer of soil, protecting them from birds and wind.
Watering and Maintenance
Proper watering is critical for seed germination and establishment. Water the lawn lightly but frequently, keeping the soil consistently moist until the seeds germinate.

Avoid overwatering, as this can lead to fungal diseases and seed washout. Once the grass reaches a height of 2-3 inches, reduce the frequency of watering and switch to deeper, less frequent irrigation to encourage deep root growth. Continue to monitor the lawn for weeds and pests and apply appropriate treatments as needed.
Post-Reeding Care
After the new grass has been established, it’s essential to maintain it properly to ensure a healthy, long-lasting lawn. Regular mowing, fertilizing, and aerating will keep the grass thriving.

Avoid heavy foot traffic on newly seeded areas until the grass is well-established. Follow a seasonal lawn care schedule to keep your lawn in optimal condition year-round.
Related Articles
By following these detailed steps, you can successfully reseed your lawn and enjoy a lush, green landscape that enhances the beauty and value of your property. With proper care and maintenance, your newly seeded lawn will thrive and provide a beautiful outdoor space for years to come.
Ready to start your next project? Join our DIY community to receive tool tips, how-to guides, and exclusive creative insights. Subscribe to the ManMadeDIY newsletter now!

