How to Rough In Electrical Wiring For Your Home
A modern home has an amazing amount of electrical wire hidden inside the walls. Even a modest 2400 square foot home can contain miles of electrical wire.
The preponderance of modern appliances, computers, smart TVs, and the other bewildering array of electrical devices demand more outlets than ever before. Those outlets can be added later at a much greater cost but over-designing the electrical layout of a new home is the way to go.
Planning The Circuits
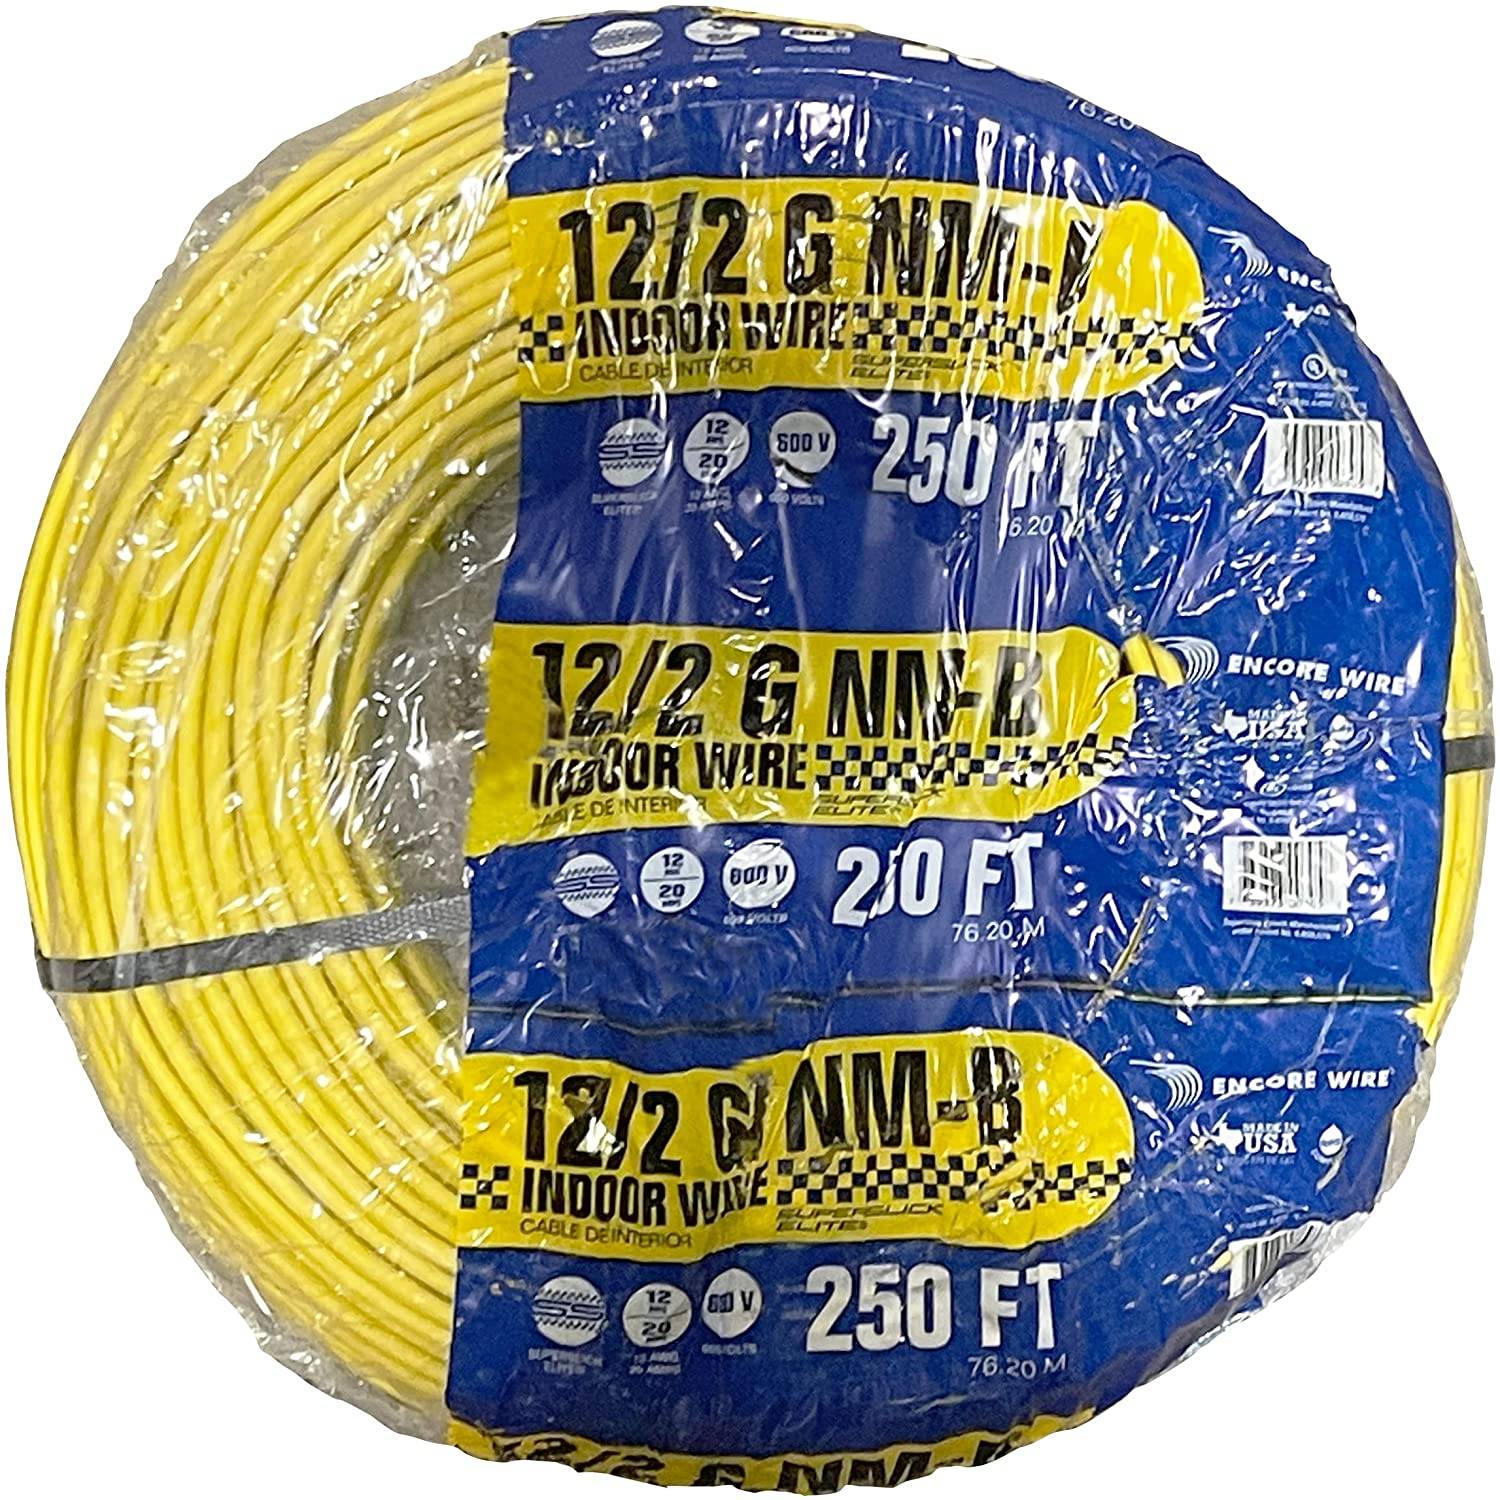
The first step is to plan how many circuits your home will require. Circuits are generally 20 amps for 120v outlets, 30 for light-duty 240v outlets, and 50 amps for power-hungry 240v circuits for that supply ovens, well pumps, and HVAC units.
You’ll want to use a single circuit for all 240v outlets—that means one 240v breaker in the panel and heavy 6 or 8 gauge wire to the outlet.
The 120v circuits should be limited to six outlets or overhead lights. More than that will draw too much current and you’ll pop breakers.
Ideally, you can lay out your electrical plan after the plumbing and HVAC venting are in place. This makes pulling wire much easier.
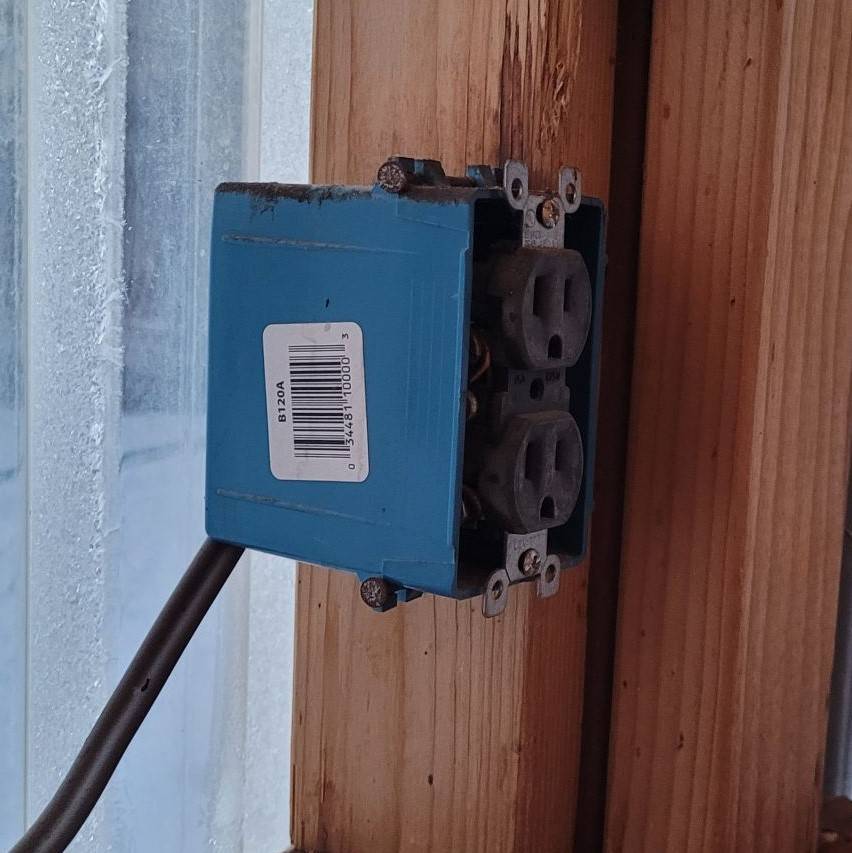
Wall outlets for 120v service should be placed at identical heights around a room. A good height is 12 inches from the floor to the top of the junction box. Mark a line on the stud 12 inches from the floor and begin nailing in the junction boxes. Most have a depth line that allows the surface of the box to be flush with the sheetrock when it’s laid over the walls later.
One rule to follow is that you can never have enough power outlets in a room. The demand is increasing with each new technological breakthrough.
Light switches, overhead lights, doorbells, external deck lights, motion sensors, and outside GFI outlets should all be laid out before any wire is pulled.
Pulling Wire
Once you have all your boxes set, and have a written diagram of which boxes go to which circuits it’s almost time to start pulling wire, but before you begin this drill, you’ll have to become familiar with another drill.
Every stud must have a hole drilled through it to pull wire. Some holes will have more than one wire pulled so they’ll have to be a larger diameter. A 9/16th drill bit makes a hole that you can fit two 12 gauge wires through. Larger six or eight-gauge wires will fit singly in the same hole.
Wall studs are 16 or 24 inches apart. There should be plenty of room to drill with a standard ½ inch drill, but if it’s a tight angle, you may want to buy or rent a right-angle drill.
Punch all these holes through the studs, avoiding copper and Pex waterlines and HVAC vents.
Keep the drill handy, even the most experienced electricians find they need additional holes as they begin to pull wire.
Start at the far end of a circuit and work your way back toward the panel. A series of six 120v outlets requires individual wires to connect each outlet before you reach the sixth and final box.
Pull the wire through the wall, push a six-inch section of wire through the compression clamps on the box and pull it up. In this way, you can strip the wire and connect the outlets much easier when that time comes.
Do this successively until the last of the six outlets, or whatever number you require below six on a circuit.
The closest outlet to the panel now gets a single, continuous wire pulled through all the drilled holes until you reach the panel.
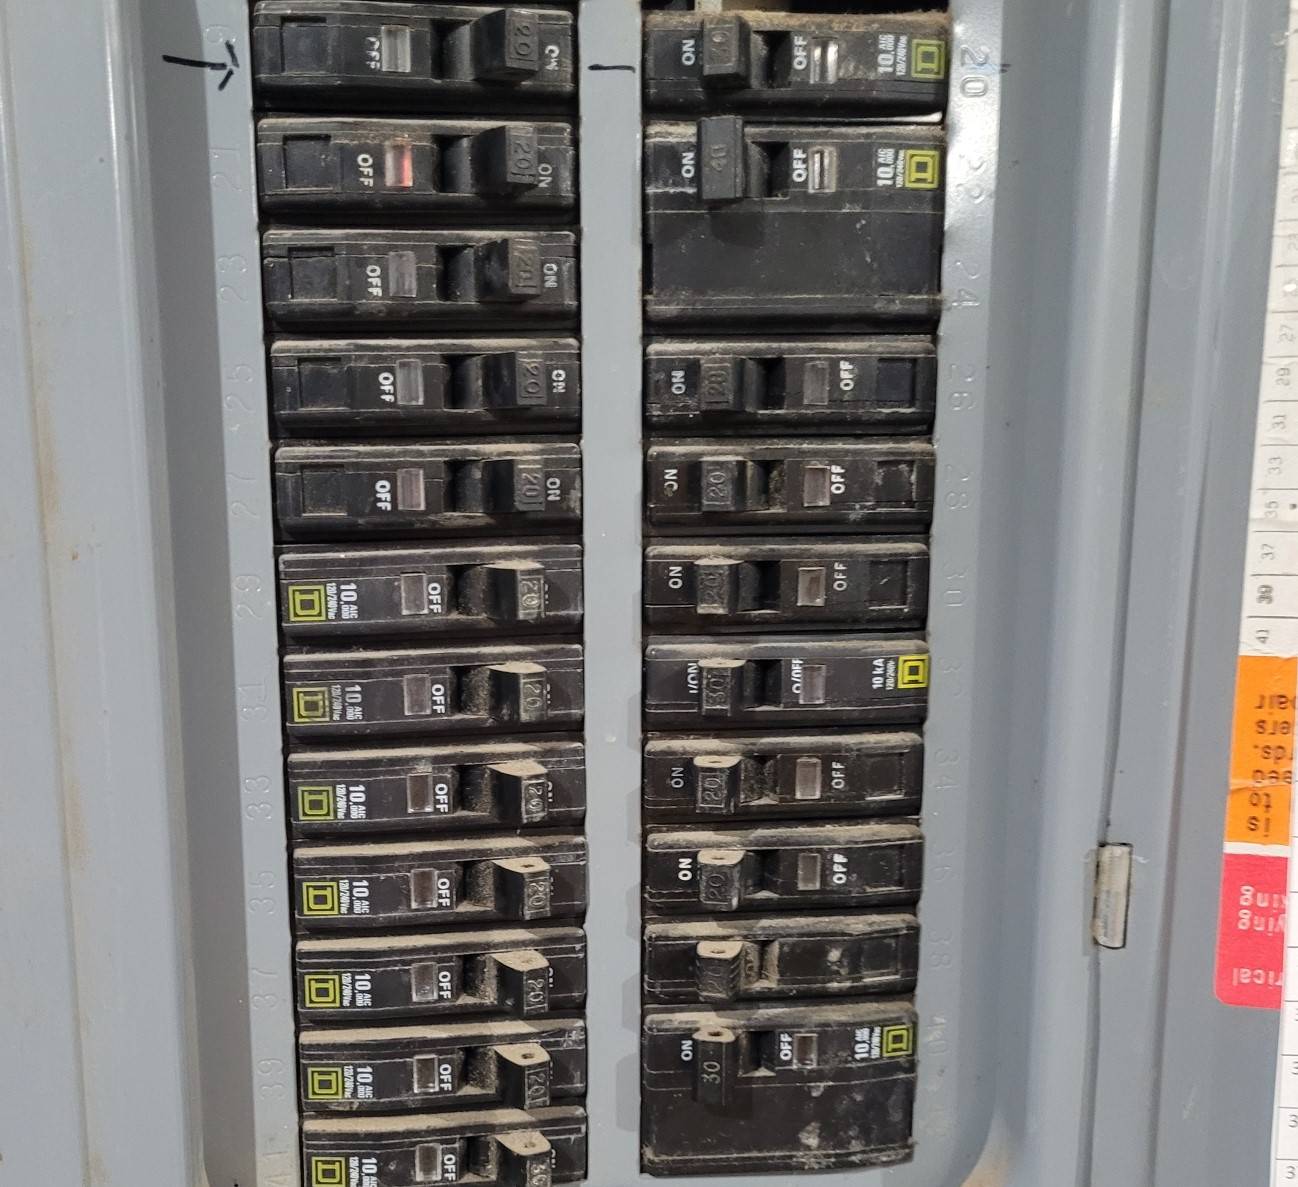
Slide the wire through one of the compression grommets on the back or side of the panel then get out a Sharpie indelible marker and write a description of where that wire will go on it. Something as simple as “North living room” will suffice. You’ll thank yourself later when it’s time to connect the breakers into the breaker panel. At that time you can write the name and destination of the circuit on the door of the breaker panel as well.
Repeat this process with every outlet in the home that draws power directly.
Wiring Switches
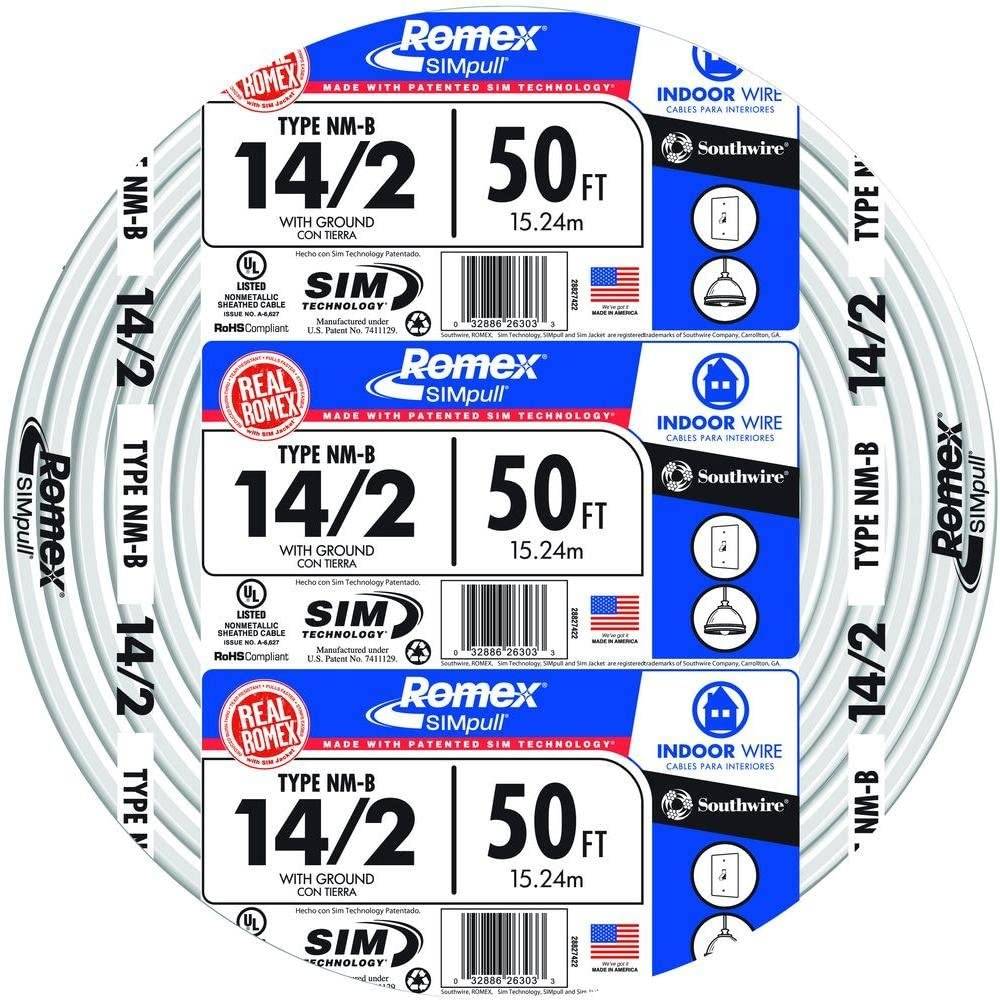
For switches, the process is slightly different. Depending on local building codes, you can sometimes use 14 gauge wire for switches.
A switch takes power from one side of the light, preferably the neutral lead, and breaks the circuit when the light switch is off. When it’s turned on the circuit is complete and the light comes on.
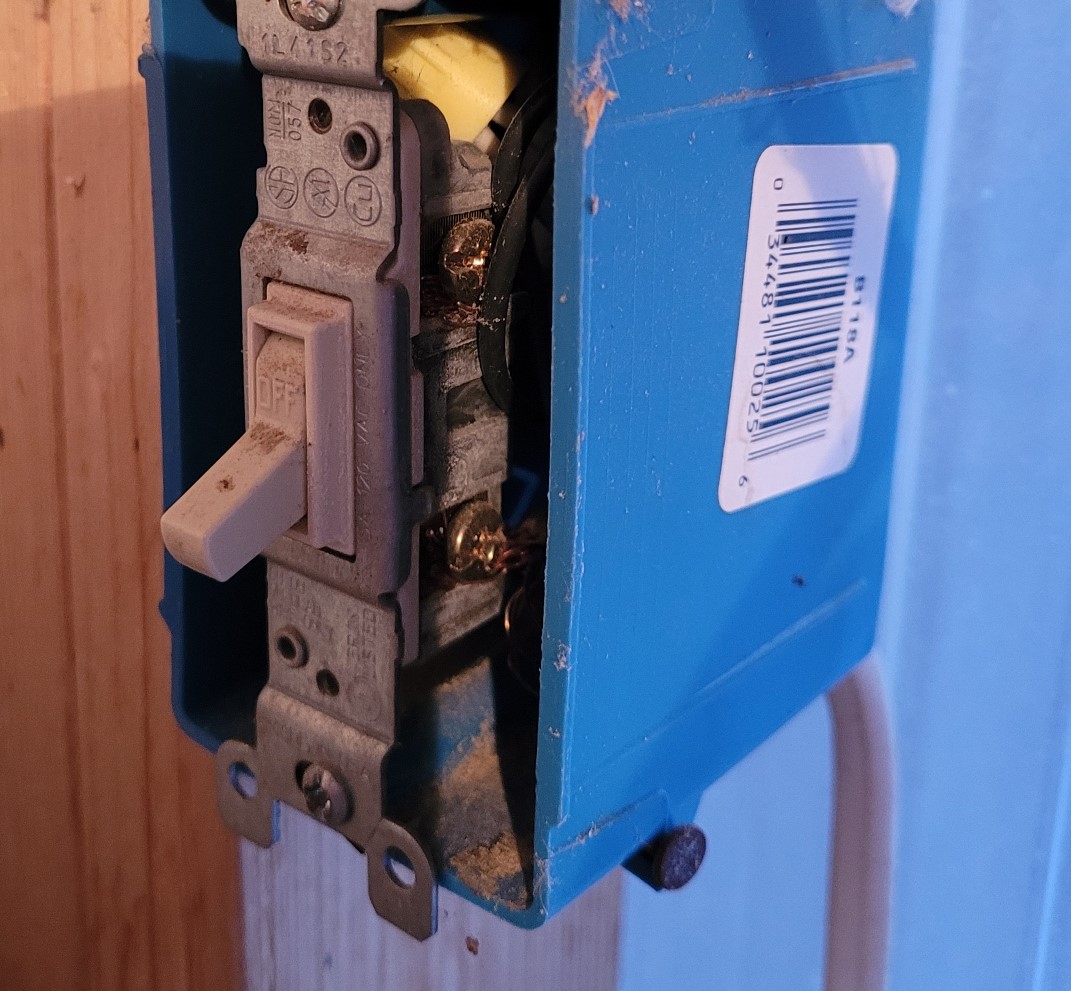
Specialty three-way and four-way switches require wires to be run from the light to the switches and from each switch to the other switches on the multi-switch circuit.
It’s a good idea when you’re pulling long sections of wire across a house to have the spool mounted so it reels out as you pull it, otherwise, you’re likely to get tangles and crimped wire as you try to force it out.
Once you’ve completed the first circuit the others will be much easier. Just remember to mark each wire with a clear description as it reaches the panel.
Lather, rinse, repeat… keep doing this until all the wires are in place. It might look like a bad hair day of hanging wires at the panel, but those will clean up nicely as you connect each one to a breaker and pop it into place.

