How to Soundproof Walls—From Measurements to Materials
Depending on where you live, outside noise can become a real nuisance. When you are trying to relax, traffic, noisy neighbors, or wildlife can all create enough noise that it becomes a distraction for whatever you are doing.
Or on the opposite hand, maybe you’re looking to start a ruckus in your house and want to soundproof a certain area! Knowing how to soundproof walls means that you can finally have that recording studio in your basement, or you can block out the background noise of that busy road that runs in front of your house; the possibilities are endless.
If you are looking to soundproof your walls and you aren’t interested in paying someone an exorbitant amount to complete it for you, it helps to have the right guide on your side. Read on and you can find out how to properly soundproof your walls, what materials to use, and so much more.
How to Measure Out Room Size
Any true craftsman knows the phrase “measure twice, cut once” and it’s just as applicable here as anywhere else. The first step when soundproofing your walls is to determine exactly
Determining how much of the room needs soundproofing is not as simple as determining the square footage of the room. As a good rule of thumb, soundproofing anywhere between 15-25% of the wall surface area can provide a noticeable difference. The more silence you crave, the more wall surface will need to be covered.
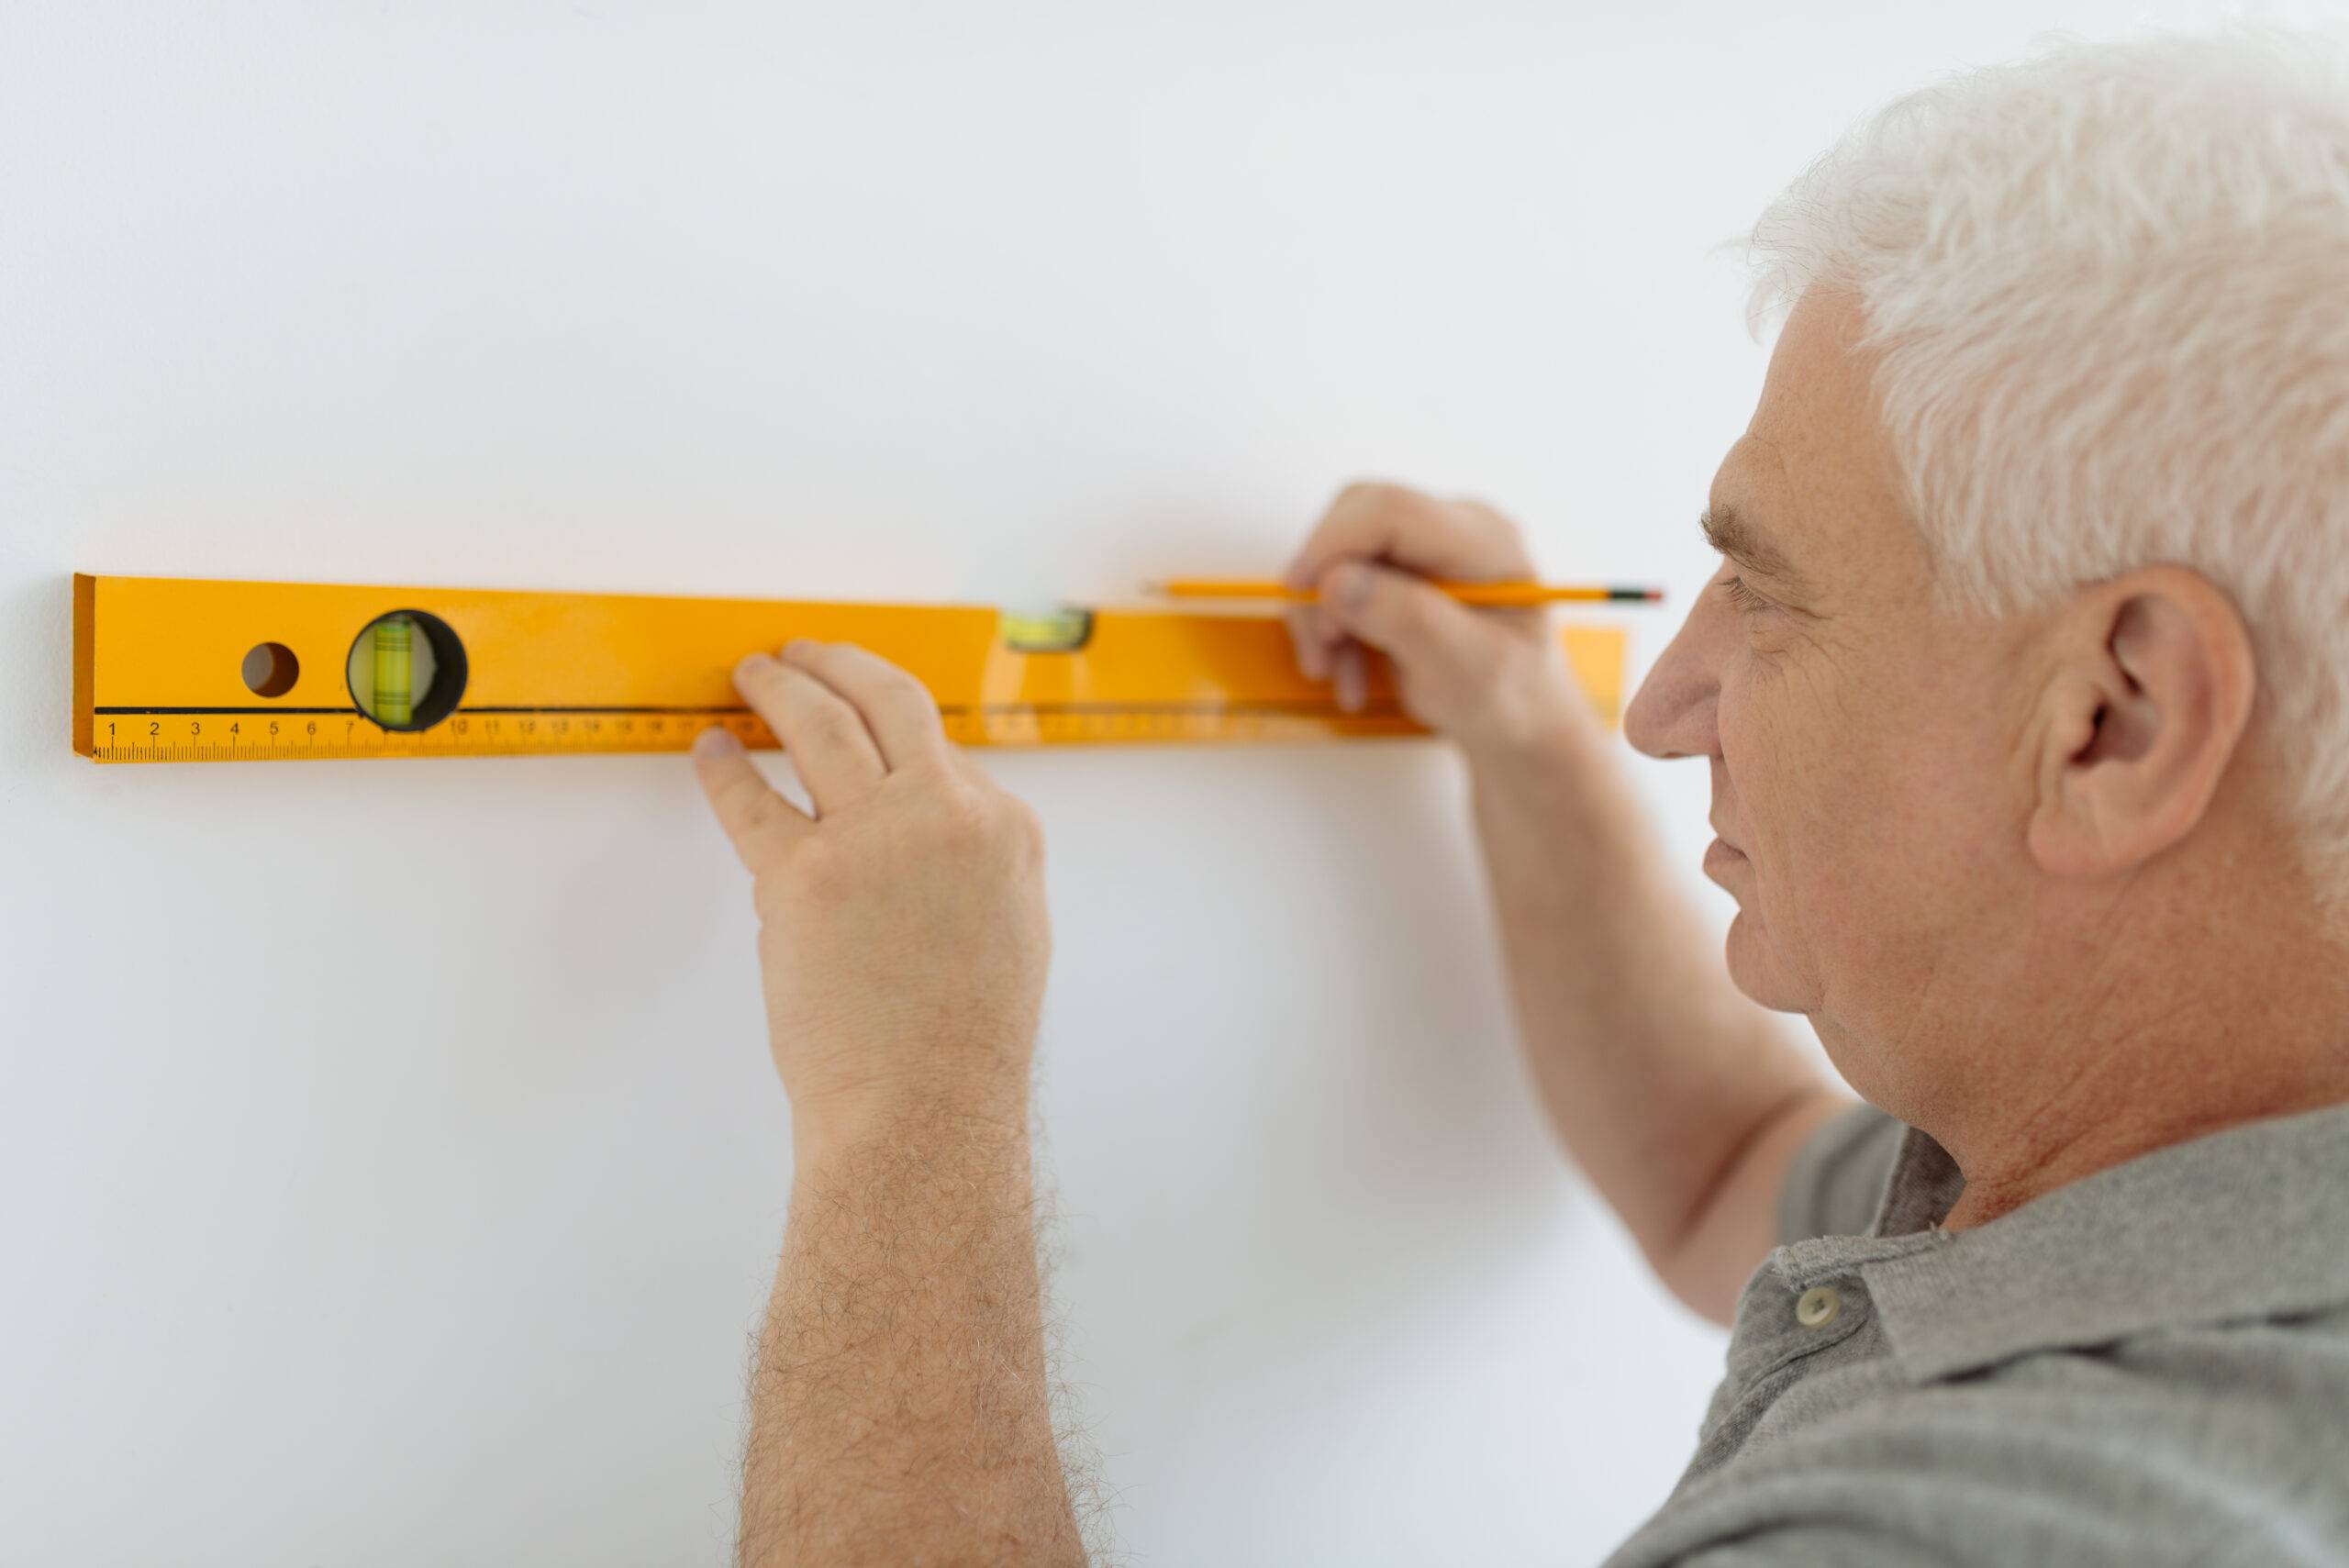
Keep in mind that ceiling and wall surfaces, as well as windows, can provide obstacles. Begin by measuring the surface area of one wall, taking any windows or obstructions into consideration. This will have a drastic impact on cost as well.
How Much Soundproofing is Needed?
Once you know the measurements of the area, next steps is determining how much soundproofing you need, and what kind of material will be required.
The best way to determine how much soundproofing is needed is to think about what type of noise you’re trying to block out. If you’re trying to block out low-frequency noises like traffic, more soundproofing will be necessary than if you’re trying to block out higher-frequency noises like voices.
In general, thicker soundproofing materials will be more effective at blocking out sound, so consider the density of the materials you’re using when calculating how much you need.
Additionally, consider the shape of the room, as soundproofing may need to be applied differently for an open space than for an enclosed space.
Once you’ve determined the amount of soundproofing needed, you can decide what type of soundproofing material to use. There are a few deciding factors, but you need to determine what size panels you need as well as how many will do the job.
If you have four walls that are 10’ x 10’, then multiply to get the area of the room. Generally, even the noisiest of homes require no more than 50% coverage. So, in that case, you would need 200 square feet of panels. The most common size of acoustic panel is in the 2’ x 4’ range, though you can also get custom options.
How Much Does it Cost to Soundproof a 12’ x 12’ Room?
There is a myriad of factors that go into pricing out your project. For instance, are you doing the installation yourself, or are you bringing in the pros to do it for you? That will be the biggest expense and, by doing it yourself, can be the best way to save money.
After that, it comes down to the size of the room and the material that you use. Some materials do a better job of blocking out sound (or keeping sound in) and are easier to install than others. Obviously, the bigger the room, the more it will cost in materials, time, and labor.
The inexpensive way. The least expensive way to soundproof walls is always going to be doing it yourself. If you’re the one installing it, the only cost will be the cost of the materials. For smaller projects, it would require things like soundproof paint, sound dampening curtains, and a thicker cut of carpet, not to mention caulk, and a few other materials.
On average, you can expect to spend between $400 and $500 to handle the job yourself. It might not have the best aesthetic or soundproofing quality but can have a noticeable impact at the end of the day.
The moderate way. If you want to keep your spending between $1,000 and $3,000, you can change up the materials and even dabble with the idea of hiring a pro. Labor should cost in the $400-$600 range for a 12’ x 12’ room and you can have your choice of different materials.
For instance, soundproofing panels will cost roughly $40-$60 per panel and your cost depends on how much of the space you are covering. Insulation, mass-loaded vinyl, and soundproofing tiles all become options at this point, with the average cost running around $1,500.
The most expensive way. With better materials and labor included, your budget can run in the $3,000 to $5,000 range. Materials, which include foam, fiberglass, and polyester tiles, will be the most expensive portion of the installation. Labor will also start to get more expensive, running close to $1,000 or more.
For a major soundproofing installation, expect to spend in the $3,500 to $4,000 range. This will ensure professional installation, high quality materials, and account for larger rooms or those with less insulation.
Different Sound Reducing Materials
When it comes to soundproofing your walls, arguably the most important decision revolves around choosing the right material. One of the most important materials is a resilient channel. If you aren’t familiar, it plays a crucial role.
The resilient channel is basically a spring that sits between the studs and drywall. Sound, which travels in waves, hits a wall with resilient channel and the drywall will vibrate independently without ever moving over to the studs. Even better, the metal channel is available at big home centers or through drywall suppliers directly. Here are some of the other important sound reducing materials:
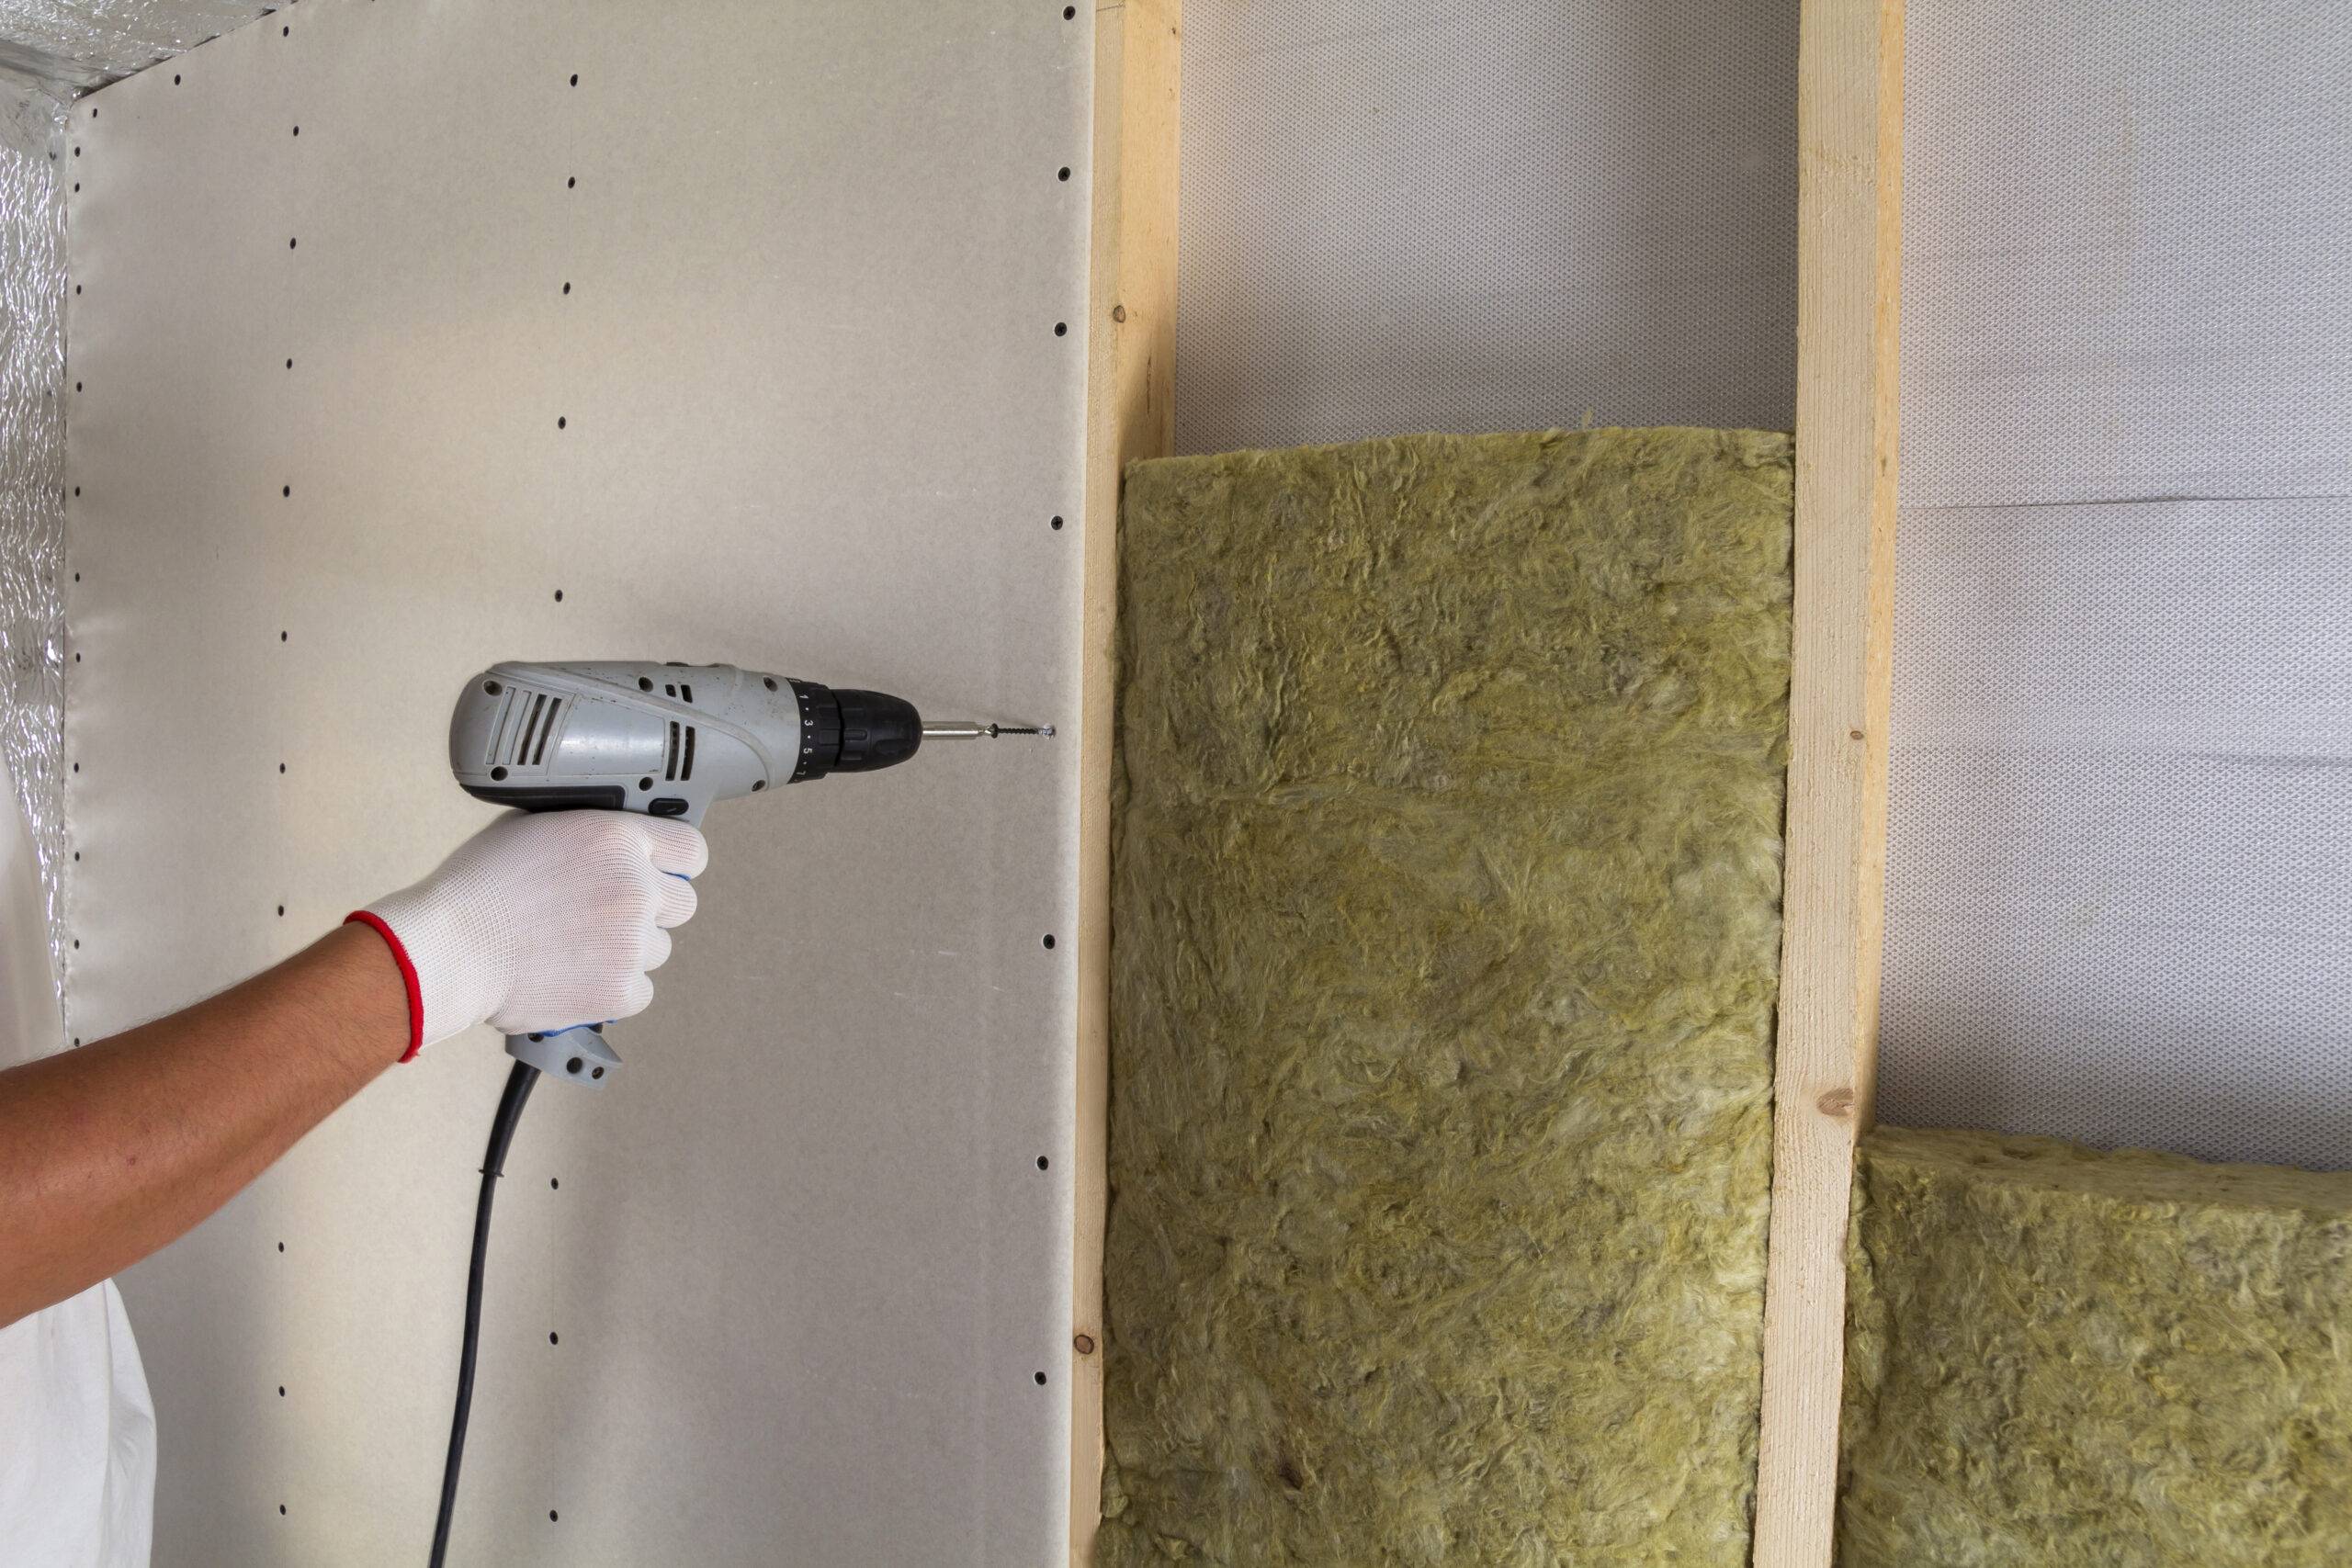
Fiberglass insulation batts. You can find these at just about any standard home hardware shop like Home Depot. If you can’t find acoustic batts, then unfaced R-11 thermal insulation should do the job equally well. Even though you may think it is better, don’t go with something of a higher R-value because it can cut down on the STC (Sound Transmission Class) rating.
5/8-inch drywall. Drywall is readily available not only at major home centers but lumberyards as well. Look for Type X drywall because it has fire resistance qualities while also being denser, which is better for stopping sound. Couple it with resilient channel and you have a great combination.
Acoustic sealant. Acoustic sealant is a good choice for soundproofing material, but it can be difficult to locate. A drywall supplier is likely your best bet, but there are other options.
Silicone caulk. If you can’t find it, silicone caulk can easily be found at home centers, specially soundproof caulk. Just make sure that you get plenty of it and get a bug caulking gun. Those use tubes that are a bit more economical.
Screws. Fasteners are a crucial aspect for this project. When it comes to attaching the channel to the wall’s studs, go with 1 ¼-inch screws.
For attaching the drywall to the channel, a 1-inch option should work fine. Stick with fine-threaded screws because they will grab much better than the coarse-threaded screws.
Door gaskets. Gaskets, transition strips, and door sweeps will ensure that sound isn’t escaping in the gaps surrounding your door. These can also be found at most of the major home centers in your area.
How to Soundproof Walls
The best way to truly soundproof a room or rooms in your home is with drywall. There are various soundproofing materials that will work to some degree but covering it all with drywall is the best option available. Thankfully, there are a few simple steps that can help you through the installation.
Step 1: Move Electrical Boxes
Before you do anything, turn off the power at the main panel. Working with electrical systems can get very dangerous if you do not take proper safety precautions along the way. Any electrical boxes in the room should share the same stud cavity and should be separated by at least one stud.
In order to allow for resilient channel and drywall, make sure that you mount the boxes so that it’s outer edge is roughly 1 1/8-inch away from the stud itself. Any boxes that don’t need to be removed can be slightly repositioned so that they meet the 1 1/8-inch requirements. Box extenders are also fine to use in this situation.
Step 2: Seal the Electrical Boxes
After moving the electrical boxes to the appropriate place, it is time to seal them. You will need either a silicone caulk or acoustical sealant in order to seal around the room’s electrical boxes, especially if they serve any of the adjacent rooms.
Make sure to seal any openings in the framing or drywall, holes through the plates and studs, or openings in the boxes themselves. You don’t want the electrical boxes to move during the installation process as it could cause major complications.
Step 3: Insulating the Walls
Now it is time to put in your insulation. This is the most crucial part of the process because it will be the basis for your soundproofing. The best type of insulation is R-11 fiberglass batts, and they can be used to fill the cavities between the studs. Make sure that the insulation totally fills the cavity without leaving any open pockets or gaps.
When you come to electrical cables or pipes, you can split the insulation. This will help the insulation wrap around those obstructions safely without leaving major gaps or pockets in the insulation during the process.
Use a utility knife to cut the insulation. Make sure that the insulation fits tightly and squarely around each of the electrical boxes. Proper safety equipment like a dust mask, eye protection, and gloves are all a must here, especially if you are working with fiberglass insulation.
Step 4: Installing Backer Strips
After ensuring that insulation has been snugly installed throughout the room, it is time to install the backer strips. Nail or screw the strips, typically ½-inch plywood, to the framing of the wall around the floors and doors.
The point of this is to provide a better backing for nailing on the baseboard and door casing further on. You don’t want to nail to the resilient channel because it is flexible and springy, doing a poor job of holding the nails in place.
For any gaps, particularly around the door jambs, sound dampening insulation will be key here. Stuff it into those gaps tightly to ensure that sound won’t be able to leak through these potentially compromised areas.
Step 5: Attaching the Resilient Channel
One of the final steps is to attach the resilient channel. Fasten it directly to the studs and make sure to use 1 ¼-inch drywall screws to do the job. When spacing the channels, they should be no more than 24 inches apart. Moreover, the top of the upper channel should be below the top plate.
If you really want to do the installation like a pro, mount the channels when the drywall flange is up. Install the channels so that they aren’t running more than an inch past the studs and make sure to overlap the ends.
The good news is that resilient channel is super easy to cut so long as you have metal shears or aviation snips. The smoother cut, the better fit you will have during the installation.
Step 6: Install the Drywall
Now it is time to put the finishing touches on. With the resilient channel installed and everything properly insulated, it is time to close it all up using drywall. As mentioned above, Type-X insulation is the best option because it has fire resistance qualities which lend to better soundproofing.
While placing the first piece of drywall, mark out the area between the strips of channel. This will help you know where the studs are and keep you from accidentally trying to anchor into the channel itself. As you move from panel to panel, it will become easier to avoid those areas and install the drywall screws quicker.
How to Soundproof without Tearing Down the Walls
Not everyone wants to undertake a massive construction project. Just because you want to improve the acoustics of your home does not mean that you need to start ripping out walls. There are a few ways in which you can improve the acoustics of a room (or rooms) in your home quite easily.
Mass-Loaded Vinyl
One of the most common sound-dampening products that you will find is mass-loaded vinyl (MLV). It is used in every way from hockey ricks to recording studios. That is mostly due to the fact that it is one of the best soundproofing materials you will find.
They come in rolls and are generally available for $2 per square foot, though it depends on supplier, width, length, and weight. The thicker you go – with ranges as thing as 1/16-inch up to ¼-inch, can change cost. Moreover, the thicker you go, the better it is at cutting down on echoes and blocking out noise.
Step 1: Measure Your Walls
Before you do any ordering, measure out your space. Proper measuring will ensure that there are fewer gaps. Remember that MLV comes in 2’ or 4’ widths, so adjust your ordering to meet your needs accordingly. For greater sound coverage, 30-50% of the total wall area is required.
Step 2: Cut the MLV
When you have everything measured and ordered, it is time to measure out a length of MLV. It should be able to reach from the floor to the ceiling. Use a utility knife or scissors to cut out your section of MLV and do so on a piece of scrap wood. This will ensure a smoother cut while also protecting your work surface or flooring.
Step 3: Hang the MLV
Now that you have a section of MLV ready to go, get a stepladder and get it in position. Start at either end of the wall and work your way to the opposite corner. In order to properly install the MLV, it is ideal to have a helper who can hold the MLV in place. Drywall nails should get the job done; attach the MLV beginning at the top part of the wall and move in 12-inch intervals. When you have finished with the top, move to the bottom, attaching at the same distance. Finish by moving down the sides of the sheet; you can go up to 24 inches if you choose.
Step 4: Repeat the Process
The great thing about this option is how easy it is. After you have attached the first piece of MLV, cover the rest of the wall and work your way around the room. Ideally, you will have the MLV butt right up against the prior sheet to limit gaps. Overlapping creates a better sound barrier but it will also create ridges and bumps. If you plan to paint, install drywall panels, or wallpaper, don’t overlap.
Step 5: (Optional) Add Drywall
If you want to really amplify the soundproofing of a room, look into Type X drywall. Type X is fire rated, which also helps improve the sound dampening ability. It will also make the MLV twice as effective as it otherwise would be, while also giving you a surface that you can paint or wallpaper. Drywall takes extra time and money but creates a cleaner look and greater soundproofing ability.
Cost-Effective Solution: Curtains
Not everyone has the budget to perform a full soundproofing of a room. The good news is that one of the simplest and cheapest ways to do so is by implementing curtains. When you know how much space you need to cover, make sure that you factor in the weight of the curtains and choose rods that can hold up to the task.
Having a heavy-duty hanging system will ensure that there is no sagging or bending of the bar and will keep your curtains hanging properly. After ironing out the wrinkles, hang the curtains and make sure to bunch them together. You want to achieve a consistent look throughout for the best aesthetic. Also, go with bunched, pleated fabric because it will absorb sound much better than flat curtains would be.

