Tips and Tricks for How to Spackle Drywall Seamlessly
Spackling drywall is a fundamental skill for homeowners and DIY enthusiasts alike. Whether you’re fixing minor dings or preparing walls for a fresh coat of paint, knowing how to spackle drywall properly can save you time and money.
This guide will walk you through the process step-by-step, offering detailed tips and tricks to ensure a smooth, professional finish.
Understanding the Basics of Spackling
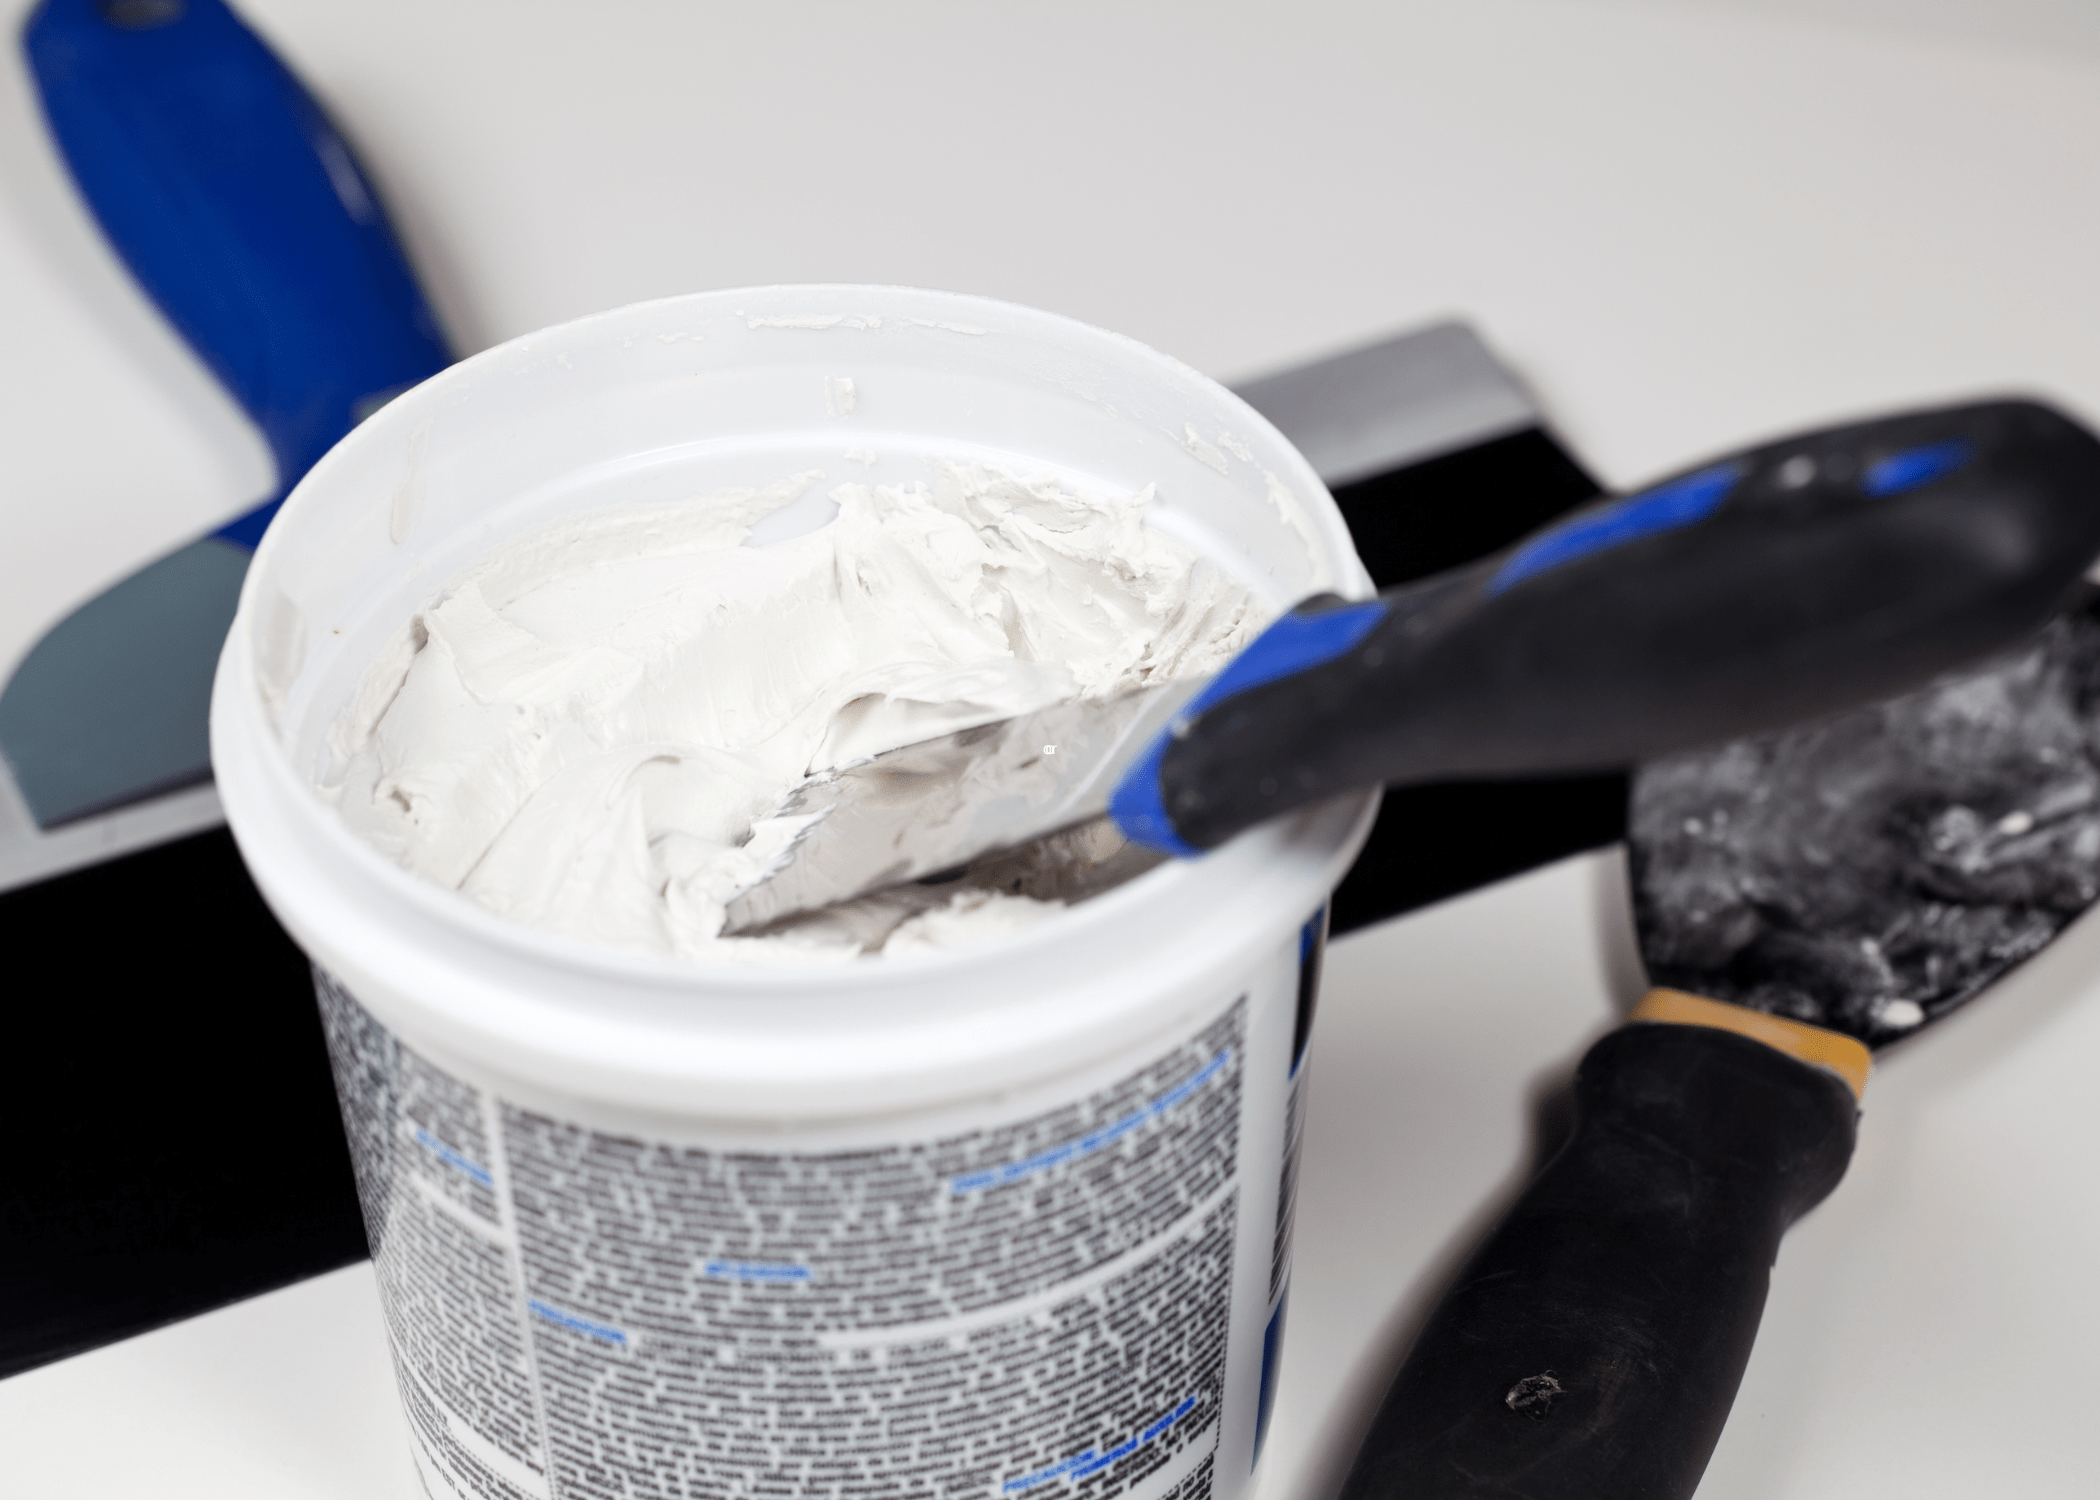
Before diving into the how-to section, it’s important to understand what spackling is and the materials you will need. Spackle is a type of putty used to fill holes, cracks, and imperfections in drywall. It comes in various formulations, including lightweight, all-purpose, and vinyl-based, each suited for different types of repairs.
Materials You Will Need:
- Spackle or joint compound
- Putty knife (preferably 6-inch)
- Sanding sponge or sandpaper (medium to fine grit)
- Drywall tape (optional)
- Primer and paint (for finishing)

Step-by-Step Guide to Spackling Drywall
1. Preparation
Clean the Area:
Start by cleaning the area around the hole or crack. Remove any loose debris, dust, or old paint flakes. A damp cloth can be used to ensure the surface is clean and dry.
Apply Drywall Tape:
Applying drywall tape can provide additional support for larger holes or cracks. Place the tape over the area and press it firmly into place.
2. Applying the Spackle
First Layer:
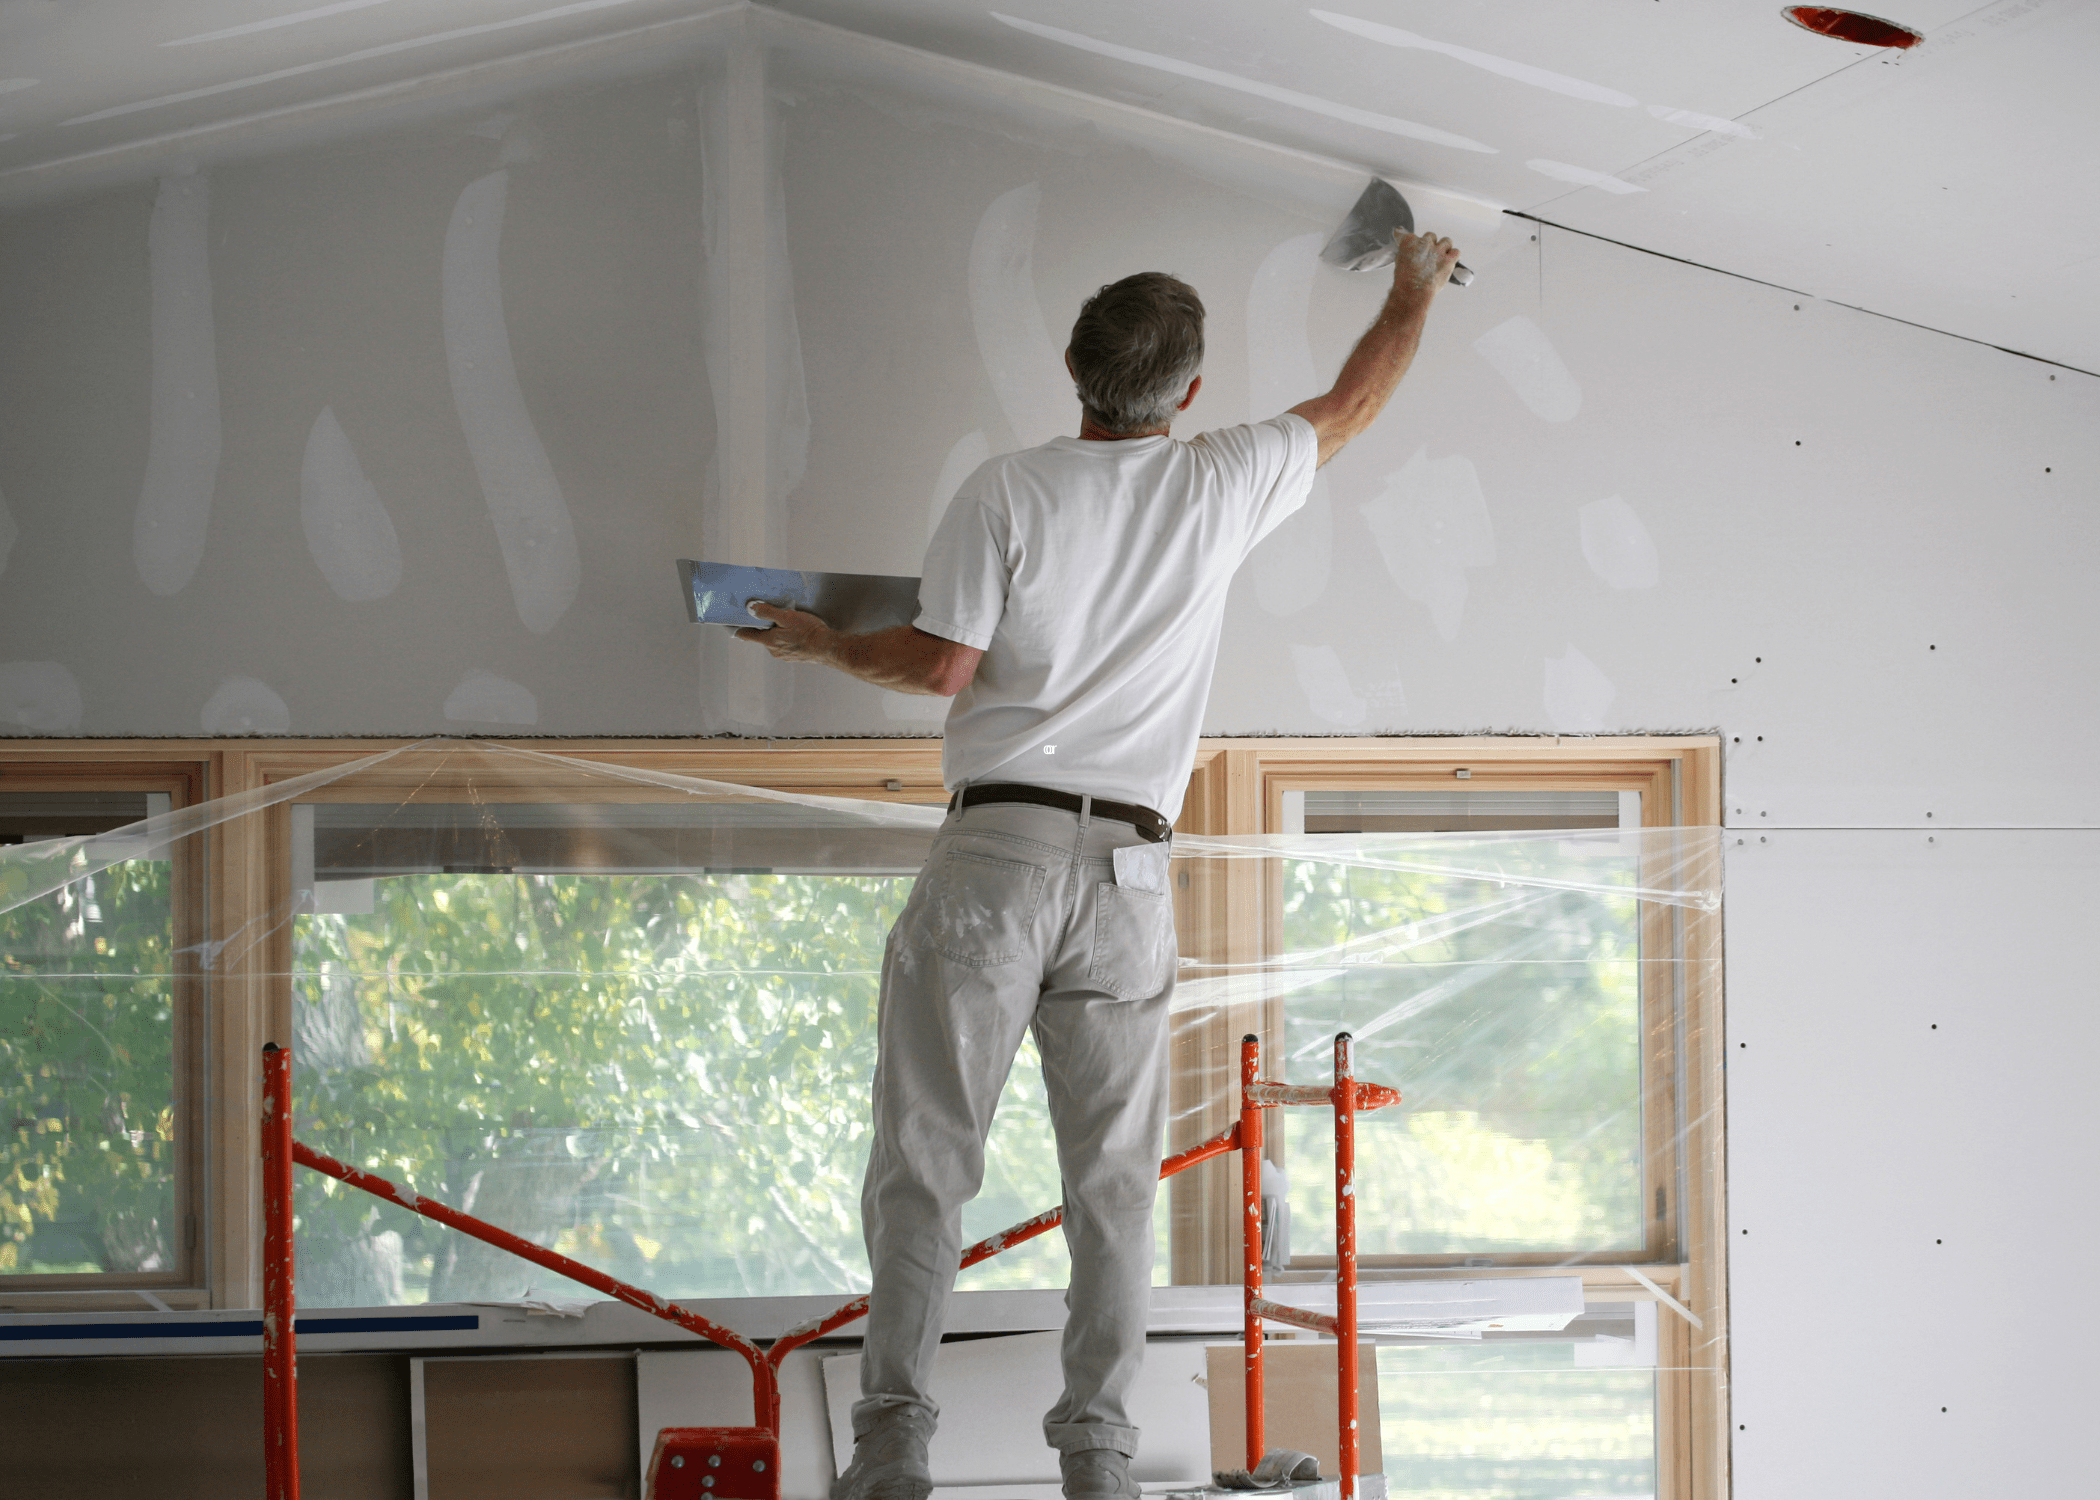
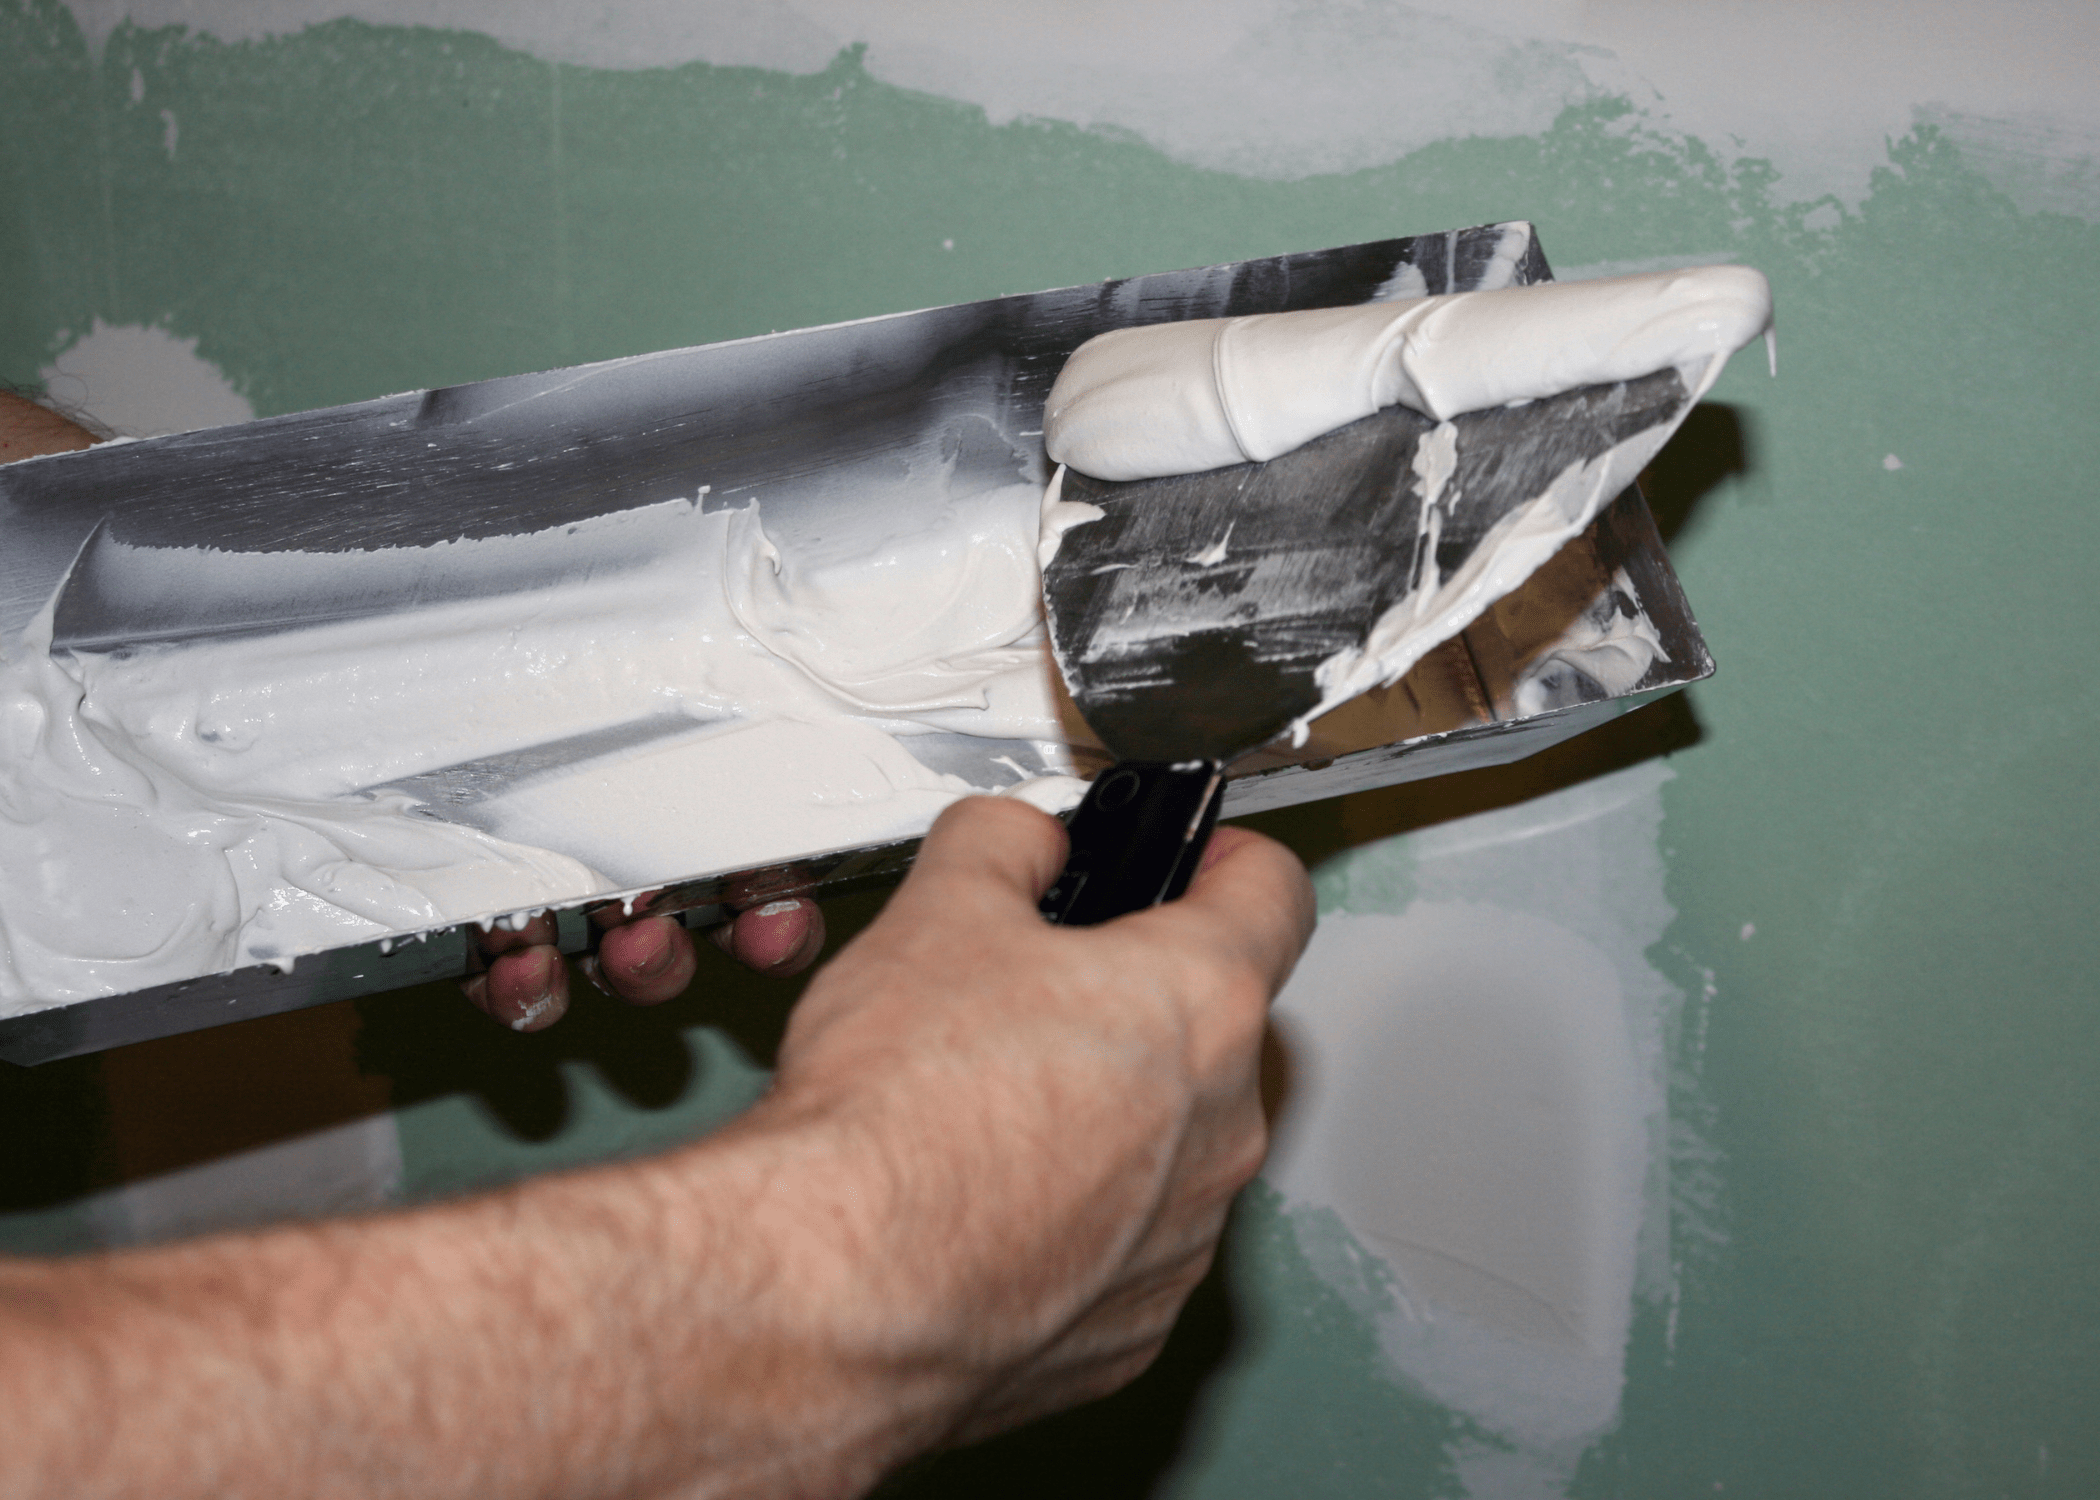
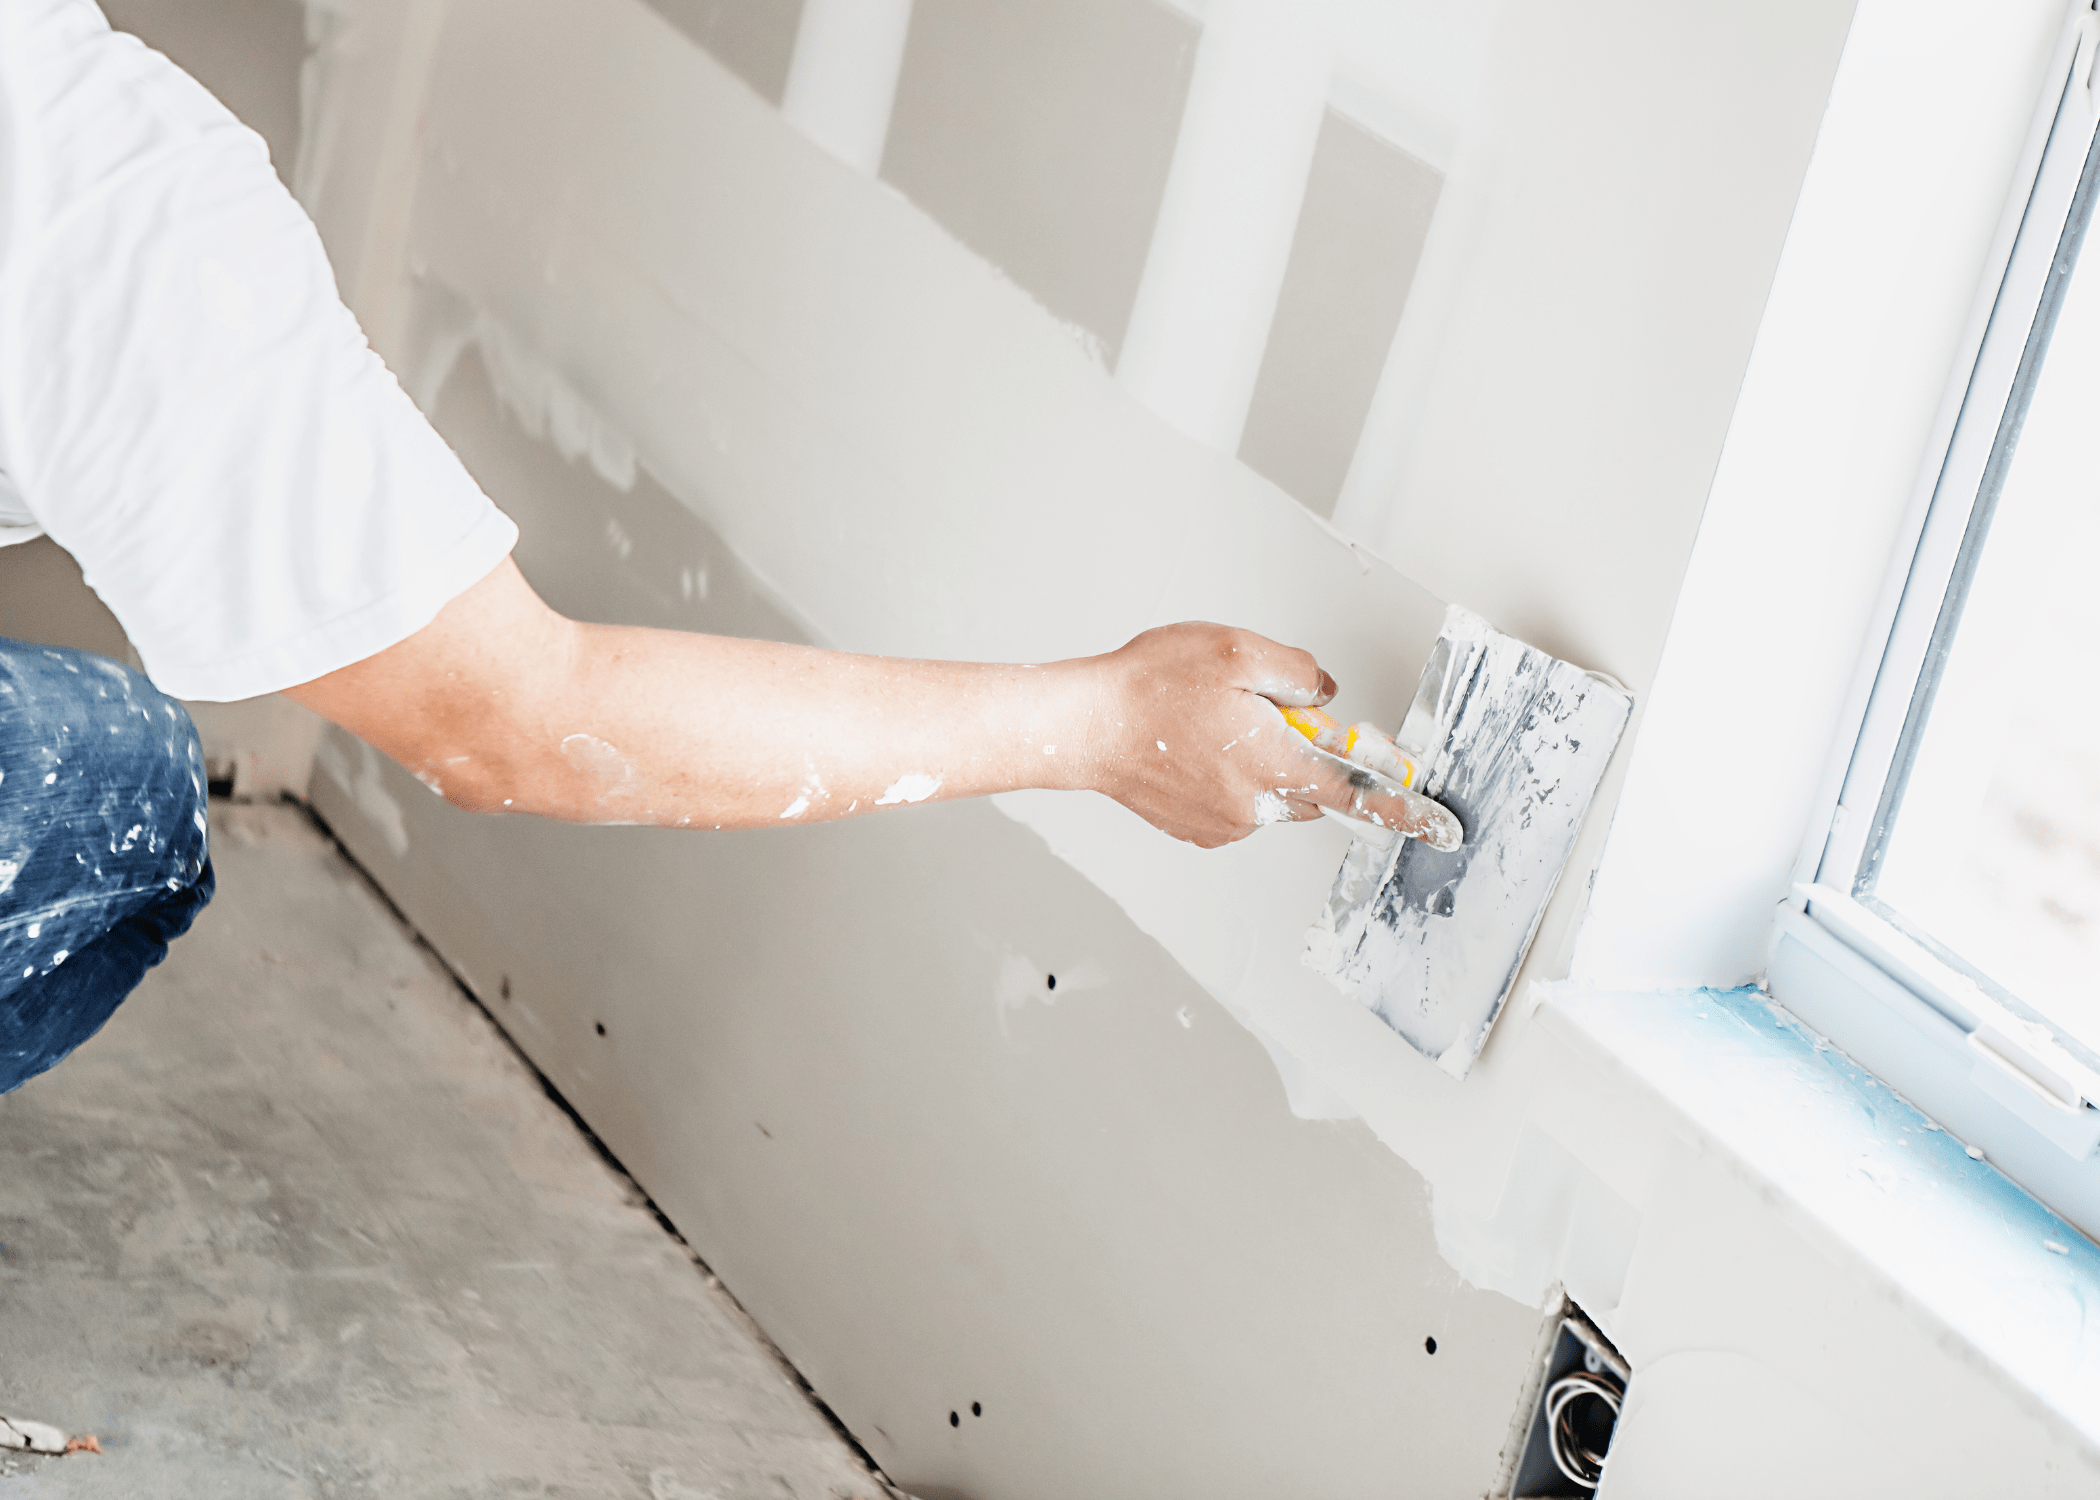
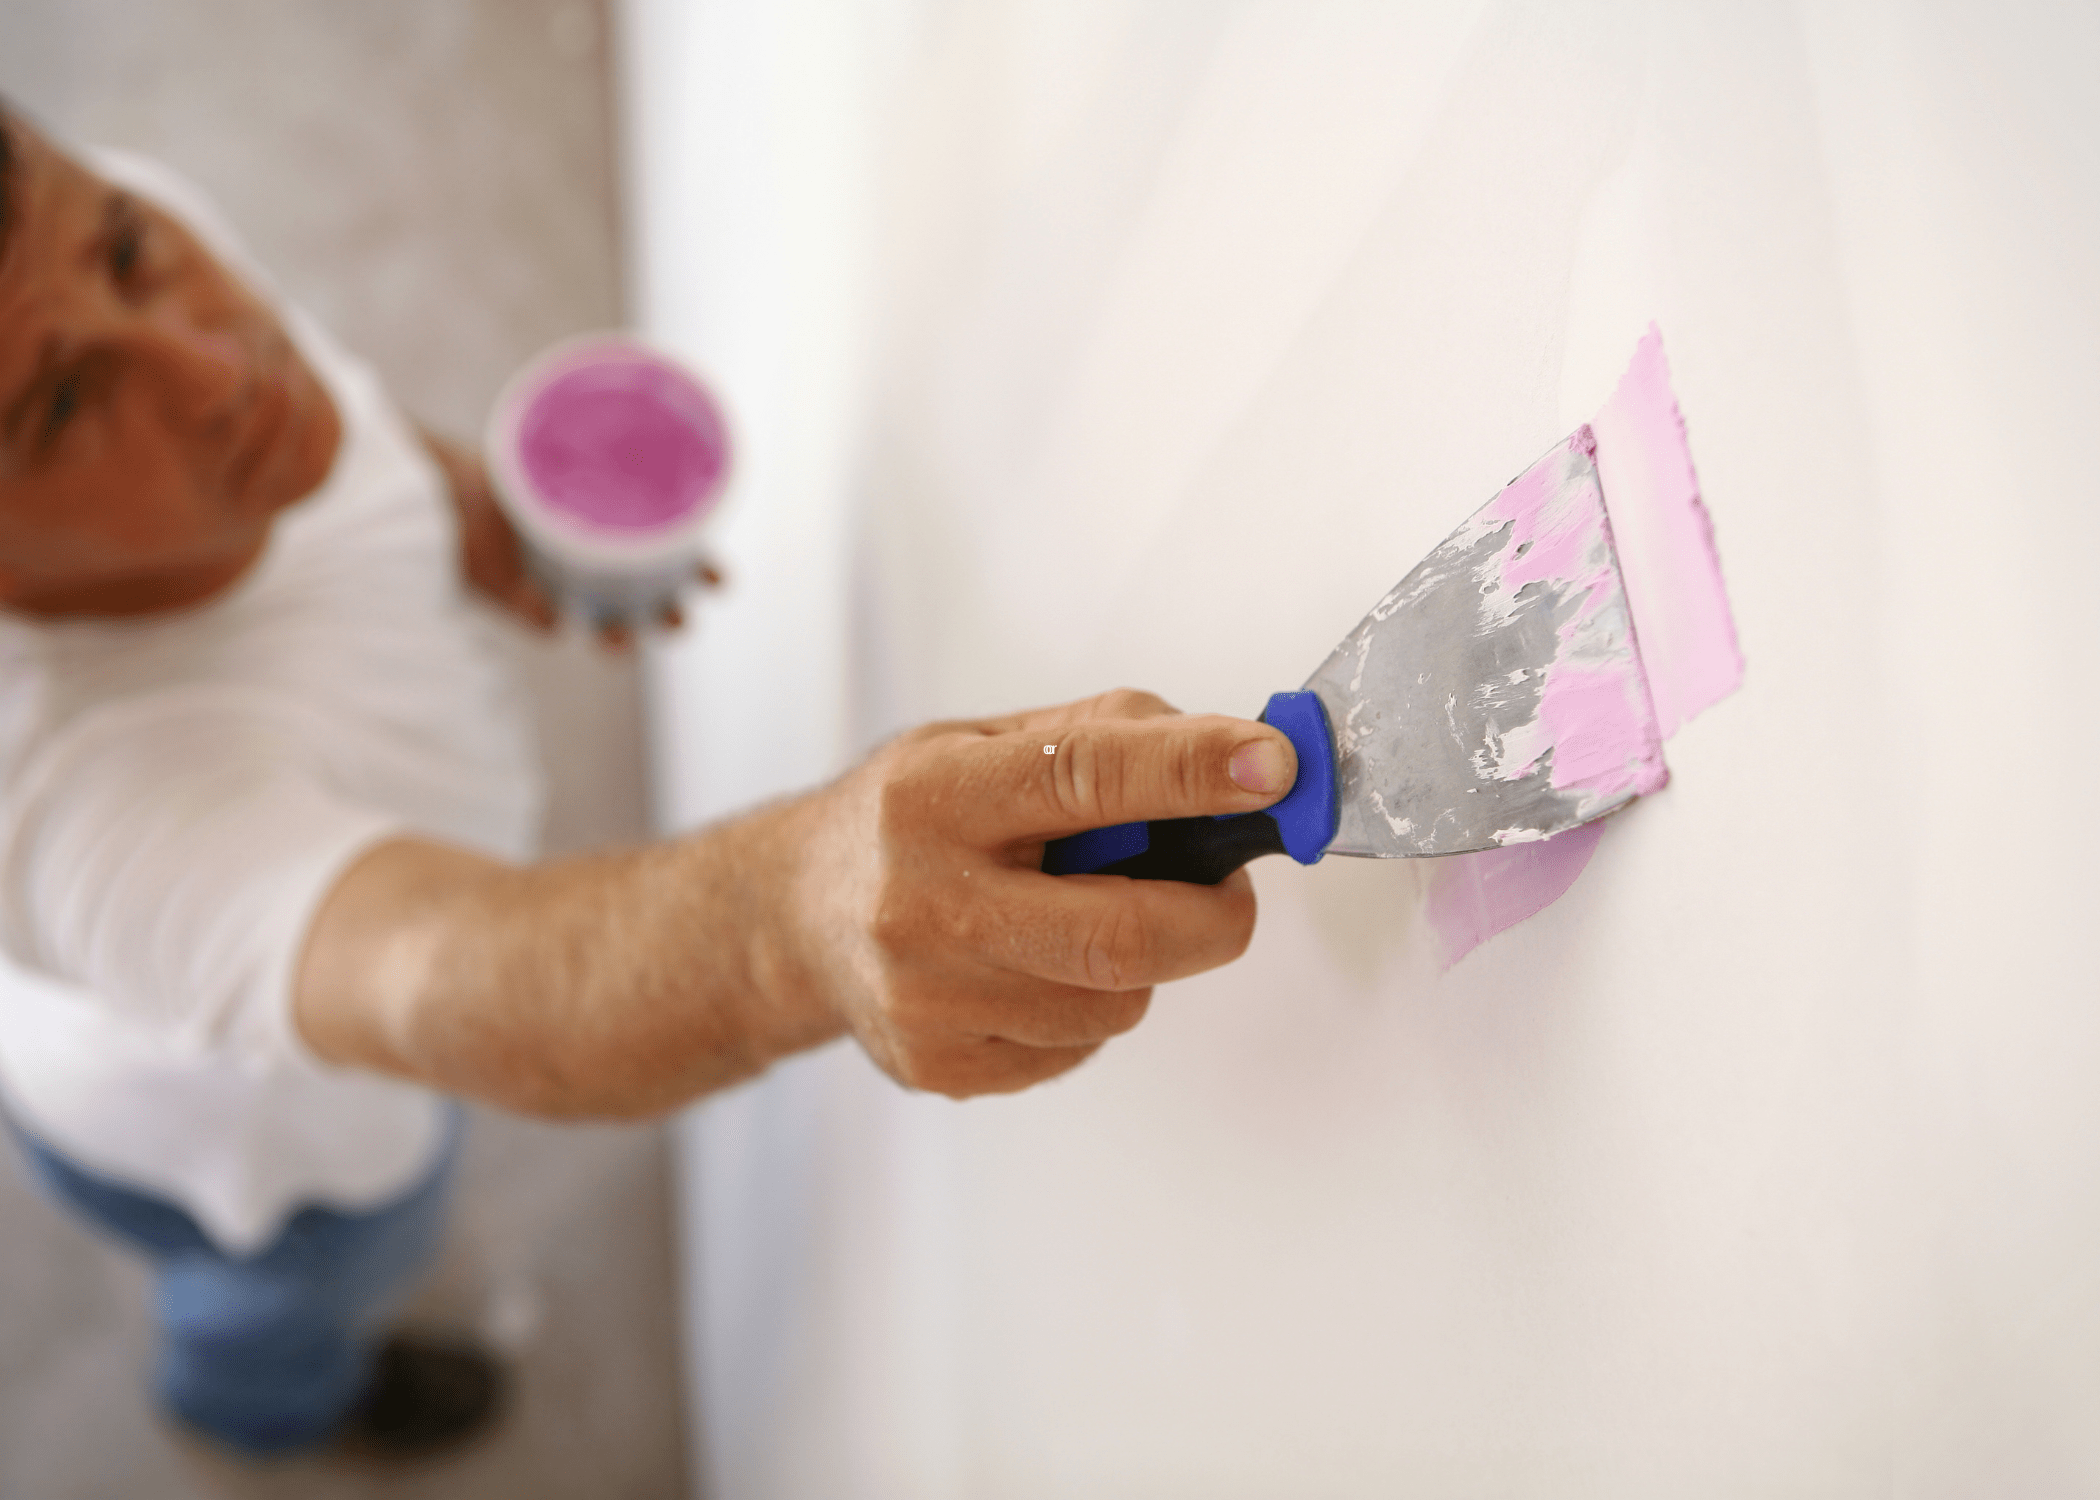
Using a putty knife, scoop a small amount of spackle and apply it to the hole or crack. Spread it evenly, pressing firmly to ensure it fills the space. Feather the edges to blend with the surrounding wall.
Second Layer:
Allow the first layer to dry completely, which usually takes a few hours. Once dry, apply a second, thinner layer of spackle. This will help to smooth out any inconsistencies and ensure a flat surface.
Sanding:
After the second layer has dried, lightly sand the area with a sanding sponge or fine-grit sandpaper. The goal is to smooth the surface without removing too much spackle.
3. Finishing Touches
Priming:
Before painting, it’s crucial to prime the repaired area. Primer helps to seal the spackle and provides a uniform surface for the paint.
Painting:
Once the primer is dry, you can proceed with painting the wall. Use a paint that matches the existing wall color for a seamless finish.
Tips and Tricks for Perfect Spackling
Use the Right Spackle:
Choose the appropriate type of spackle for your repair. Lightweight spackle is great for small holes, while all-purpose spackle works well for larger areas.
Feather the Edges:
Feathering the edges of the spackle helps to blend it with the surrounding wall, reducing the need for excessive sanding.
Multiple Thin Layers:
Applying multiple thin layers of spackle rather than one thick layer helps to achieve a smoother finish and reduces drying time.
Patience is Key:
Allow each layer of spackle to dry completely before sanding or applying additional layers. Rushing the process can result in a poor finish.
Related Articles
Spackling drywall may seem daunting at first, but with the right materials and techniques, it can be a straightforward and rewarding task. By following this comprehensive guide, you’ll be able to tackle any drywall imperfections with confidence, ensuring your walls look pristine and ready for whatever comes next. Remember, practice makes perfect, so don’t be discouraged by initial mistakes. Happy spackling!
Ready to start your next project? Join our DIY community to receive tool tips, how-to guides, and exclusive creative insights. Subscribe to the ManMadeDIY newsletter now! Click here to unlock a world of hands-on inspiration.
Frequently Asked Questions (FAQs)
What materials do I need to spackle drywall?
To spackle drywall, you’ll need a few essential supplies: spackle or joint compound, a putty knife, sandpaper or a sanding sponge, a dust mask, and a drop cloth to protect your floor. You might also need a primer and paint to finish the job after spackling.
How do I prepare the area before spackling?
Before spackling, clean the area around the holes or cracks. Remove any loose debris, dust, or old paint. If the area is damp or greasy, clean it thoroughly and let it dry completely. Use a utility knife to remove any loose drywall paper around the damaged area to ensure the spackle adheres properly.
How should I apply the spackle?
Use a putty knife to apply a small amount of spackle directly into the hole or crack. Spread it evenly, covering the damaged area and feathering the edges to blend with the surrounding wall. Apply thin layers, allowing each layer to dry before adding more spackle if needed. This helps prevent the spackle from shrinking and cracking.
How long does spackle take to dry?
Drying time can vary depending on the type of spackle used and the thickness of the application. Lightweight spackles may dry in as little as 30 minutes, while heavier, more durable compounds can take up to 24 hours. Always check the manufacturer’s instructions for specific drying times.
How do I sand the spackled area?
Once the spackle is completely dry, use fine-grit sandpaper or a sanding sponge to smooth the surface. Sand lightly in circular motions, being careful not to damage the surrounding wall. Wipe away any dust with a damp cloth before priming and painting.
Can I paint directly over spackle?
It’s best to prime the spackled area before painting. Priming ensures that the paint adheres properly and provides a uniform finish. After sanding and cleaning the spackled area, apply a primer and let it dry according to the manufacturer’s instructions before painting.
What if the spackle shrinks or cracks after drying?
If the spackle shrinks or cracks, it may indicate that the application was too thick or the area wasn’t properly prepared. To fix this, sand the area lightly and apply another thin layer of spackle. Allow it to dry completely, sand it smooth, and then prime and paint as needed.


