How to Splice Wires For DIY Projects Around Your Home
Splicing wires is a fundamental skill in both professional and DIY electrical work, essential for ensuring secure and reliable connections. Whether you’re repairing a damaged wire, extending an existing circuit, or integrating new components into an electrical system, knowing how to splice wires correctly can save time, enhance safety, and prevent potential hazards.
This article will guide you through the wire splicing process step-by-step, covering the necessary tools, techniques, and best practices to ensure your electrical connections are robust and efficient. Whether you’re a seasoned electrician or a novice DIY enthusiast, mastering the art of wire splicing is a valuable and practical skill that will serve you well in countless projects.
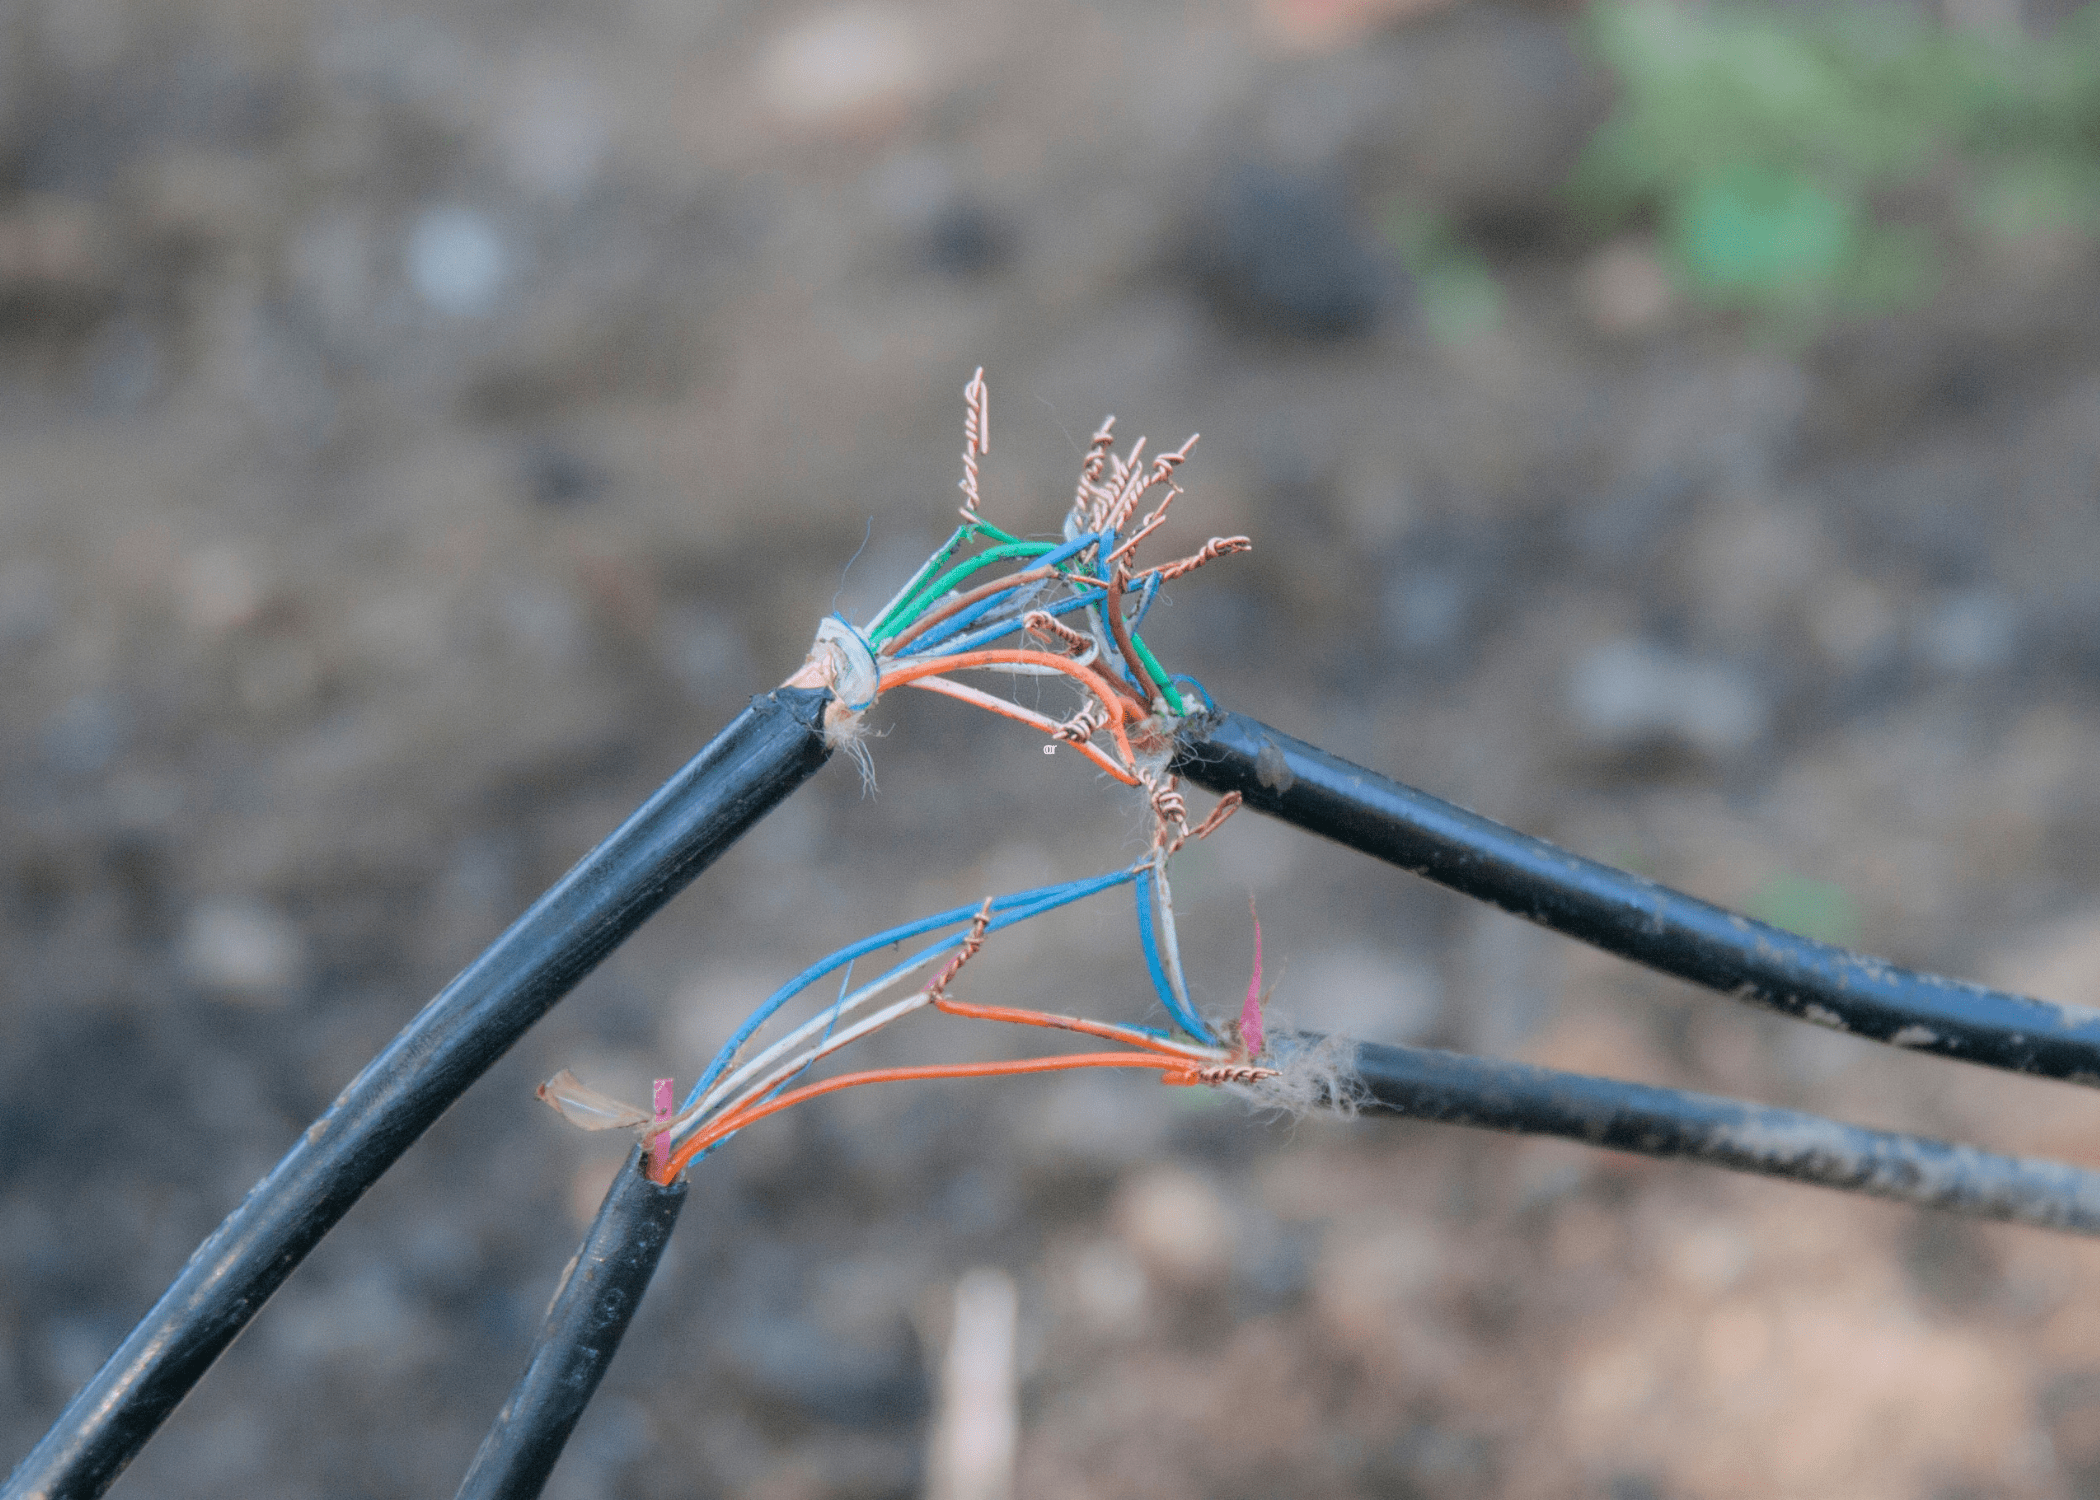
Tools and Materials Needed for Splicing Wires
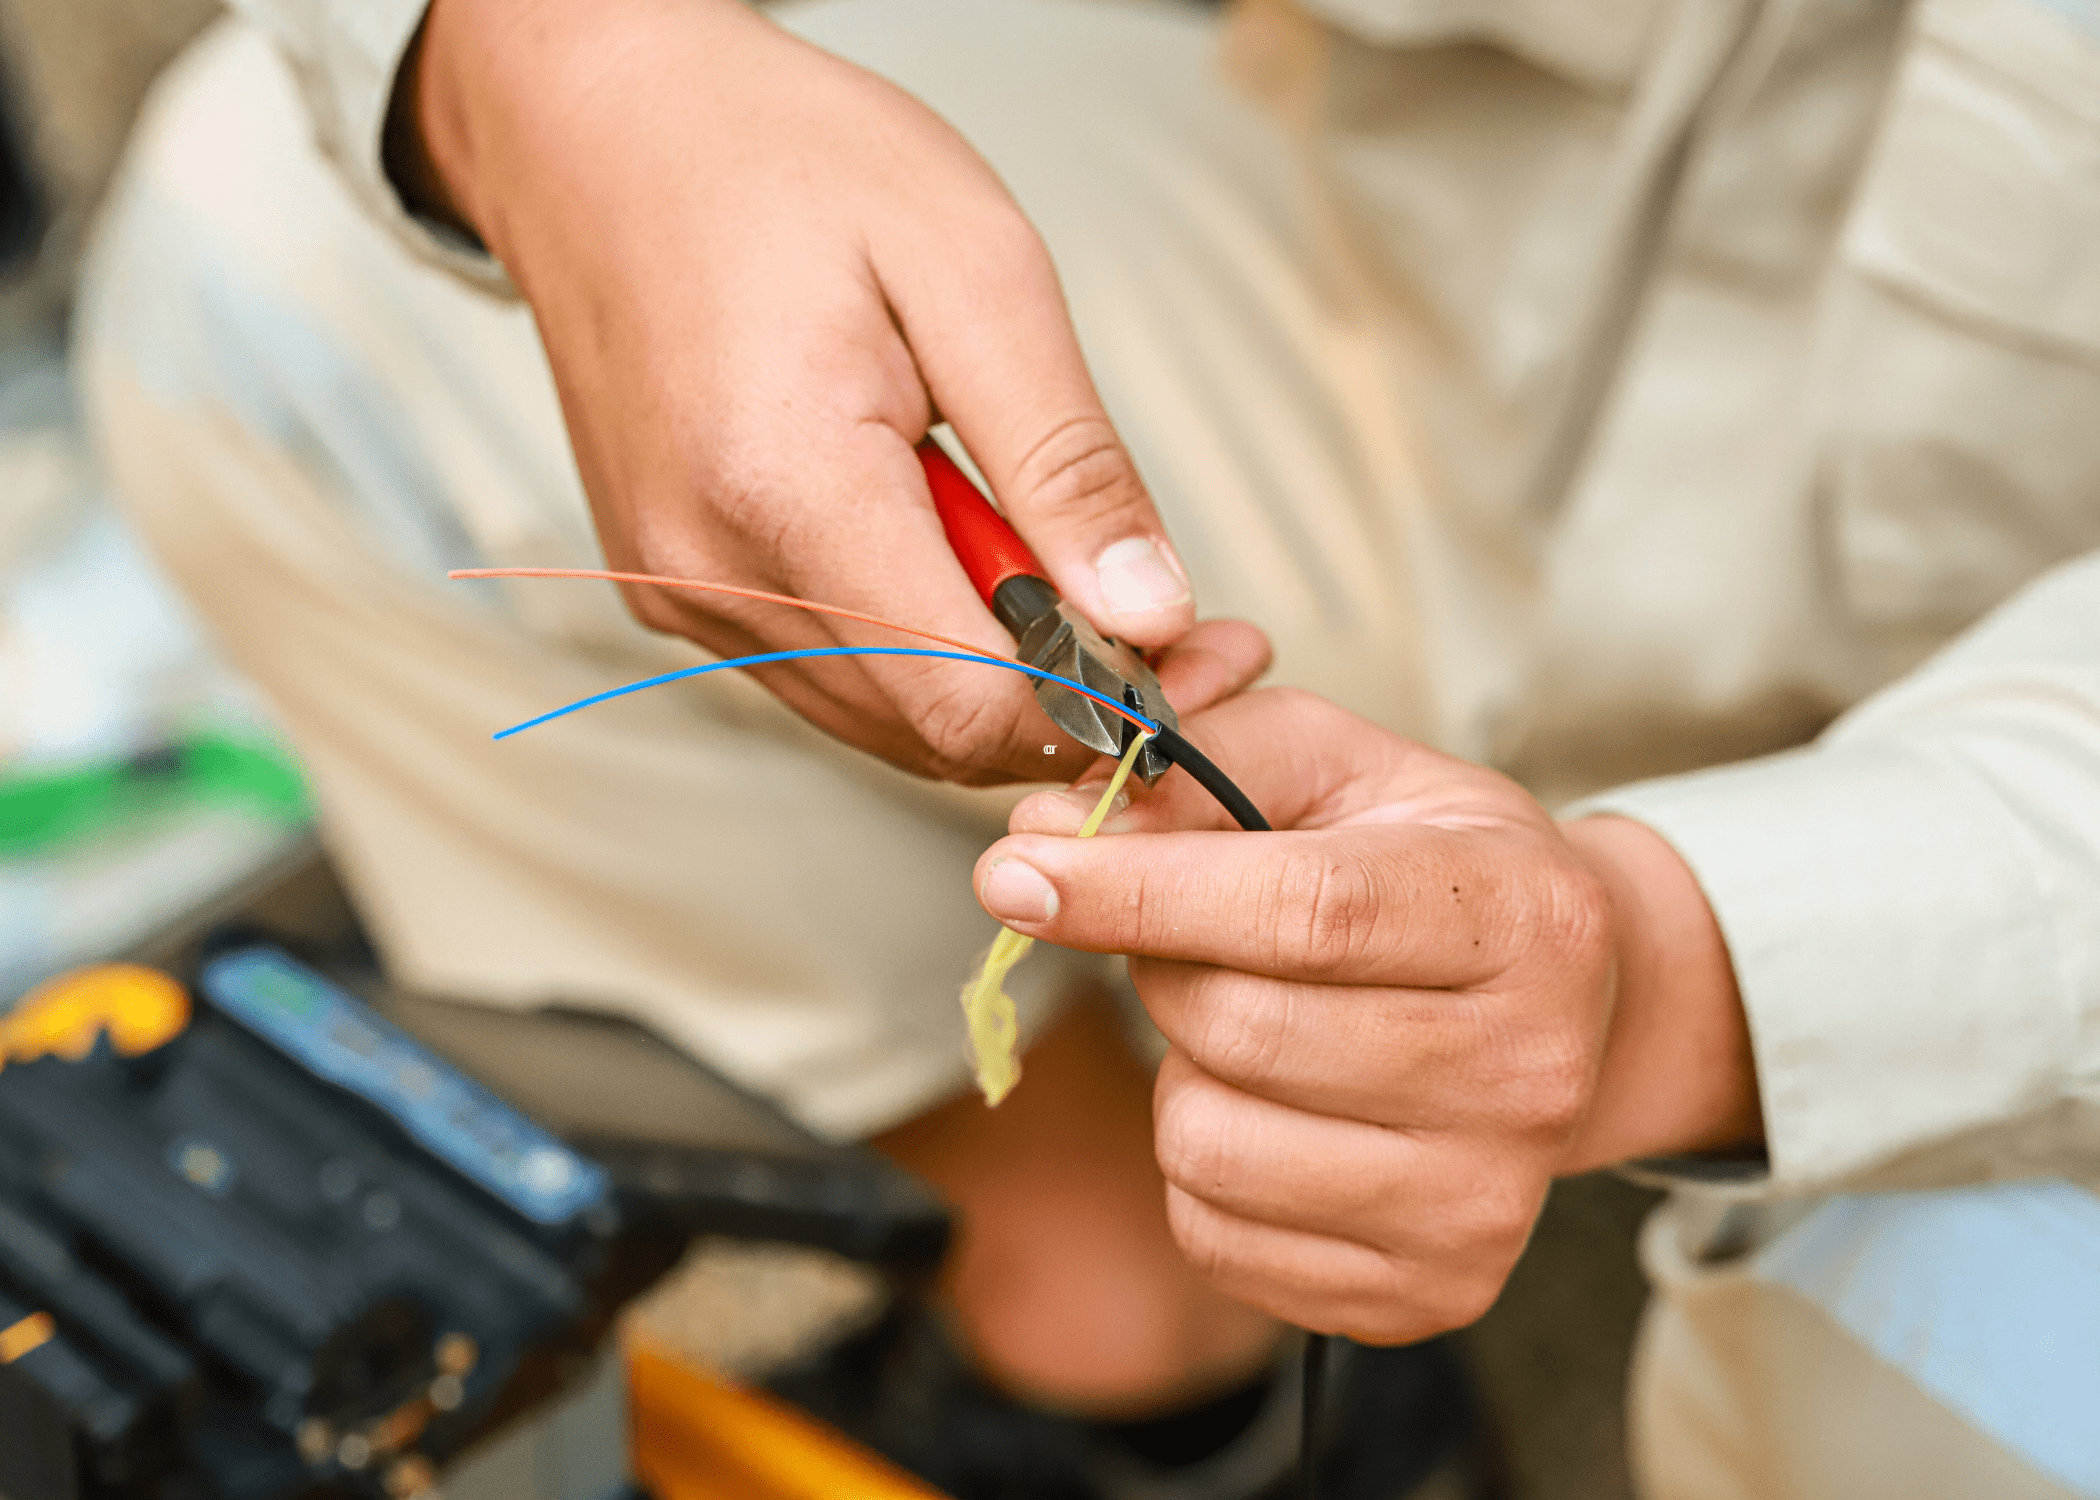
Having the right tools and materials is paramount to effectively splicing wires, ensuring a secure and reliable connection. Start with a good pair of wire strippers, which will allow you to remove the insulation cleanly without damaging the copper strands underneath.
Next, you’ll need a set of crimping tools for attaching connectors or terminals, which helps in maintaining a solid connection that won’t easily come apart. Don’t forget electrical tape or heat shrink tubing to protect and insulate the spliced area, preventing potential short circuits.
A multimeter is quite useful for verifying continuity and ensuring that there are no breaks or faults in your connections. Soldering equipment, including soldering iron and solder, can be invaluable for creating strong, permanent bonds between wires, especially in more critical applications.
Understanding how to splice wires correctly involves using these tools to create a seamless and safe electrical pathway. Lastly, it’s always good practice to have some wire nuts on hand; they are great for quick and secure connections, especially in household wiring projects. With the right tools and materials, splicing wires becomes a straightforward task that even a novice can accomplish with confidence.
Step-by-Step Guide on How to Splice Wires Safely
Step 1
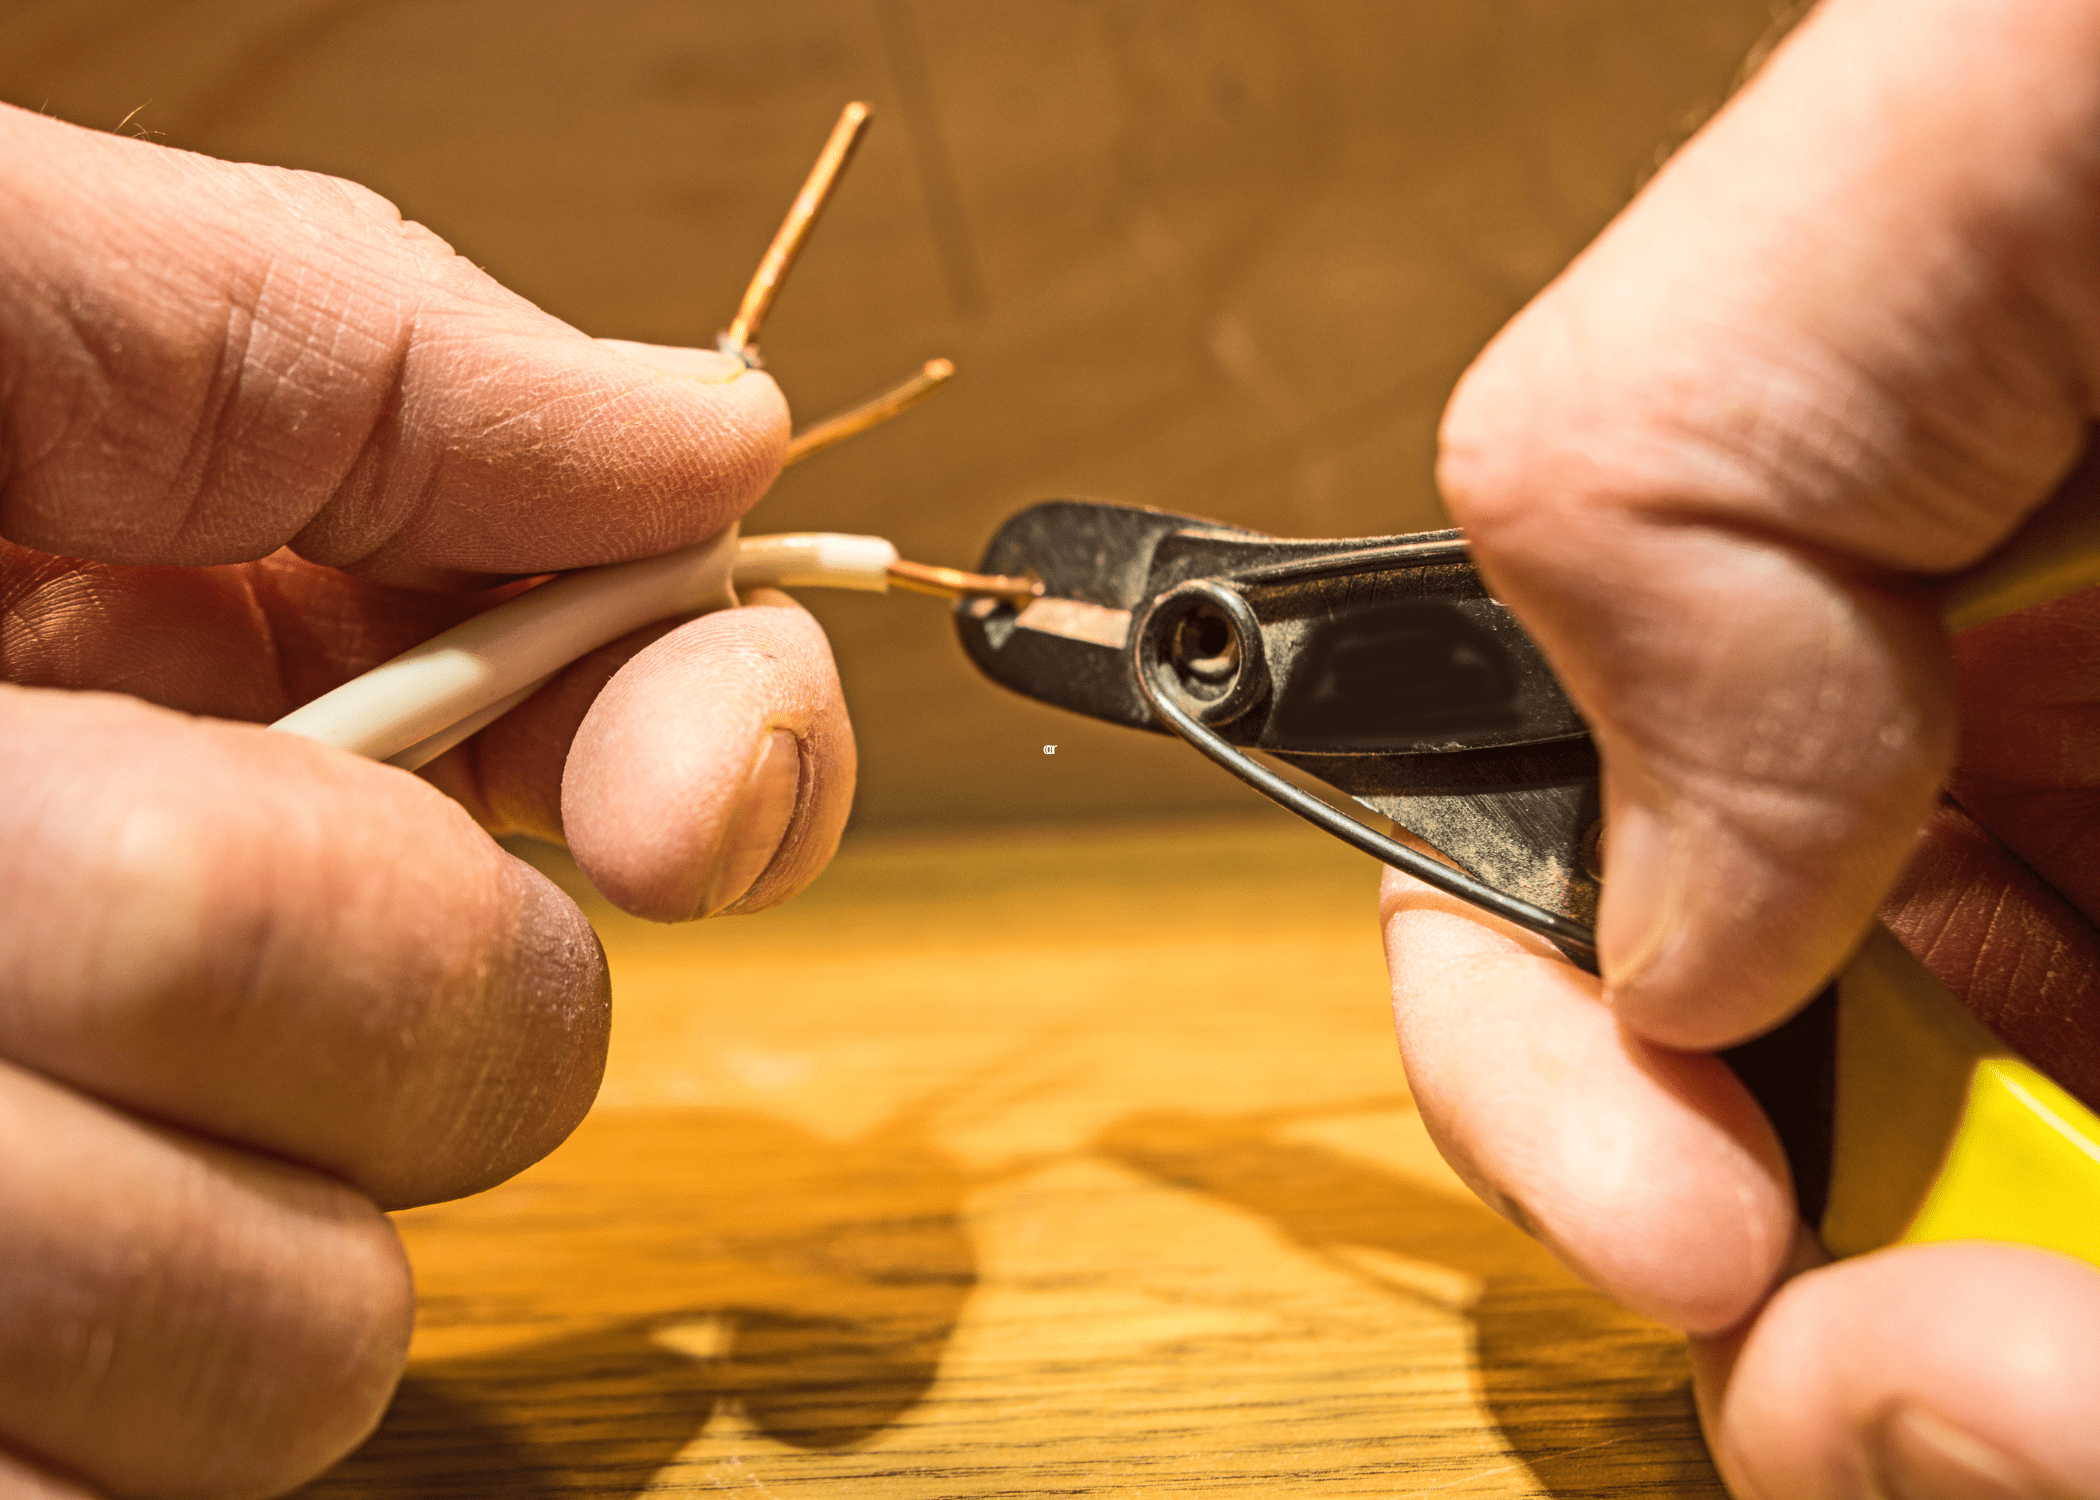
Start by gathering all necessary tools and materials, such as wire strippers, electrical tape, and wire nuts. Begin by stripping about an inch of insulation from the ends of the wires you intend to splice. Be careful not to nick the wire strands to maintain their integrity.
Step 2
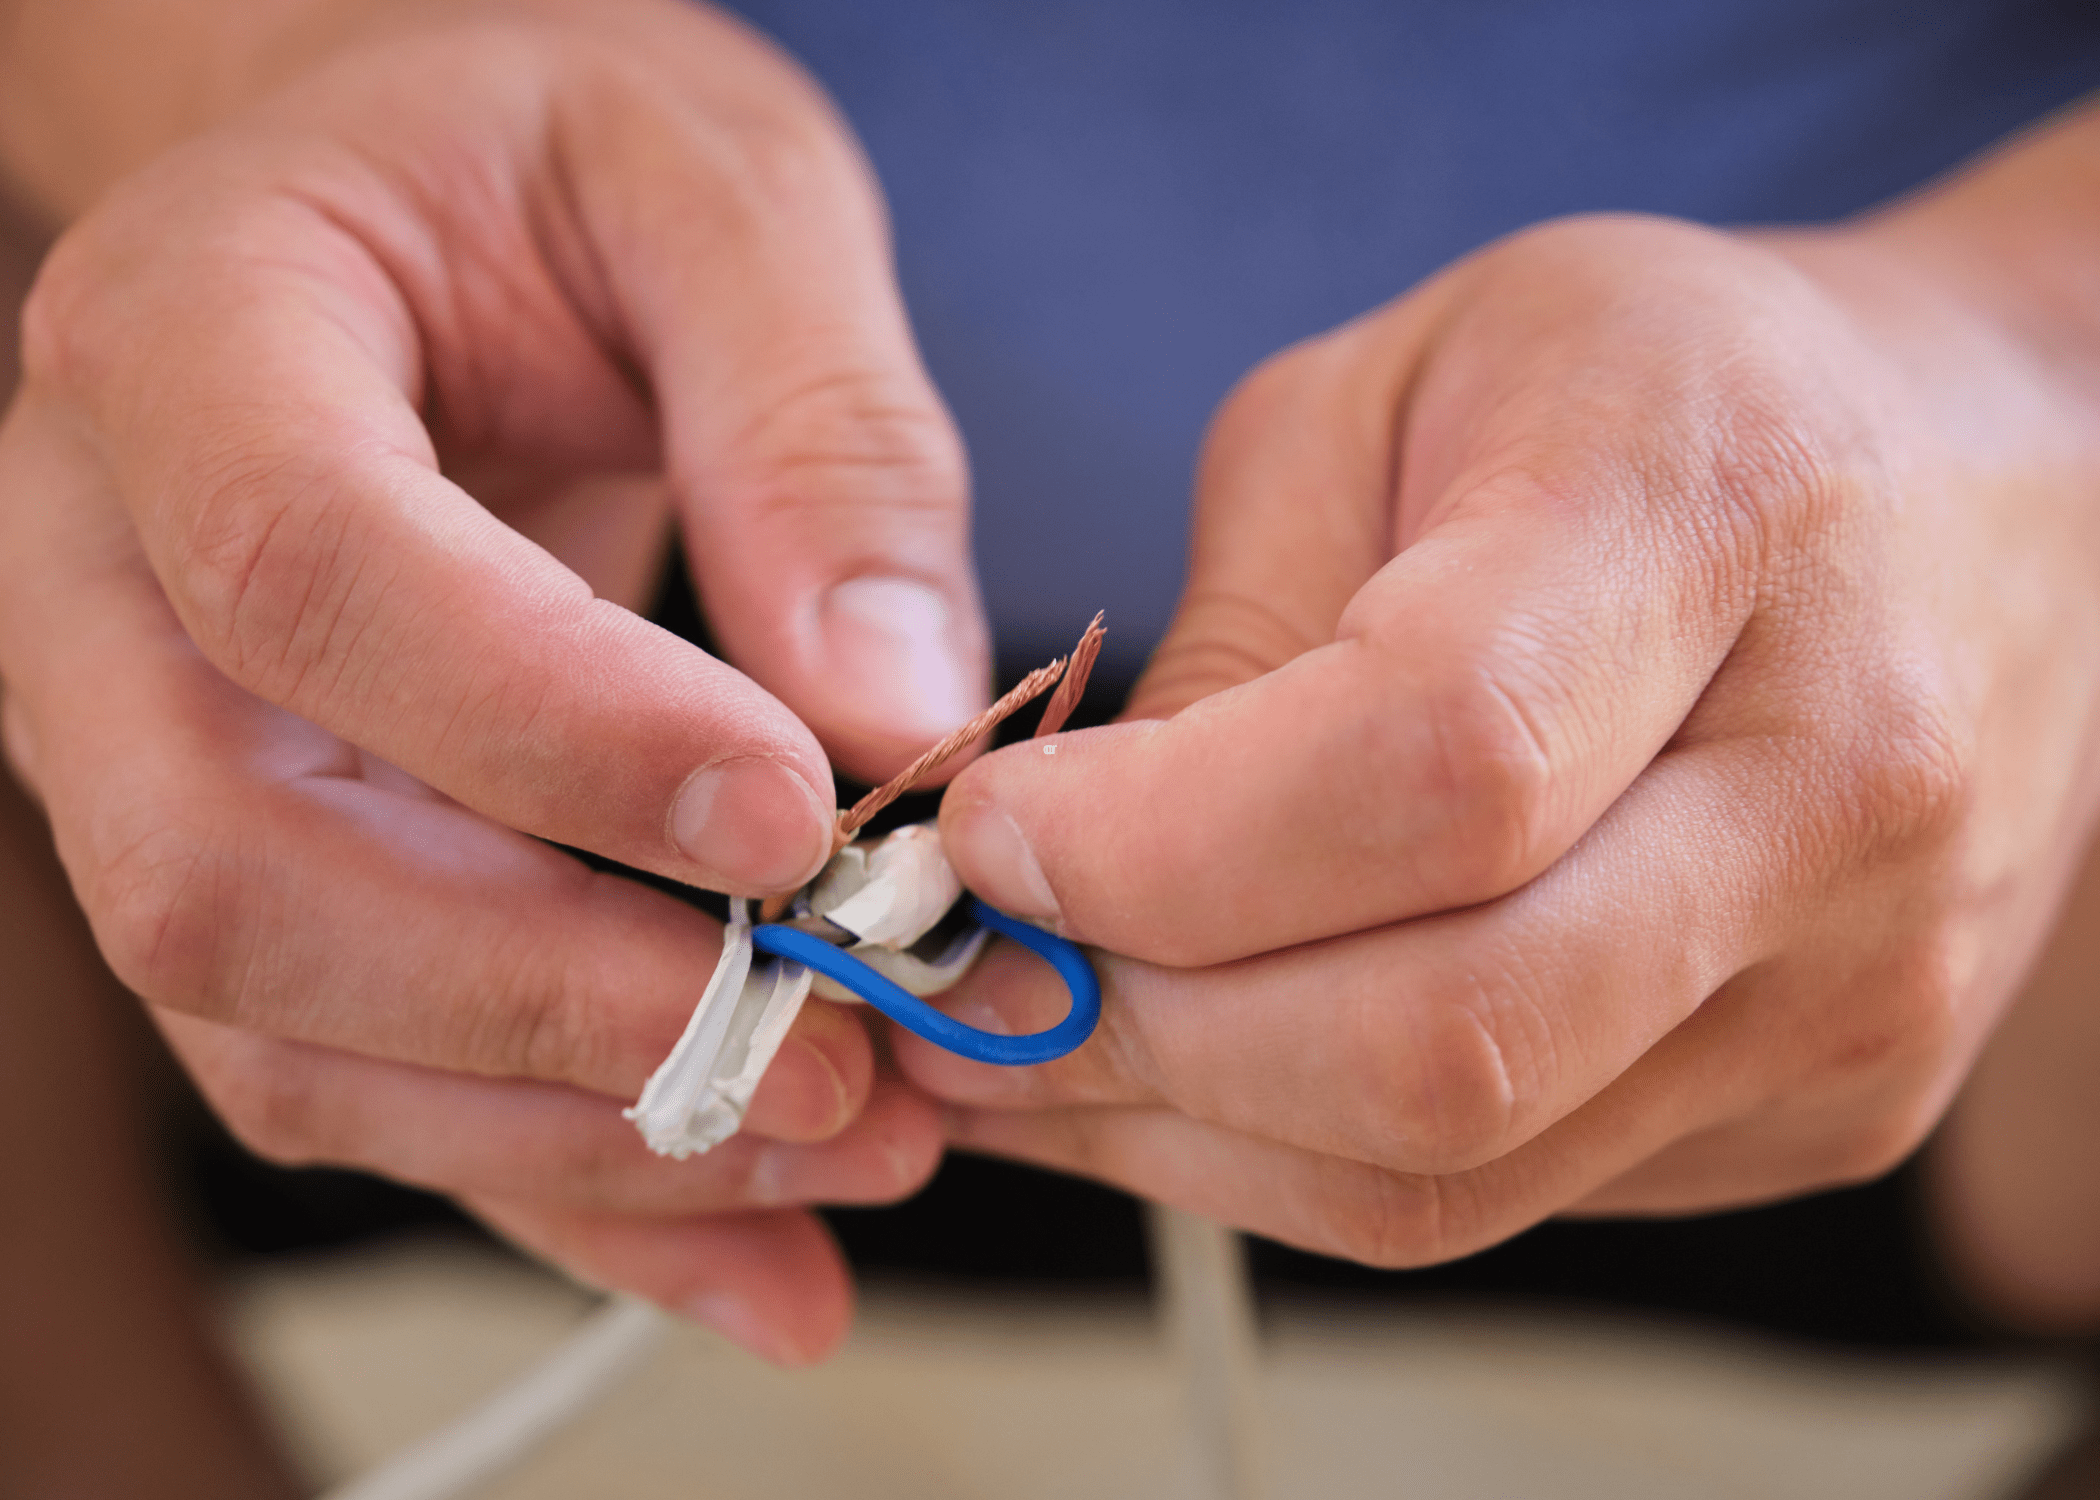
Once the wires are stripped, align the strands so they can be twisted together. This step is crucial as it ensures a solid connection that won’t easily come apart.
Step 3
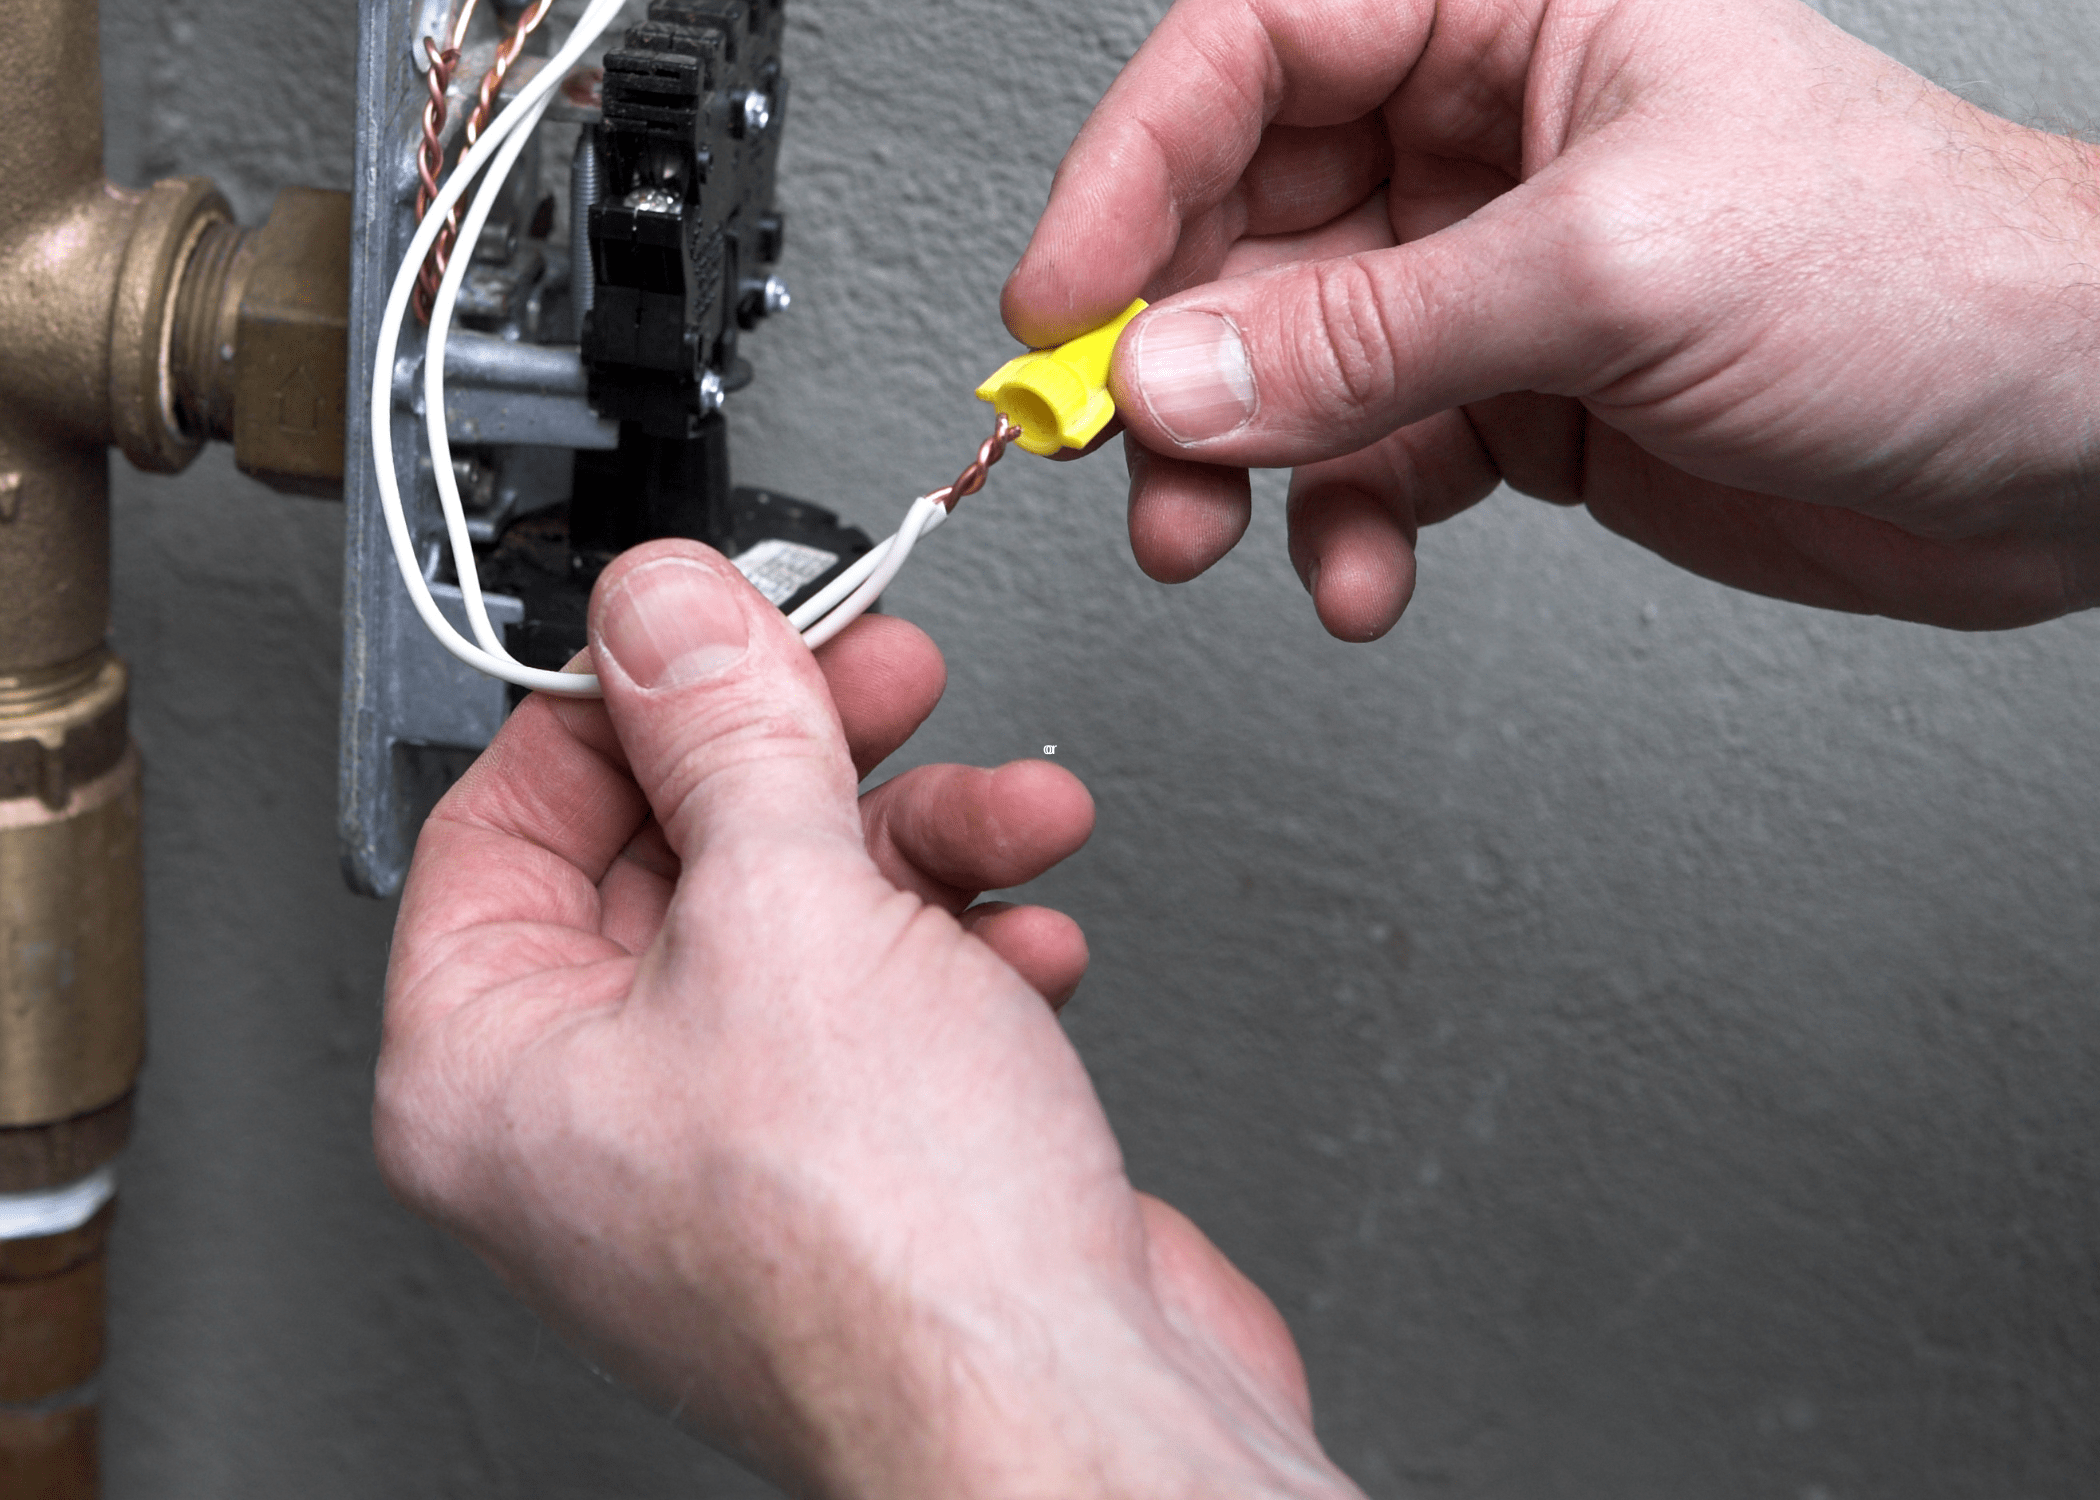
After twisting the wires together, cover the exposed section with a wire nut, ensuring it is tightly secured. This helps to prevent any potential short circuits or electrical hazards.
Step 4
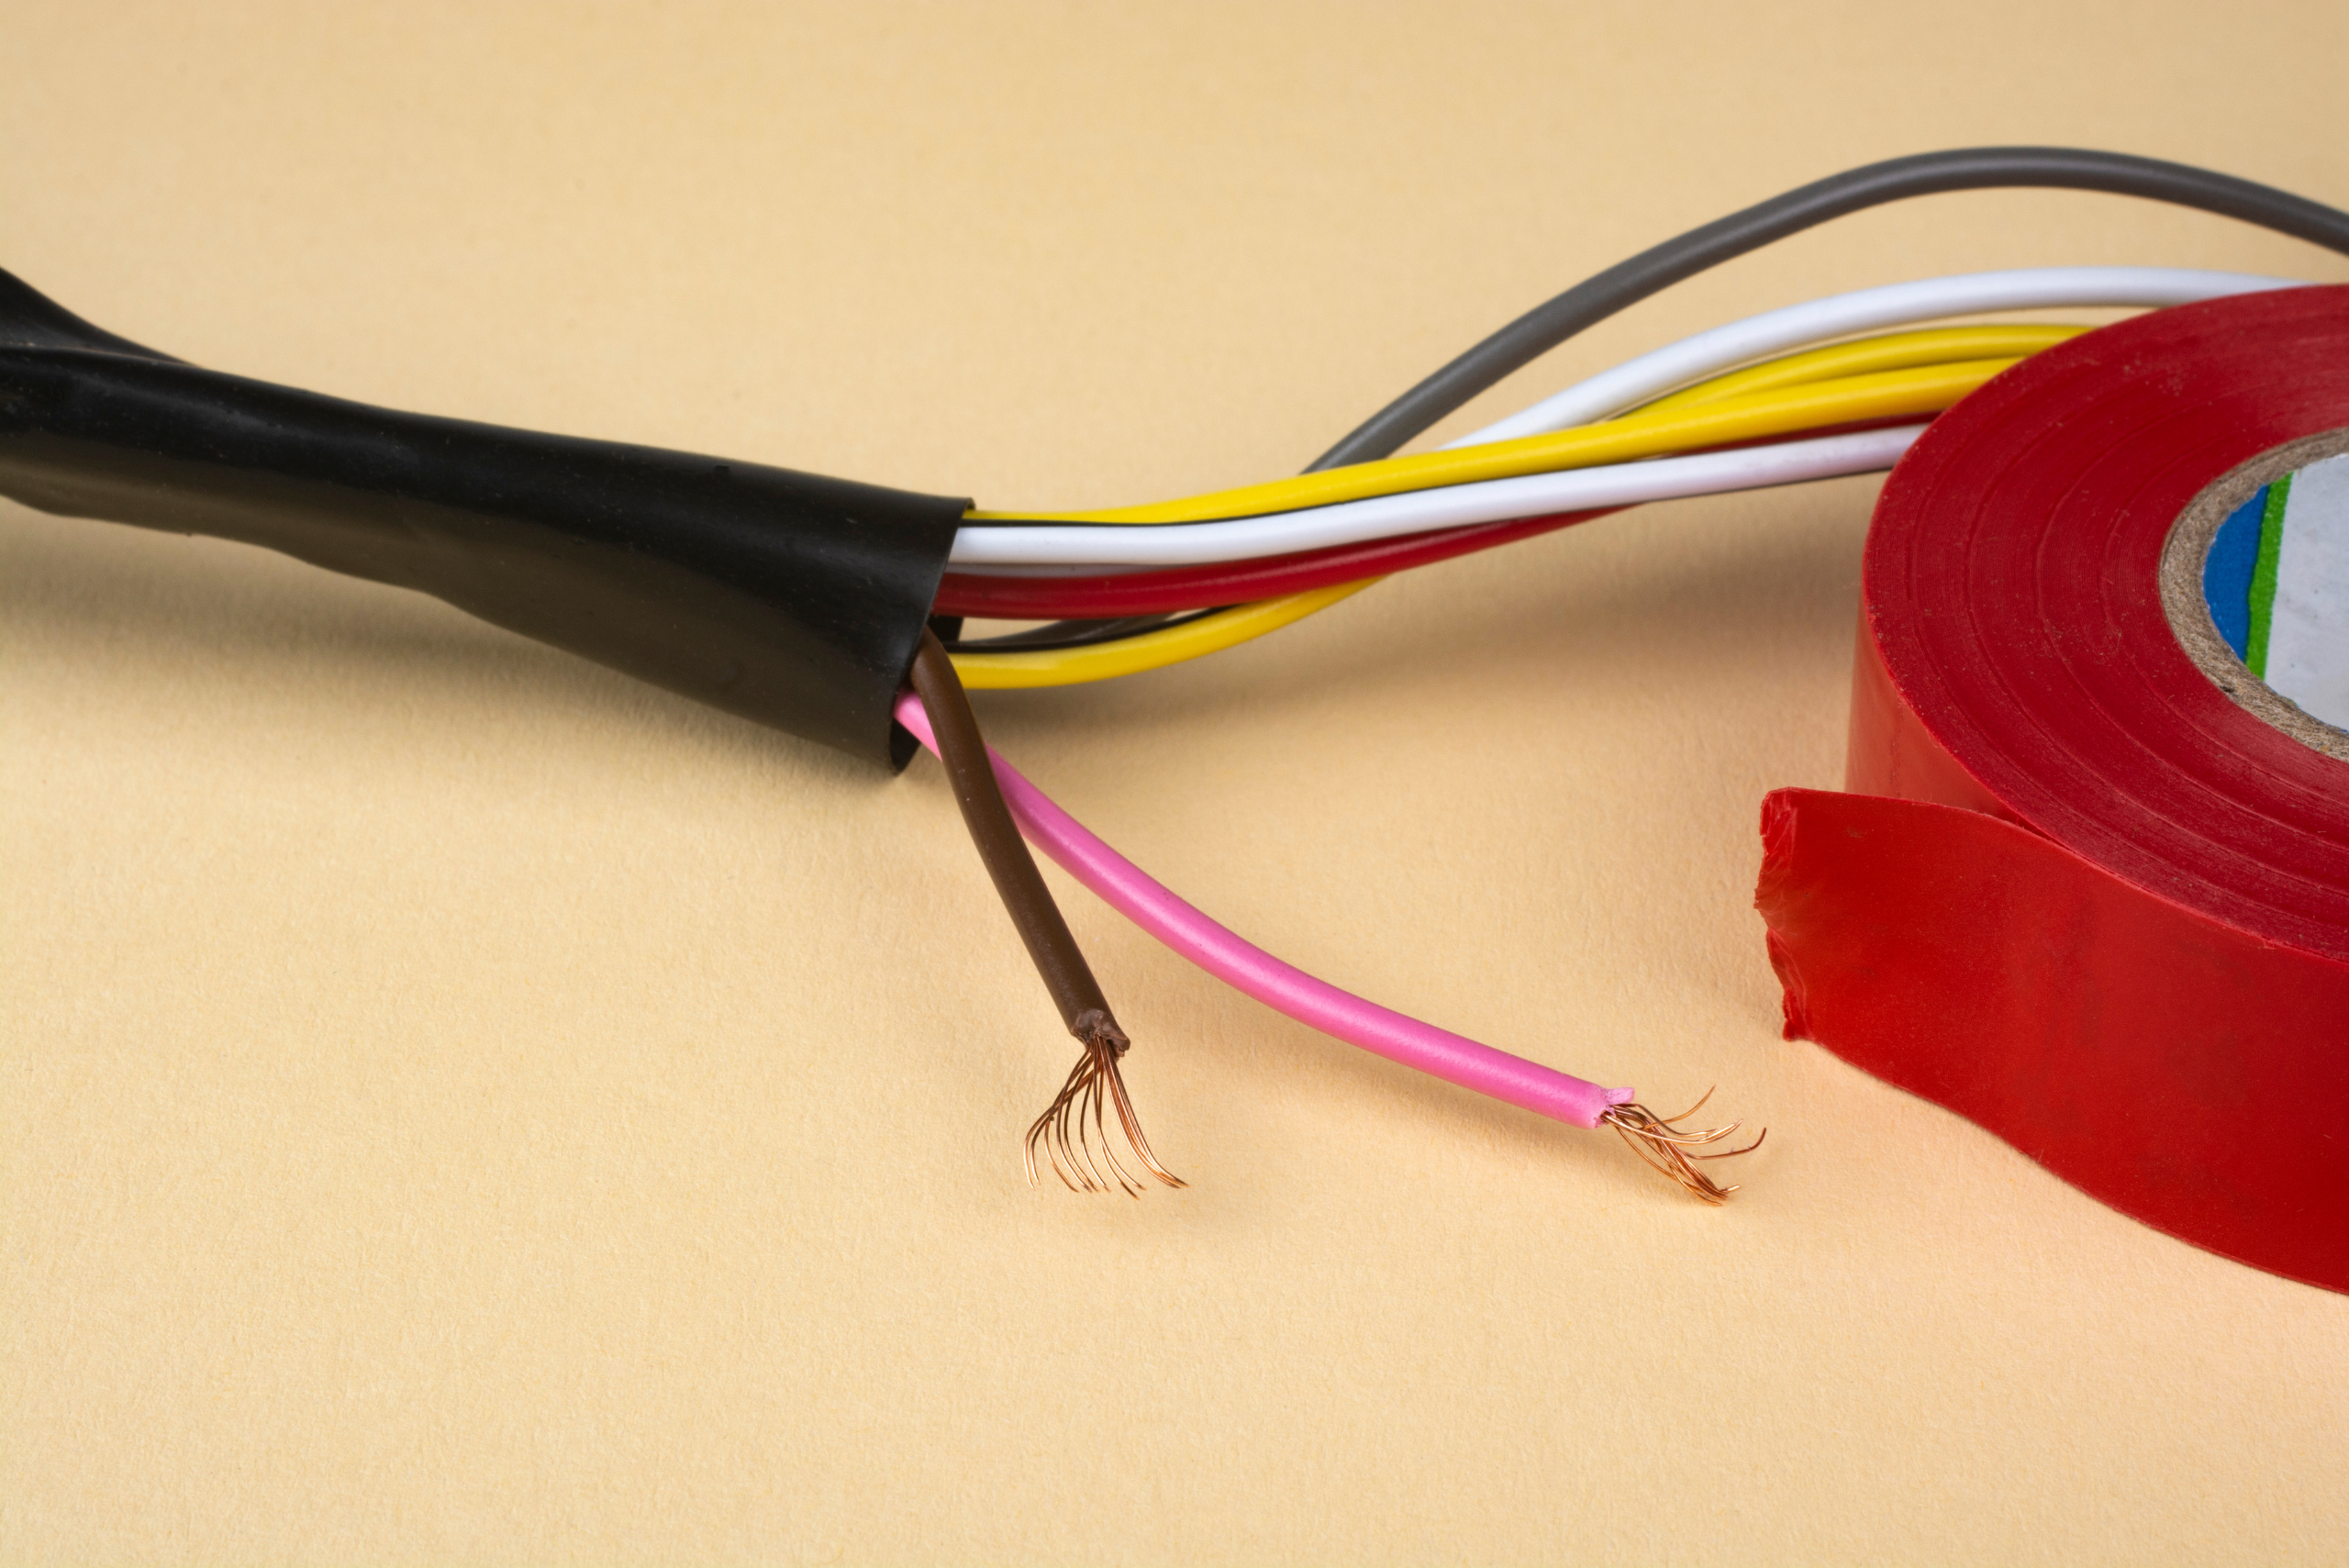
Finally, wrap the connection with electrical tape, extending slightly past the wire nut to ensure complete insulation. This additional layer of protection helps to keep the splice secure and safe from environmental factors like moisture.
Common Mistakes to Avoid When You Splice Wires
One of the most common mistakes people make when learning how to splice wires is neglecting to strip the insulation from the wires properly. If too much insulation is left on, the connection won’t be secure, which can lead to poor performance or even a potential safety hazard.
On the other hand, if too much wire is exposed, it increases the risk of a short circuit. It’s essential to find the right balance to ensure both a safe and efficient connection.
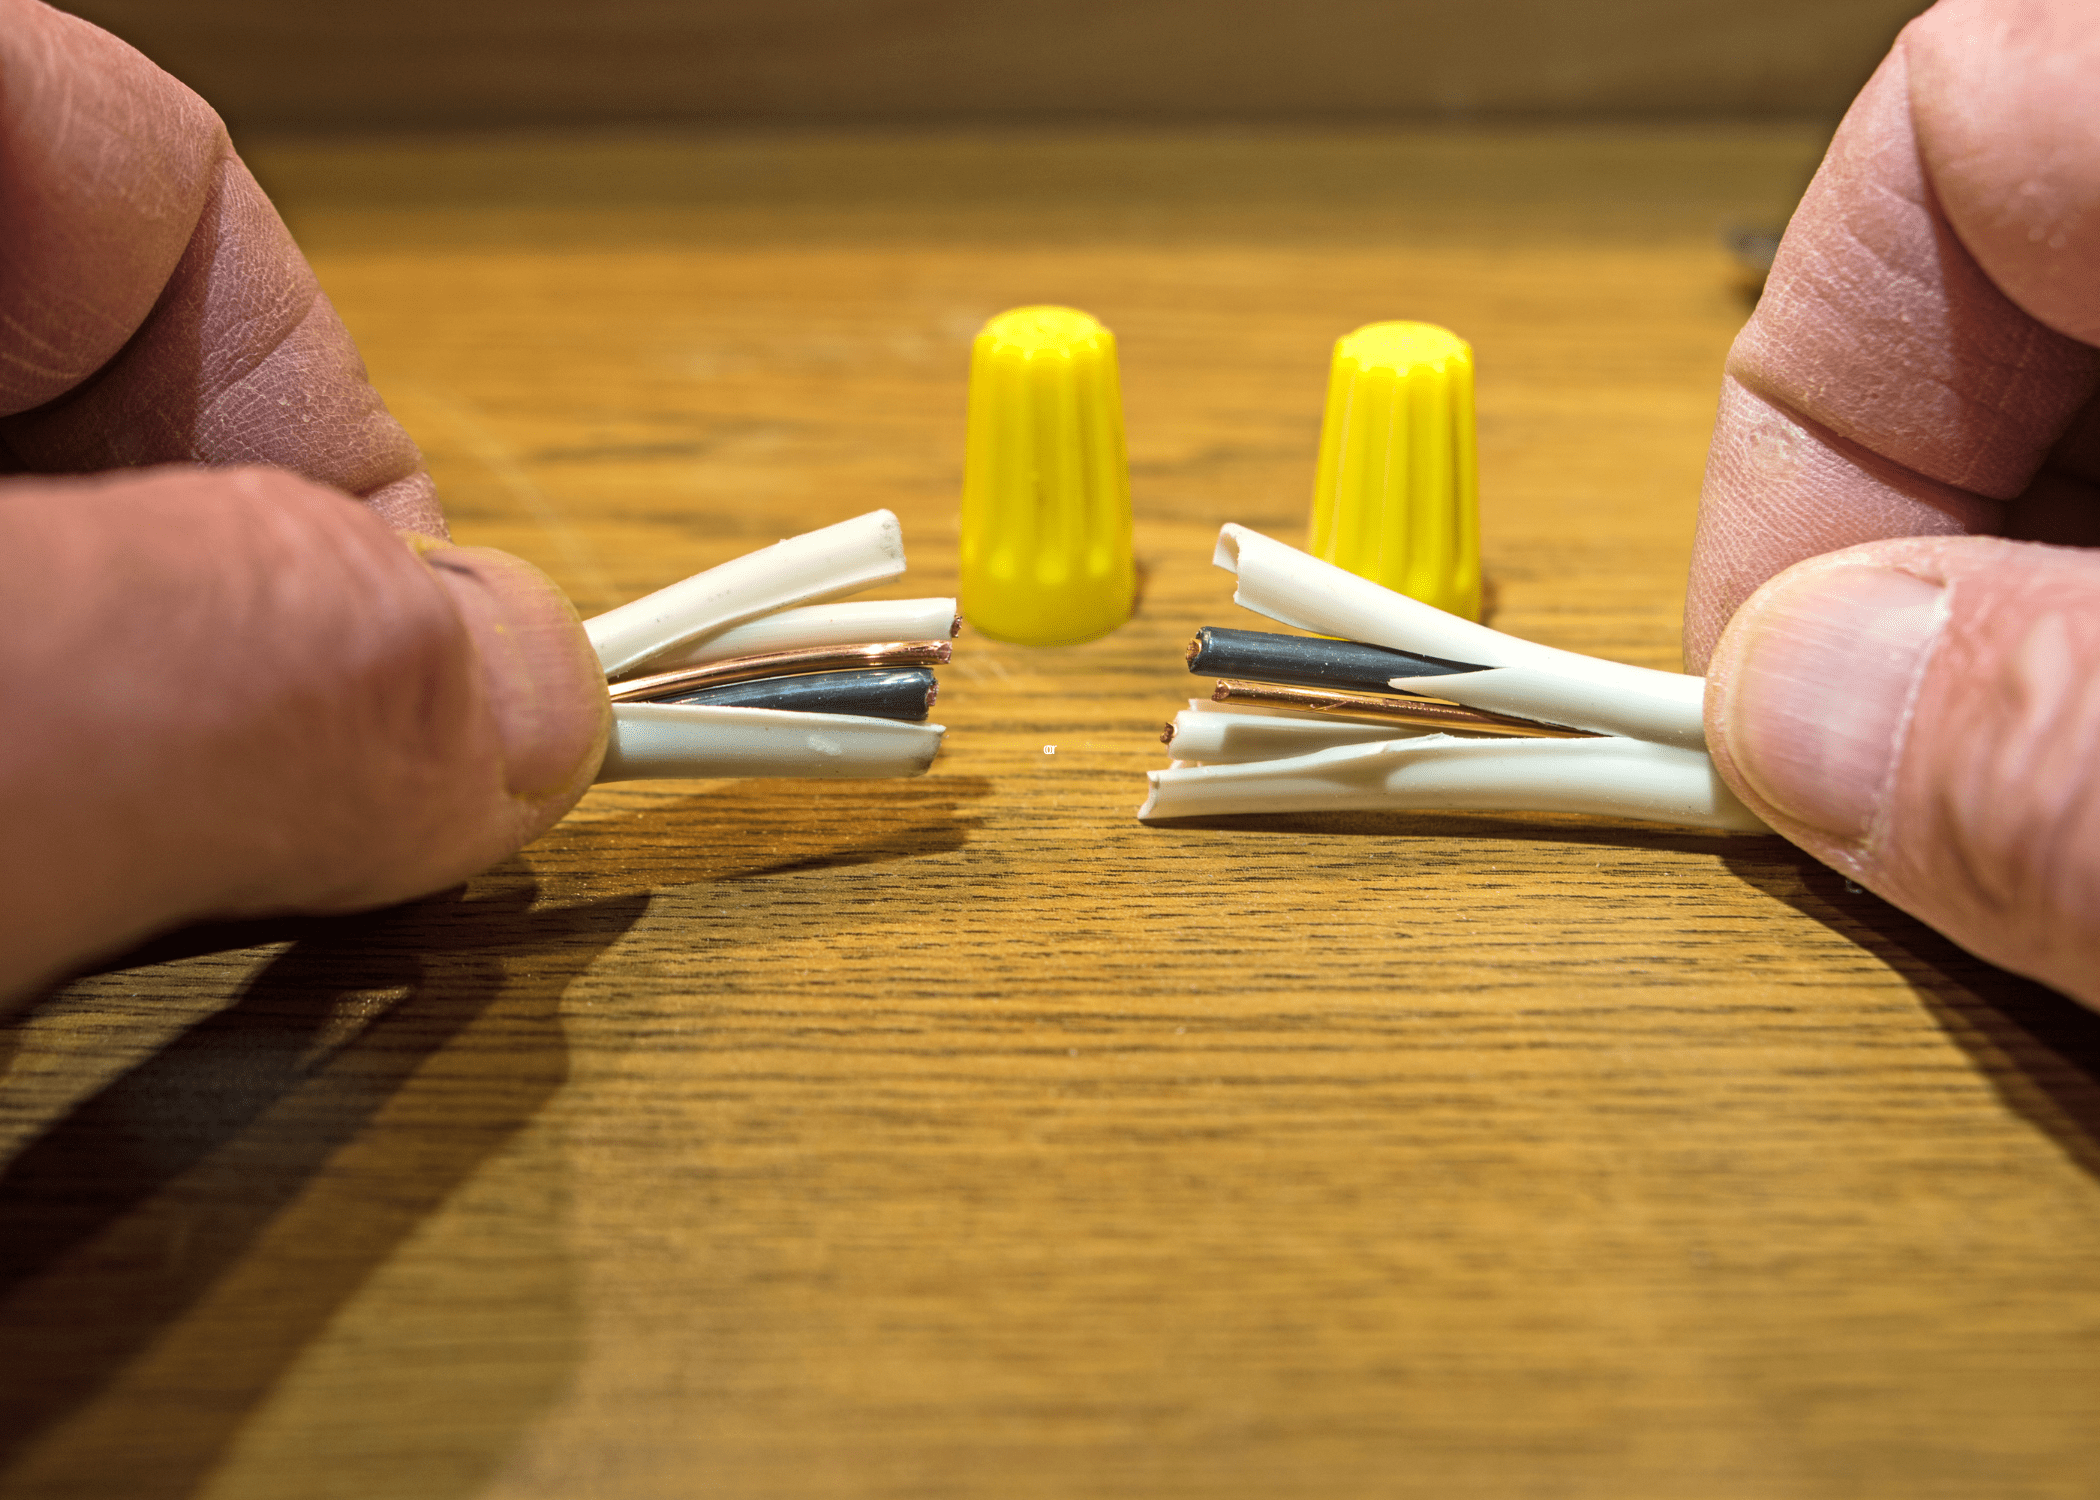
Another frequent error is using the wrong type or size of connectors. It’s crucial to match the connector to the wire gauge to ensure a snug fit. Using a connector that is too large or too small can result in a loose connection, which may lead to issues down the line.
Failing to twist the wires together before applying the connector can result in an unstable connection. Mastering the basics of how to splice wires correctly can save time and prevent frustration, ensuring your electrical projects are both safe and effective.
Ensuring a Secure Connection After You Splice Wires
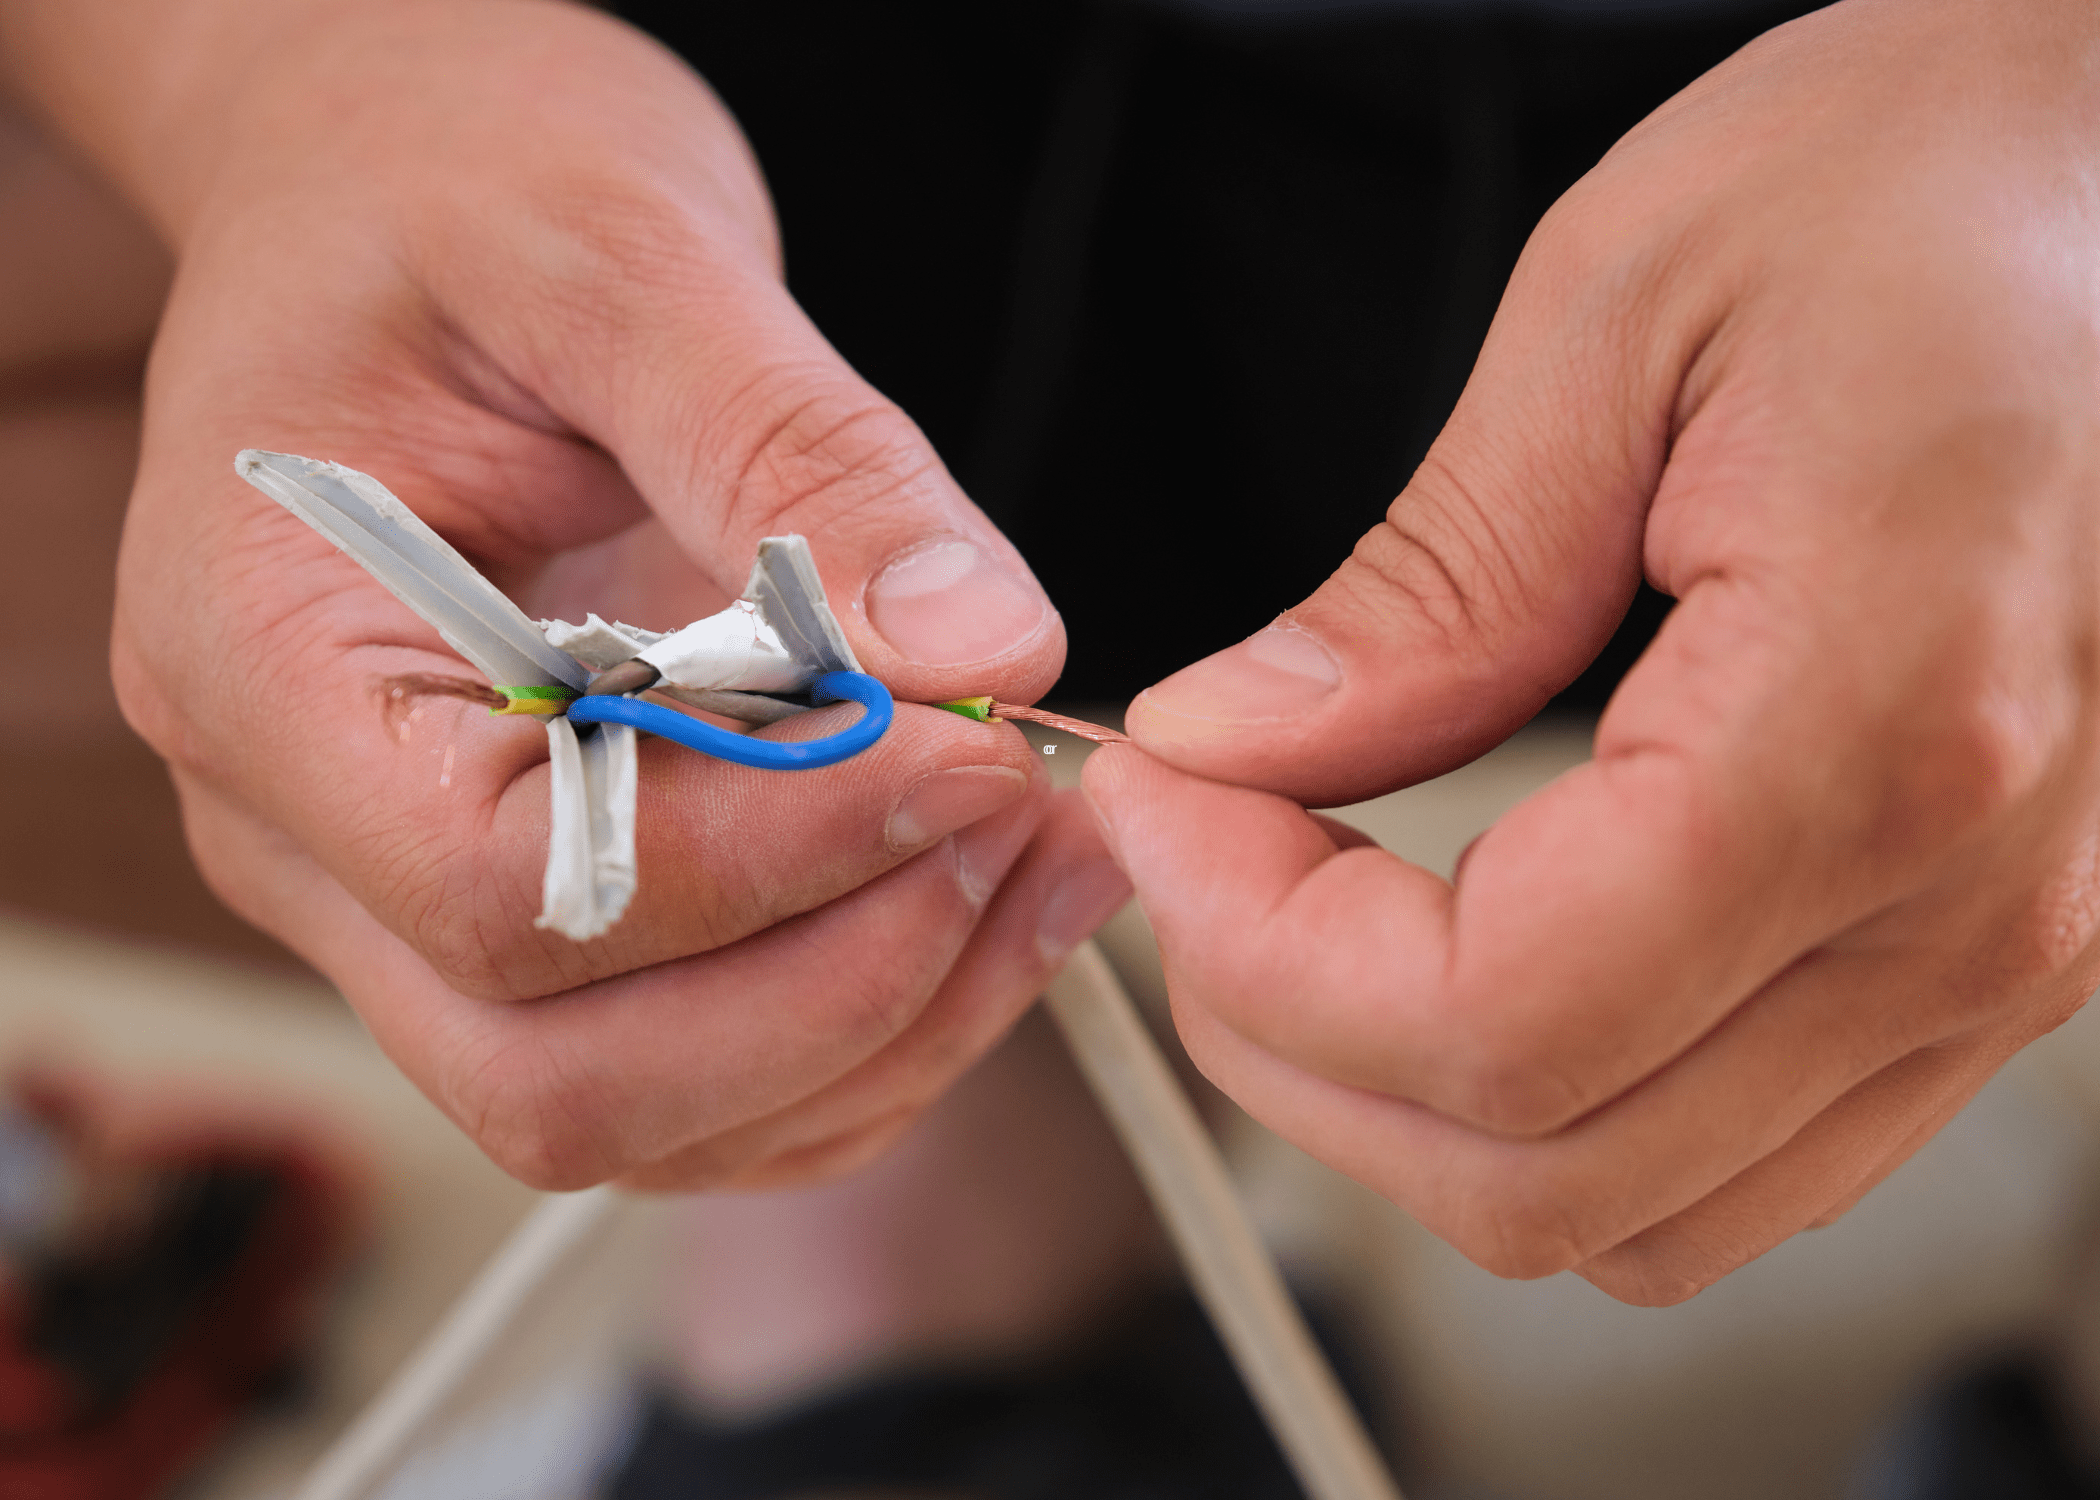
To ensure a secure connection after you splice wires, it’s crucial to double-check that all connections are tight and well-insulated. A loose connection can lead to electrical malfunctions, posing not only a risk to your project but also to safety. Once you’ve completed splicing, give each wire a gentle tug to confirm they’re firmly connected.
Proper insulation is equally important; use high-quality electrical tape or heat shrink tubing to cover the spliced area thoroughly. This prevents any exposed wire from causing shorts or coming into contact with other conductive materials.
It’s a good idea to test the connection before finalizing your project. Use a multimeter to verify that the electrical flow is consistent and that there are no interruptions. This step can save you from potential headaches down the line. If you notice any irregularities, it’s worth redoing the splice to ensure everything is perfect.
Remember, taking these extra precautions not only enhances the durability of your work but also provides peace of mind knowing that your spliced wires are securely connected.
Mastering the Skill of How to Splice Wires
Mastering the skill of how to splice wires is a valuable achievement for anyone involved in electrical work, whether you’re a seasoned professional or a curious DIY enthusiast.
As you practice and gain confidence, you’ll find that this skill opens up a world of possibilities for various projects, from simple home repairs to more complex installations. The key is always to prioritize safety, ensuring that your splices are secure, insulated, and compliant with electrical codes.
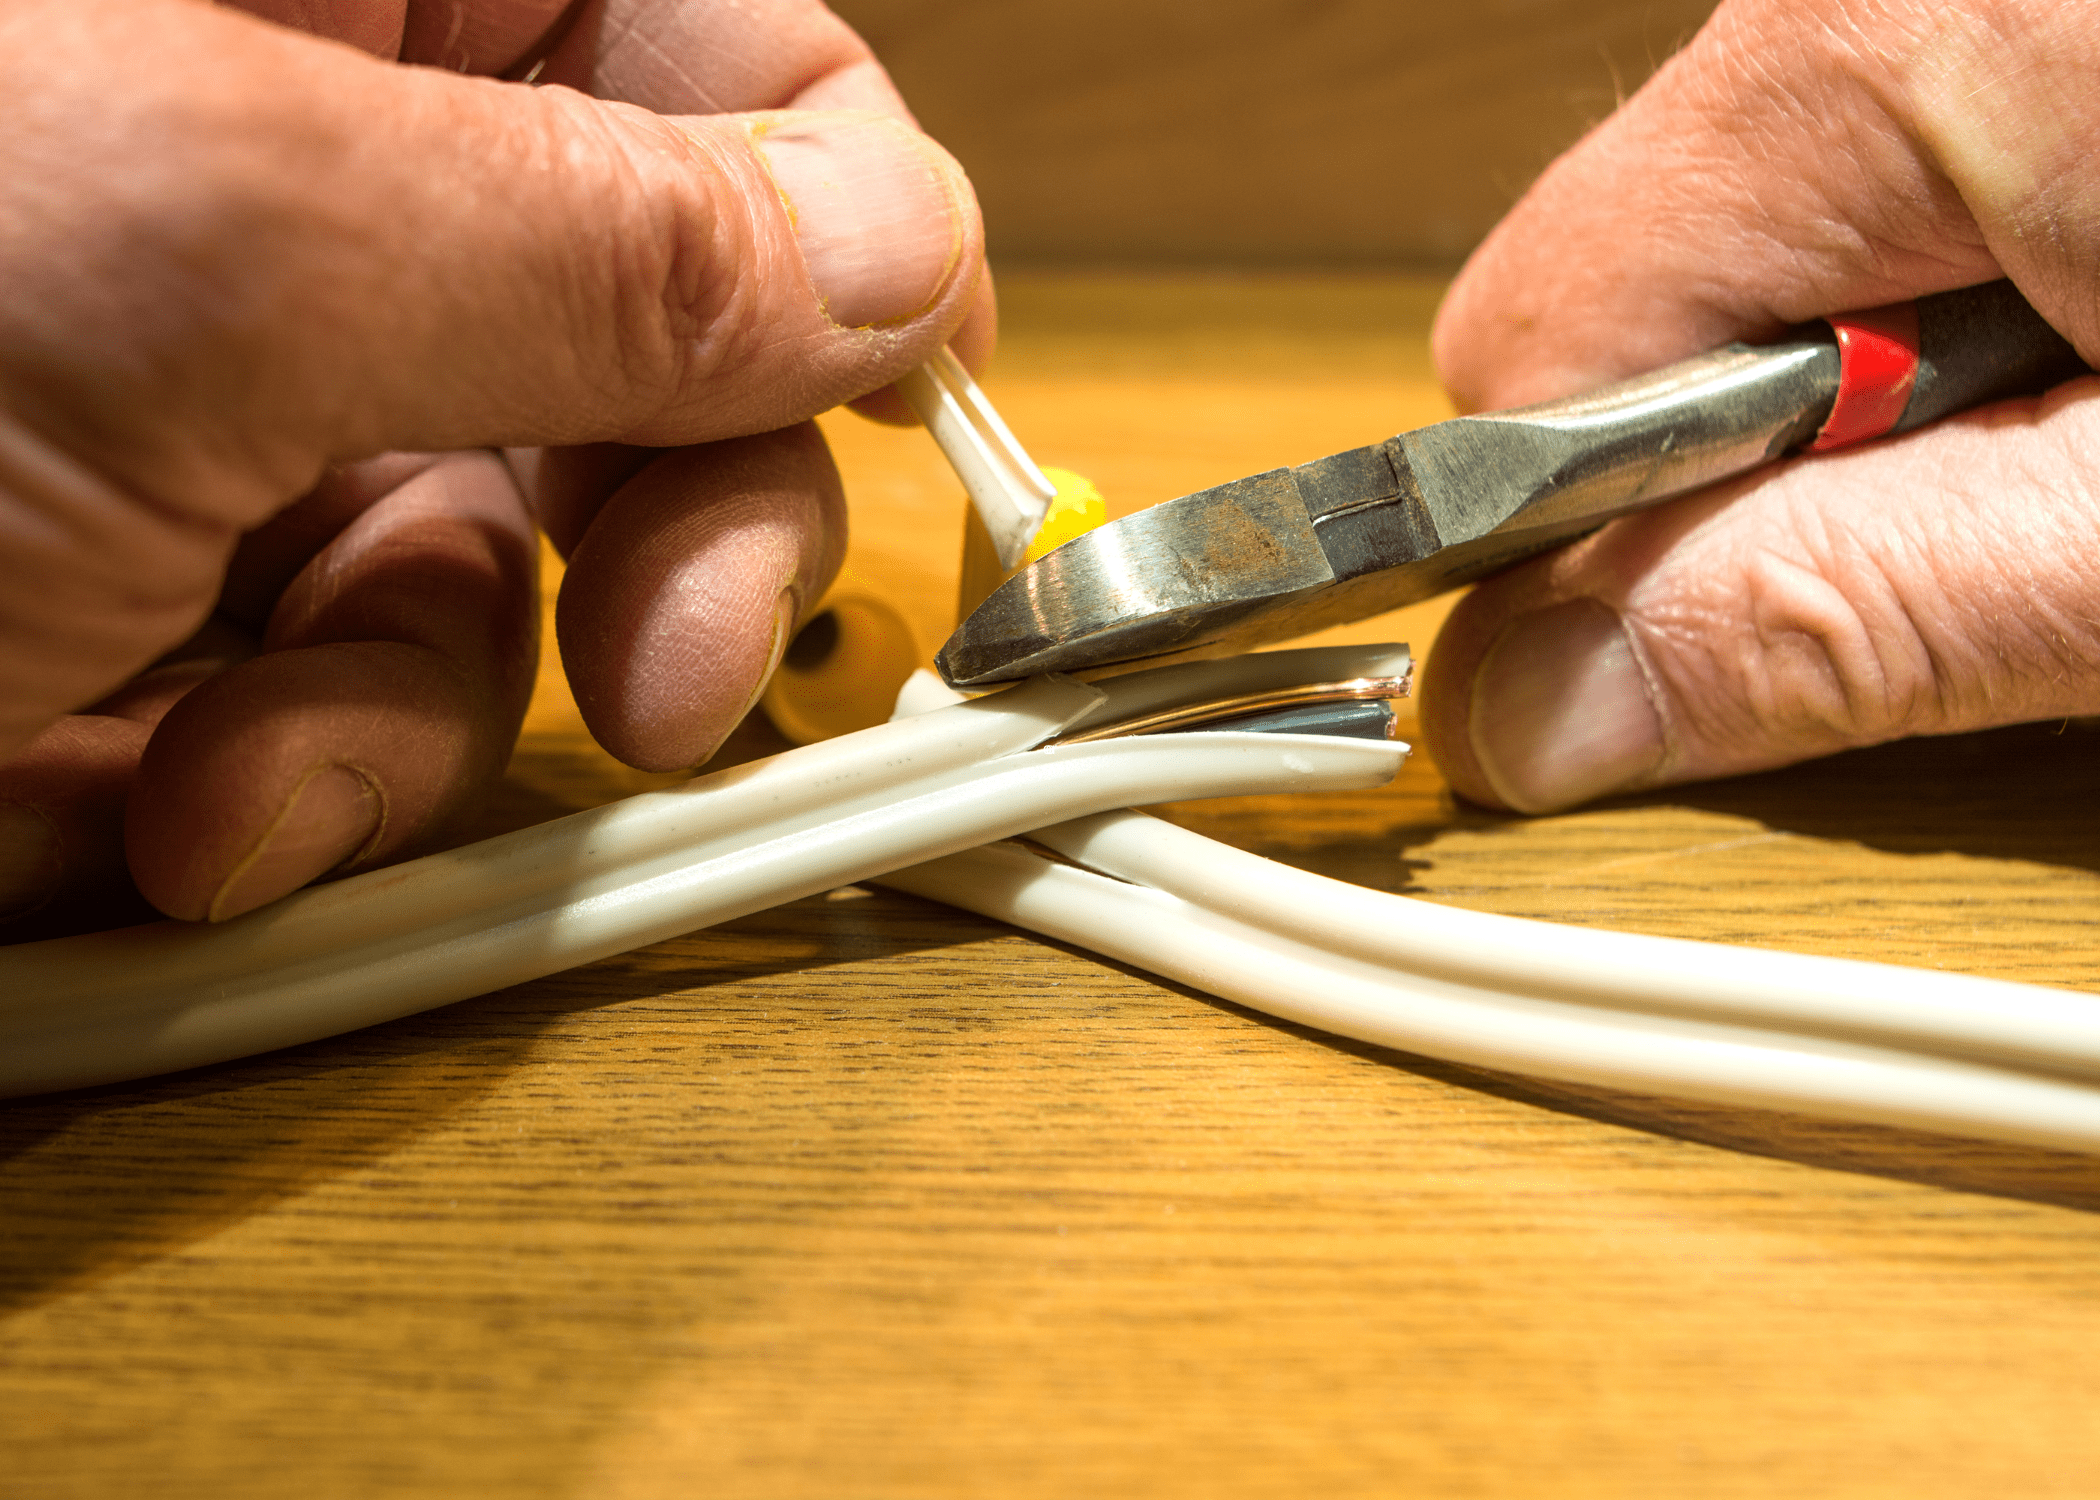
With this newfound expertise, you can tackle a range of tasks with confidence. Whether you’re installing new lighting, repairing damaged cables, or customizing your electronics, knowing how to splice wires is an essential part of your toolkit.
Remember, each splice you make is a step towards becoming more proficient and self-reliant in managing electrical systems. So, keep practicing, stay safe, and enjoy the satisfaction that comes with mastering this invaluable skill.
Related Articles
- How to Reset an Outlet [DIY Electrician]
- How to Use a Voltage Tester for Safe Electrical Work
- How to Rough In Electrical Wiring For Your Home
Ready to start your next project? Join our DIY community to receive tool tips, how-to guides, and exclusive creative insights. Subscribe to the ManMadeDIY newsletter now! Click here to unlock a world of hands-on inspiration.
Frequently Asked Questions (FAQs)
What tools do I need to splice wires?
To splice wires, you’ll need a few basic tools: wire strippers, a pair of pliers, electrical tape, heat shrink tubing, and a soldering iron if you plan to solder the connection. Having these tools will ensure you can make a safe and secure splice.
How do I prepare the wires for splicing?
Begin by cutting the wires to the desired length and stripping about 1/2 inch to 3/4 inch of insulation off the ends using wire strippers. Ensure you don’t nick the wire strands during this process, as that can weaken the connection.
What is the best method for splicing wires?
There are several methods to splice wires, but the two most common are twisting and soldering. Twisting involves twisting the stripped ends of the wires together and securing them with electrical tape or wire nuts. Soldering involves melting solder around the twisted wires to create a more durable and conductive connection.
How do I use heat shrink tubing properly?
Before you connect the wires, slide a piece of heat shrink tubing over one of the wires. After you’ve made your splice, slide the tubing over the connection and use a heat gun to shrink it in place. This provides insulation and helps protect the splice from environmental factors.
Is it necessary to solder wires when splicing?
While not strictly necessary, soldering wires when splicing can provide a stronger, more reliable connection. It ensures good electrical conductivity and helps prevent the wires from coming apart. However, for some quick or temporary fixes, twisting and securing with a wire nut or electrical tape can suffice.
What should I do if my spliced wires are exposed to moisture?
If your spliced wires will be exposed to moisture, it’s crucial to protect the connection. To insulate the splice, use waterproof heat shrink tubing or electrical tape designed for outdoor use. Additionally, consider using a waterproof connector or sealant to protect the splice further.
How can I ensure my wire splice is safe and secure?
To ensure a safe and secure splice, make sure the wires are twisted tightly together with no loose strands. If possible, use solder to reinforce the connection. Always insulate the splice with electrical tape or heat shrink tubing to prevent short circuits. Finally, double-check your work to ensure there are no exposed wire strands or weak connections.




![How To Clean Patio Pavers [Without a Pressure Washer!]](https://www.manmadediy.com/wp-content/uploads/sites/52/2024/06/broom-15377-238x170.png)