How to Stain a Wooden Deck [With 10 Quick Tips For You!]
Learning how to stain a deck means you’ll be able to achieve professional-looking results, without the same costs. Read this guide to learn how to stain a deck, including information on getting your deck ready for stain and how to apply the stain.
Enhancing the appearance of a deck is just one of the benefits of staining it. Wood stain also protects from the elements and prevents warping. By following a guide on how to stain a deck, you’ll be able to achieve professional-looking results. This guide provides information on preparing your deck for staining and applying the stain.
Materials Needed
Cleaning & Preparation
For an even application of the deck stain and to prevent peeling, you should clean the deck surface thoroughly before staining. To do this, remove all patio furniture and potted plants from the deck, then sweep it to remove any debris. If the deck surface has particularly bad build up, you can also powerwash at this stage.
Apply wood cleaner and let it sit for 15 minutes before scrubbing it with a brush to remove all residue. Rinse the cleaner off using a garden hose or pressure washer.

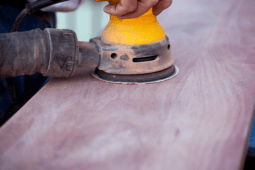
Wait for the deck to dry, then use an orbital sander with 60-grit or 80-grit sandpaper to remove any remaining residue. If the deck is new, wait 2 to 4 months for the pressure-treated lumber to dry before staining.
Prepare the Deck
To prepare for staining a deck, first check for any damaged boards, screws, or nails and replace them. Test a small area with your chosen deck stripper to determine if the current stain is water or oil-based.
Follow the deck stripper’s instructions to remove a water-based stain, and use deck cleaner before recoating an oil-based stain. Note that water and oil-based finishes are not compatible.
How to Stain Handrails and Spindles
To stain your deck’s handrails, balusters, and spindles, use painter’s tape to protect areas like the siding. Sweep the deck to remove debris and stir the stain thoroughly before pouring it into a paint tray.
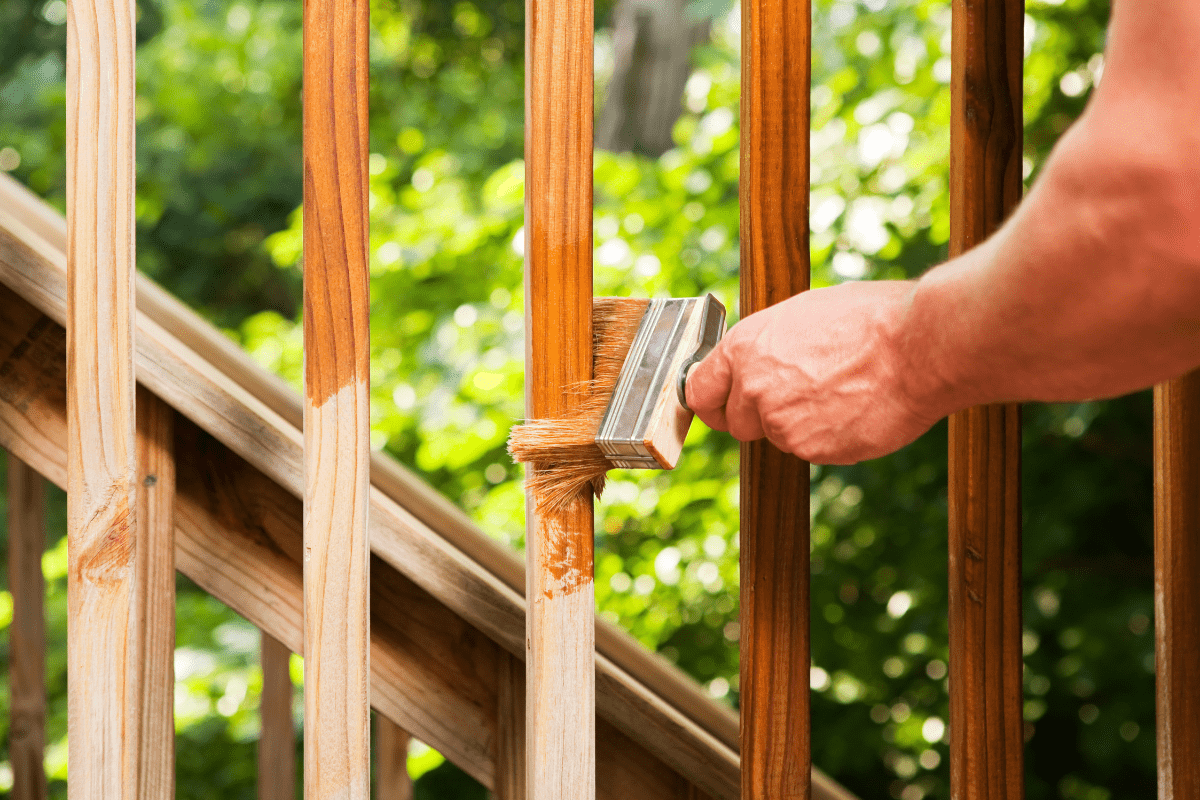
Apply a test patch to confirm color and appearance in the natural setting, then use a brush or paint pad to apply the stain in long, even strokes. Don’t forget to cover the deck surface with towels or a drop cloth to catch any falling stain drips or specks.
The Strategy for Staining Deck Boards
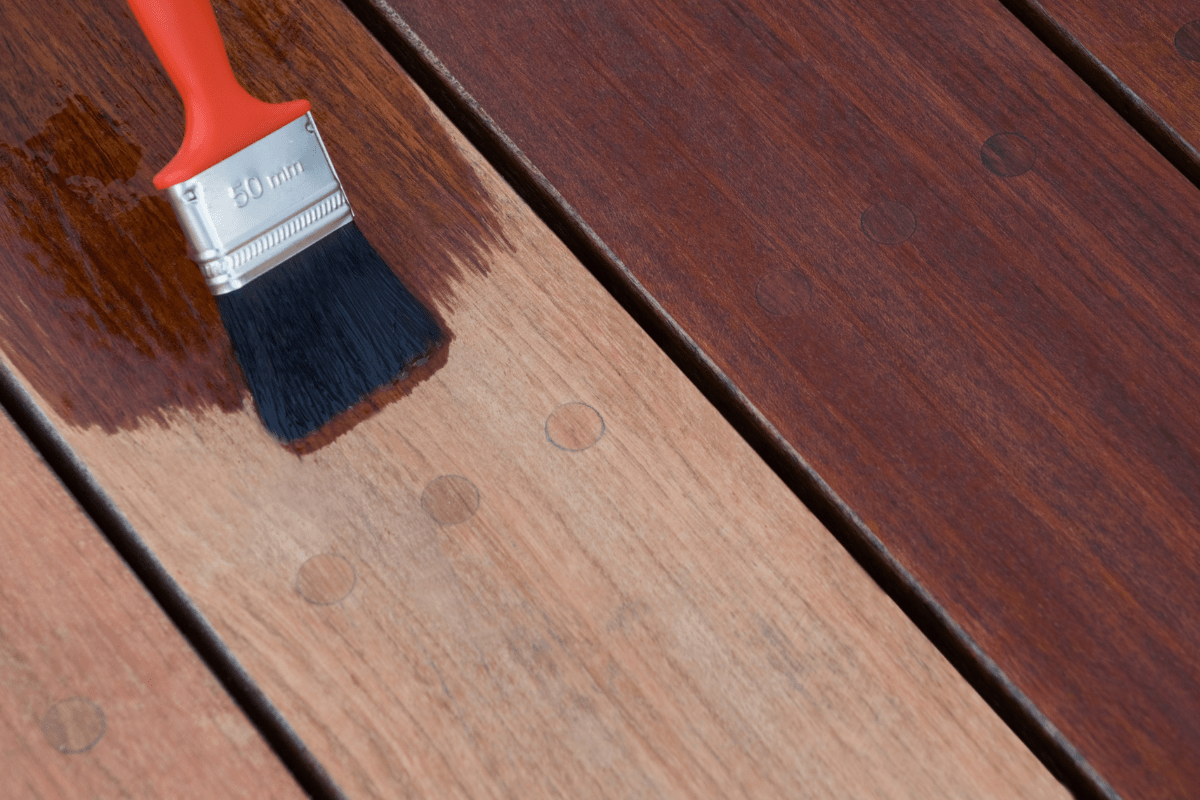
To avoid getting stuck, choose your exit path before staining your deck. Use a paint pad applicator or a roller on a pole to cover a large surface area with stain quickly and accurately.
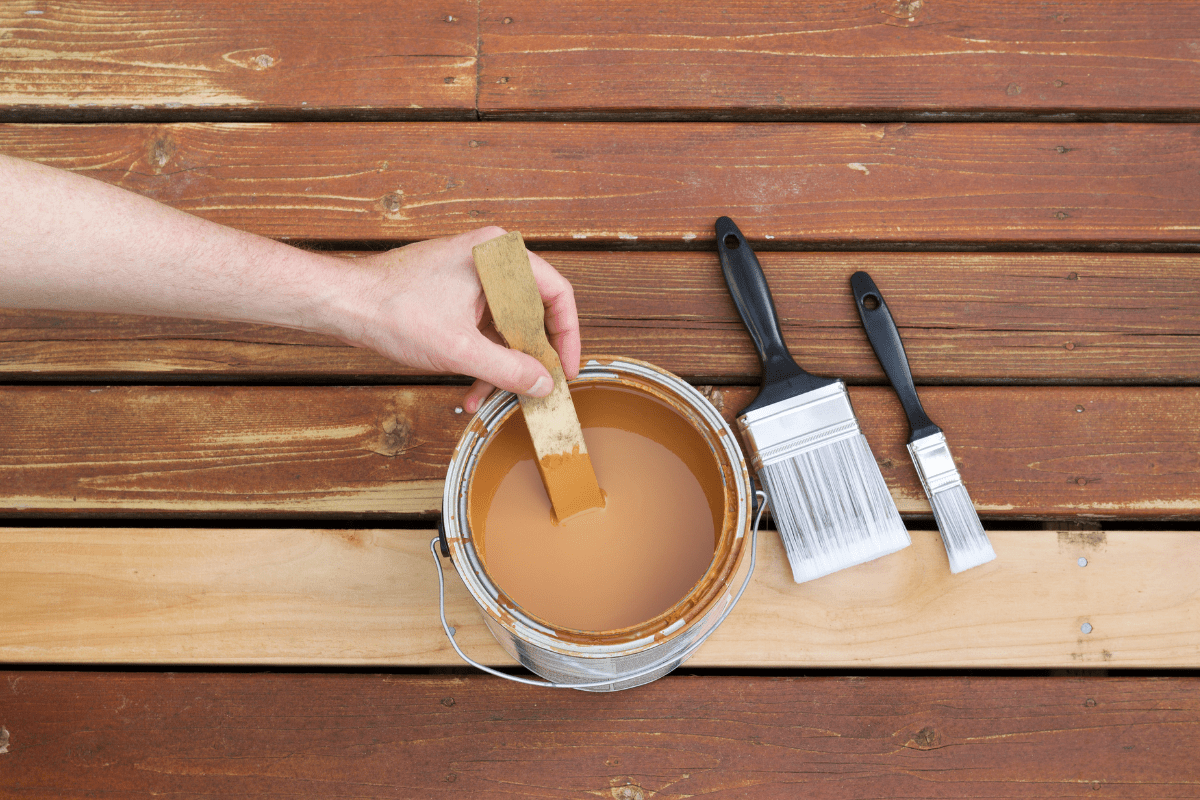
Apply one coat of stain in long, even strokes and touch up any problem areas with a paintbrush. After finishing, clean your tools and let the stain dry for at least 24 hours.
Staining the Stairs
After staining the railings and deck floor, remember to also stain the stairs so there’s a cohesive look to your project. For best results, use a large paintbrush or hand-held paint pad applicator to apply an even coat of stain.
Apply a second coat if necessary. Staining your deck protects it from fading, natural wear, and water damage.
Make staining easy and achieve professional-looking results by prepping and cleaning your deck beforehand. With this knowledge, you can refresh the appearance of your deck every few years to maintain its beauty.
10 Quick Tips for Staining a Deck
- Prep the deck by cleaning it thoroughly and allowing it to dry completely.
- Choose the right stain for your deck type and climate.
- Test the stain on a small, inconspicuous area before applying it to the whole deck.
- Use a paintbrush or sprayer to apply the stain evenly.
- Work in small sections to avoid overlap marks.
- Apply the stain in the direction of the wood grain.
- Don’t let the stain puddle or dry on the surface.
- Use a dry brush or roller to remove excess stain and prevent blotches.
- Give the stain plenty of time to dry before walking on or using the deck.
- Apply a second coat if necessary for a deeper color or more protection.


