How to Stain Concrete [Simple DIY Guide]
Whether you’re starting with newly-poured concrete or looking to give a facelift to a patio that’s faded over the years, staining concrete is going to be an easy and inexpensive option for you. The biggest issue is going to be learning how to stain concrete, and that’s what we’re here for! We’ll walk you through the concrete staining process so you know exactly what to do, starting with picking the right type of concrete stain for the job.
Step 1: Choosing the Right Concrete Stain
When staining concrete, you will have to decide if you want to use an acid stain or a water-based stain.
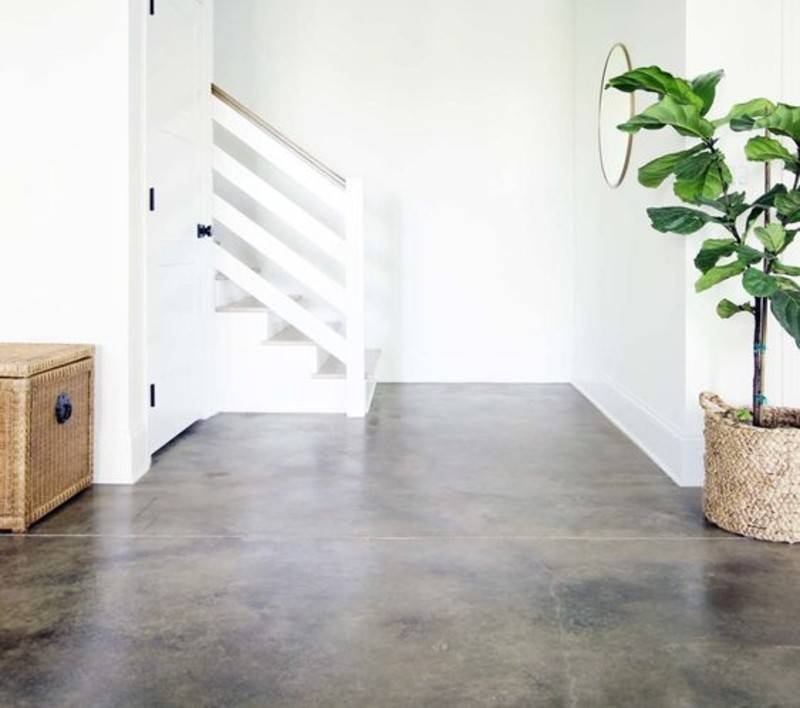
In terms of color choices, a water-based stain will have a much more broad range of shade choices than an acid stain. Acid stains produce natural colors such as browns, tans, or light reds (think terra cotta). Water-based concrete stains can range in colors from black and white to vibrant yellow or orange.
A water-based concrete stain is the less labor-intensive choice out of the two options. It’s an easy option for anyone feeling unsure about the staining process. If you overapply the stain in one area or make a mistake, you can diffuse the color using water and fix the mistake. When applying the stain, a water-based stain will produce one solid color across the whole surface. You can, however, create a more varied look by diluting the color before applying it in certain areas.
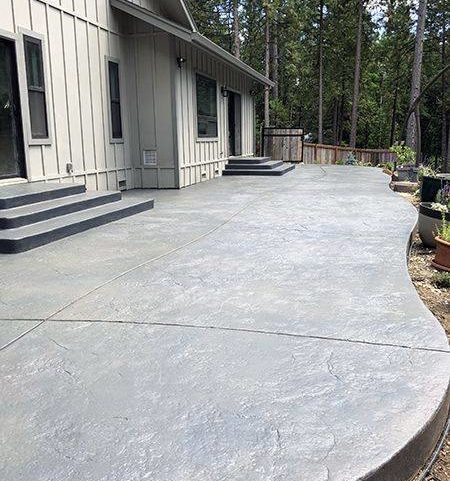
An acid stain is going to produce a mottled or stone appearance, one that you would recognize from a backyard patio or pool deck. The acid stain has reactive properties and is considered to be a permanent option for both interior or exterior surfaces. It also will not peel or fade quickly when exposed to sunlight or the elements, which is why it’s a popular option for outdoor concrete surfaces. Due to its reactive properties, the color you choose for your acid stain might not be the exact color that you end up with. There’s no guarantee for how the stain will react to the surface, with the age of the concrete, mineral composition, and location of the surface all affecting it.
Regardless of which stain you choose, you should always have both options on hand in your chosen color. If you’re going with an acid stain, have the water-based stain of the same hue on hand so if there are areas of the concrete that don’t take to the acid stain, you can still stain it with the water-based version.
Step 2: Prepping The Surface
One of the most important steps when staining concrete is surface preparation. Part of the preparation is ensuring that the concrete will accept stain. The concrete should be free of sealers, stains, or curing agents. If you’re not sure whether the concrete you’re looking to stain will accept it, there’s an easy way to test it: spray the concrete with water. If it darkens, it will accept the stain.
To prep an outdoor space, remove any patio furniture or other objects that sit on the concrete. Sweep off the concrete using a broom to remove any loose dirt or grass. Then you can take a pressure washer (a garden hose works too if you don’t have a pressure washer) to the surface to remove any dirt or other stains that didn’t come off with sweeping. For any particularly stubborn stains, you can use a stain remover too. Once it’s cleaned, let the concrete dry for at least 24 hours. Since it’s an outdoor surface, you may need to give it a final sweep the following day before starting.
Prepping a concrete surface indoors is a similar process to prepping an outdoor surface. Thoroughly clean the floor, using a vacuum to remove any dust bunnies or dirt, followed by sweeping off the concrete. Once that’s finished, (instead of using a pressure washer inside, which could get messy) you can use a wet rag to clean off the surface entirely. After you’ve thoroughly cleaned the surface, allow it to dry completely before moving on to the staining process.
Step 3: Testing and Taping
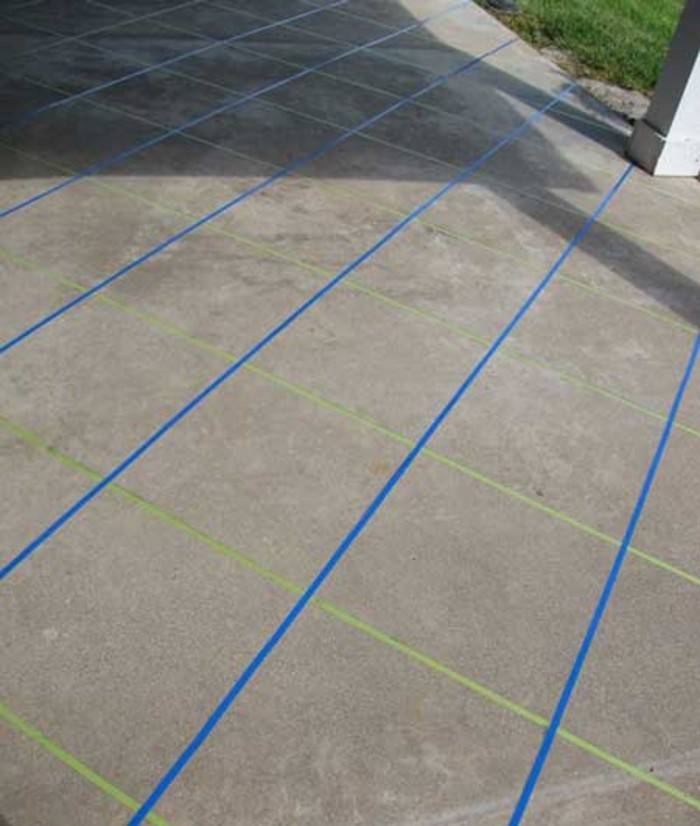
If there are certain areas that you do not want stained, like the edges of the concrete or specific areas of the floor, now is the time to tape those off. Typical painter’s tape will do the job.
Ahead of applying the stain to the concrete, you also want to test a small area to make sure the product will achieve the desired look. Apply the product to a small area like an edge of the patio or a portion of the floor that will be covered by an appliance in the future. If you don’t like how it looks, you can dilute the product or try applying differently, until you get the desired result.
Note: If you plan on using a paint sprayer indoors, you may also want to tarp off any walls that could be sprayed while you’re staining the edges of the surface.
Step 4: Applying the Stain
If you’re staining concrete outdoors, wait for a day that is cloudy rather than sunny. On a sunny day, the stain will dry faster and can create an uneven texture.
For the actual application, you have a couple of different options. Some choose to use a paint sprayer, while others applying the stain with a paintbrush or roller. You can also use a combination of methods. If you’ve chosen to go with an acid stain for the concrete, make sure you use a paint sprayer that does not have any plastic parts that could be corroded by the acid.
When you’re staining with a water-based stain, you want to work in small sections so that the stain dries evenly. If you’re applying it to a surface that has natural divisions like patio stones, work on one at a time. Apply the stain to the edges of the concrete using a paintbrush or roller, then use the sprayer to fill in larger sections. When applying the stain with something other than a sprayer, different techniques can achieve different looks. Applying the stain in a circular motion using a clean rag can produce a more rustic look, whereas applying two coats using a paintbrush and varying the direction of brush strokes can create more subtle crosshatch markings.
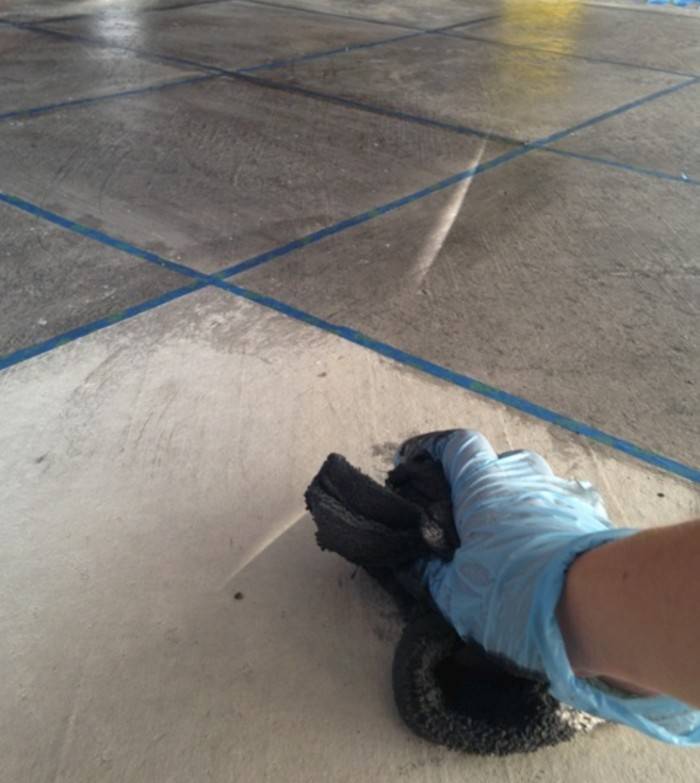
As you’re applying the acid stain, you’ll want to work in small sections. Spray the concrete evenly in a strip from edge to edge. While the stain is still wet, use a natural bristle brush or broom to brush the solution into the concrete using even strokes. You’ll want to work as quickly as possible when working with the wet stain so it doesn’t dry in an undesired pattern. If you’re aiming for a more mottled or textured look, you don’t need to do this. Continue across the entire surface until you’ve covered all the concrete.
Note: When applying concrete stain—especially if you’re using a pump sprayer—make sure that you’re wearing proper protective gear such as protective eyewear and clothing that covers your arms and legs. You also don’t want to risk any stain getting on your skin because it will be hard to get off.
Step 5: Let the Stain Dry
This step is arguably going to be the easiest in the concrete staining process; all you have to do is walk away! Refer to the manufacturer’s instructions for each product in terms of how long you should allow the stain to dry, but you should wait a minimum of 6 hours to allow the stain to penetrate the concrete. The longer you allow the stain to sit, the deeper the shade will be in the end.
Step 6: Re-Applying (Optional)
Once you’ve allowed the stain to dry, you’ll need to mop up the extra stain liquid using a wet-dry vacuum, a mop, or even a clean rag to soak up the excess. After you’ve removed the excess, you can decide if you’re happy with the result. If you’re not happy, now is the time to apply a second coat of stain to the concrete, then allow it to dry again. You can continue this process three or four times until the concrete is the hue you want.
Step 7: Neutralizing the Stain (Acid Stain Only)
If you chose a water-based stain, you don’t need to worry about this step. For those who go with an acid stain, you need to neutralize the stain so that it doesn’t continue to penetrate the concrete or change colors from the hue you wanted it to be. Apply a neutralizing solution to the concrete surface to stop the chemical reaction. You could use a product like trisodium phosphate (TSP), or mix together a solution of water and baking soda using one tablespoon of baking soda for every two gallons of water. Scrub the solution over the surface using a push broom or brush. After you’re finishing, remove any excess solution then rinse the surface with water. It could take a couple of rounds of water to remove all the residue from the acid stain and the neutralizing solution.
Step 8: Sealing the Concrete
The final step is going to be sealing the concrete. Sealing the concrete isn’t a mandatory step, but it will help preserve the color over time, as well as prevent any wear and tear from dirt, water, or general use.
Wait until the stain has completely dried before you do this step. When choosing the sealant, be sure to read the labels before choosing. A sealant product meant for indoor floors won’t be suitable for an outdoor patio, and vice versa. Follow the product’s directions for drying time, then you can resume use of your beautiful newly stained concrete!


